

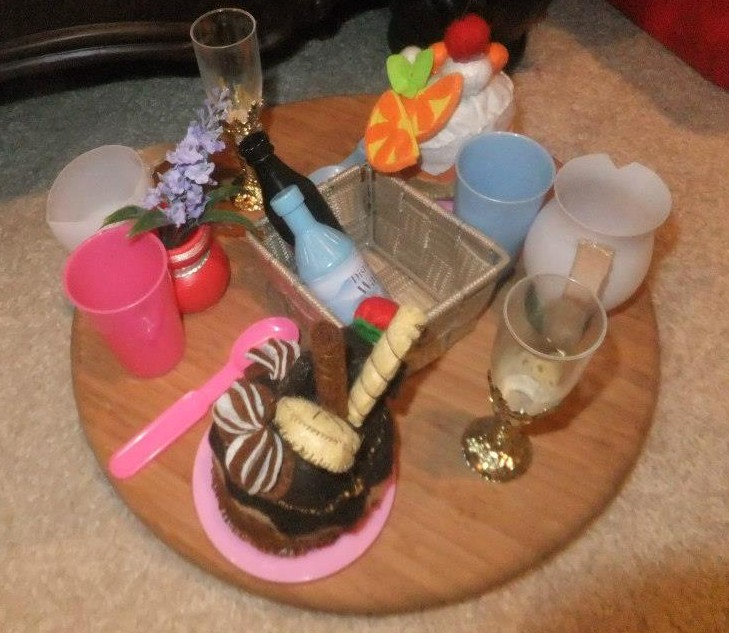
So now that I have tackled the one inch dollhouse post here, I would like to talk about the other dollhouse in my house. The 18 inch dollhouse can be viewed in all its glory in this post here.
Once it was all set up, we needed some food to go in it. We ended up having quite a lot of plastic play food that worked perfectly, but that meant no crafting for me. 😦
And that just wouldn’t do, of course. We have so much fun making things for the one inch dollhouse. I wanted to have just as much fun making things for the 18 inch dollhouse.
So despite having a whole pile of perfectly usable plastic play food, I decided to go ahead with it anyway and try my hand at making some 18 inch doll sized play food.
But what to make it with was a dilemma. For the one inch doll food, we just used polymer clay, but that was out for this project because it was much bigger. I just felt that it would be a waste.
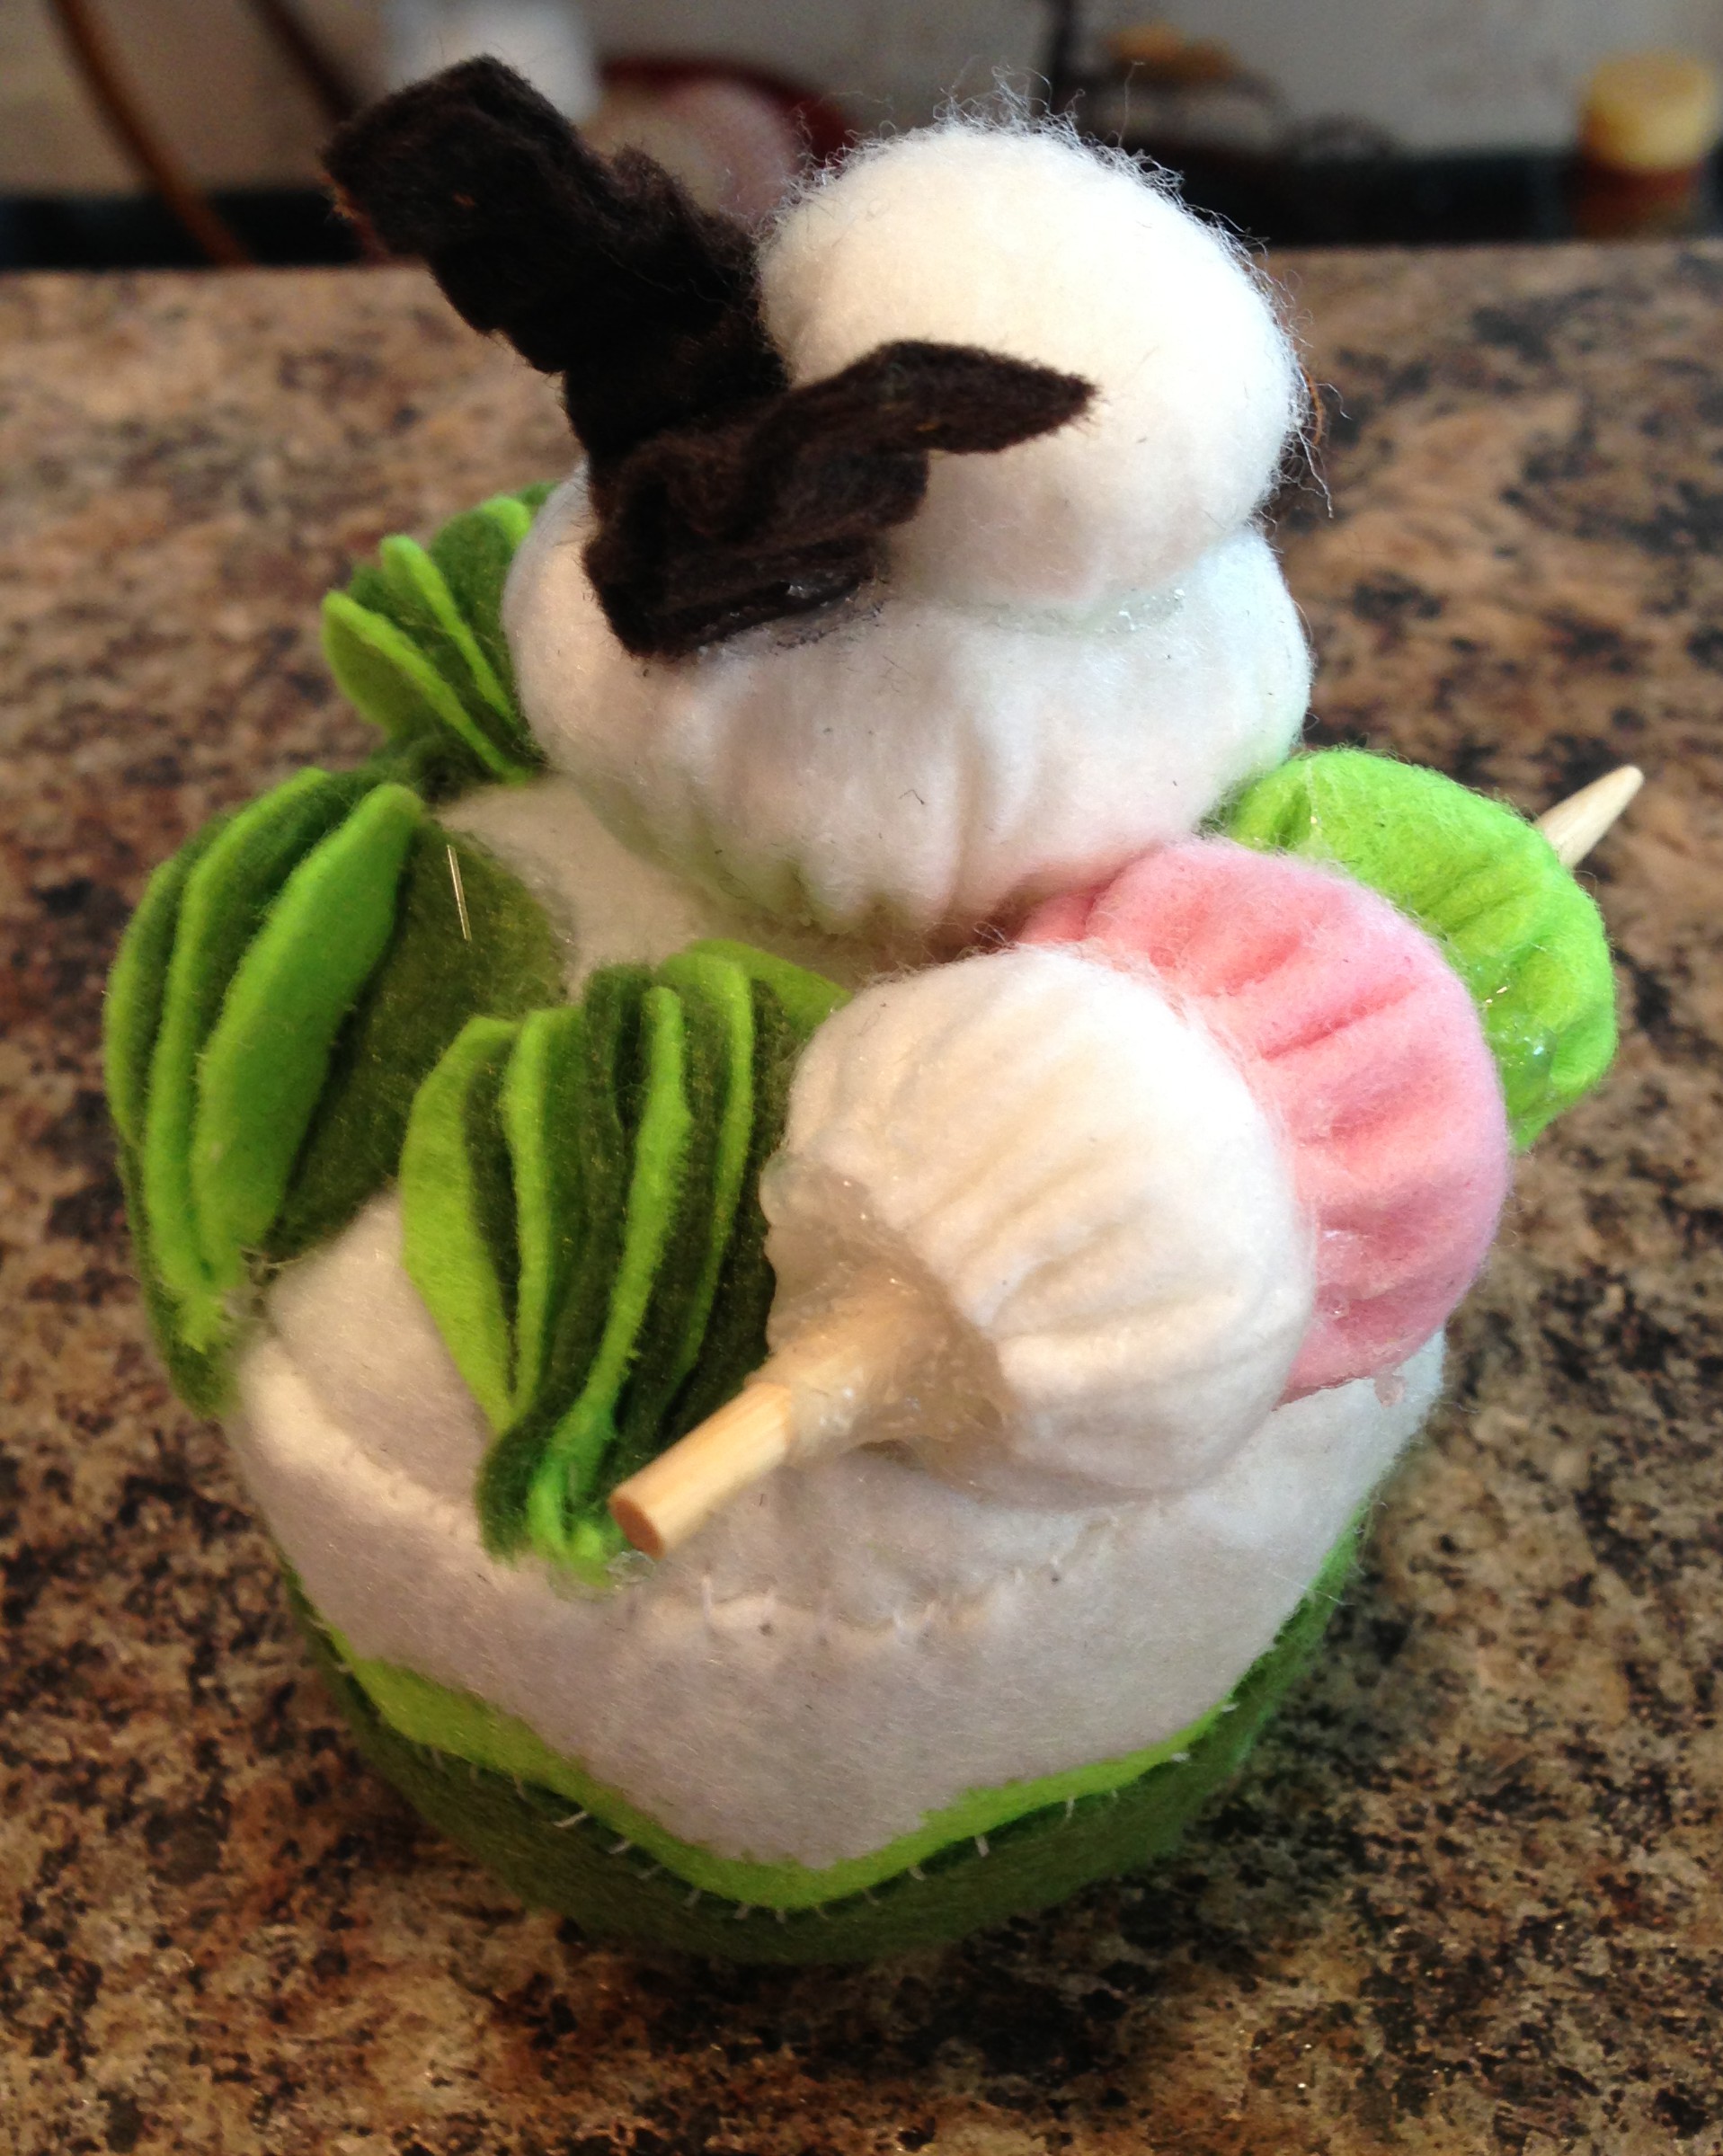
Good thing I know how to wing it. I decided that we had to make ice cream sundaes because that is a favourite food around here. This was a very fun and simple craft that my six year old was able to do nearly all on her own.
Here are some pics:


Here is what you need:
Mini martini glasses
Pompoms
Tiny beads
White glue
Hot glue
One red pom pom for a cherry on top
The first thing you need to do is arrange your pom poms in the martini glass the way that you like. Hot glue into place. After this step I was able to just hand it to my six year old and she did the rest.
Take white glue and pour that stuff on top of the pom poms like nobody’s business. I mean, really get it all on there.
Sprinkle the glue with a ton of tiny beads. Then pour more white glue all over the beads. Fill it right up. The more glue you put on there, the better. The pom poms will soak up a lot of it.
Just don’t drip it all down the sides of the martini glass. If this happens wipe it up and rein yourself in a little. Geez. It’s a kids craft. No need to go overboard.
Leave to dry overnight.
This stuff will dry clear and as hard as a rock if you put enough of the white glue on there.
Once dry, hot glue a cherry on top. And you’re done!! How easy and cute is that? And it holds up to a ton of play as ours are still going strong.
Next, we tried some origami doll cakes that we got from the Dollarama and they are super cute, but they just don’t stand the test of time. They are also pretty impossible for a six year old to make so be prepared to sit on your own for this one while your kid ransacks the house all around you. Happy, fun, mommy is preoccupied time!!
Then when you are done, she will adore the mini cakes for about one minute before they get all squashed. Not very gratifying, but fun while it lasted.
So, you have been warned. Craft at your own risk. 🙂


Last I sewed some adorable little cakes out of felt. We got these at the Dollarama too. I have a few of these kits, but so far I have only made three of them. Secret: After about the first half hour of sewing these babies, I just gave up and hot glued the whole hot mess together. It was about eight hundred times faster and easier, and it still looks exactly the same. Don’t tell anyone.
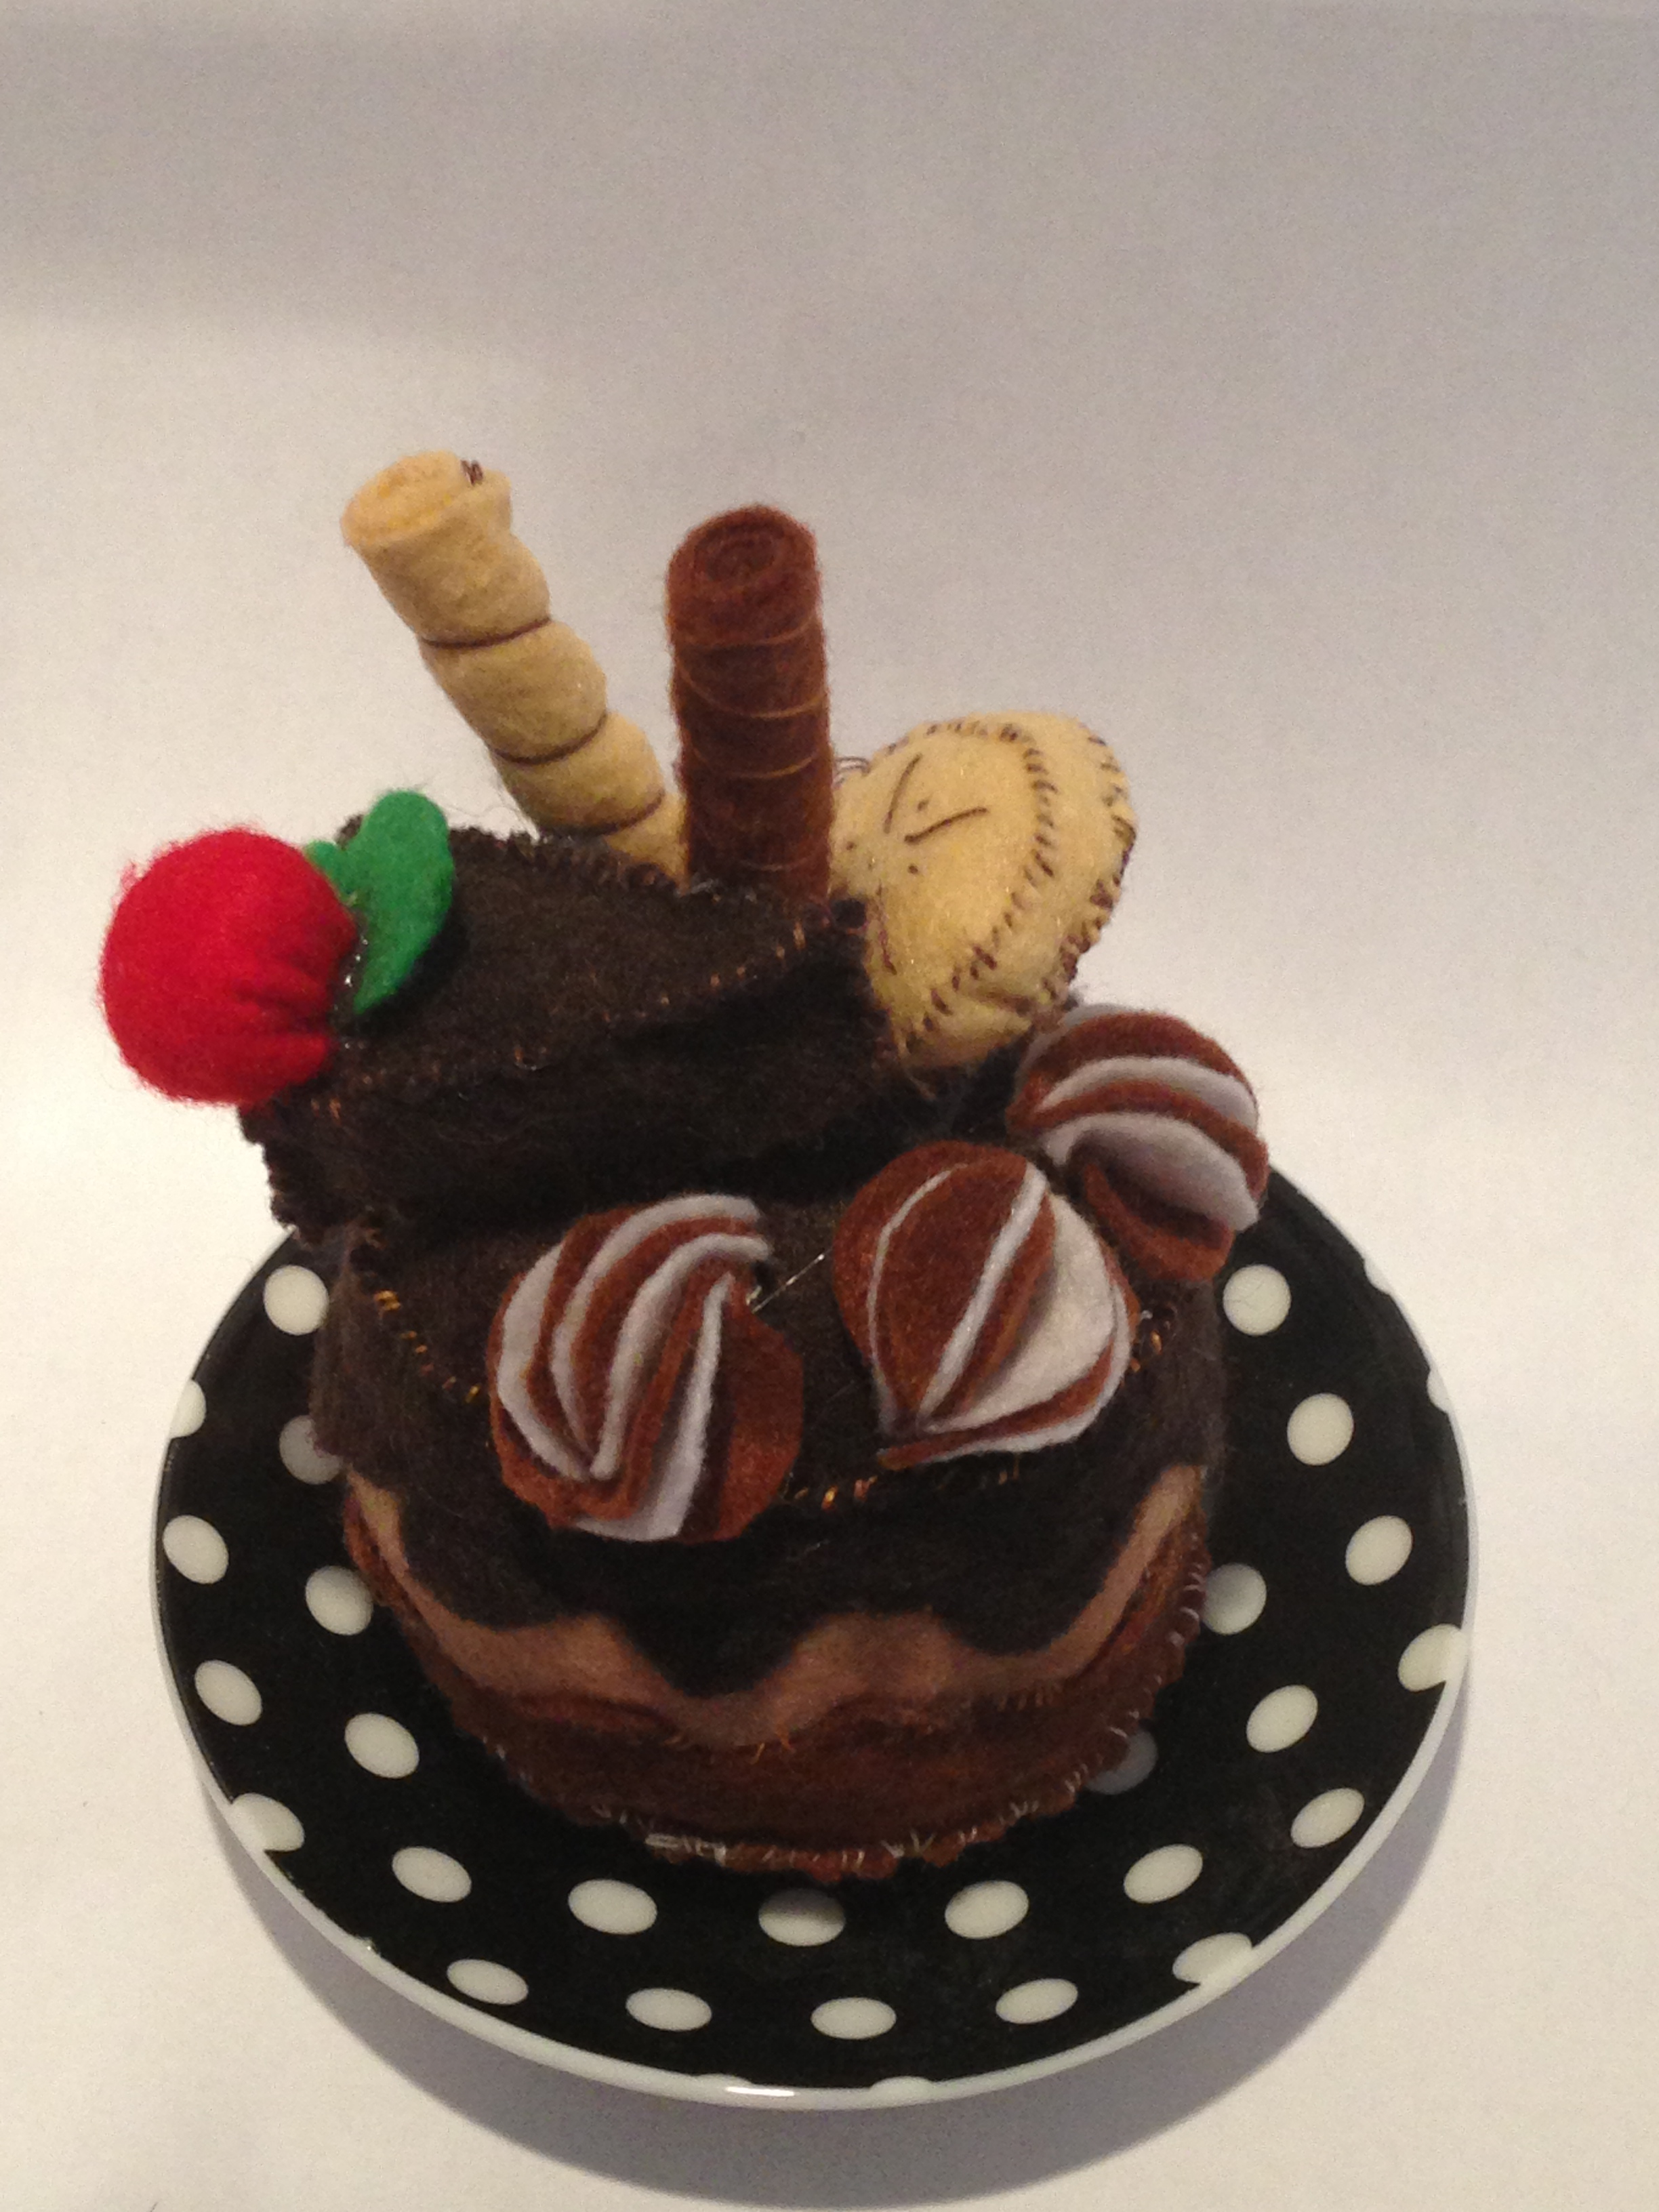


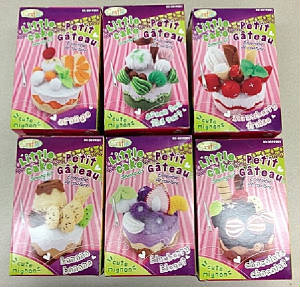
But how cute are these? I might sew (loose term) a few more of them when I get some time. They were very easy and I have a kit for the purple one as well as the banana one. There are also tons of tutorials online to make felt food for dolls if you don’t have a kit of your own.
Apart from dollhouse food for our 18 inch dolls, we have also been busy making some accessories for them.
One of the hardest things to find for dolls are things to put on their feet. However, I found this great little video tutorial on how to make these adorable glittery doll sandals that are to die for.

I used a hot glue gun for these although the tutorial doesn’t. I just found that the sticky side of the glitter foam didn’t stay put as well as I would have liked. They are far more glittery in real life too which is pretty awesome because a girl just can’t have enough glitter on her feet.
The second pair of sandals I made were also made of craft foam but this time I made a five layered stacked sole and used a knotted hair tie for the top strap. I just hot glued the ends of the ties under the top sole.


So now that we had some shoes, we just had to have some socks. Of course, we would never wear socks with our sandals, and neither should our dolls.
Nevertheless, go ahead and find the easy tutorial for these on myfroggystuff, one of our favourite places to go to find craftiness.
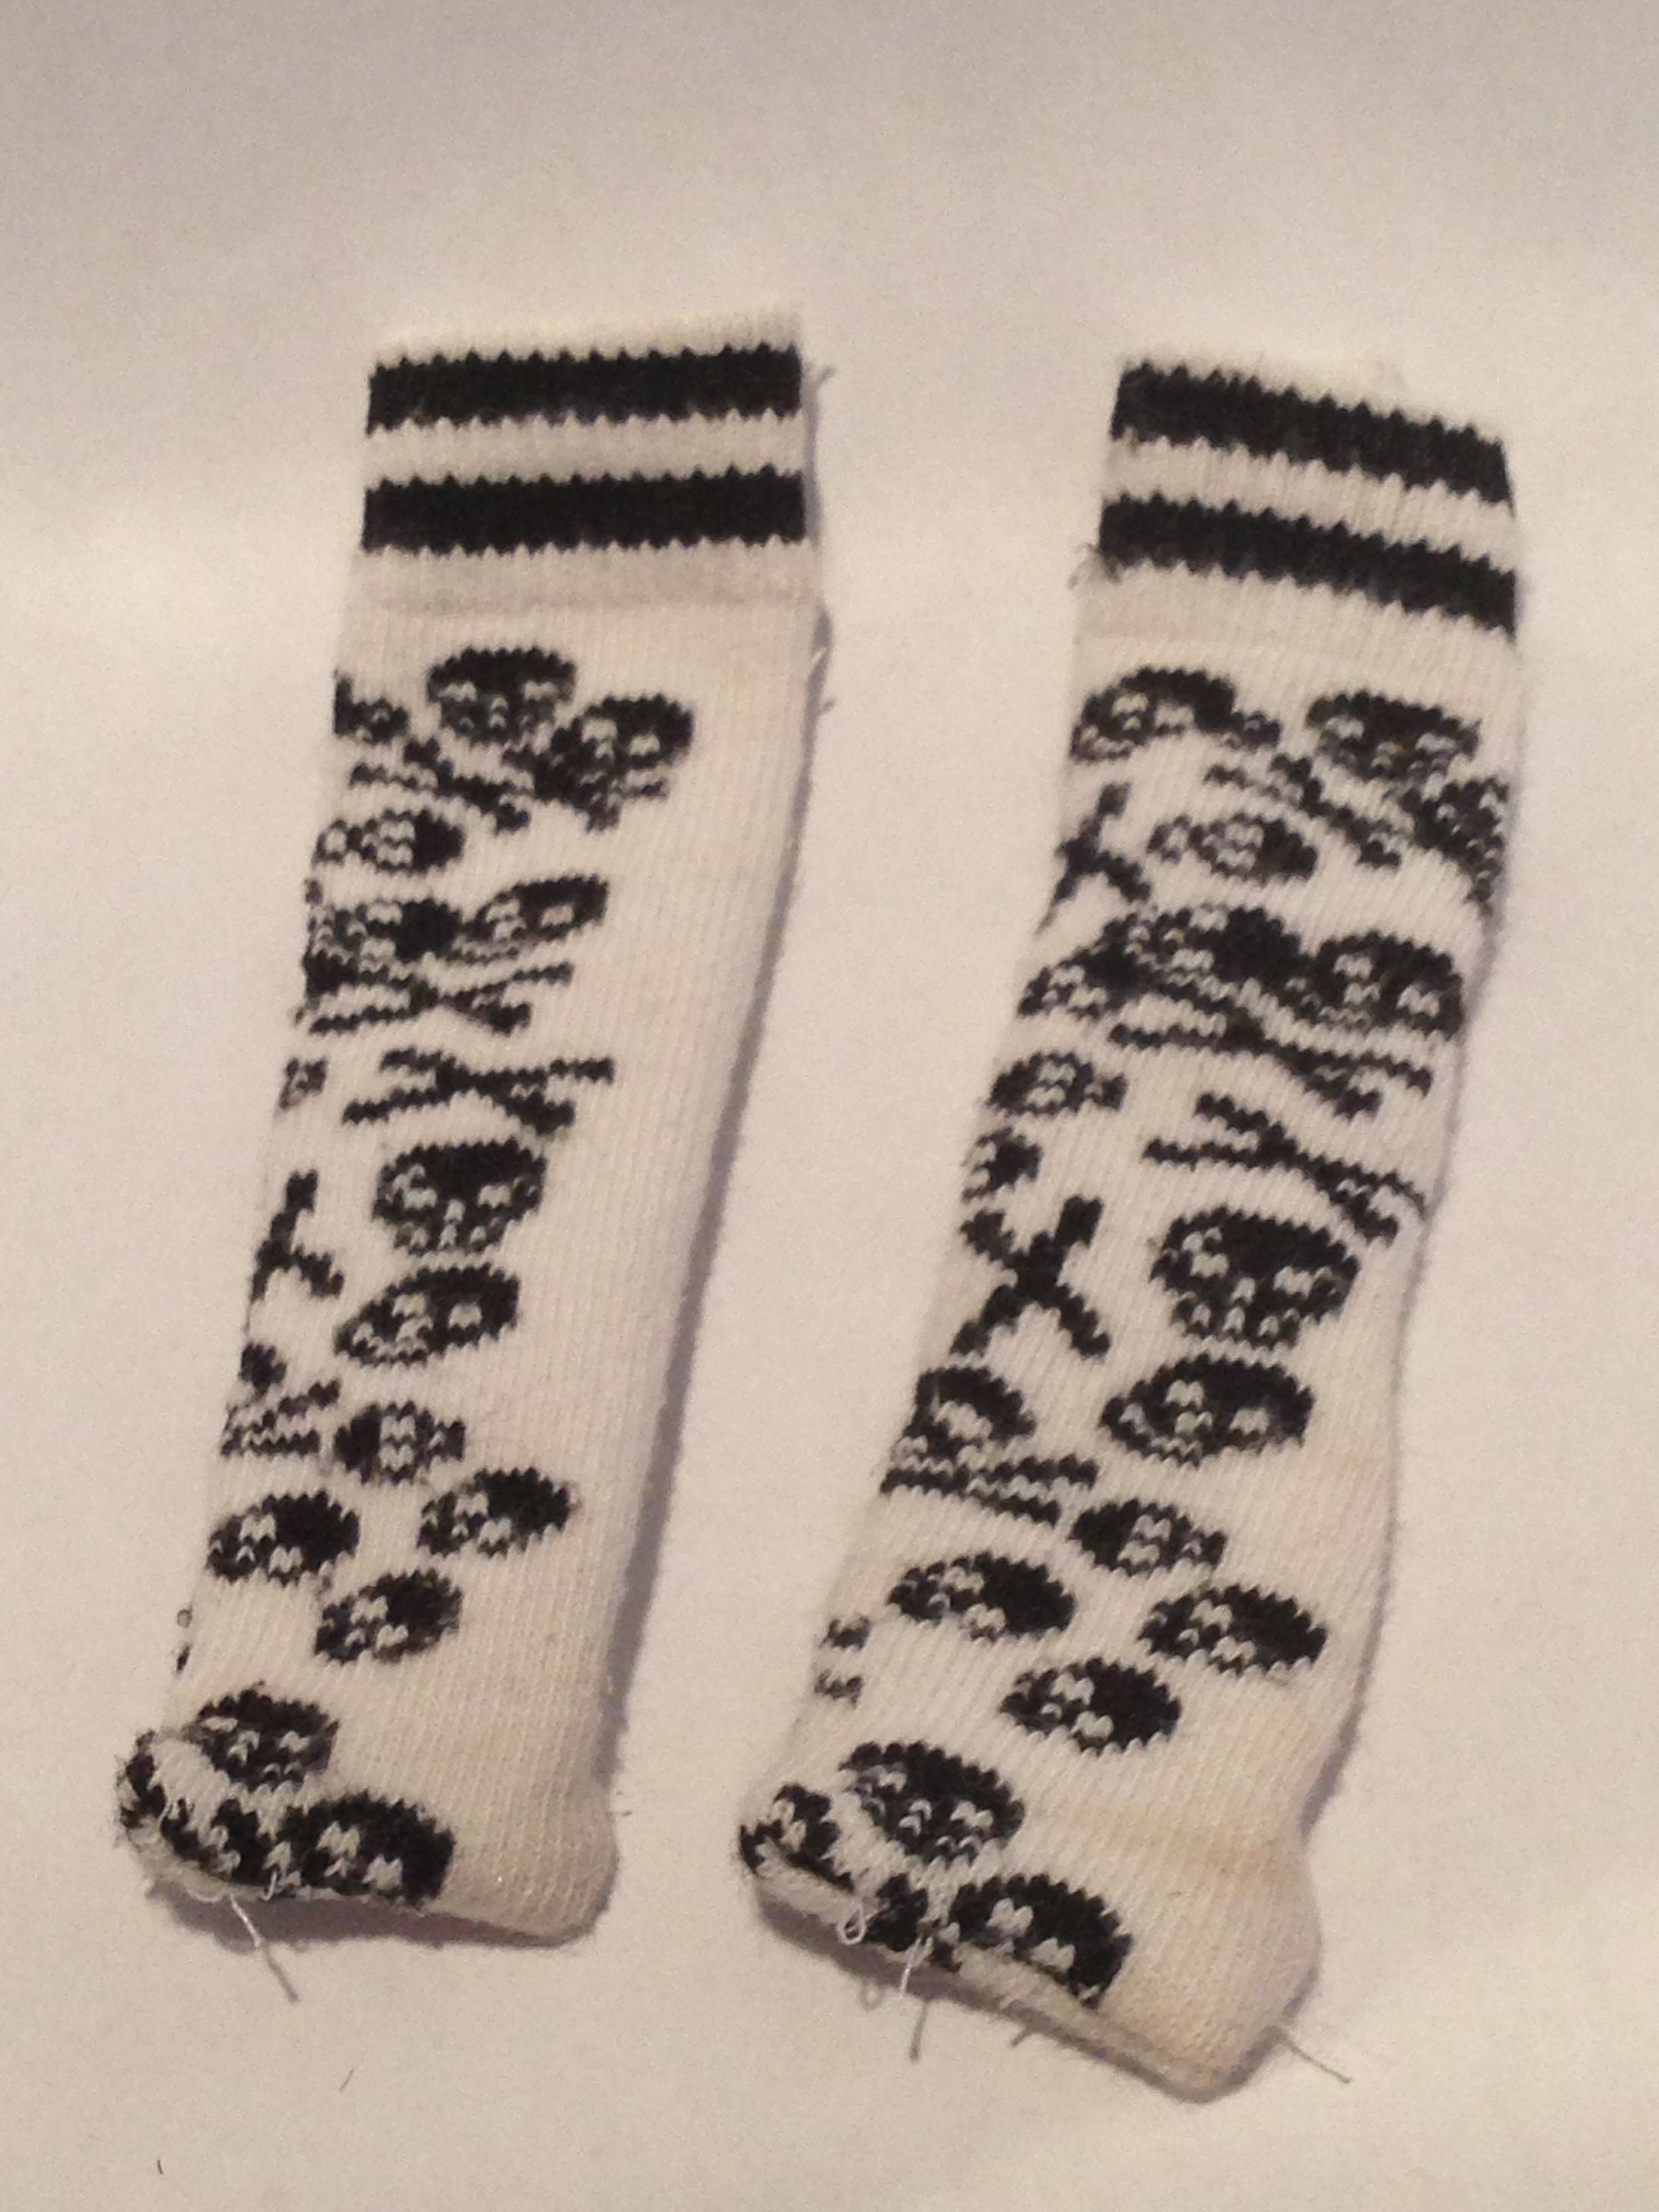

Adorable right? And I love that I now have a great way to reuse miscellaneous socks. These doll socks were made from a pair of baby socks, my nephew’s socks actually, (he is ten now) 🙂 so if you have any lying around this craft is a pretty simple and awesome reuse for them.
Okay, I have one last tutorial to leave you with and it is how to make these adorable fluffy headbands. They go great with figure skating outfits, as fairy crowns, or even ear muffs. There are tons of colours to choose from, too.


All you need are two large fluffy pipe cleaners in coordinating colours. Twist them together. Then shape to fit your doll’s head.
All done! Simple as that! I just love simple crafting don’t you?
So as you can see, there is some serious crafting fun to be had with your 18 inch dolls. I just hope that I have proven that it can be inexpensive and yet still be super adorable. 🙂
Enjoy!
