

Hey guys! Welcome back to my blog! Today I have a fun historical craft for you! It’s kind of strange calling it historical since Courtney comes from the 1980’s, which is shortly after I was born. It’s official. I am a historical. 😂🫣😭
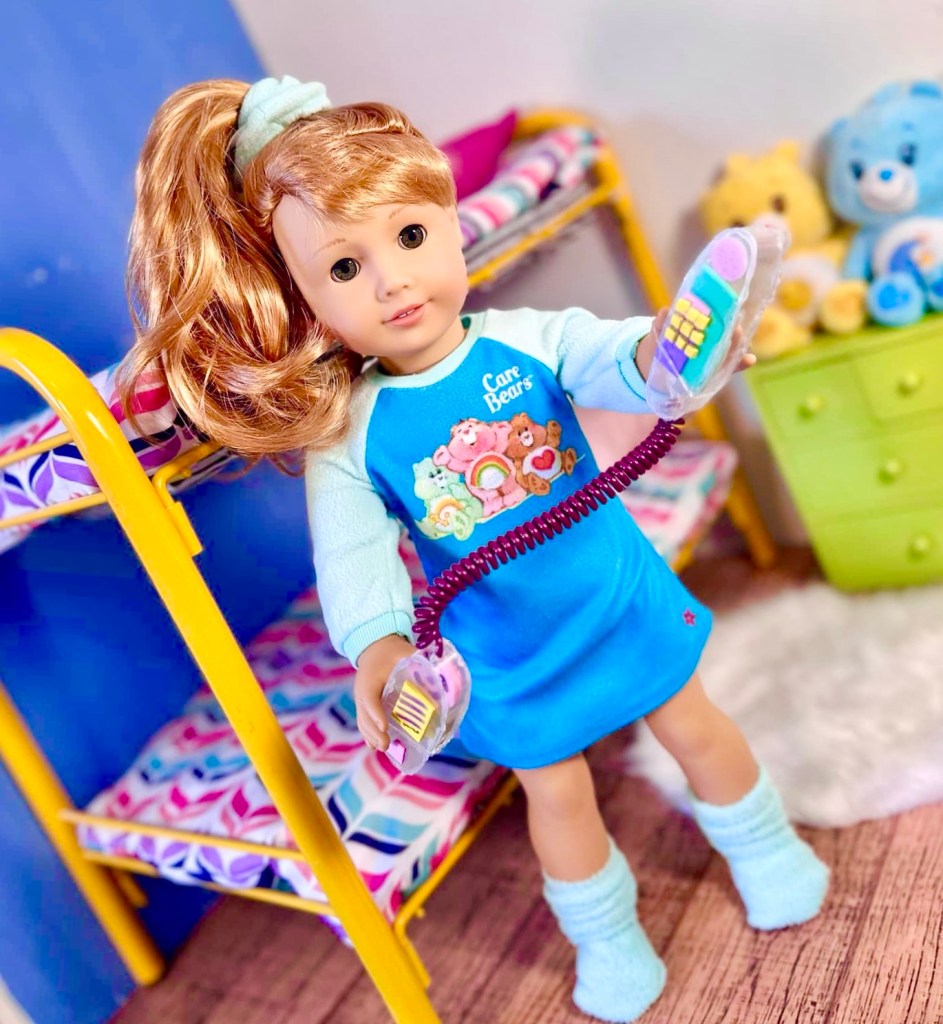
As soon as I saw Courtney’s transparent phone, I was smitten. Did you have one of these growing up? Sadly, I did not, but it makes me just tickled pink that now my dolls can have one!
Trouble was this cute little phone only came with Courtney’s large bed set. Like the adorable doll sized Care Bear, here was another item that alas was not sold separately, so I was in despair of ever getting my own.
But no worries! That just meant that I would have to try to make it! So here we are!
Needless to say, this idea has been floating around in random bits and pieces in my brain for awhile. Today, I decided to tackle it head on.
WHAT YOU NEED
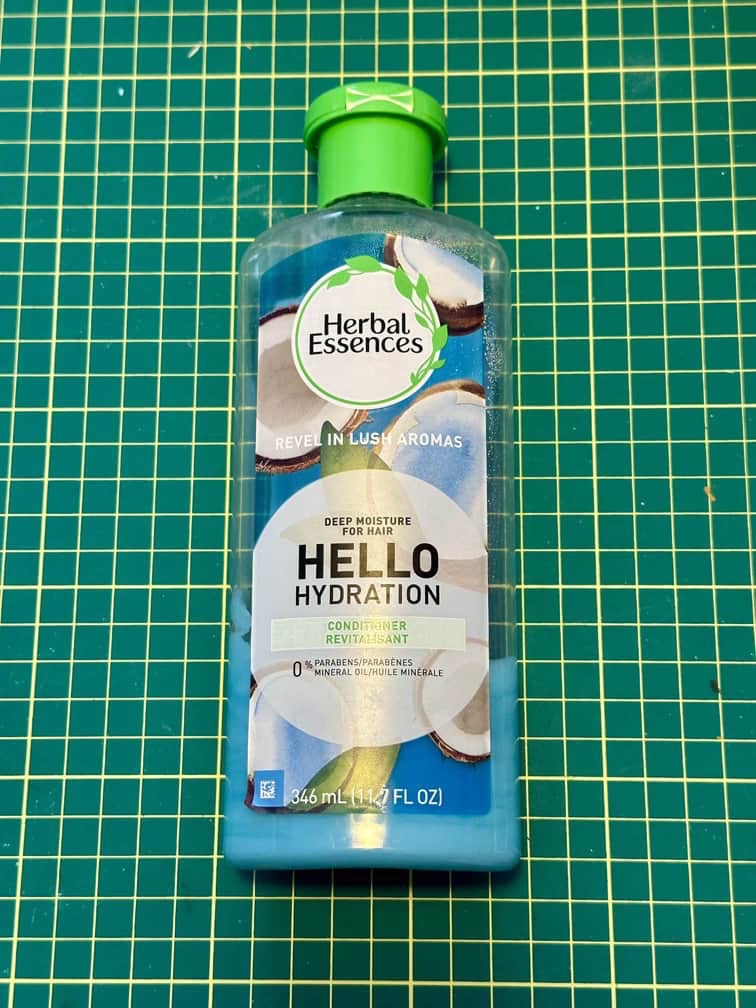
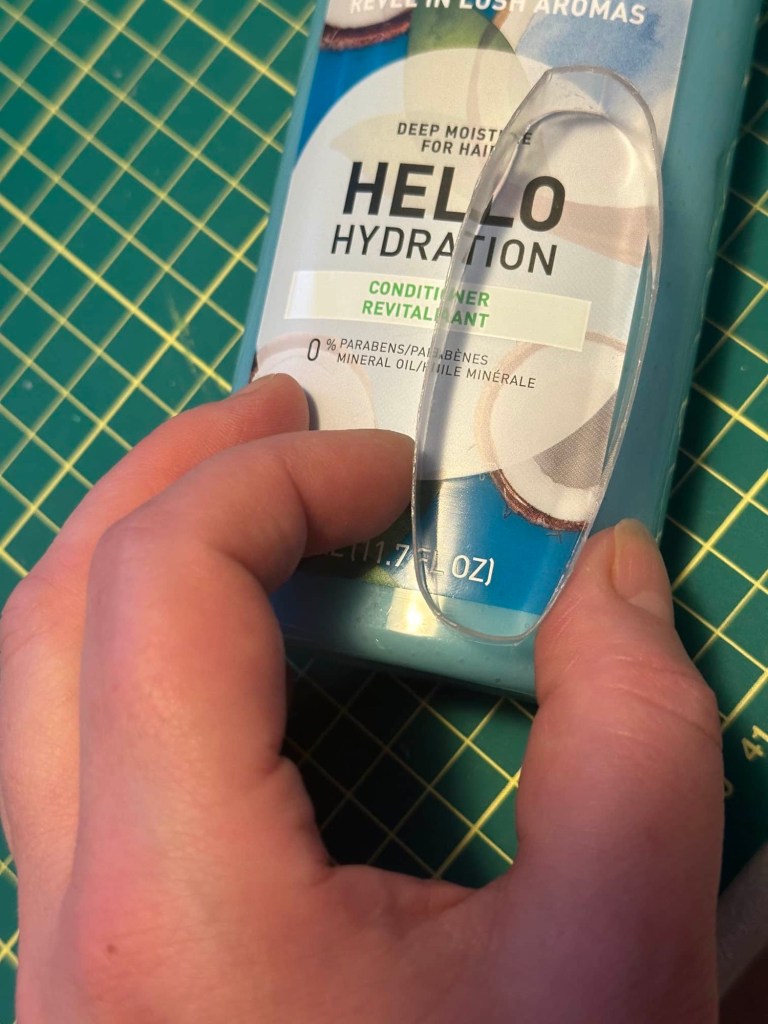
Shampoo/conditioner bottle small
Scissors/exacto blade
Goo gone
Craft foam
Hot glue
Coiled Spring bracelet/spiral hair tie
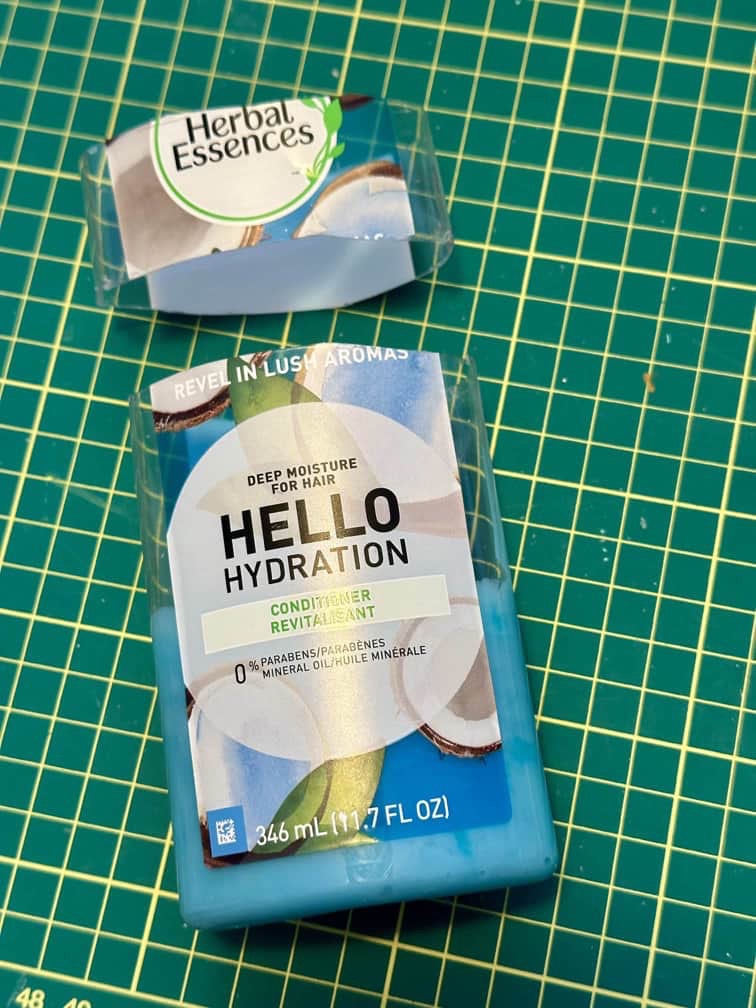
The first thing you need to do is remove the labels from your shampoo bottle. We used the goo gone for this as it works very well.
I didn’t do this at first, so it was a bit of a headache trying to use the goo gone on all the little pieces. That’s why I do all the trial and error, so you don’t have to. ☺️
Next cut the top from the bottle.
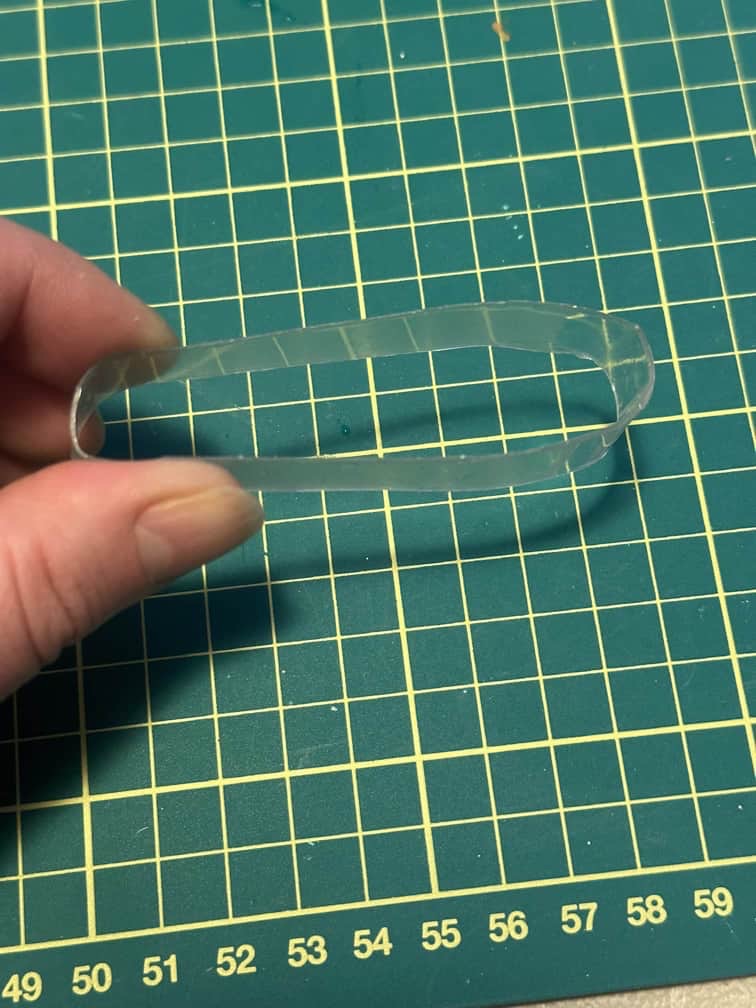
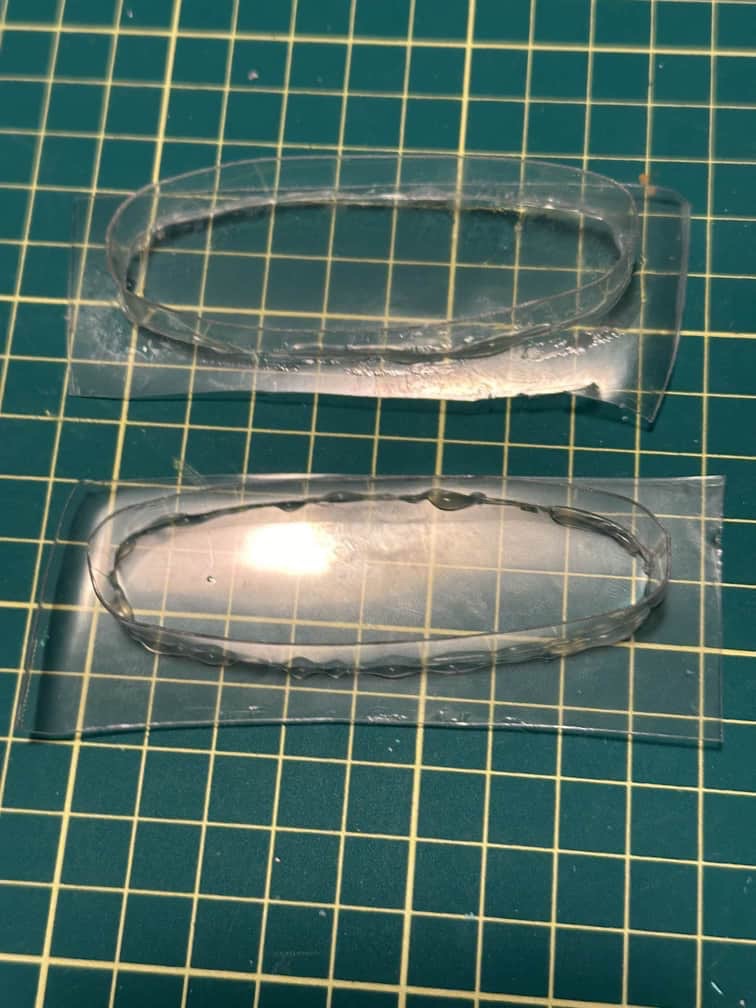
Now cut a couple of bands from the top piece you cut off. One should be a bit wider than the other one.
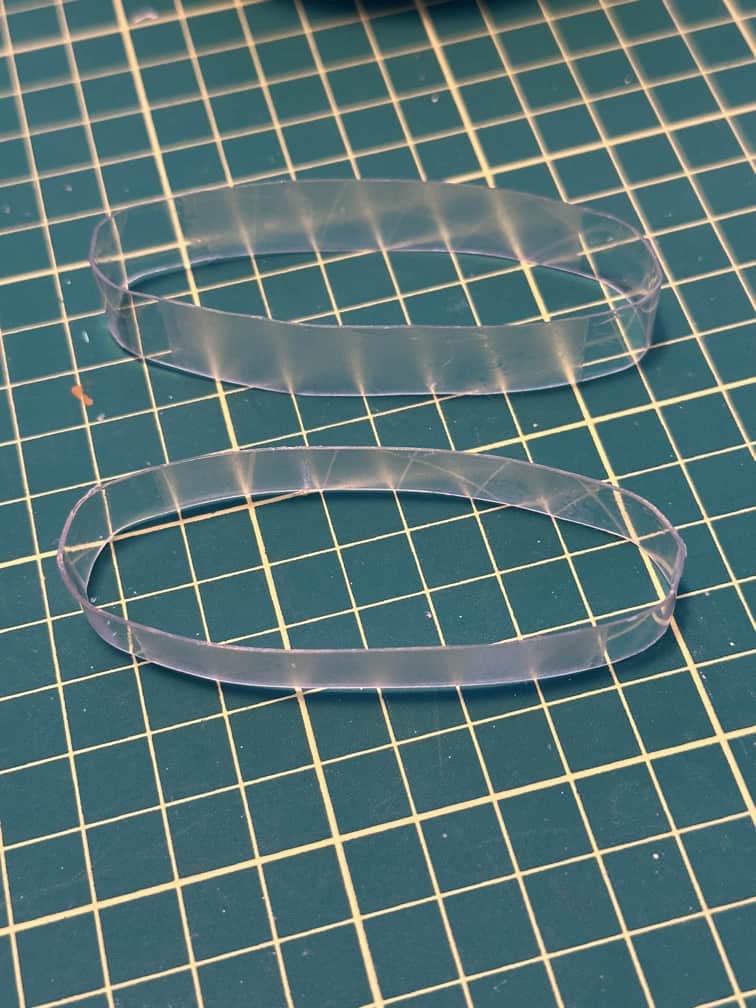
I sort of pinched the sides a little to narrow and shape the top and bottom of the bands a bit.
Next, we will make the front panel of the receiver and the bottom base of the cradle.
Cut a plastic piece from the shampoo bottle for this. Notice the natural curve in the bottle. You want the base of the cradle and the front panel of the receiver to curve inward slightly, so using hot glue, adhere the two bands to the outside of the plastic shampoo bottle pieces as shown.
I am just showing how I positioned each of my plastic bands vertically on the piece I cut from the front of the bottle.
There is enough plastic for one on either side of the front as well as the back of the bottle.
I did try crazy glue, but it didn’t work. Because it is plastic, a better glue like E6000 would be a good idea to use alongside the hot glue for a stronger hold. Trim all the edges.
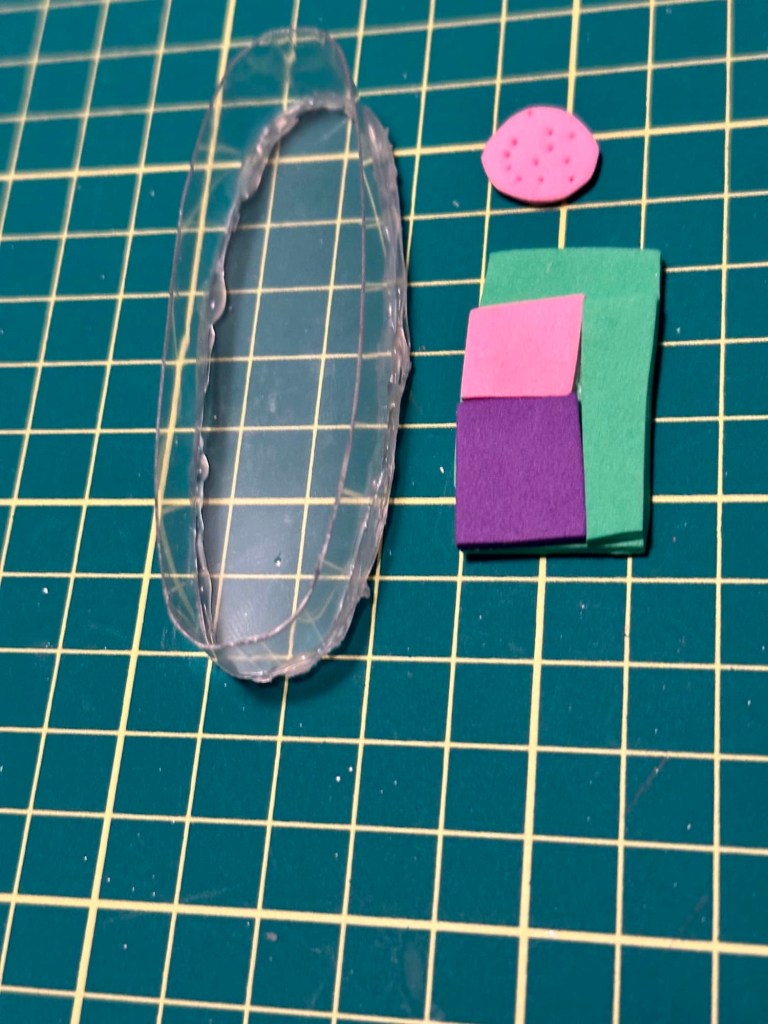
Now we will add the inner workings of the phone. I used craft foam for this.
For the receiver, I used the edge of the plastic band to make an impression in the green craft foam.

Cut it out and cut the ends off.
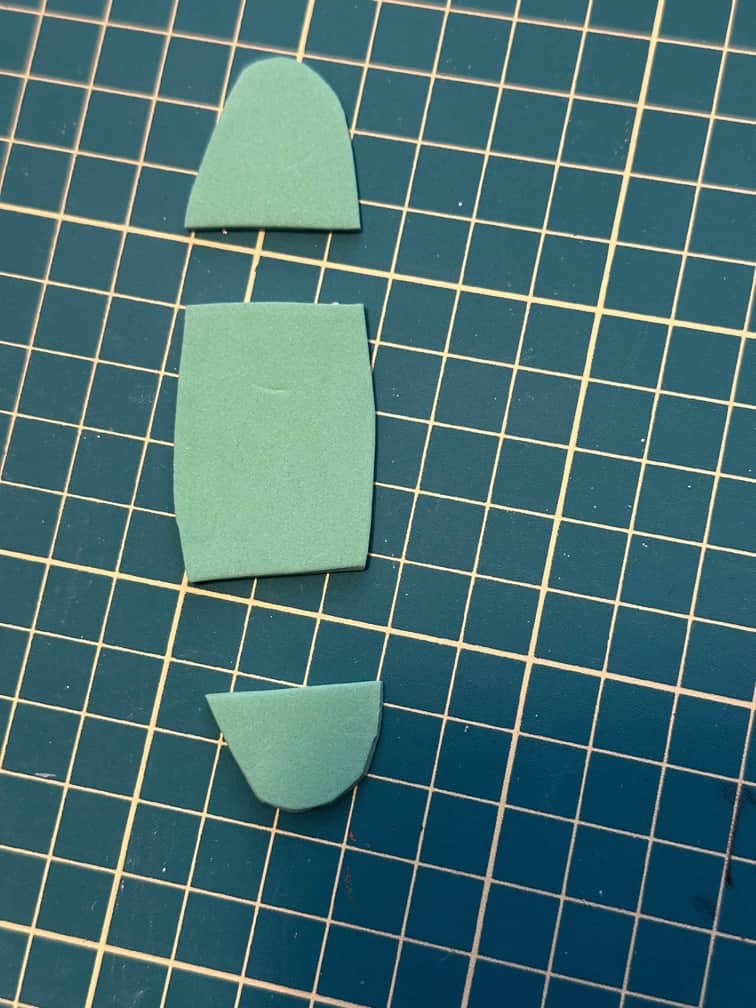
Now cut out another rectangle a bit shorter than the first. Stack them like this.
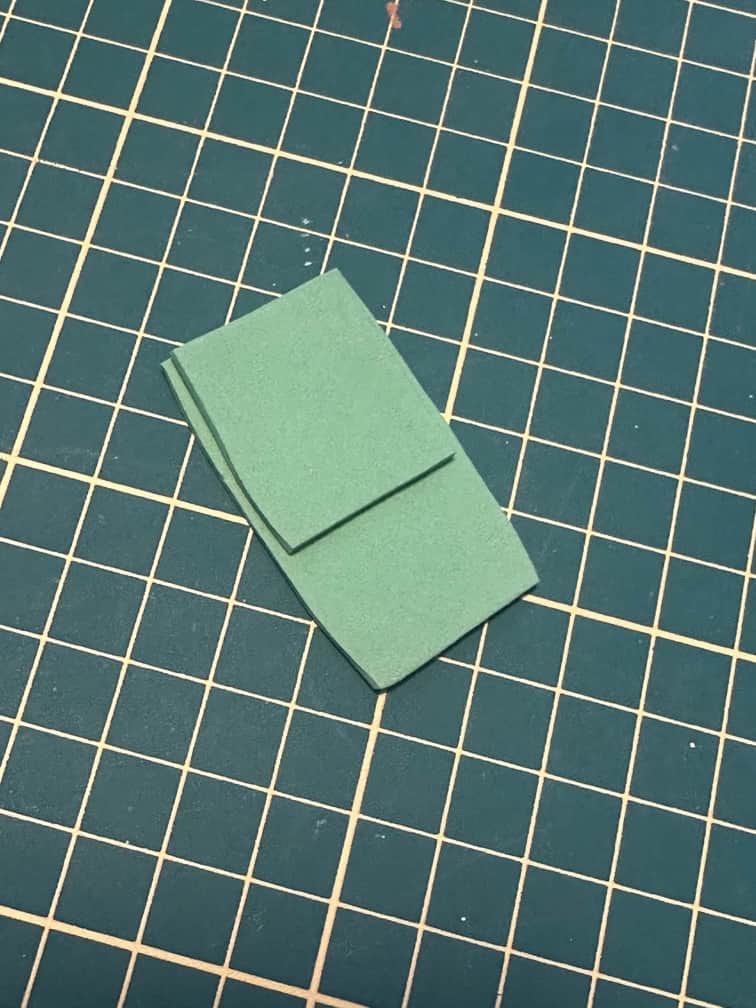
Then add purple and pink craft foam to the green. Trim as necessary.

Cut a small circle from pink craft foam for the speaker. I poked some holes in it with a toothpick.
Now we will hot glue the pieces in place. I did this incorrectly the first time, so be sure to not make my mistake.
Flip the the foam pieces over and hot glue them face down inside the receiver. This picture is just to show proper placement.
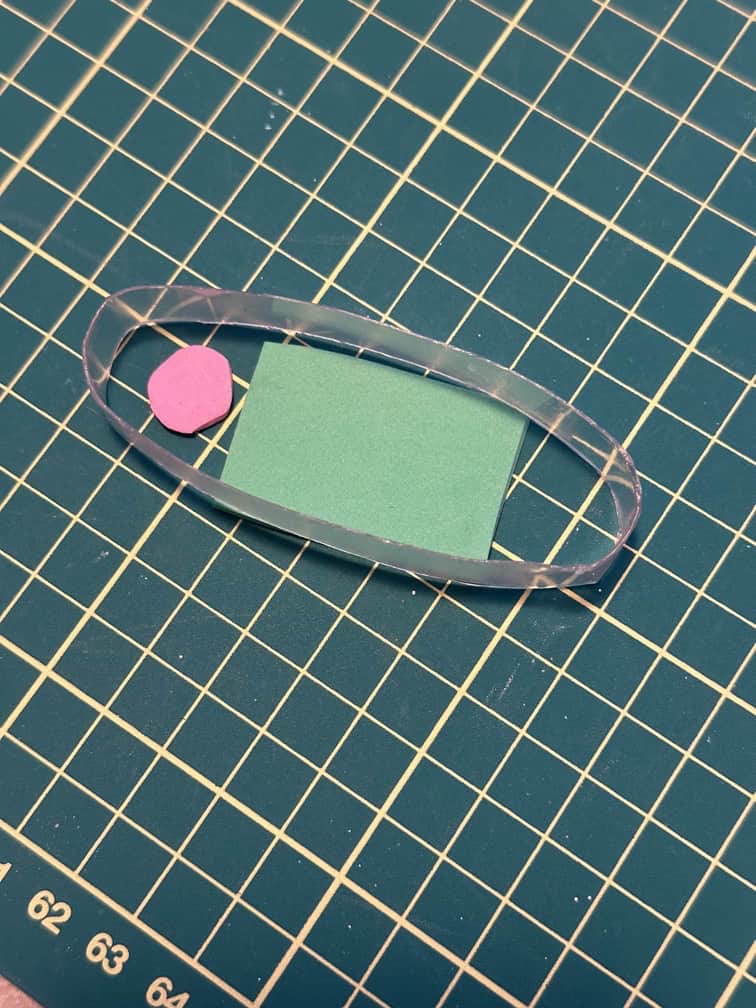
Only run hot glue along the edges of the green craft foam as it tends to obscure the transparency of the plastic.
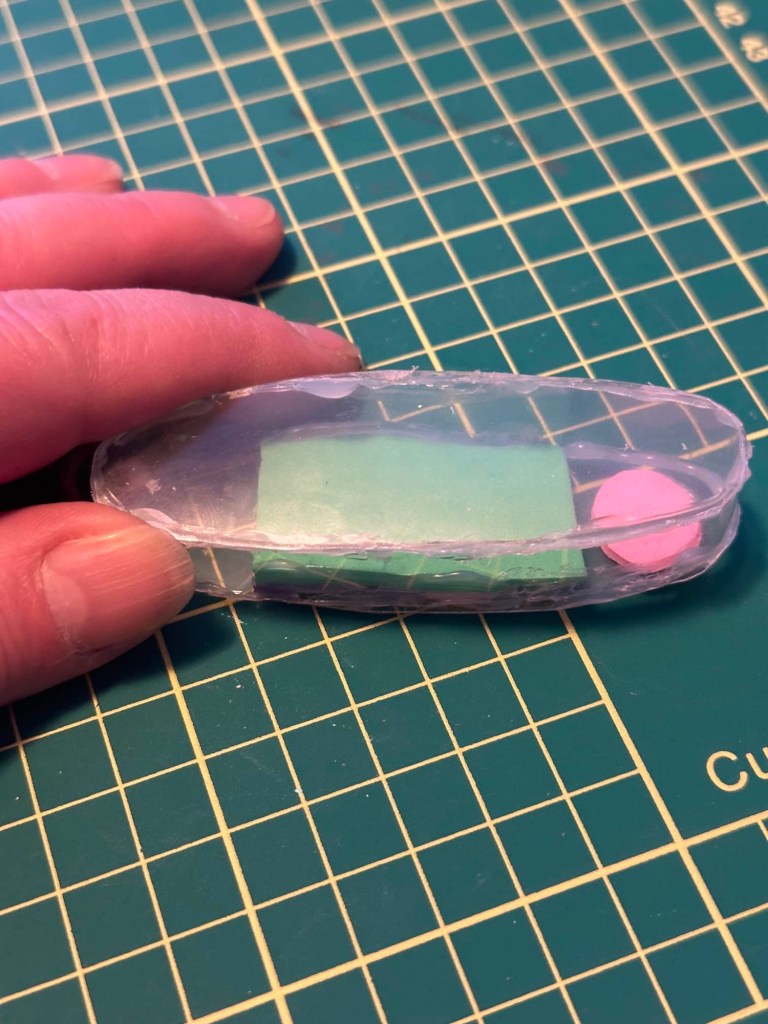
Now we will close up the top of the receiver. Take another piece of the plastic shampoo bottle.
This time, we want it to curve a bit outward for the top surface of the phone receiver, so notice the natural curve in the plastic and glue it accordingly. Hot glue it in place and trim the edges.
Next, cut out 9 tiny squares of yellow craft foam.
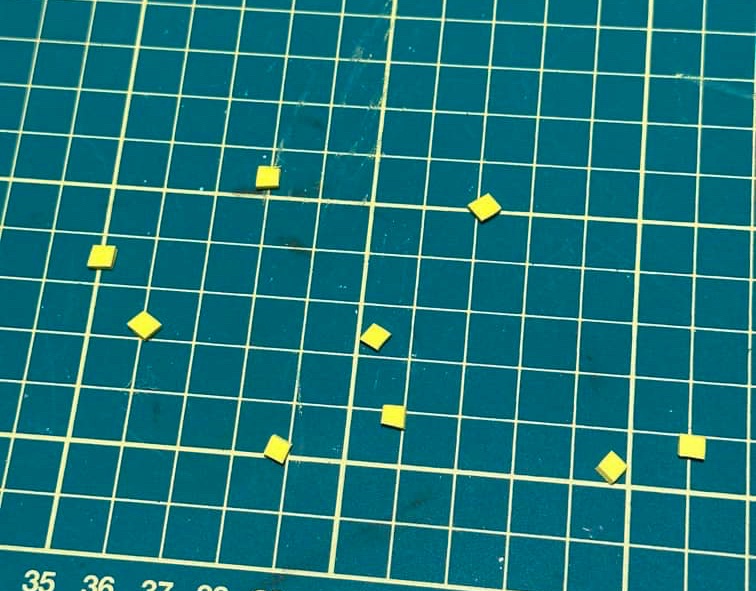
Glue them to the face of the receiver.
Then punch a hole in the end of the receiver. I used the tip of my exacto blade to start the hole and then used the blade on my scissors to drill the hole bigger.

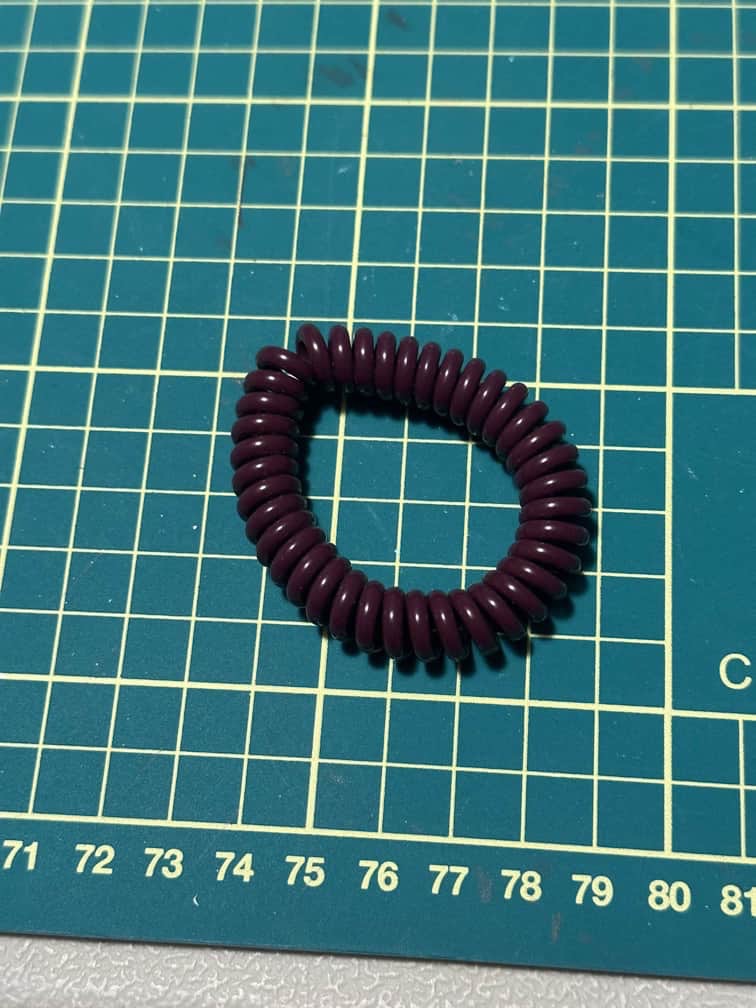
Take your coiled spring bracelet or hair tie, and cut it.
Add some hot glue to the hole you drilled in the receiver and poke the end of the coiled spring through the hole.
Okay now we will add the inner workings to the cradle.
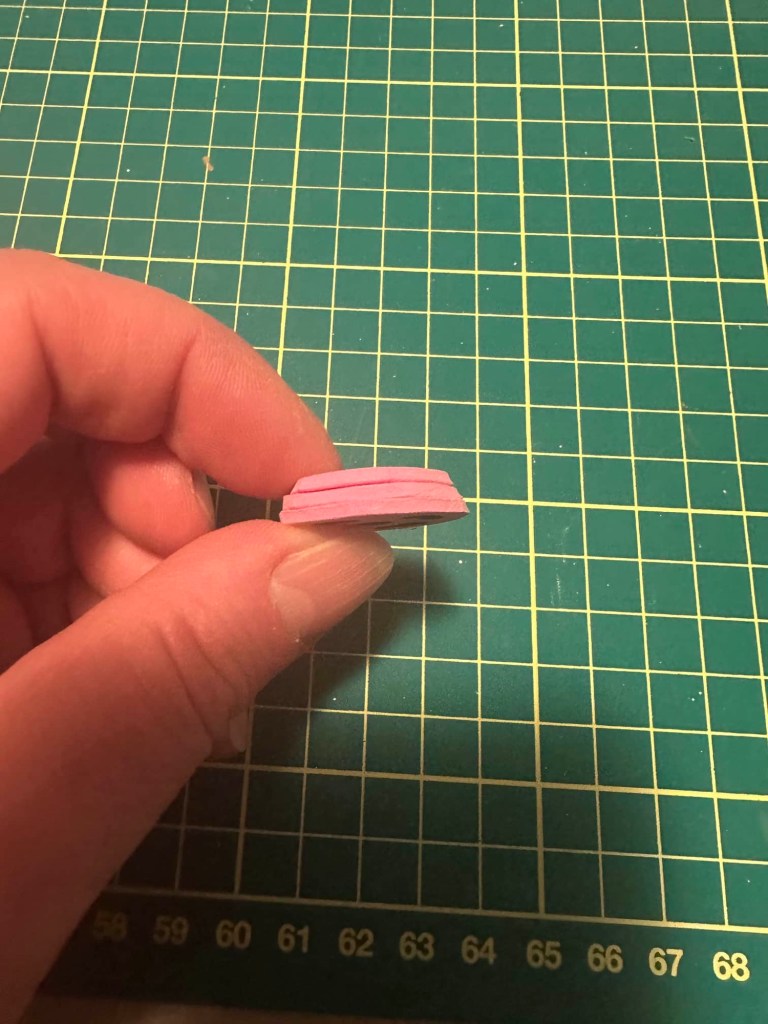
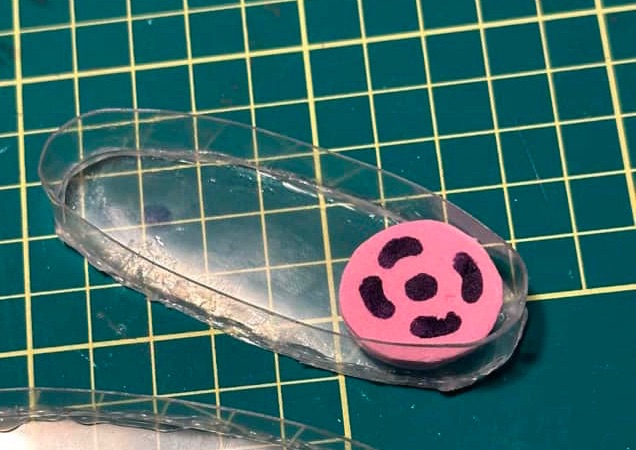
Cut out three pink craft foam circles and hot glue in a stack. Make sure they fit in the cradle.
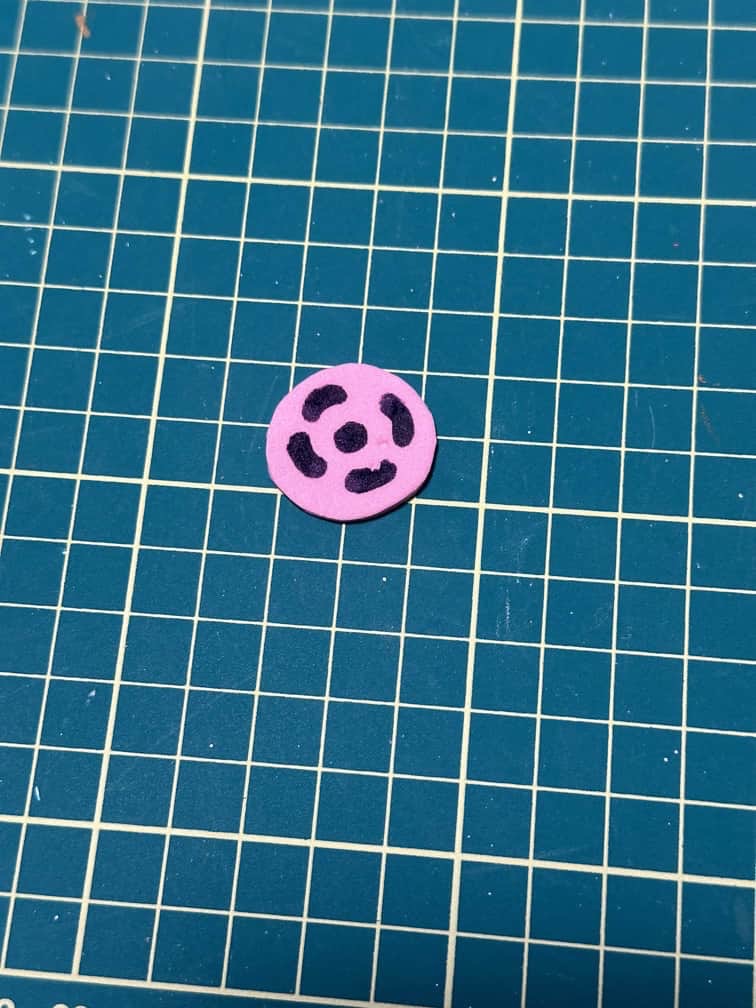
On the top circle, draw black curves with a Sharpie.
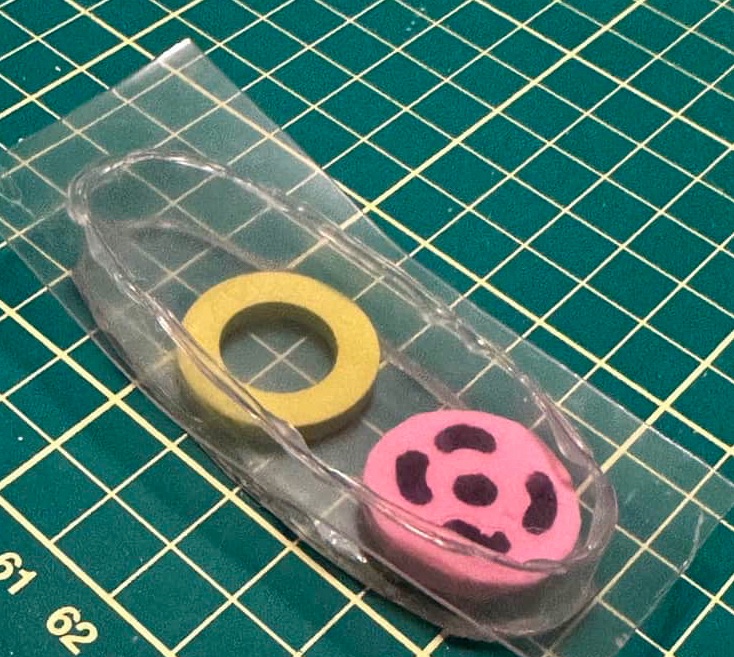
Glue the stack of circles right side up in the cradle.
I added this yellow rubber washer ring as well, but you can use whatever you like. Yellow craft foam would work or any odds and ends that look mechanical.
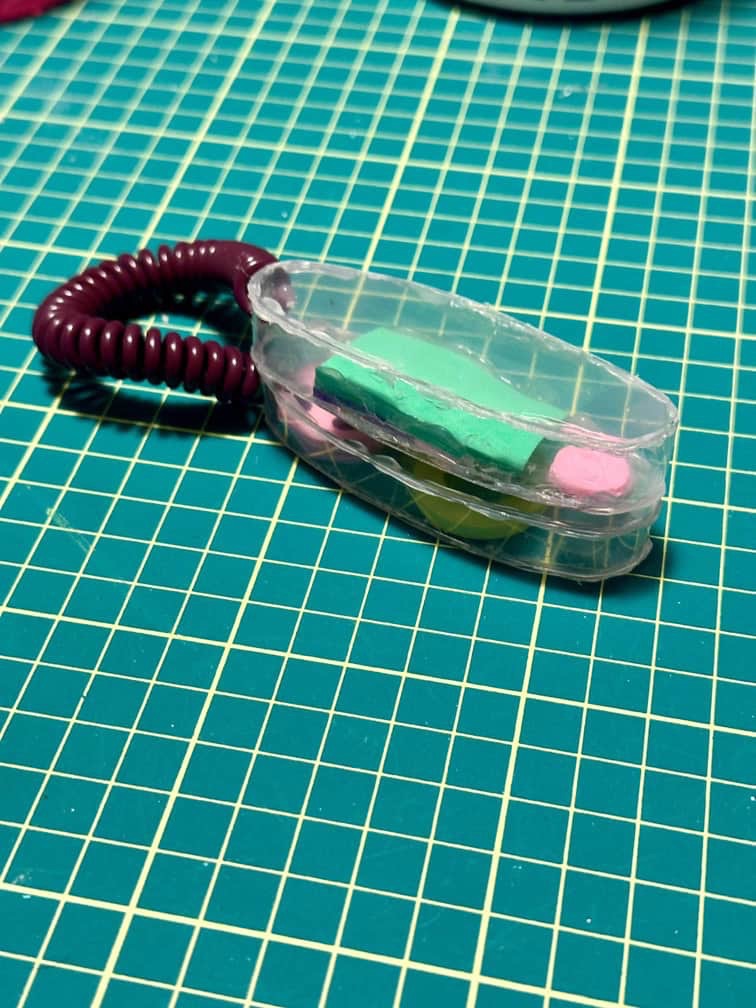
Once the ring was in place, I hot glued the top piece of plastic on to close it up. I wanted the top surface of the cradle to curve inward a bit as well, so again I positioned the natural curve of the plastic the same way I did on the bottom. Trim the edges.
I would have just used a completely flat piece of plastic on the bottom of the cradle if I had some, but I was just using what I had on hand. It works out fine either way. You just don’t want the curve outwards on the bottom or it won’t sit flat.
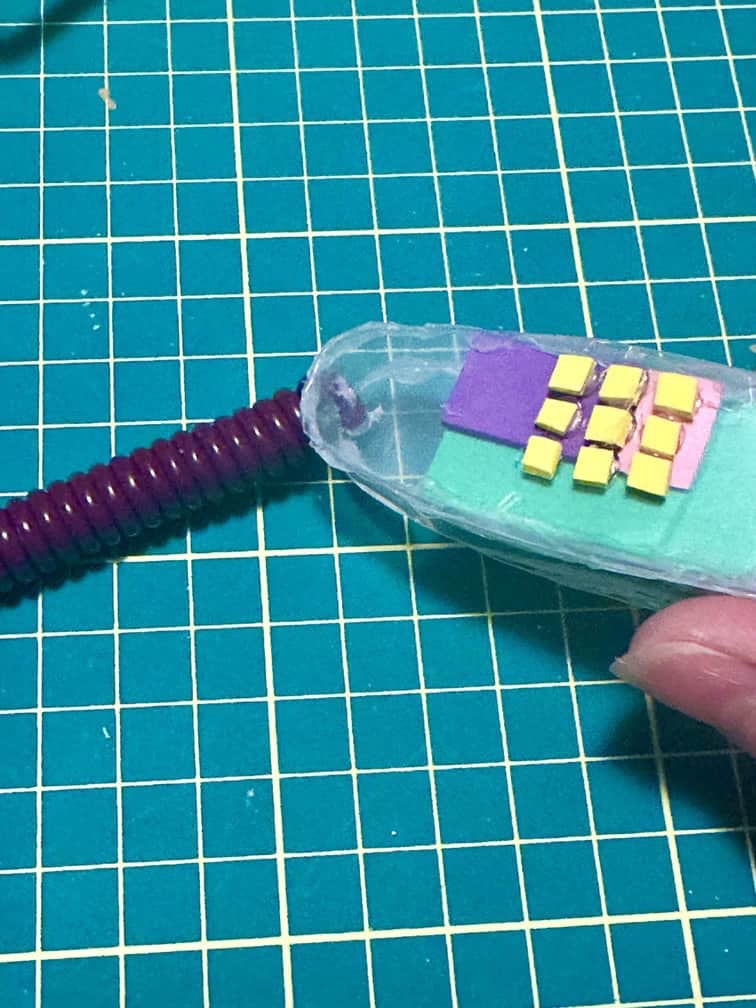
Lastly, add your details to the face of the cradle. I added a rectangle of yellow craft foam and drew four purple diagonal lines on top. I tried to write ‘phone’ but it is quite tiny. I also added a pink craft foam piece for the hang up button. I am not sure what that is technically called. Lol.
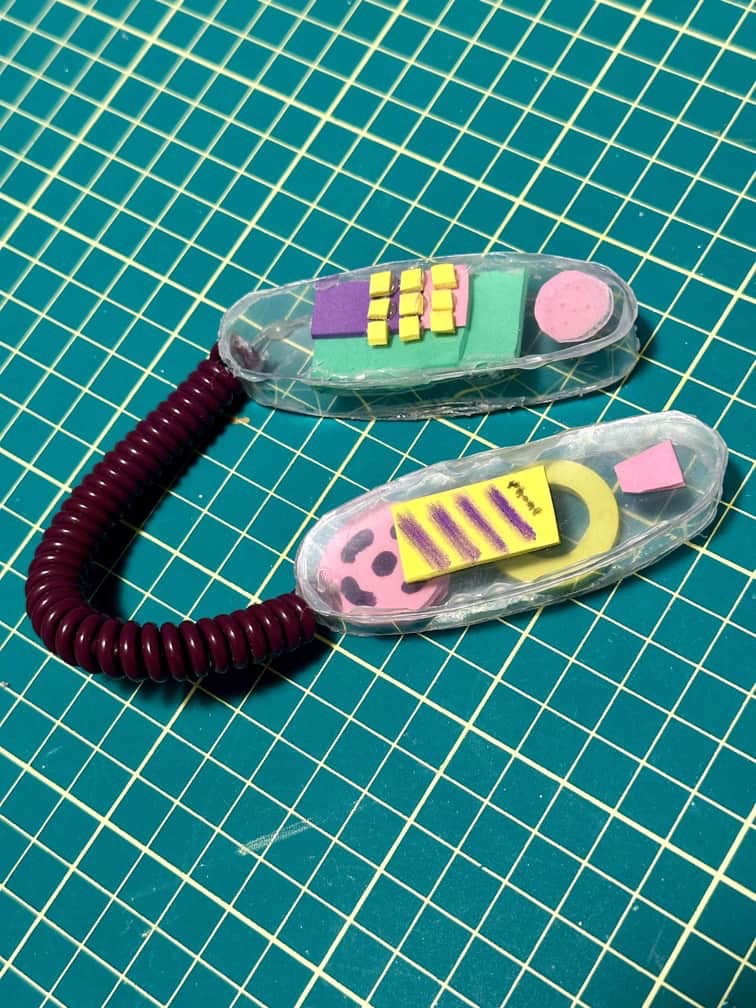
Drill a hole in the end of the cradle the same as you did the receiver and attach the other end of the coiled spring.
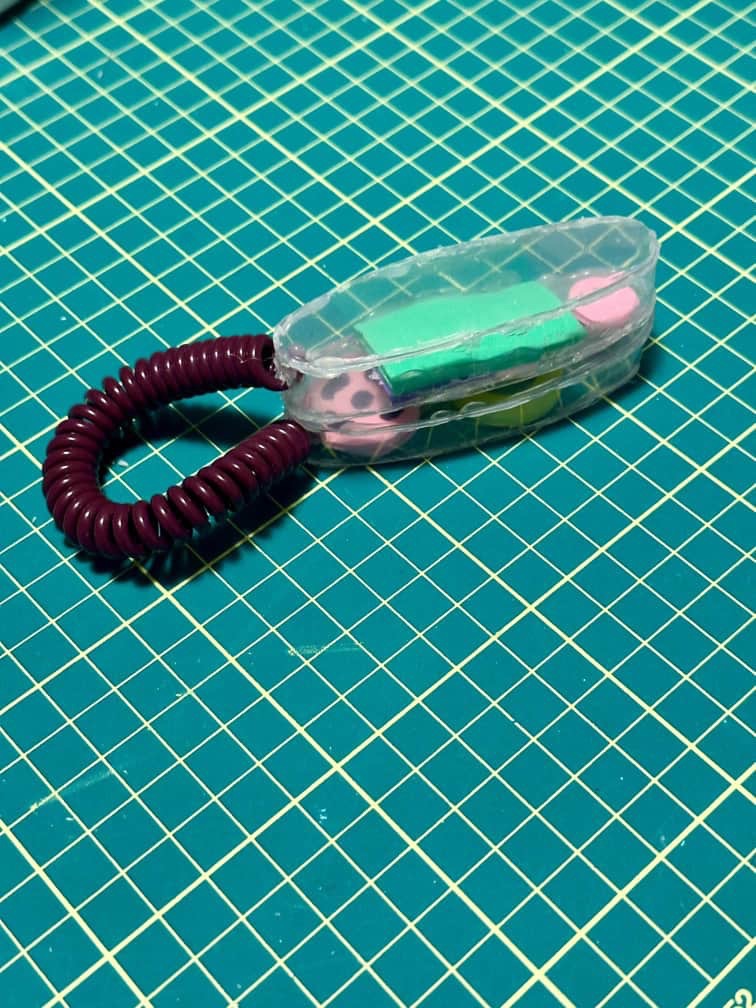
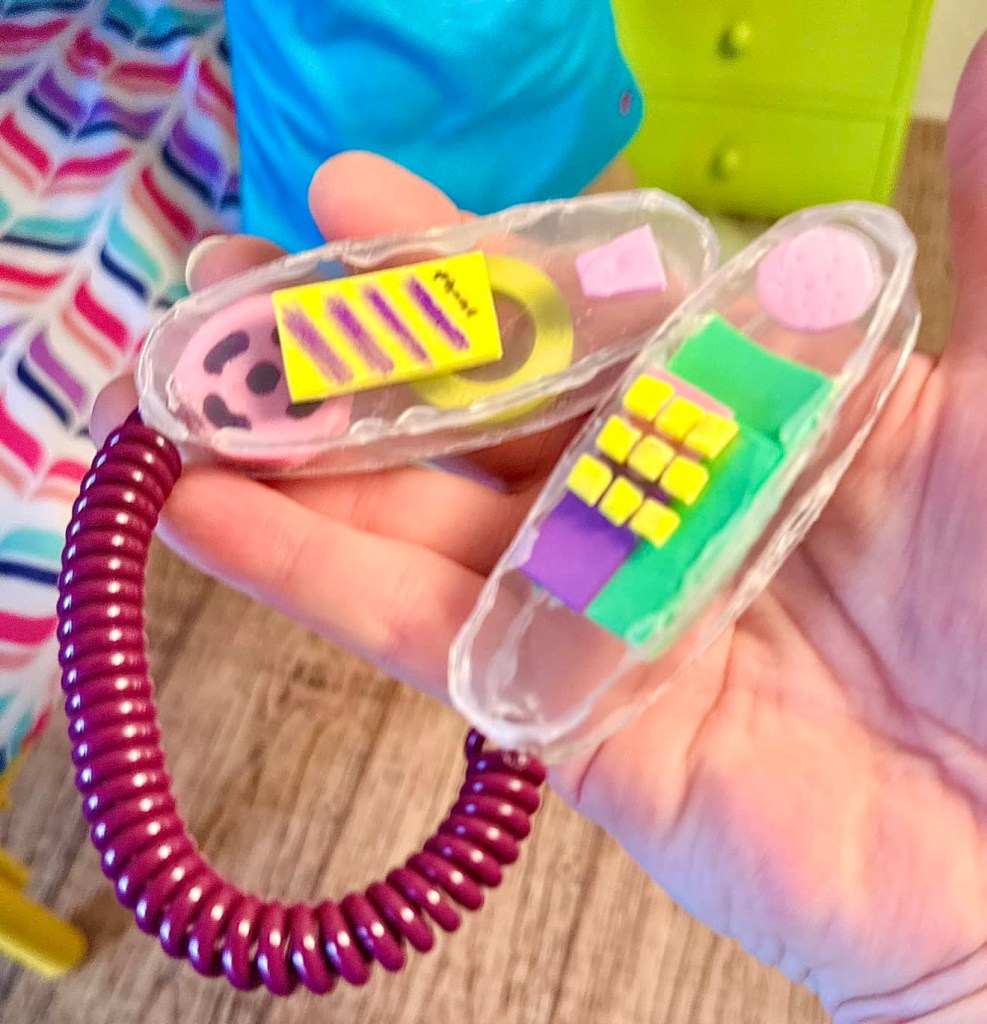
And you’re done!
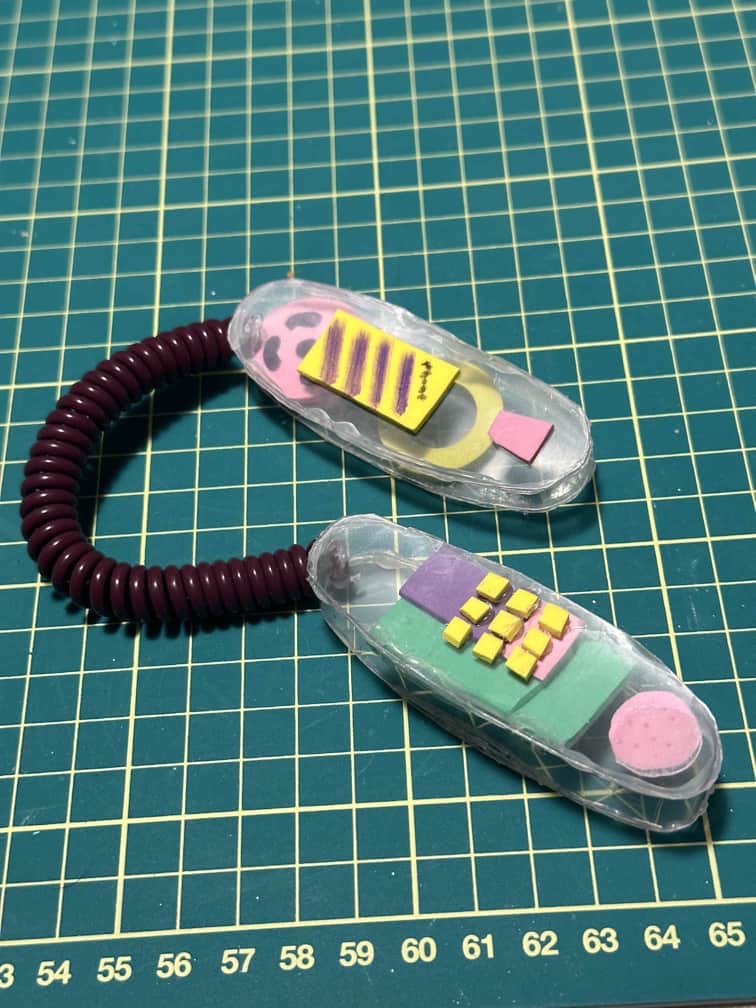
How cute is this?!
I can’t believe this is just a shampoo bottle and some craft foam! What?! Mind blown! 🤯
Sure, ours doesn’t light up or make sounds, but isn’t it amazing what you can make with just what you have on hand?

Adorable!
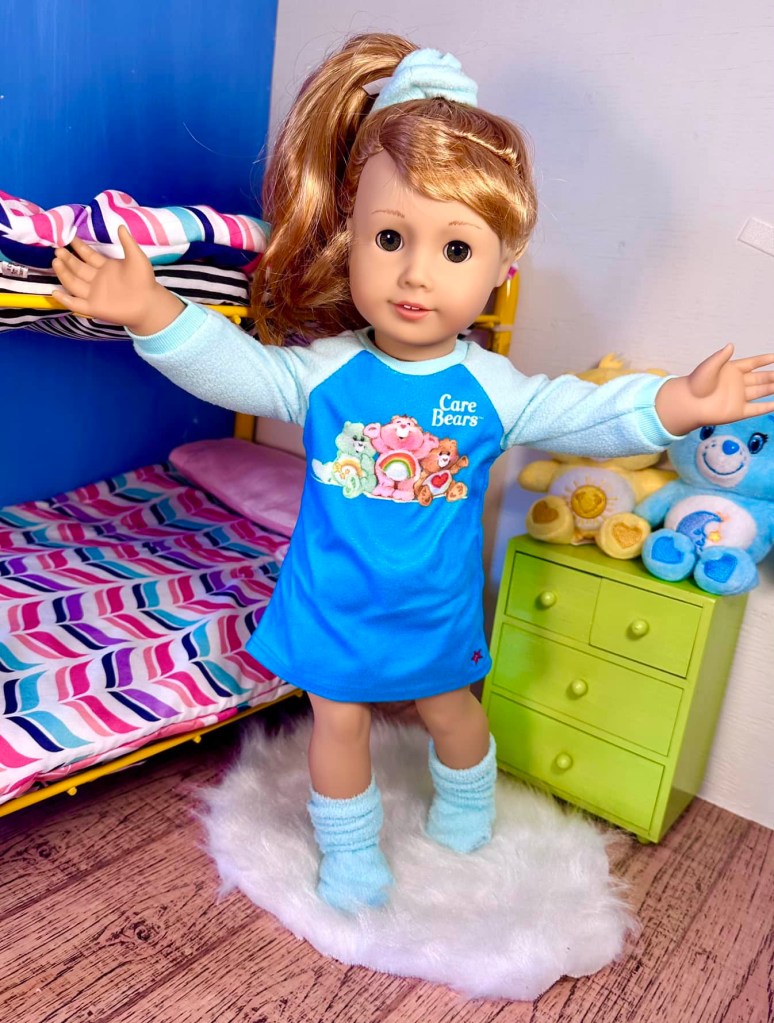
Here’s Maryellen, our stand in for Courtney since we don’t have her.
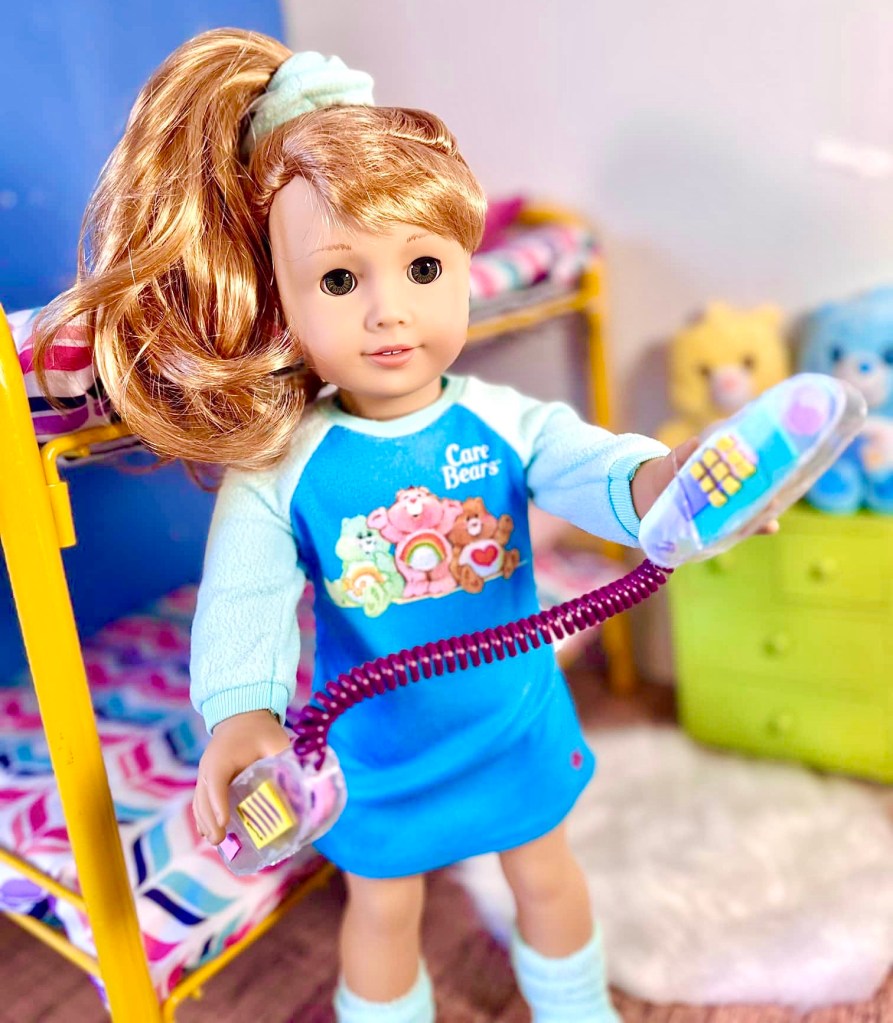
“Hi Tricia! Oh my gosh you will never believe what happened today!”
“Mark asked me to the prom! Can you believe it! I could just die from happiness right now!”

☺️
❤️❤️❤️
I am OBSESSED!! 😍
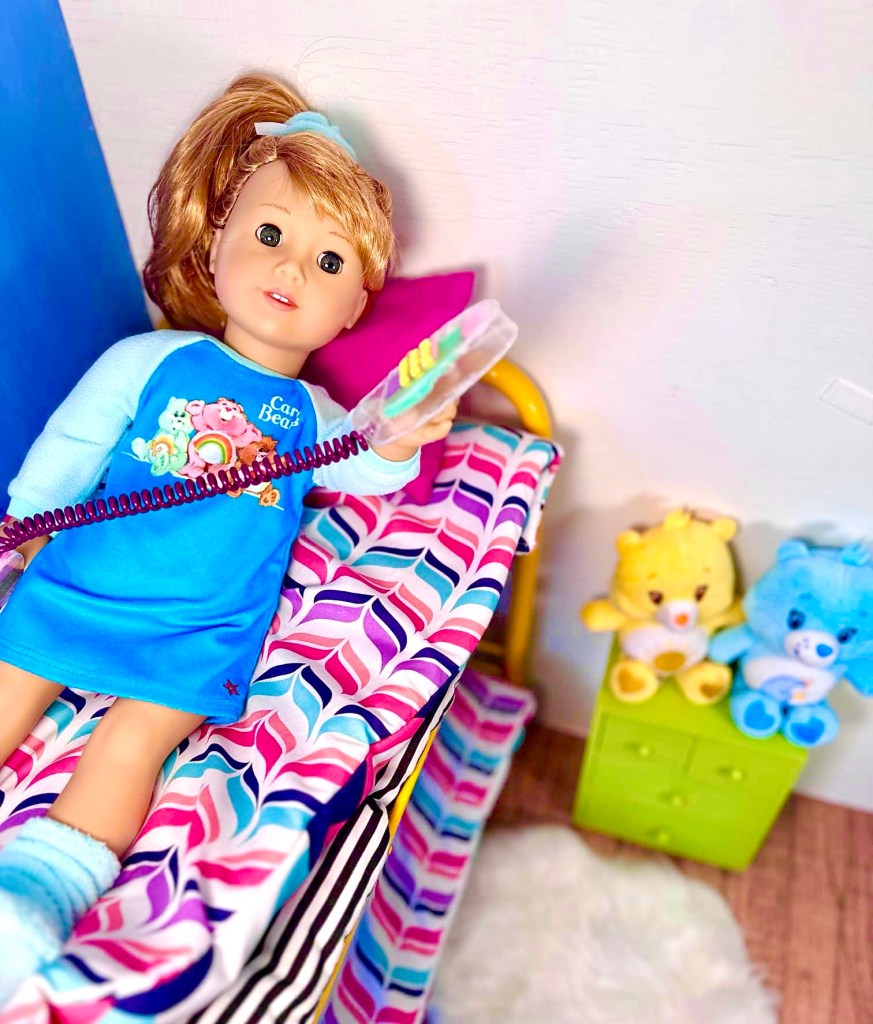
“Excuse me! You just hung up on Tricia!”
Oops. Oh dear. Sorry. My bad. 😆
I hope you enjoyed this craft and I hope your dolls will soon be gabbing away on their very own retro phone! ☎️
❤️Thank you so much for joining us! We appreciate each and every one of you! You guys are the reason that we keep showing up! We love working to bring you fun and easy crafts that you can make for your dolls!❤️
Keep smiling everybody and have a doll crafty kind of day!
Leave a comment below!
❤️❤️❤️
