
 Hi guys! We are back with a cool back to school DIY that I have been wanting to post about for awhile. I made this little desk for the classroom that we were planning, but then the Little Miss and her friends moved all of their Little Pet Shops into the doll classroom box that I built. LOL! Oh well, change of plans for now I guess, but once they move out, I will definitely be setting up our classroom scene, and this little desk will come in handy for that!
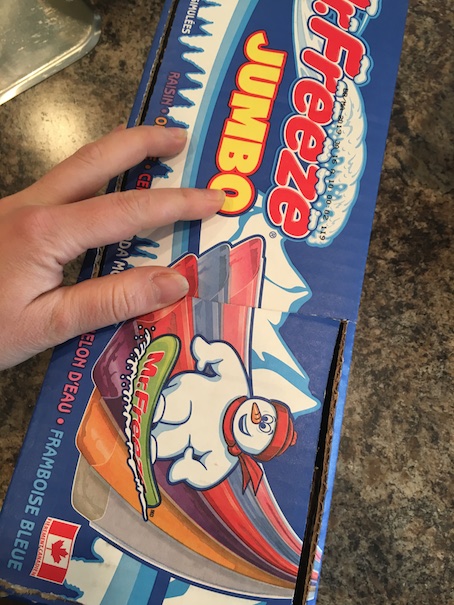
Okay, lets get started! What you need to make this little desk is basically a Jumbo Freezie box or similar shaped box, cardboard, cardstock paper or paint, a small chalkboard or magnetic board, an exacto knife (parental supervision) and some hot glue. I also used some bottle caps for feet at the bottom of the desk cabinet.
Start with your Freezie box. We call them Freezies here in Canada, but I’m not sure if that’s what everyone calls them. Basically they are frozen juice in tubes, and they come in this big sturdy box. 🙂
 The first thing I did was cut doors for my cabinet. One in the top and one in the bottom. These doors will open opposite ways.
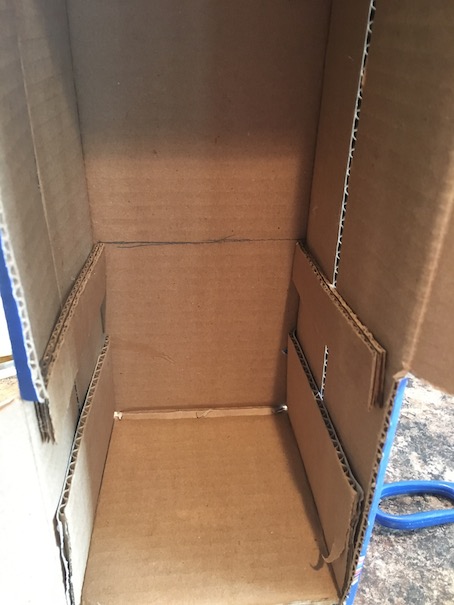
 This is what you should now have. Now it’s time to add the shelves. I always glue supports to the side walls in order to give extra strength to my shelves. I just cut my shelf supports and shelving out of scrap cardboard. I like to use pretty sturdy cardboard so it will hold up to play.
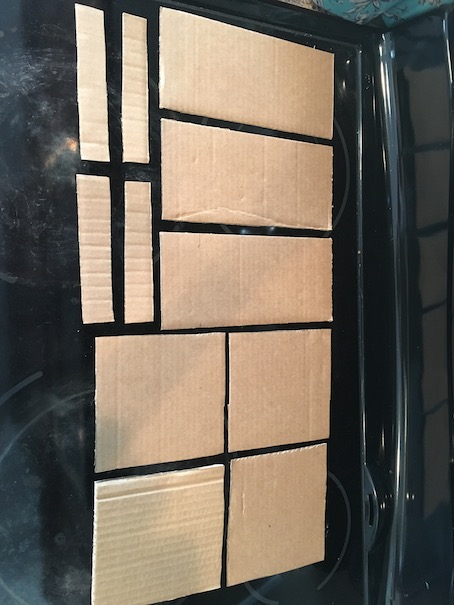
Here is a basic layout of all the cardboard pieces that I cut out. The three long rectangles are the desktop table, the four squares are shelves and the four skinny rectangles are shelf supports. I don’t have measurements as everyone’s box will be different. Just be sure to measure well. I did have to cut extra shelf supports, but those don’t have to be perfect.
 Use hot glue to secure the shelf supports to the inside walls of your Freezie box where you want your shelves to go. Make sure to measure so your shelves will be even.
 Begin adding your shelves by sliding them on top of your shelf supports. Hot glue them in place.
  Now you should have something similar to this. Minus the doors, and this could actually make a nice bookshelf too if you need one of those instead. 🙂
  Along the lower edge of the large cabinet door, attach a strip of cardboard as shown. This will be the support for the desktop table.
  Now you can attach your table top. I glued three layers of cardboard together to make the table top. I also cut an A shape for the legs on the one side reinforcing it with three layers of cardboard as well. The three layers of cardboard ensures a very strong desk table.
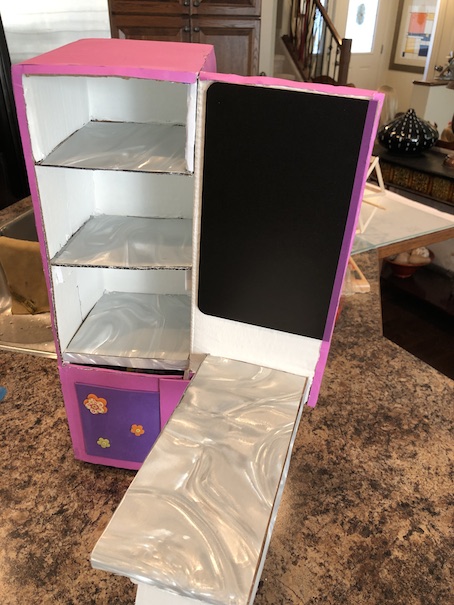
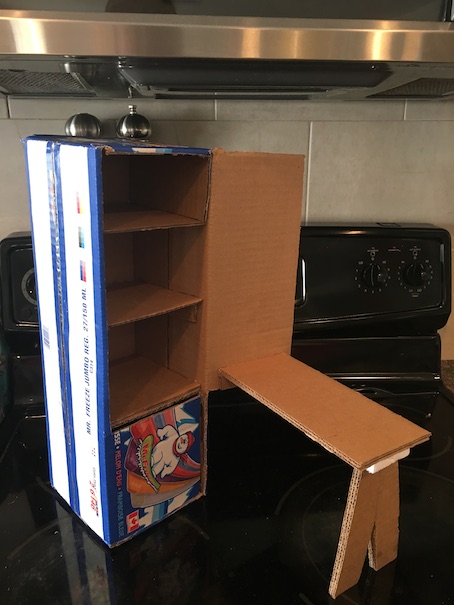 Time to cover the entire thing in cardstock paper of your choice. The Little Miss chose this purple colour. She’s really into purple lately. Use hot glue to secure the paper in place. If you don’t have cardstock paper, regular craft paint will also work fine to cover up the packaging. That’s what I love about DIY. Do whatever you like! 🙂
 Paint the inside of your cupboard with white paint, or the colour of your choice. I also covered the table top, along with the shelves with a shiny piece of scrapbook paper that I had on hand.
You can also decorate your cabinet desk with pretty stickers, or whatever you like!
 To keep the bottom cabinet closed, I added a little flap of cardboard and a strip of velcro. I also glued on buttons for cabinet knobs. The top cabinet doesn’t have to close. I guess I could have built it to close, maybe with a little hinge on the table, but for our purposes, it will remain open.
 In order for the bottom cabinet to open and close easily, I had to add some bottle caps underneath to get it up off the floor a little. In turn, I had to add more height to the desktop table. If your desk is wobbly, or uneven like ours was, just add cardboard blocks to the bottom of the legs to make it more stable.
Now you can accessorize your desk however you like! We decided to add a chalkboard. You don’t have to, but I think it’s a cute touch. You could also add a bulletin board, or a white board instead. It all depends what you like. We found this chalkboard at the dollar store, but it was too big.
 We used an exacto knife to cut it down to size. I sanded, and added a piece of coloured tape to cover the rough edge. Then I hot glued the chalkboard to the front door of our desk cabinet.
 Feel free to go crazy with accessories. We made little notebooks, folders, magazine boxes and other fun things. Here’s a short tutorial for how to make a magazine box.
  Take a small rectangular box, we used one that perfume came in. Measure and draw out the lines. When you cut it, you should have two identical boxes. I just marked about 1 inch from the bottom of each side of the box and drew a line. Then I drew a diagonal line on both front and back of the box connecting the two lines on the sides.
 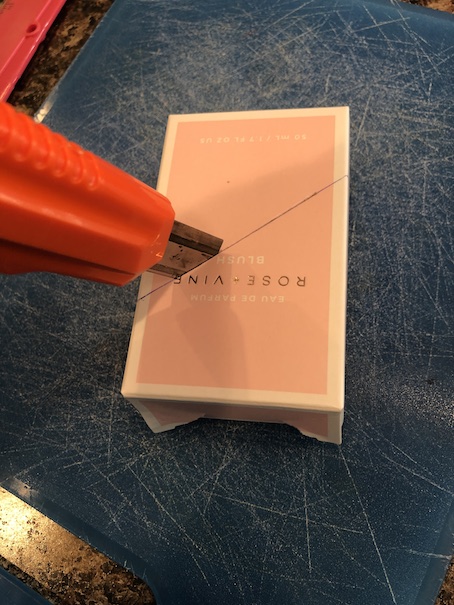 Cut on the lines. If you have any damage to your box as you can see on the bottom of ours here where my daughter ripped the box trying to open it, just use a bit of hot glue to fix it.
 Tada! Perfect little magazine boxes! Now you can either cover these in scrapbook paper, or paint them. Fill with all your favourite magazines, or your doll’s notebooks, important papers etc.
Next, we got these fun coloured notepads from the dollar store. Using the lines that are already on there, we cut them down to doll size. I just cut a few pages at a time to make it easier to cut. 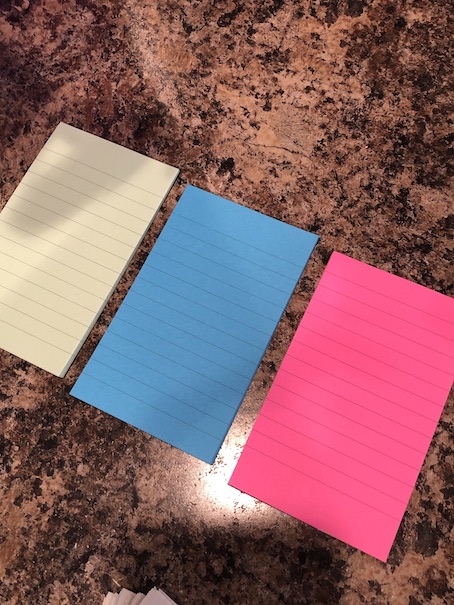 Basically I just cut the notepads in half, and then I cut them in half again.
 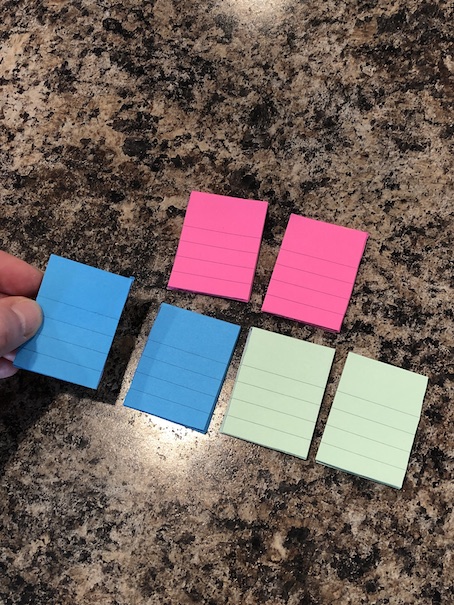 They make the cutest little doll size notepads! I took the other half of the notepads and made these little notebooks by adding a scrapbook paper cover. I just folded the paper in half, and stapled it all together.
 The larger magazine box is a Scruffies puppy box covered in scrapbook paper. Here’s before and after. I also glued a pretty magnet to the front of the box just for fun.


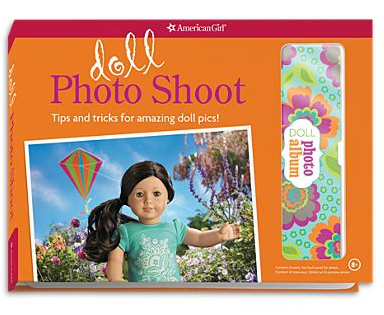
I made this cute doll photo album from the photo album that comes with the American Girl Doll Photo Shoot book set.  Here’s that set. The photo album is human size, but I cut it down. 🙂
 Then I filled it with these scrapbook stickers that look like pet photos.
 So cute! 🙂
We found tons of other fun things to accessorize our desk for back to school! Here are some fun pics!
 ❤
❤
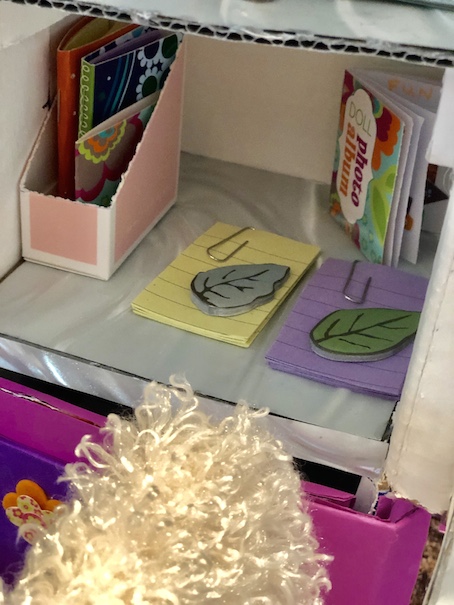 I cut up other coloured lined paper, and secured it with a small paper clip to make doll sized loose writing pages too.
 We got adorable doll sized clipboards, and other little shaped notepads from the dollar store.
 I made a doll eraser by cutting down a small novelty eraser.
 The composition notebooks on the top shelf are just leftovers from our DIY Doll Binder Notebook craft. Nothing crafty goes to waste around here! 🙂
 Brianna is excited for Back to School! She has brand new pj’s and she can’t wait to start using all of her new school supplies! Brianna’s adorable fuzzy chair is borrowed from the MyLifeAs Desk set.
 ❤
❤
 ❤
❤
 ❤
❤  ❤
❤
 Of course, you can accessorize this project however you like! Here are a few links to other fun back to school stuff that we’ve done in the past.
Easy Doll Thermos and Other School Supplies
Whew that’s a lot! 🙂 As you all know, we are continuing our homeschool journey this year, so this momma is going to be busy busy busy! I am also nearly done writing the first book in my new series! You can now watch my progress for that one on the blog sidebar. So exciting! 🙂
I hope that you enjoyed!
Are you back to school yet? Are you excited? What’s your favourite thing about back to school?
Have an awesome crafty day!!
Leave a comment below!
❤ ❤ ❤

This is such a creative and practical DIY project!
LikeLiked by 1 person
Thank you so much! I love challenging myself to reuse and repurpose! 😊
LikeLike
This turned out great and so many cute details!!! I always love your DIY stuff.
LikeLike
Thank you! I love DIY too!
LikeLike