

A while back we built an 18 inch doll classroom. At the time we did not have either a locker or even a desk for the dolls, but that was okay. It was still so much fun to play school.
Fast forward a few months, and I was getting to thinking that maybe a doll locker and a doll desk were not in the cards for us. I tried to fudge making the desk, but it turned out quite wobbly, and just not as good as I expected. It is cute, just not sturdy enough for my liking, and I’m sure that it won’t stand up to heavy use. I hadn’t even attempted to make a locker yet at that point.
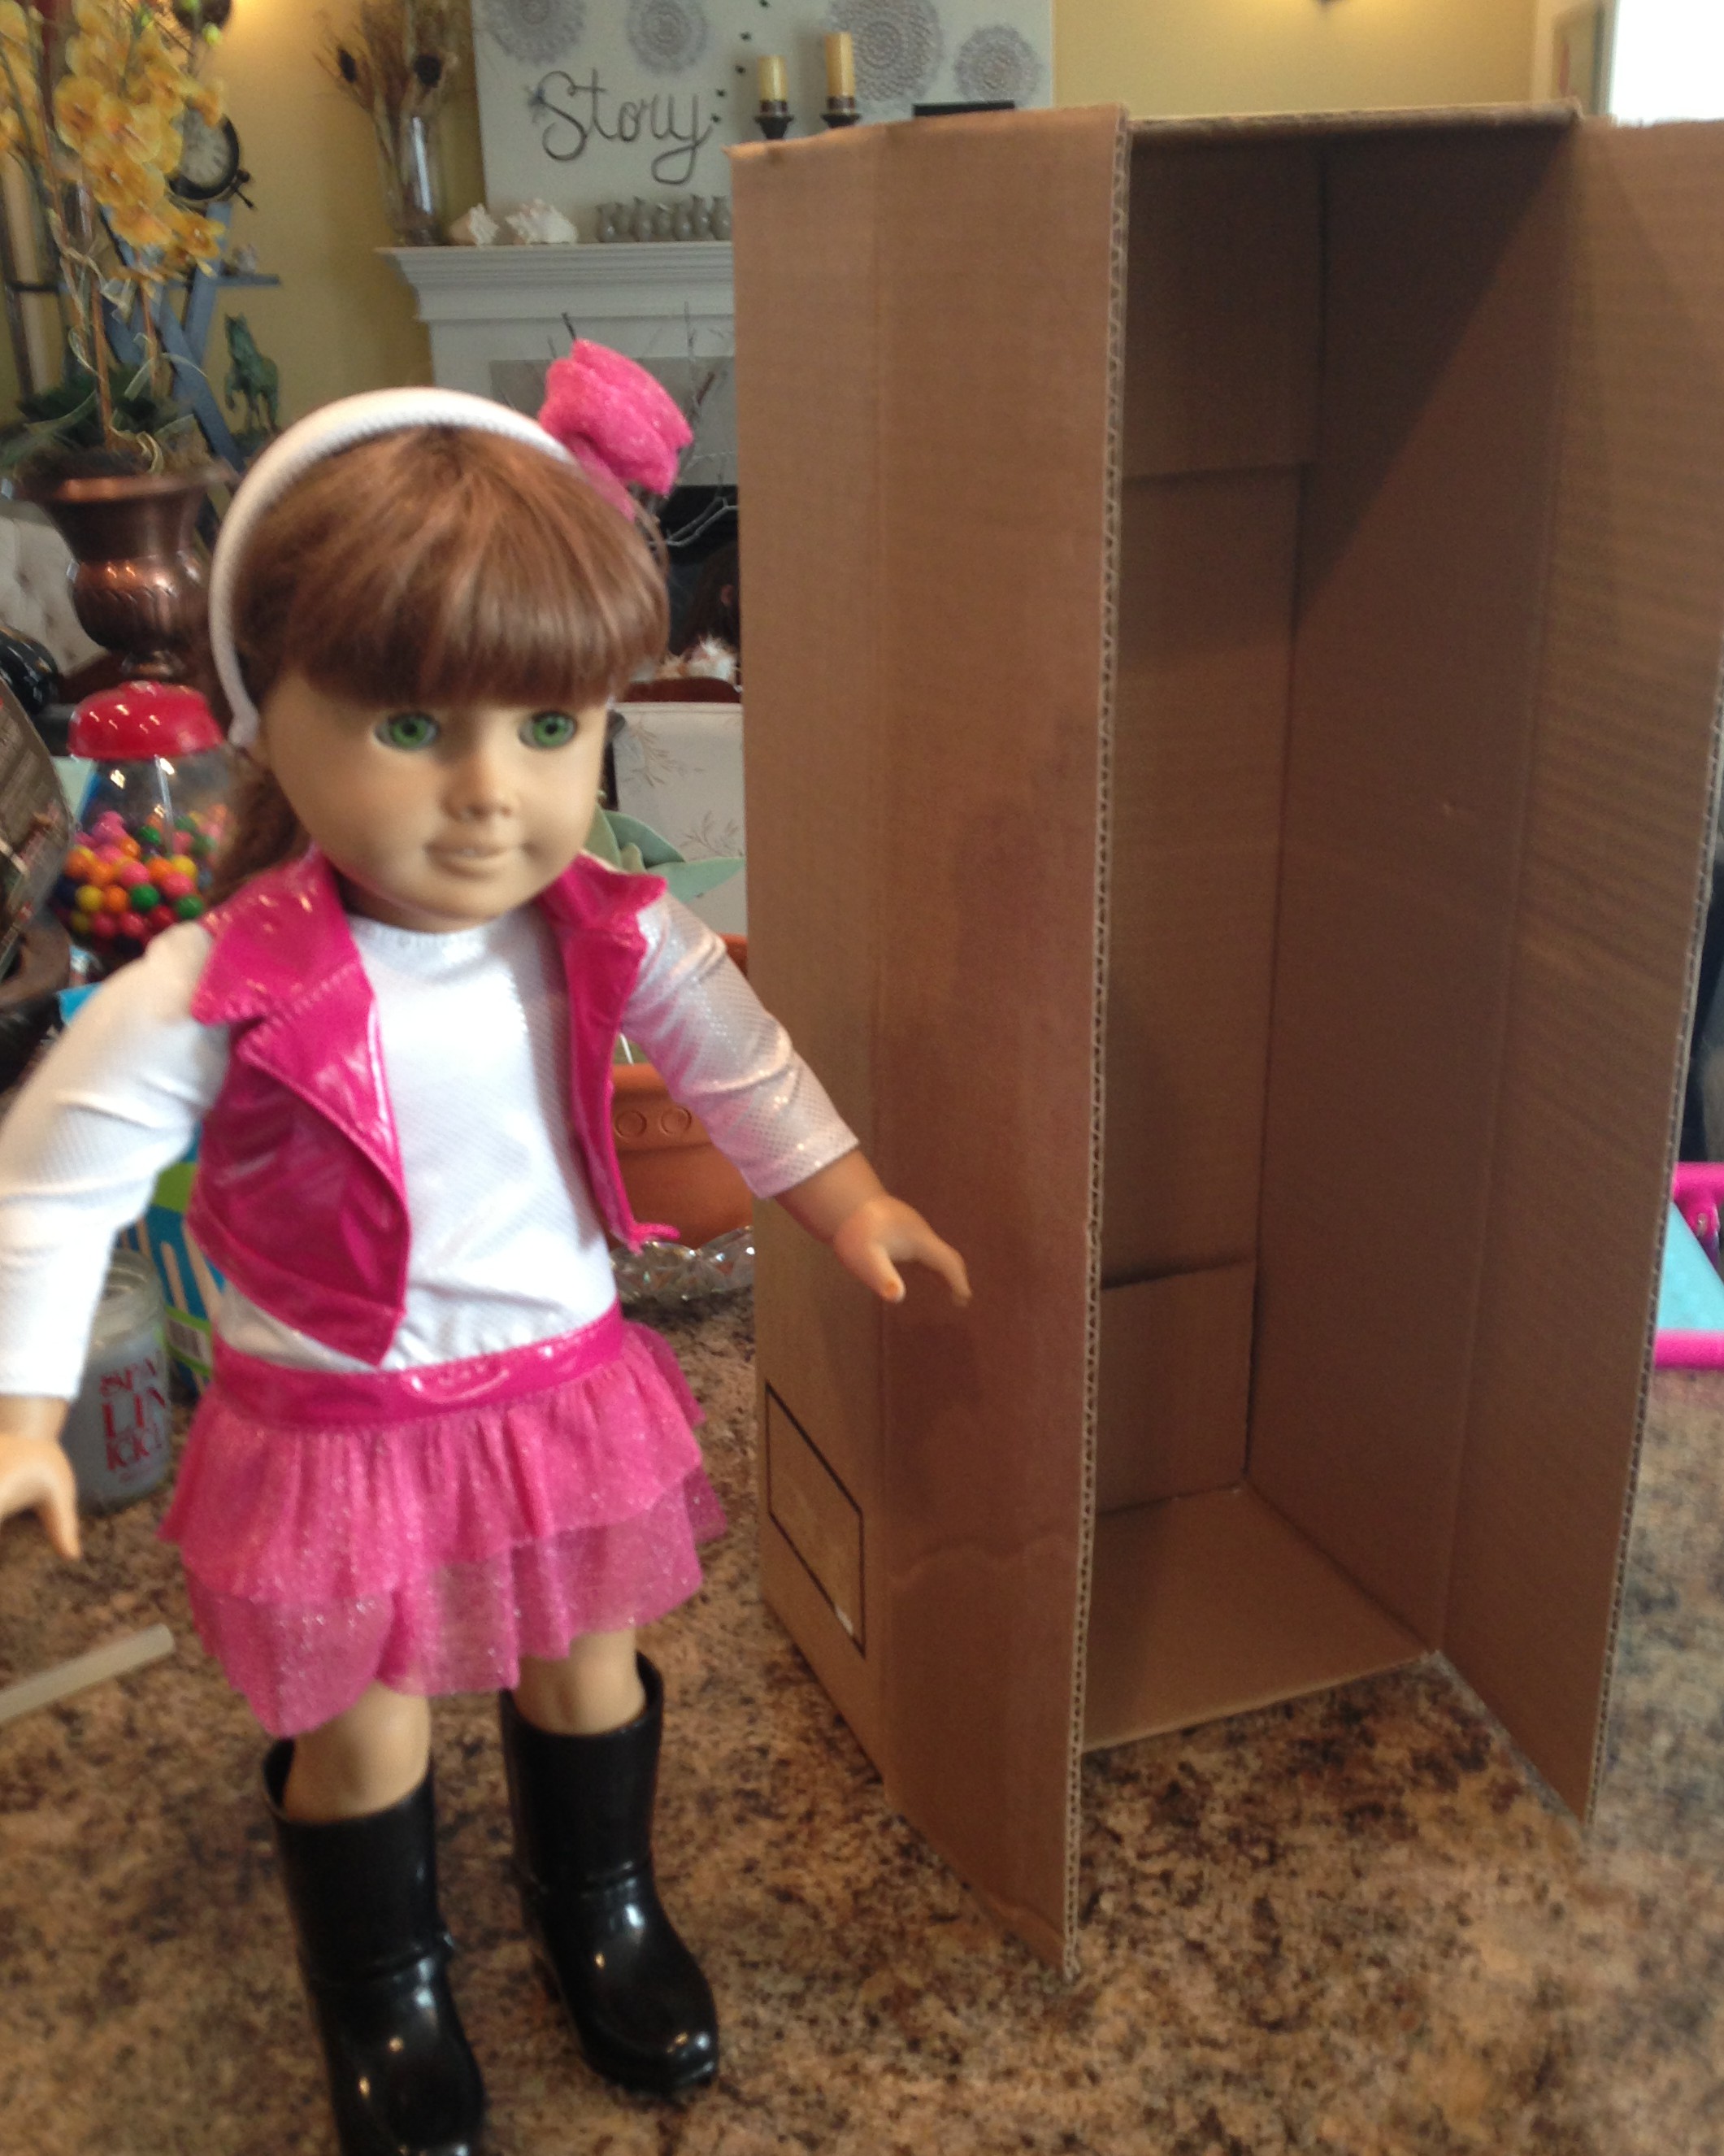
Today I was at home with a little girl who had a hurt foot due to some gymnastics moves so I thought, what the heck. We were just sitting around doing nothing anyway. So I decided to try my hand at making a doll locker. Pinterest had a few interesting looking ones that only required a cardboard box, and lo and behold, I had one of those, a perfect sized one in fact. It was the shipping box that her AG doll had come in at Christmas time.
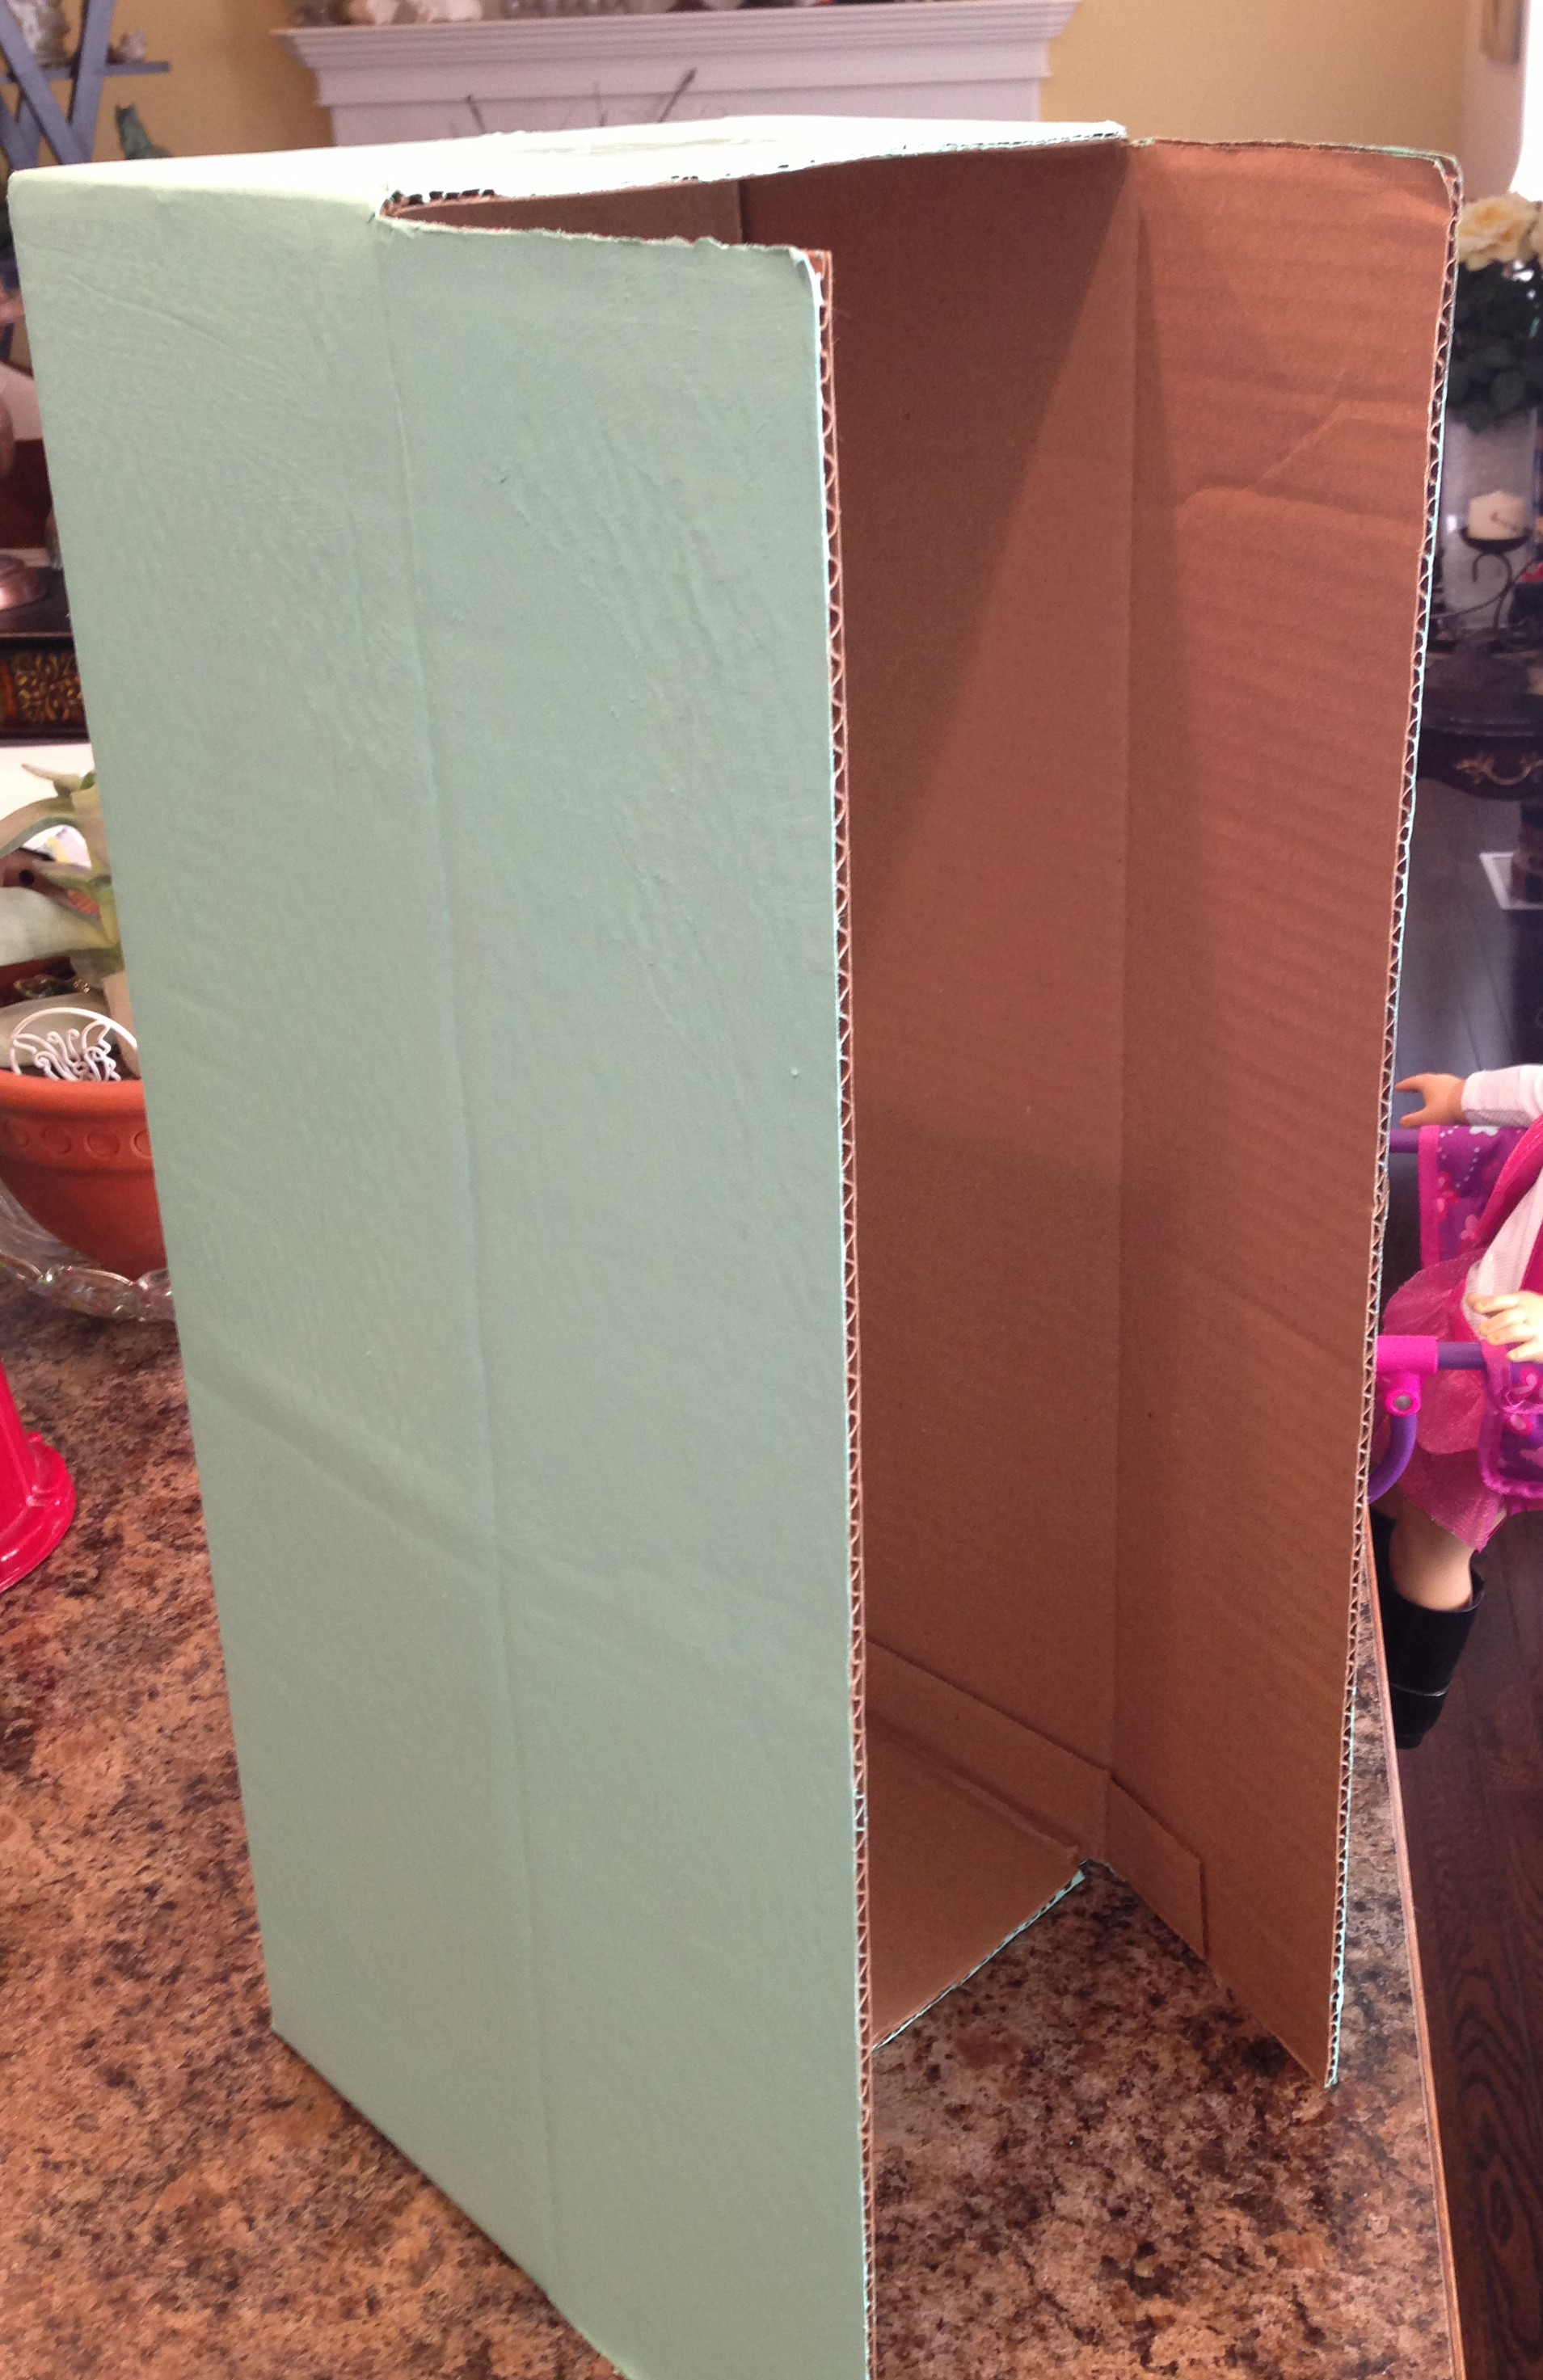
And so it began. The first thing I did was paint the thing all over. I know that a lot of the sites on Pinterest use fancy things like duct tape or scrapbook paper to cover unsightly cardboard but I prefer to paint it.
If the cardboard is in decent shape, and doesn’t have any shipping labels or other lumpy things on it then painting it is a good option. It is fast, easy and pretty foolproof. It also gives a nicer finish. I can never cut and measure paper properly to cover cardboard. I always end up with creases and unsightly edges.
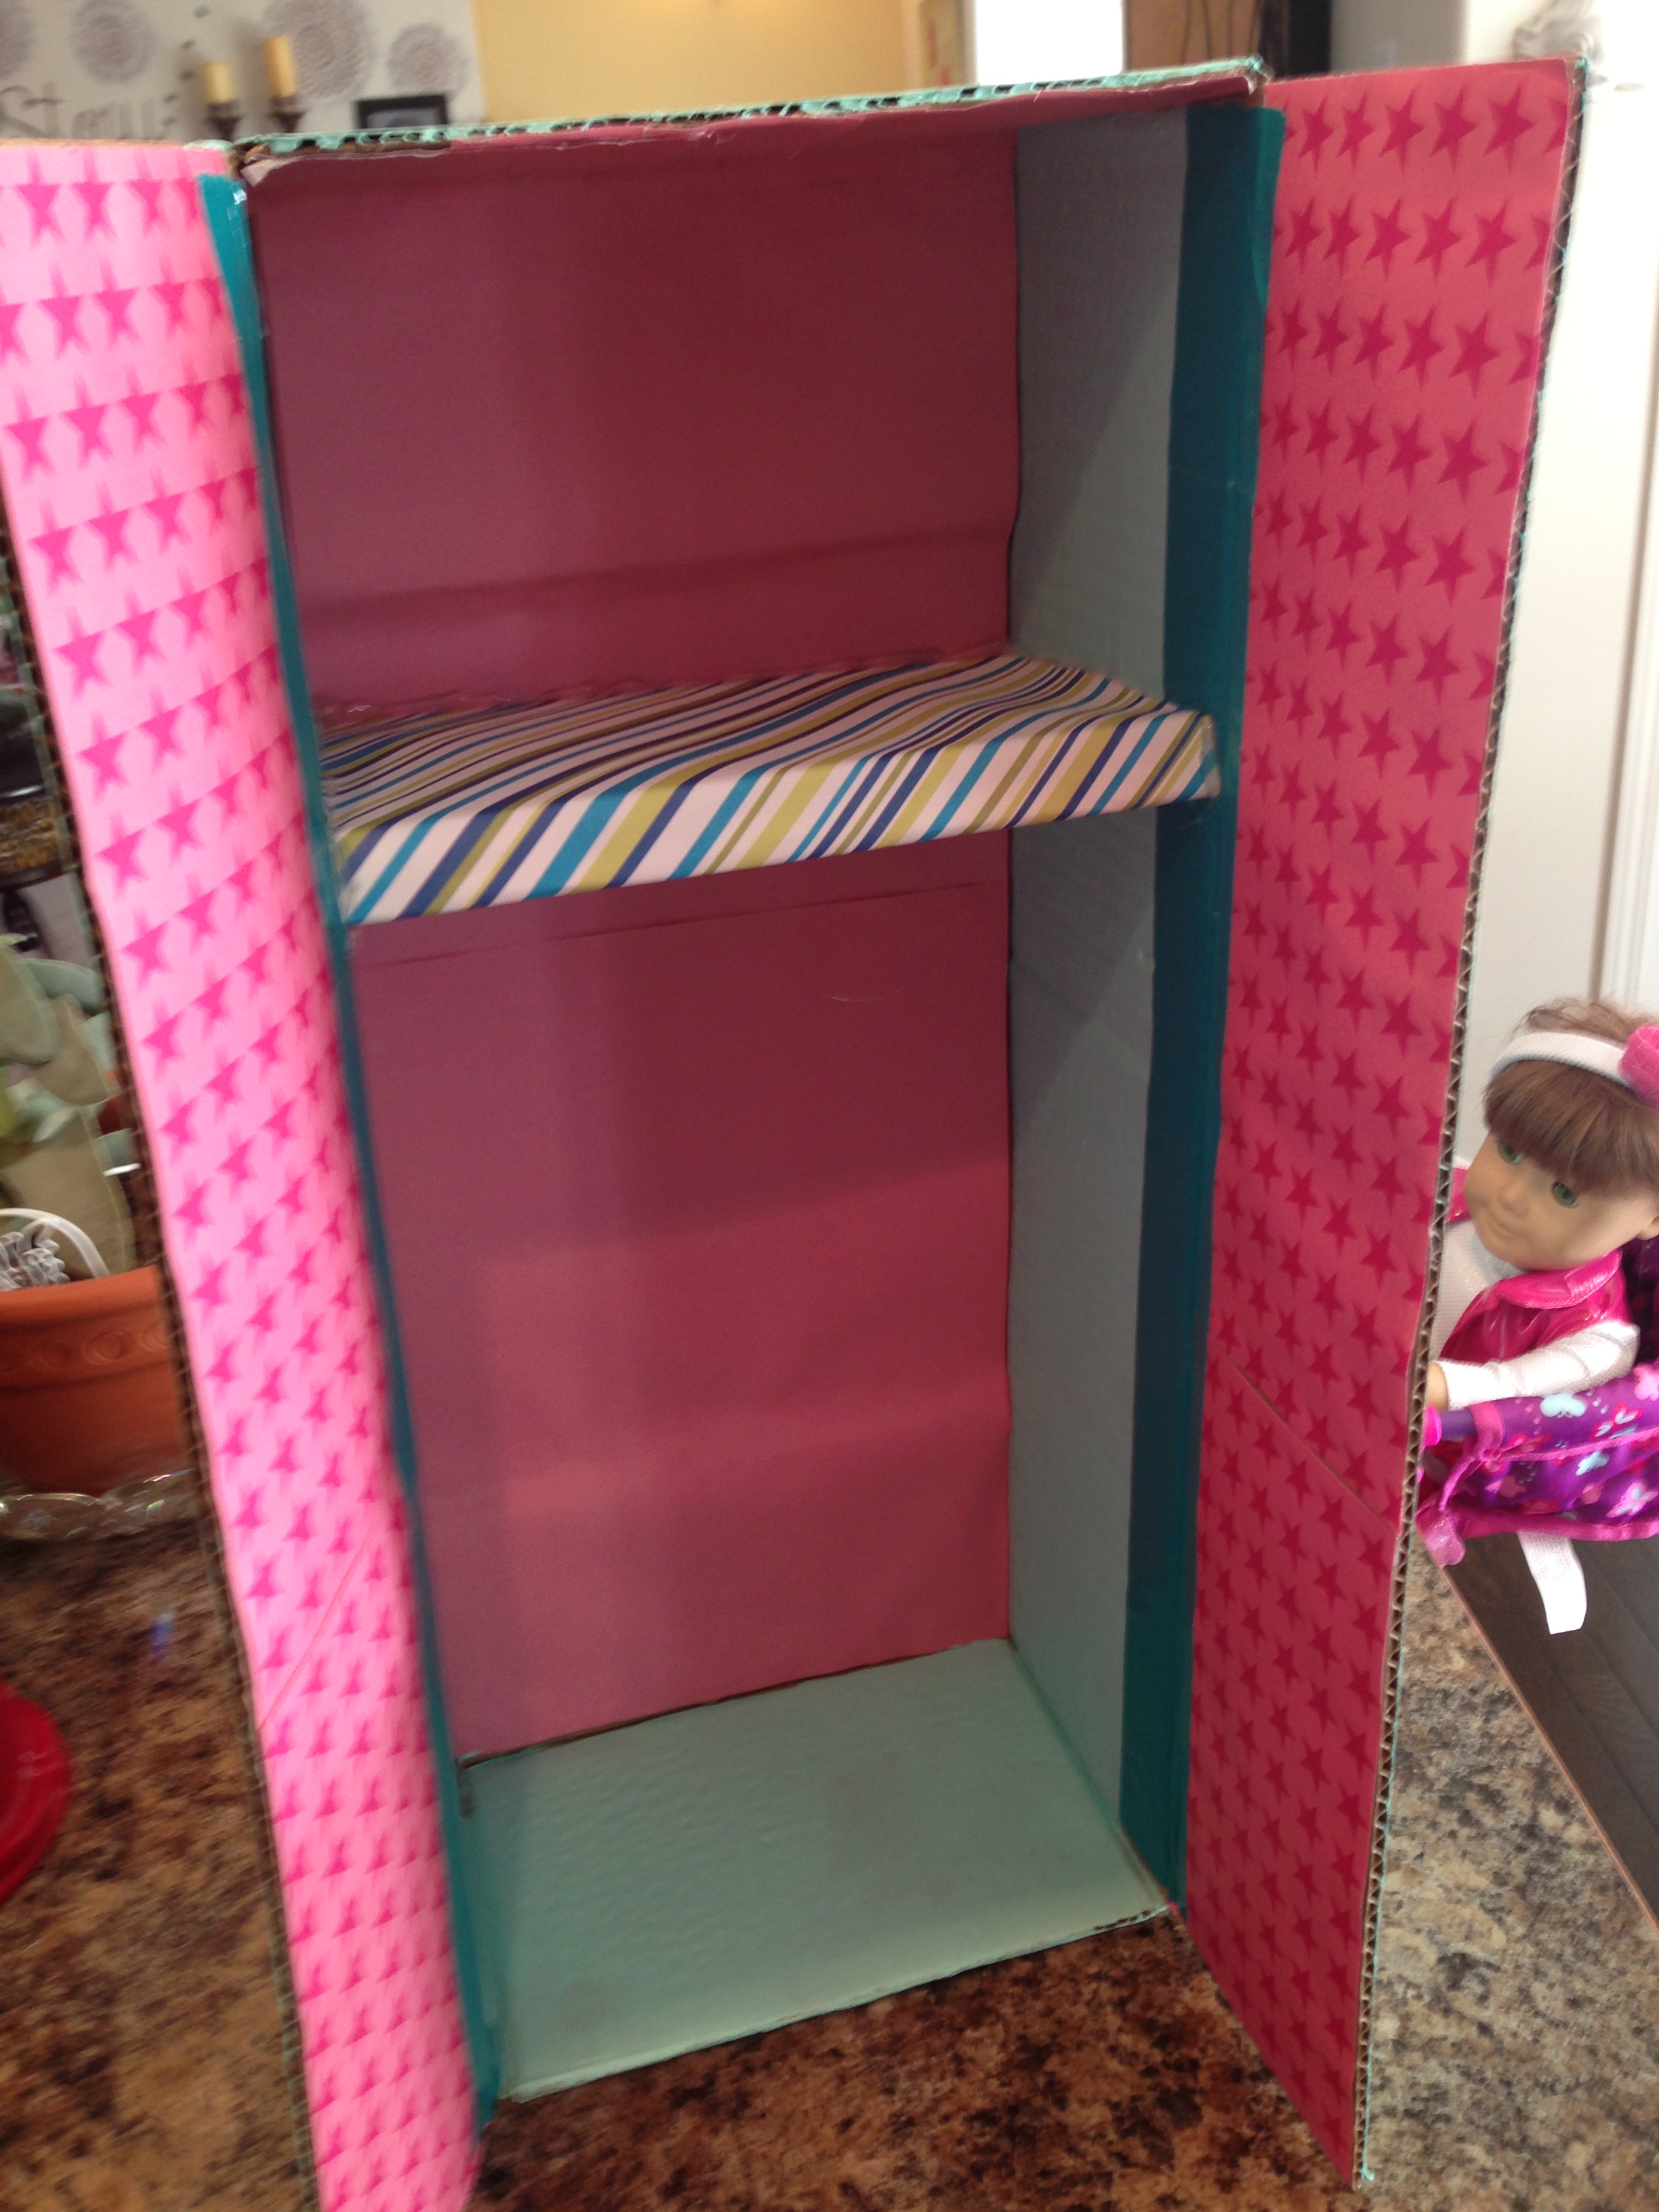
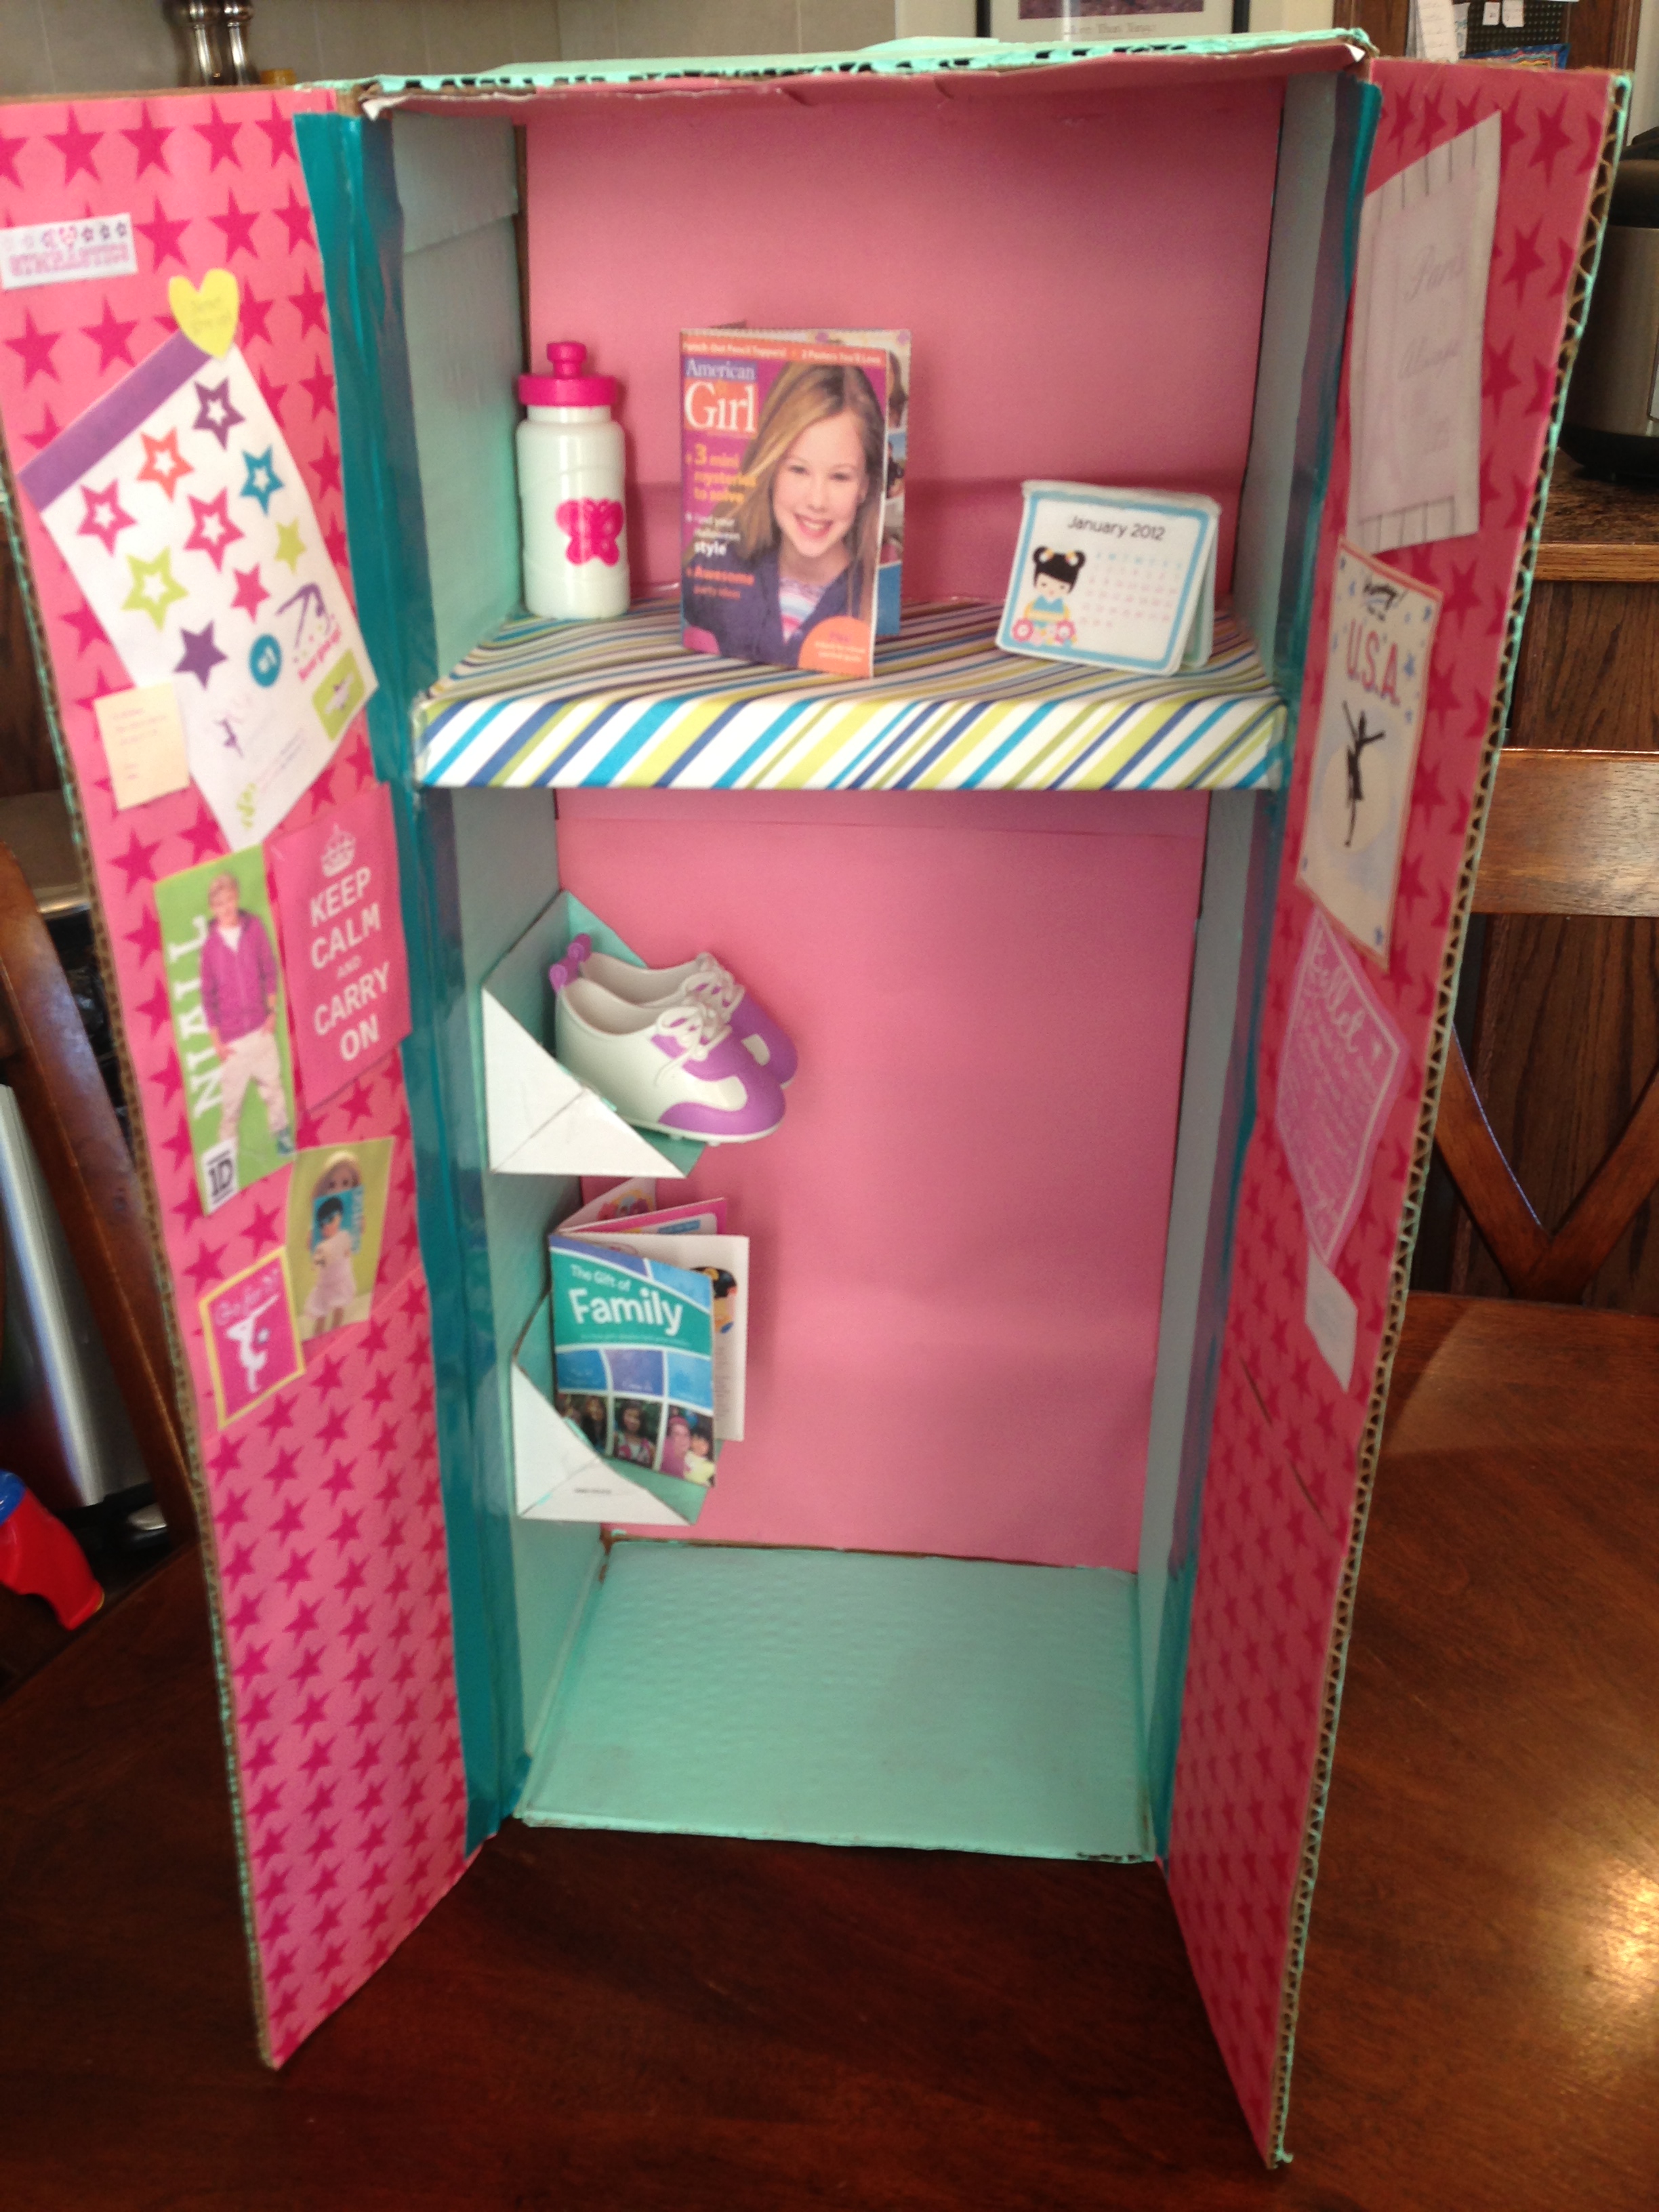
For the inside of the box, I did end up hot gluing some scrapbook paper on, but only because I wanted a funky pattern. I put some scrapbook paper on the two door flaps and lined the back of the locker as well.
As you can see, I gave up on the scrapbook paper after that. I ended up just painting the sides of the inside of the locker because clearly my edges for the two doors were not pretty already, and had to be covered over with a strip of blue duct tape.
Then I hot glued a little shelf inside made of cardboard covered in scrapbook paper.
Now comes the fun part. Decorating! My little girl waited so patiently for this part. She was so excited and had gathered all of her stickers for the occasion.
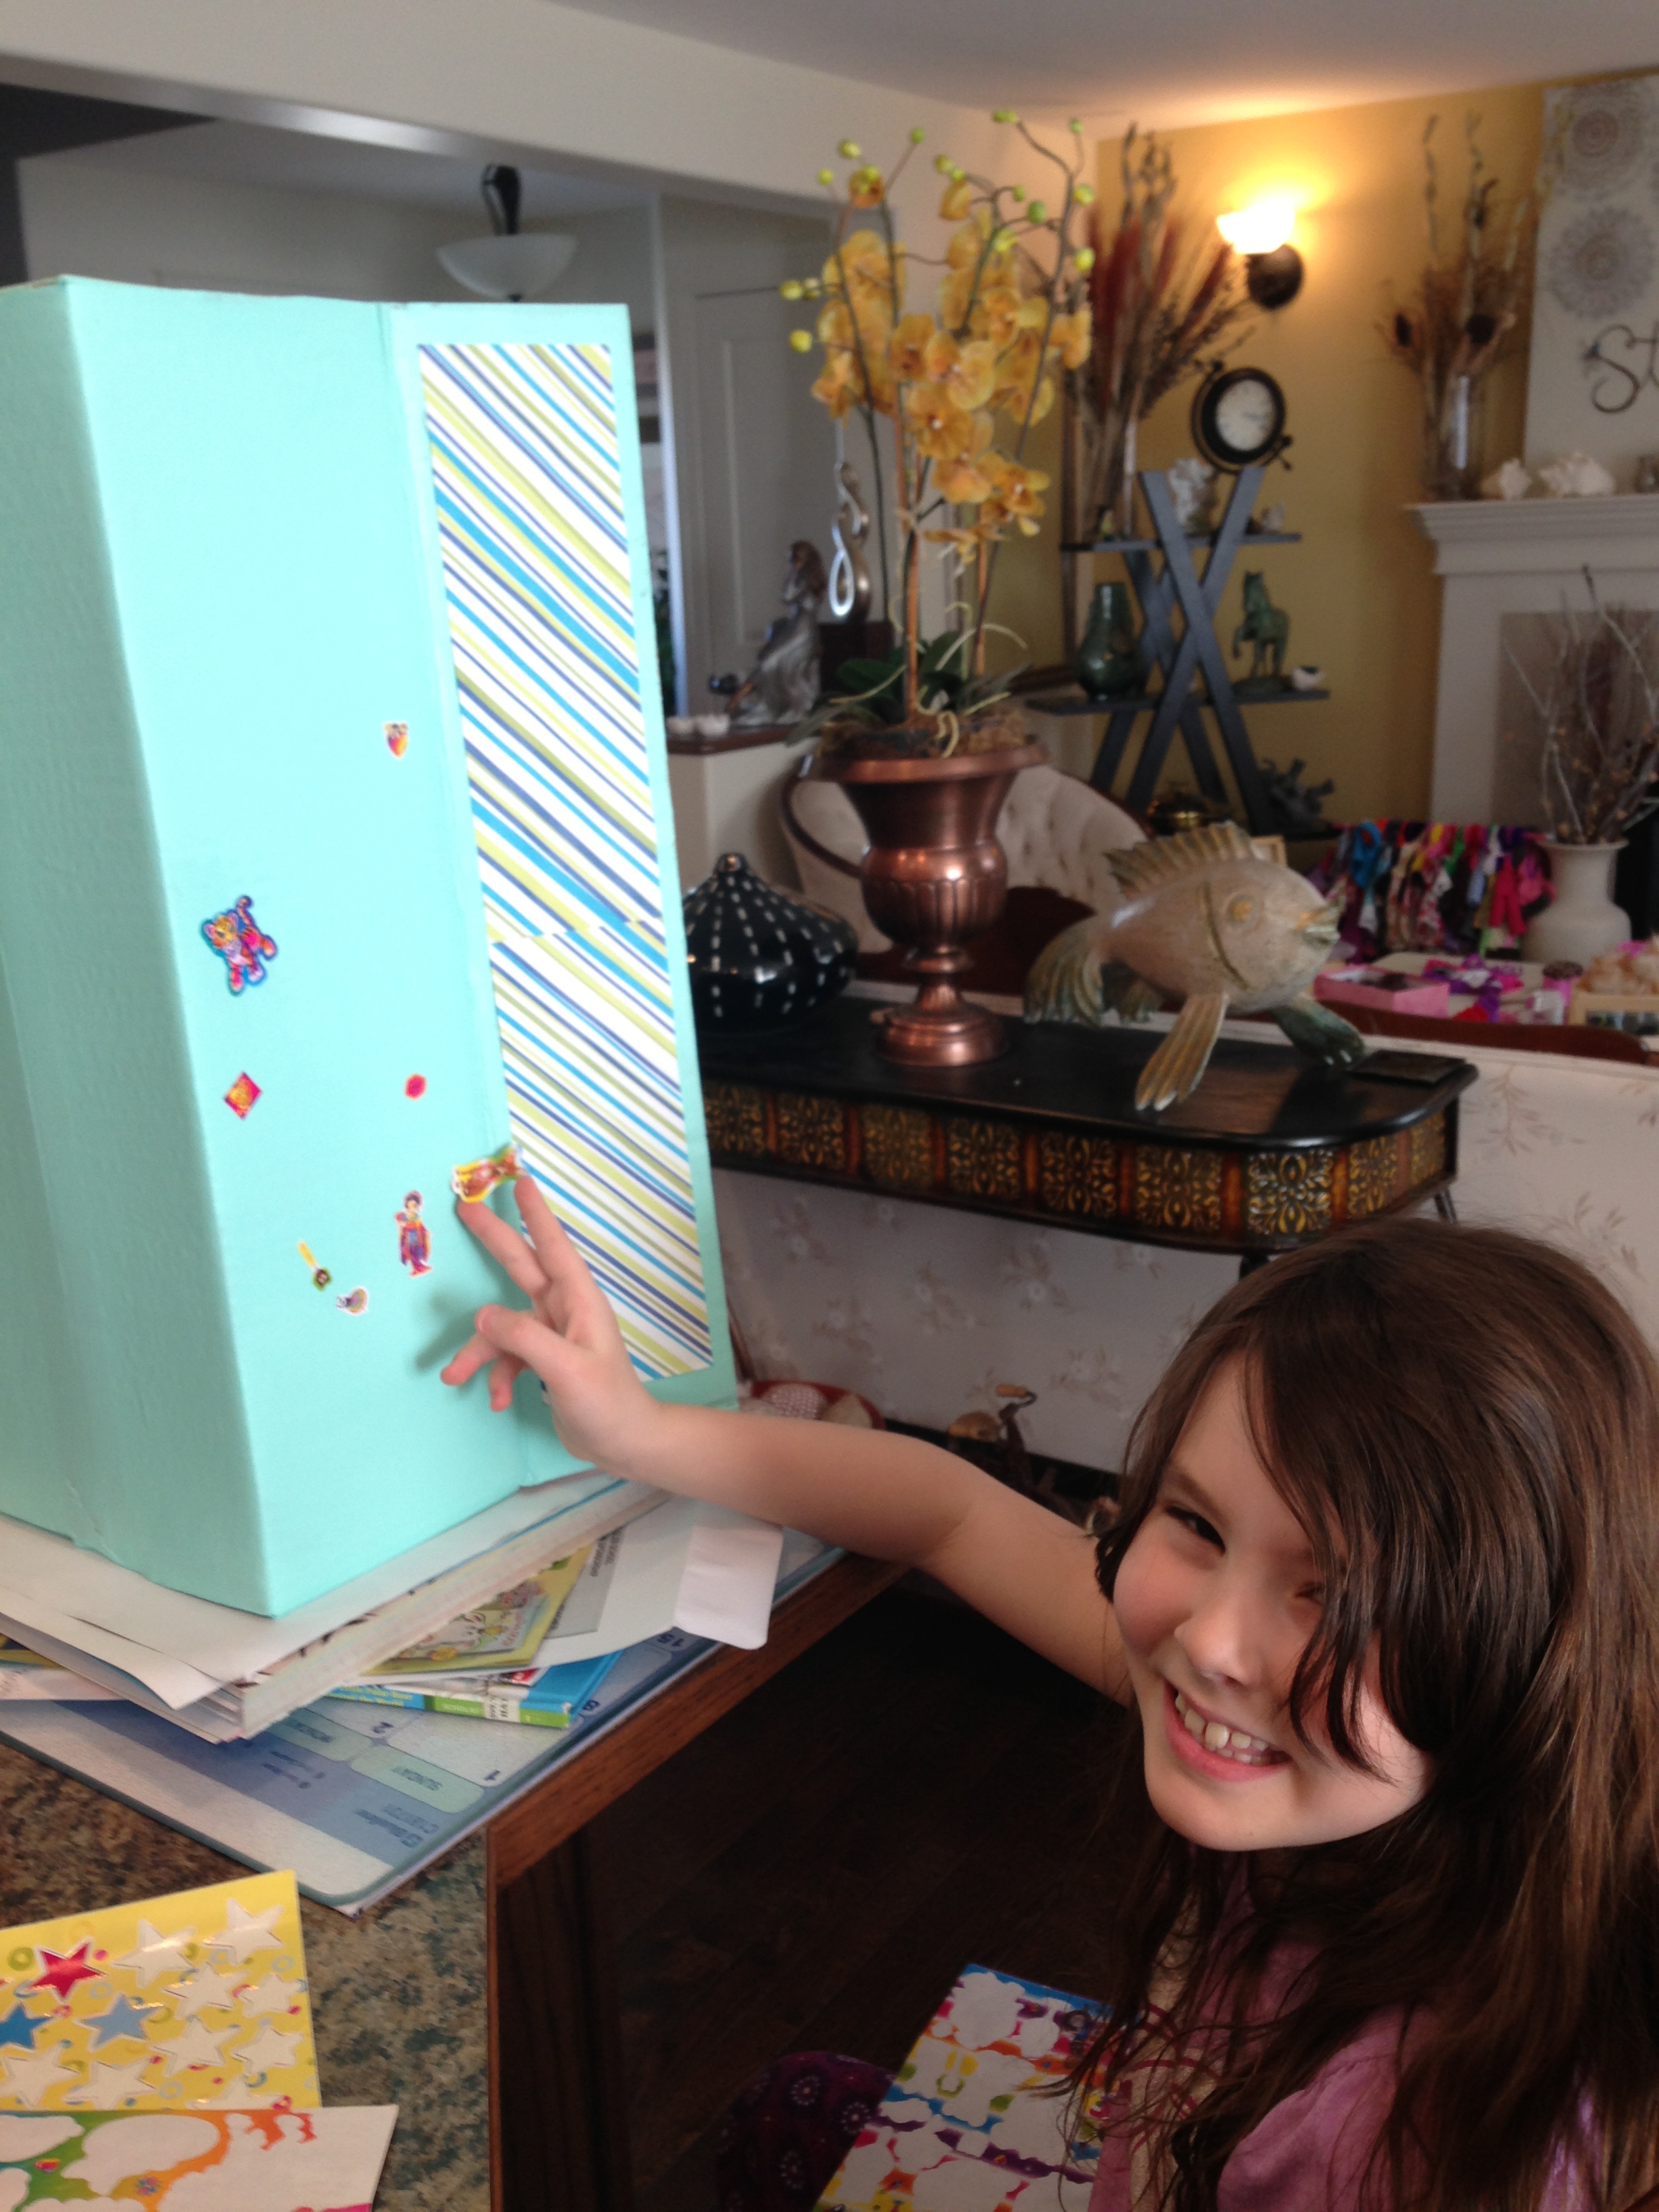
We ended up gluing a strip of scrapbook paper to each door flap on the front of the box as well.

We used a sharpie pen to draw on the details and an Ever After High heart lock that we had lying around. The stars are just stickers.
I know that the box opens from the middle, but I wanted it to sort of look like two lockers even though it only opens up to one. I think it turned out pretty cute.
The last thing to add was the accessories. We started with a couple of extra little shelves. I wanted more space to store small things in the locker. We just found these little pieces in the recycling.
See we are giving back to the earth! Reduce, reuse, recycle!

Next I went online and found some fun things like doll posters, doll calendars, and doll magazine printables.
Accessories are definitely what make this little locker so much fun!
I have yet to add the hooks for coats and backpacks as well as a locker mirror but those are things that I can pick up along the way. I was thinking just some command hooks and a dollar store mirror would work well.
So there you have it! Now you can go ahead and make your doll their very own locker! It’s lots of fun and easy on the budget!
I have to say, for me it was a great way to spend an otherwise “very boring, and not so nice to be cooped up” day.

Next I am going to have to go back to the drawing board on that little desk that I attempted earlier, but that’s a project for another rainy day.

PS. See if you can find the little sea horse peeking out in the picture above. My daughter was hiding there and trying to get her toy in the picture. 🙂
Enjoy!!
Update: Make your own doll desk here
