

Hi guys! We are back with another easy doll craft that you can create in order to use the cute little doll trays that we showed you how to make last week.
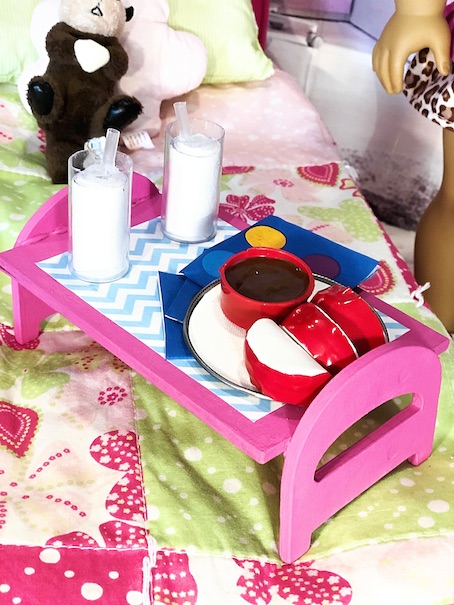
This is our version of the AG Fun and Games Sleepover party set. 
Yay! So cute!
Okay, I’m excited, so let’s get started! 🙂
- Doll milk
Just like you probably have, we have agonized over and over how to make drinks for our dolls without having to get messy with silicone, or resin. We really wanted something that was totally friendly for kids too, because let’s face it, that’s what crafting is all about, having fun with the kids! After much pondering, and having quite the time about it, we finally came up with a solution that we think we can live with. 🙂
Here’s how you can make it too!
What you need:
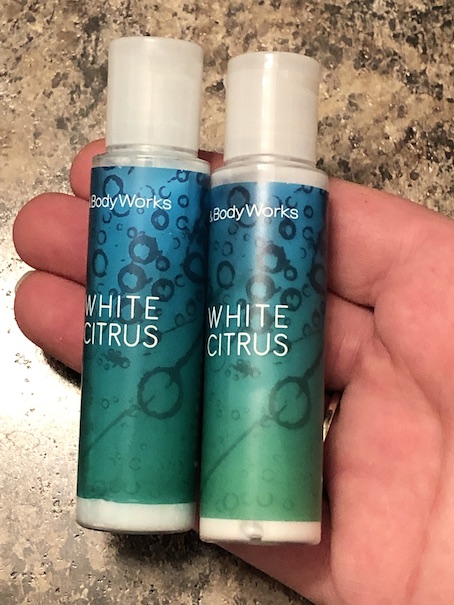
Small bottles (we used 2 travel sized shampoo bottles, but any little plastic bottles will work)
Computer paper, or any coloured paper of your choice
Exacto knife (parent supervision please!)
Hot glue
Glue stick
Juice box straw
First, thoroughly clean out the hotel shampoo bottles. Here’s the ones I had:
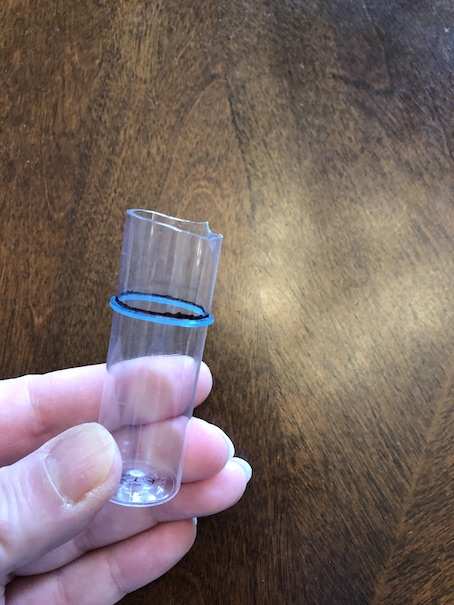
 Next, use the exacto knife to cut off the tops of your bottles. This doesn’t have to be perfectly straight, and you can save the bottle caps for another craft if you like.
 Time to measure and cut. I always have trouble cutting cylindrical things evenly, so I just use a rainbow loom elastic to help me draw a straight line.
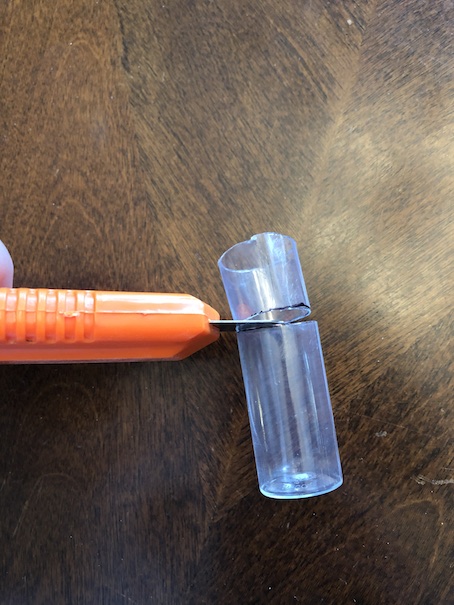
 Cut on the line. If you don’t trust your exacto blade skills, you can cut relatively close to the line, and then use a pair of sharp scissors to cut directly on the line to get a more even cut, and to have more control overall.
 You should end up with a little cup.
 We cut two. Remember, if you already have a plastic doll cup, you can just skip over this step. We didn’t have any, so we just made our own.
 Use the rainbow loom elastic marker to help make sure that your cups are the same size.
Time to make the milk, or juice, or whatever you want to put in these little cups! Take a piece of paper the colour of what you want to fill your cup with. Orange for orange juice, white for milk, brown for chocolate milk, yellow for lemonade, etc.
 Now, here is an important step that we totally missed. Measure the height of your paper to fit the height of your doll cup. Make sure to leave a half inch off of the top. We totally forgot to do this, and ended up having to trim our paper roll down at the end which is a huge pain! Thick rolls of paper are hard to cut, even with an exacto knife. Avoid this by cutting your paper to size before you roll it up.
 Roll, and roll, and roll your paper using the glue stick to secure it as you go. The picture above is where we realized that now we were going to have to trim the top off of that thick roll of paper. Oops! 😛 Oh well, crafting fun, and lessons learned! At least you guys get to learn from our silly mistakes!
 This is what you will have because you will have pre-measured. Your “milk” will be half an inch shorter than your doll cup. Put a blob of hot glue in the middle of the bottom of the “milk” and insert it into the cup. I say only put the hot glue in the middle of the milk bottom because you don’t want the hot glue to smear all up the inside of your cup when you go to slide the milk in.

Press, and hold the milk in place until it dries. Some of the hot glue on the bottom will squeeze out, but that’s okay. 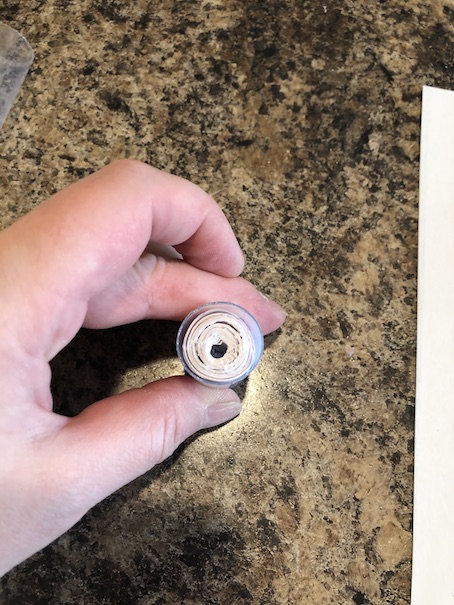 There will also be this nice convenient hole in the top of your paper ‘milk’ roll where you can secure your straw! Cool! Juice box straws make perfect doll straws. Just hot glue it in place!
 And you’re done!
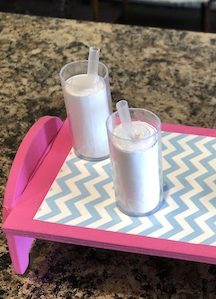 We liked our straws to lean ever so slightly to the side rather than to stick straight up, and down. Just push it to the side while the glue is drying.
2. Cookie Jar
What you need:
Body mist bottle cap, or hairspray bottle cap
Foaming soap dispenser piece (If you don’t have one of these, you can use a piece of dowel or a straw, and a button)
Thick craft foam
Yellow chalk or paint
Brown puffy paint
Scissors
Hot glue
Paper for label
Here is the body mist cap that we had.


And this is an example of the foaming soap dispensers that we have. We have a lot of these in our house, so I have been taking them apart lately to try to repurpose the parts. More on that later. 🙂 (We make our own soap, and use these dispensers over and over and over again.)

 Here is the piece that you need. If you don’t have this piece, or you don’t have a foaming soap dispenser, a piece of straw or a dowel secured to the top of a button will work just as well.
Use hot glue to secure the top of your cookie jar to the base.
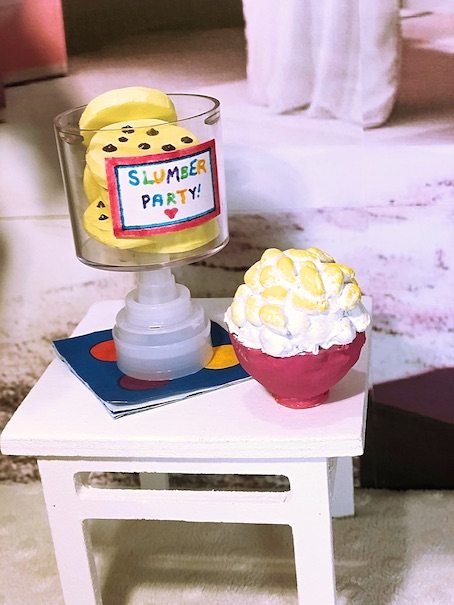
 All you need now is a label and some cookies!
 We cut some large circles from thick craft foam. We used yellow chalk to colour them, but you can use paint as well.
 We only had brown puffy paint so ours are regular chocolate chip cookies, but if you have different colours you can make rainbow chocolate chip cookies.
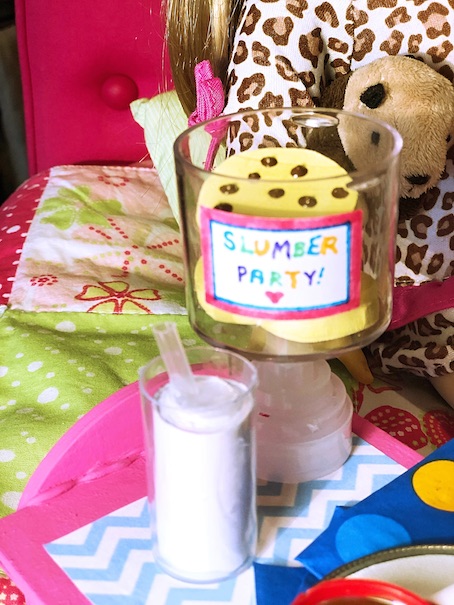 Here’s the paper label we made! Just glue it on there. 🙂
3. Napkins
These were easy, we just cut the corners from some party napkins that we had. Be sure that you cut off the folded corner, not the open corner.
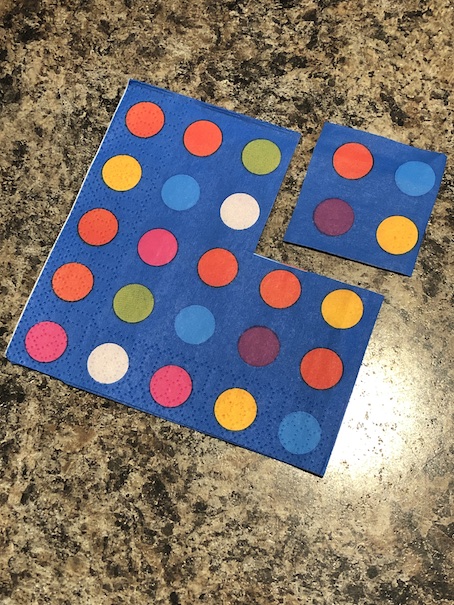 We cut four of these. 🙂
4. Apple Slices and Dip
What you need:
Thick white craft foam
Scissors
Red electrical/hockey tape
(If you don’t have tape, you can use strips of red paper, or red craft foam. Duct tape would work too, if you have red.)
Small plastic cap lid (we used the lid from a syrup bottle)
Hot glue
Brown puffy paint
Tin lid
Paper plate
Okay, let’s get started! Here is the cap we used to make the little dip bowl. This was taken from a syrup bottle. Just cut off the lid part.
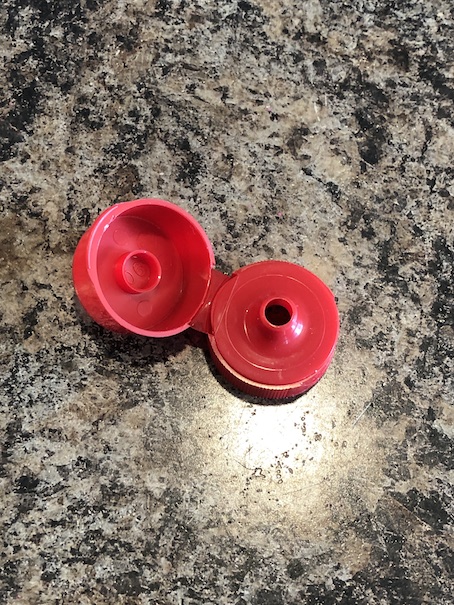

Fill the lid partway with hot glue. When dry, cover the hot glue in a layer of puffy paint.
 To make the apples:
Cut a small rectangle of thick craft foam, and fold it in half. Hot glue it together. To be sure that each of your apple slices is similar in size, cut out all of your rectangles first. We made three apple slices. Next, cut out a half moon to create the shape of the apple slice. The fold will be the top of the apple slice.
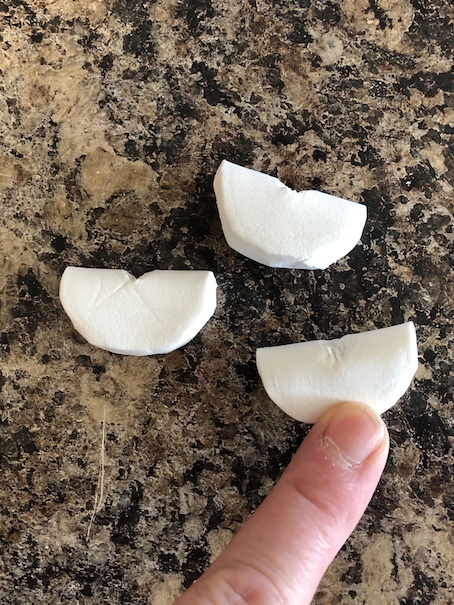 Cut a very tiny wedge out of the middle of the top of your apple slice. Trim to round out the edges, and make your slices more uniform. Now it’s time to add the apple peel.
 Take a piece of electrical tape, or red paper, and wrap your apple slice. The tape was sticky, but I still added a little drop of hot glue on there to keep it in place. If you are using a red paper strip, you want to attach it using hot glue.
 Trim off the excess paper, or tape.
Lastly, to make the apple platter, we used a lid from a tin can. We have a safety can opener that doesn’t leave a sharp edge. Trace the lid onto the back of a paper plate. Cut it out, and glue it to the top of your tray. If you want you can paint the top of your tray any colour you like, or just leave it white like we did. You could also use pretty patterned scrapbook paper. This just gives the tray a liner, and helps it look less like the lid of a tin can.
Arrange your apple slices with your dip bowl on the tray! ❤  Love!
Love!
5. Popcorn Bowl
What you need:
Cadbury Creme egg packaging, or the bottom of a plastic Easter egg
Hot glue
Popcorn kernels
White and yellow paint, and a small sponge
This one is a fairly easy one. You don’t have to use the creme egg packaging, a plastic Easter egg, or any little doll bowl, or even a cap lid will do. Since we were using what we had on hand, we had to paint our creme egg packaging. This took about five or six light coats of paint. Once dry, I hot glued a rainbow loom elastic at the center of the bottom for a base. This just helps the bowl to stay upright, and not wobble.

Next, half fill your doll bowl with hot glue. Let dry. Then hot glue a pile of popcorn kernels on top. Once dry, paint the kernels with white paint. Lightly sponge some yellow paint on top for butter.
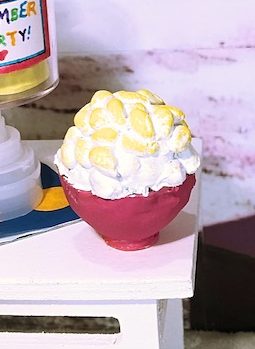
This really is the cutest little doll sized popcorn ever. ❤
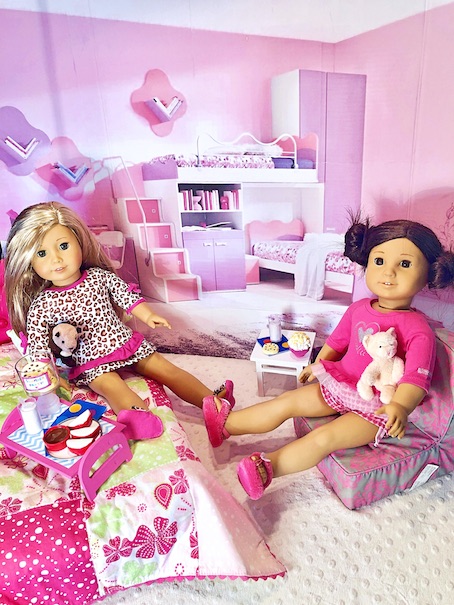
And you’re done! Now your dolls can have all the slumber parties they want!
 Don’t forget to bring your doll’s favourite stuffy!
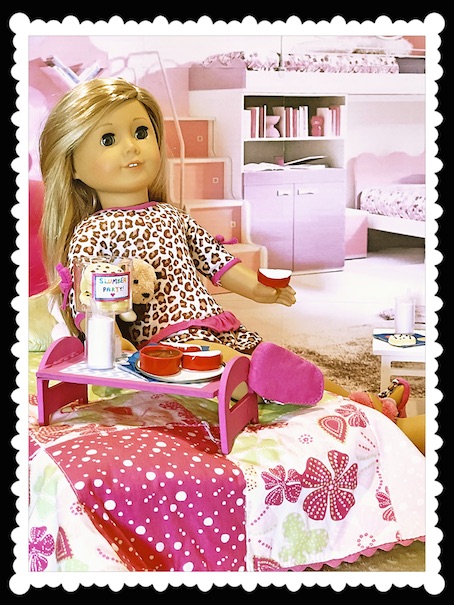
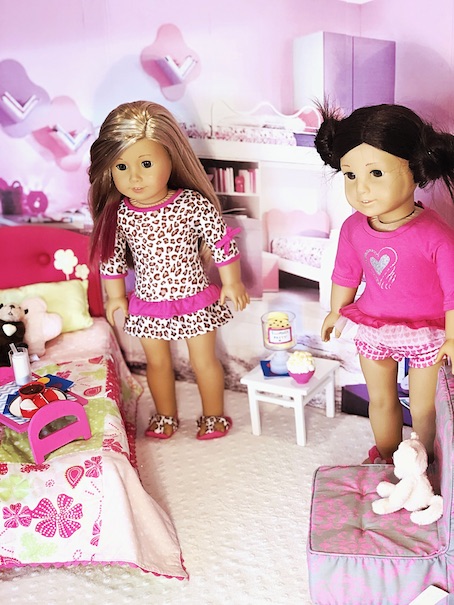
 Here are some pics that were taken at a recent slumber party that Jess had with her friend Isabelle! ❤ ❤ ❤


 Thanks for joining us today! We are so glad that you stopped by!
I hope that you enjoyed, and I hope that your dolls have lots of slumber parties in their future!
Leave a comment below!
❤ ❤ ❤

This is such a cute idea! I love the little food.
LikeLiked by 1 person
Thank you! We are a little bit obsessed with doll food. ☺️❤️
LikeLiked by 1 person
Haha, same here!
LikeLiked by 1 person
Gosh, I’m hungry now, lol. (It’s a good thing, your food is so realistic!) The milk is super clever, I had never found a good way to make it, so I announced that all my dolls were lactose intolerant like I am. From this moment forward I’m reversing that decree, and making some milk for my dolls 😜.
LikeLiked by 1 person
Hooray! I am so glad that your dolls have been cured of their lactose intolerance! Now they can have all sorts of things! Chocolate milk, strawberry milkshakes, lattes: the sky is the limit just depending which colour paper you use! 🙂 ❤
LikeLiked by 1 person
Oh my goodness, this is so cute! Thanks for the tutorial!
LikeLiked by 1 person
You are so welcome! I am so glad you are back, and feeling better! 🙂 ❤
LikeLiked by 1 person
Thank you so much! ❤
LikeLiked by 1 person