

Hi guys! I’ve had this idea for a while now, but I decided that I was just gonna go for it in an effort to post more regularly. I often find that I have all of these ideas, but then I get steamrolled by life and nothing gets done.
I also find that I don’t want to make something if it’s not perfect, but I know that’s really not what we’re about here anyway.
So instead, I think I’m going to wing it from now on and just try to get all of these ideas out there as soon as I think of them.
For instance, in this craft I wasn’t sure if I should use toilet roll tubes or plastic water bottles. I decided to try the water bottles and just go with it. That’s way more productive than sitting on an idea humming and hawing over it for all eternity.
It’s also motivating to me to generate as many ideas as possible that will help keep plastic waste like water bottles out of landfills. We don’t buy single use water bottles anymore, but we had a few empties on hand.
So New Year’s resolution, no more indecision for crafting. Ain’t nobody got time for that! Lol! From now on when I get an idea, I’m just going to roll with it, come what may.
Okay let’s begin!
What you need:
2 Plastic water bottles
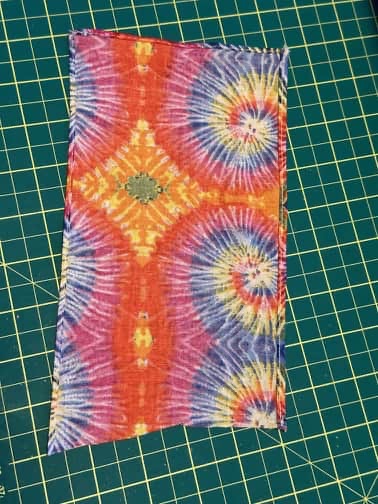
Fabric
Hot Glue/Scissors/Stapler
Ribbon
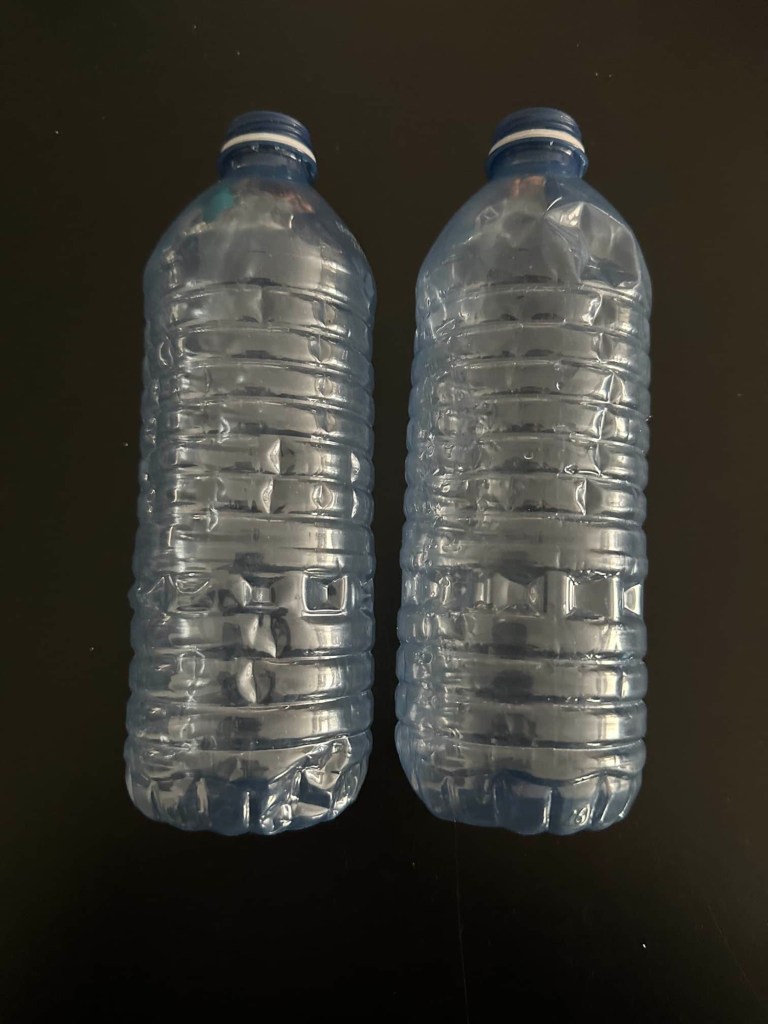
To start you need two plastic water bottles as shown.
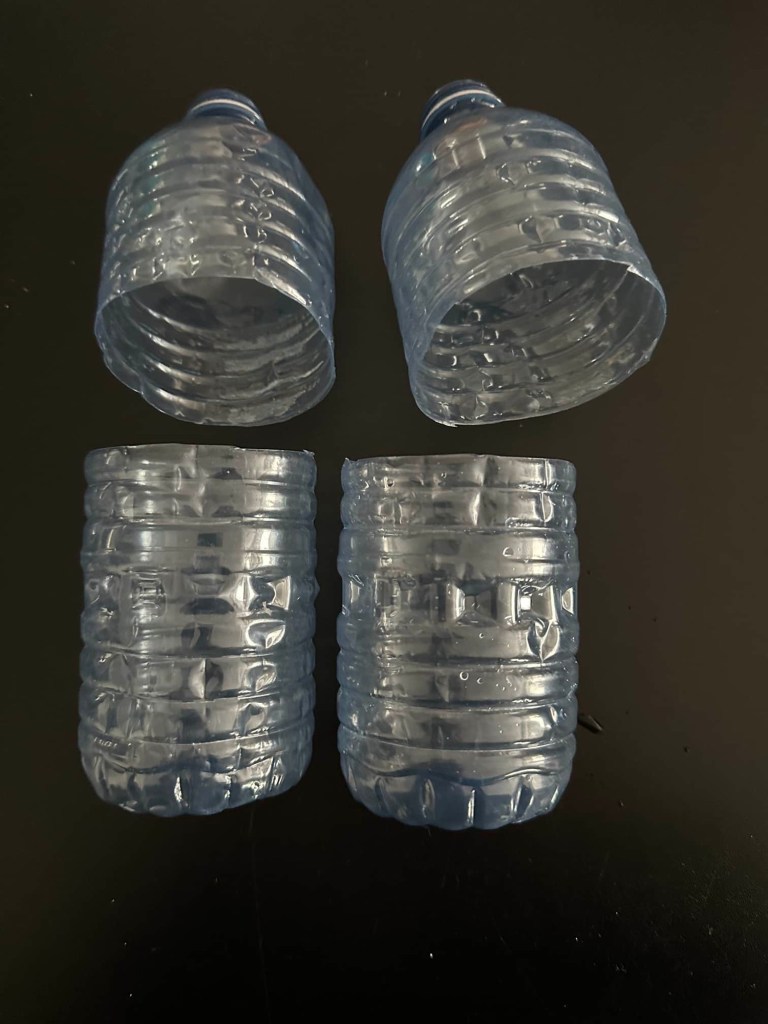
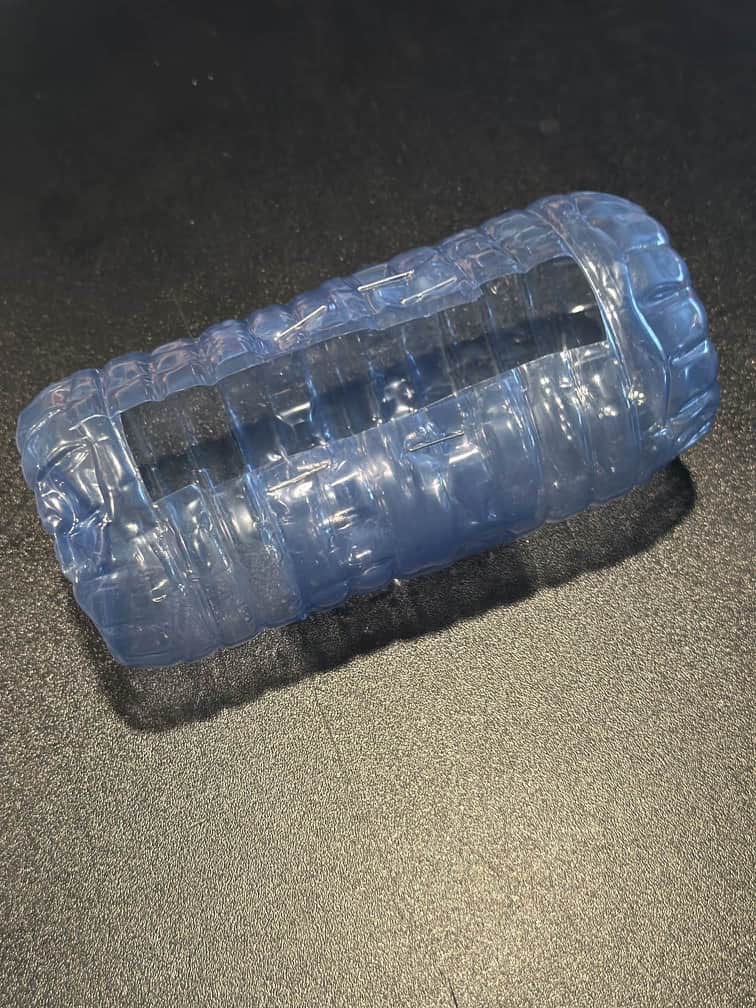
Cut them about in half.
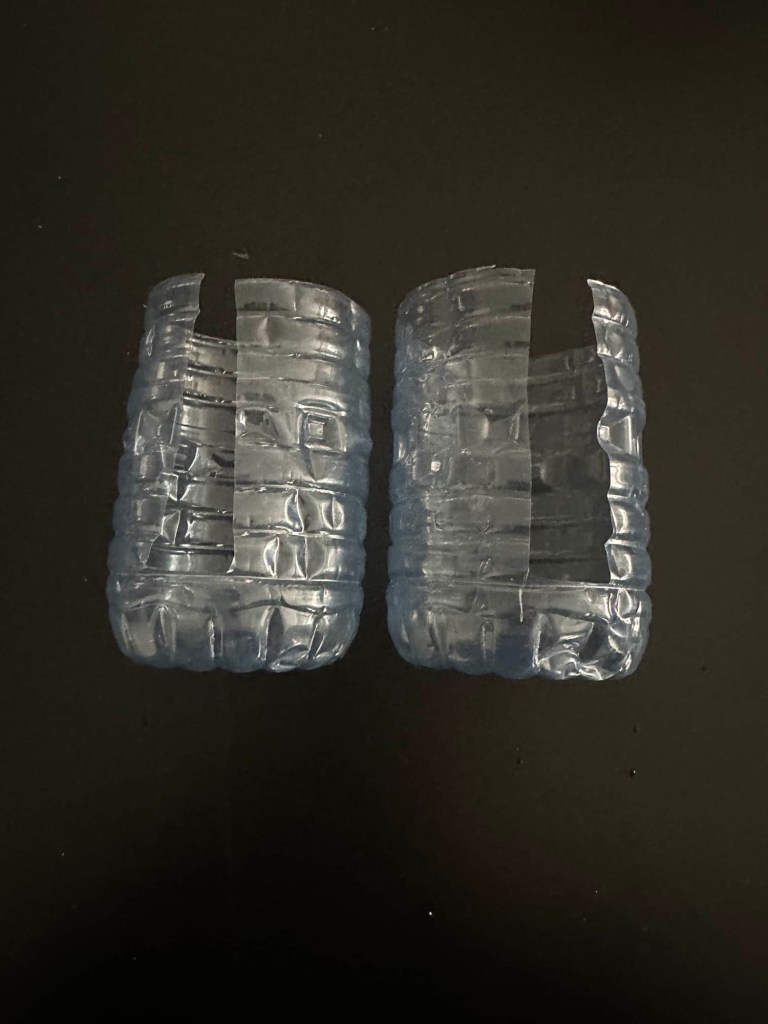
Now cut about an inch wide slit in both pieces.
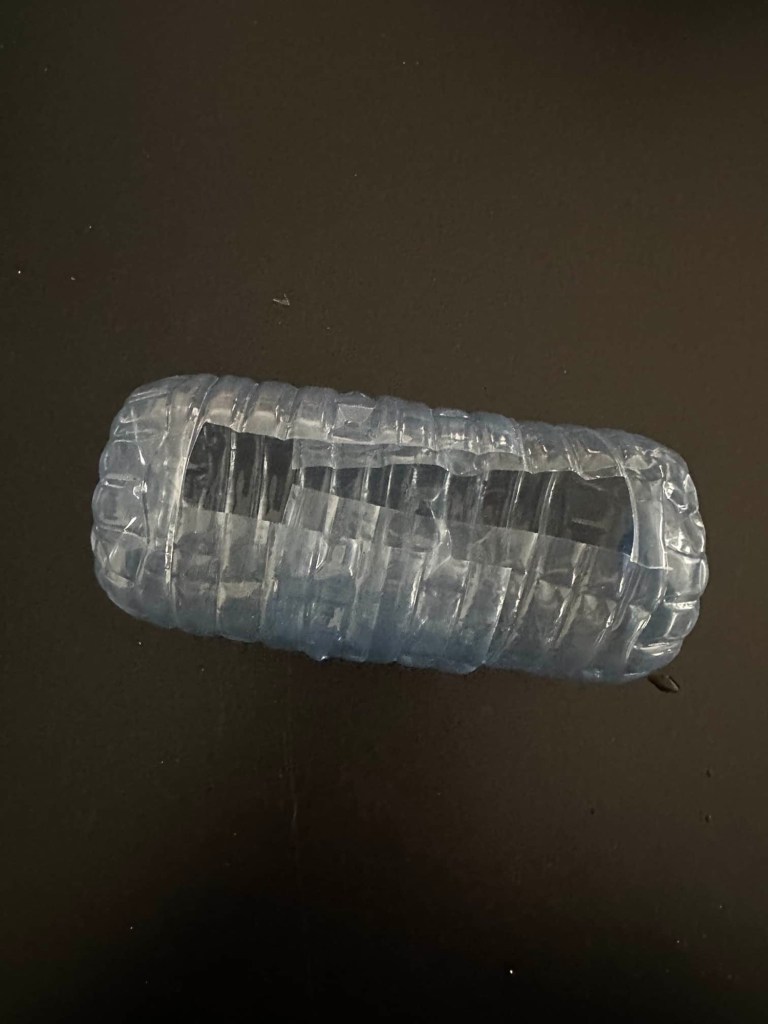
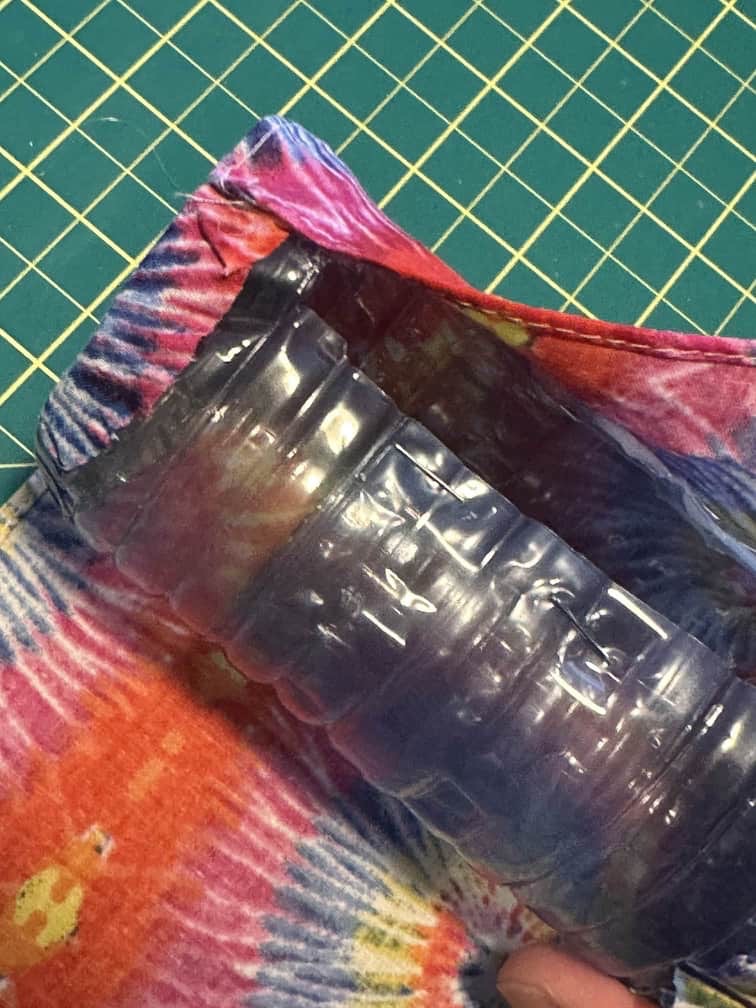
Fit one half inside the other. Using a stapler, match up the edges of the slit and secure them together.
This is the body shell of your duffel bag. Next we will cover it in fabric of your choice. Cover the ends first.
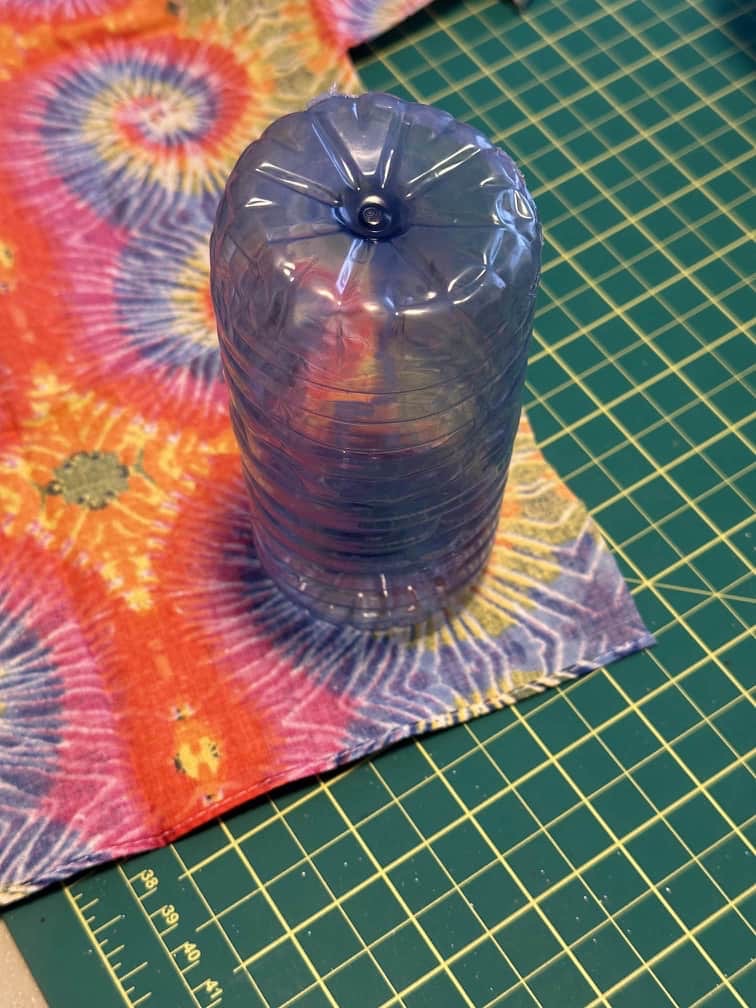
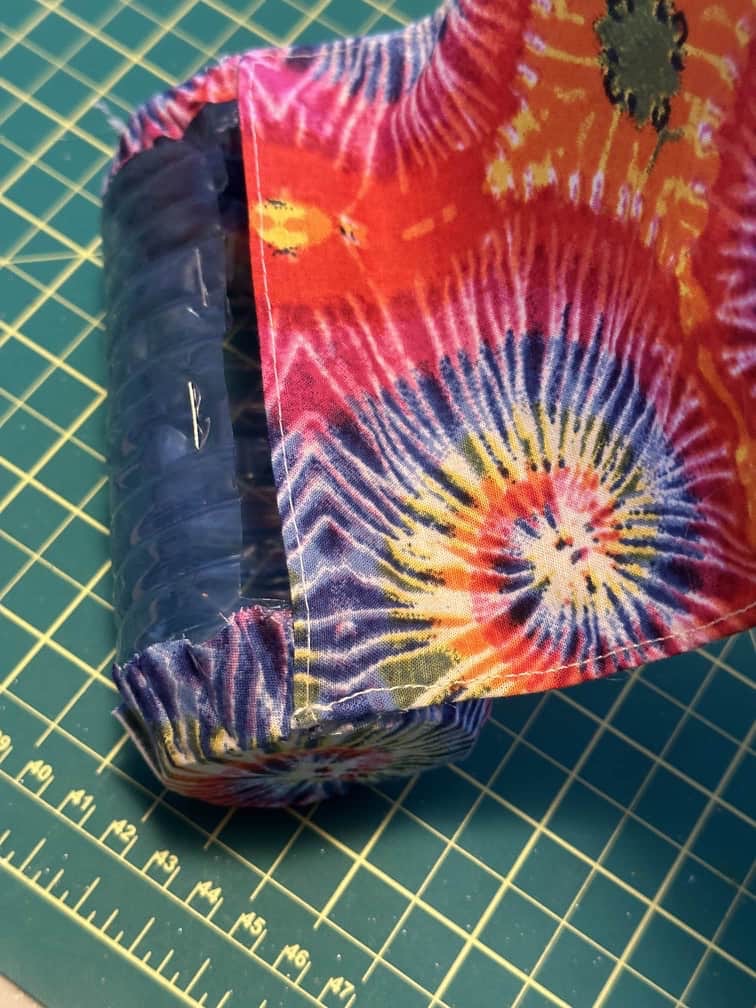
Hot glue the bottle end to the fabric.
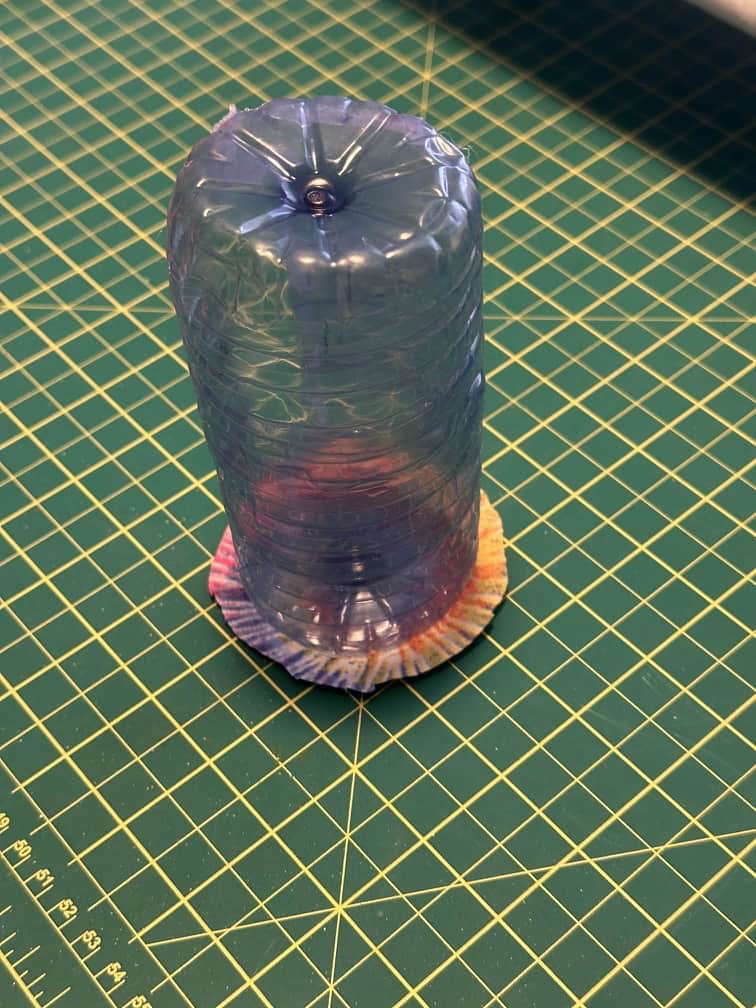
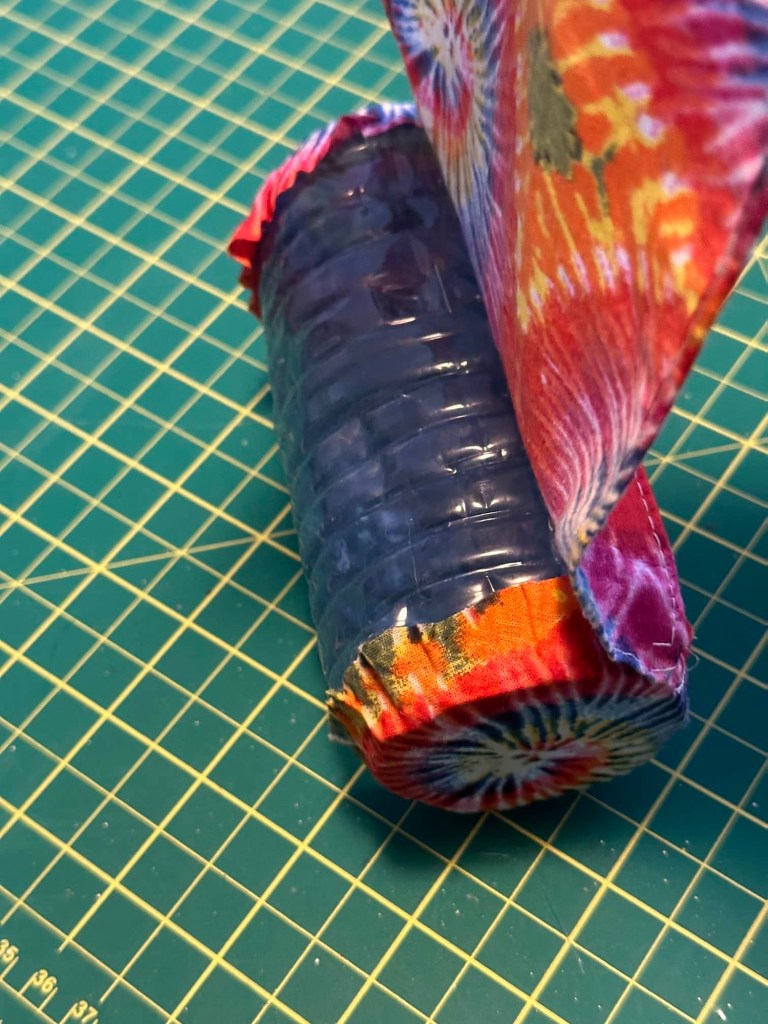
Then cut about an inch larger around the bottle. Fold the edges of the excess fabric down and hot glue in place. Cover both ends.
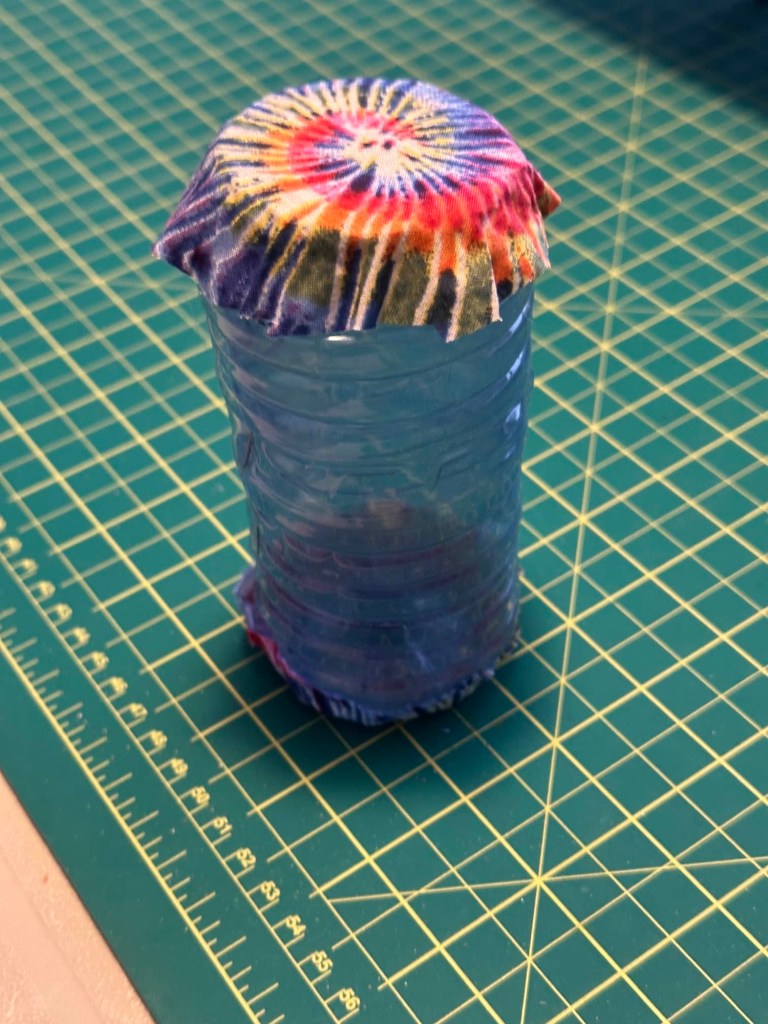
Now take more fabric to cover the rest of the bag. Measure and cut a rectangle of fabric to fit all the way around the bottle. Hem three of the edges about 1/8”. (In hindsight, it is only necessary to hem the top and bottom edges of the fabric as we will be covering the side edges with narrow ribbon anyway.)
Hot glue the top hemmed edge of the fabric to cover half of the bottle slit opening.
Now hot glue along the top and bottom edge of the 2 connected bottles, pulling the fabric rectangle tightly around to cover the rest of the duffel bag.
Leave room to hem the final edge of the fabric. Now overlap the fabric the width of the hemmed edges (about 1/8”) at the top opening of the duffel bag and secure with hot glue. (Overlap and glue only at the arrows shown)
When you squeeze the ends of the plastic bottle a little as shown, the mouth of the duffel should pop open.
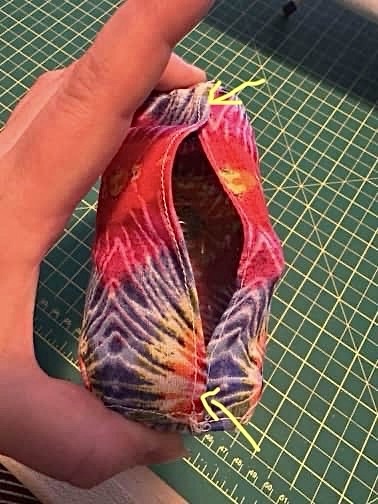
DO NOT hot glue the fabric opening of the bag closed.
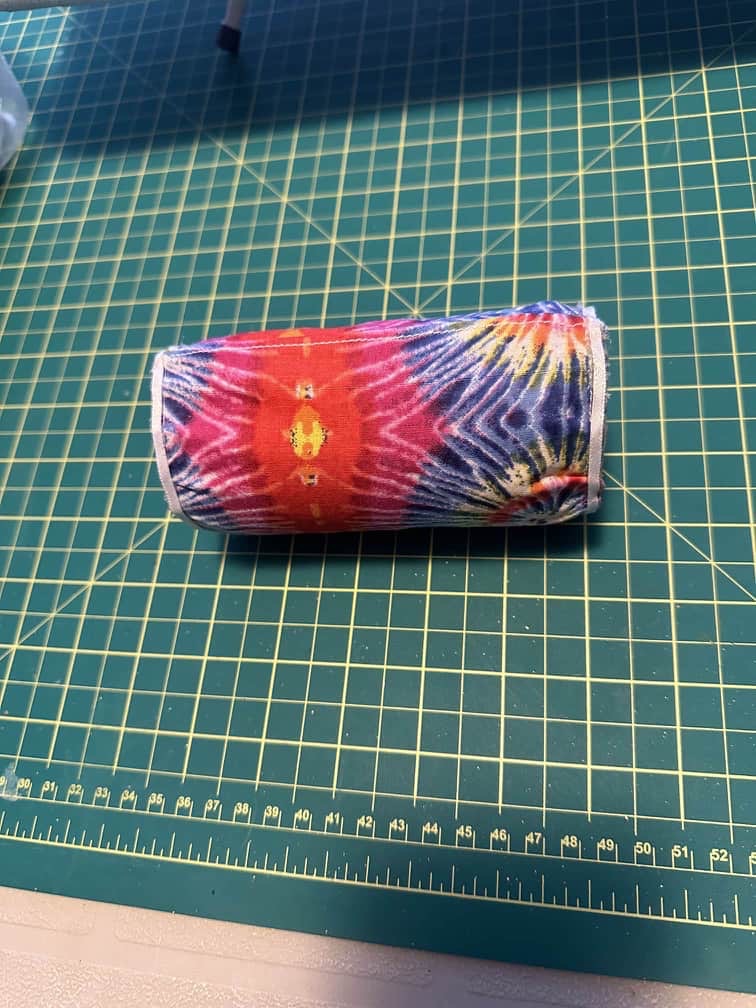
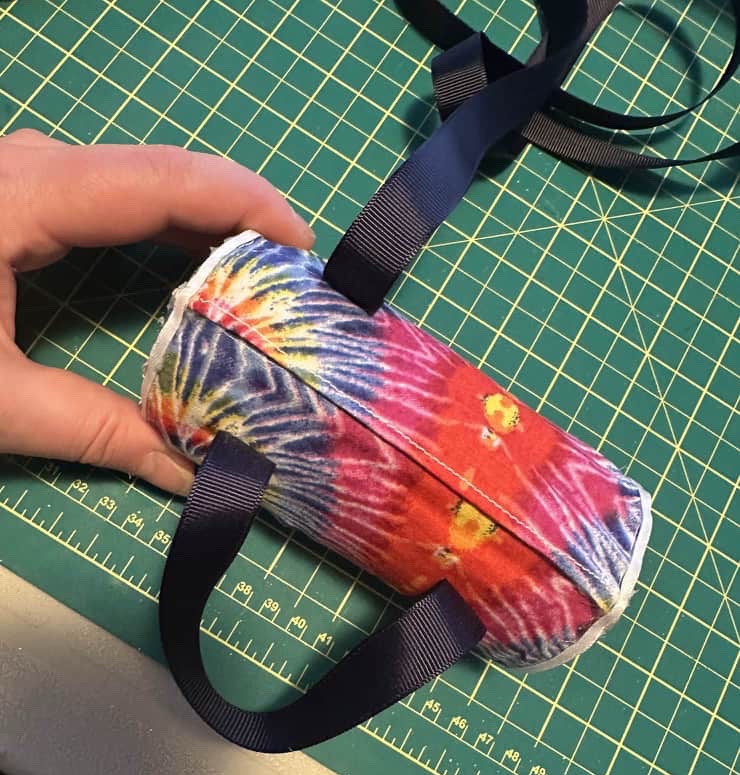
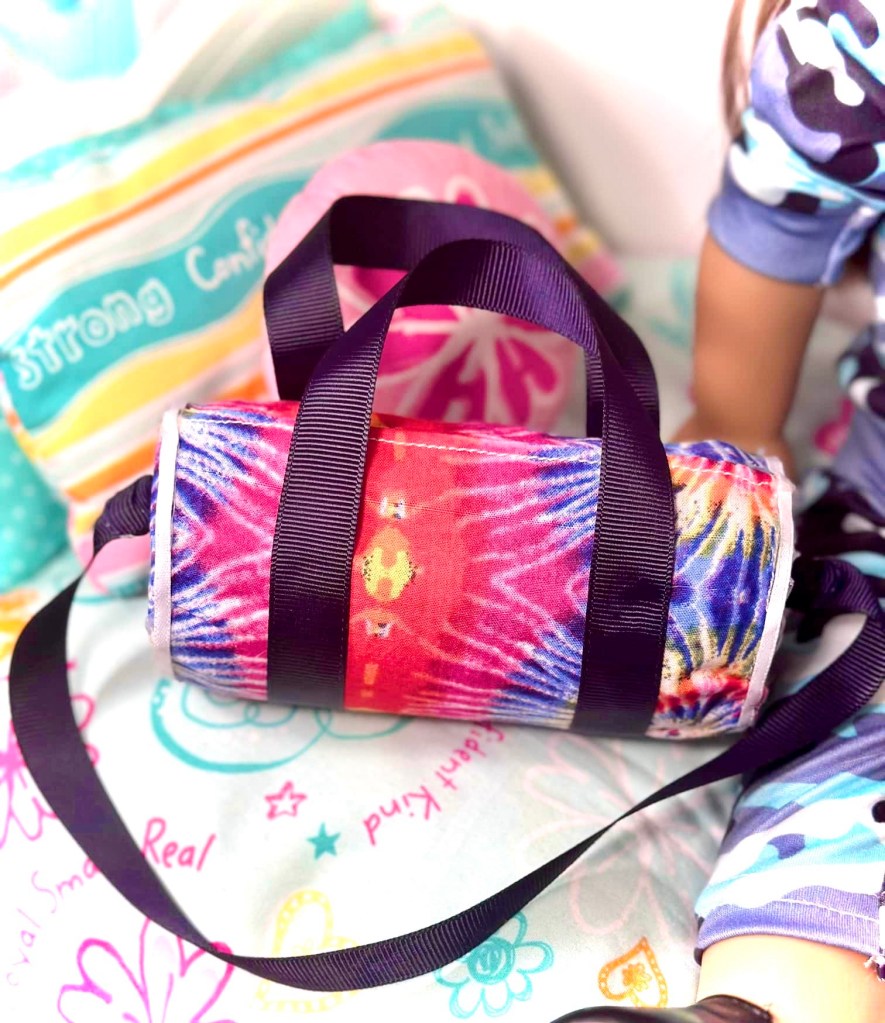
Next, take some narrow ribbon and hot glue it around the end edges of the duffel bag. (This is why it really wasn’t necessary to hem those edges as they are covered up by the ribbon, but like I said, I was just winging it.)
Now we will add the handles. I am using grosgrain ribbon for this. At this point if you want to add a front pocket to your duffel bag you can. Just hot glue the edges of a hemmed rectangle of fabric to the front leaving the top edge of the pocket unglued.
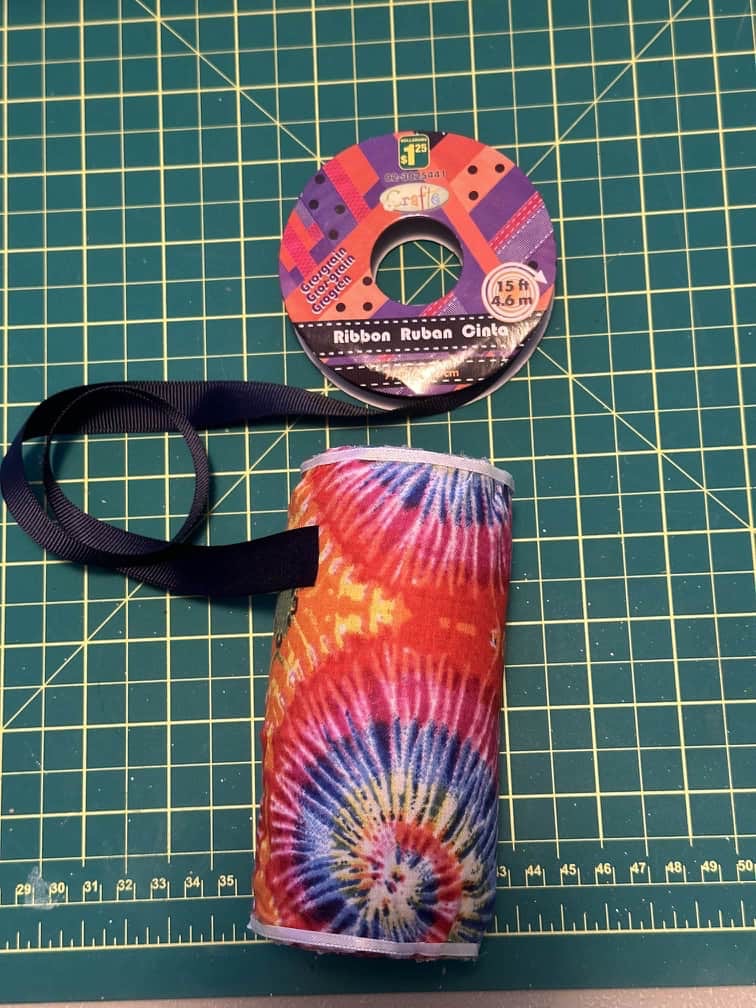
Attach the end of your ribbon handle to the underside of the duffel bag.
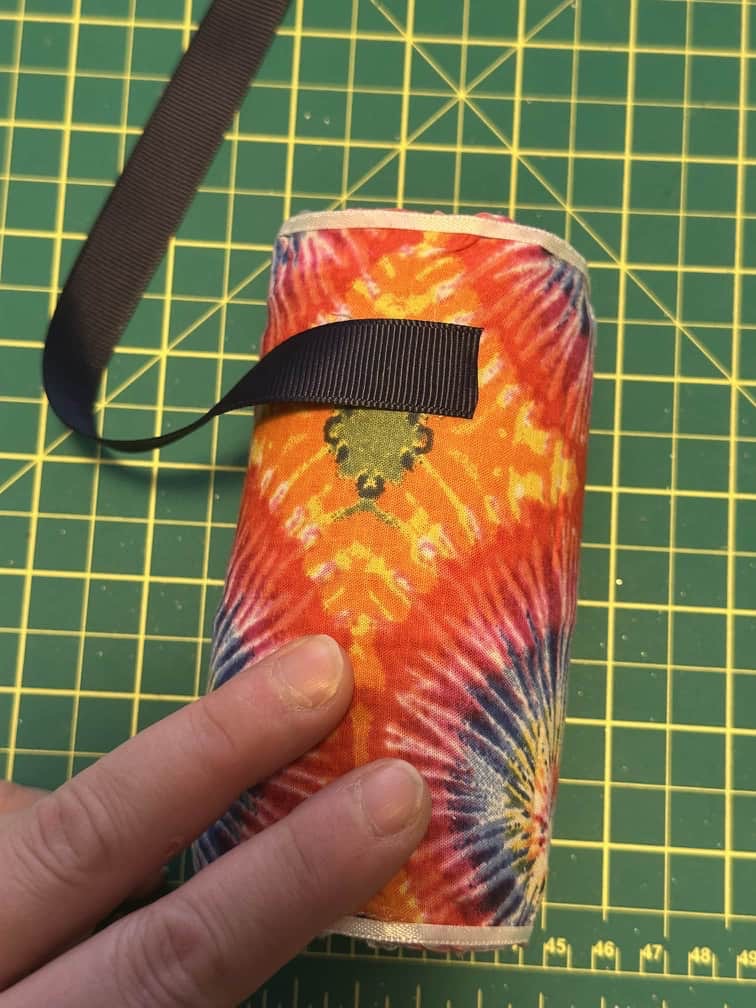
Wrap the ribbon up and around the bag to create your first handle. Secure with hot glue. If you have added a pocket, you can cover the edges of the pocket with the ribbon handle as you attach it for a cleaner look.
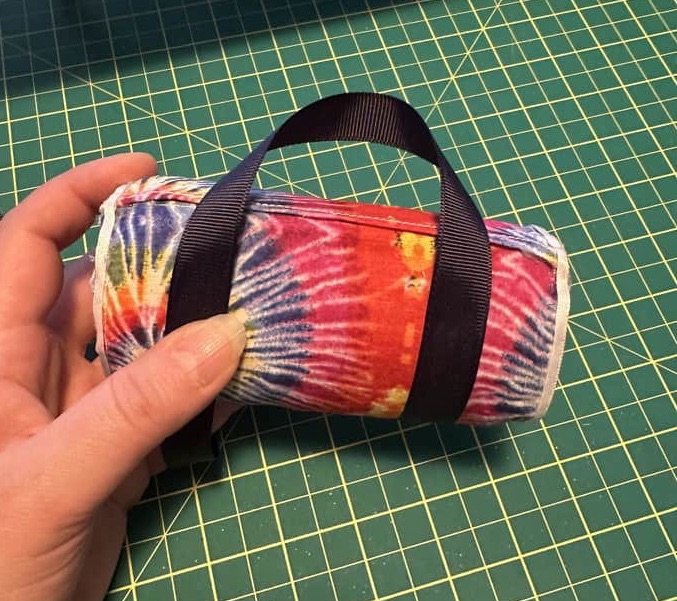
Do not cut the ribbon. Instead continue to wrap the ribbon around the other side to create another handle. Secure that side with hot glue.
Be sure your handles are even.
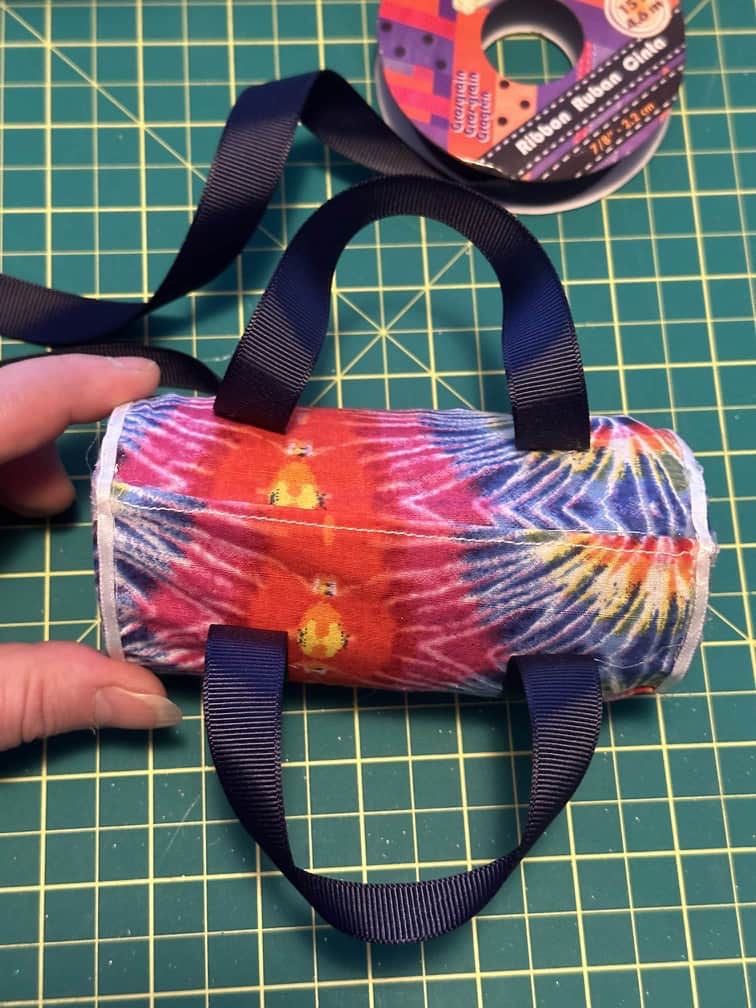
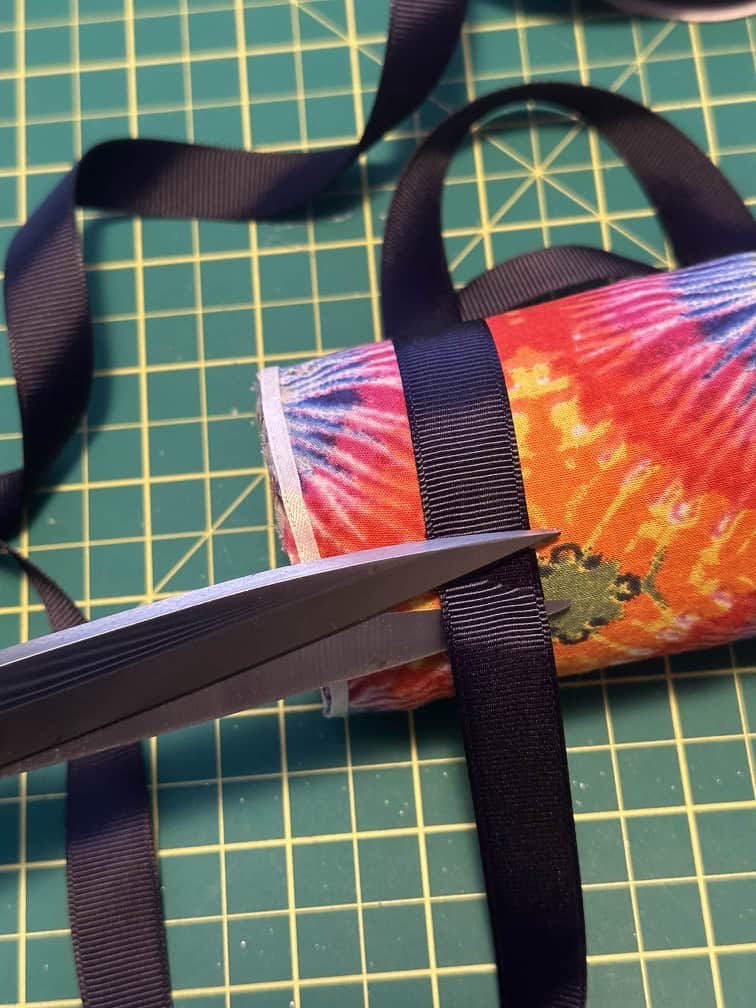
Come back down the other side and complete the handles by gluing the ribbon to the place you started. Cut the ribbon here.
Last we will make the bag strap. Measure a length of ribbon that fits your doll’s shoulder.
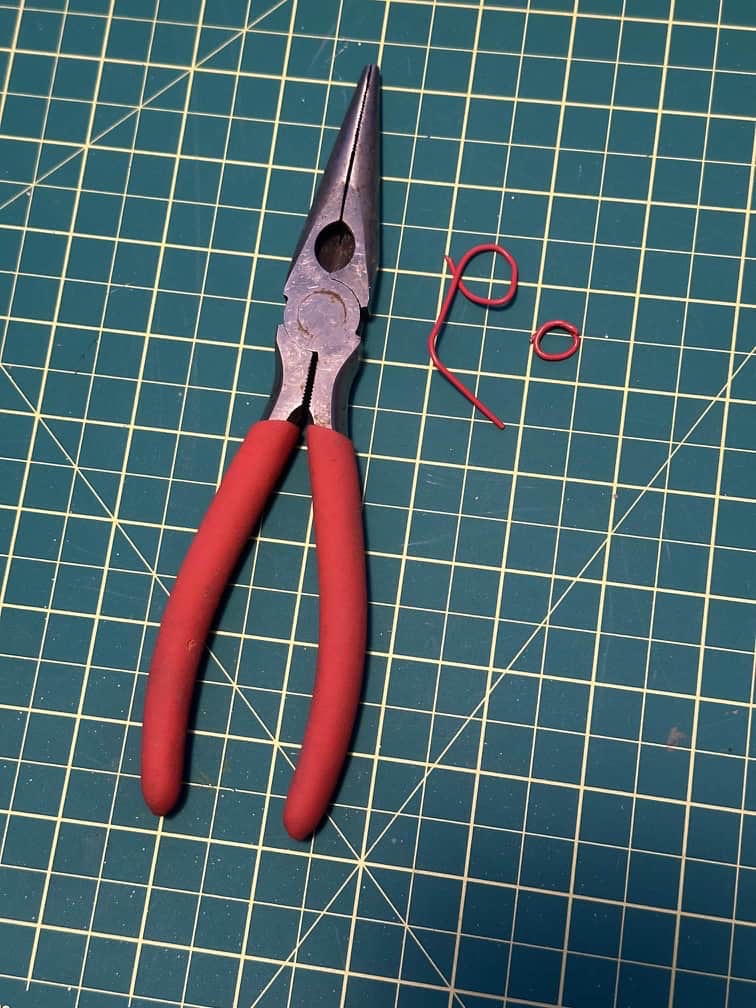
You could just hot glue the ends of the ribbon strap to either side of the duffel bag and be done here, but I wanted some jump rings, so I used a red paperclip and a pair of needle nosed pliers to make some.
Attach each end of the strap to the jump ring by threading the ribbon through, folding it over and securing with hot glue.
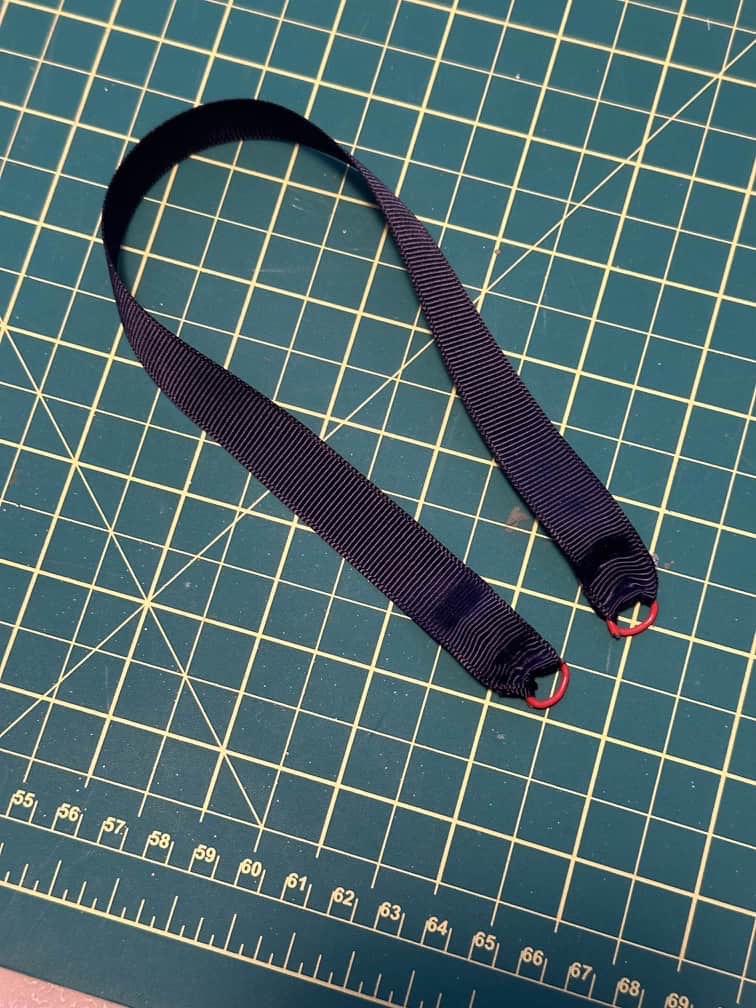
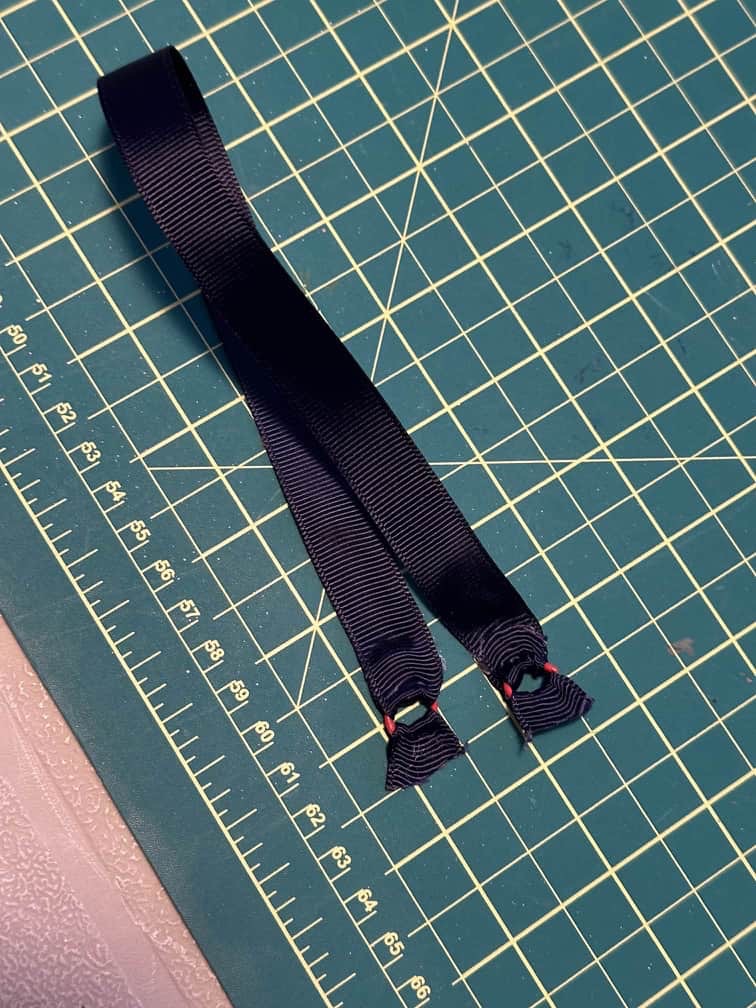
Next, take more ribbon and create another loop on each end of the strap.
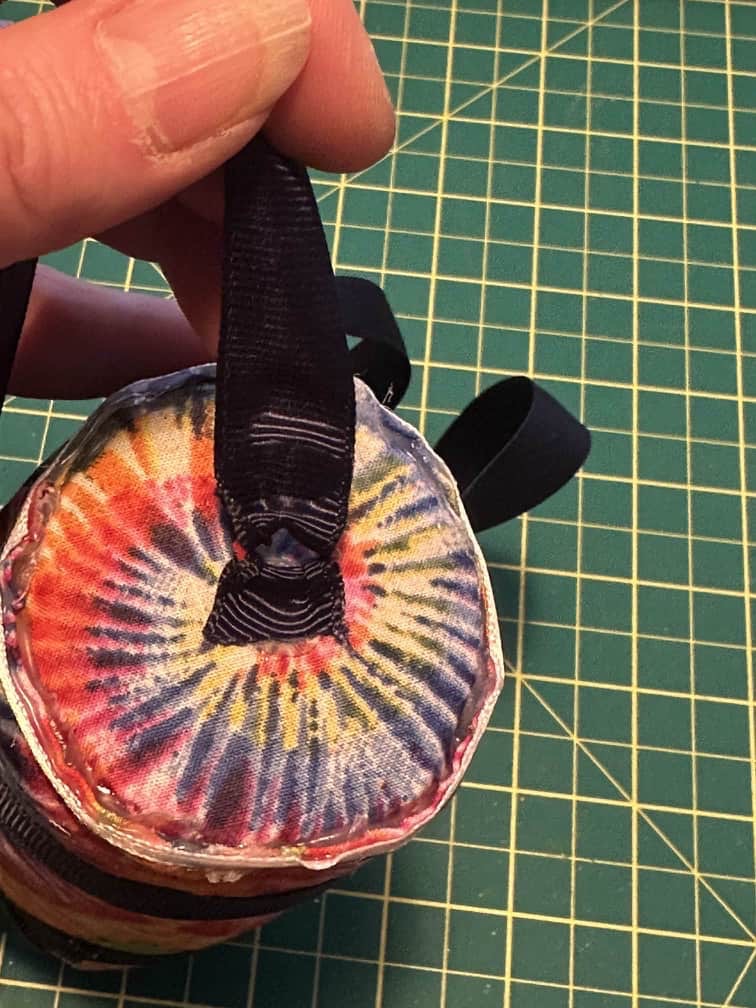
Hot glue the strap to either end of the duffel bag.
And you’re done!!
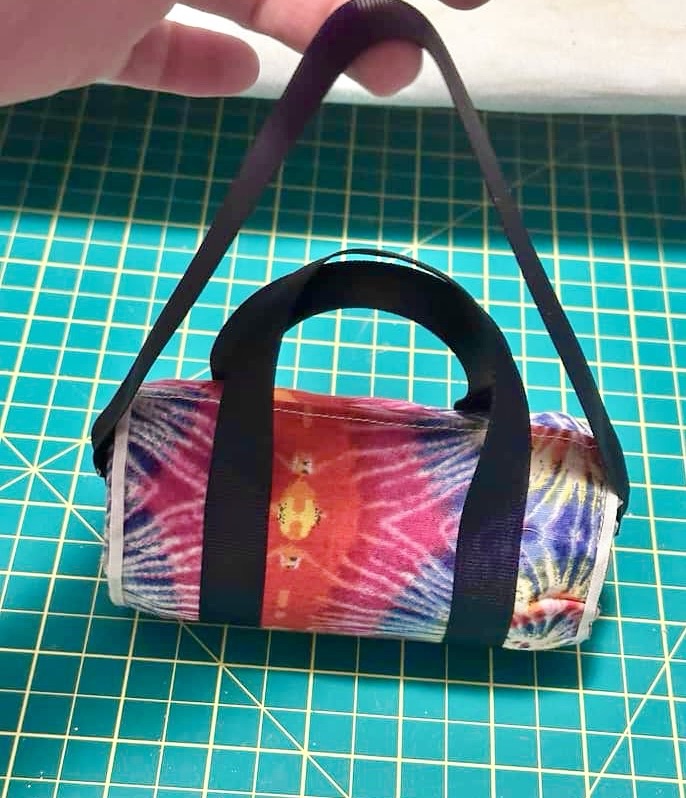
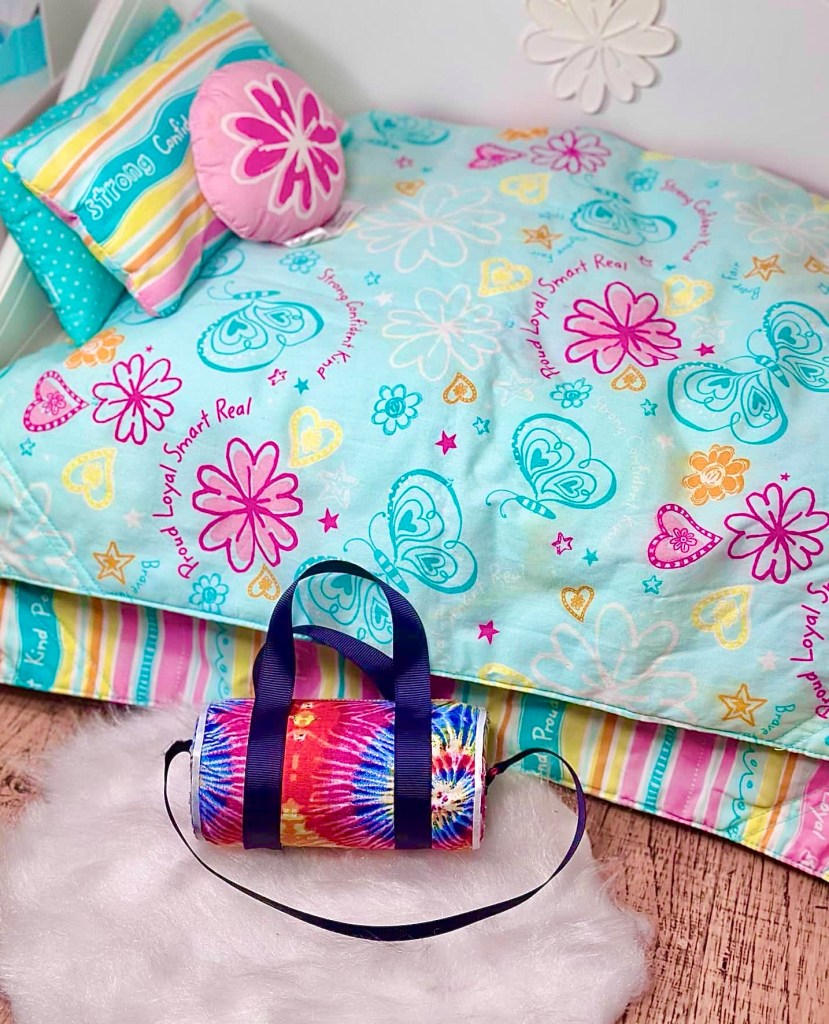
Ohmygoodness this turned out so adorable!!
You can fill your bag with whatever you want.
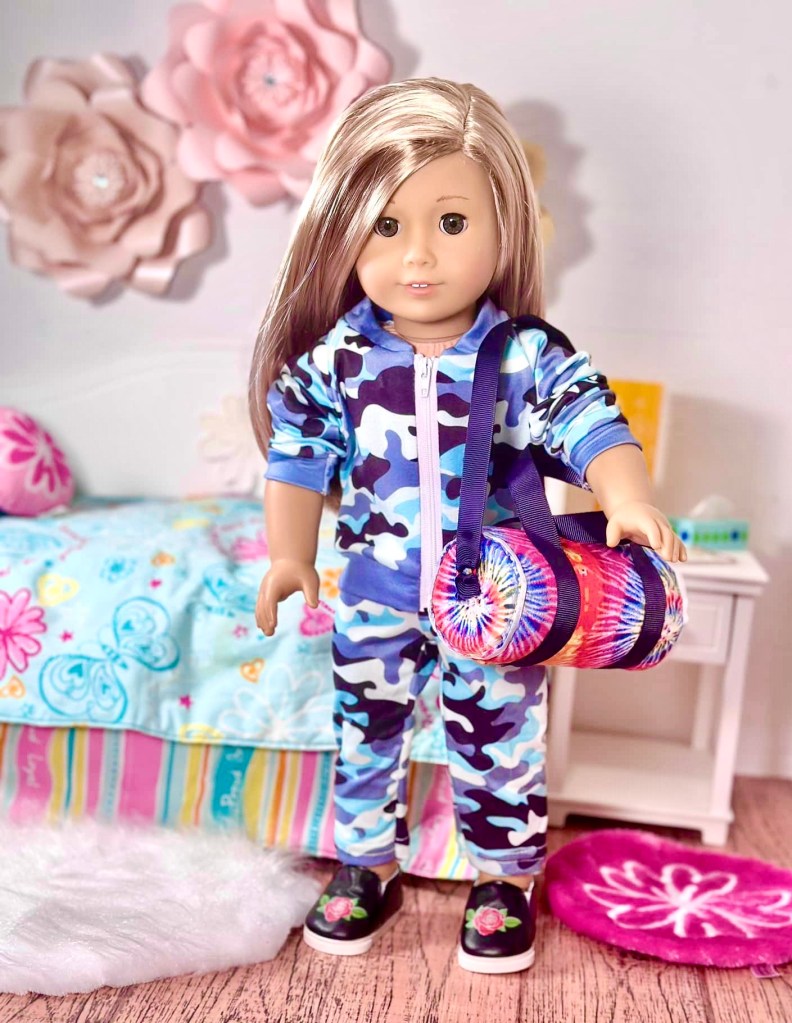
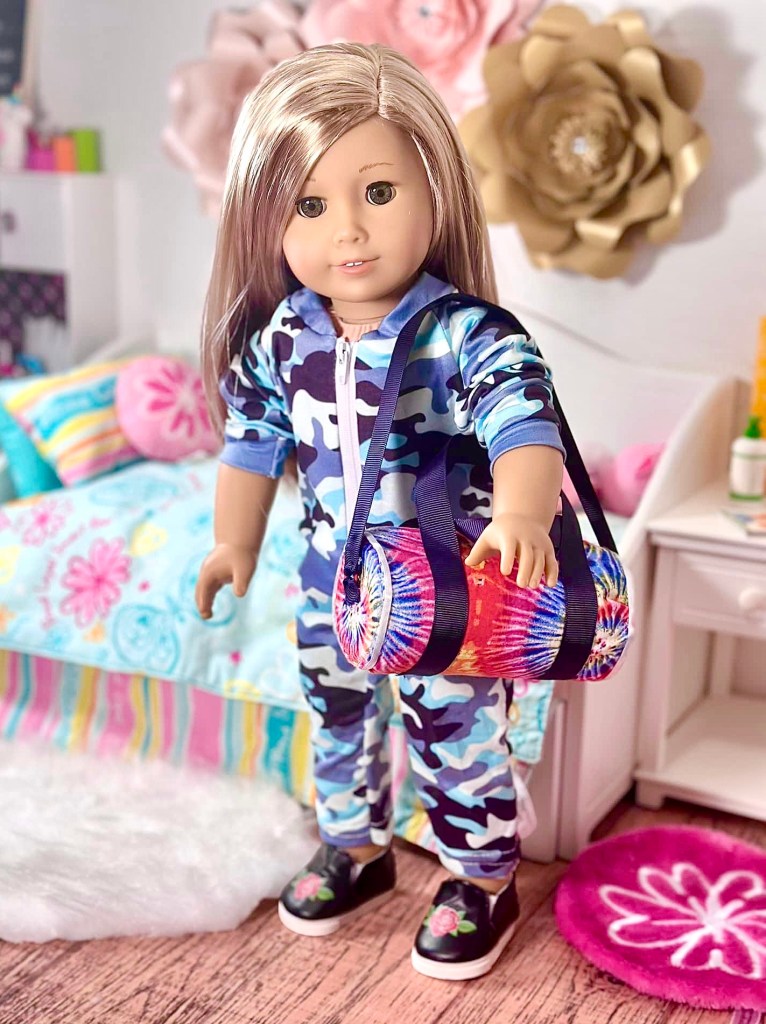
Isabelle is heading to the gym!
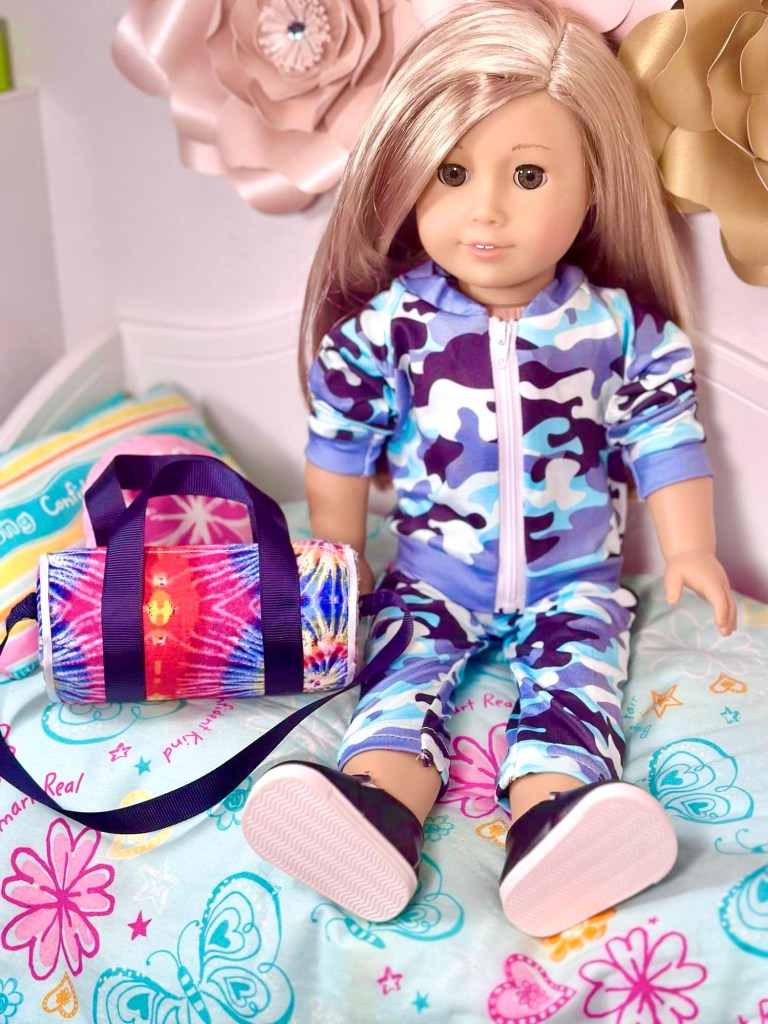
She is wearing an outfit we got awhile back from Aliexpress. So cute!
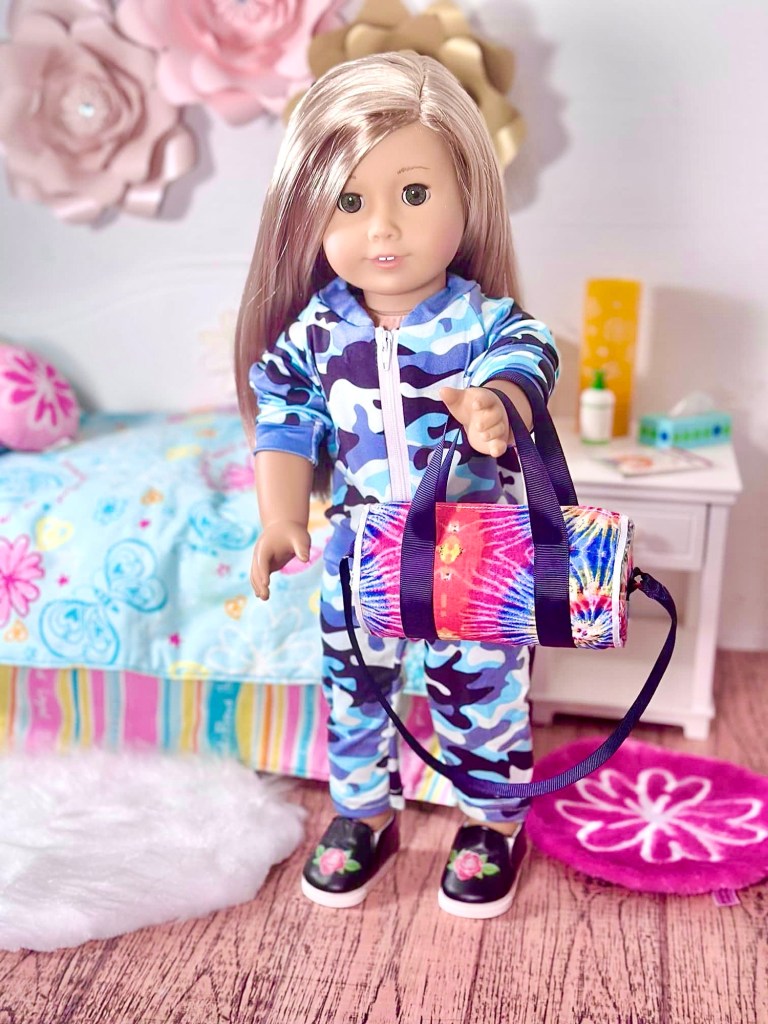
Wait! Don’t forget your gym bag, Isabelle!
Don’t worry, I won’t! 😊❤️
I hope you enjoyed this craft. I just love how it turned out! I am also absolutely thrilled to find another idea to help keep plastic water bottles out of landfills. That’s always a huge plus in my books.
Thank you so much for joining me today! I am so excited to be able to post here more and I look forward to spending more time in the doll room. Have an amazing rest of your weekend!
Leave a comment below!
❤️❤️❤️

Cute and so clever! Using water bottles does double duty, as well as looking so perfect when completed! This project is another Wowser, thank you yet again for sharing this success with all of us. Having all of the pictures you include really makes a huge difference for me to want to make this too. I sure appreciate your very good work and creativity.
Terry in Colorado
LikeLiked by 1 person
Aw thank you so much! I love how it turned out and I love that it is environmentally friendly! 😊
LikeLike