

It’s no secret that I don’t like to bake. In fact, cooking in general is not typically my thing. But baking for dolls? Sign me up! LOL
We are always looking for fun and interesting ways to fill up our doll’s bakery shelves, and in fact, our little bakery counter has been put to a lot of use, but in order to keep all those customers happy, we have to keep the sweet treats coming.
Now, I have always had a bit of trouble coming up with food craft ideas for 18 inch dolls. There’s just something about this size of scale that I can’t seem to wrap my head around sometimes. Not to mention the fact that you actually need materials. It’s not something that you can just make out of the bits and bobs of scrap rubbish from out of the bin. I decided to set myself up for the challenge anyway.
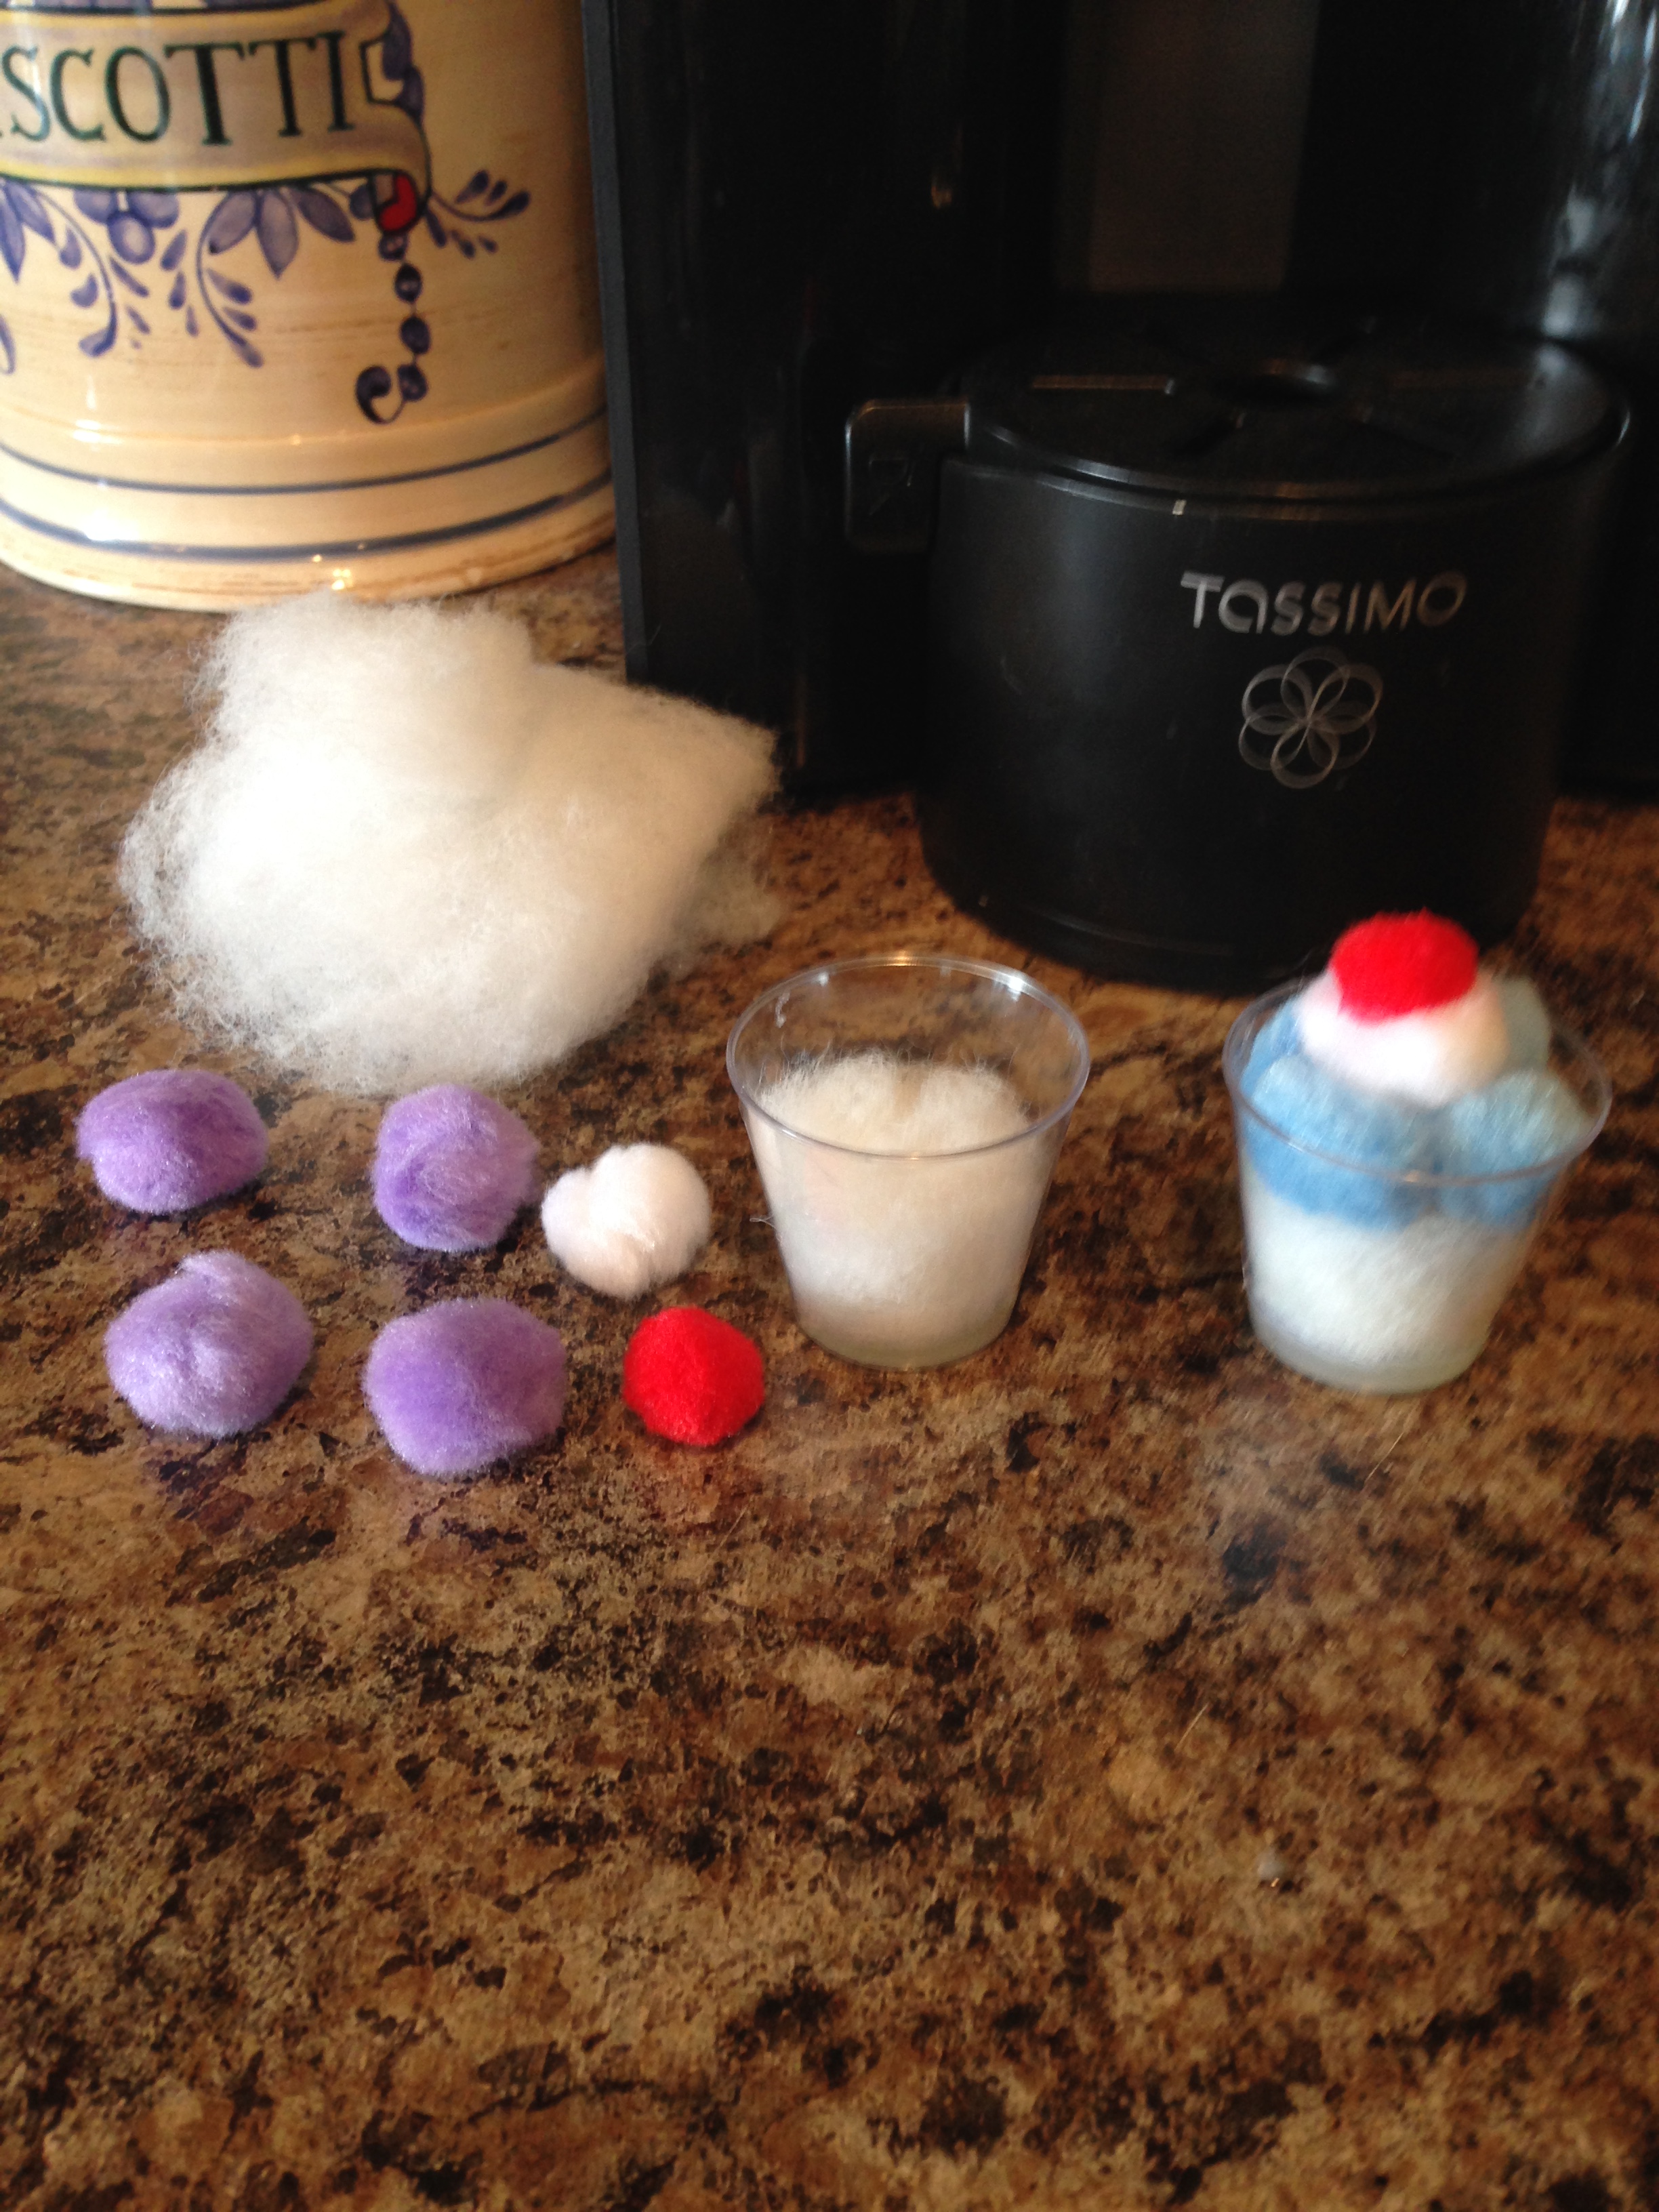
There are many different things that you can use to make treats for your dolls. Here is a list of things that I had on hand that I found useful:
Pom poms (having some in a variety of sizes helps)
Craft foam (the most useful colour for doll food making is either tan or brown as well as white)
Small plastic shot glasses (we purchased these a while back from Michael’s)
Lollipop sticks (juice box straws would also work really well)
Buttons and beads (we have an enormous stash of buttons and beads)
Poly filler (you could also just use cotton balls)
Toothpicks
Creamer container or any container of similar size/shape
Other supplies that I used were scissors, exacto knife and a hot glue gun. Of course, get an adult to help with the hot glue and the exacto knife.
I tend to have a bit of a love/hate relationship with my hot glue gun. I love how it sticks things together like magic. I do not love how it likes to burn my fingers over and over again, while it covers every inch of my workspace in spidery glue webs. Needless to say, I’ve come to accept it as a necessary evil; the magical qualities of it outweighing its completely obnoxious behaviour.
Okay, let’s get crafting!
BLUEBERRY PIE
I plan on making pies in all flavours, but for starters, this one was my first attempt. It’s a bit rough around the edges but I like the way it turned out. Here’s how:


Use an exacto knife to cut off the bottom of the creamer container. I like to cut the bottoms off of all kinds of plastic jars and bottles to see what kinds of cookware and dishes I can make for the dolls. Use the scissors to even out the top edge of your bowl. This will be your pie plate. You can also use a foil tart pan if you have one. We were just using what we had on hand.

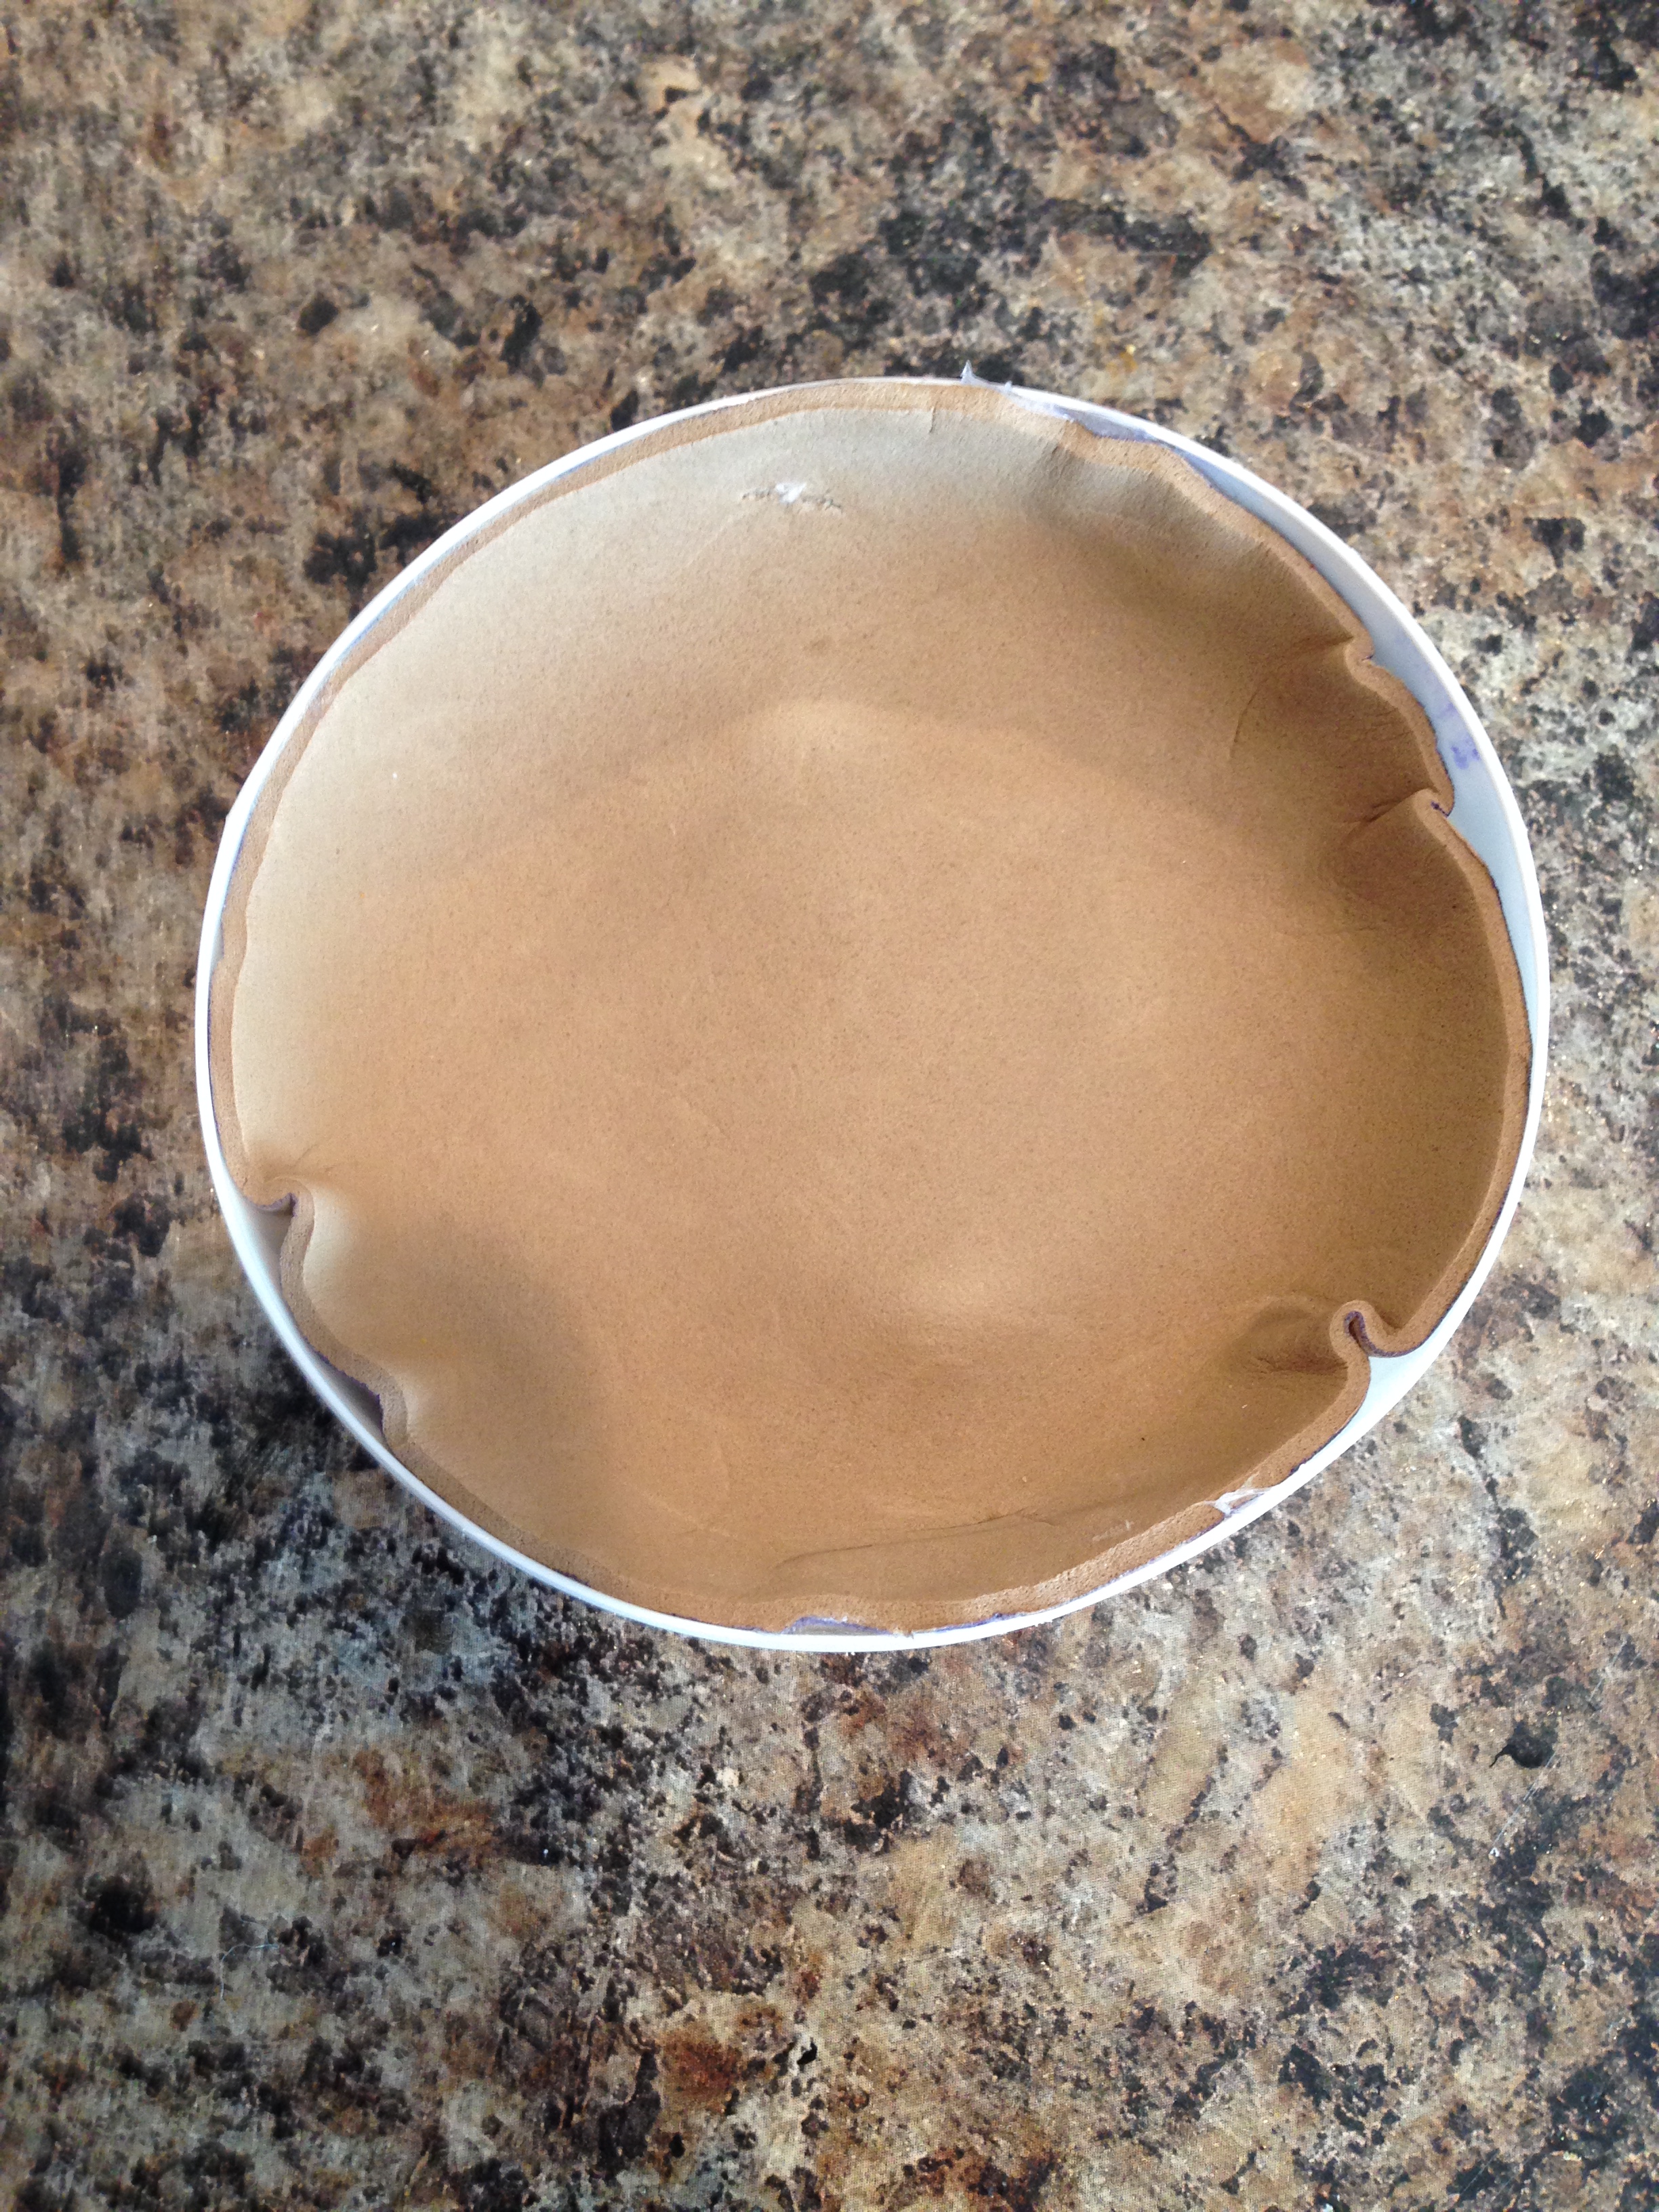
Cut out a tan piece of craft foam to fit into the plastic dish as shown. Hot glue it to the inside.


Insert a strip of tan craft foam to create the edge of the pie. Glue it in. Then fold it down and glue it all the way around to cover the top of the dish.


Fill your pie crust with poly fill or cotton balls. At this point you can start thinking about what kind of pie you would like to make. We made a blueberry pie because we had a lot of blue pom poms on hand. If you don’t have pom poms, you can use pony beads or even cut berry shaped pieces of craft foam to glue on top.


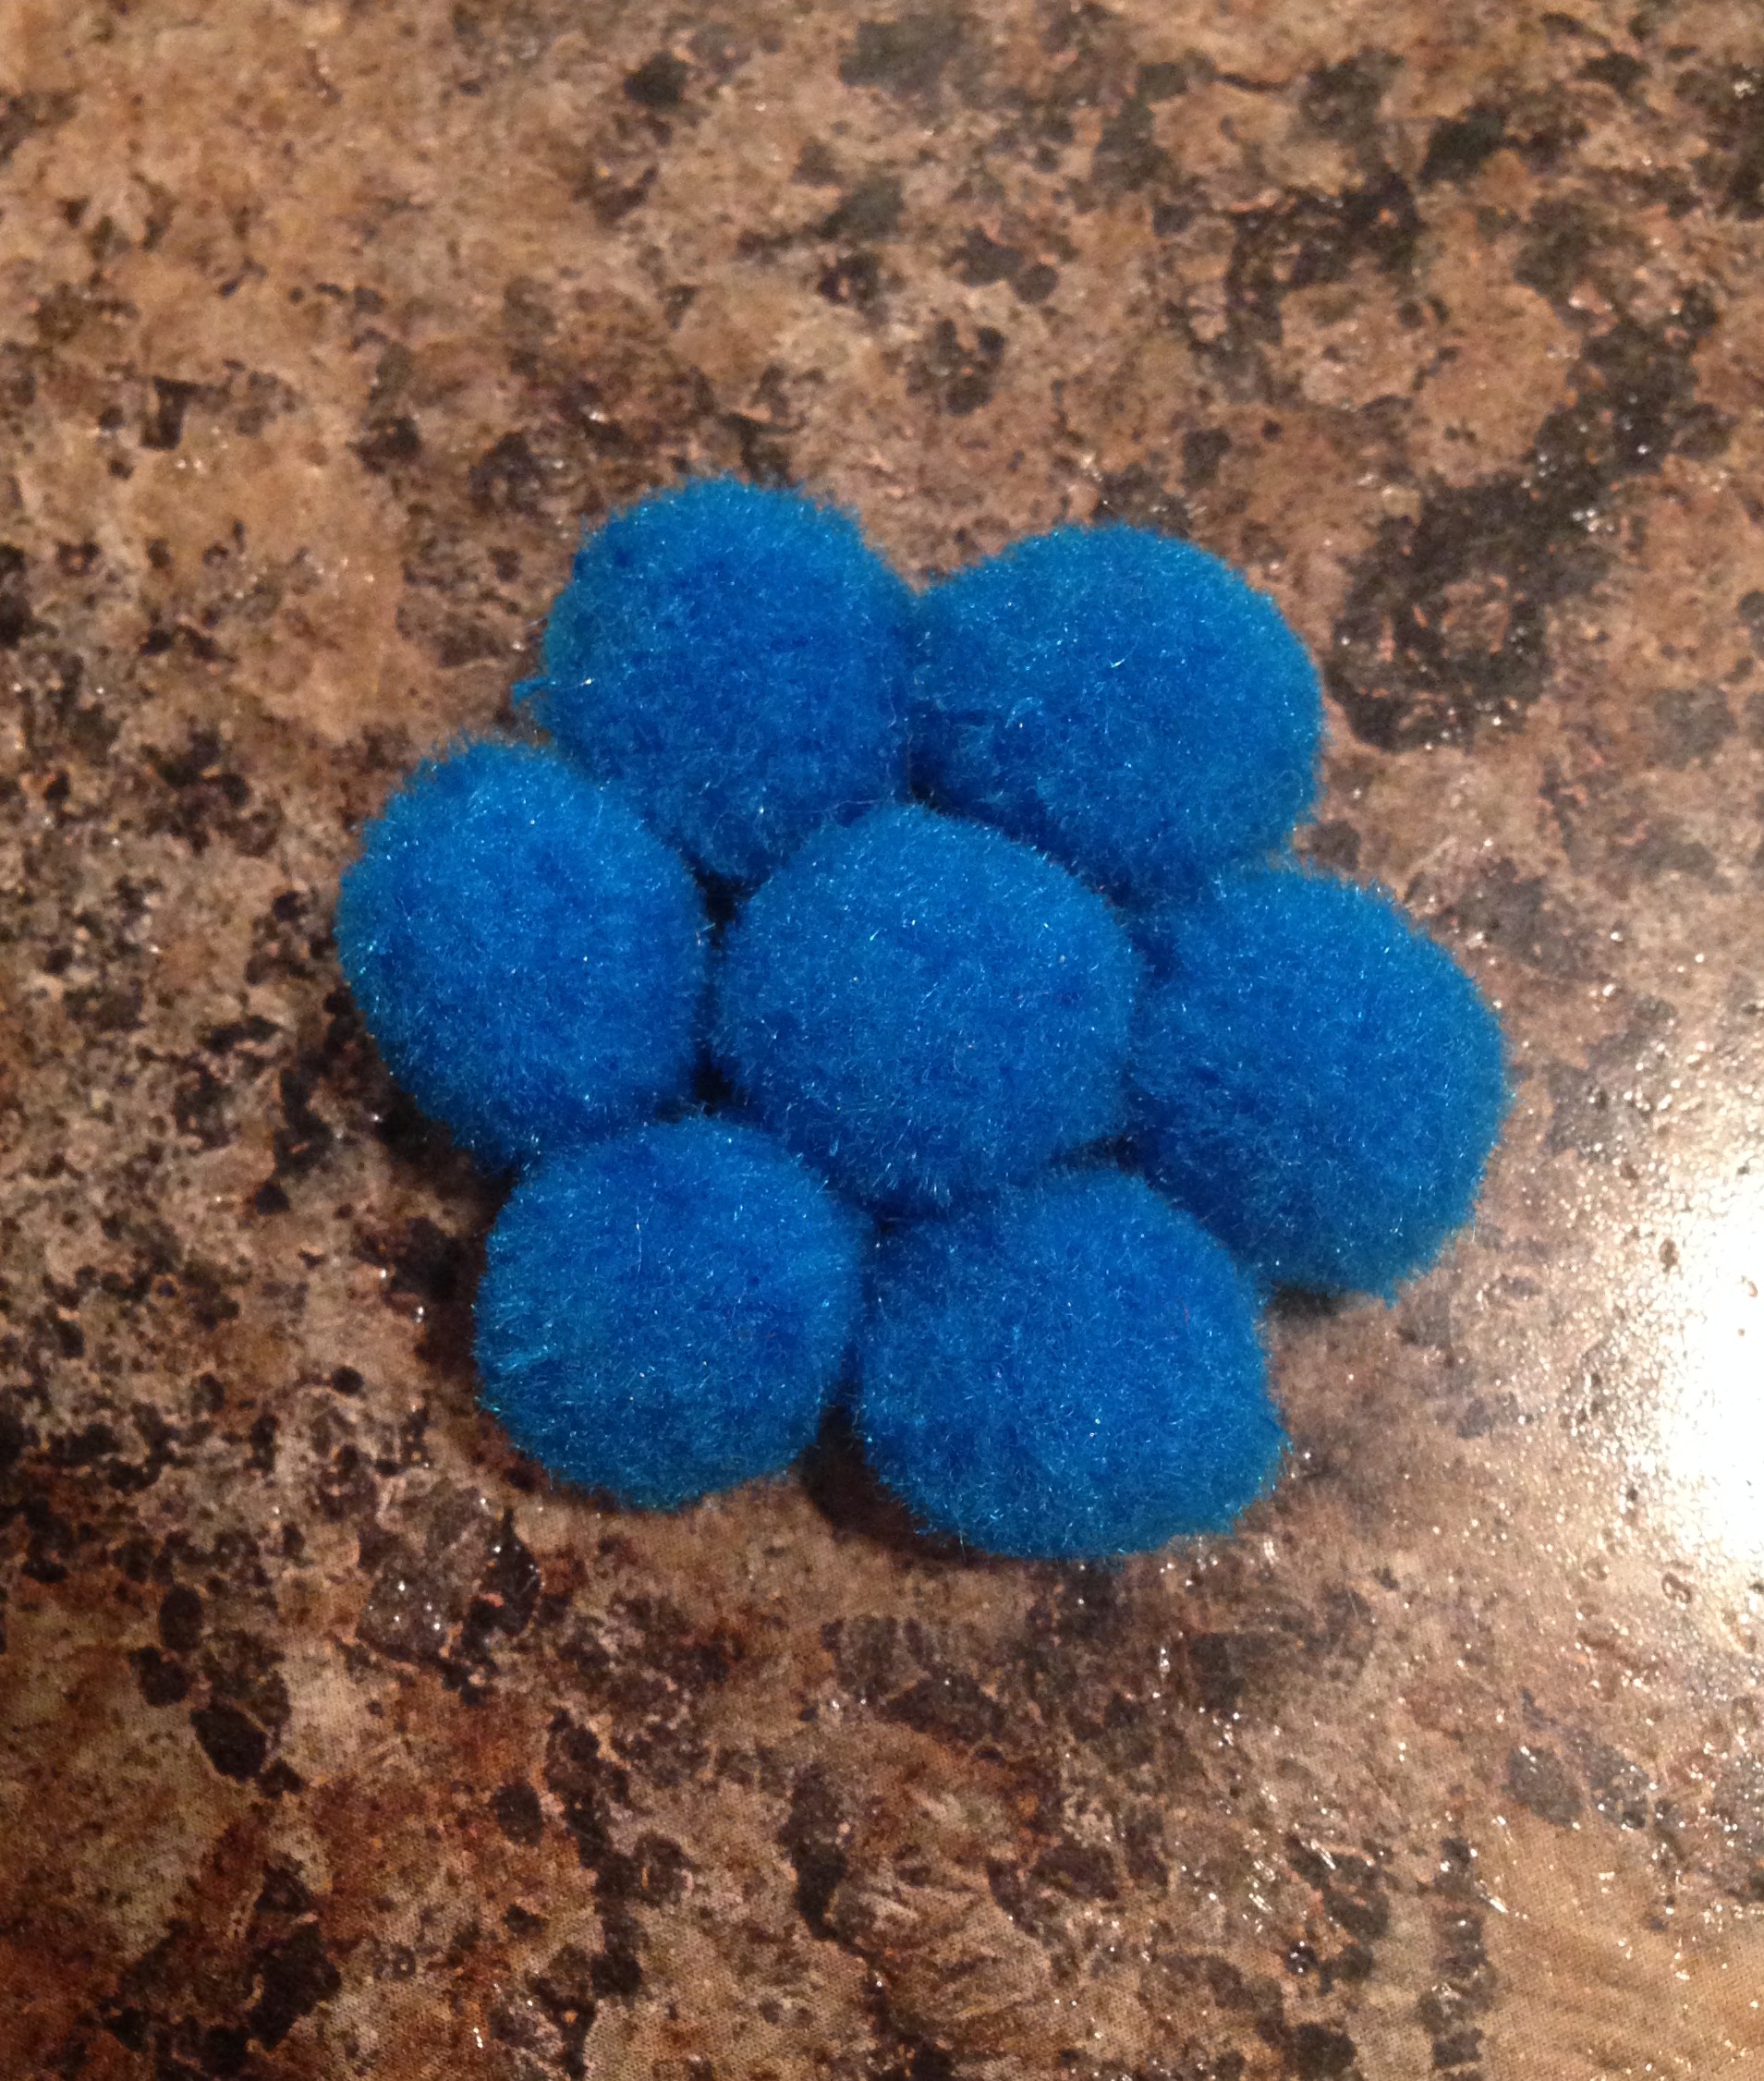
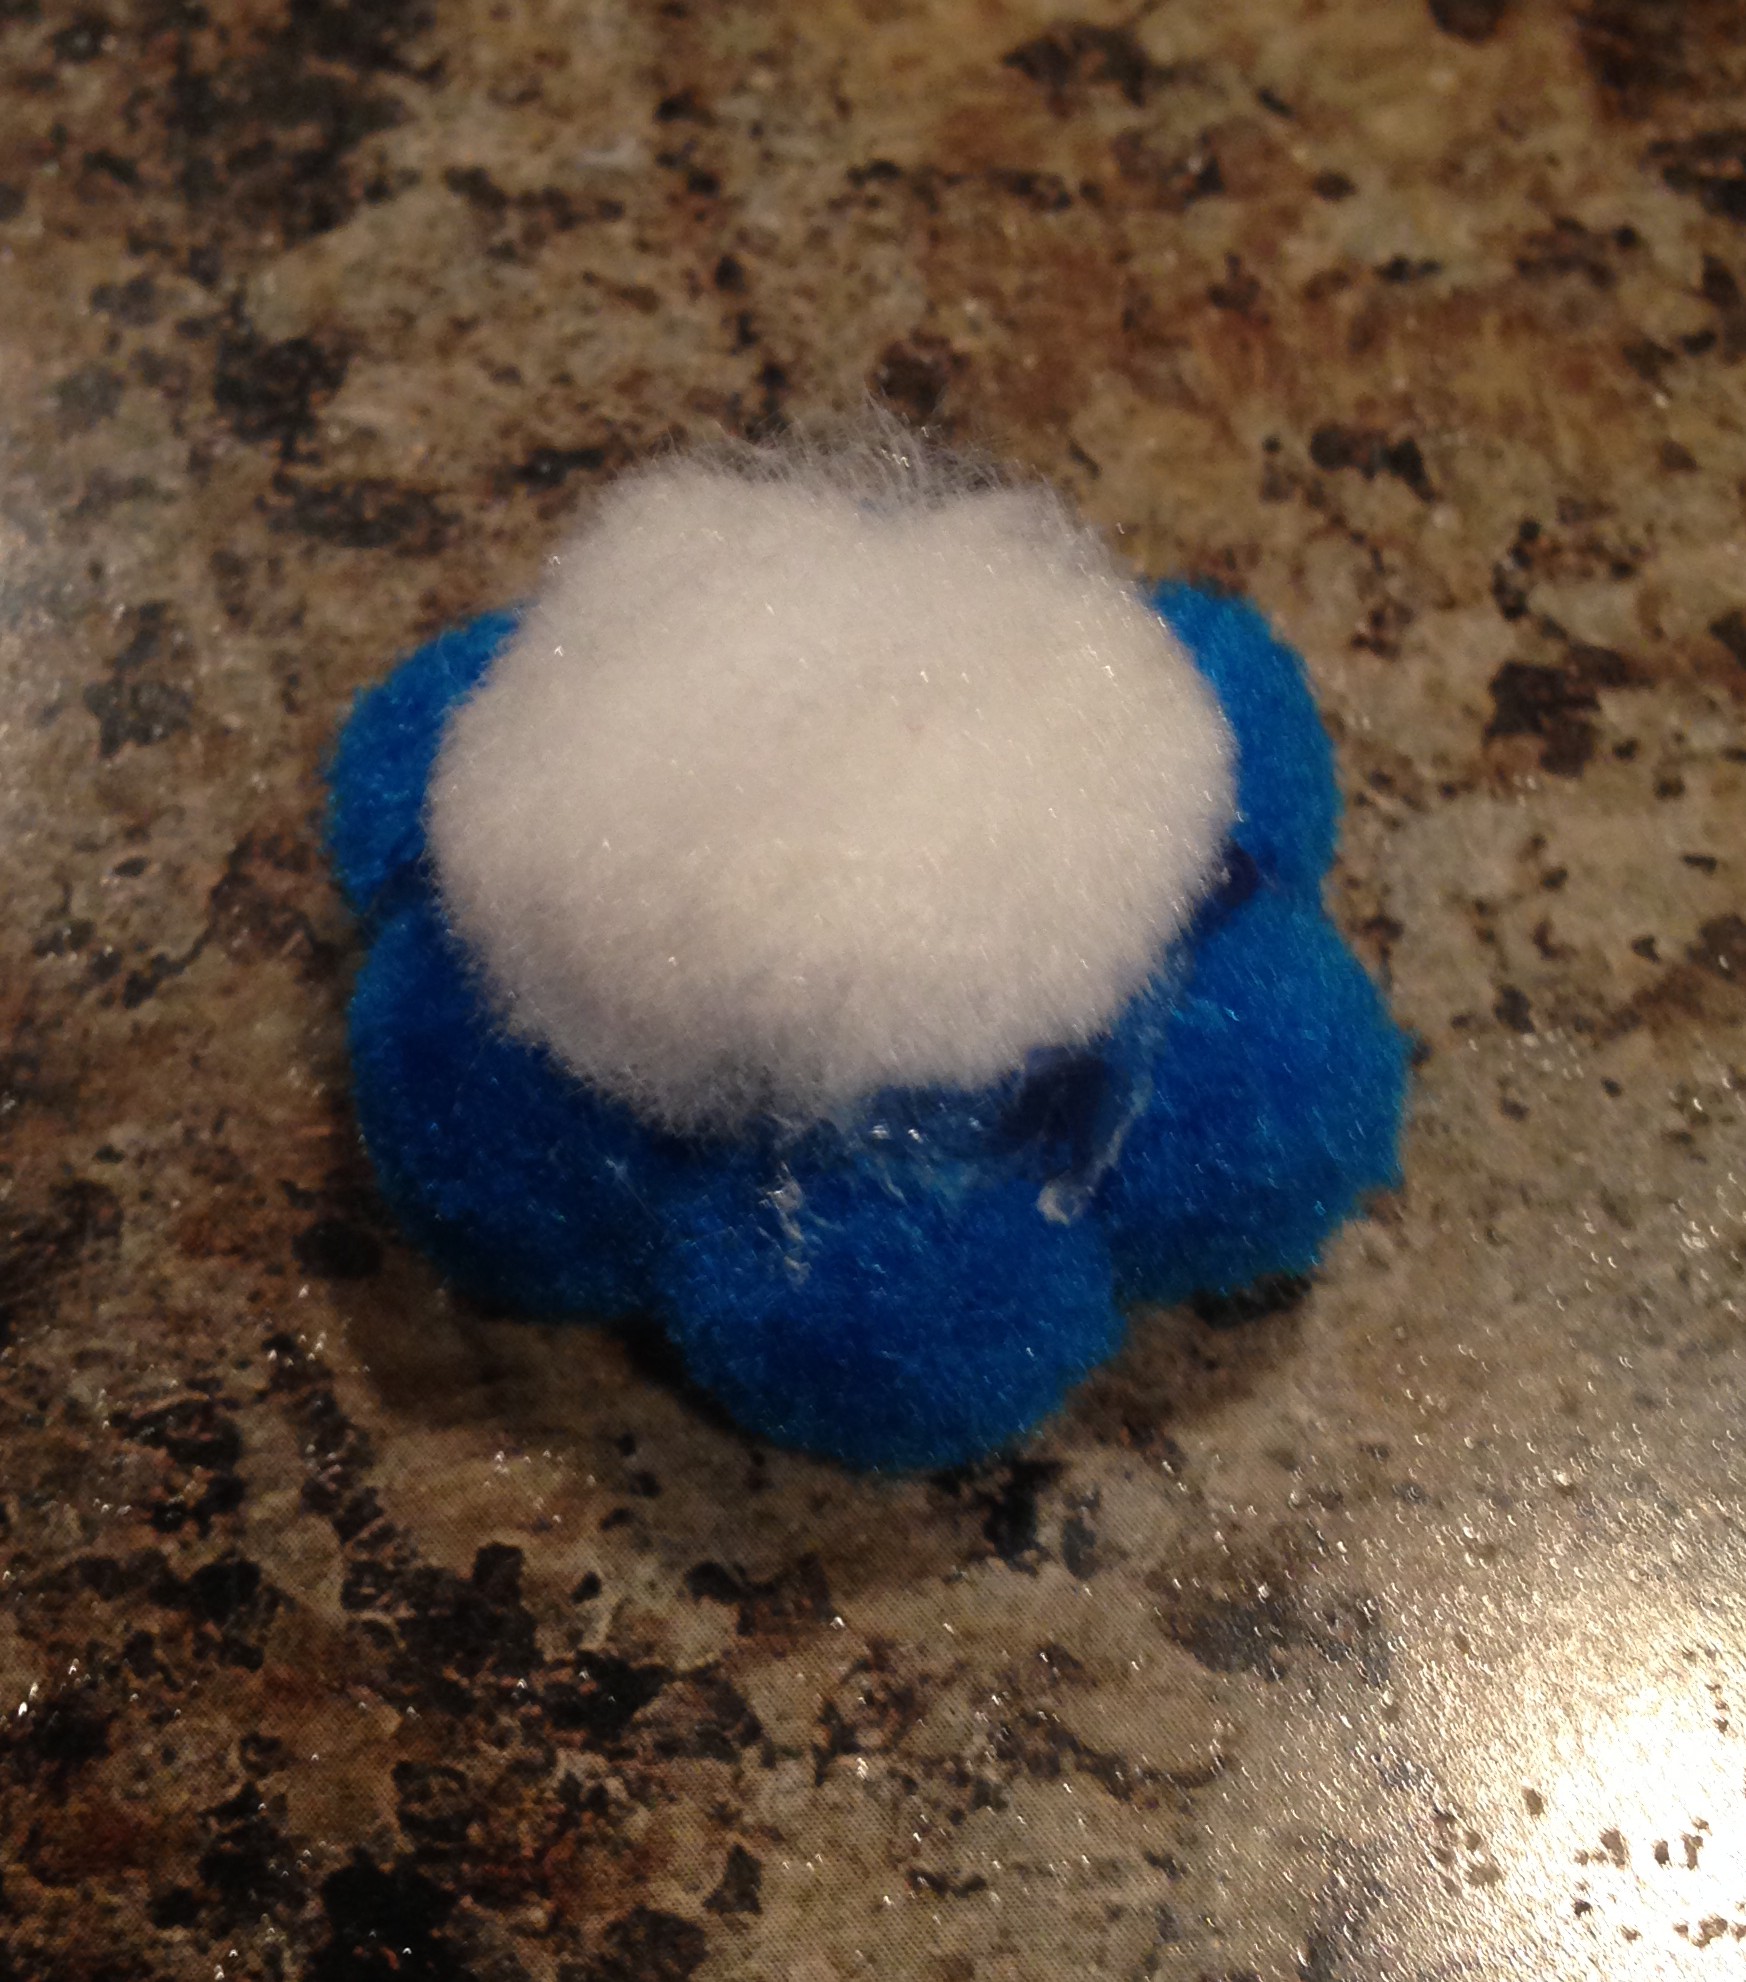
Fill your pie up with pom poms. I added them row by row.
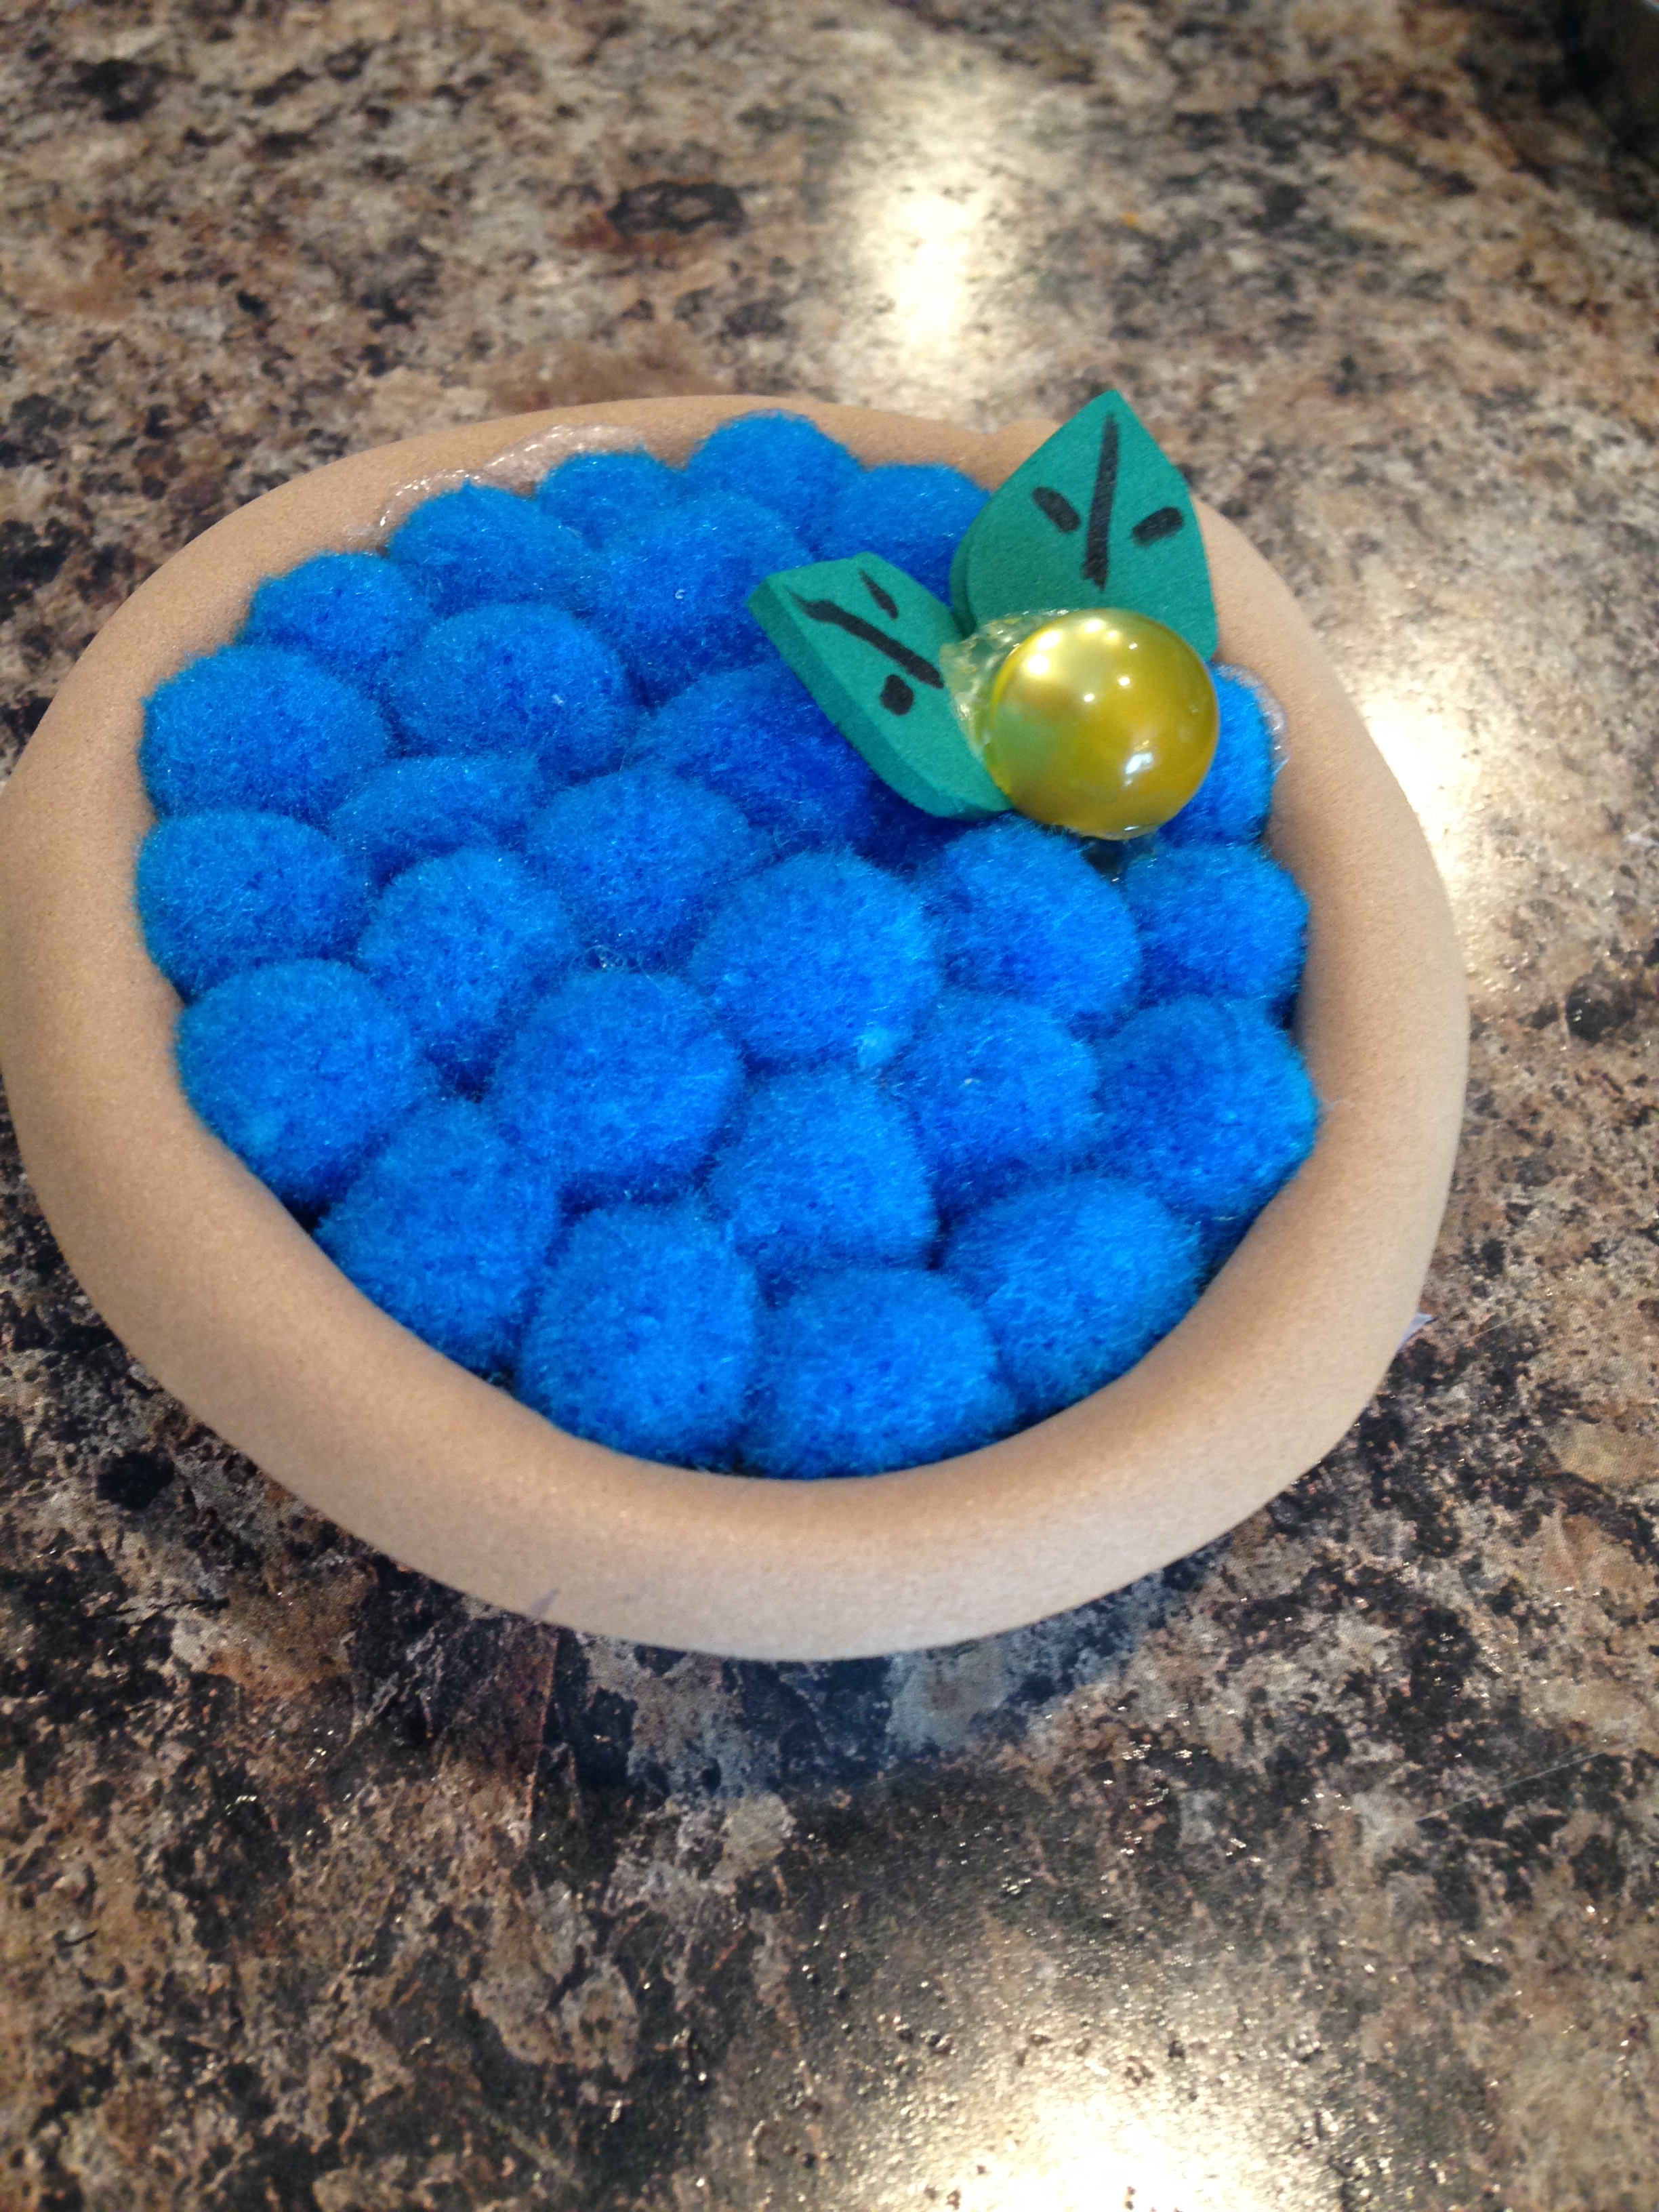
Lastly, add a little garnish and serve! I just stuck a lemon drop button and a couple of leaves cut from a piece of craft foam on top. We added detail to the leaves with a sharpie marker.
Now we have a cute little pie to display on our bakery hutch!
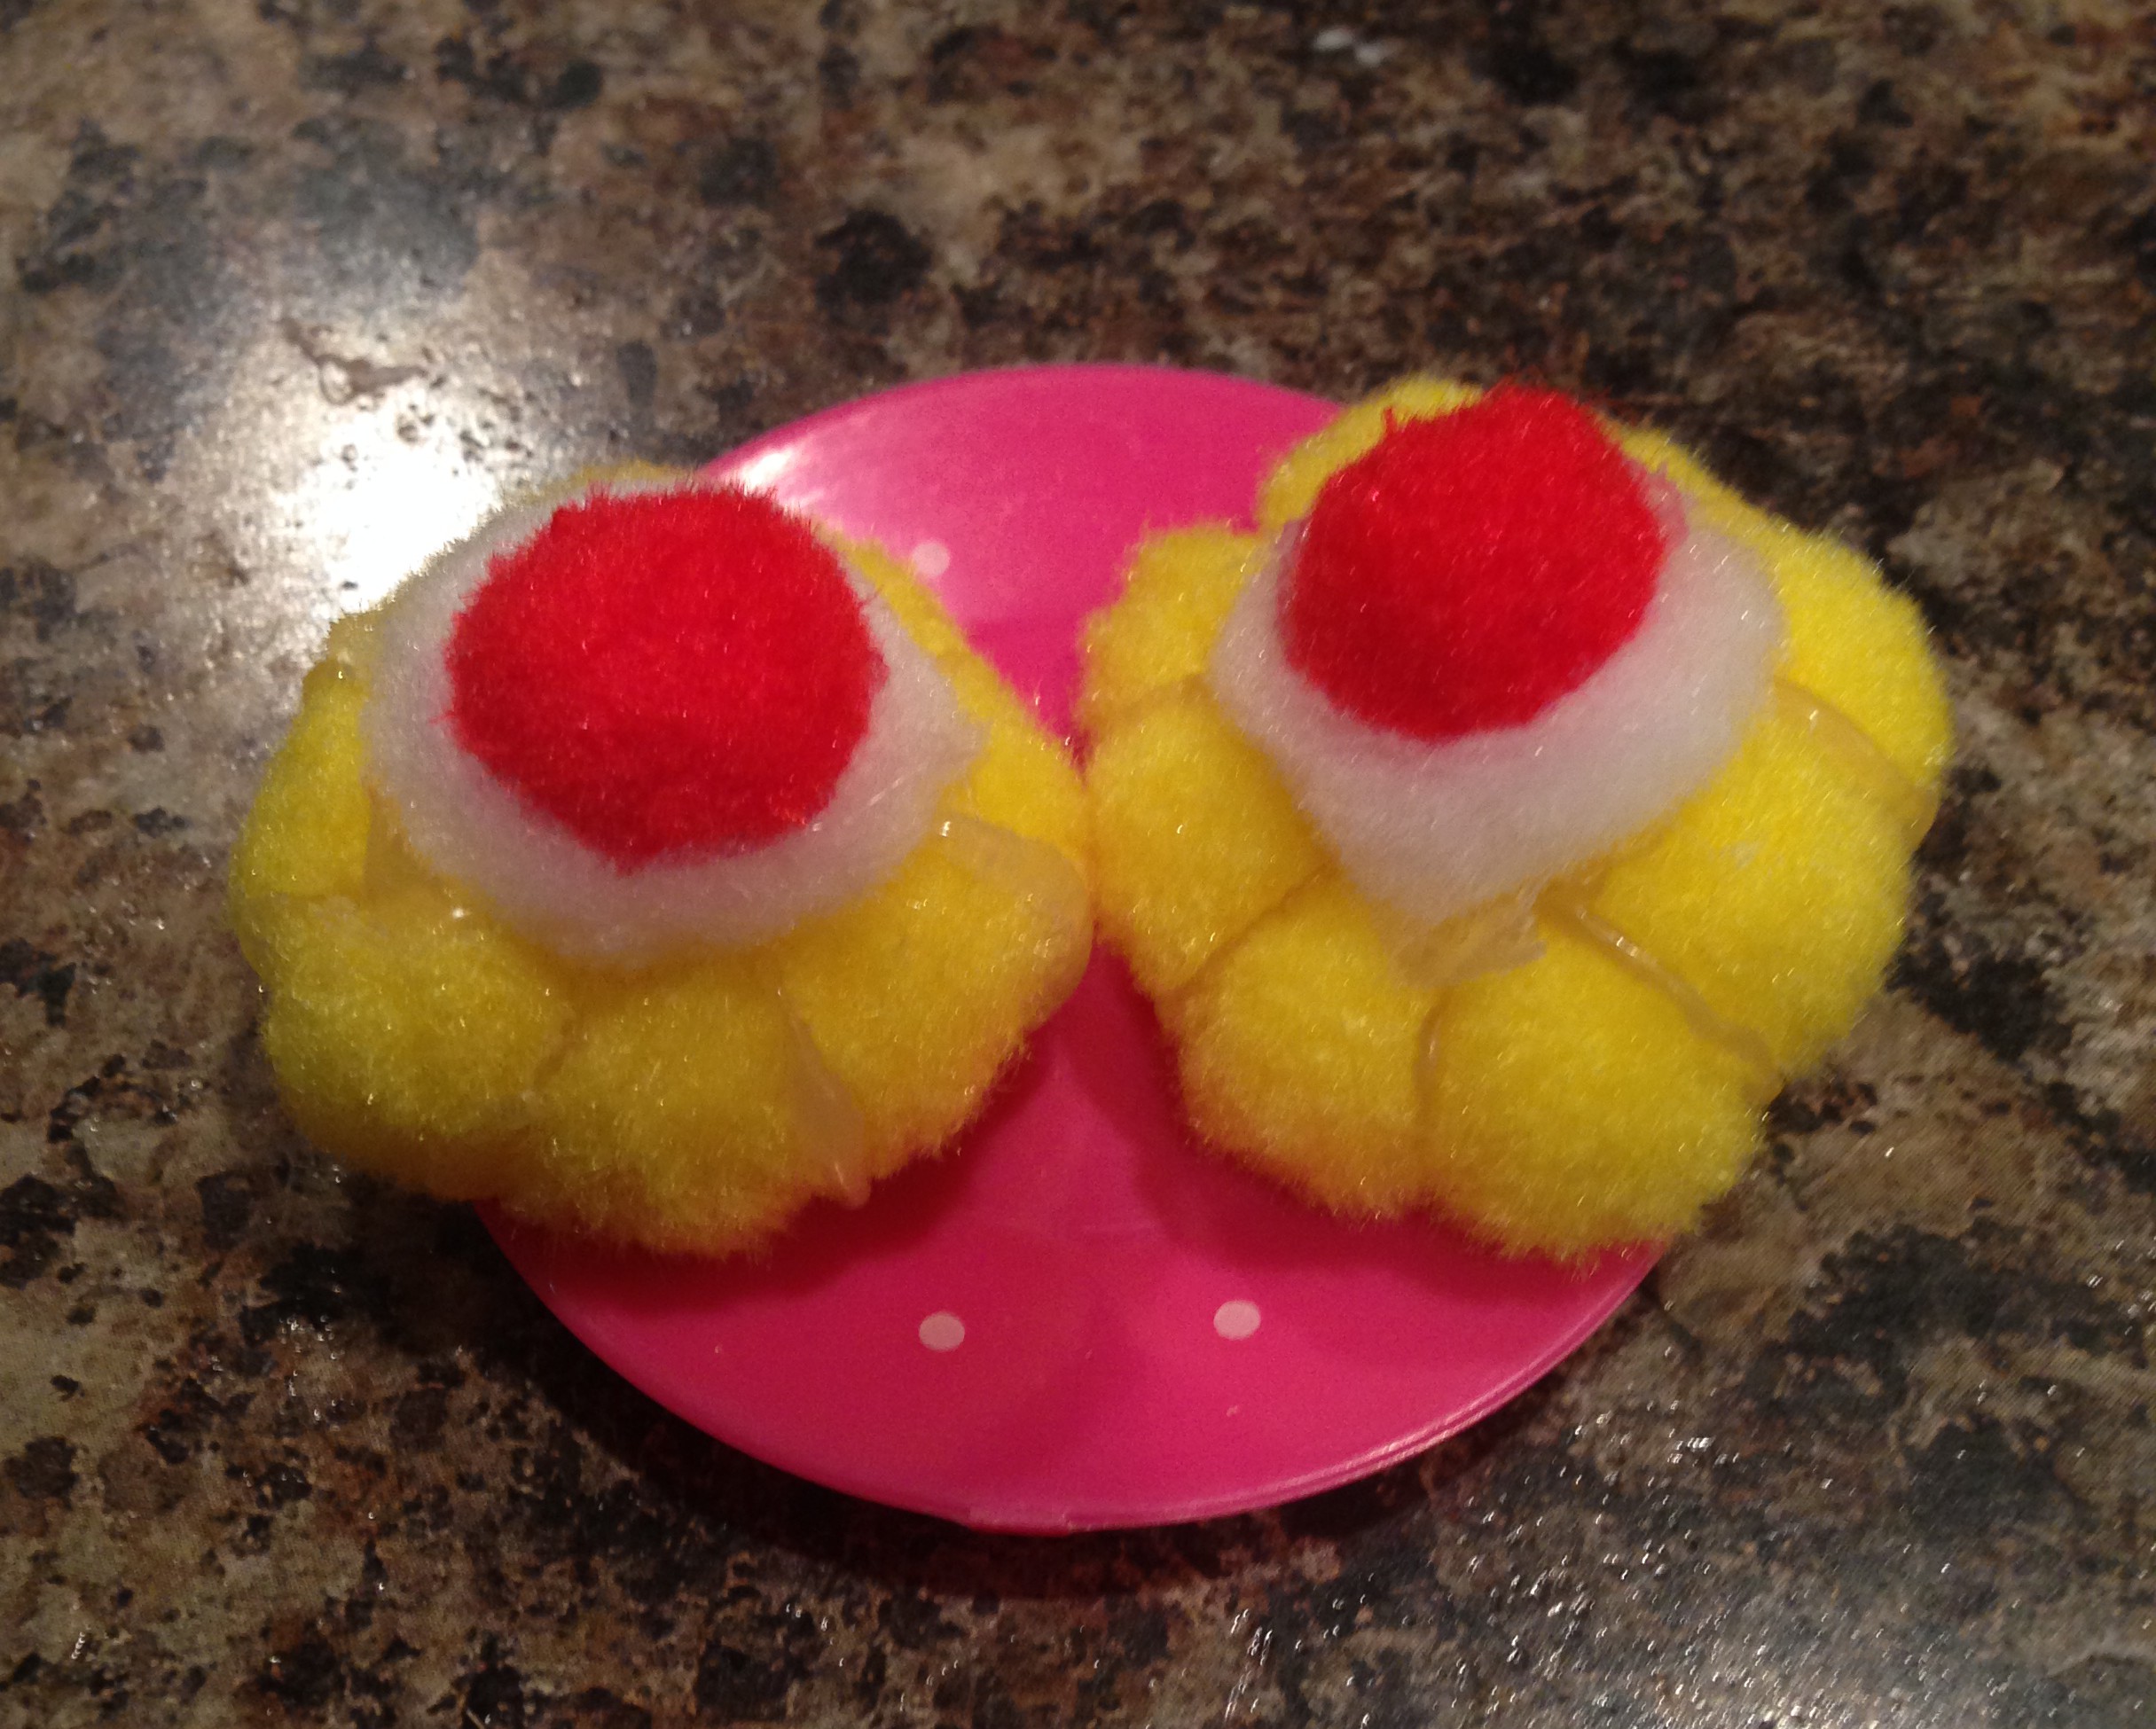
TARTS AND MACARONS
These are very cute to make whenever you have lots of pom poms. They whip up right quick, and they are very easy to make. We had a ton of pom poms.

So we set to work. Here are the mini tarts that we made:
All it needed was a cherry on top. I used a little purple button drop.

We made some in lemon too.

You can also use little red pom poms as cherries. The sky is really the limit for these.
Once I had messed around a bit with gluing pom poms together, I decided to mix it up a bit. I took two red buttons and mashed a pink pom pom in the centre like a sandwich. I thought they were cute as macarons.
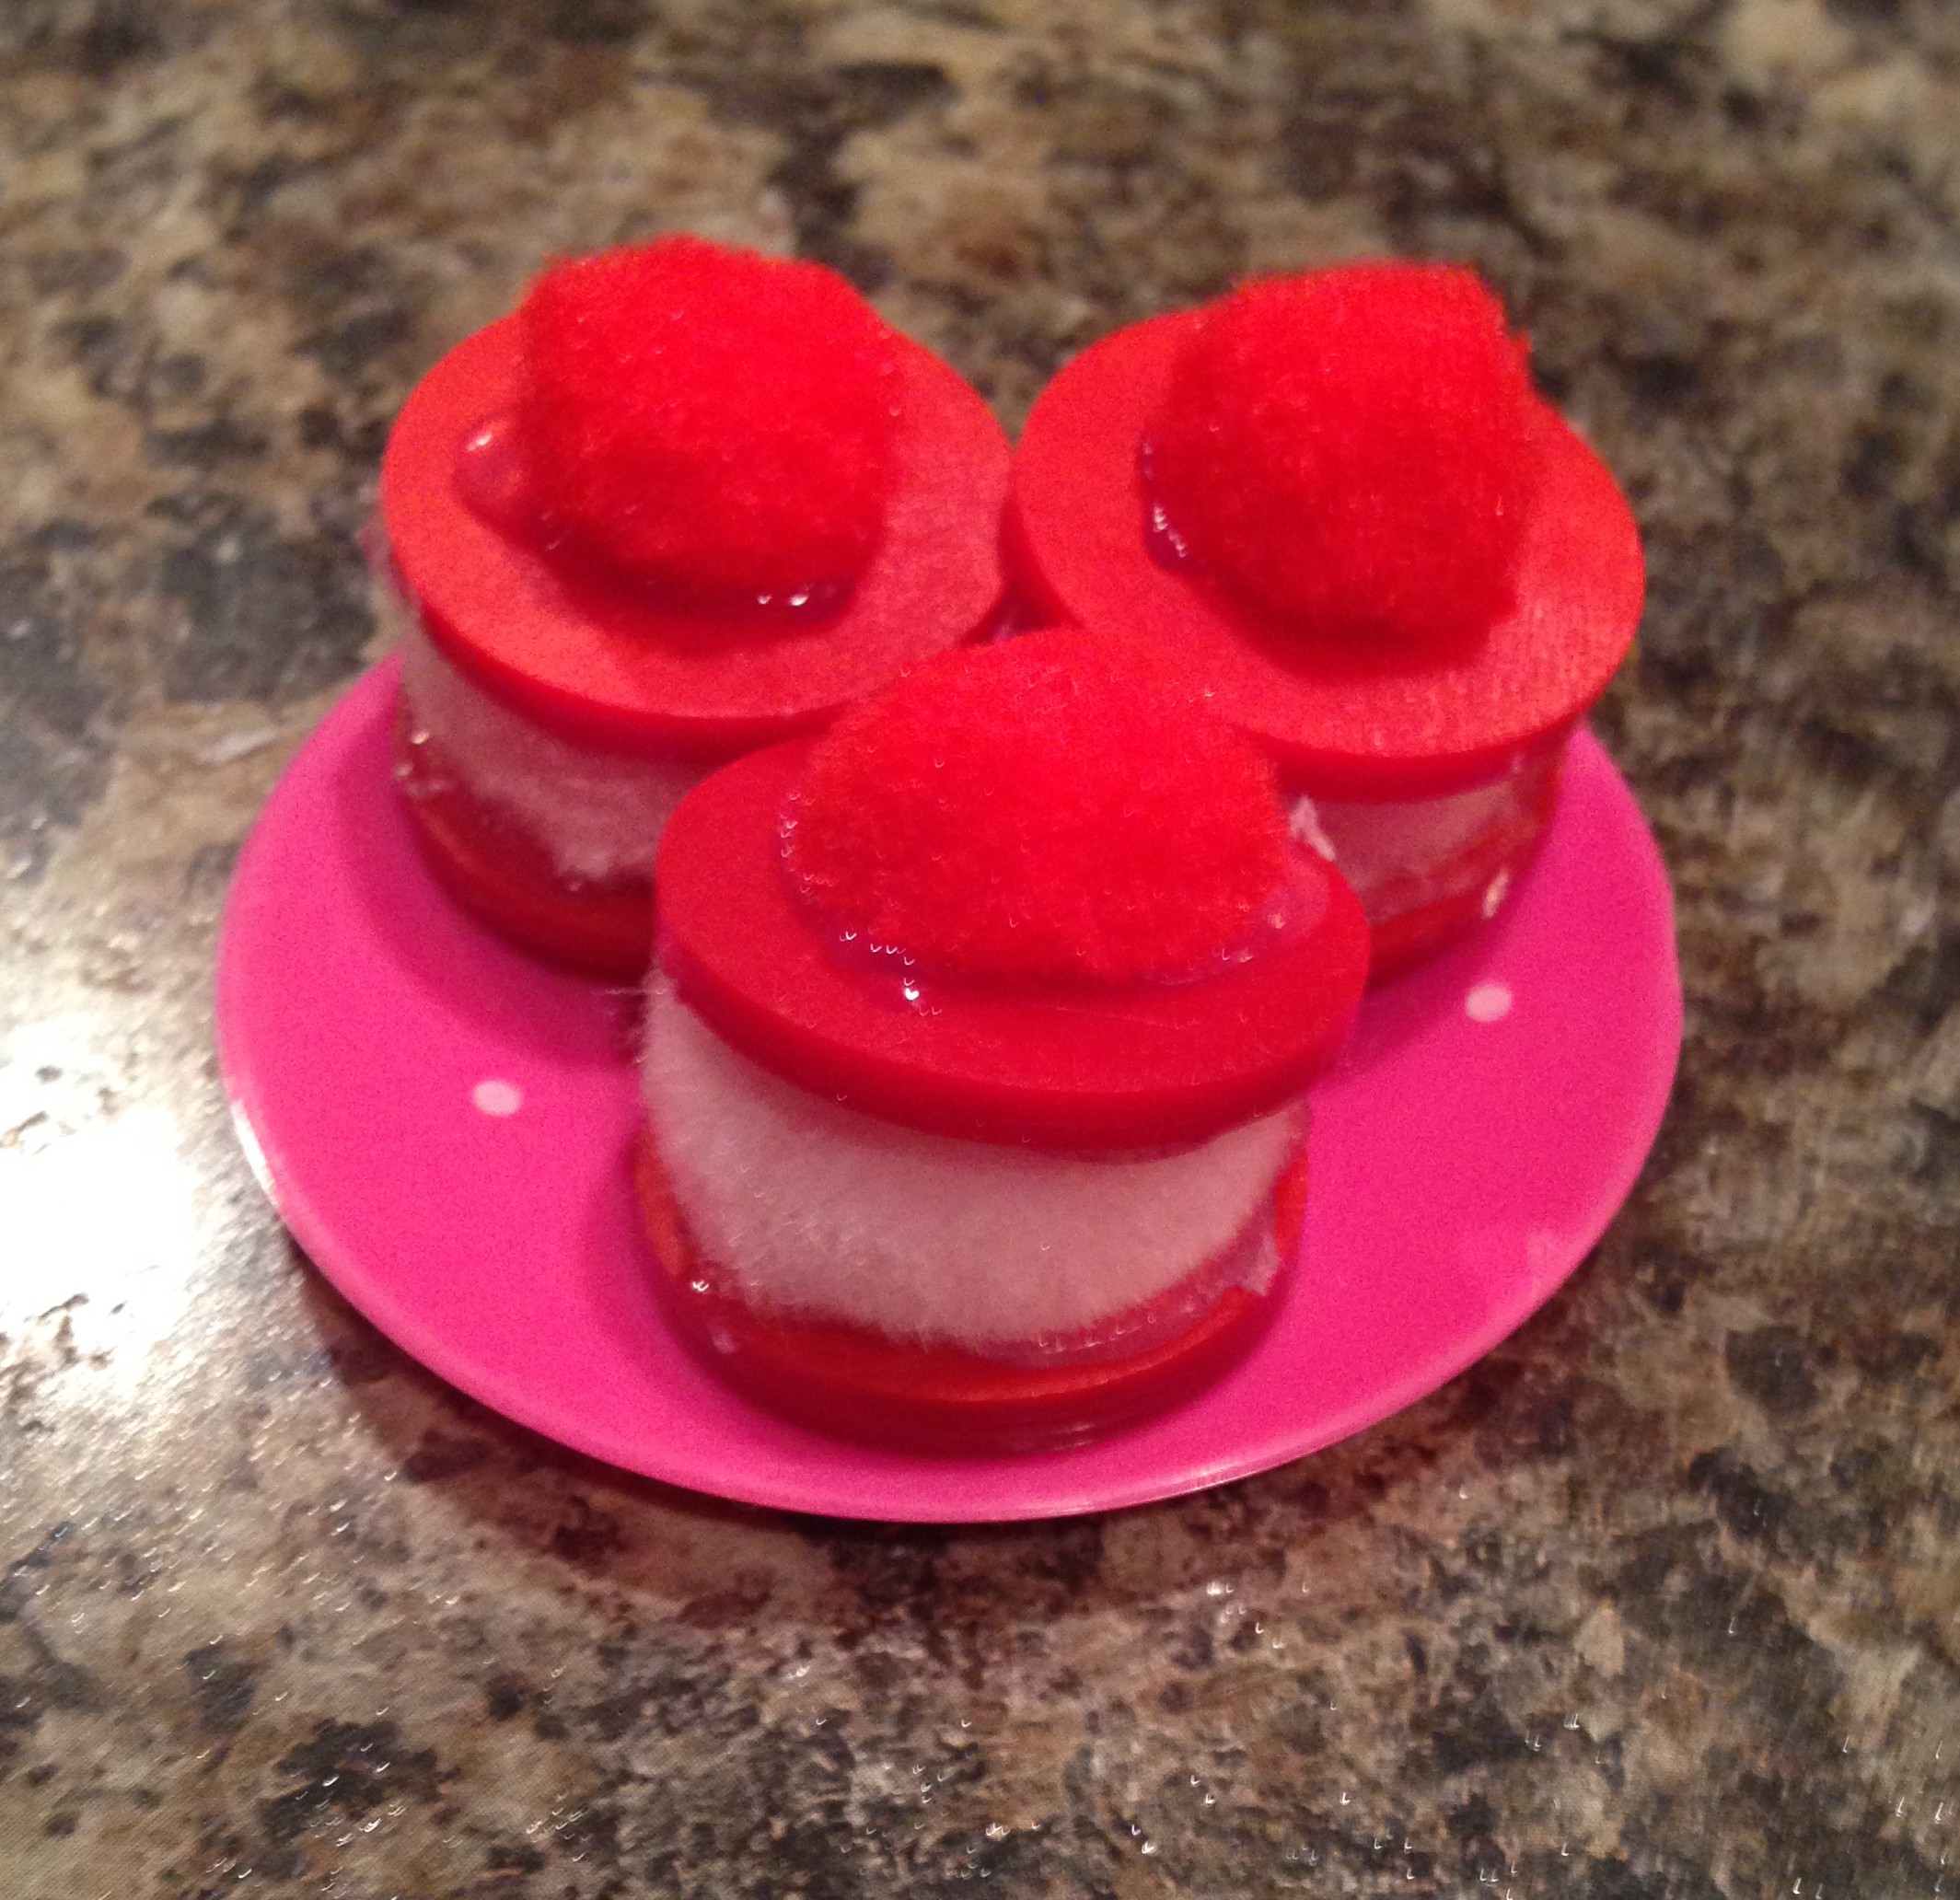
Then I glued a red pom pom on the top as a finishing touch. I love the bright colours! If you have a huge button stash like we do, then there are truly unlimited colour combinations to try.
MILKSHAKES
Of all the sweet treats that we made, these were my favourite. They were a lot of fun to make and the final product is beyond cute.
First gather your supplies. Then put a layer of hot glue at the bottom of your glass. Stuff a little bit of poly fill, or a couple of cotton balls into the hot glue. Glue four coloured pom poms on top. The white pom pom is the whipped cream and the cherry on top is a red pom pom.
Make as many as you want!

To make straws you can either use lollipop sticks, q-tips with the ends cut off, or actual straws from juice boxes. We just used lollipop sticks cut to size. Then we drew red lines on with a fine tipped red marker.
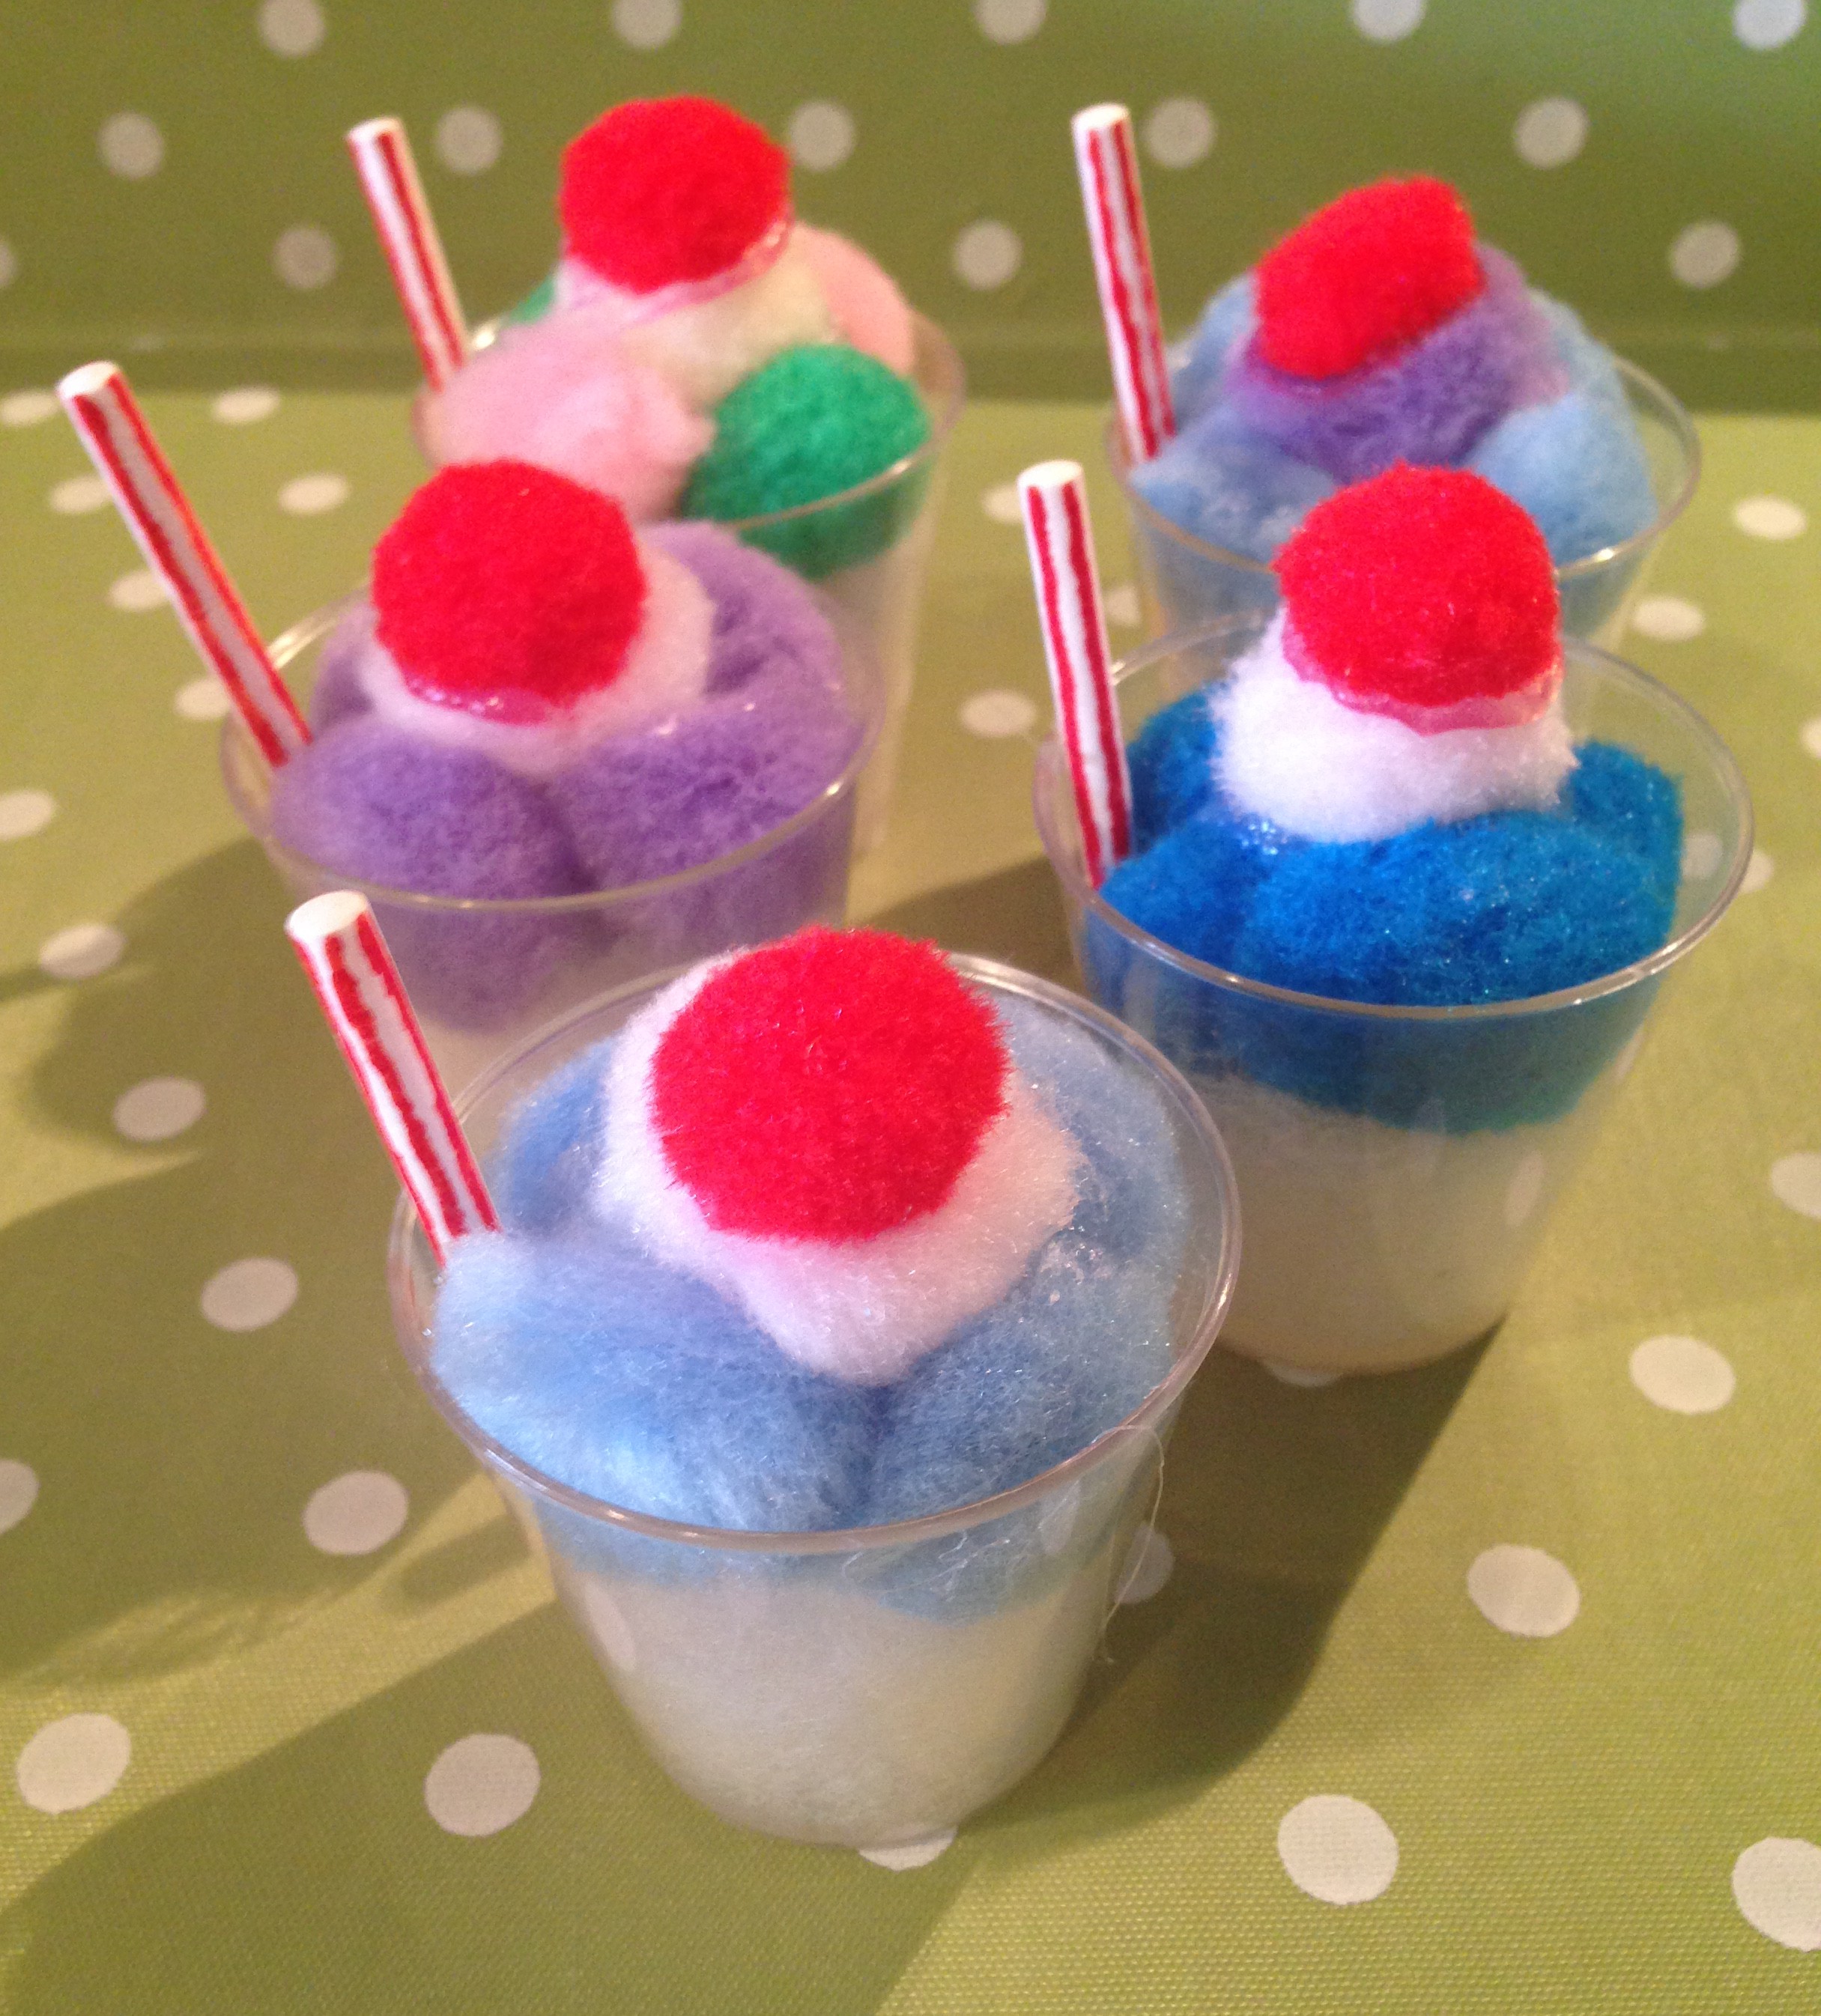
I think they turned out very cute!
ROCK CANDY
This isn’t exactly a bakery treat, but it is still very cute, and it could be used at a carnival like the one that we set up here.
All you need to make your own rock candy for your dolls is a toothpick and some T shaped beads. Go ahead and watch the tutorial over at one of our favourite doll channels AmericanGirlIdeas.com
Here are some pics of the rock candy that we made. How cute!!


FOAM FOODS
I could have written an entire post about creating food for your dolls out of craft foam. Seriously. It’s a very simple material, but you can make quite a few treats for your doll bakery out of it. We ended up making croissants, a jelly roll and even a birthday cake.

To make the croissants, cut a triangle out of tan foam and roll it up with a bit of glue. If you use a smaller triangle, you get a little cinnabon roll. I put a little red bead on top of mine. The jelly rolls are just three strips of craft foam in tan, white and red all rolled up together and glued into place. Easy! You could make up a whole pile of these to put on display in your bakery in no time at all!

This is the large jelly roll cake. It was made in the same way that we made the individual serving pieces, just with wider strips of foam. We added some buttons to the top as berries and used some green craft foam as leaves for a garnish. The possibilities are truly endless!
Next up is the birthday cake. It was quite easy to do. Just take a toilet paper roll and wrap it up in white craft foam. Cut it down to size. Then add two white circles, one on the top and one on the bottom.
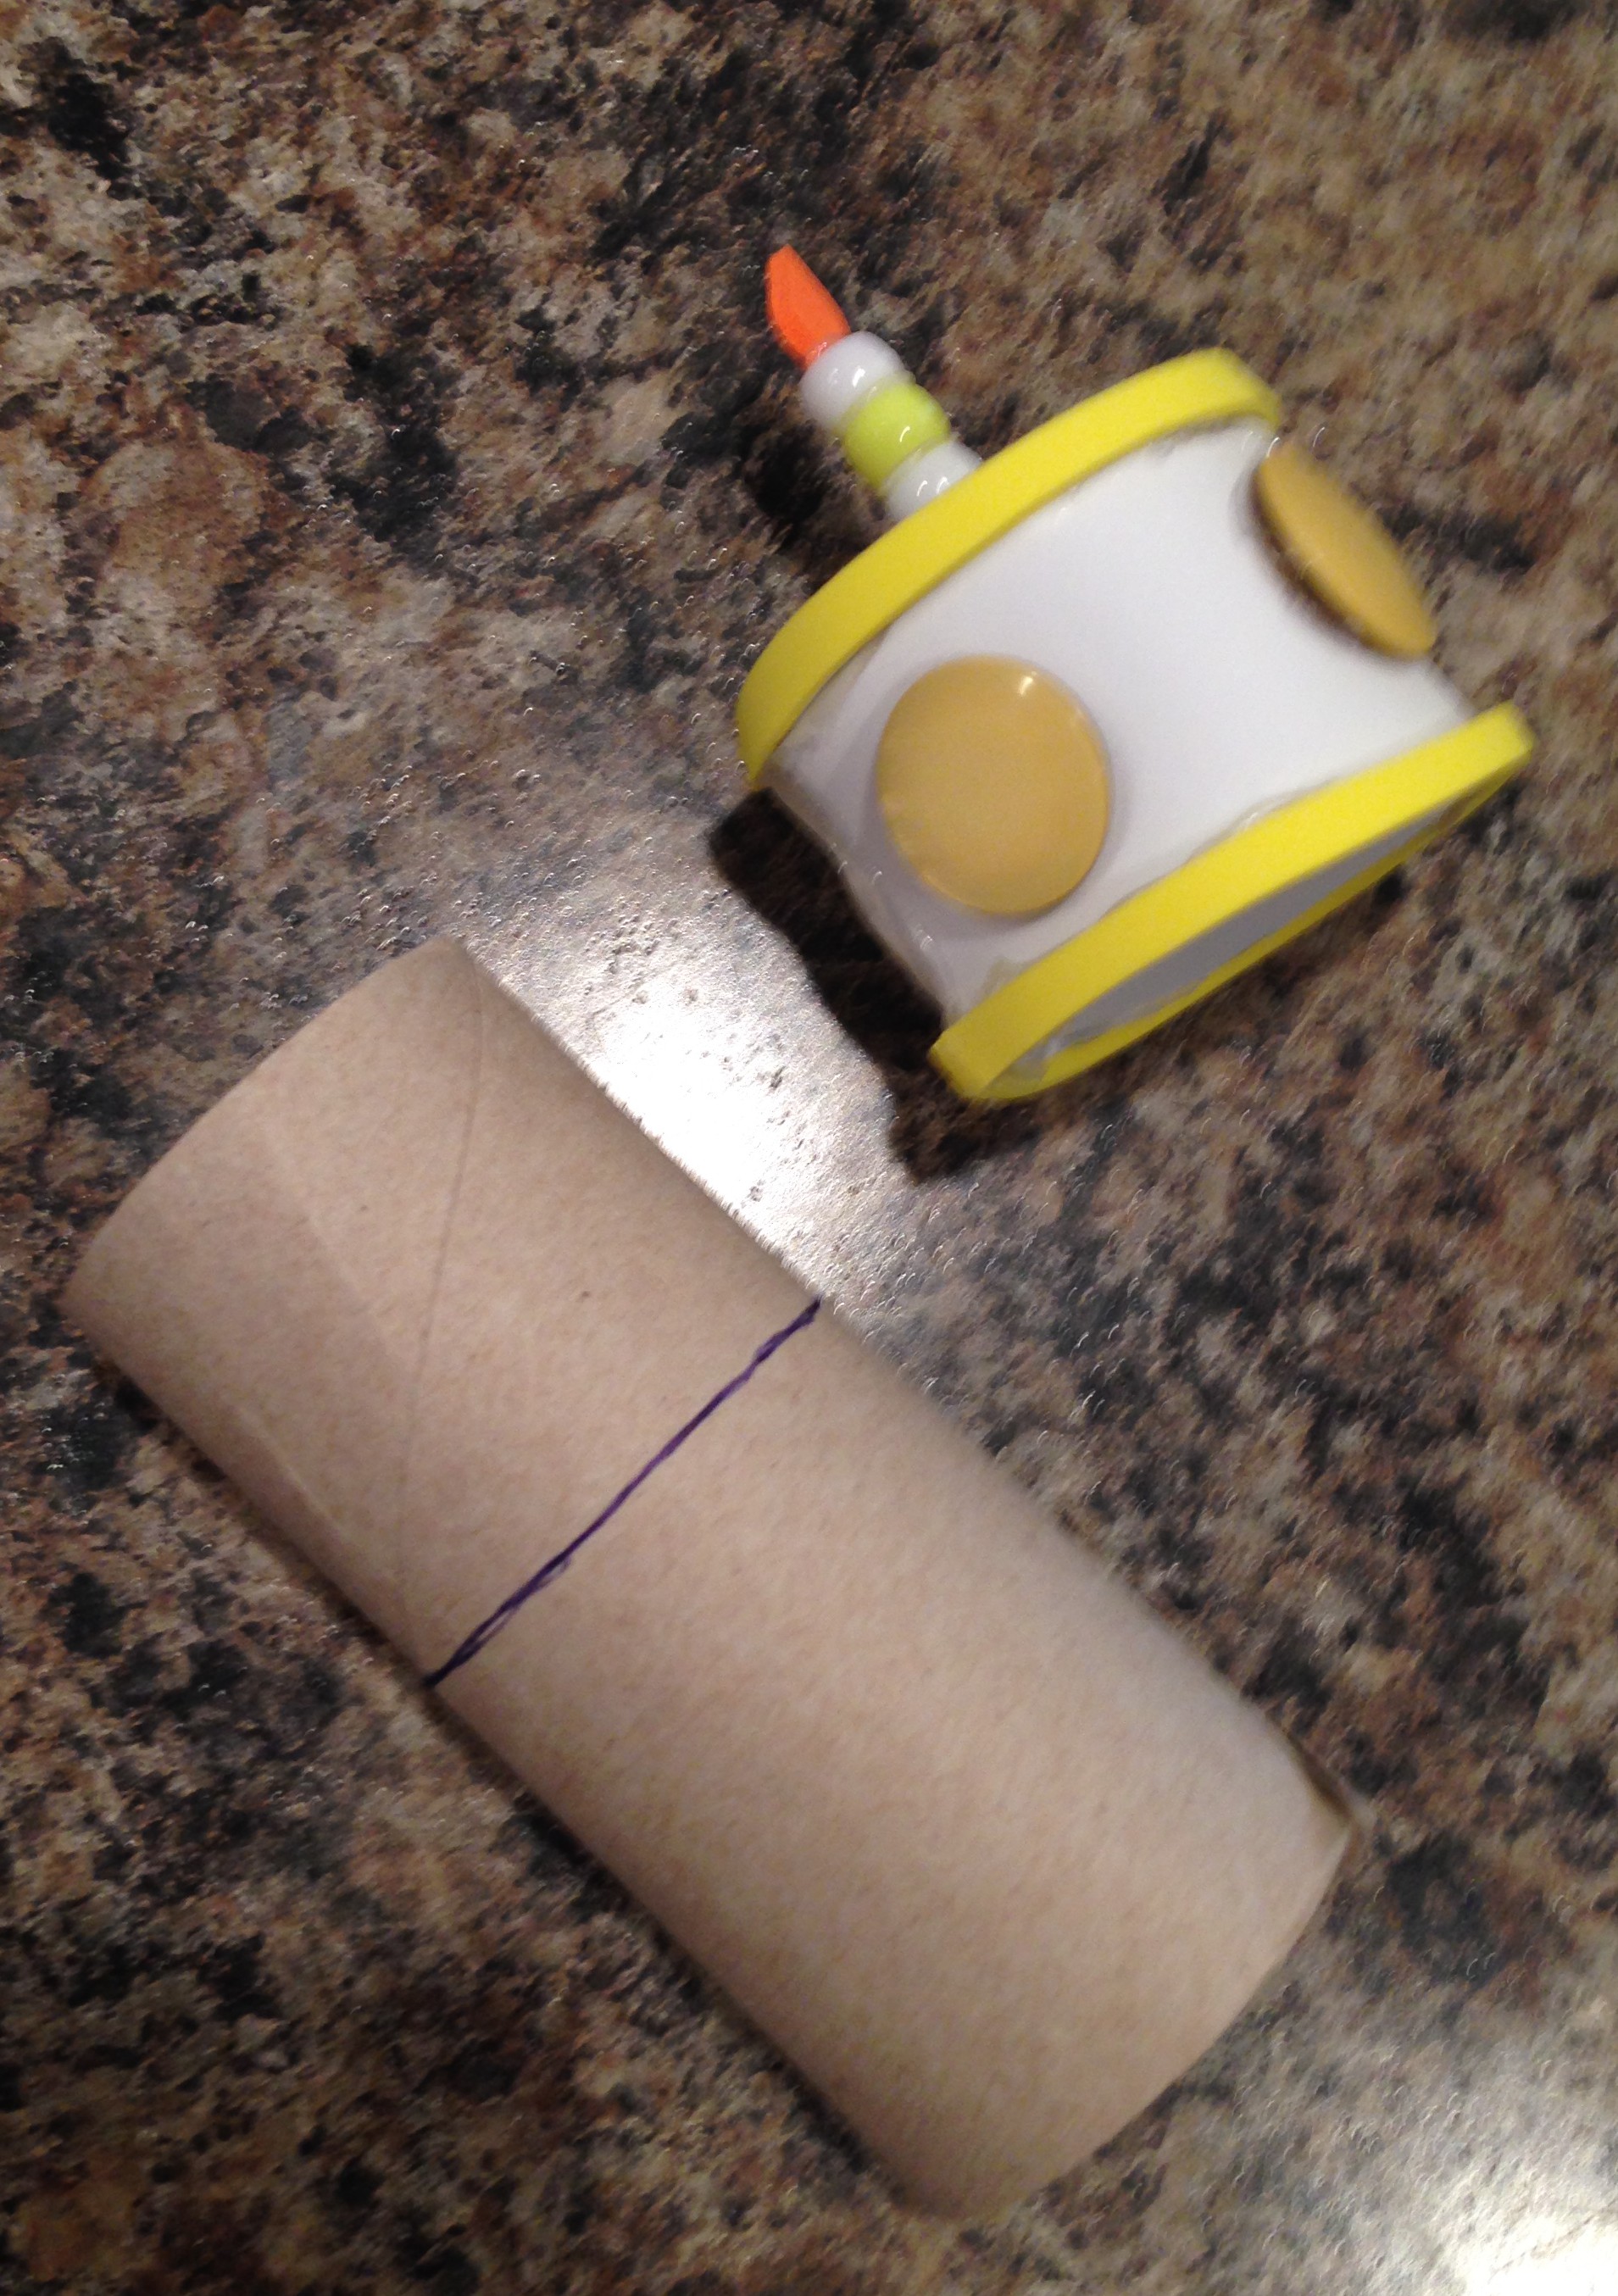

Decorate it however you like. We added some yellow foam trim, some round buttons for polka dots, and we stacked some pony beads on top for a candle. The flame is orange craft foam.
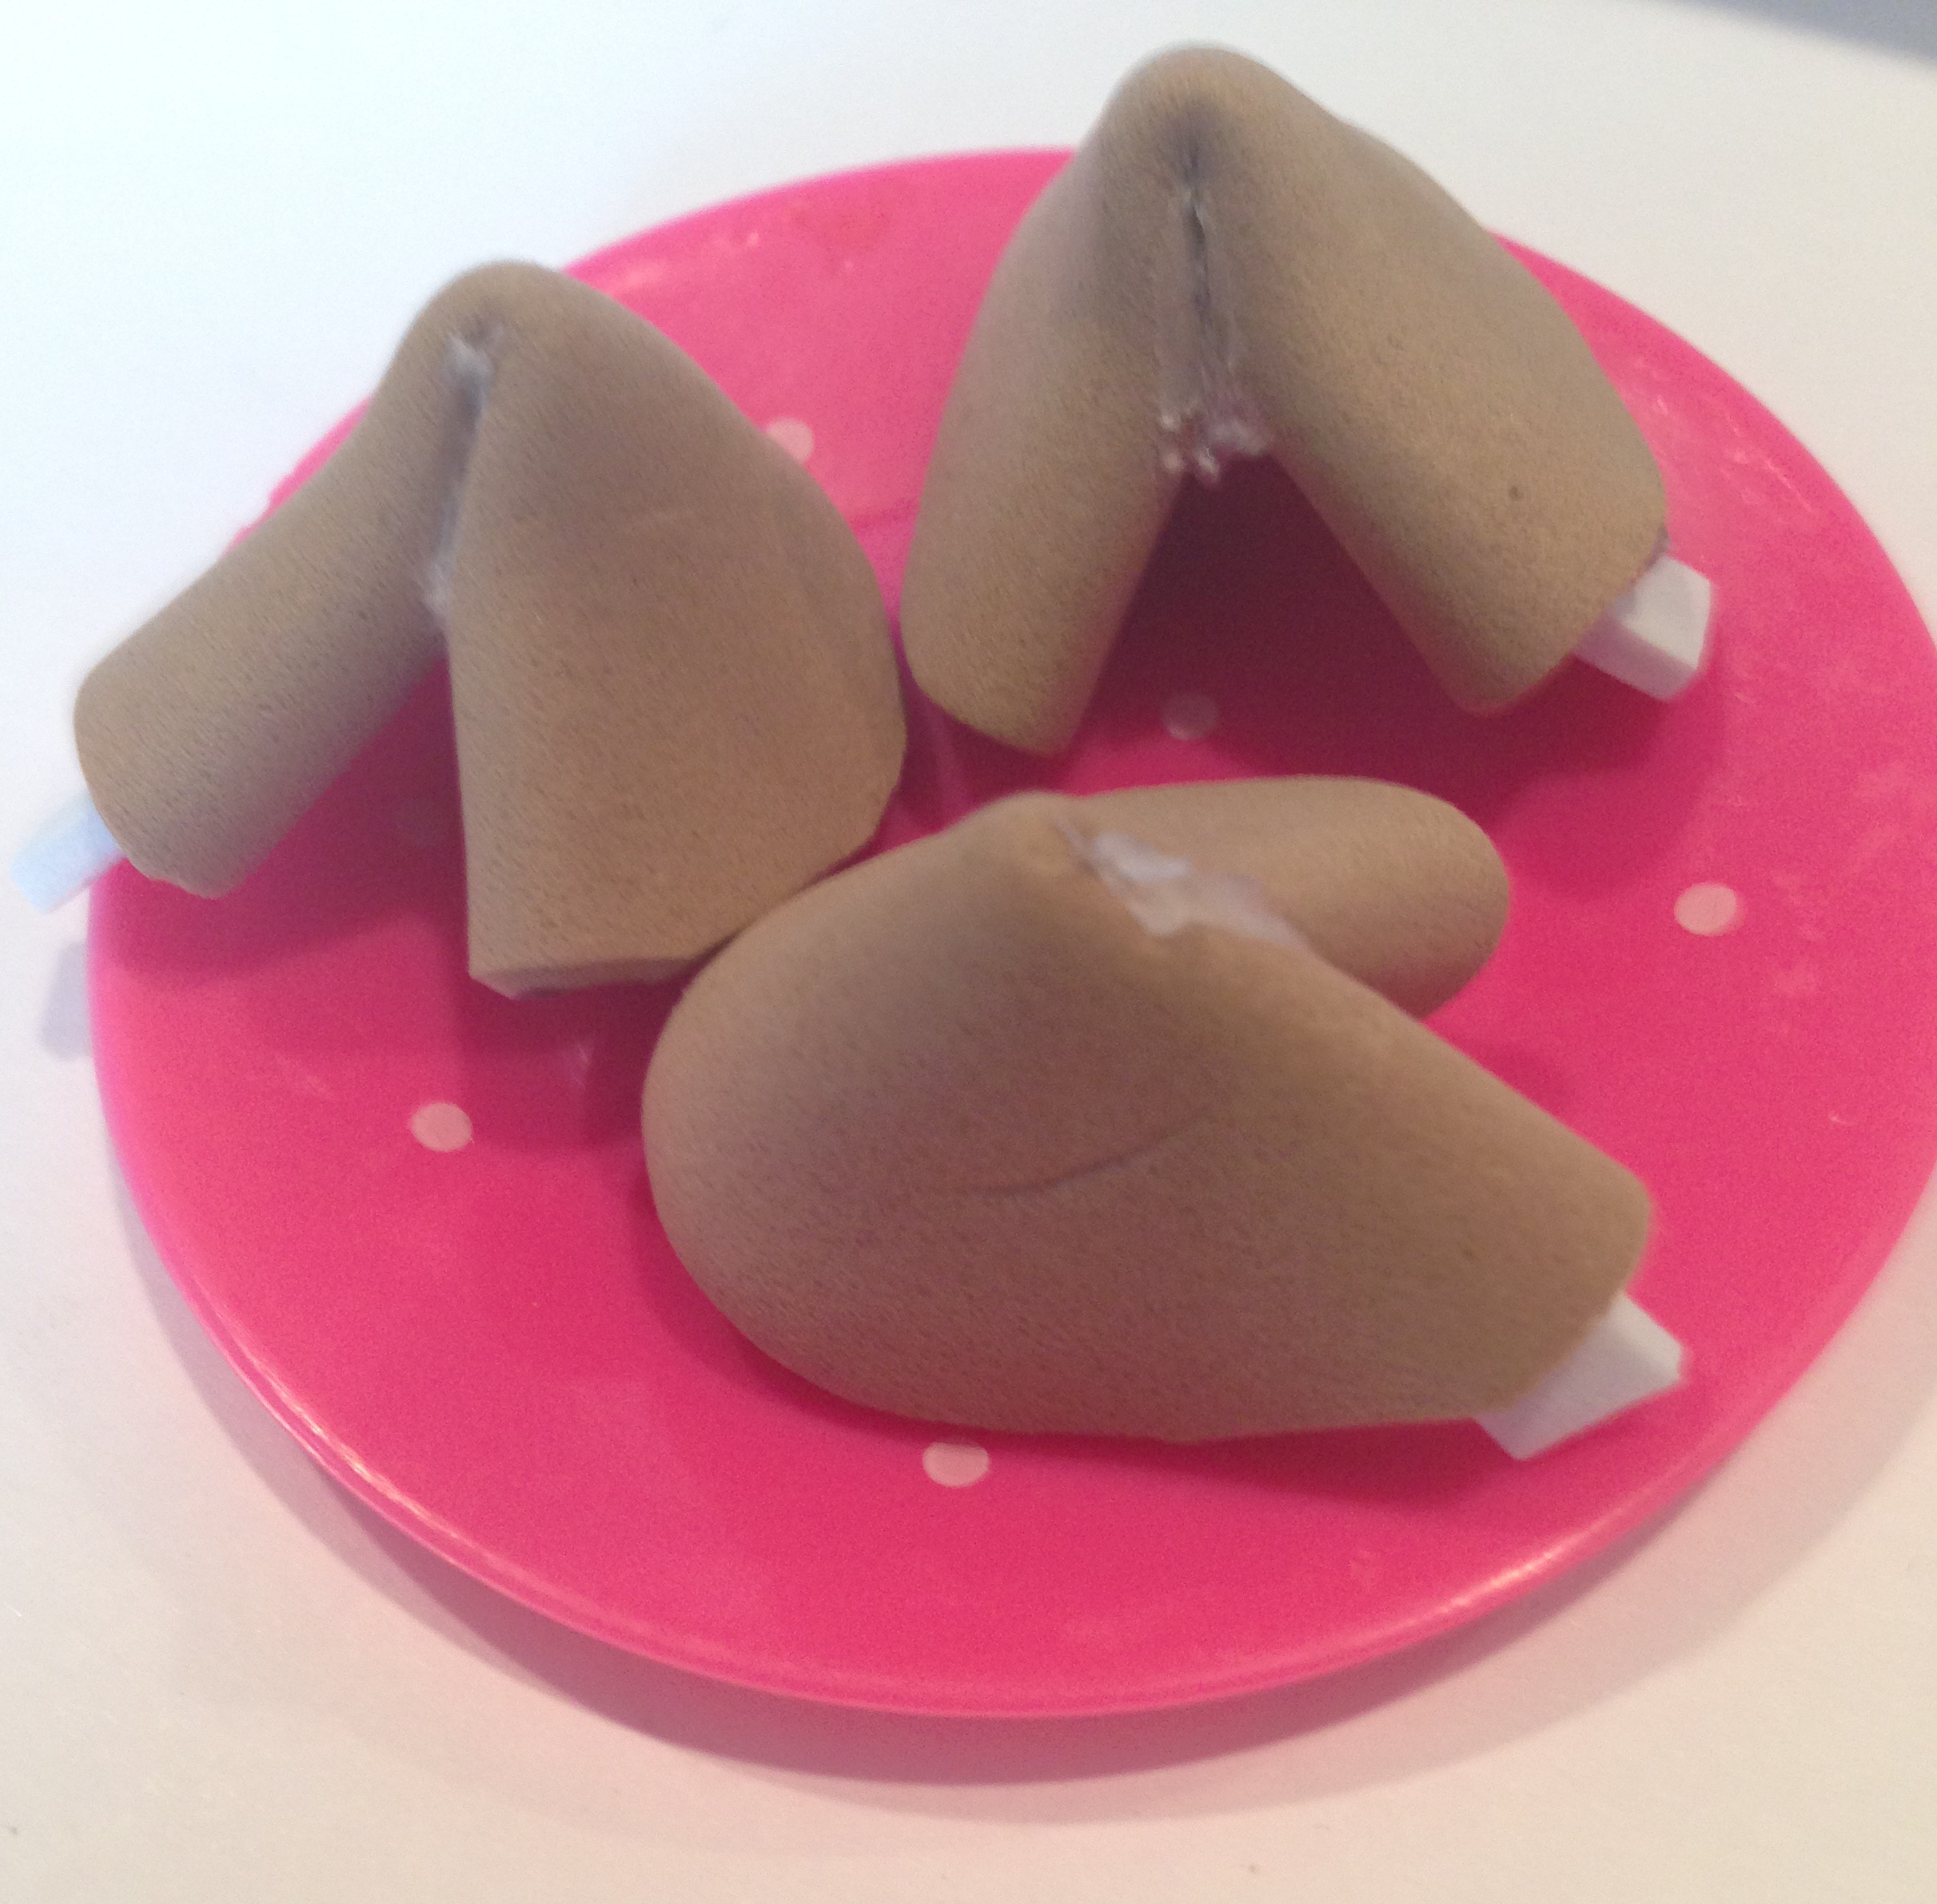
Fortune cookies were an added bonus. They aren’t really a bakery item per se, but they are cute and easy nonetheless. One of our favourite crafting bloggers KarenMomofThree made some cute fortune cookies out of felt, and guest posted about it here.
We simply adapted the idea using craft foam.
First, trace the bottom of a pudding cup onto tan foam and cut it out. Glue it in half, but leave both ends open. Fold it in half again, and put a little bit of glue in the fold. There you have it! We glued a white strip of foam inside one end of our fortune cookie as a paper fortune, but you could make it removable if you like. Just write whatever you want on there.
I hope you liked our doll bakery treats! Now you are ready to get to work, and bake up some of your very own!
Happy baking!!
