
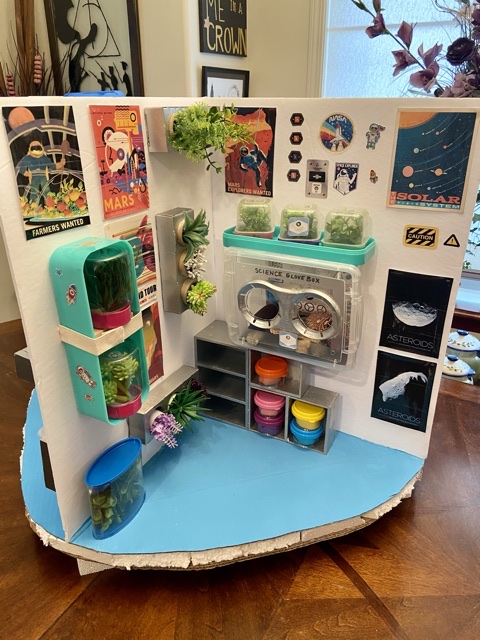
Hi guys! Today we are going to take a closer look at The Greenhouse in the Mars Habitat! This is one of my favourite parts, and it was also the first area that we started crafting for the habitat, because I was so excited about it.

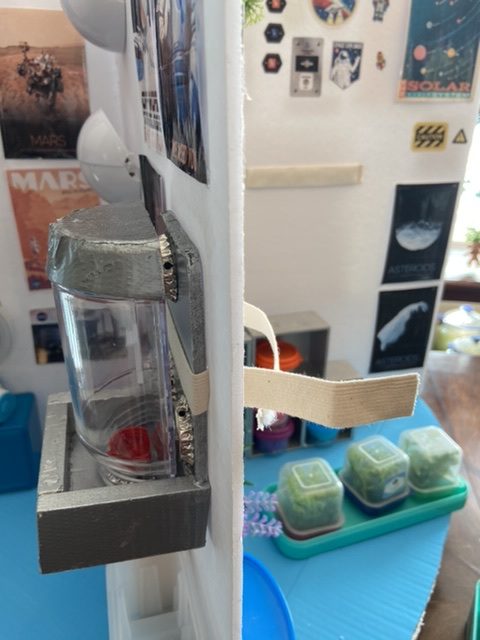
First let’s take a look at the glove box. For this we just used a plastic container with a lid. We carefully cut two holes in the lid. Then we painted a plastic ketchup holder silver and hot glued it to the front. I don’t know what these plastic holders are called but they hold ketchup bottles together as a two pack.
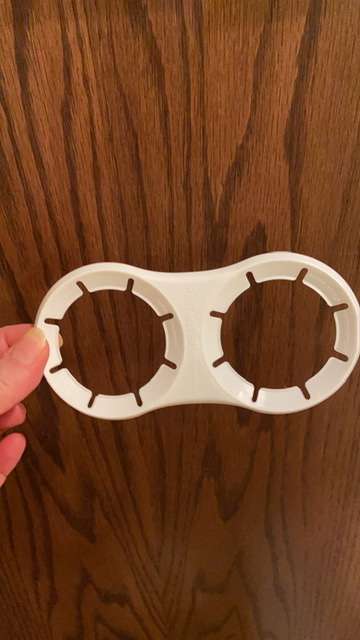 Anyway, we thought it looked spacey. 😊

We turned the plastic container on its side. Then we used a sheet of black craft foam for the inside bottom as well as a printout of the back of the glove box. There are images online of this. We just printed it to fit.

We wanted a lot of the items in the habitat to be removable from the walls, so we used waistband elastic to act as wall mounts. I have a lot of elastic. We just cut slits in the foam board walls and threaded the elastic through, tying it or gluing it on the other side. Most of the elastic wall mounts are double sided, being used to hang other items on the opposite side of the wall. For this glove box, we added a strip of Velcro to the elastic that doubles on the other side to hang up the control panel in the control room.
We added a strip of Velcro across the back of the glove box to secure it to the Velcro on the elastic.
Next, we filled our glove box with specimens.
 Rocks, a bit of sponge from a potpourri we had as well as some other home decorative pieces, whatever looked odd or different.
We didn’t add gloves to the glove box, although we might still do that, but I sort of like how it looks open. Maybe I will make a pair of separate gloves to keep nearby.
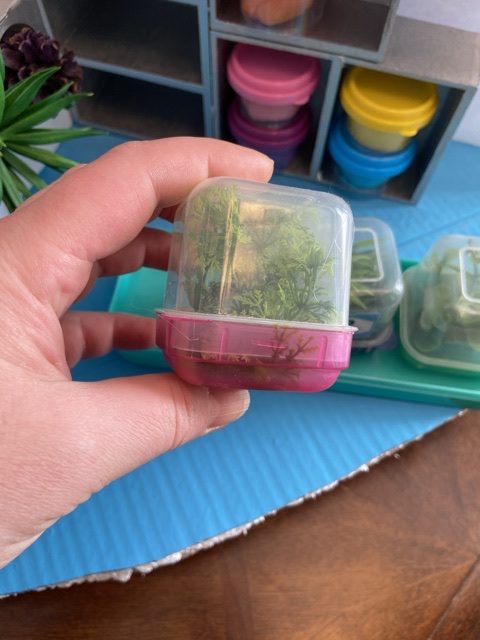
Moving on to the plants in the greenhouse. There are a few different plant set ups. The plants on top of the glove box are on this little tray.
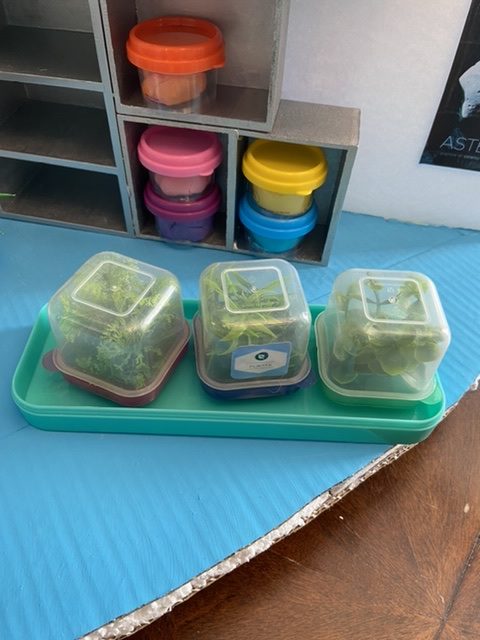
The snack containers we already had from the dollar store along with the fake plants. We just hot glued a few sprigs to the inside of the lid of each container.

Then we popped the lids back on with the plants securely inside.
The green tray is actually the lid to the plastic pencil box that we ended up using for the other plant shelf.
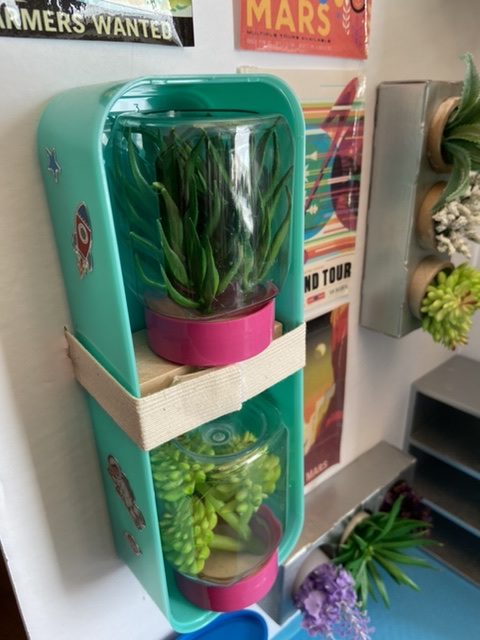
This shelf is also removable from the wall. The elastic has Velcro at the center to hold it in place.
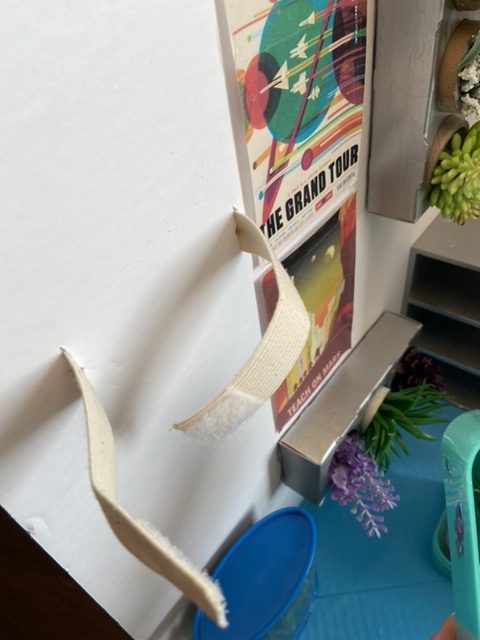 Here’s a peek at the other side of the wall. The elastic doubles to hold up the 3D printer in the communications room. The slits I made in the foam board hold the elastic pretty snug so that even if I remove the shelf on the one side of the wall, the 3D printer on the other side doesn’t fall down.

The plant containers are upside down sprinkle jars, and I hot glued a kid’s wooden block horizontally at the center of the green container to create a shelf.
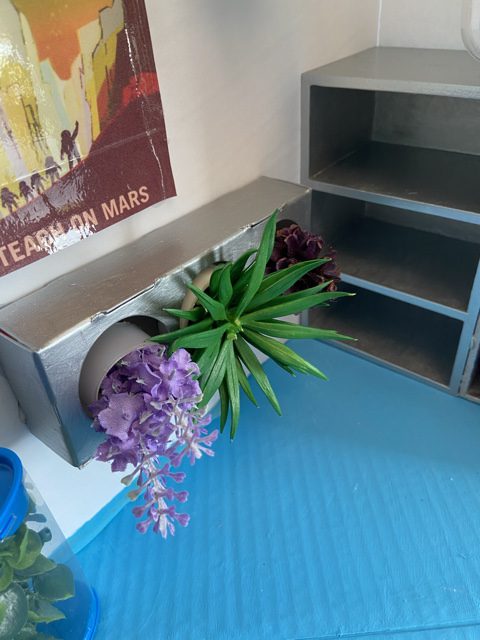
The plants in the hanging boxes are removable too.

The boxes are recycled Cadbury Creme egg boxes.
We just removed the top part of the box and painted them silver.

The plant compartments are old empty washi tape rolls we had saved. We hot glued a piece of sturdy plastic to cover the bottom. Then we hot glued sprigs of fake plants in place.

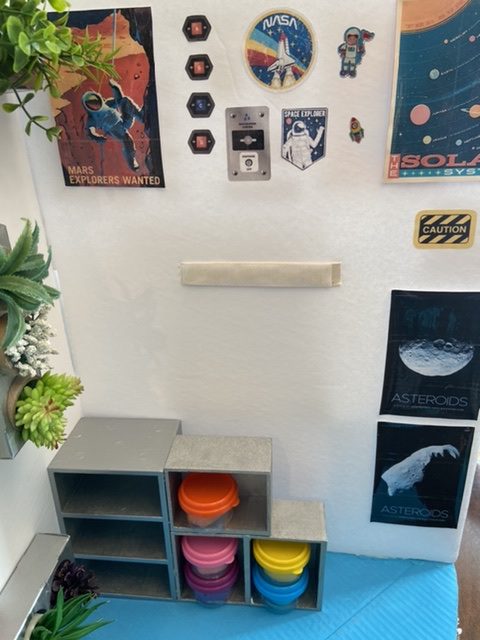
Last, I transformed an old doll dresser that was actually a wooden jewelry box into a set of silver shelves.
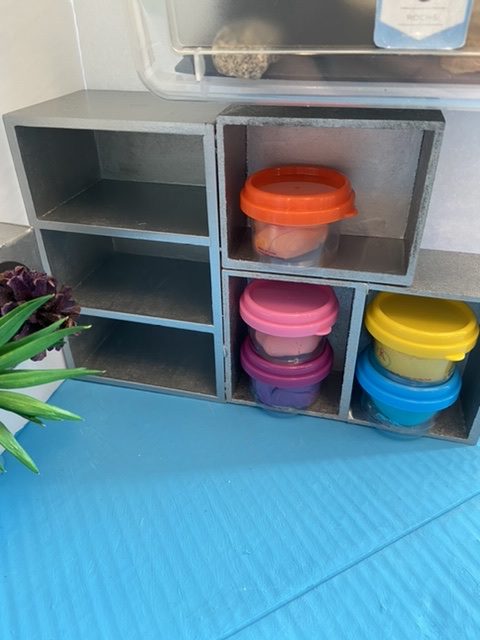
I removed the jewelry box drawers and glued them as shelves to the side of the dresser. Then I painted the entire unit silver. The little containers are playdough that we had from the dollar store. Honestly, I don’t remember when we bought a lot of these supplies as my craft cupboard has a ton of random stuff in it. I’m always hoarding…ahem…saving things to recycle.
Besides all of the posters and stickers on the walls that’s pretty much it. We found all of our posters and stickers online and printed them off. The posters we laminated with packing tape before gluing them to the walls.
Also, that little blue plant aquarium was actually packaging for a wine topper.
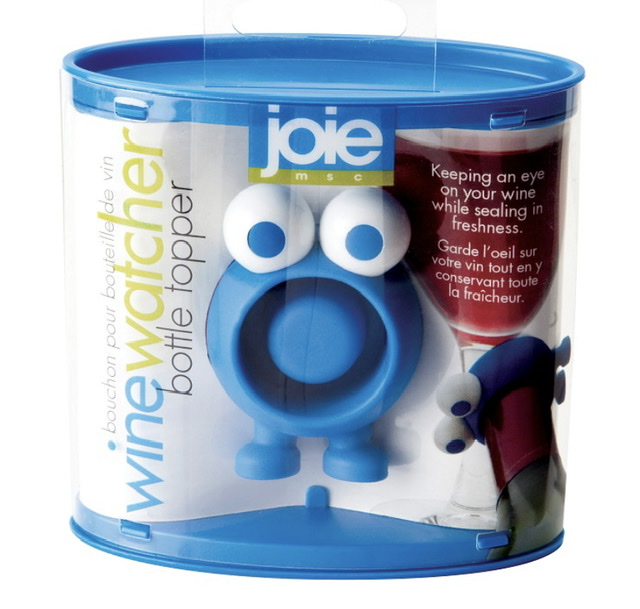
I didn’t glue the plants inside because I might want to turn it into a fish aquarium in the future. For now it’s a cute addition to our greenhouse.
I hope you enjoyed the tour! If you’d like to see some short video tours of our DIY Mars Habitat be sure to check us out on Instagram @fim_studios where you can find a lot of behind the scenes and other things that don’t make it to the blog. 😊 Also stay tuned as we will be posting more tutorials for the Mars Habitat soon!
Leave a comment below
❤️❤️❤️

Your ideas were so terrific and I’m currently gathering together supplies for making our version of a Mars habitat. It is going to be next to our school room so it can be part of a unit of science study. I do have a question regarding painting your re-claimed treasures to turn them into something else. Do you prefer to use spray paint or do you brush on your paint? My lungs are crabby, so spray paint can be troublesome. A lady who posts very good doll craft videos on youtube under the name of Totally Rudy uses spray paint for many of her projects. Is that your preference too? Thanks in advance, and thanks again for sharing your inspirational ideas with all of us, Terry in Colorado
LikeLiked by 1 person
Thank you so much! I am so glad that you enjoyed our Mars Habitat! When I re-paint I usually just use a brush. I often can’t count on the weather to be able to spray paint appropriately. I find that paint and a brush is just fine. Good luck on your Mars Habitat project and come see us again soon! 🙂
LikeLike
You are BRILLIANT! So very resourceful! This is amazing!
LikeLiked by 1 person
Thank you so much!! 🙂 ❤
LikeLike