
Hello everybody! We are back with a fun little craft for you!
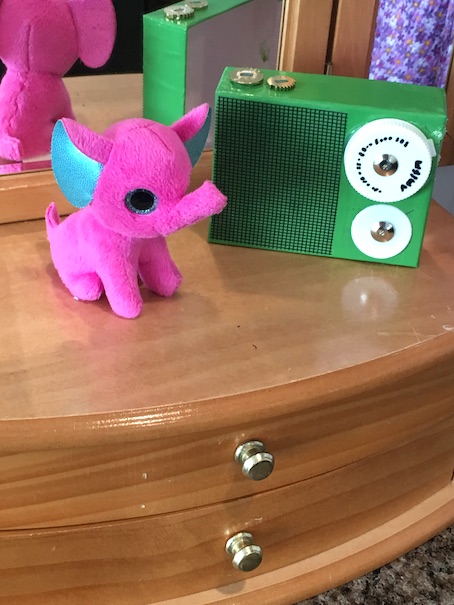
As soon as we saw Melody’s sweet little transistor radio we were in love!
Here’s the pretty little thing now.

The price tag however…
Anyway, as always, that got this mama to thinking. 🙂
DIY Time!! Lol!
Here’s what you need:
A small box
Paint
Hot Glue
Lids or caps
Thumbtacks
Mesh fabric or felt
Fine tip felt pen
Miscellaneous beads/buttons
Okay! Let’s get started!

Start off with a small box. If you don’t have a box, Michael’s sells little boxes for $1-$2.

You could also use a box like the one above, or a jello pudding box. Basically any little box will do.
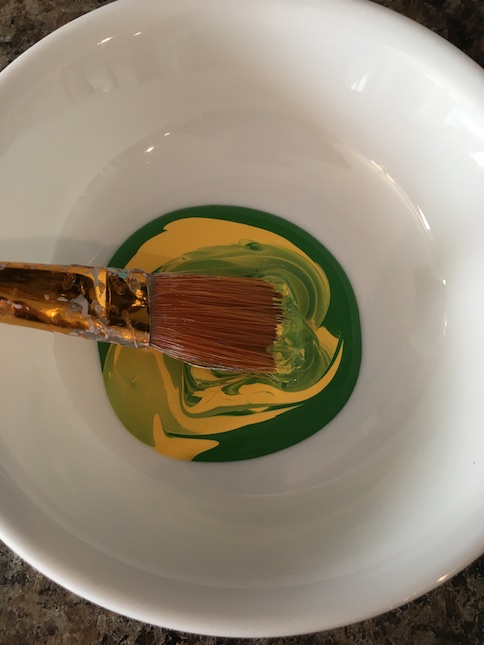
Mix your paint to get the colour that you like.
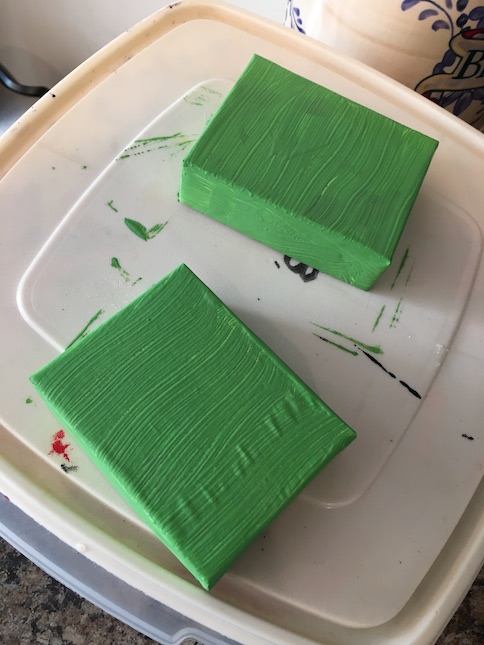
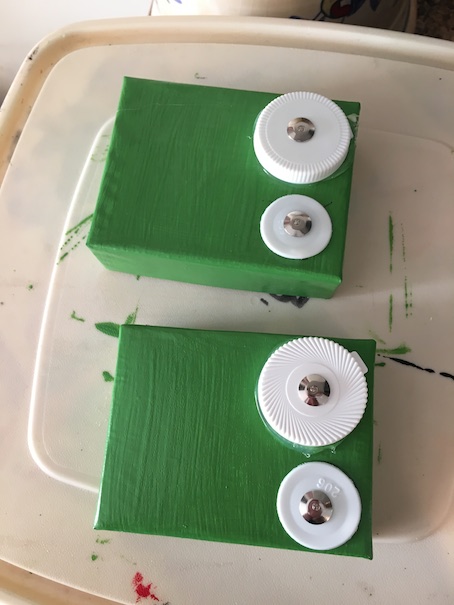
Paint your box. My box had a lid, so I painted both sides. I decided to make two radios. 🙂
After it was dry, I varnished over the paint, but that’s entirely optional. I just like the shiny finish.
Gather lids and caps. Any lids will do, so long as they fit on your box. You can even use the caps from medicine bottles.

We had a bunch of pull tabs from orange juice and other containers, so we decided to use those too. If you don’t have anything at all, you can always trace circles onto a yogurt container lid, and cut them out to use. See picture below.

Now carefully push a thumbtack through the centre of each of your dial knobs.
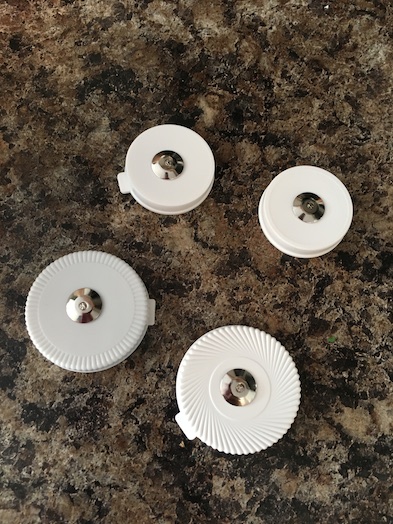
To be sure that your tacks stay put, add a dab of hot glue to the backs.

For the orange juice pull tabs, I just pressed the thumbtack into the box to attach it.

Then I flipped it over, and added a dab of hot glue to the back to keep it secure. My boxes have no backs, so this was easy to do.

If you want the dials to turn, you can use brad fasteners instead. I was just using what I had on hand.
Next, hot glue the larger dial on.
Take a piece of paper and cut out a pattern for the speaker.

Lay your pattern piece on a piece of mesh or felt. Cut it out.

Hot glue or use a glue stick to stick your speaker on. I used a glue stick for the mesh because there are holes in it, and I didn’t want the hot glue to ooze through.

If you don’t have plastic mesh or felt, you could always just use a straight edge to draw a grid pattern on a piece of paper.

Okay, my pen was very leaky, but you get the picture. lol!

Just colour your grid paper with a pencil, or a grey pencil crayon. At this time you can also use your fine tip felt marker to add some details to the dials.

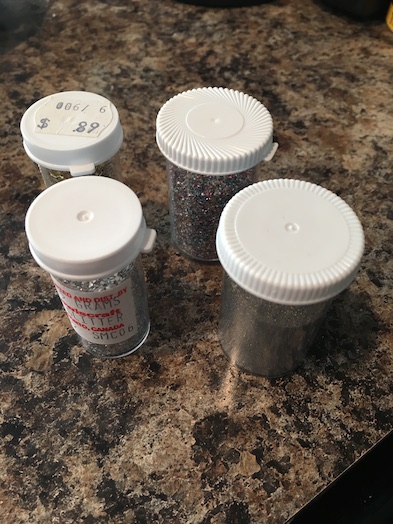
Very cute! Lastly, gather up your metallic buttons and beads.
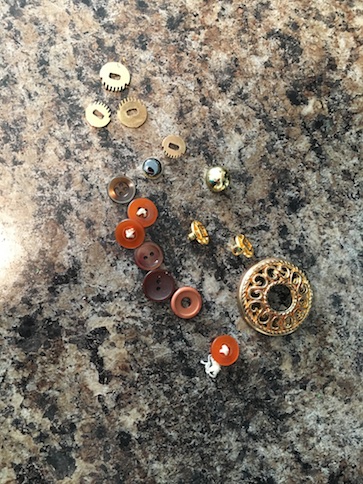
Hot glue a couple of buttons to the top of your radio.
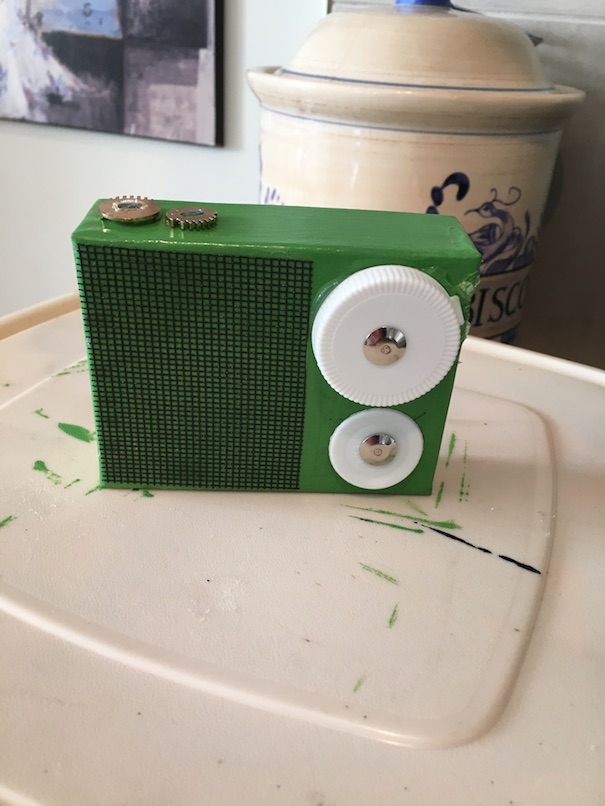
And you’re done!
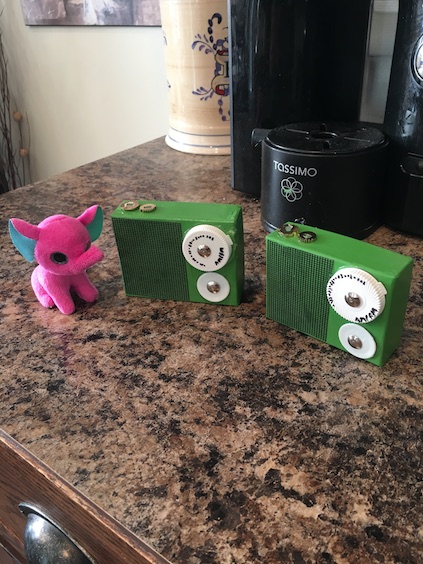
I noticed that there was an adorable little elephant that comes with this set. I found a similar TY beanie a while back that I think goes nicely. 🙂

I hope you enjoyed making this craft with us today! We are loving these little radios! ❤
(I will probably glue a piece of craft foam to the back of the radio to conceal the inside of the box.)
Have a crafty kind of day!
Leave a comment below!
❤ ❤ ❤

I love it – very cute! I really like to see creativity to make doll items instead of just buying everything!
LikeLike
Thank you! I’m glad that you enjoyed! We really like finding ways to make things instead of buying too. 🙂
LikeLike
Looks great! Neat way to re-purpose household items.
LikeLike
Thank you! I just love Melody’s little radio. 🙂
LikeLike