

Hi! I am busy working on something big, so you will have to bear with me. Meanwhile, I wanted to post about what we were up to this weekend with our dolls.
A long while back, sometime in the summer, we attended doll camp. It’s something that we are looking forward to again this summer, but I remember mentioning that I would do a post about the doll rooms/cabins that we made.
We broke them out again this weekend. Don’t get me wrong, we use these little fold up rooms for the dolls a lot. They have a ton of play value, and I just love the versatility. Simply add in the furniture, and you’re good to go. The fold up option is also perfect for storage when we aren’t using them.
There are more expensive options for doll rooms out there, but I am a thrifter at heart. Why buy what you can make, right?
For this craft, you are going to need an extra large box.
Cut the box open and lay it flat. Cut off the top and bottom flaps. Then cut it in half. What you should be left with is two large rectangles.
Cut a slit halfway up the centre of each rectangle like this:

Assemble the rooms by sliding the top slit into the bottom slit. You should end up with an X shape.
Each side becomes a room. You can decorate your rooms however you like. You have four sides to work with.
Since we were playing summer camp we made three separate bedrooms and a horse stables.
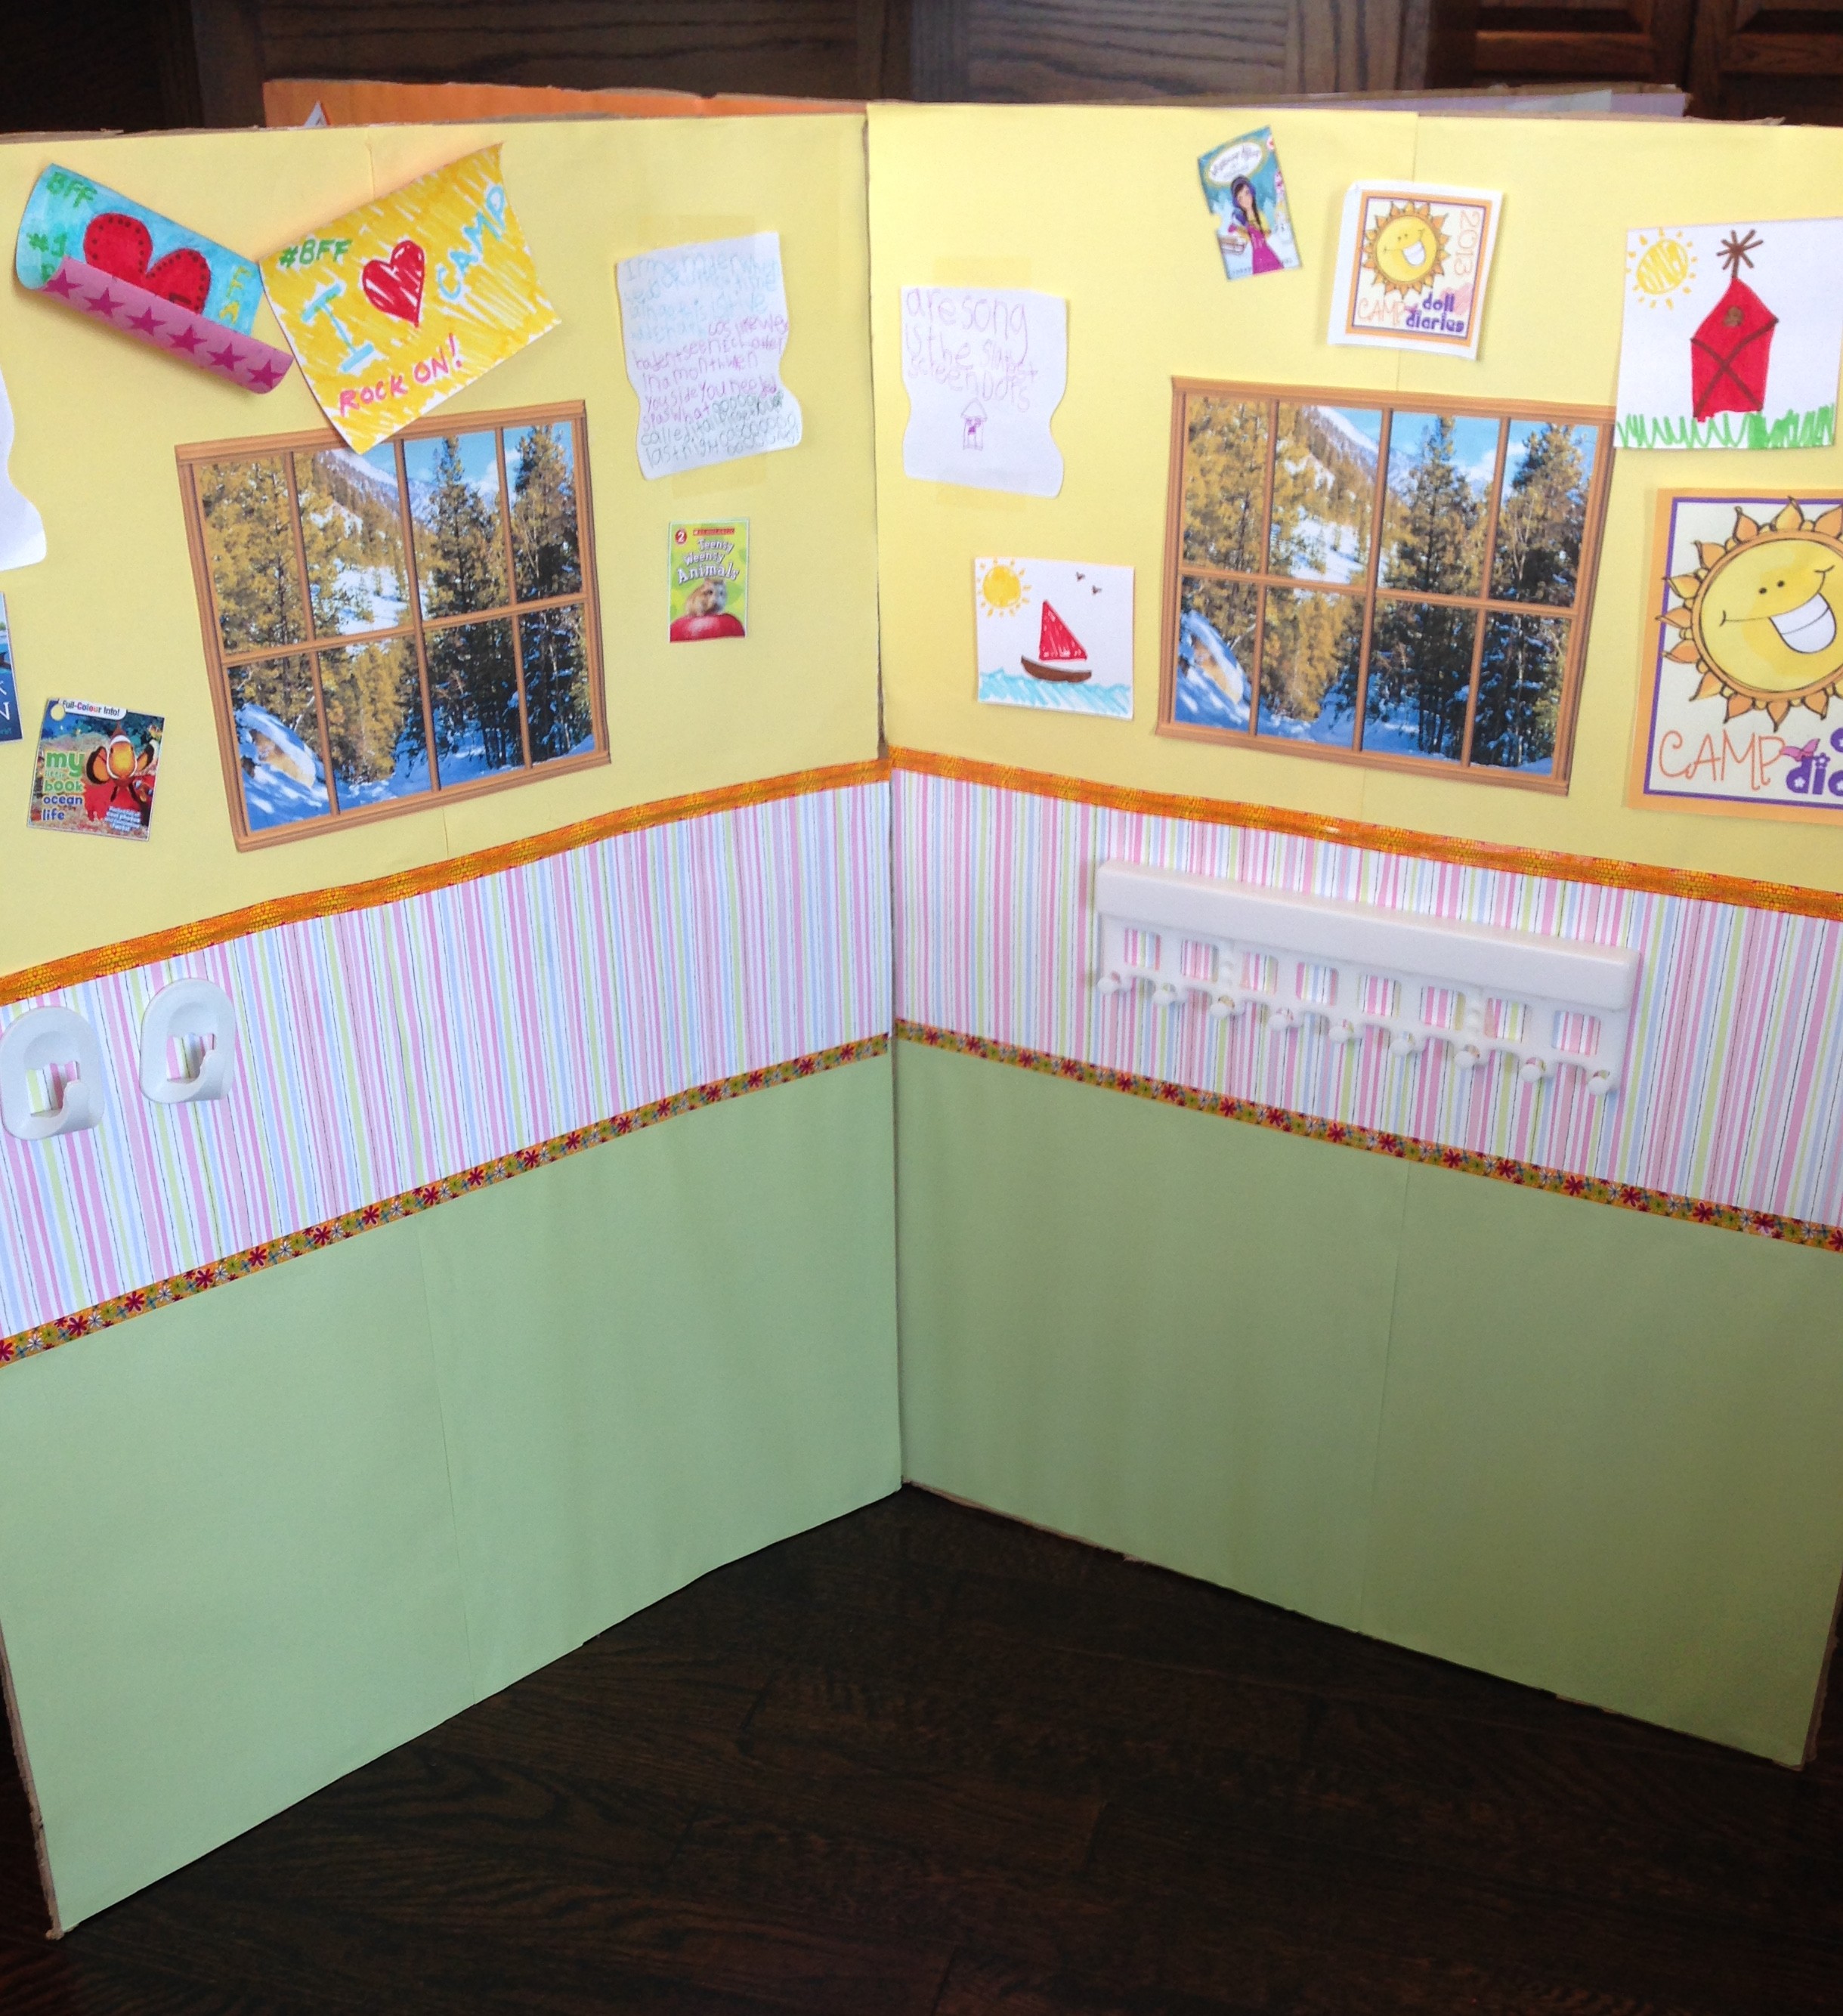
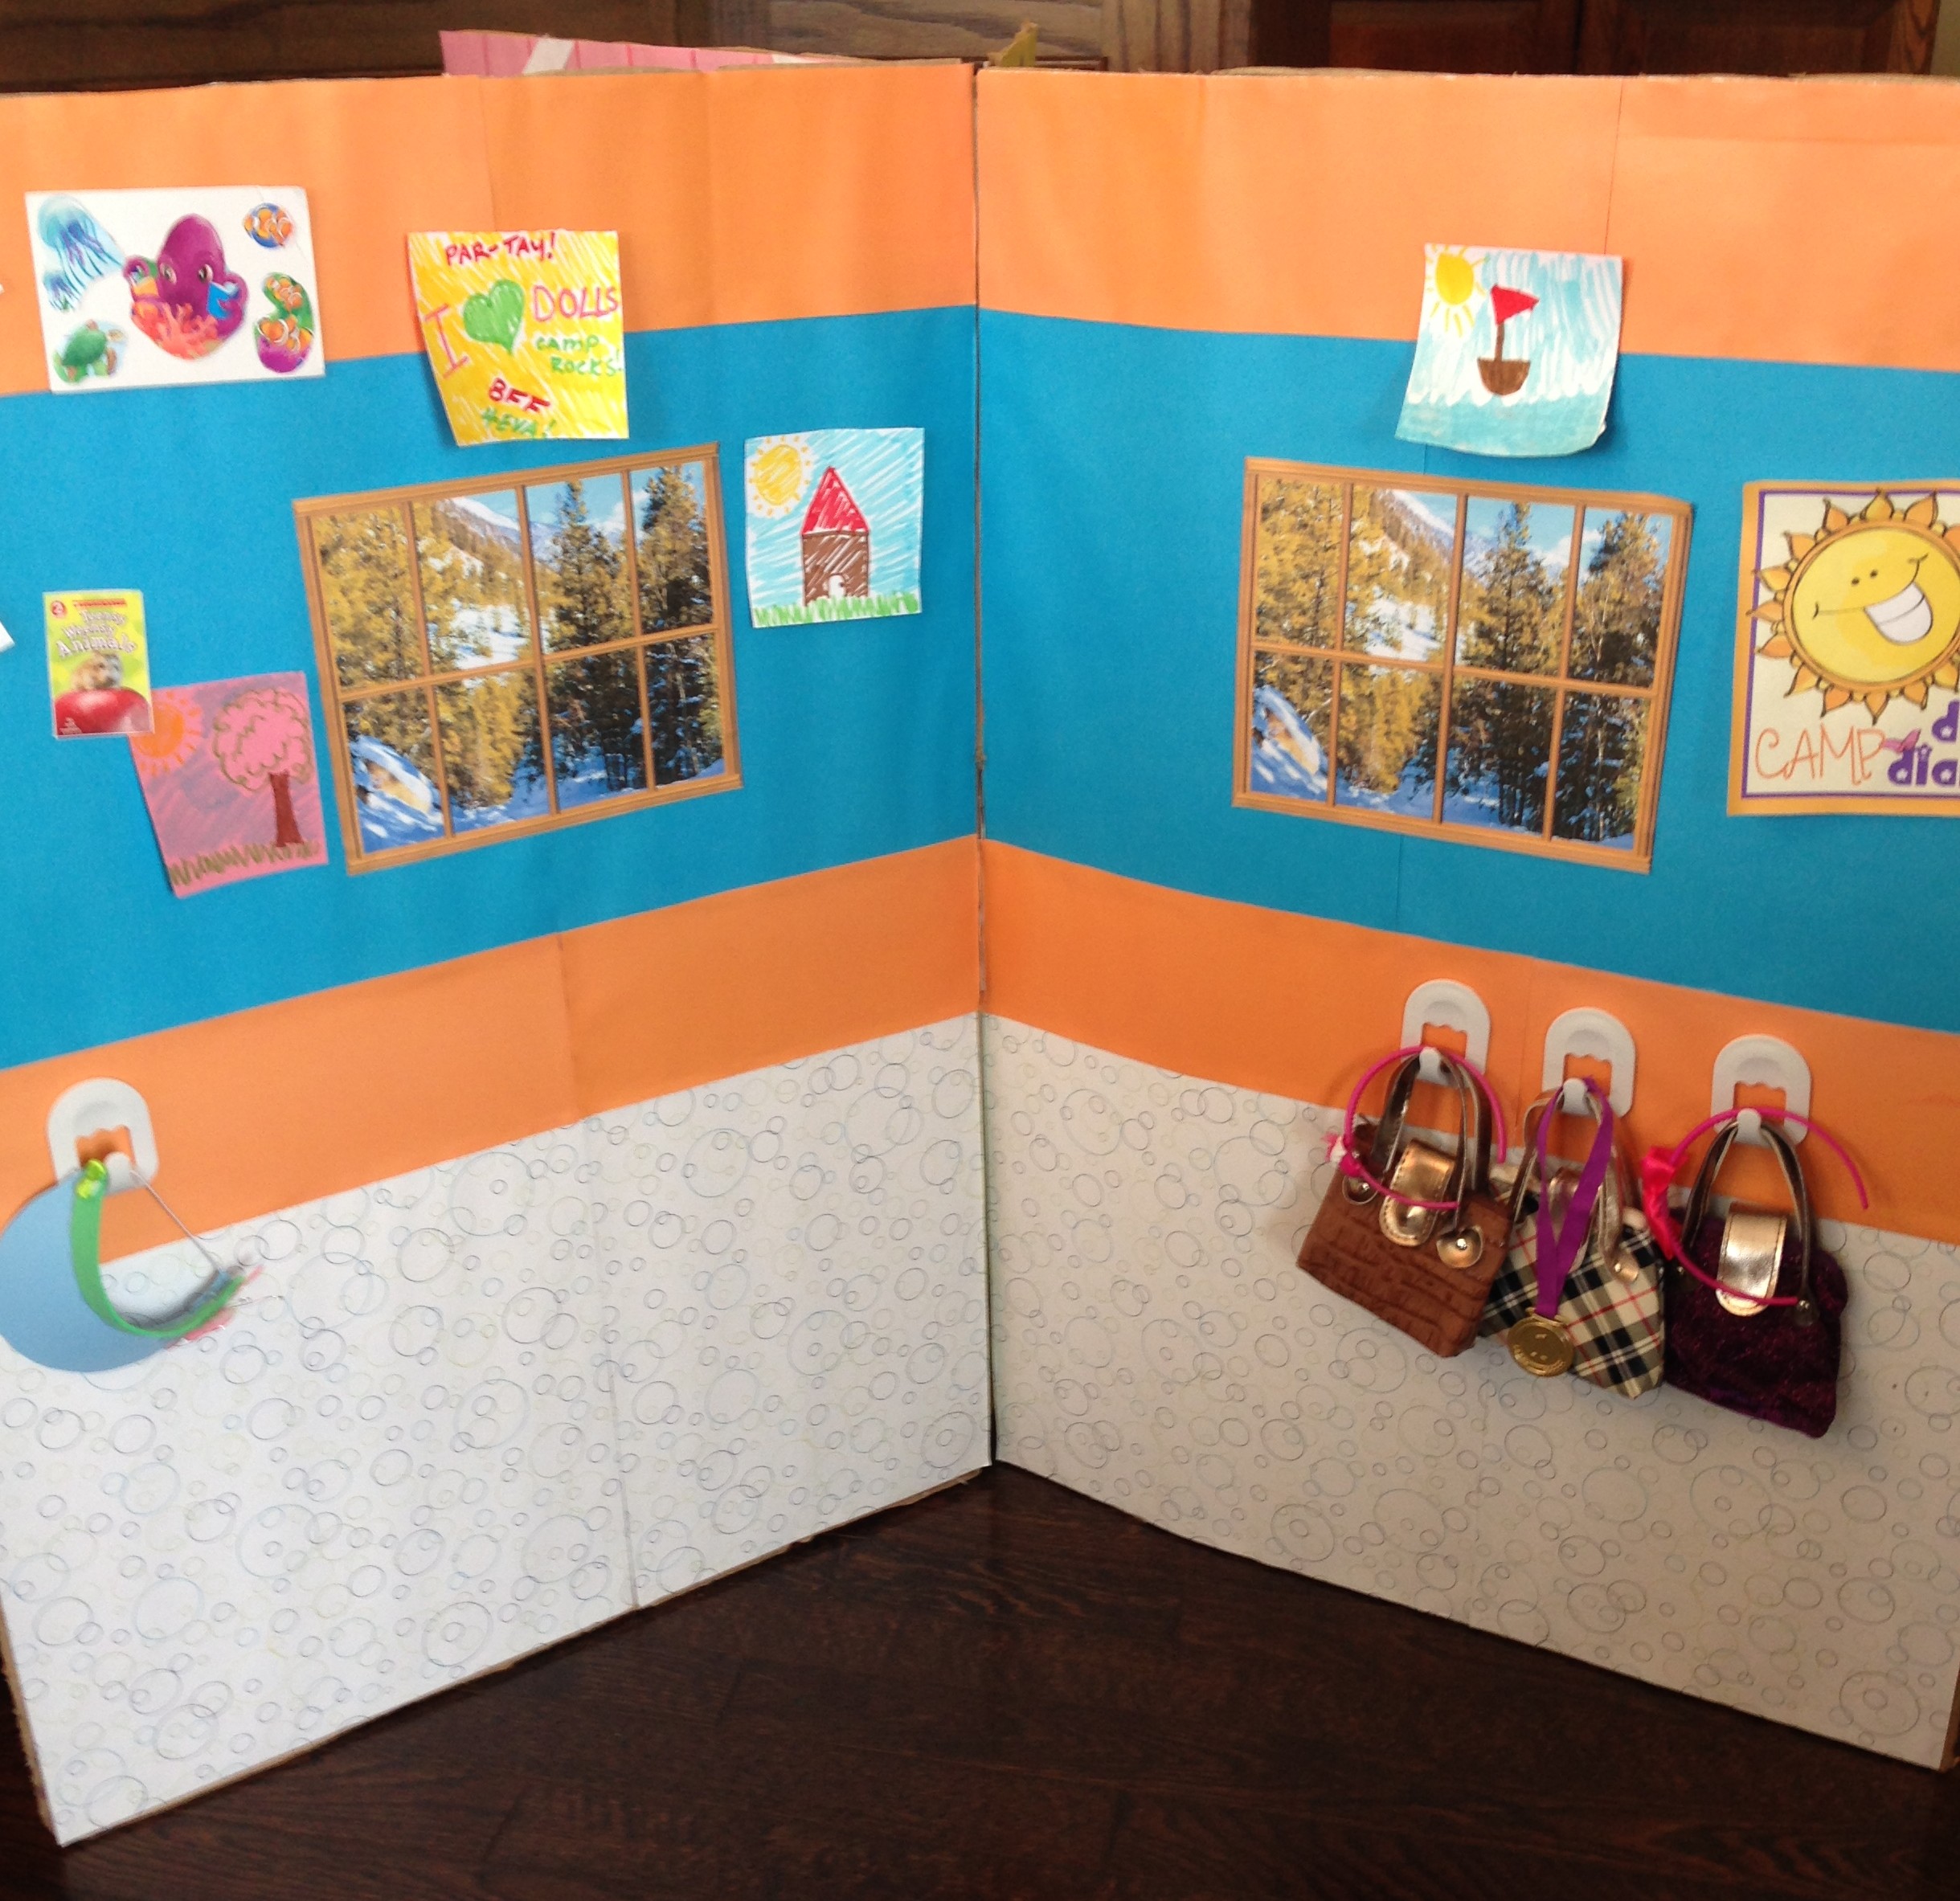
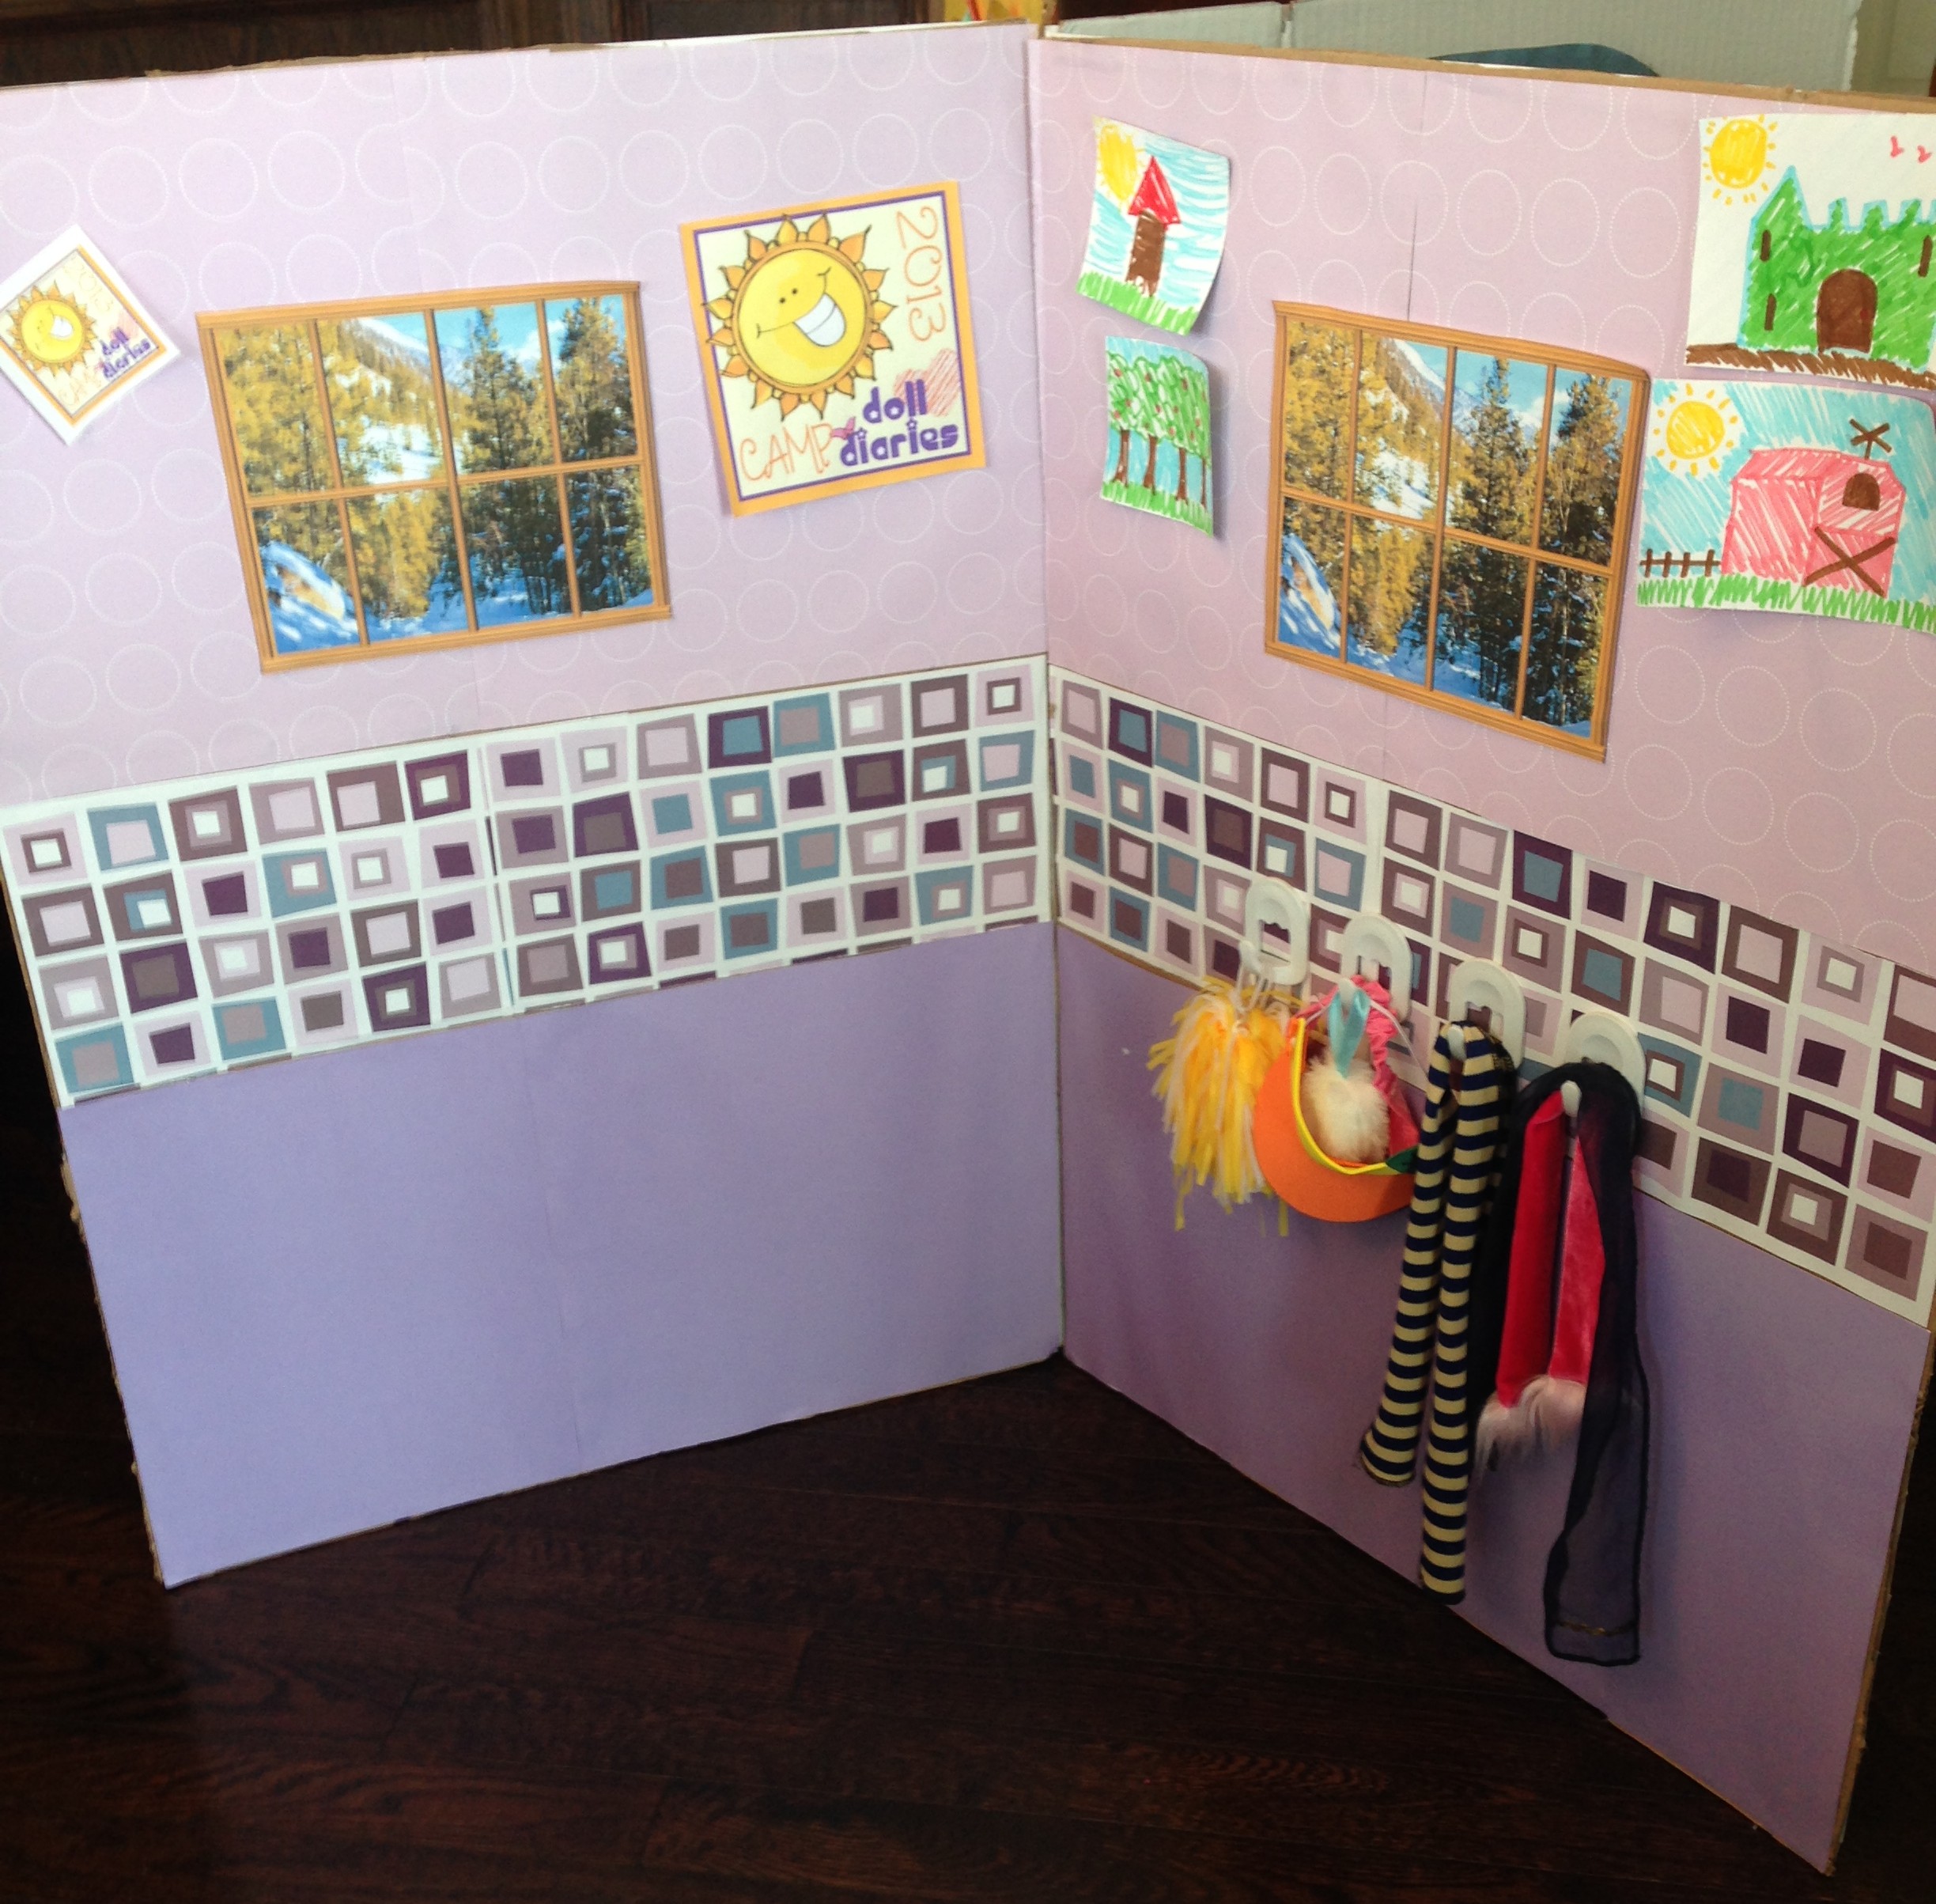
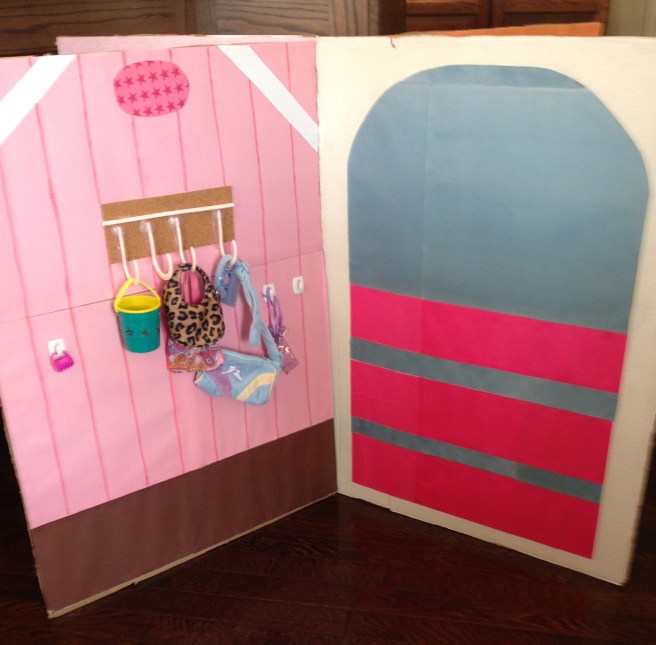
The options are endless. Just use your creativity. Add borders and wallpaper using scrapbook paper, whatever you like.
We glued hooks to the walls, and printed out some windows to make it look like the dolls were in the woods. My daughter had lots of fun drawing pictures to hang on the walls. 🙂
Once you have your rooms set up, you are going to need some furniture to go with them. That’s what we were up to this weekend. We wanted to see if we could create something fun out of virtually nothing.
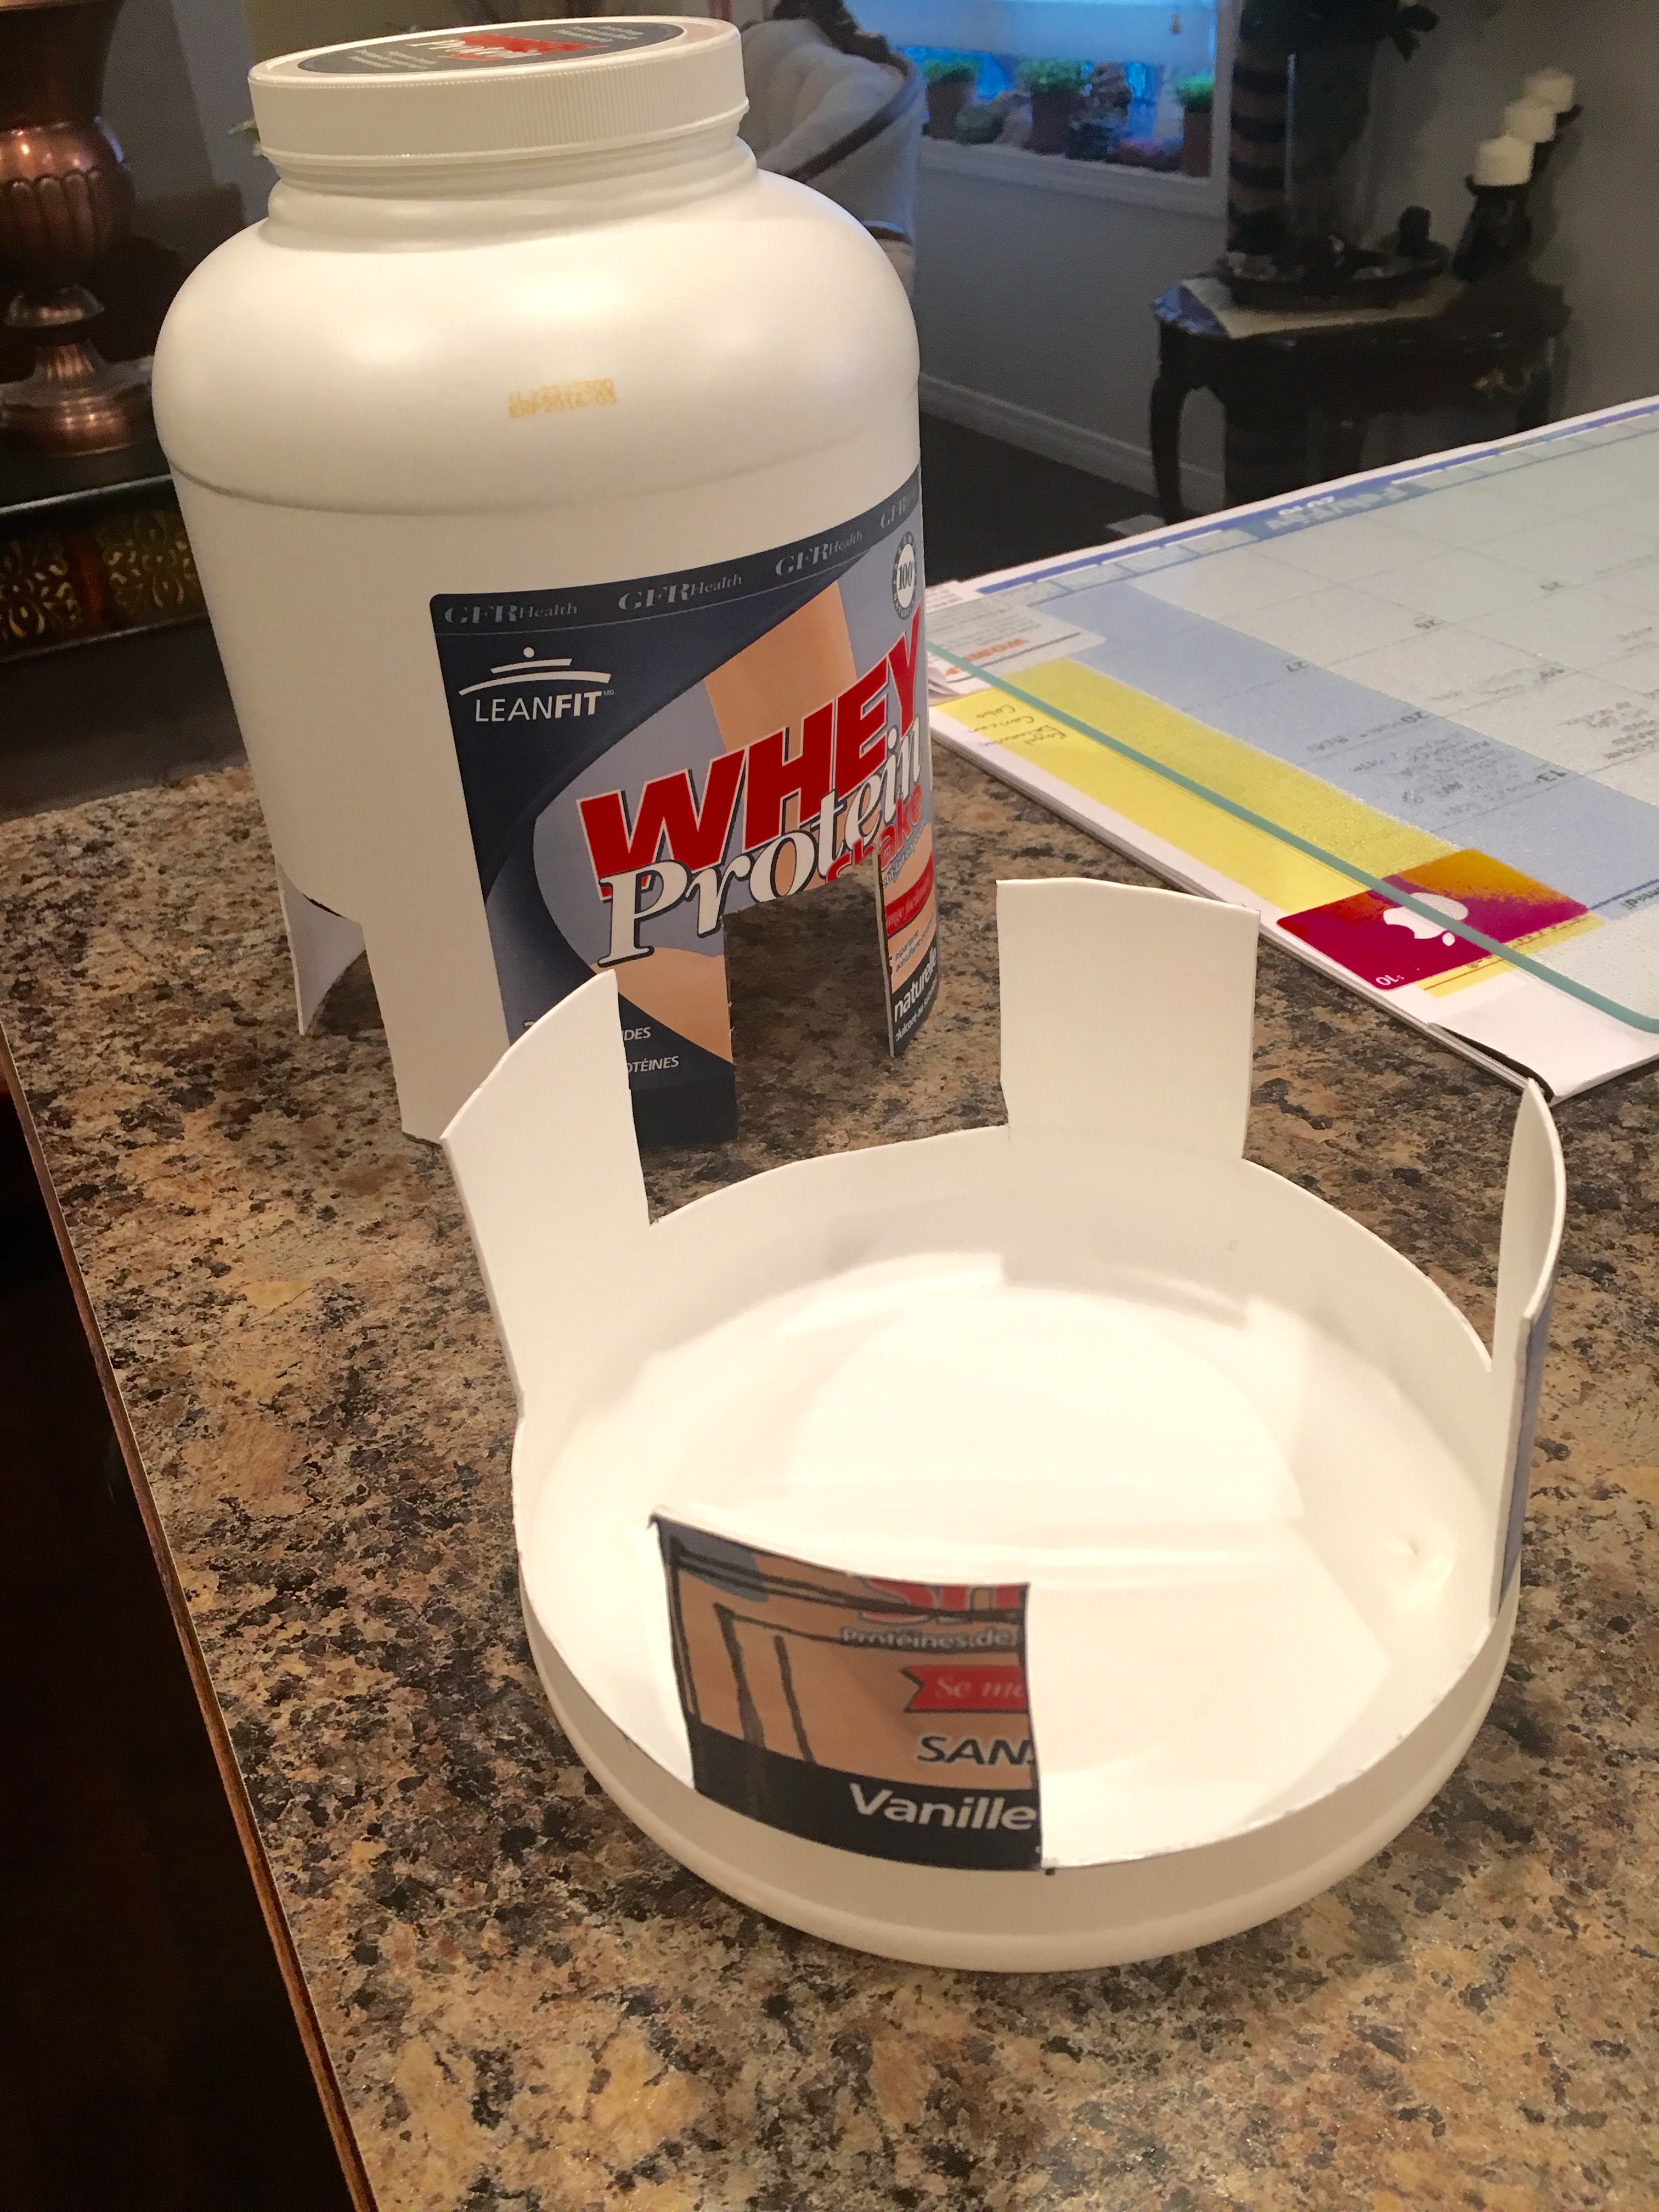
We started out with this protein shake container, compliments of a special Aunty. 😉

I wanted to create a piece that could be used for more than one purpose. We thought that a coffee table would be the best idea to start with since we didn’t actually have one.
Here is what we came up with.
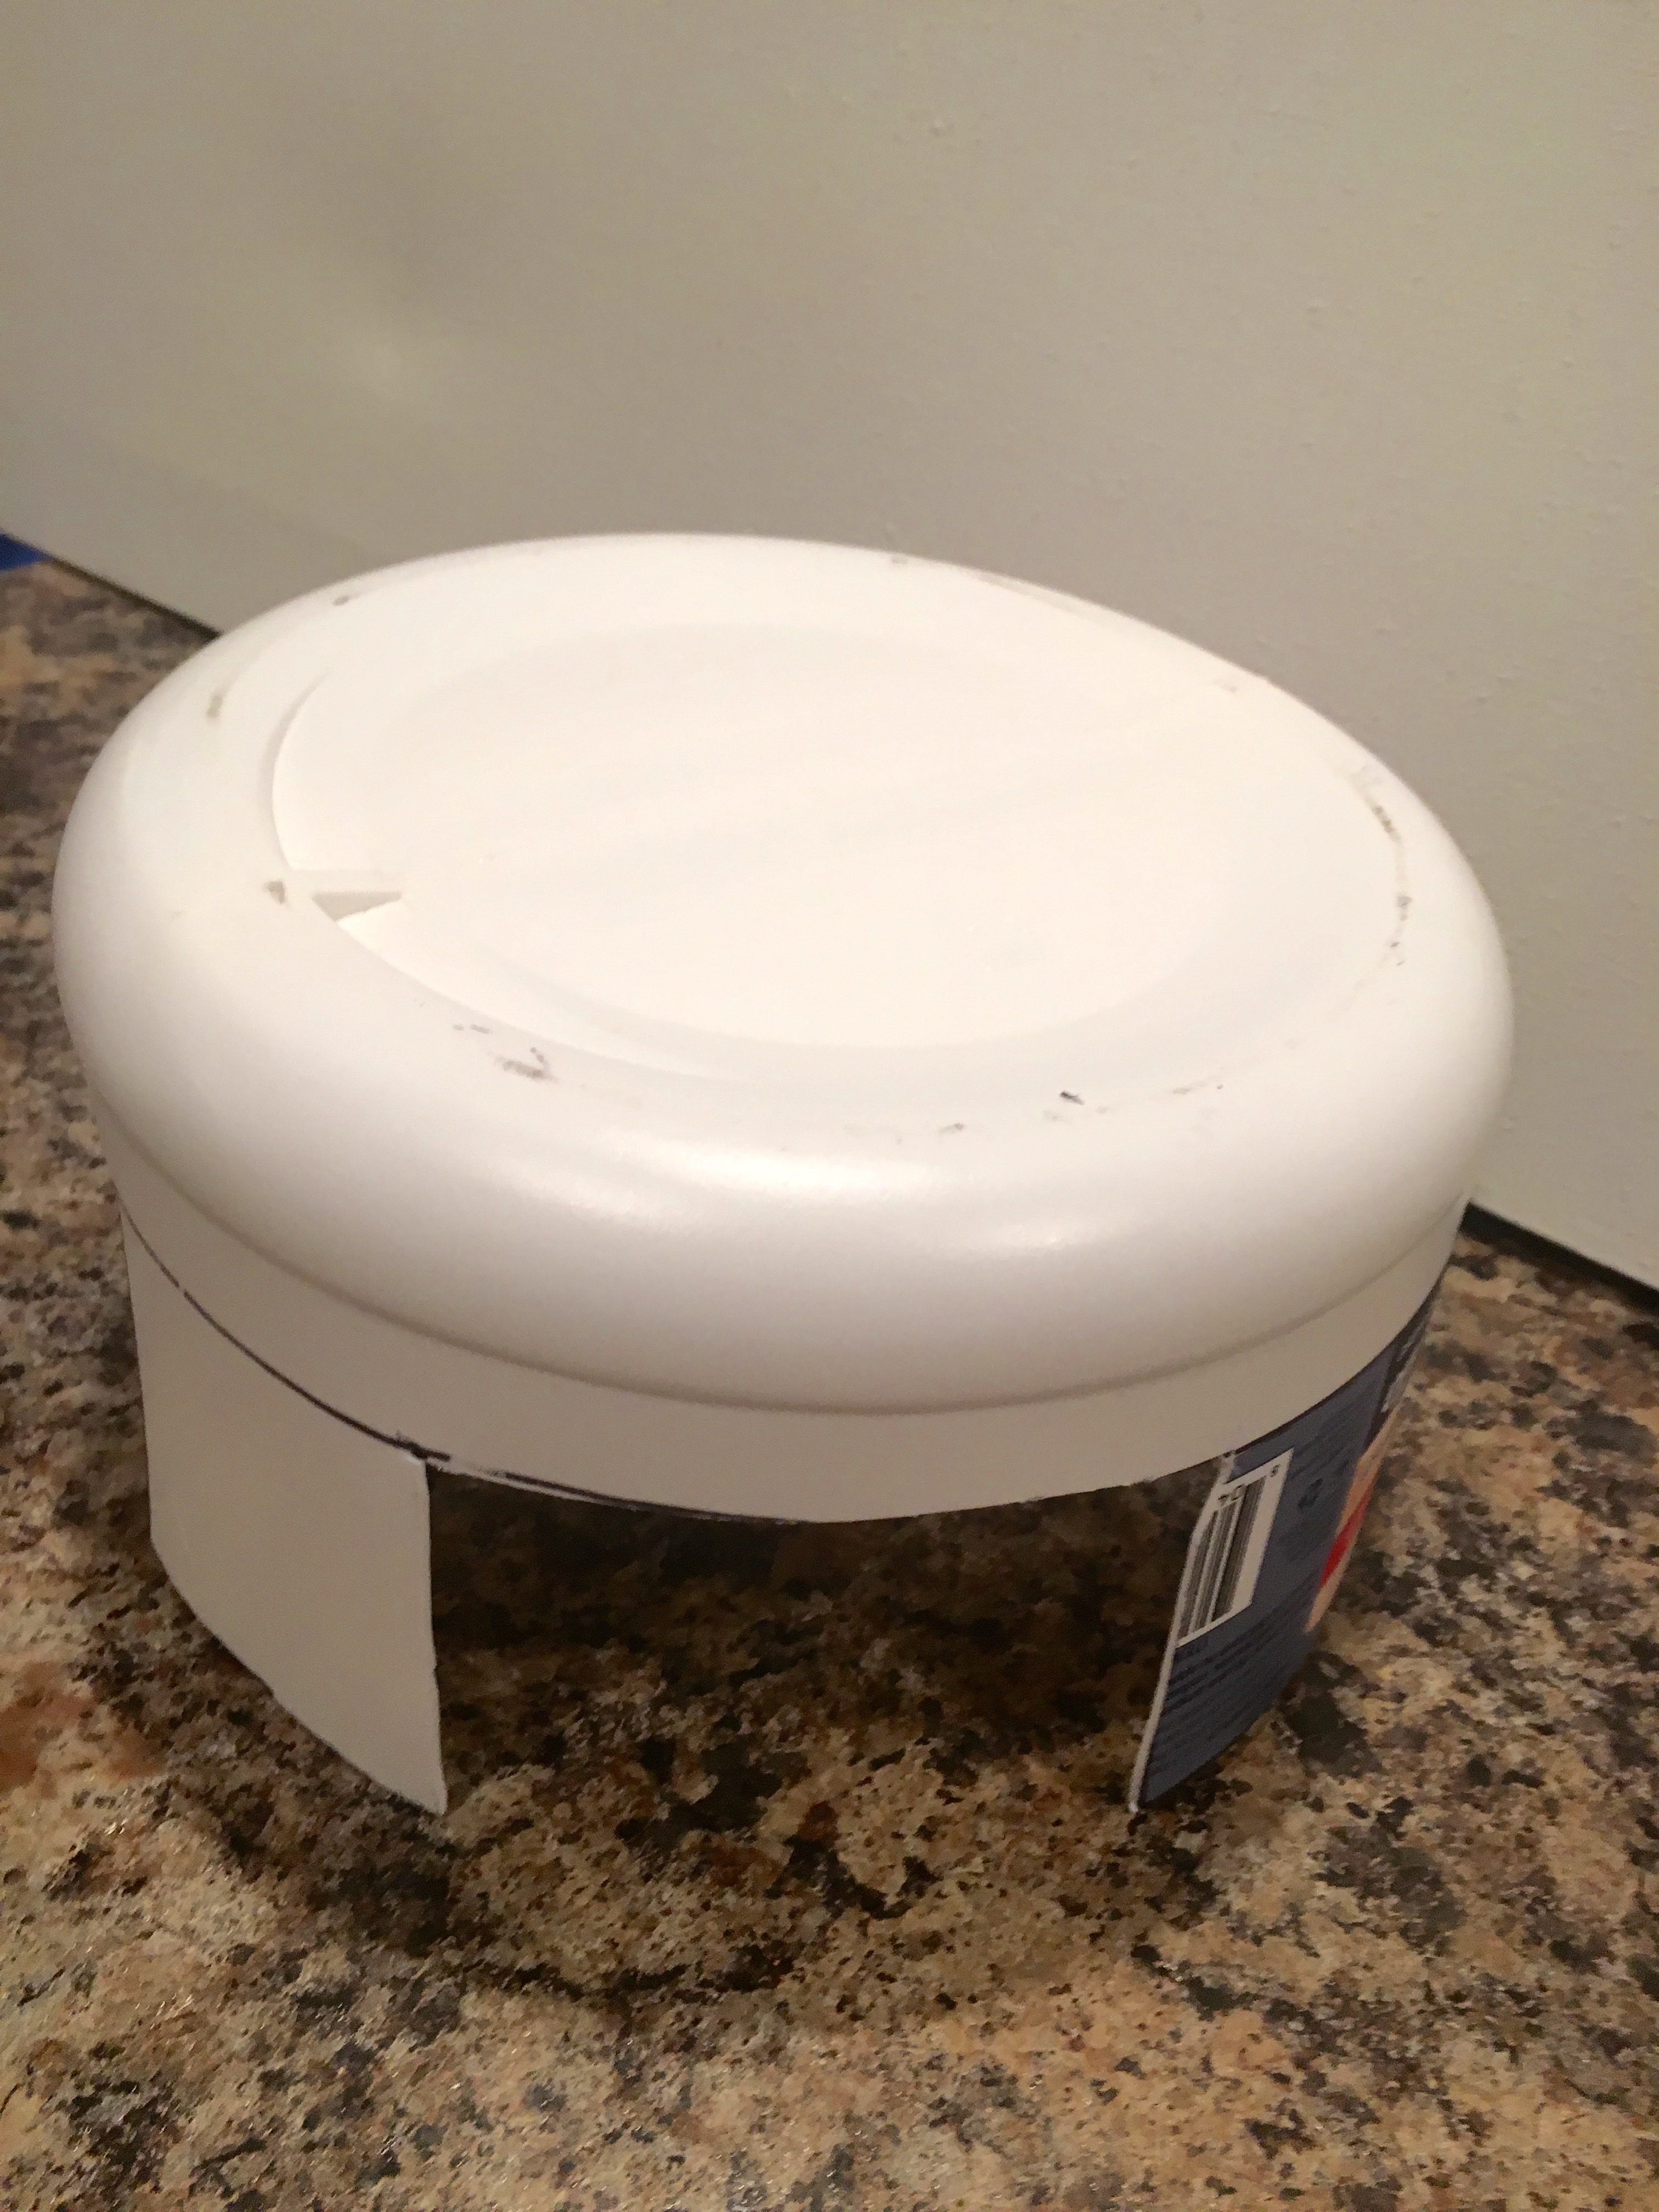
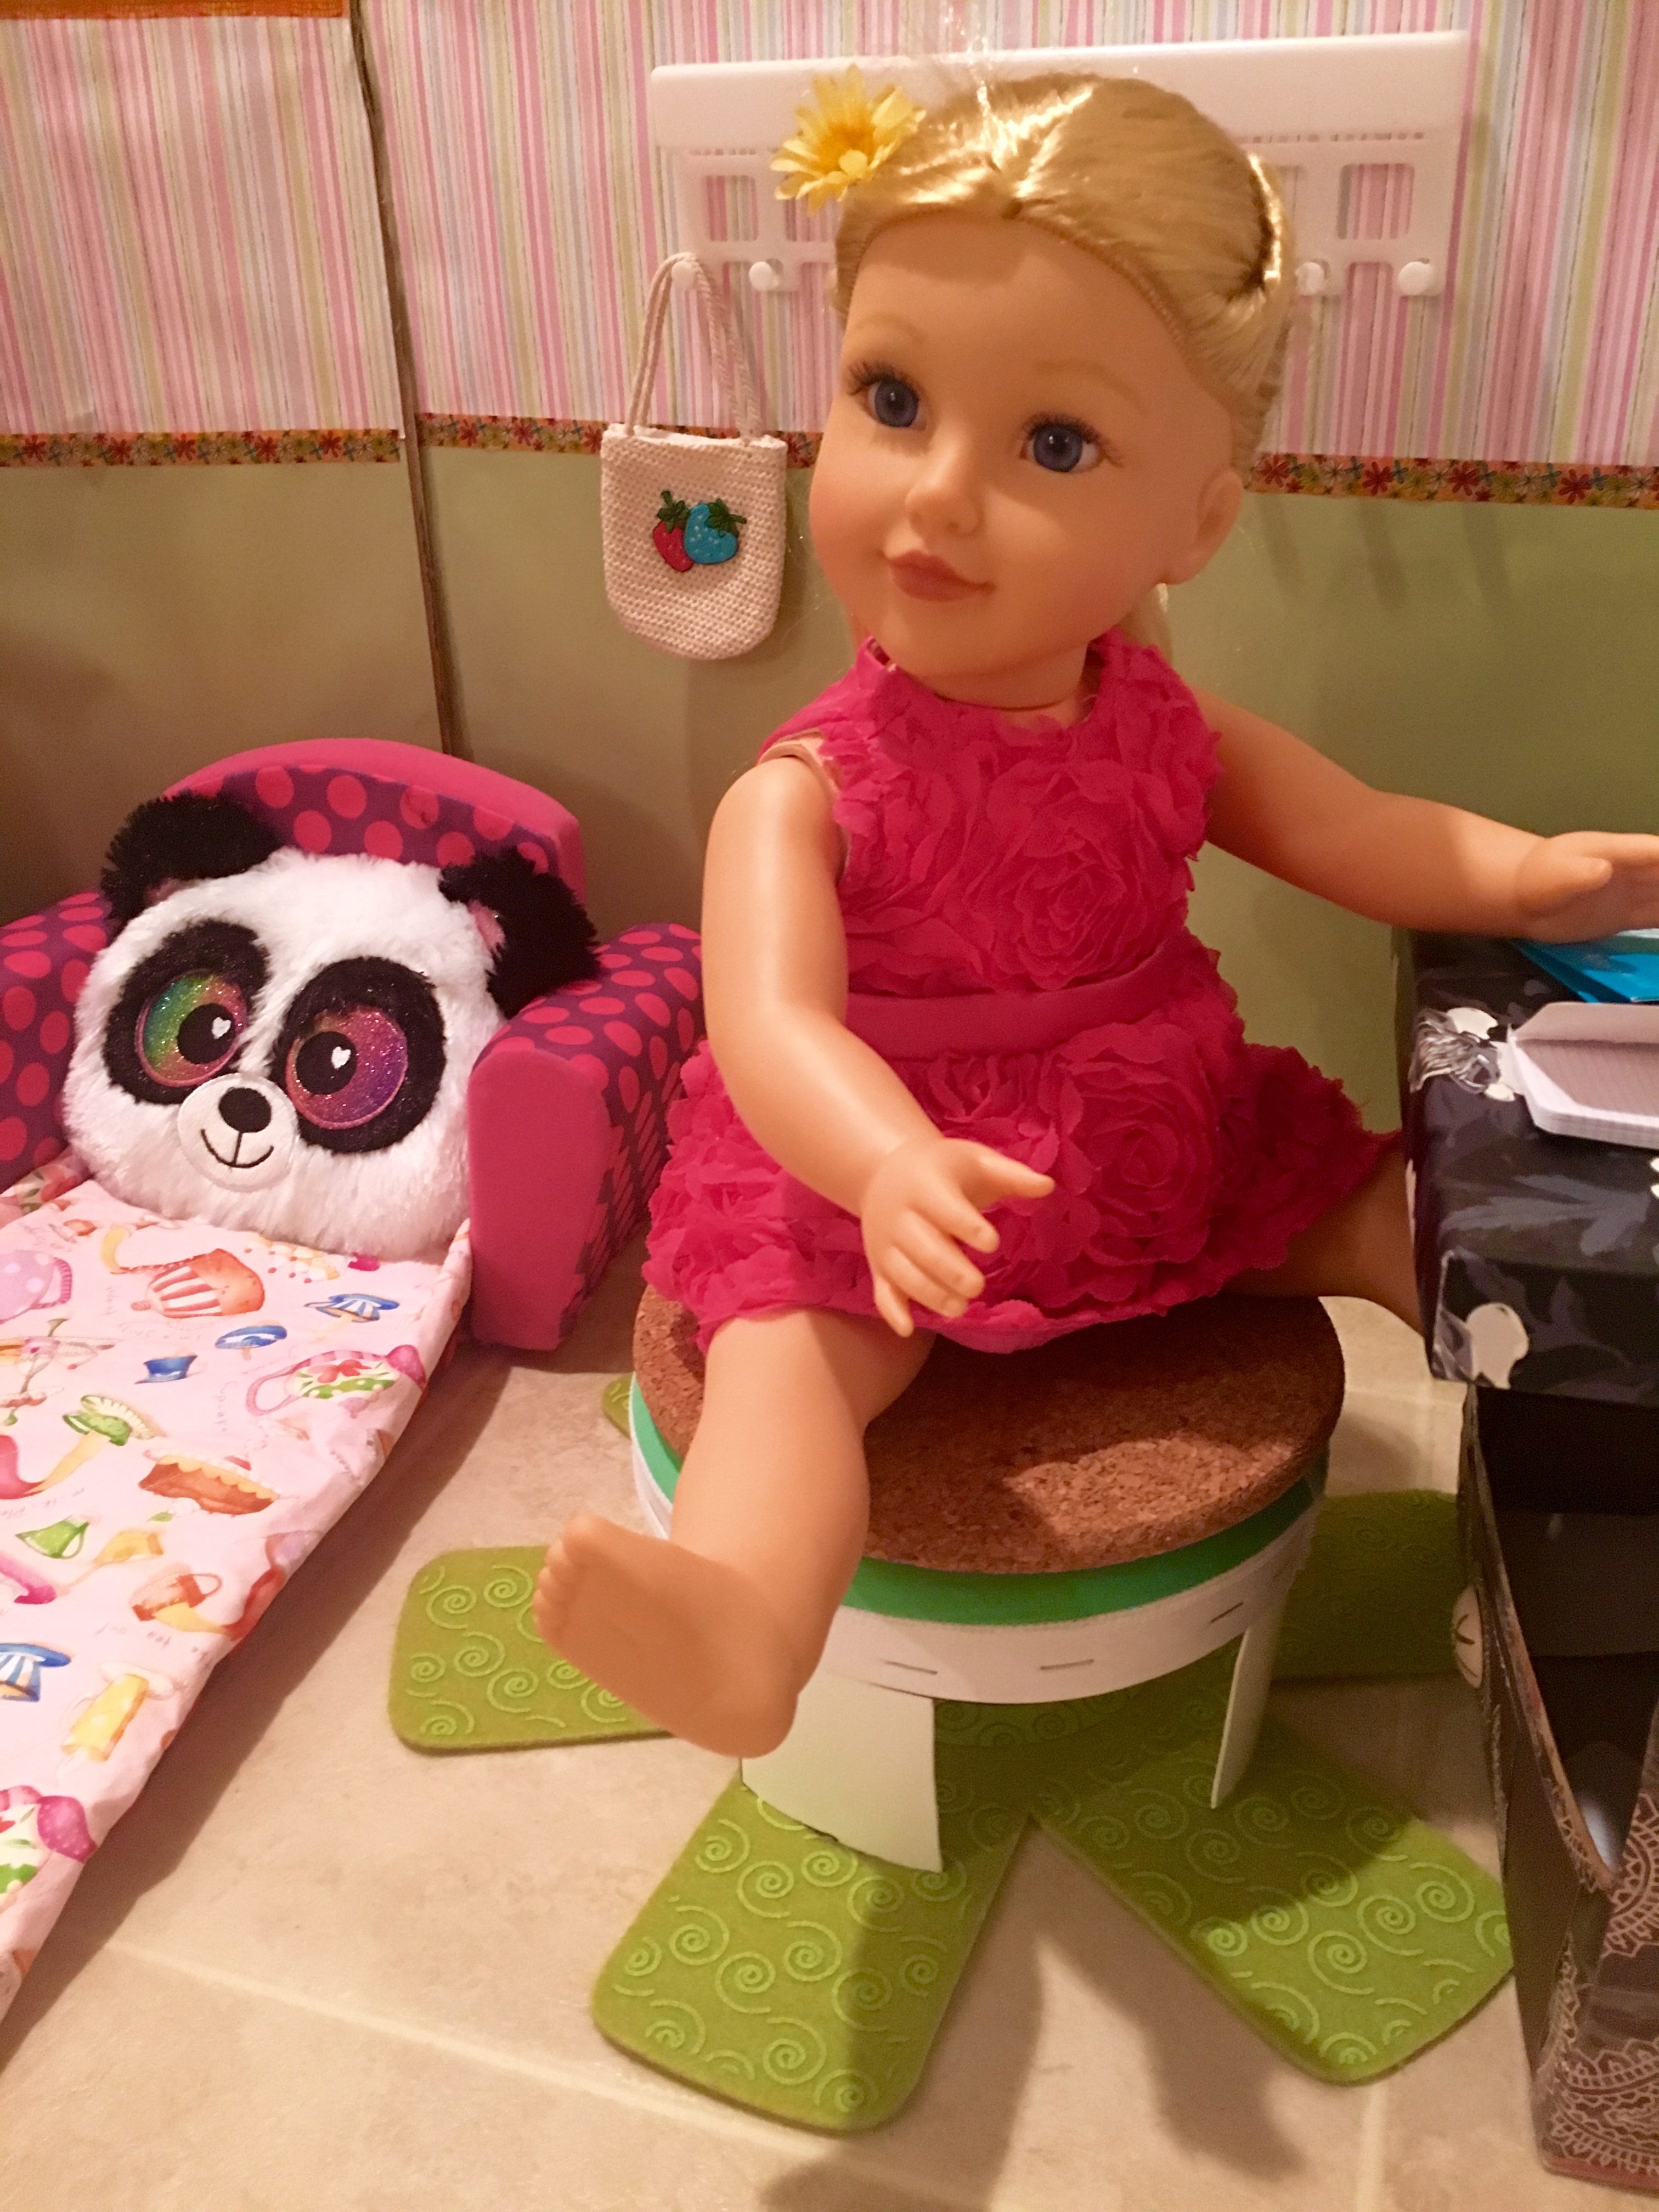
I had to admit, it was pretty bare bones, so I added a cork trivet on top. It made for a very simple, yet sturdy coffee table. Nothing mind blowing, but it cost nothing, and it did the trick.
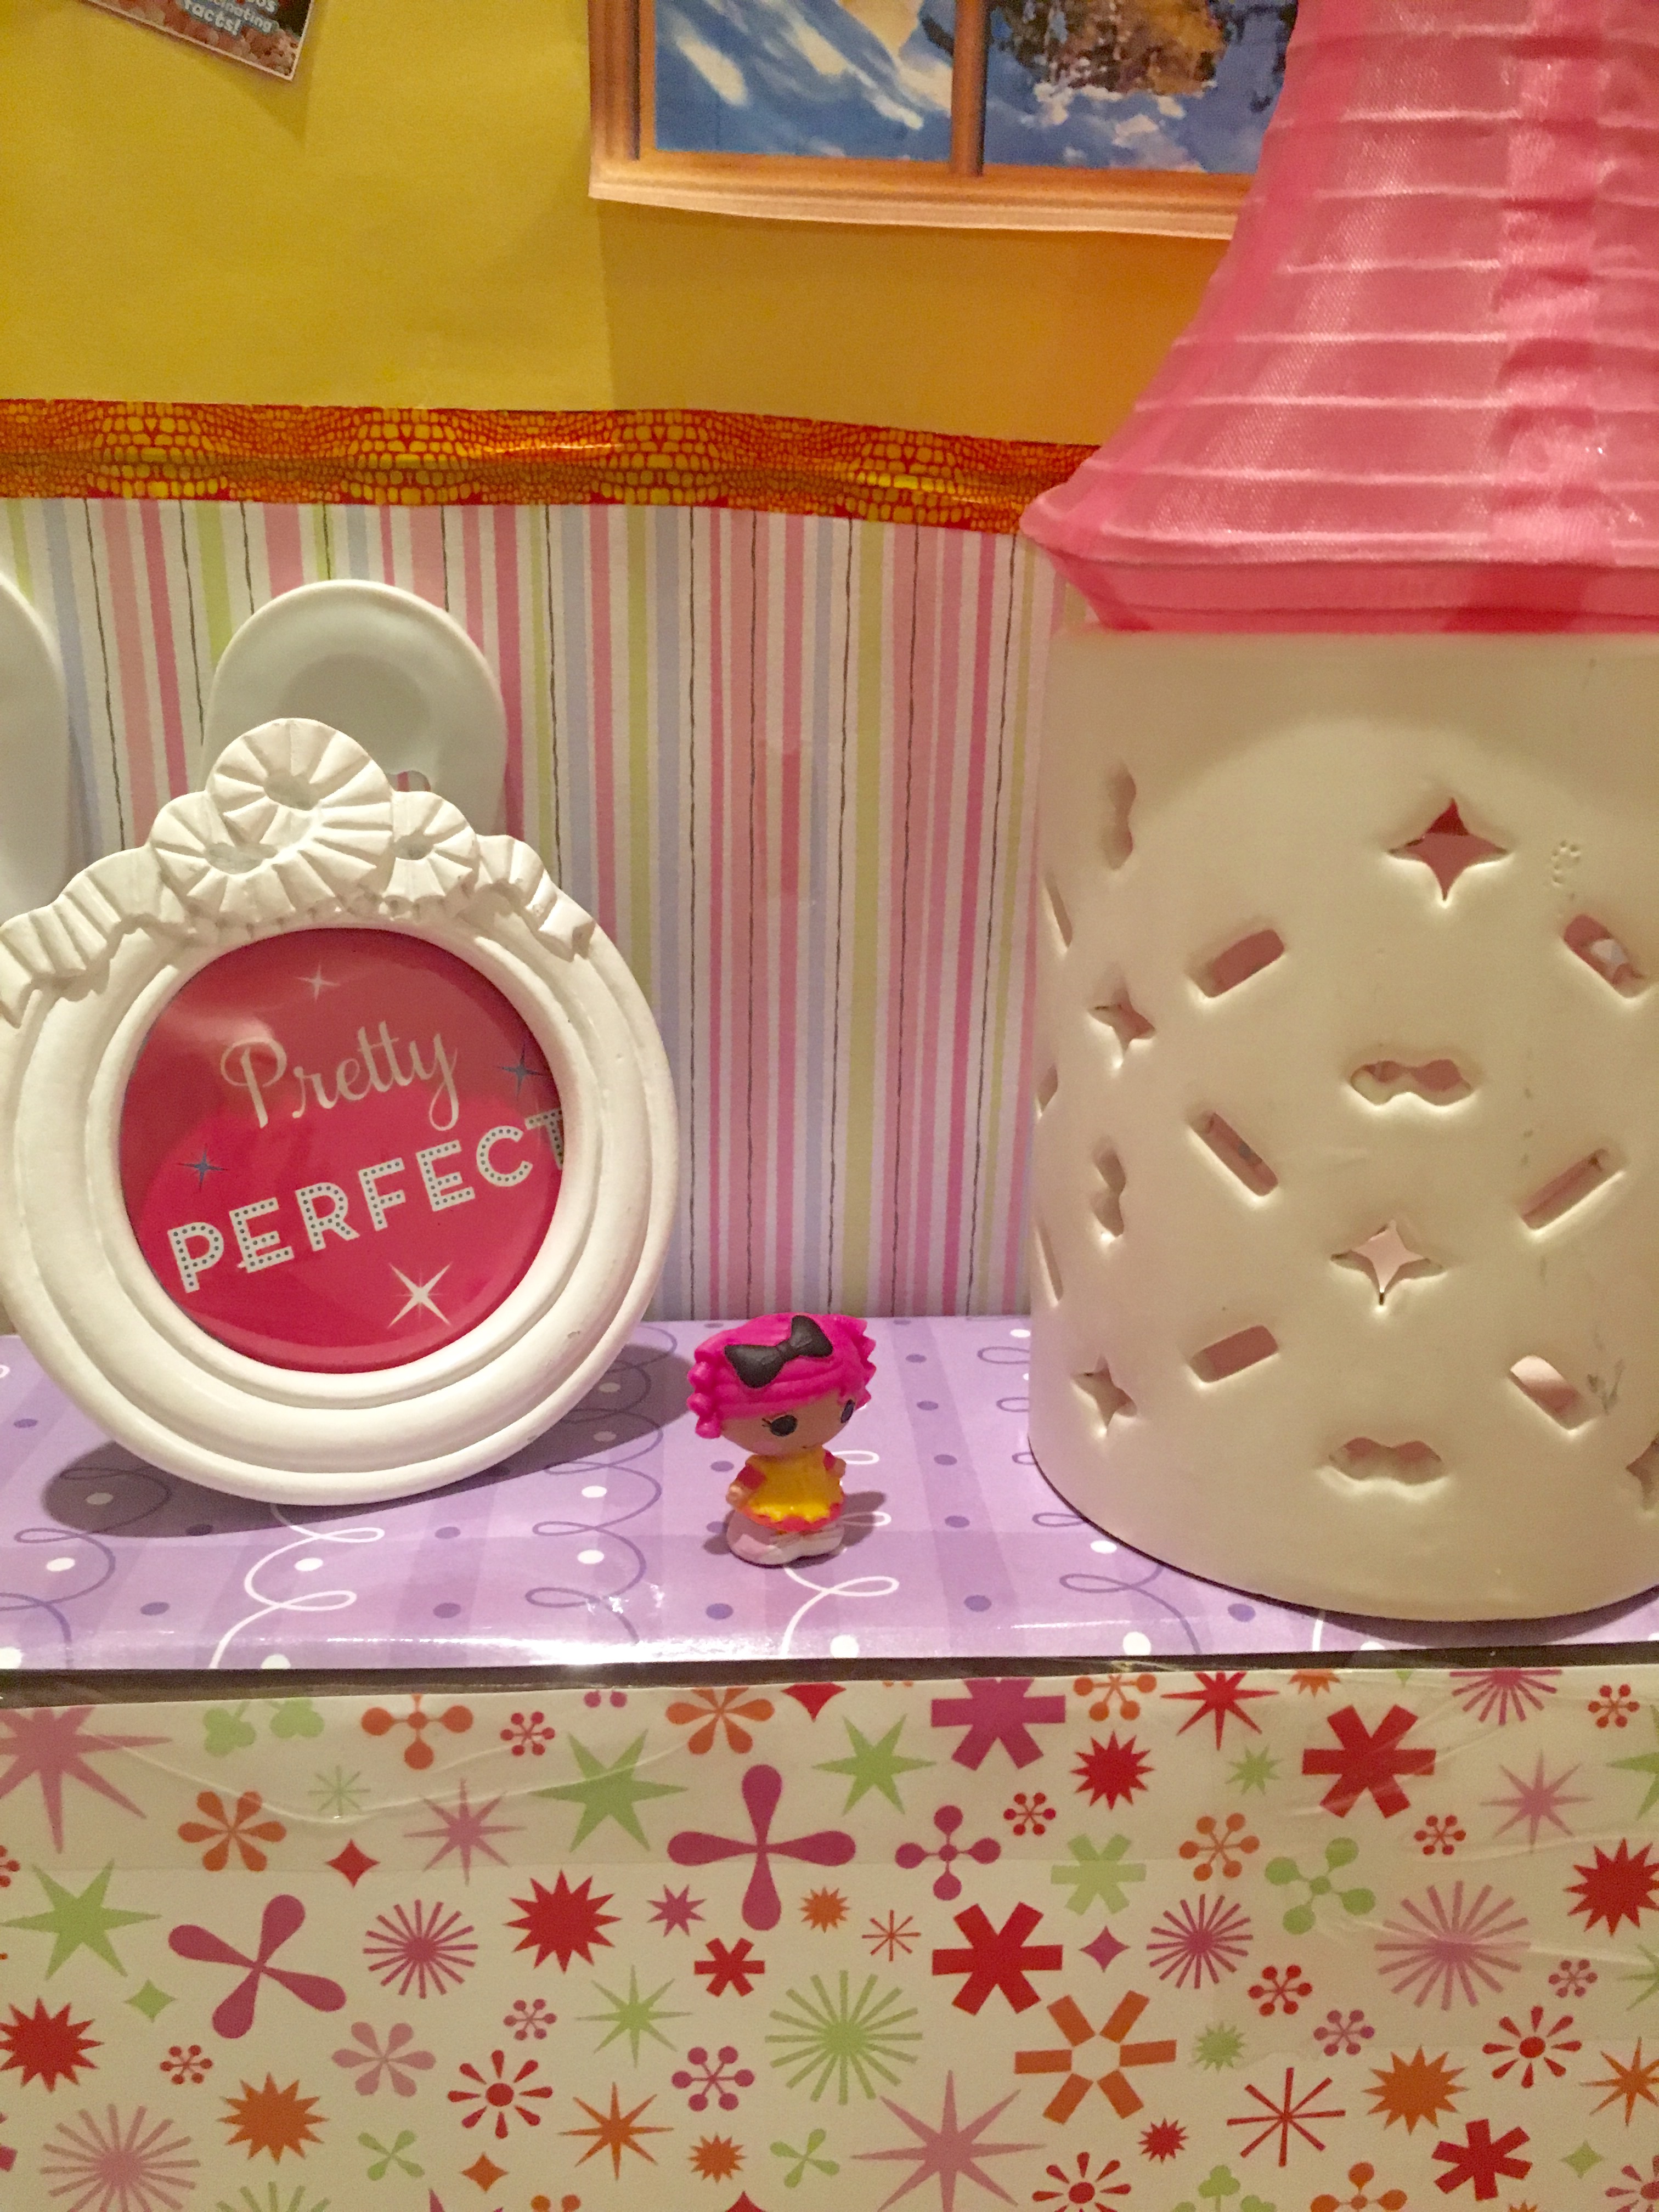
Here is our easy as pie living room. I added a tealight holder with a yogurt lid on top for a side table to complete the look.
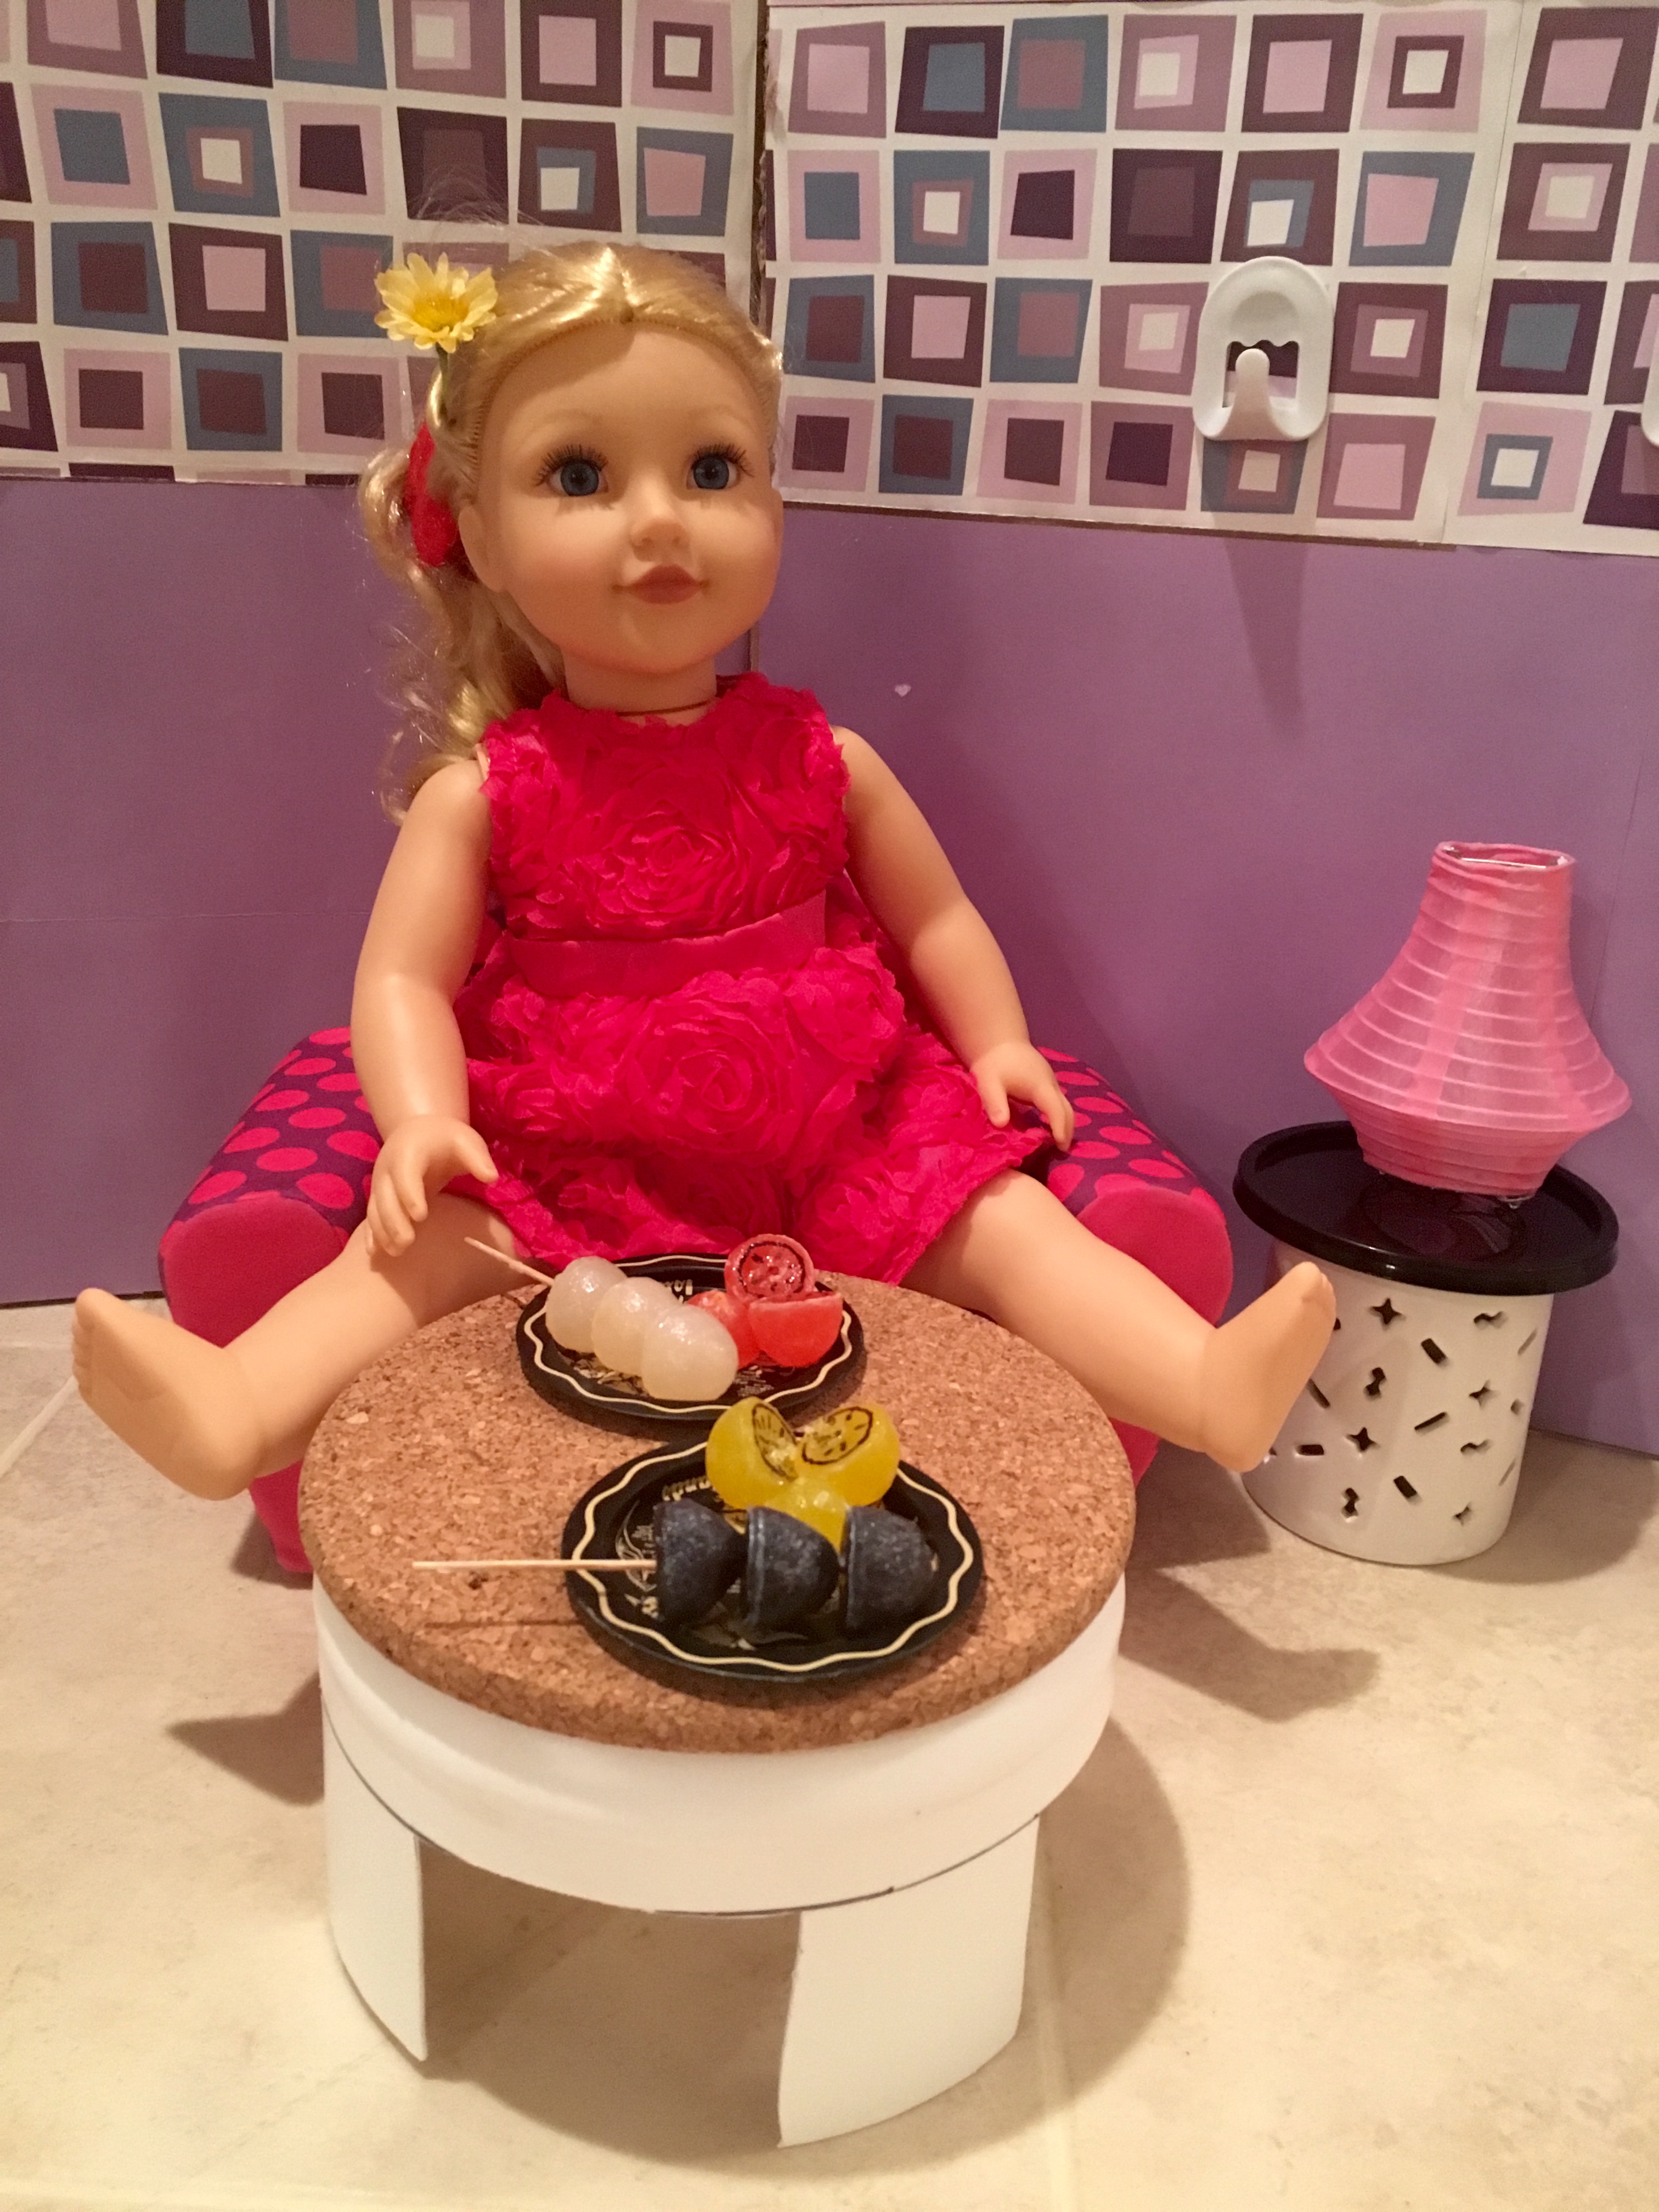
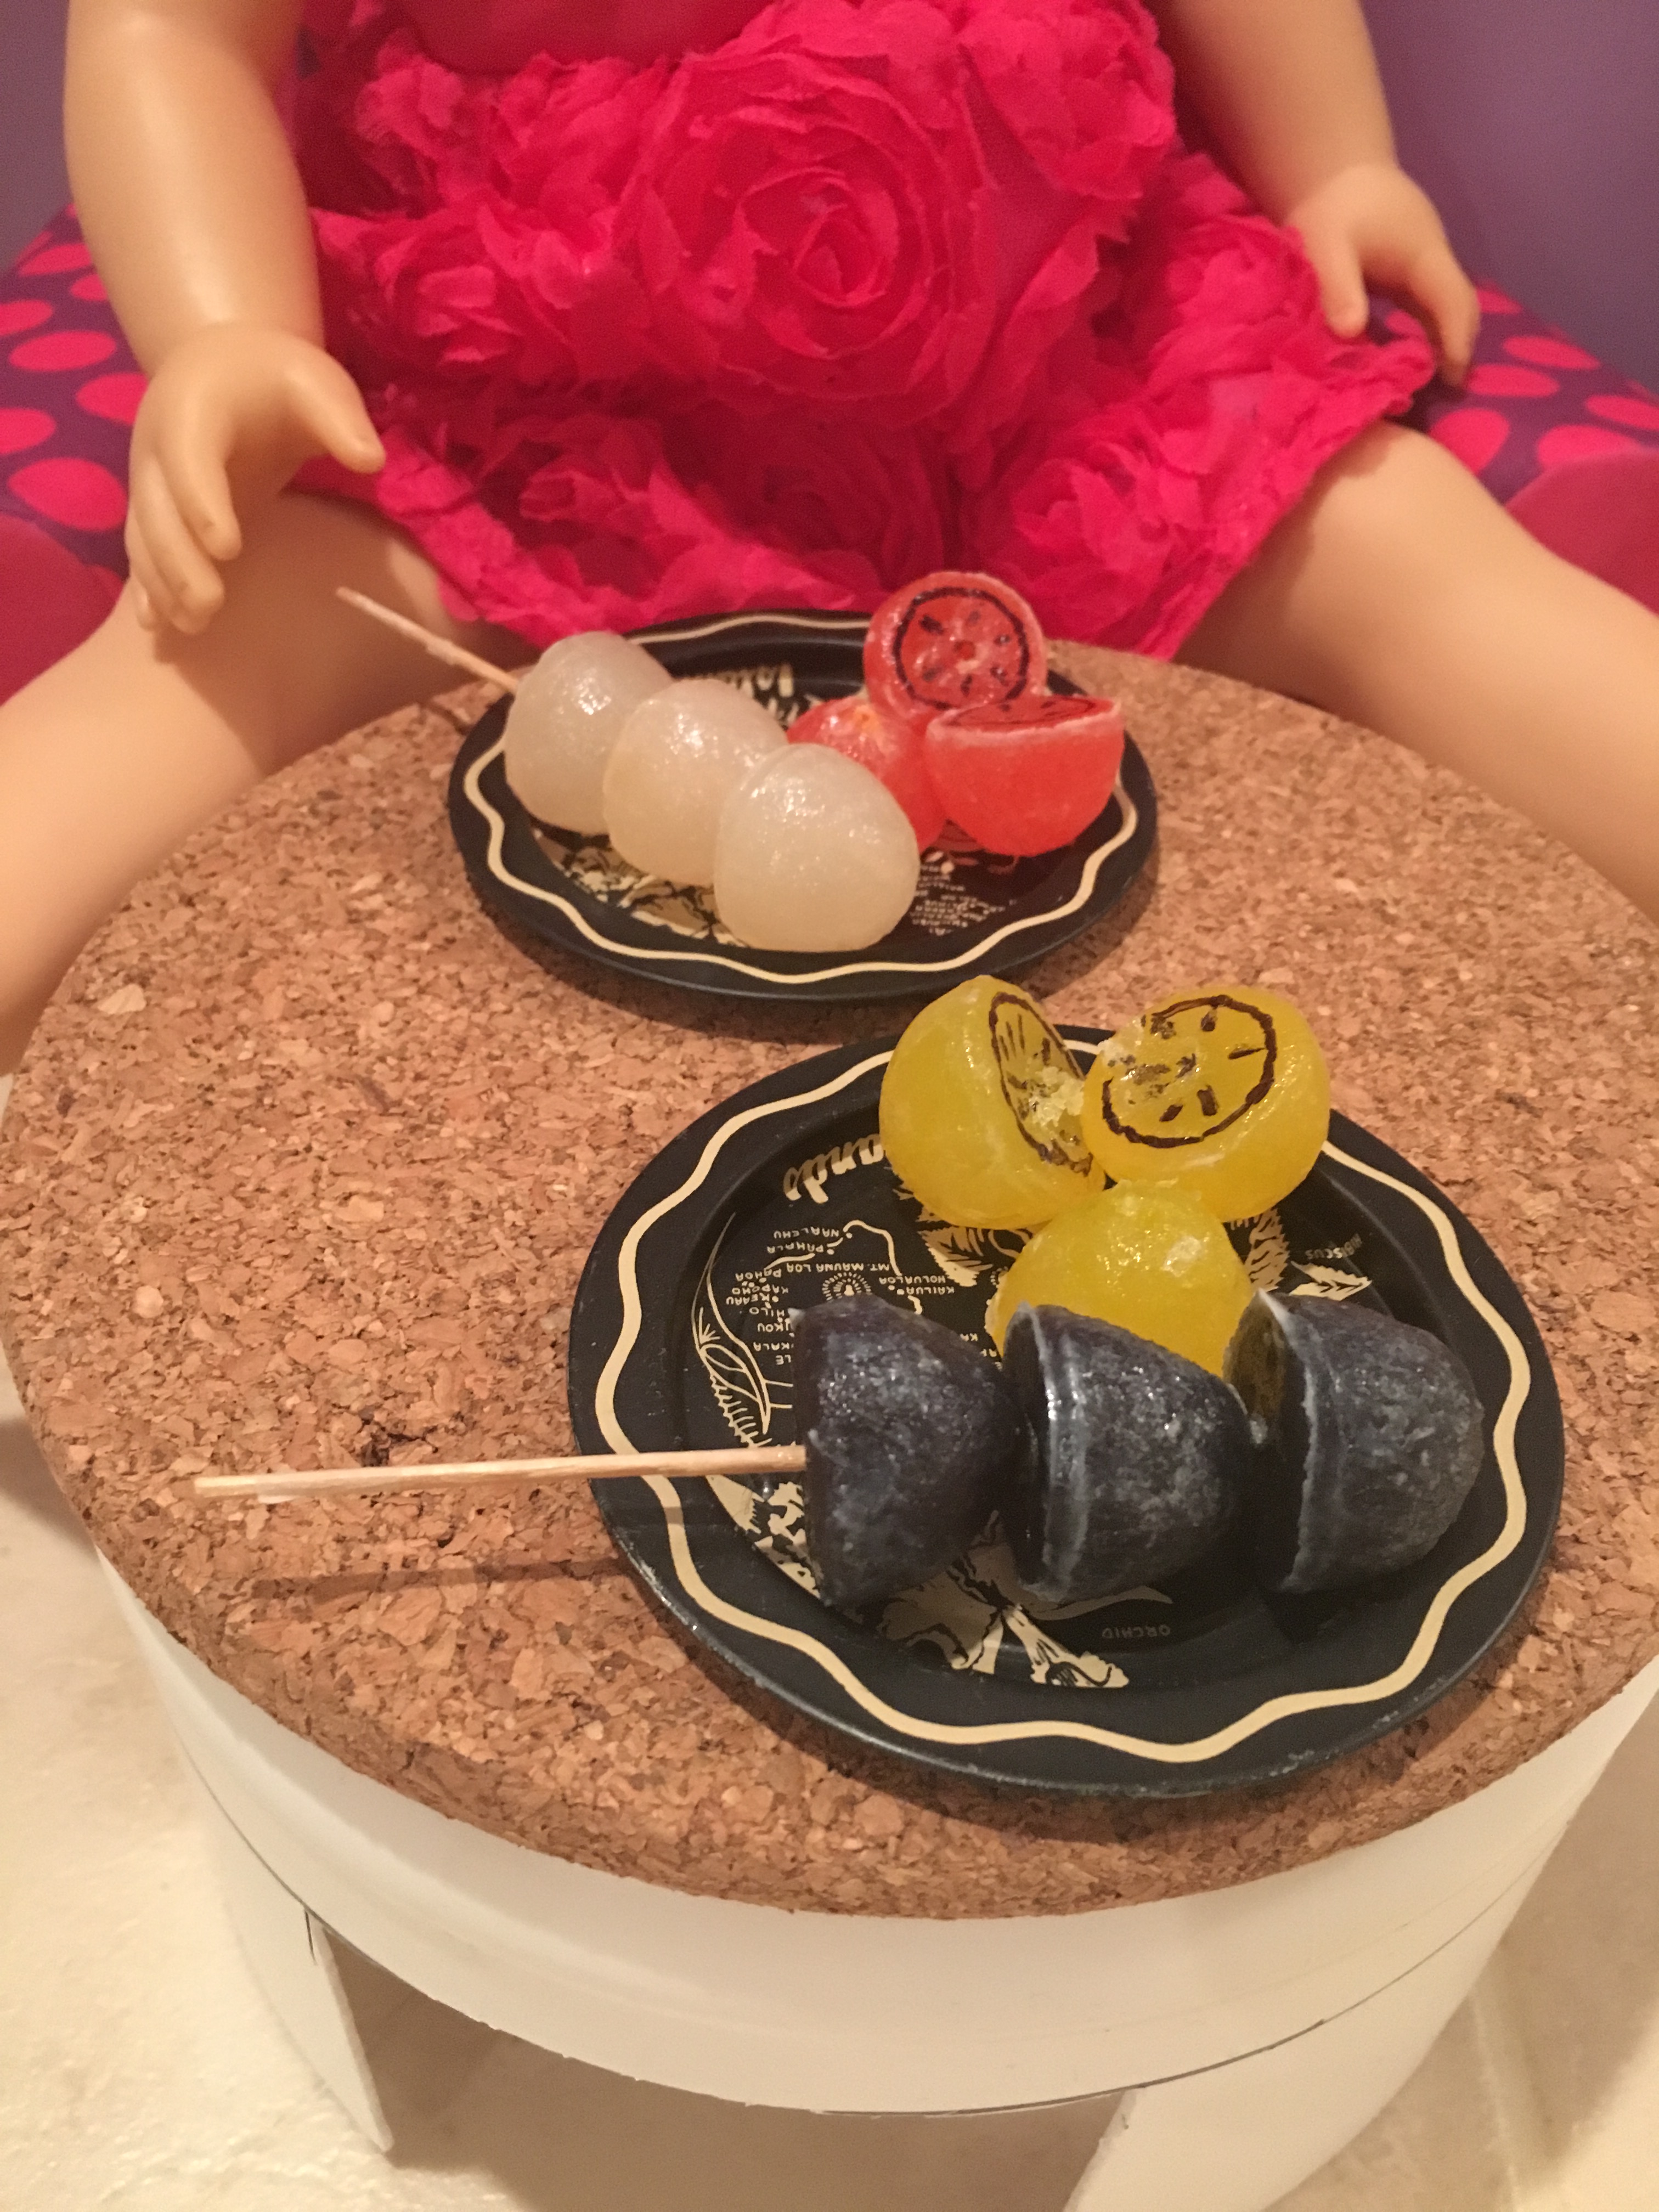
The food plates were from our fruit stand. The fruit is made from gumdrops. I just glued them onto the plates.
My daughter wanted to make the bedroom next.
In the bedroom, the fold out couch becomes a cute bed, and the coffee table becomes the perfect little stool for the desk. We used the tea light holder as a lamp in this room.
We made the desk a while back from the lid of a photo box and a cracker box covered in paper. The dresser was another box covered in paper, and the green flower rug is a no-scratch insert for stacking between frying pans. 🙂

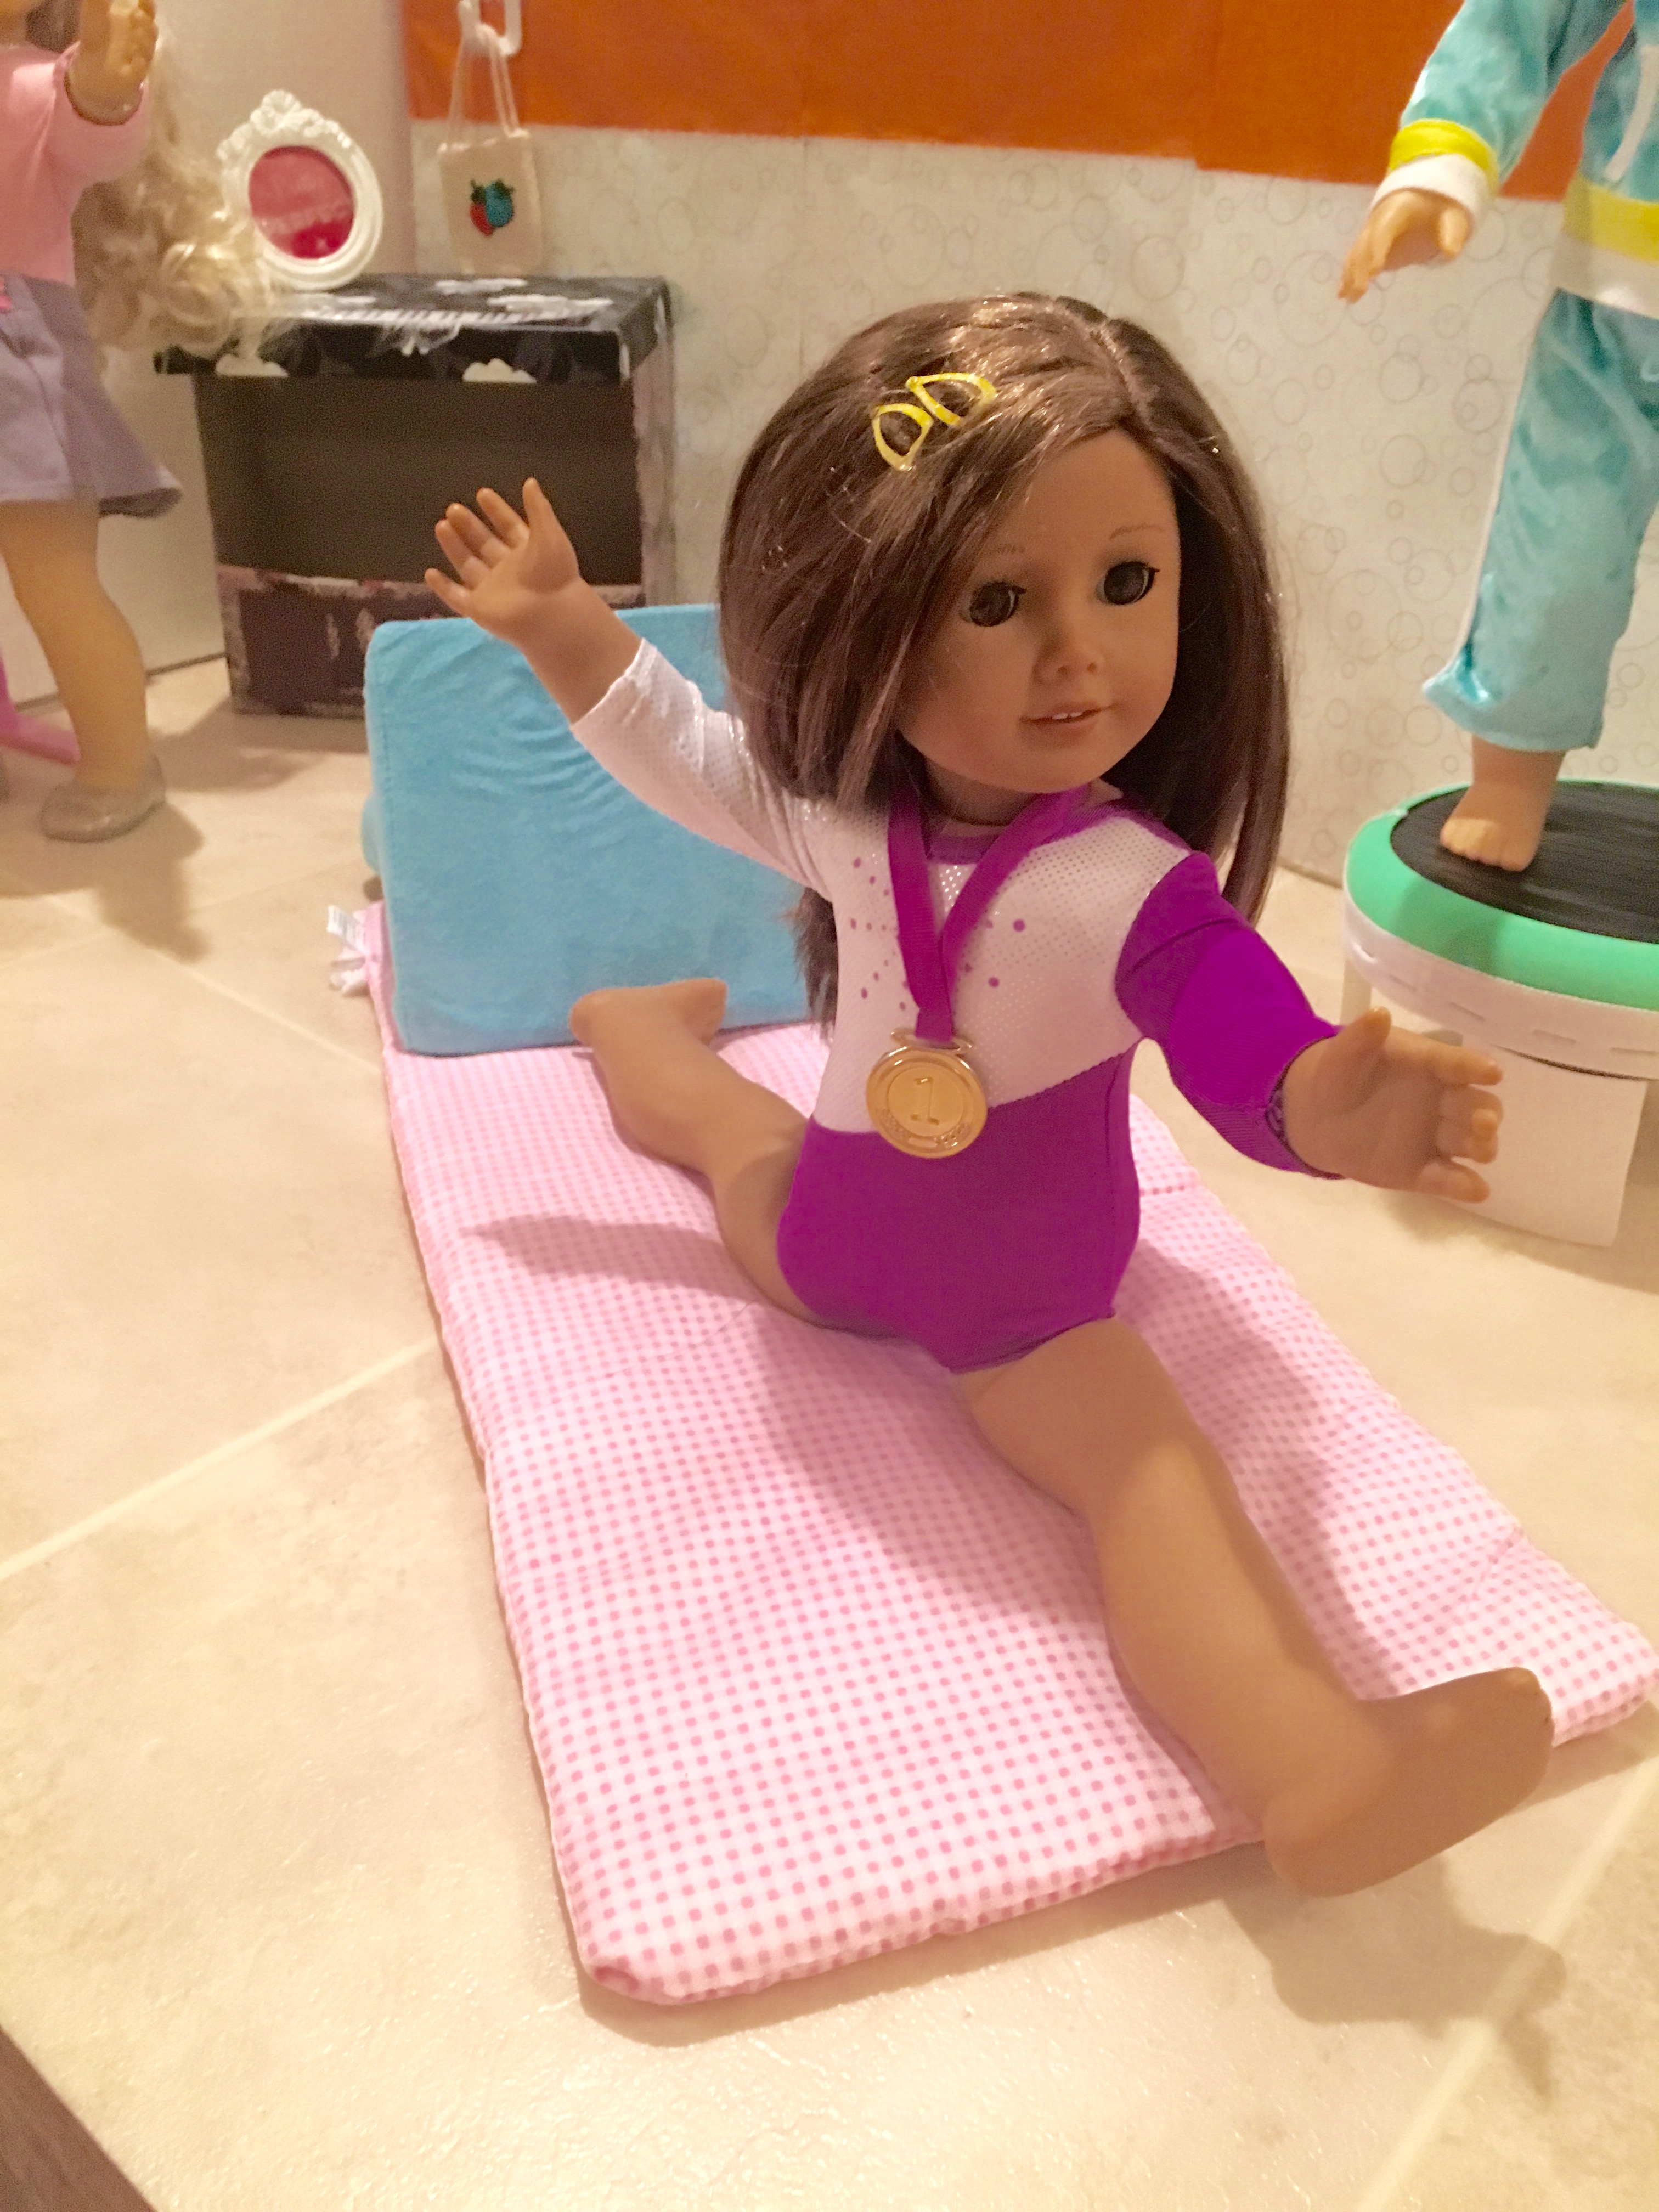
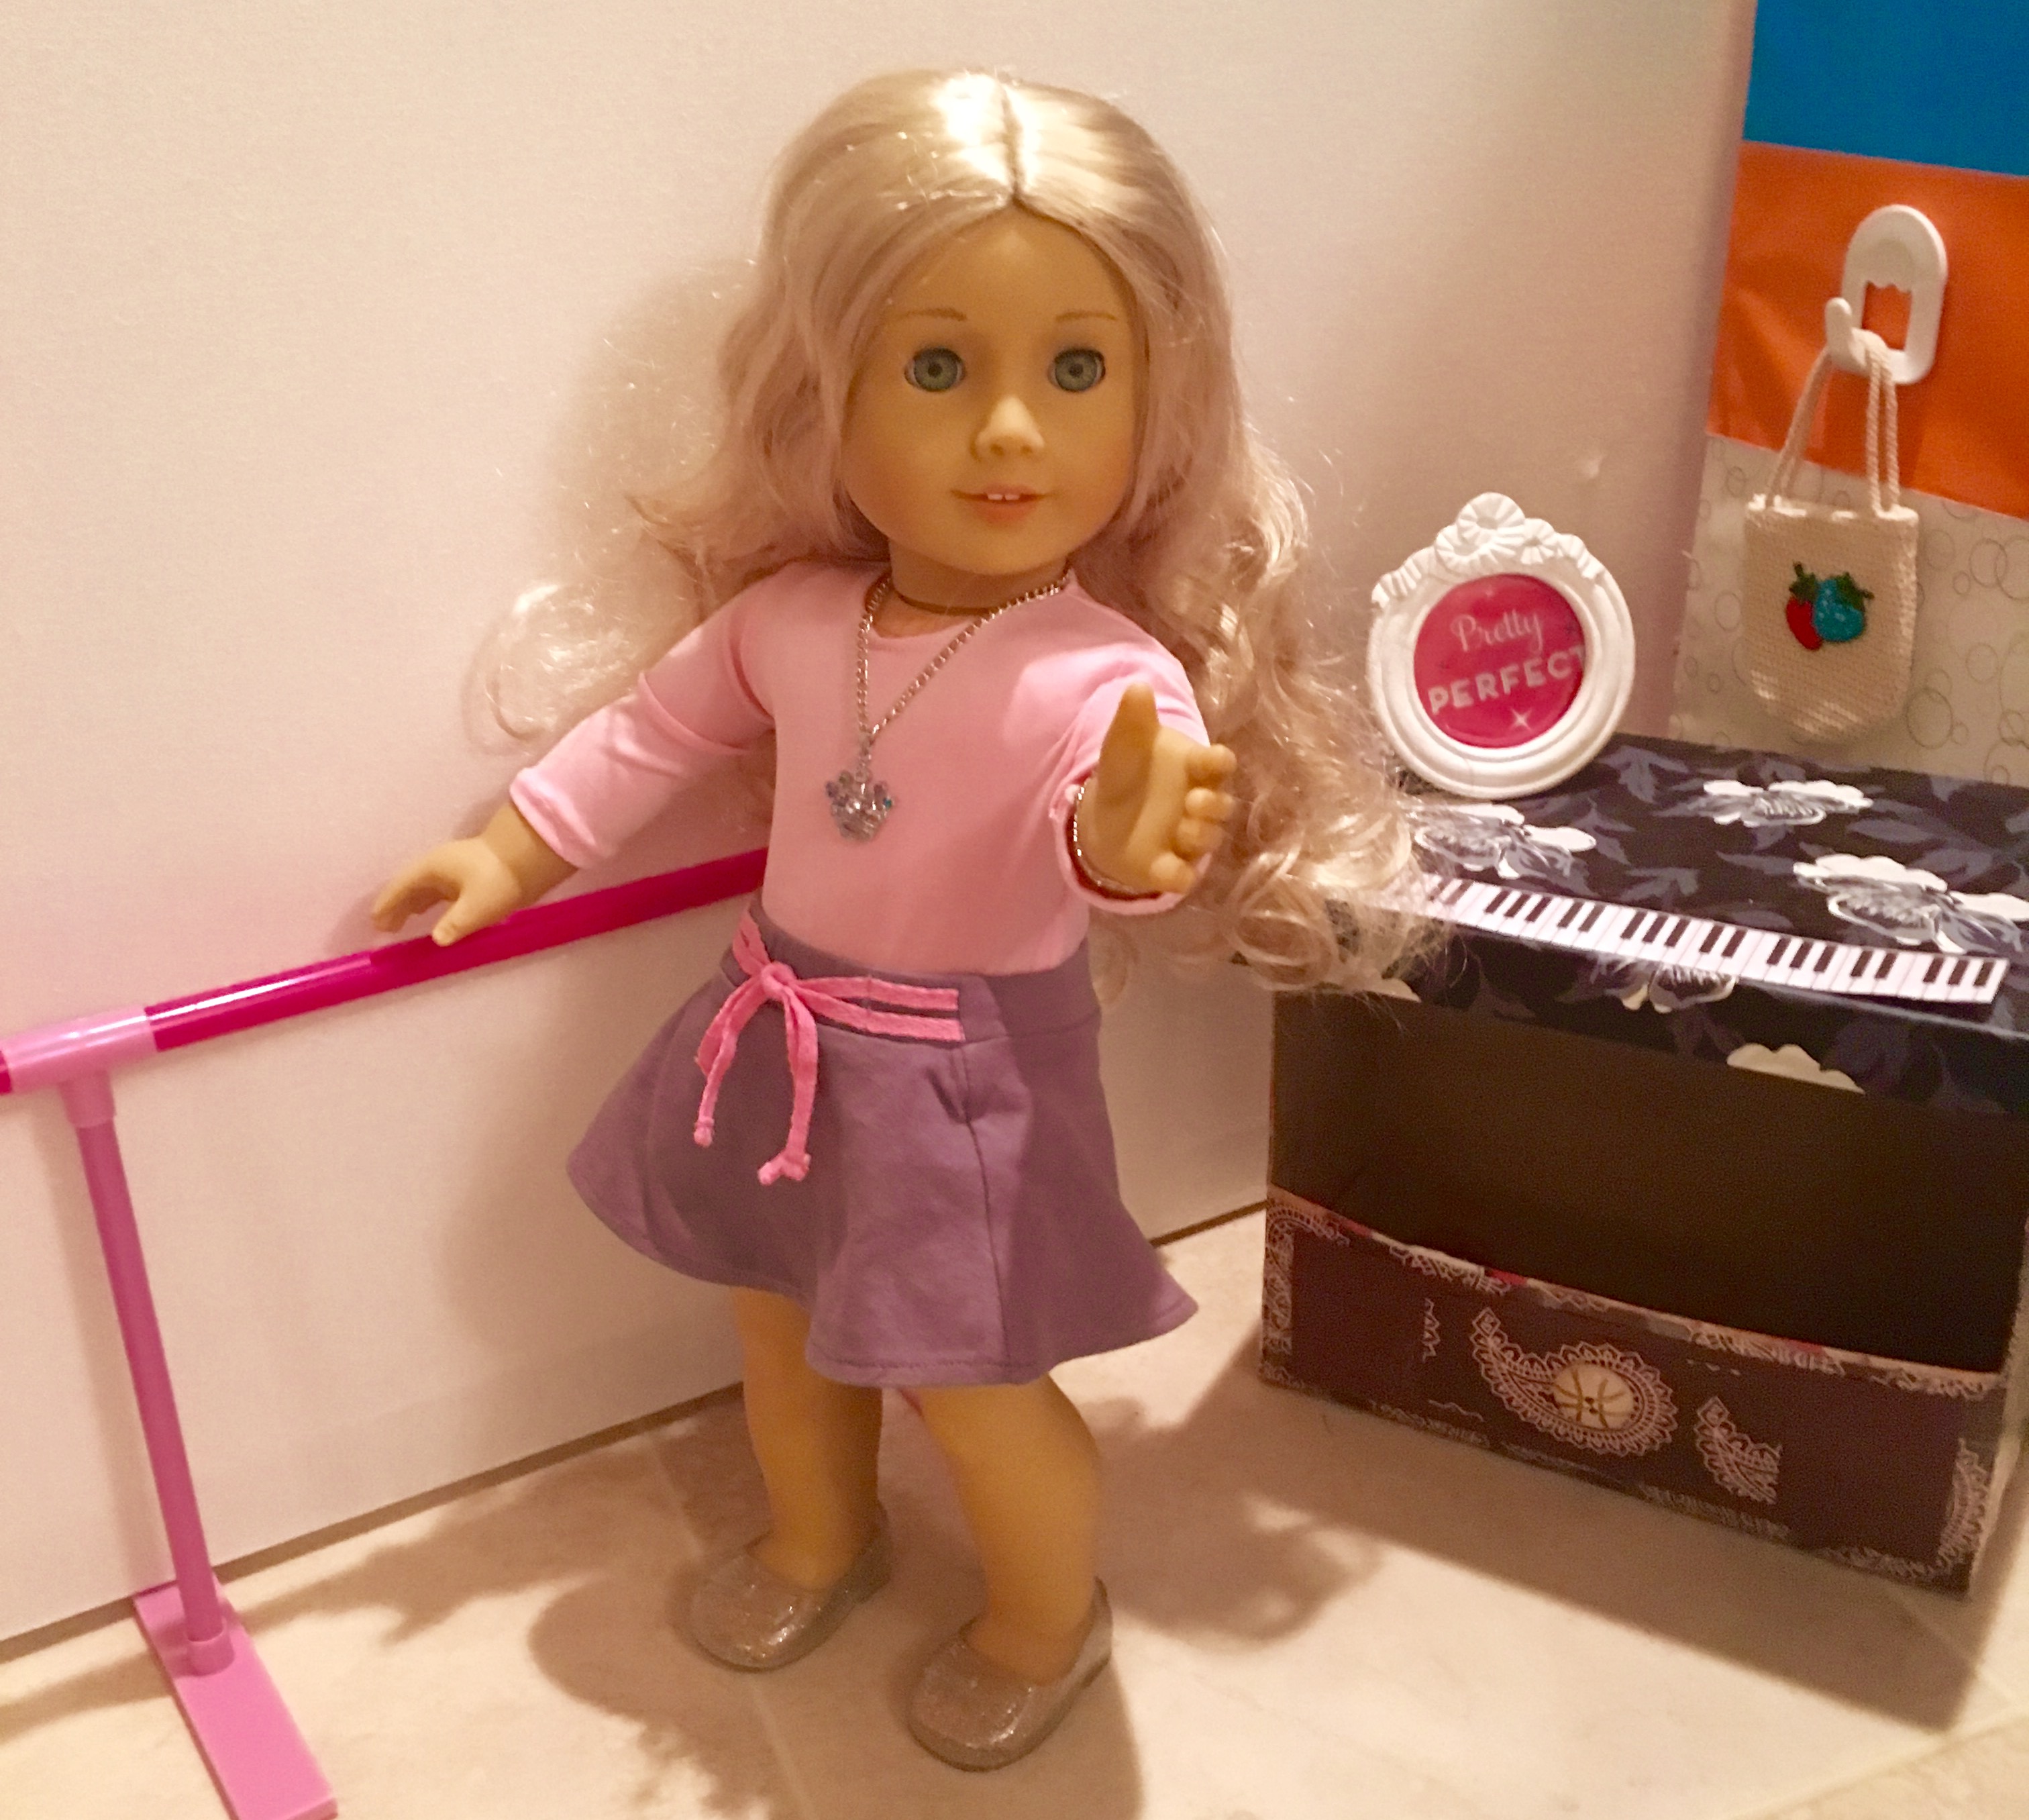
The final room that we created was my favourite. It’s the gymnastics/dance studio.
Now, I am not athletic enough in real life to do the splits like that, but the dolls, well, they are pretty darn flexible.
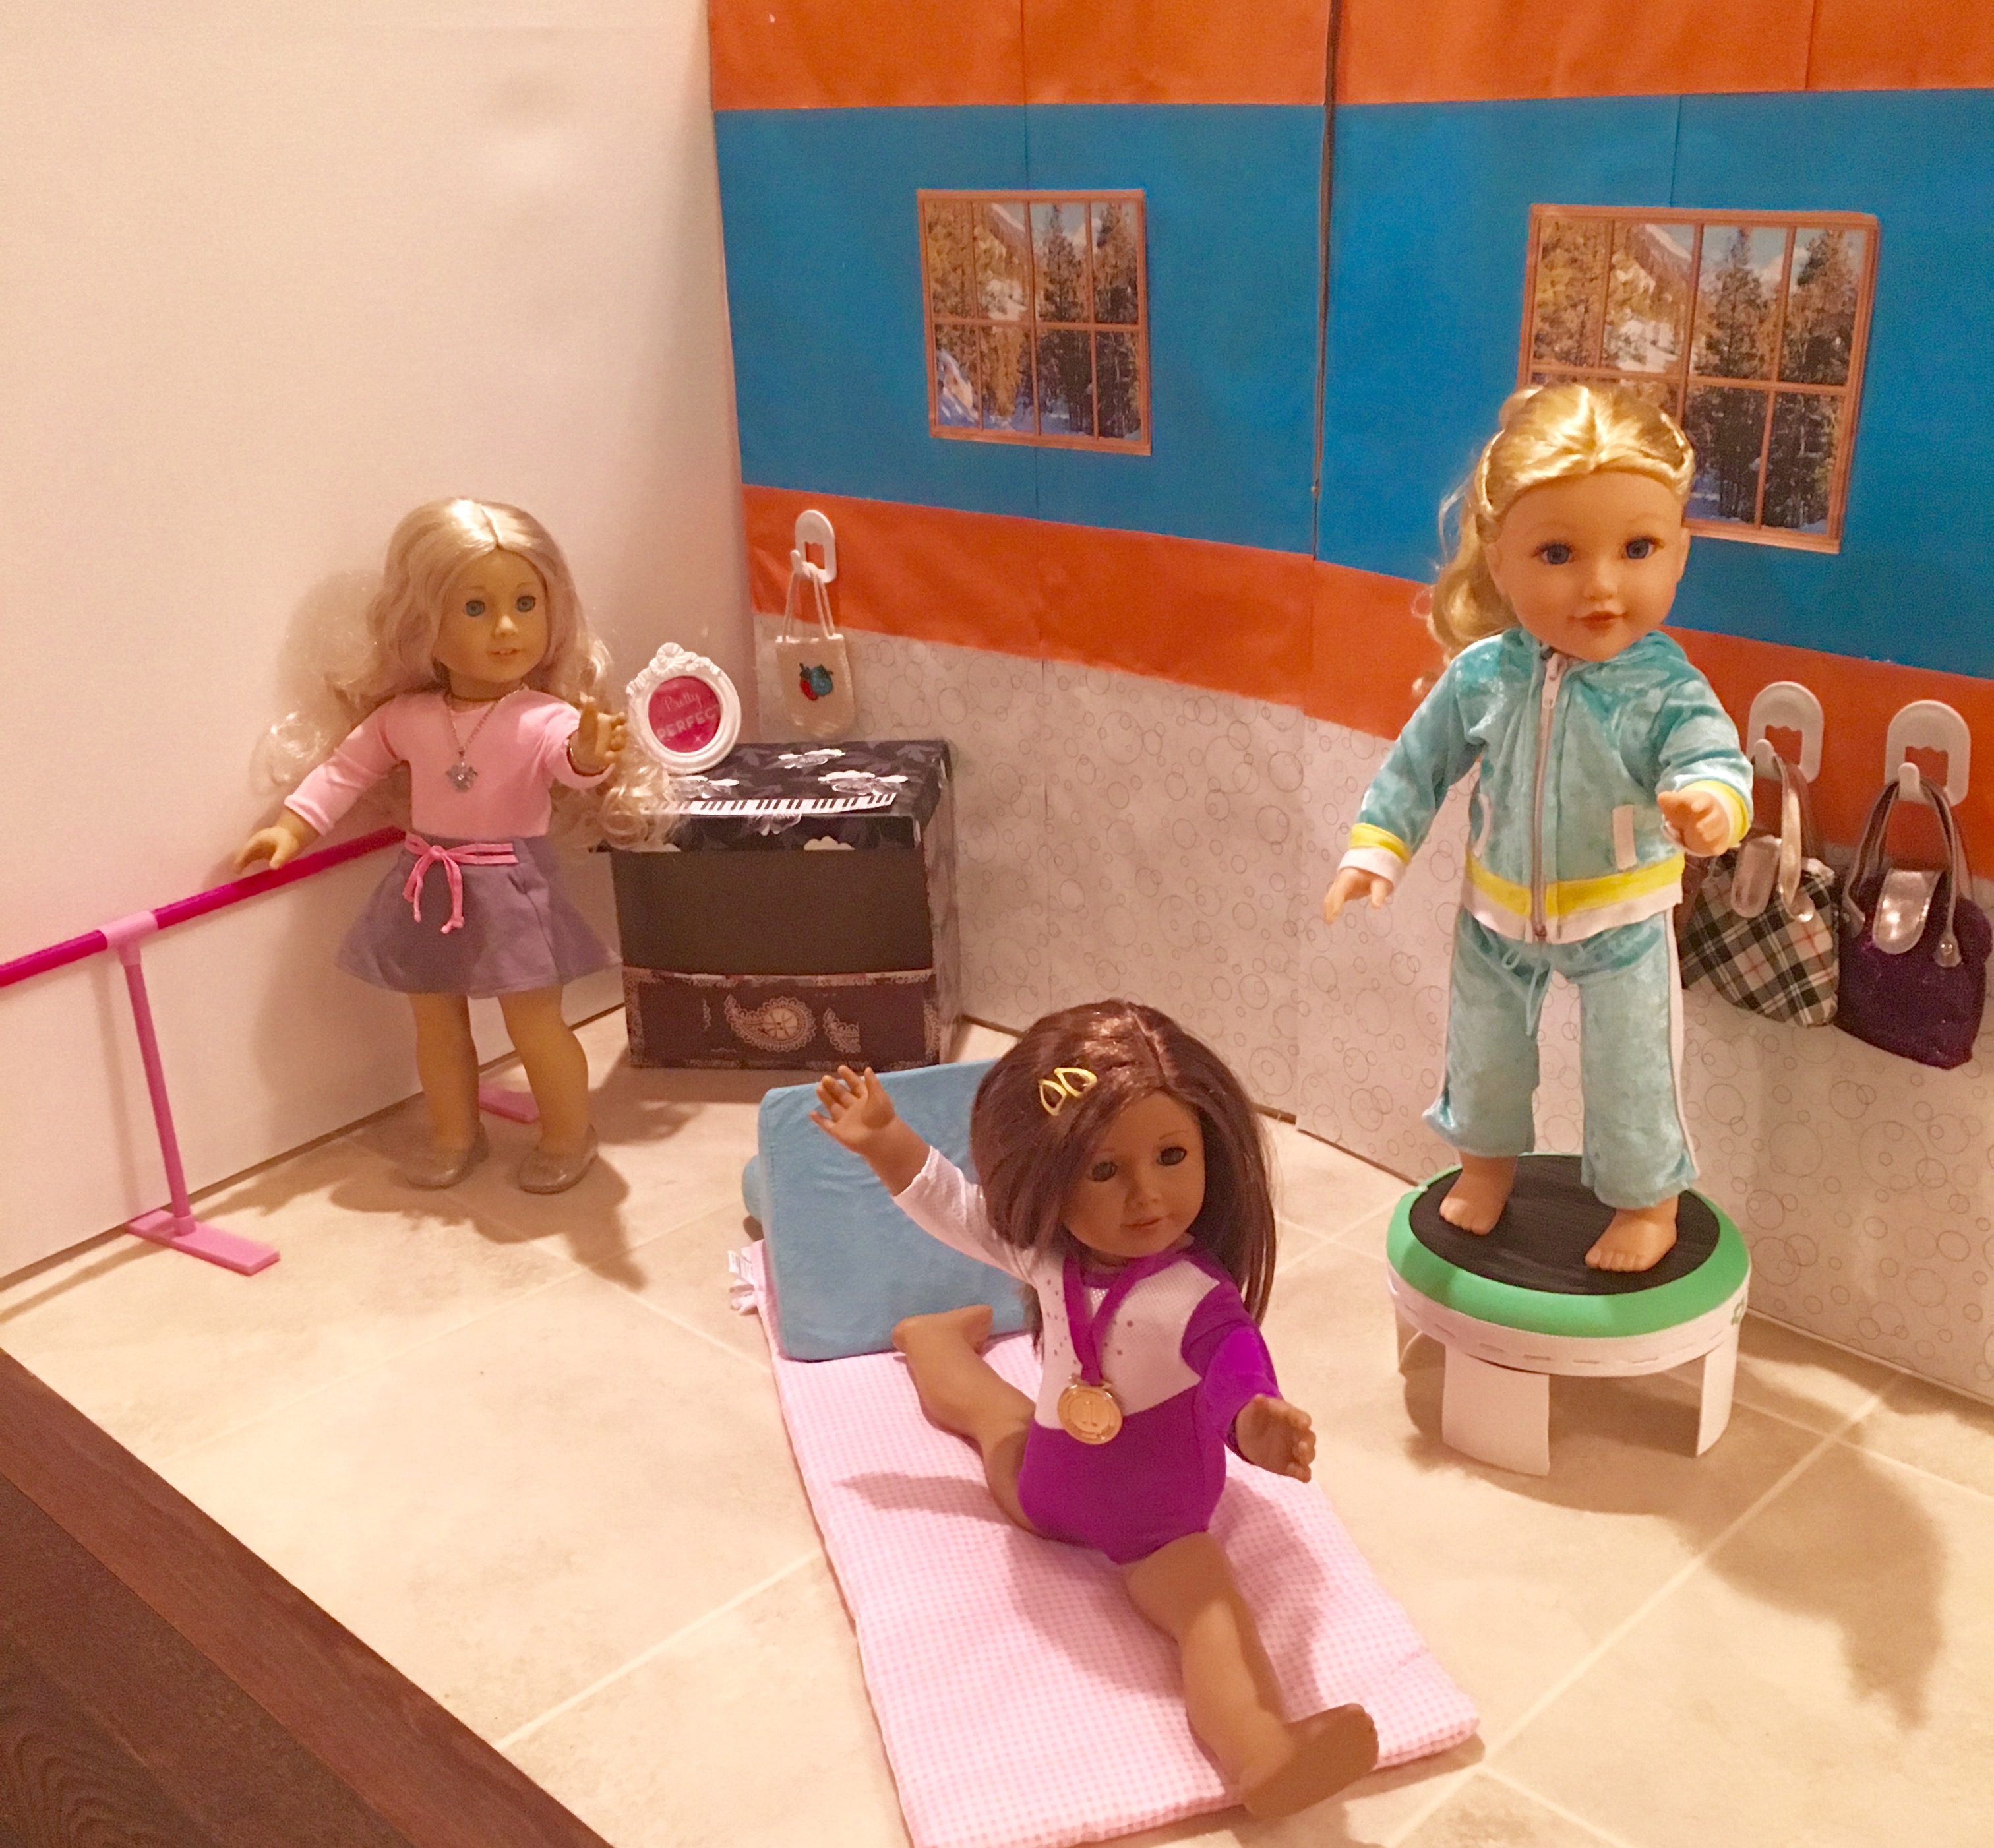
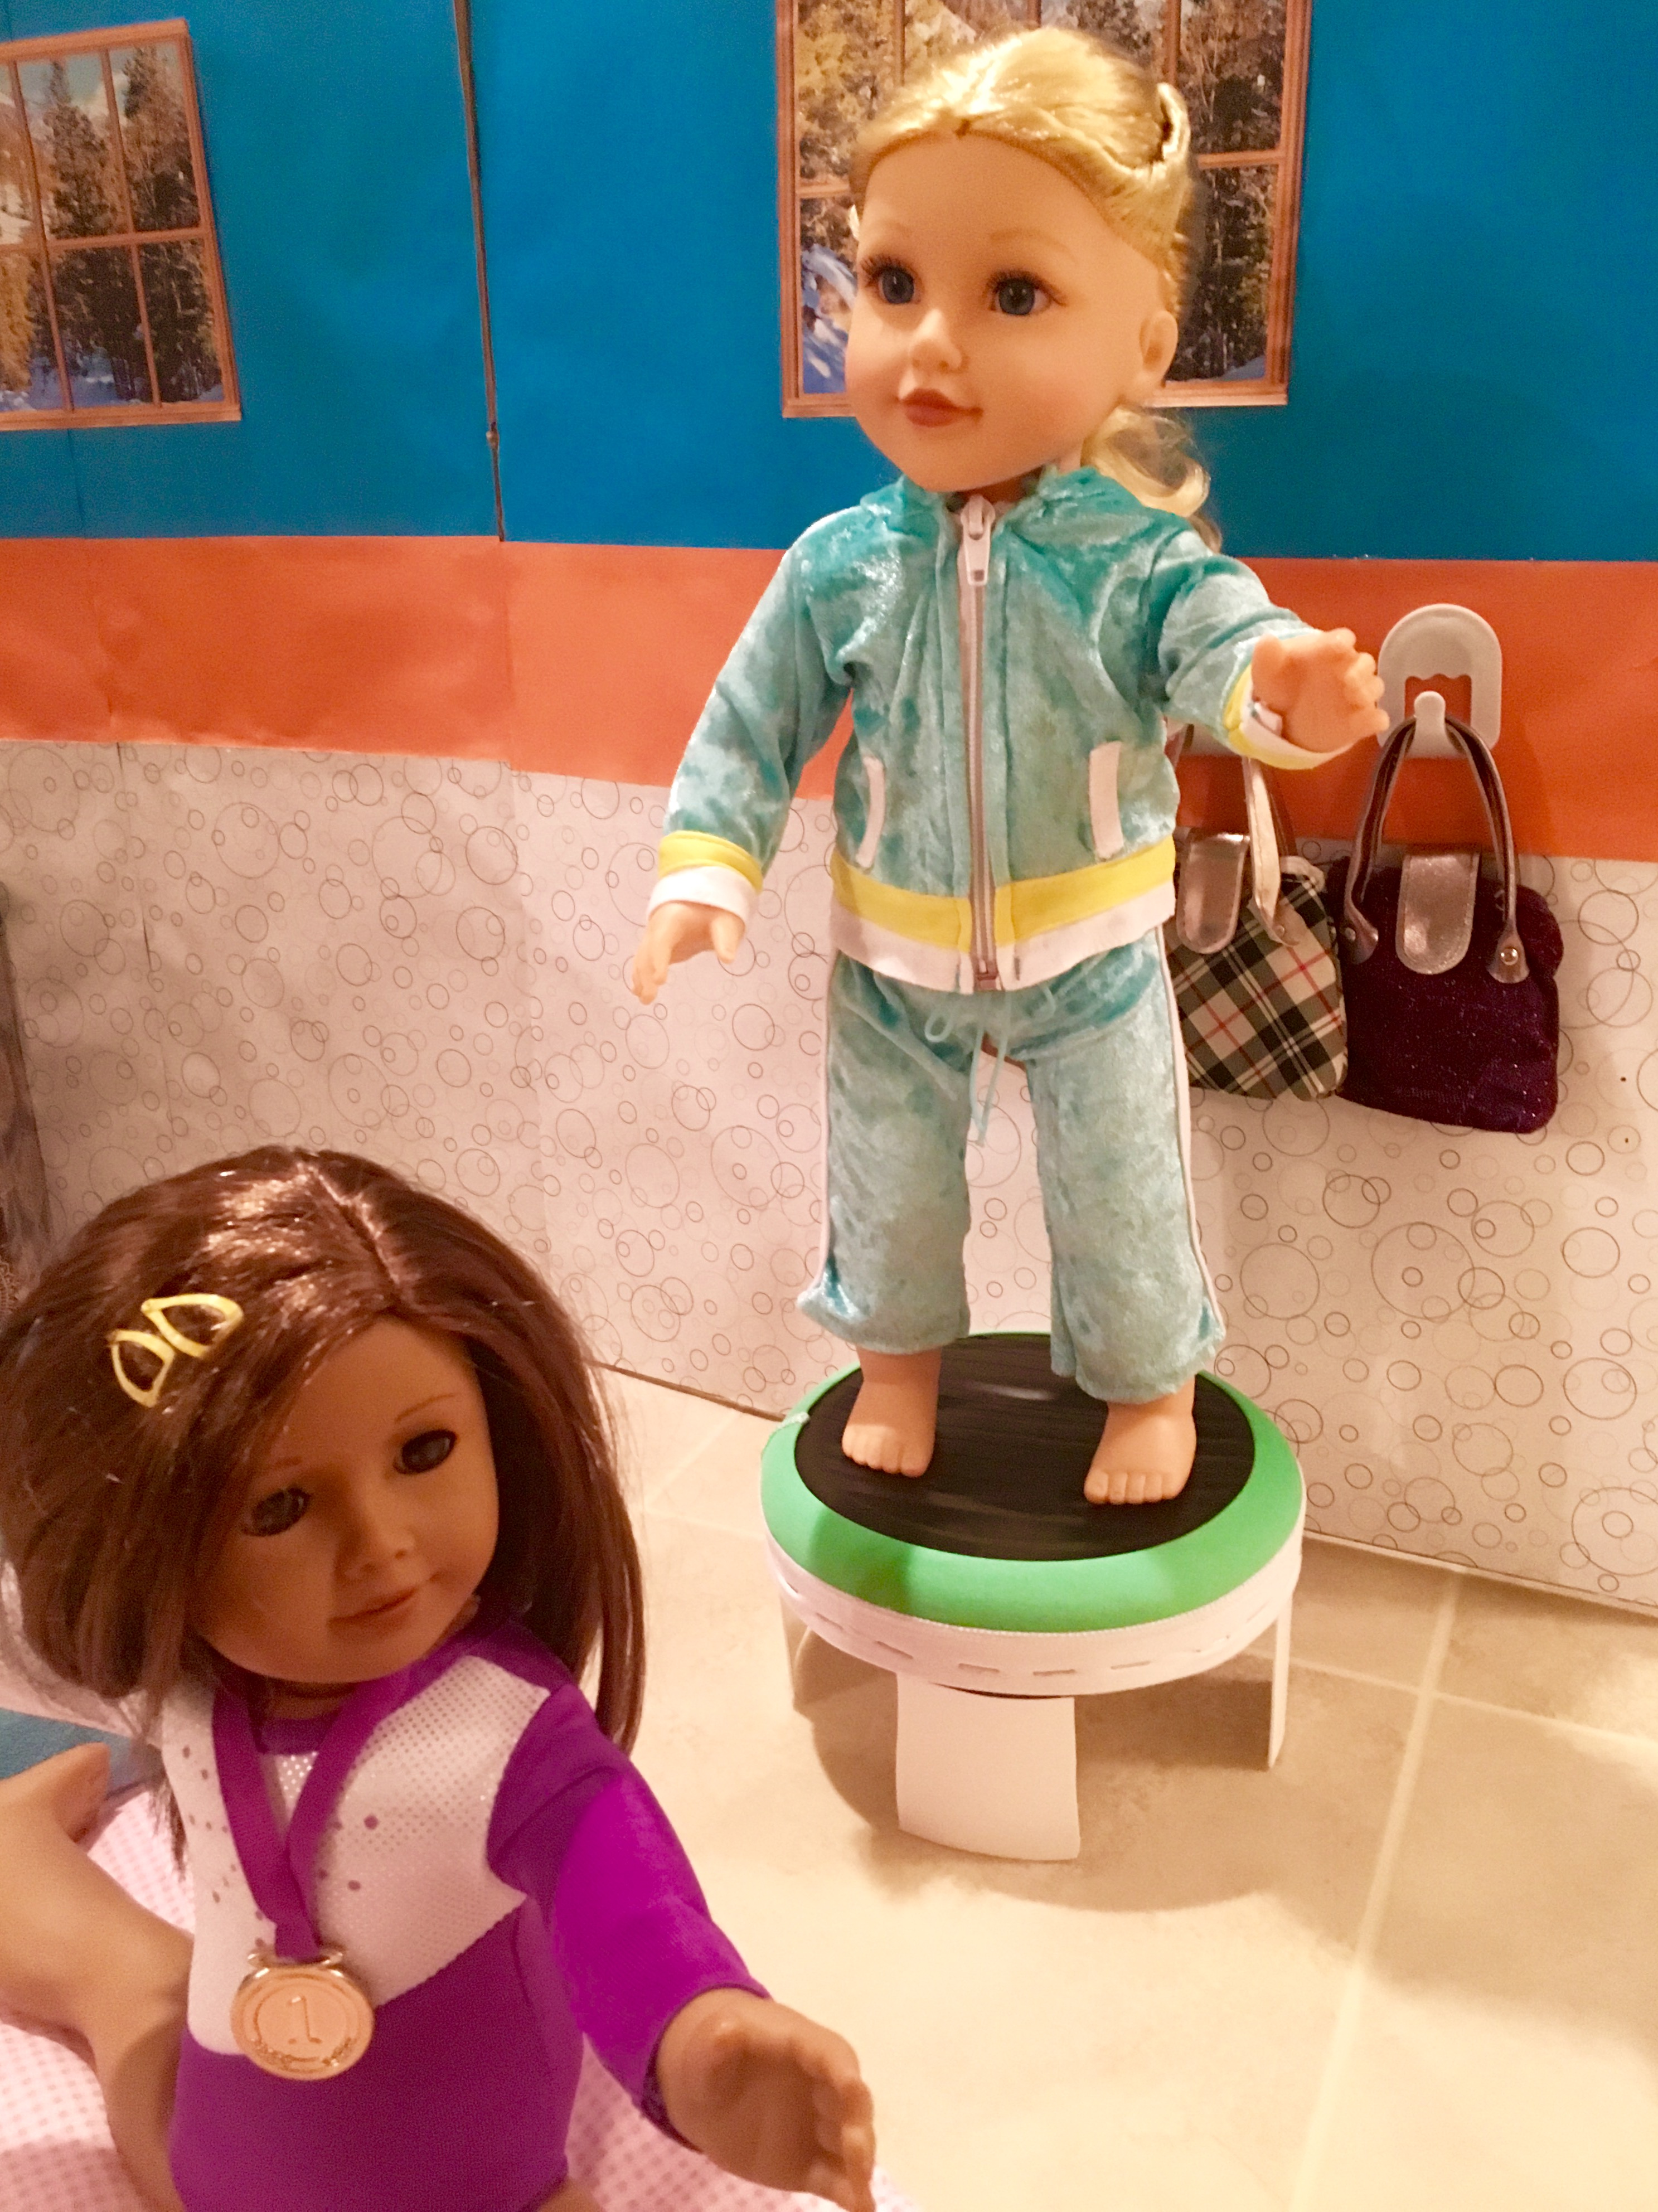

In this room, the coffee table/stool that we made becomes a mini trampoline! I used some hockey tape for the top. Then I took an athletic hairband that didn’t fit my daughter anymore, and stapled it around the edge.
The desk from the bedroom becomes a piano by adding a strip of keys on top, and the dresser works as a check in desk if you lay it on its side. I used a thin doll bed mattress for a floor mat, and my daughter’s iPad wedge as a foam block. We already had the ballet barre.
It goes to show that there are all kinds of things you can use for doll play. It doesn’t have to be expensive either. We had so much fun creating doll rooms/scenes just by recycling things that we found around the house.
I hope this gives you some ideas for decorating your own doll spaces.
Now stay tuned for something extra special! 😉
Enjoy!

Can u make a doll candle?
LikeLiked by 1 person
Hi! I think we can probably try to make one! We have some plastic candles that we already use for the dolls. but we could definitely try making some. We did make a birthday candle out of stacked pony beads once. The post link is here
LikeLike
Sure! Anytime you like! 🙂
LikeLike
It looks like I need to come play again. 🙂
LikeLiked by 1 person