

Hello everybody! I am very excited for today’s post because it reminds me of the tropical vacation that we are getting ready for. Don’t get me wrong, our winter has been pretty mild, but we are more than ready to hit the beach, and what better way to get our dolls into the vacation spirit than to kick back at this darling little fruit stand.
Modeled after the 2016 American Girl Lea’s Fruit Stand, this little hut has it all. Much more on that later however. Let’s have a tutorial first shall we?
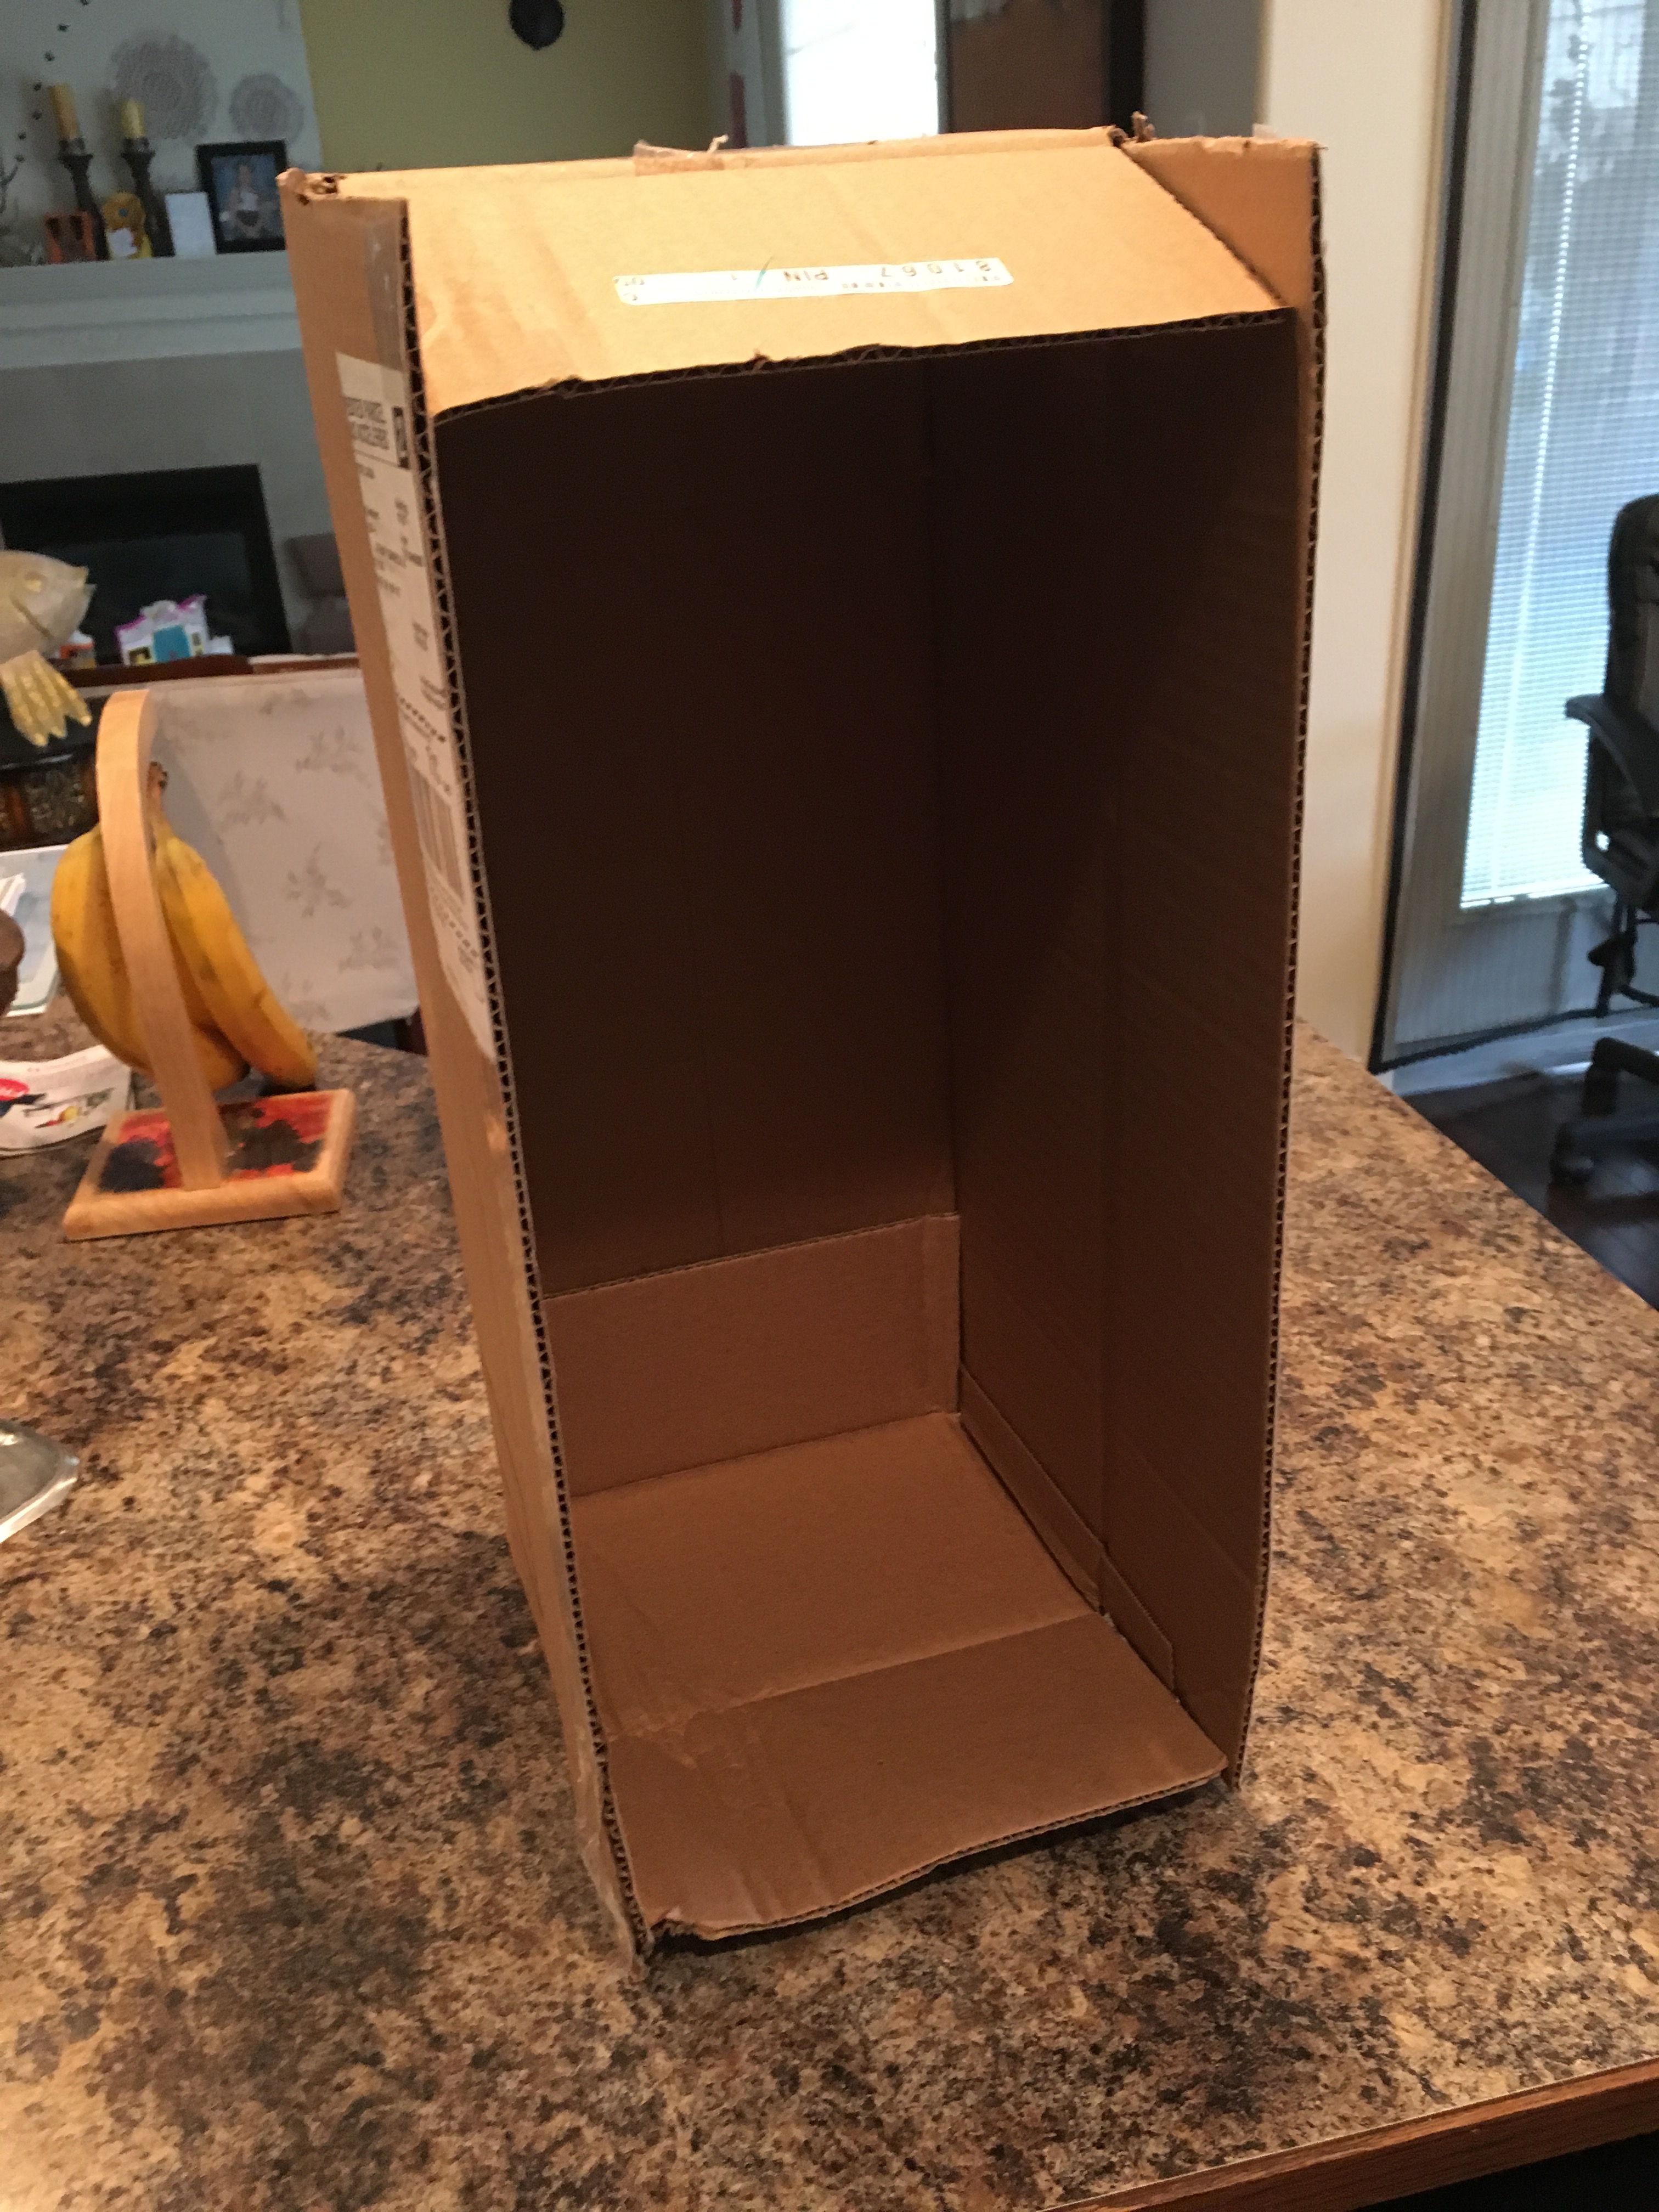
Start with a box. The best one to use is a shipping box for AG dolls. I love these boxes. They come in handy for everything.
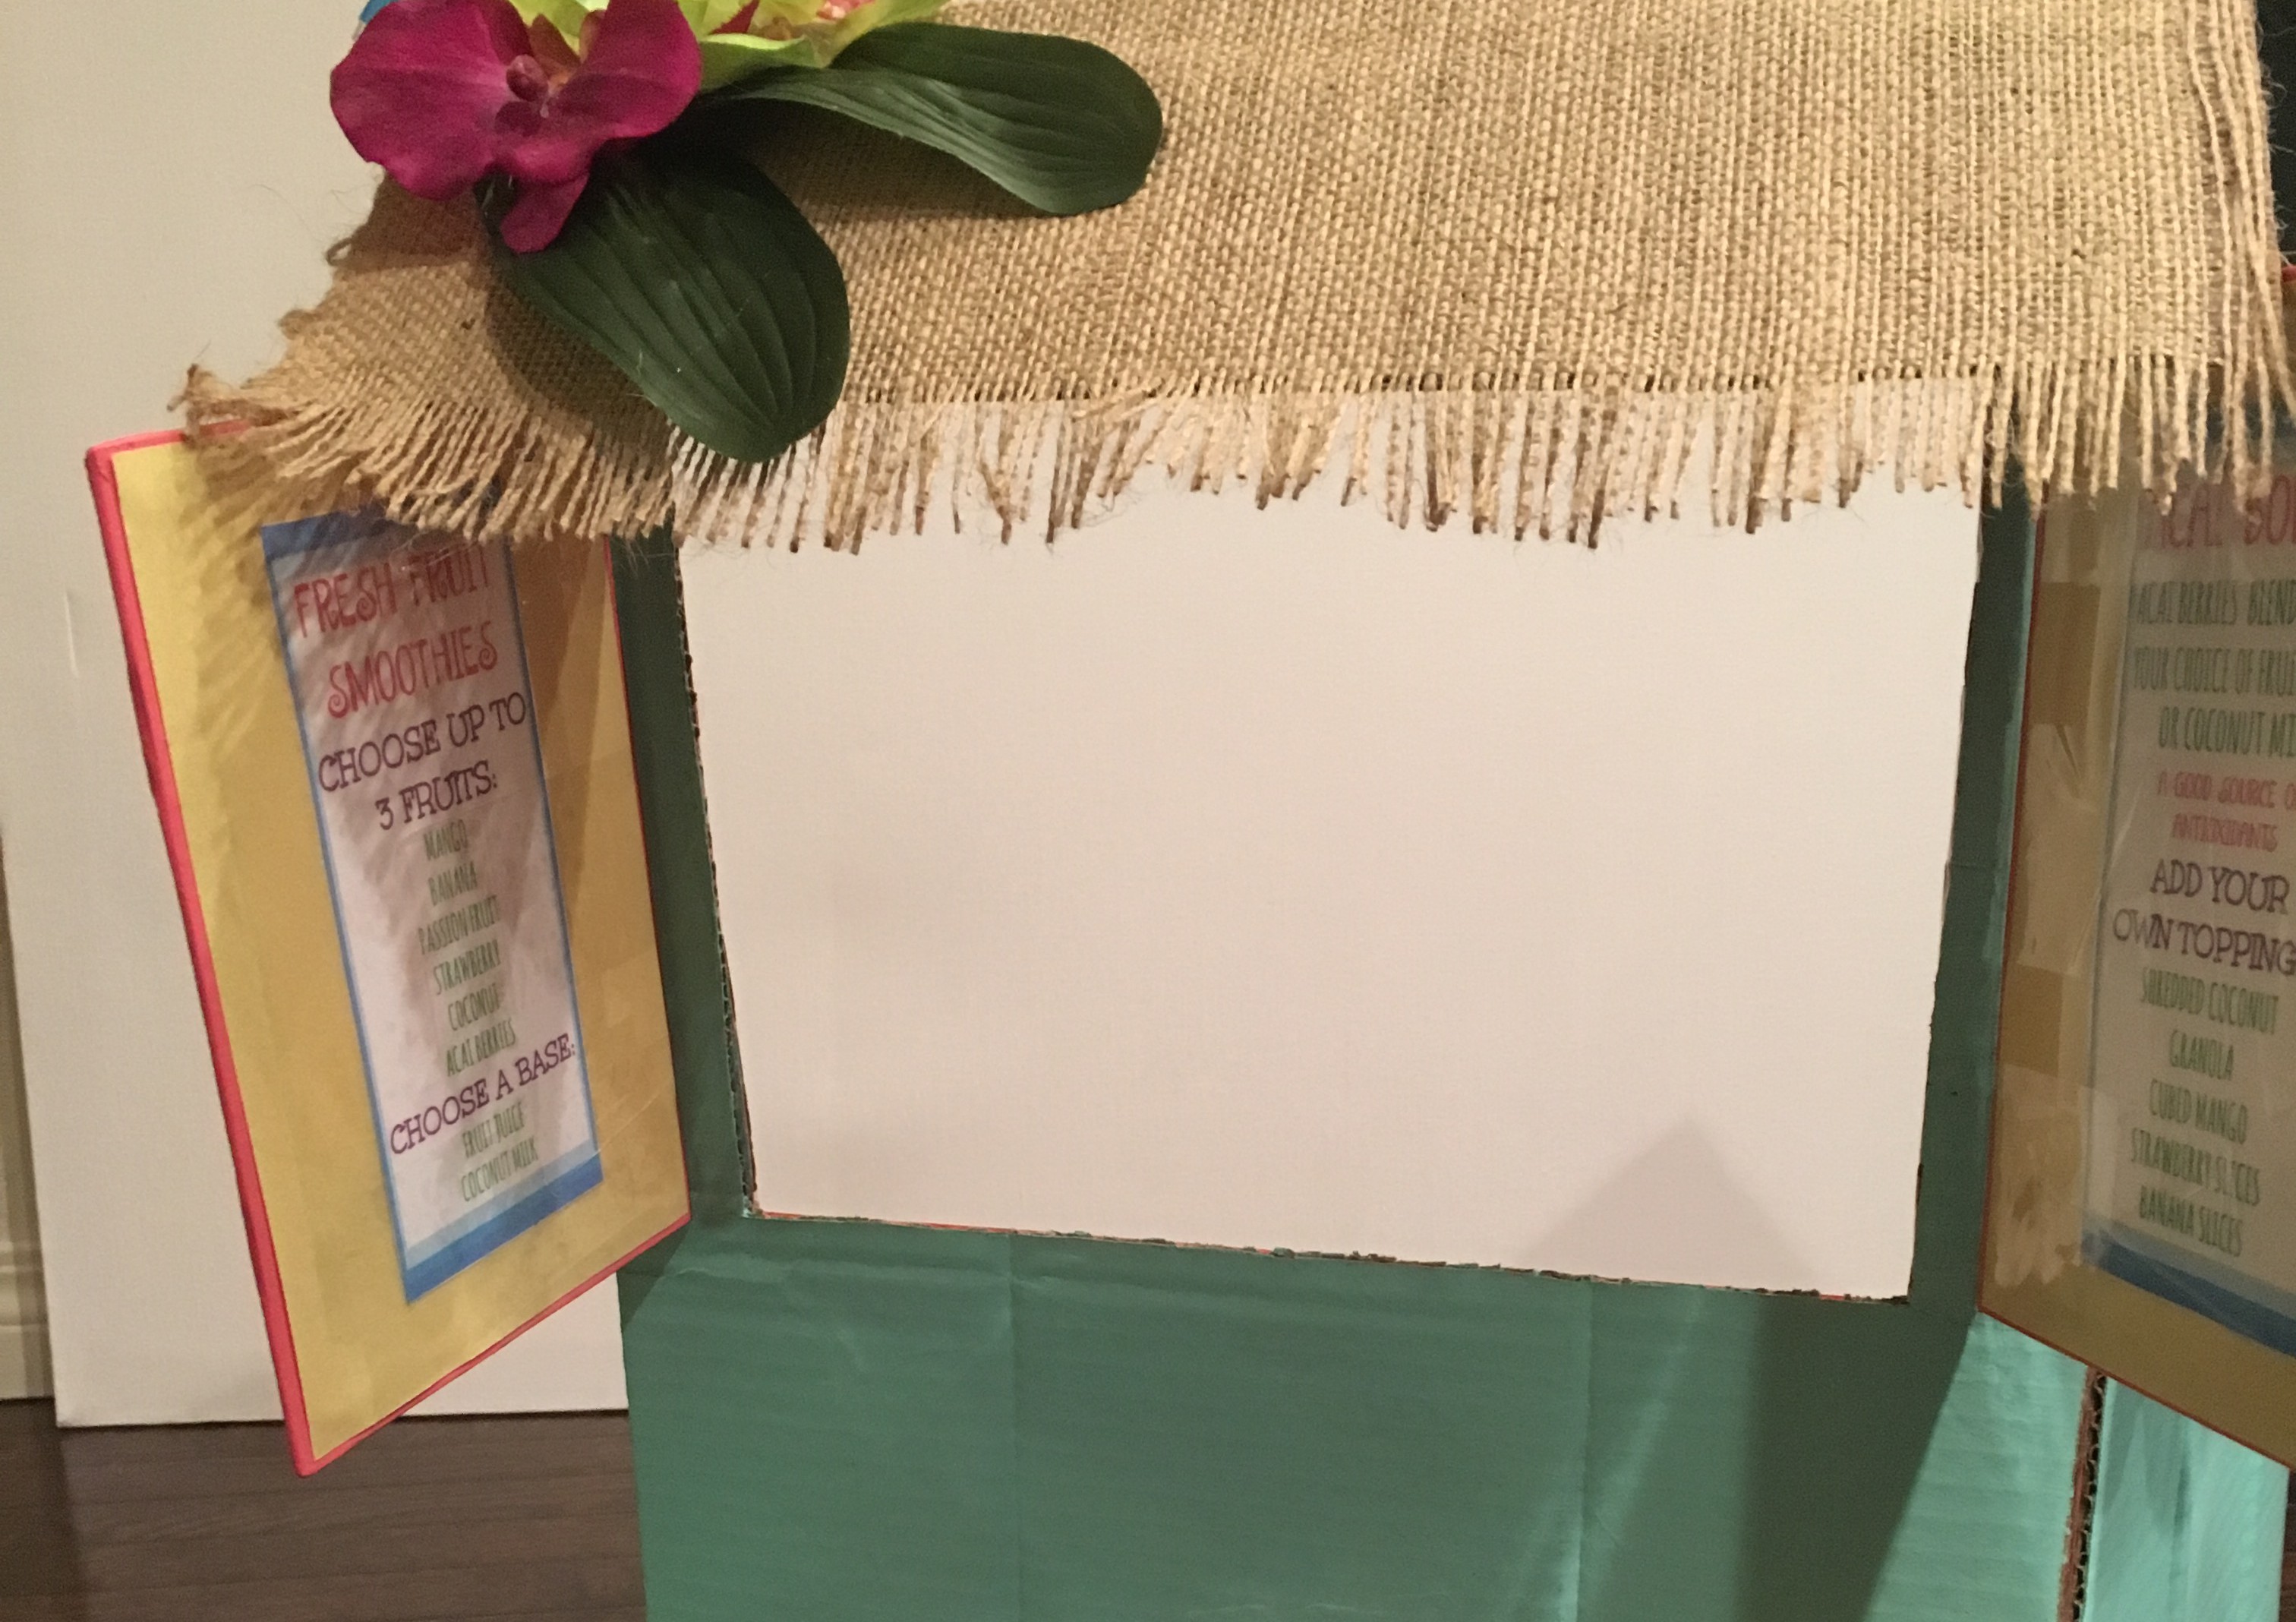
Cut the box as shown below. I added flaps to the top for the awning. Then I cut out the window.

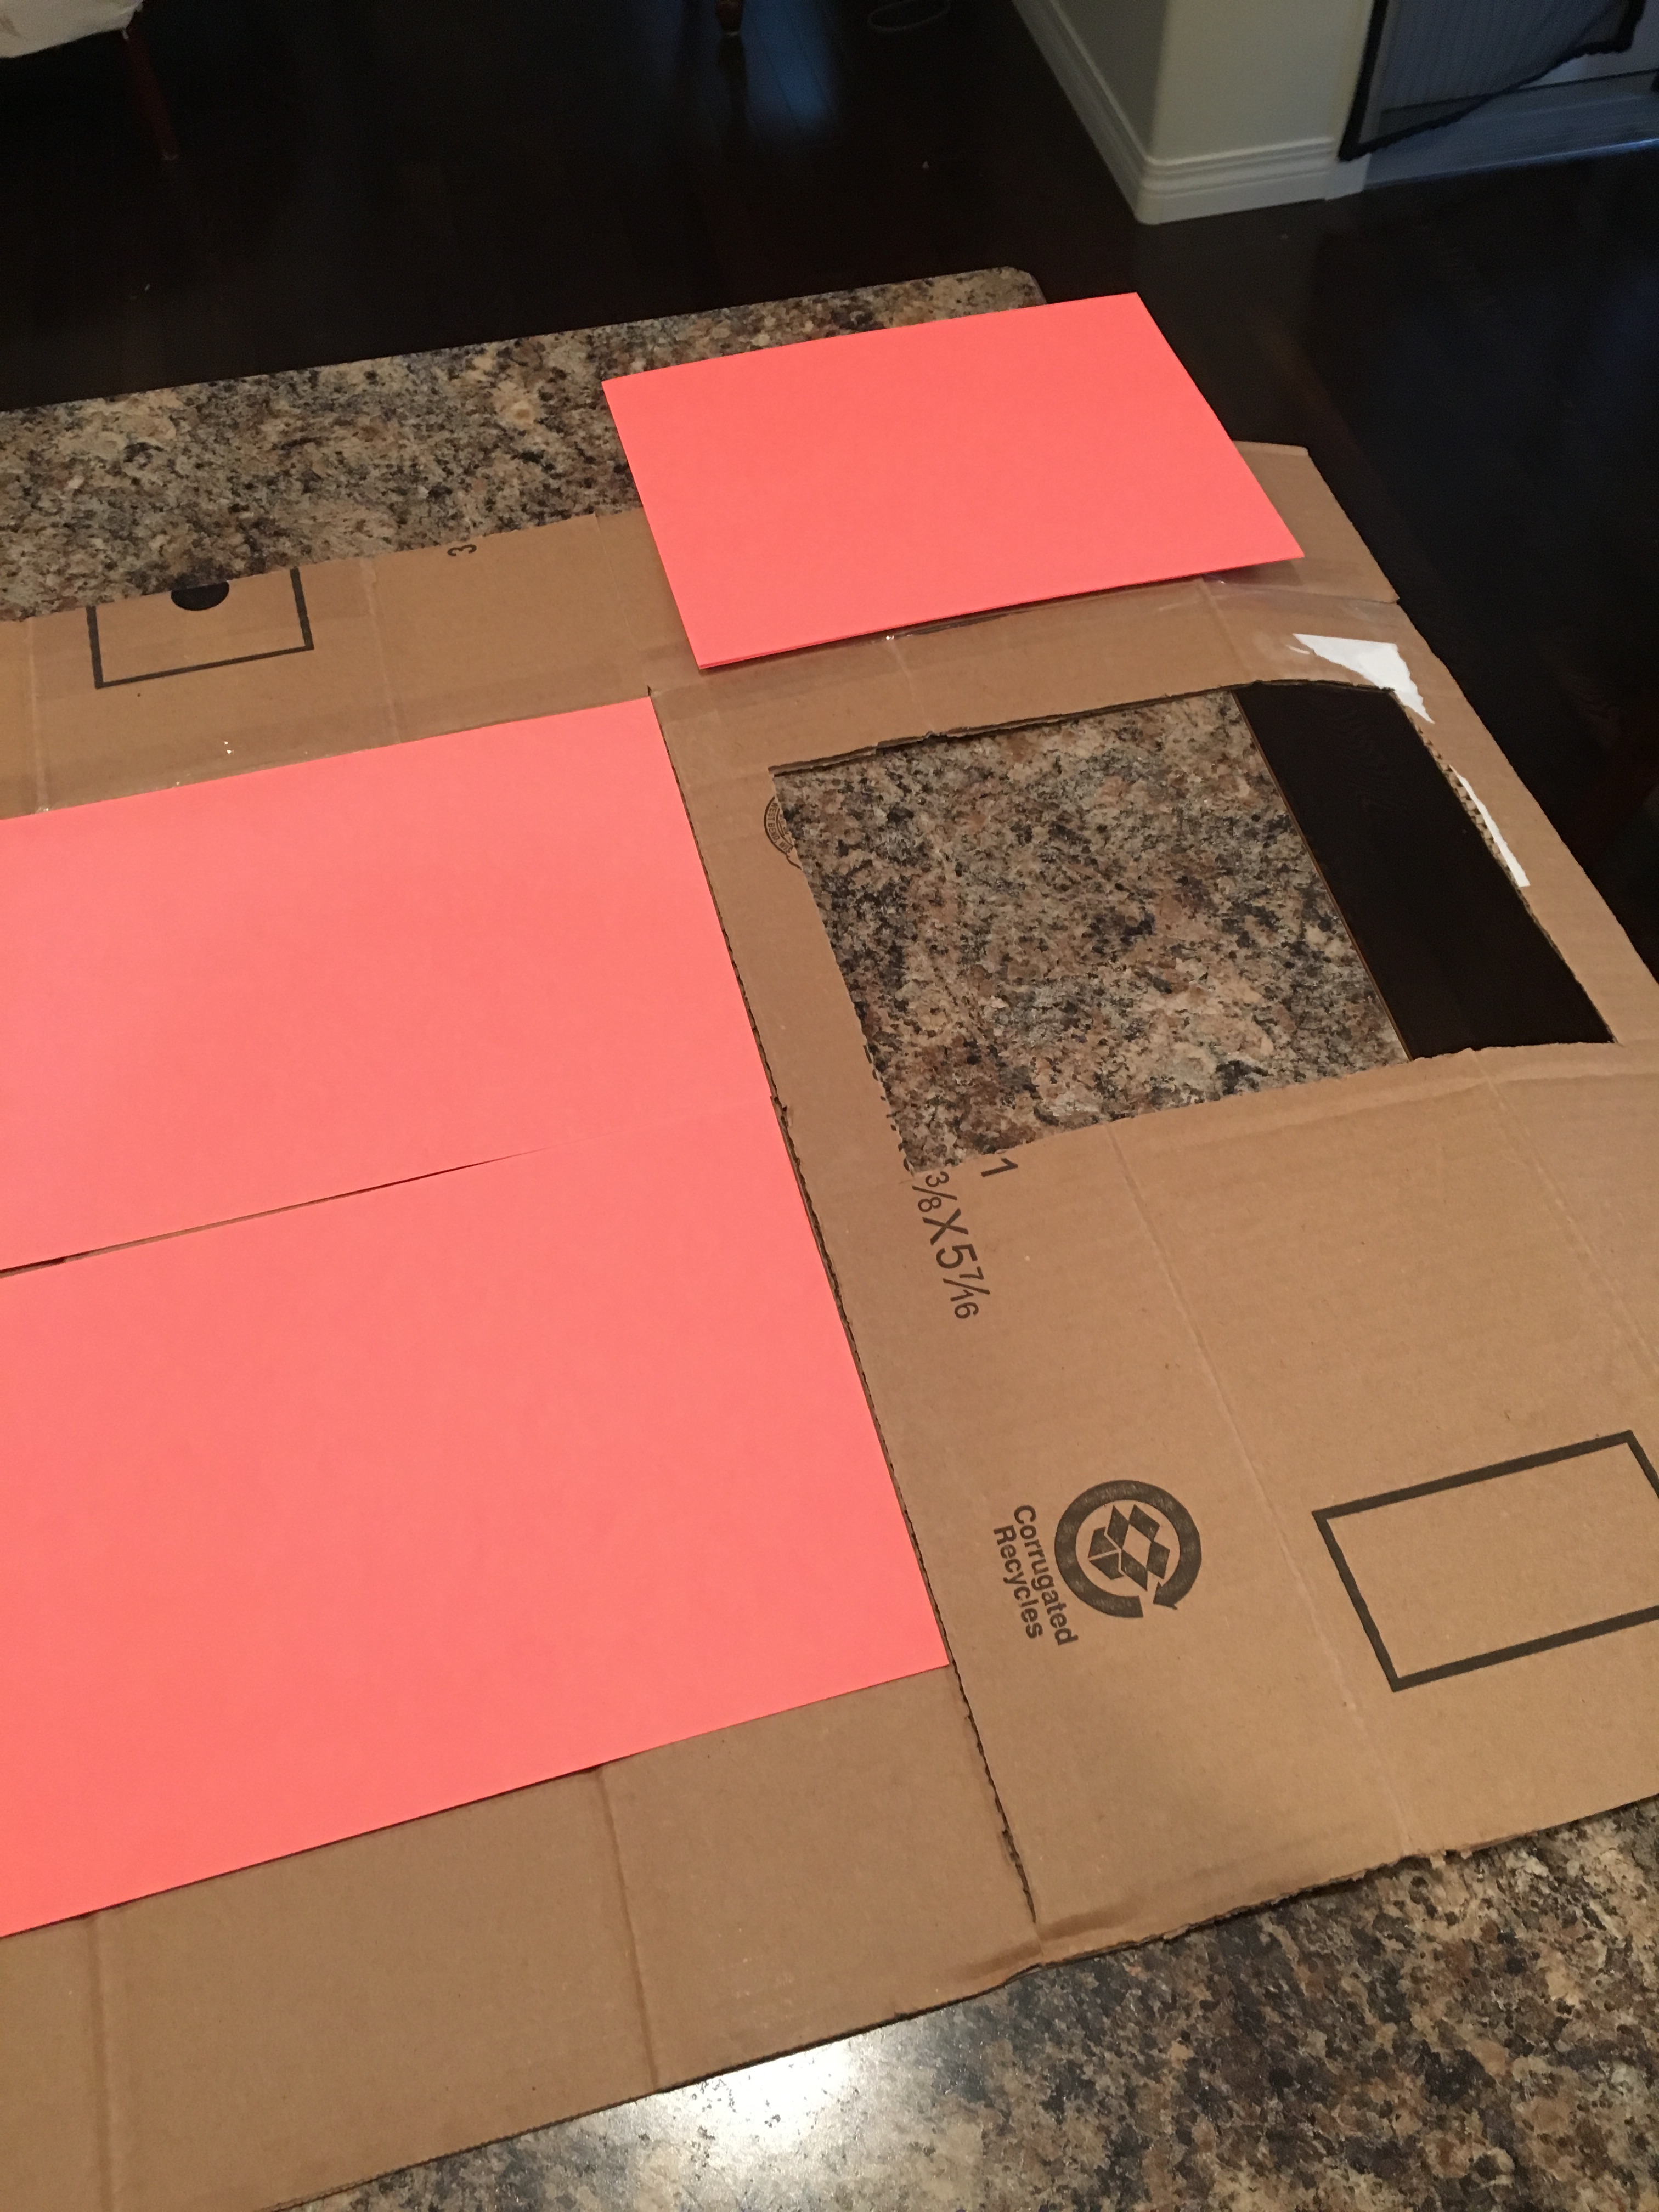
After I had the window cut, I changed my mind about using the existing cardboard for the doors. I wanted to find something sturdier, but you could just leave the doors as is.
I covered the inside of the fruit stand with orange card stock. It added some stability, but I found that it was beginning to collapse a little bit on the window side. I found a piece of wood that worked to stabilize it. I just used hot glue and packing tape to secure it on there.
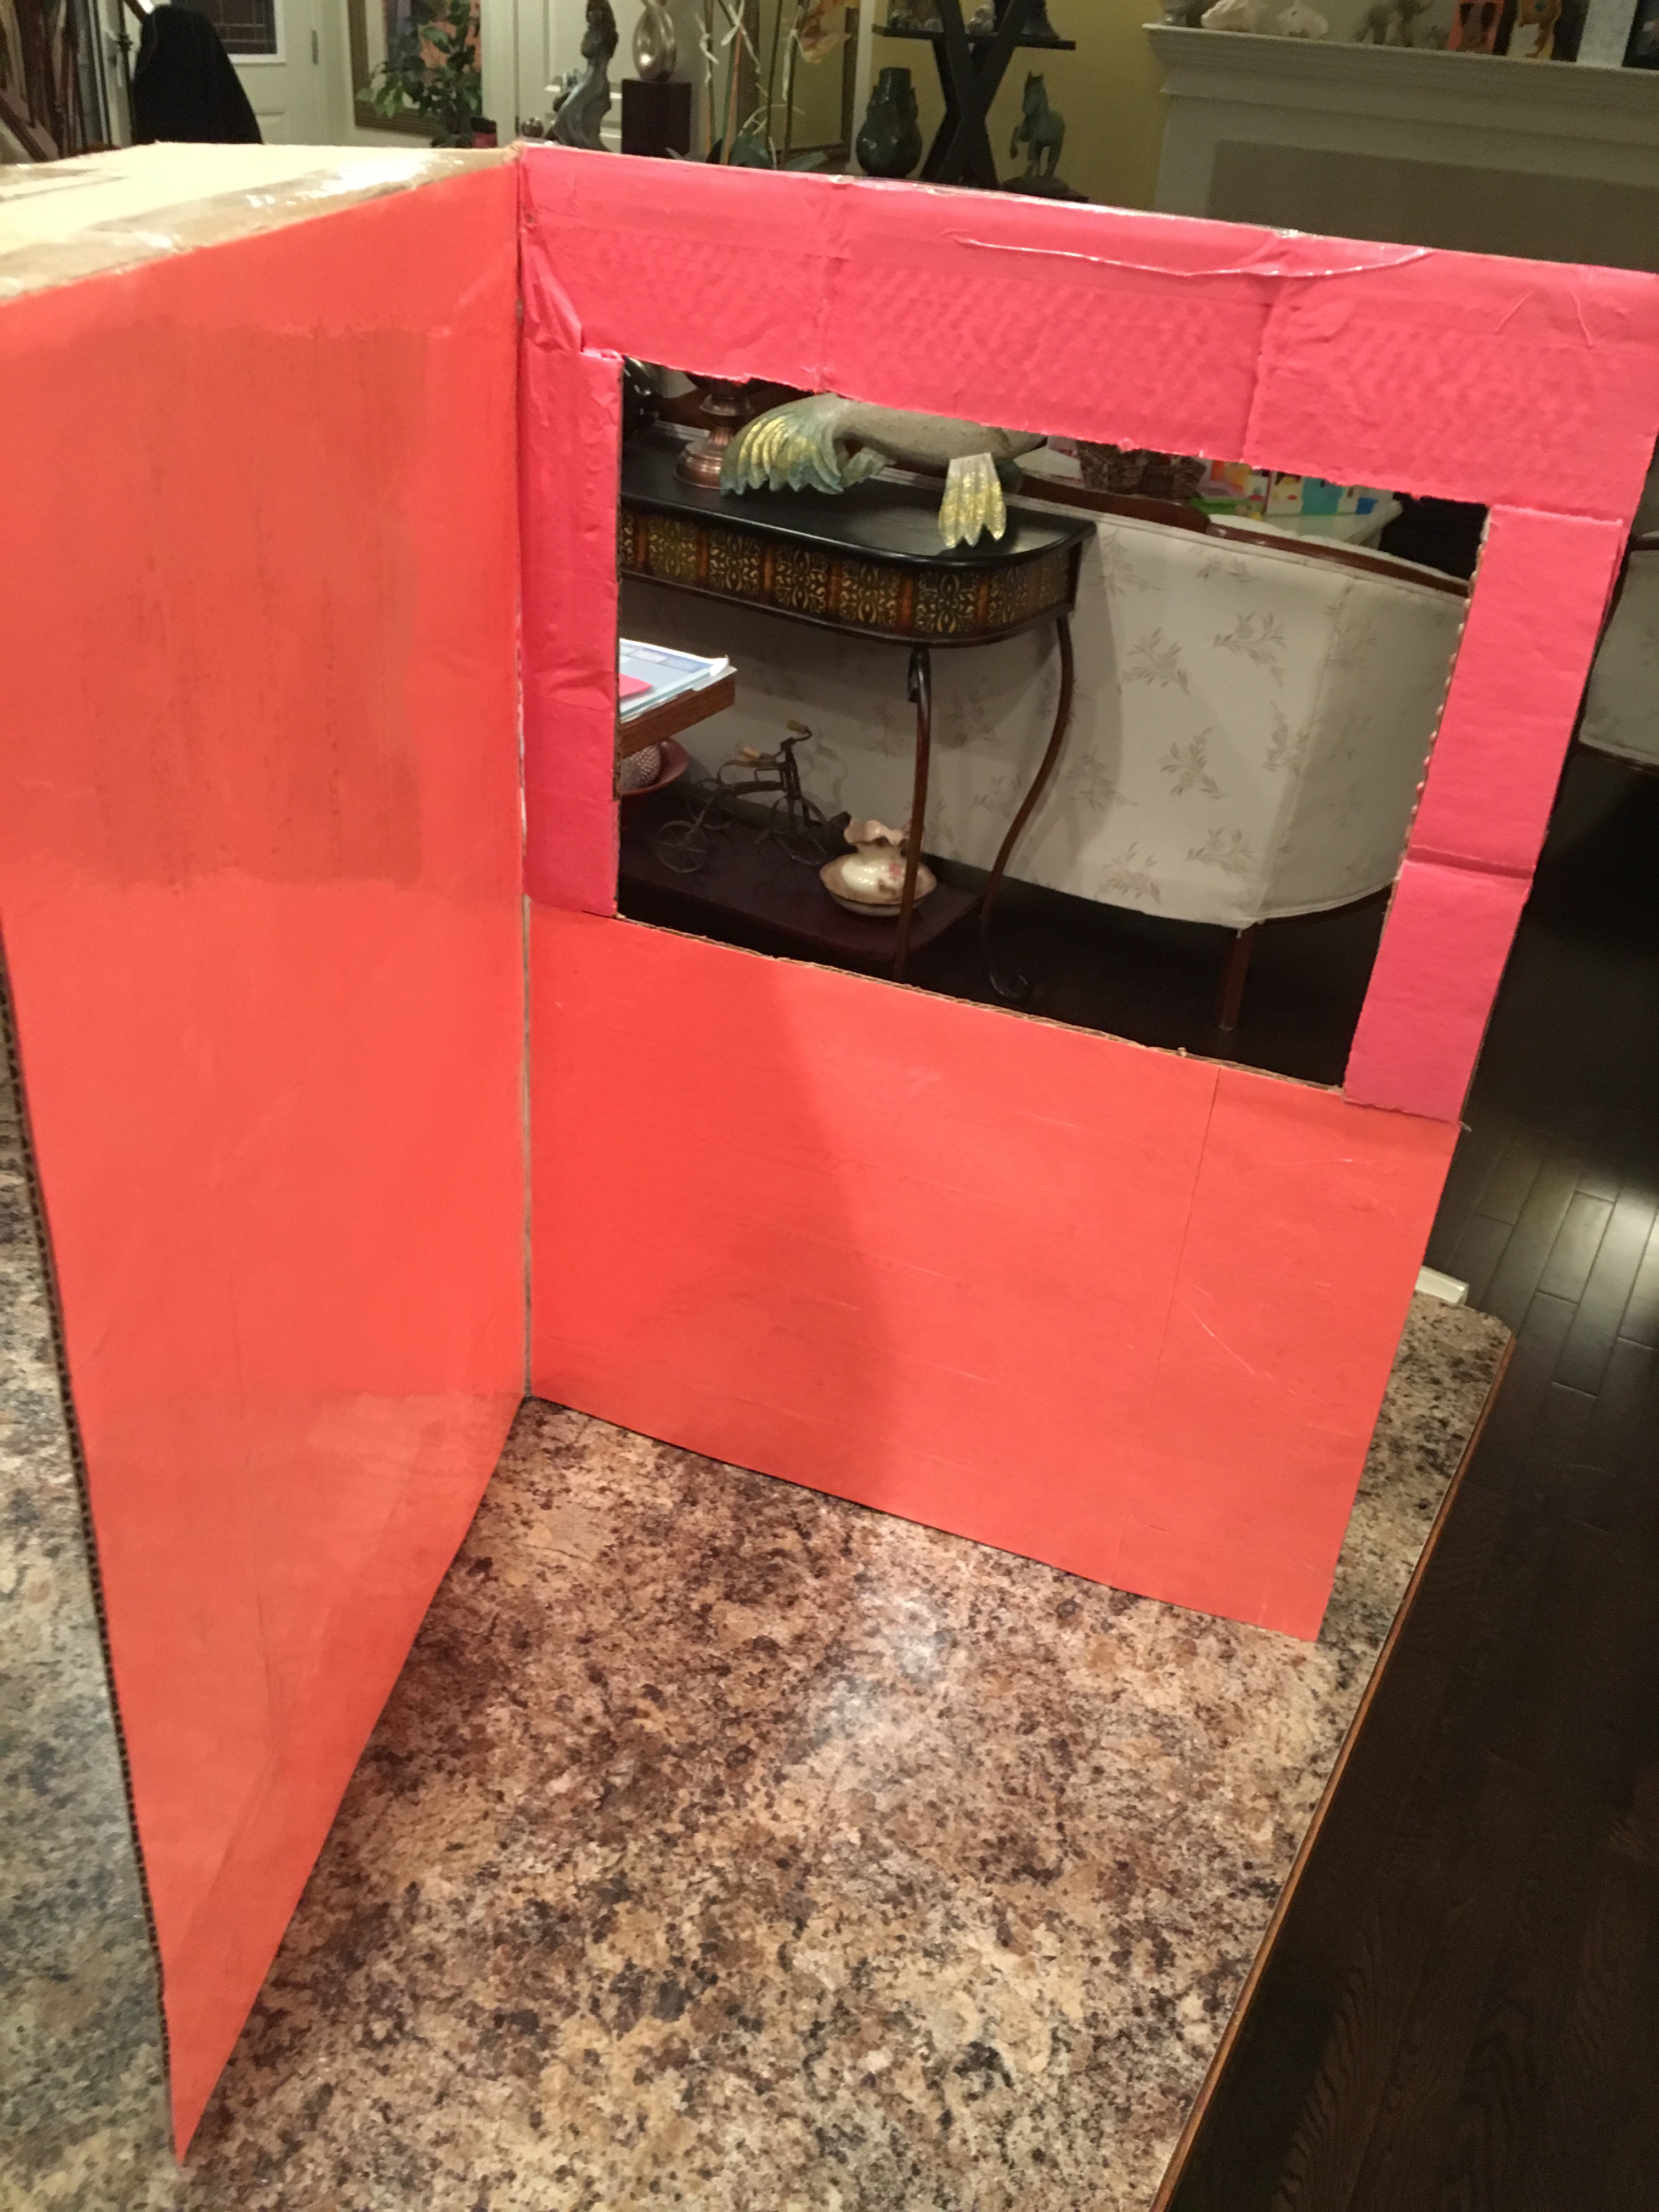
Next, I painted the outside of the stand with an aqua colour that I had leftover. I also added some burlap to both of the awnings. The fruit stand was starting to take shape!

Now onto the window doors.
I took apart this Christmas card box so that I could use the lid part for doors. It was much sturdier than cardboard. I just painted the doors and covered them with yellow scrapbook paper. The bonus was that I got to keep the box part to use as a table top.
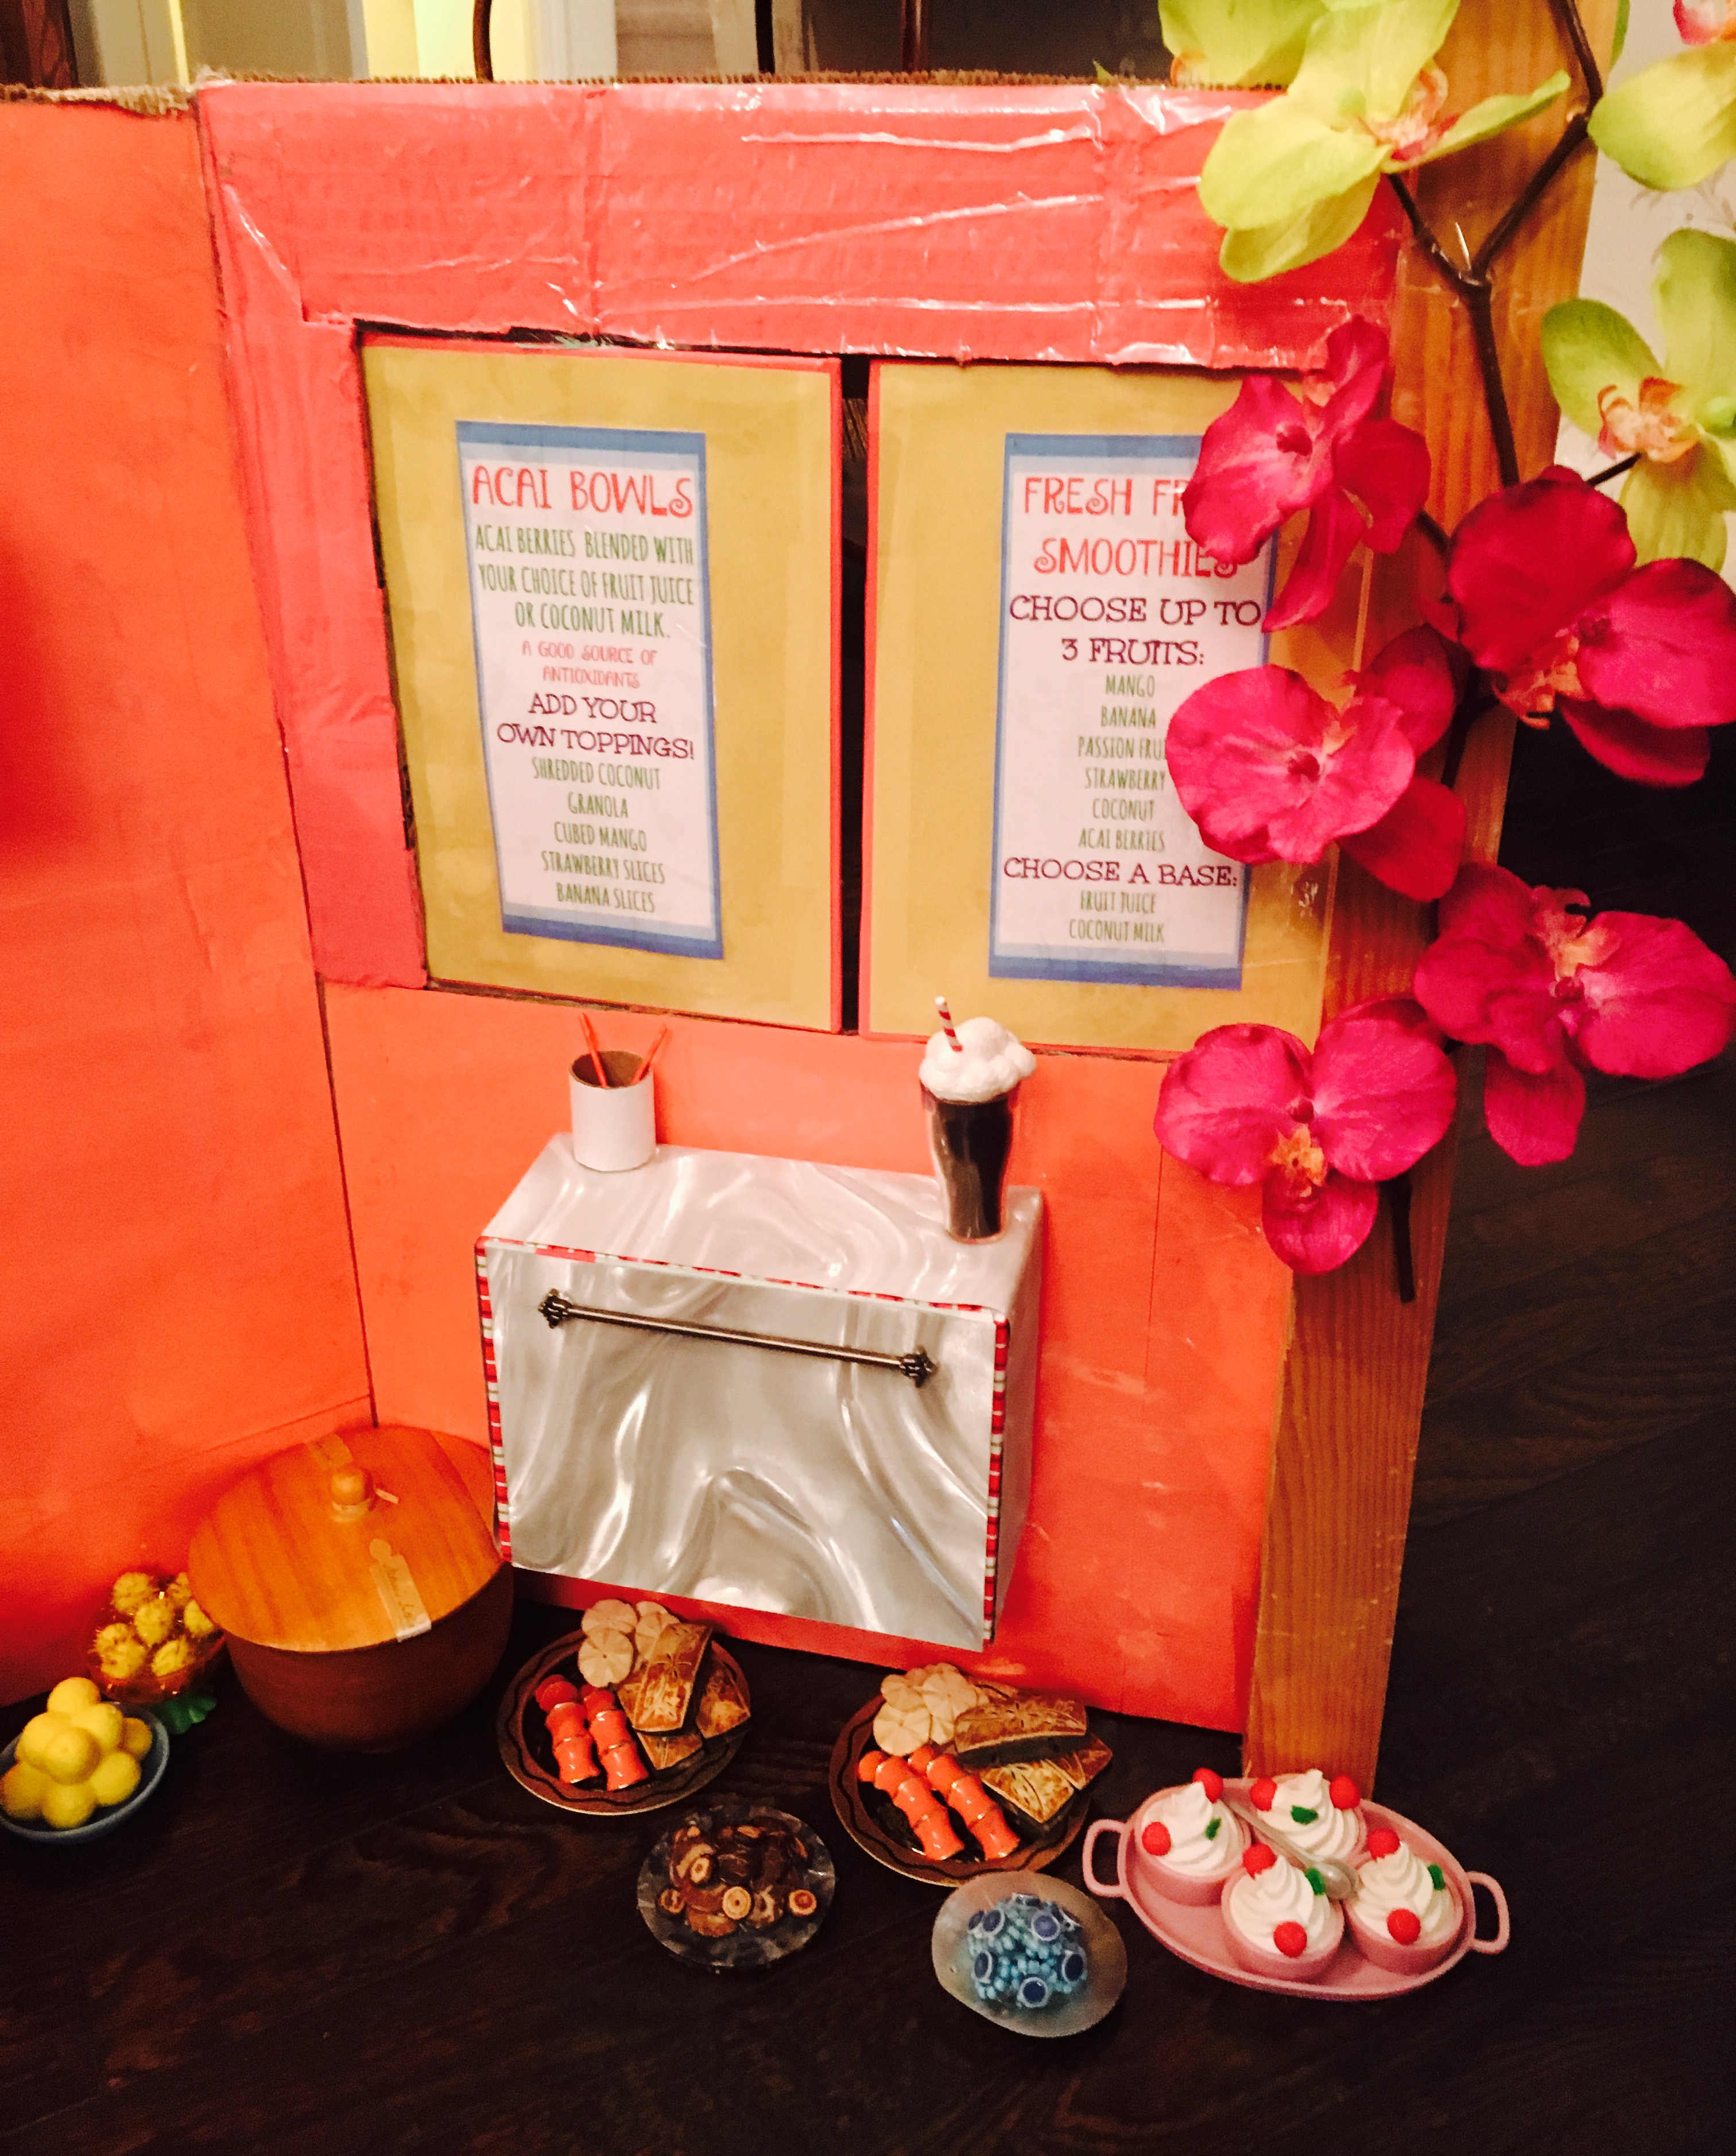
I used printables from AmericanGirlIdeas for the menus. I just used packing tape to seal them on there. I also used packing tape to attach the doors to the stand. I found tape to be flexible enough to act like a hinge, and it sticks very well. There was a little bit of trial and error on this part, but I finally managed to make it work.
I used the bottom of the Christmas card box to make a table. I used an aluminum foil tube for the base. Then I just modpodged yellow paper on top. The wave printable was also from AmericanGirlIdeas, and can be found here. I simply adjusted the shape of it a little.
The table is attached to the side of the fruit stand with hot glue. I find that it is quite sturdy.

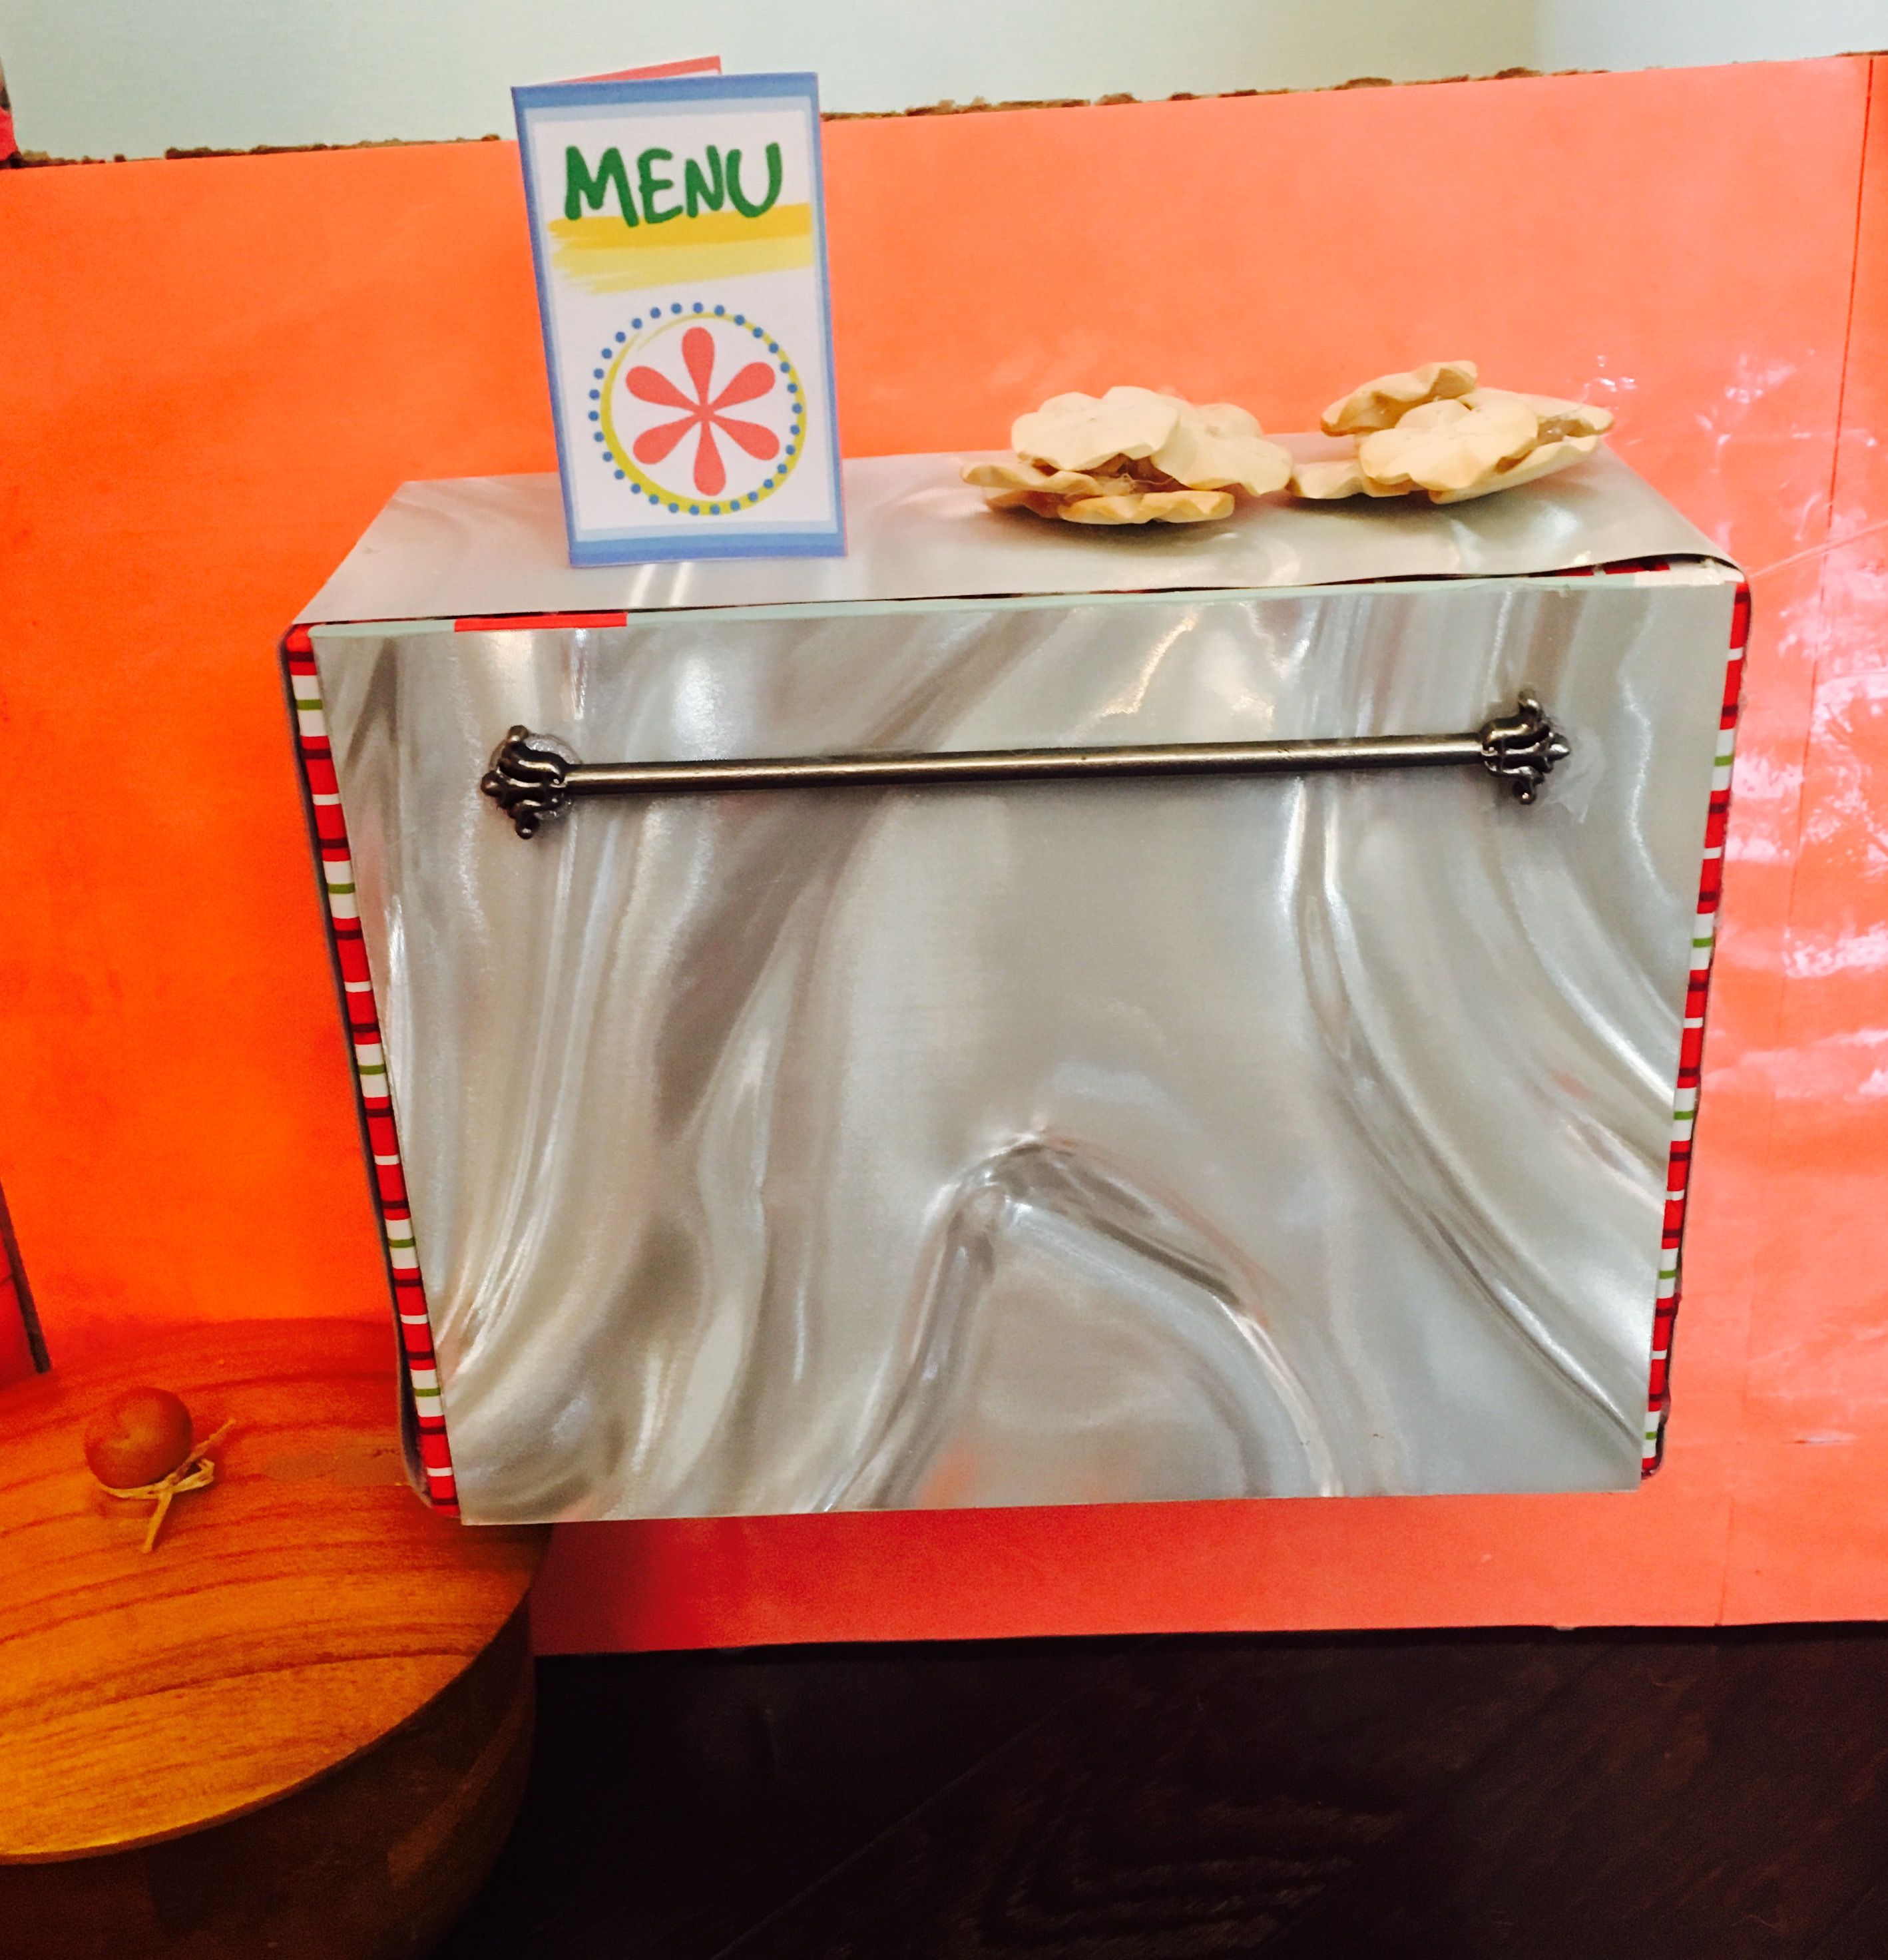
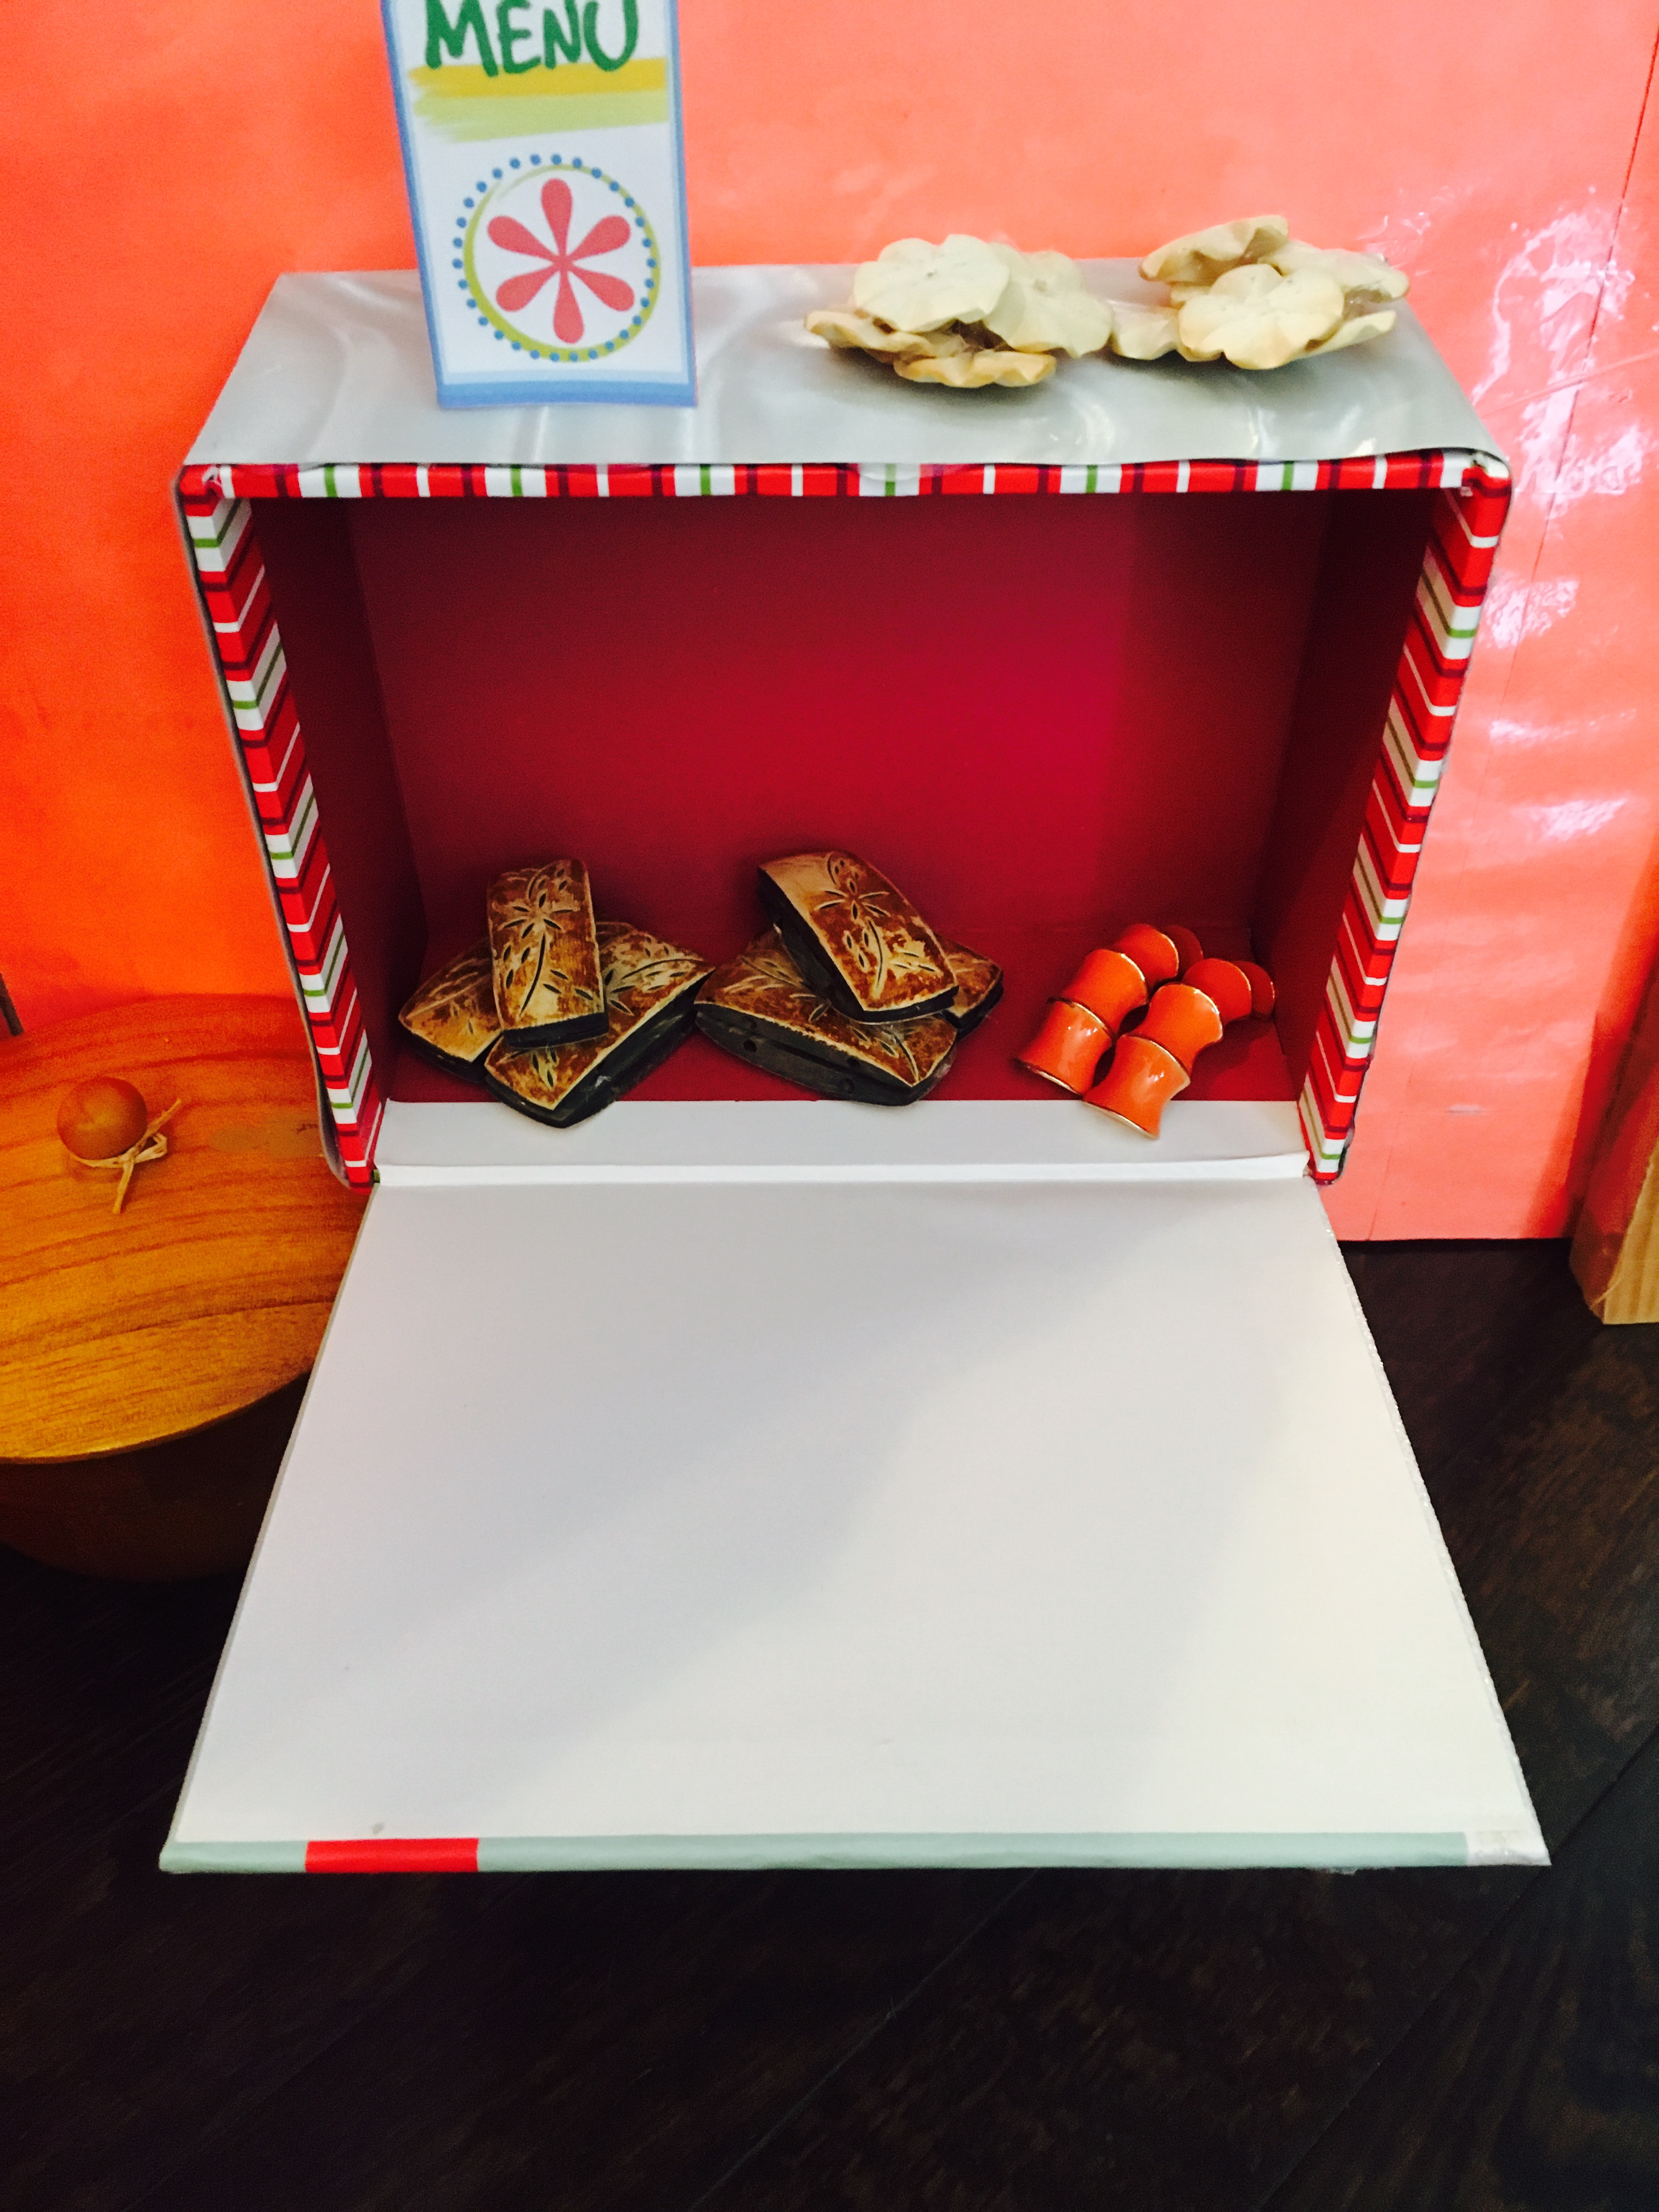
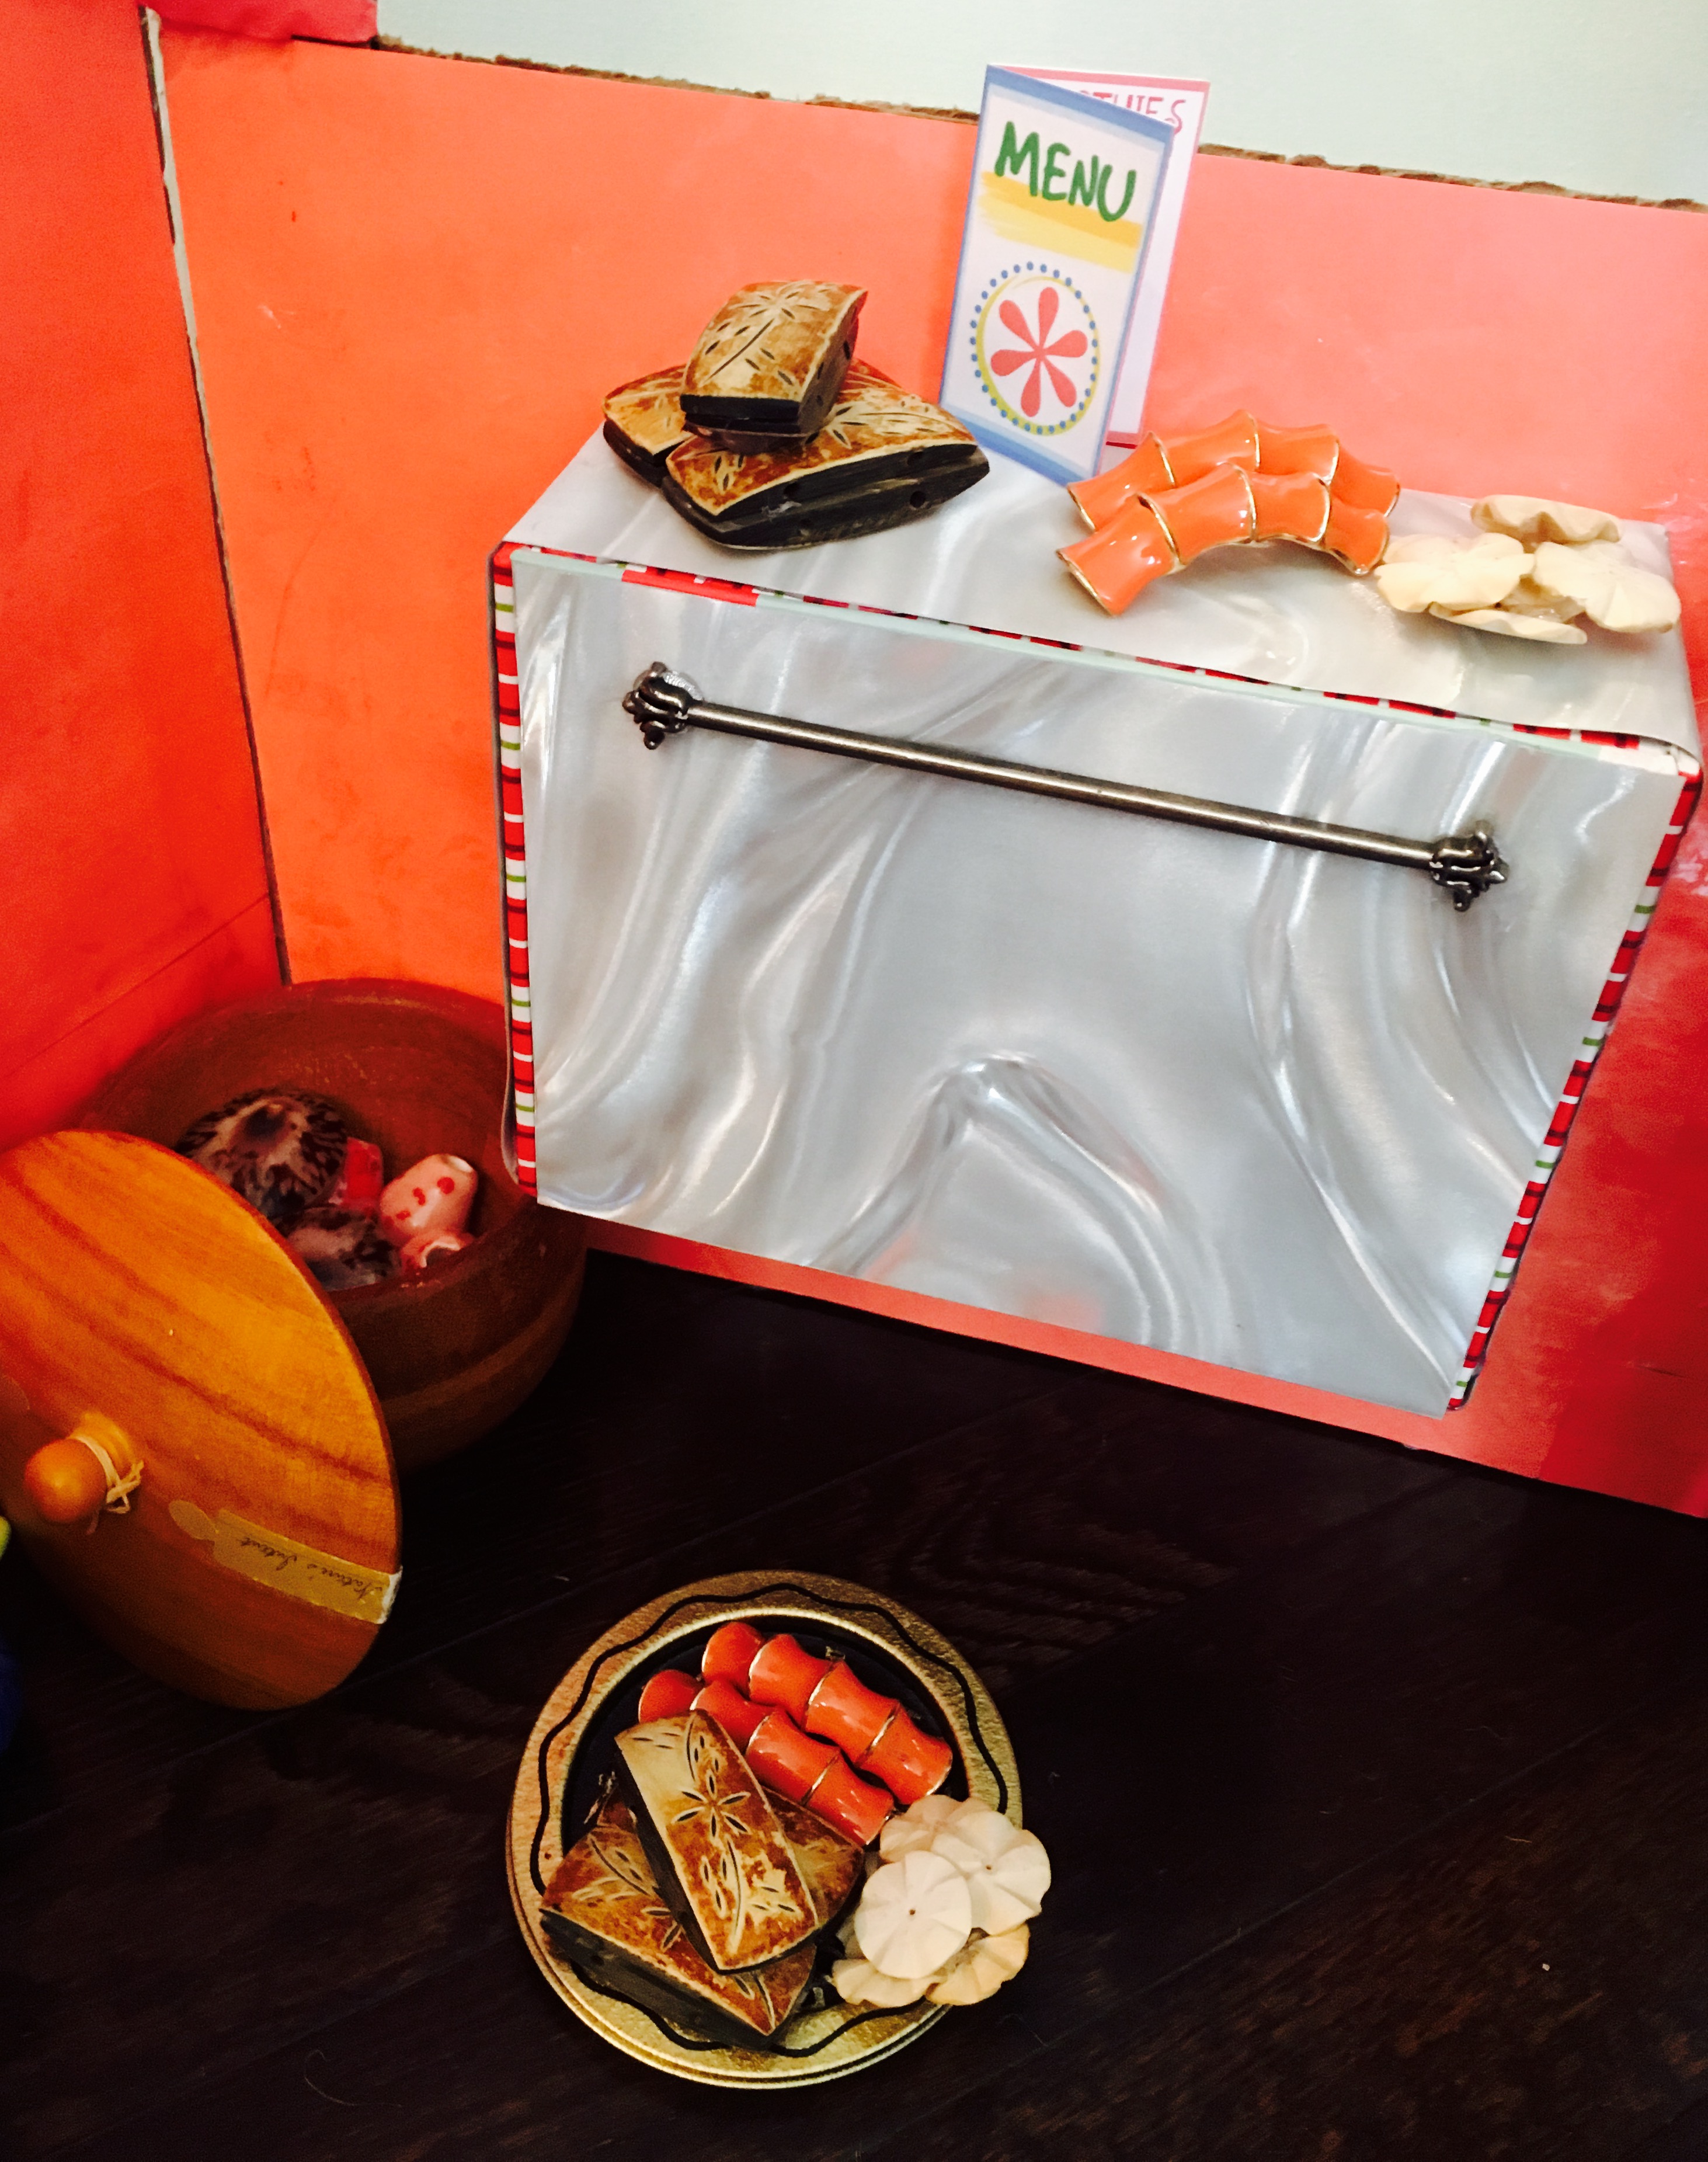
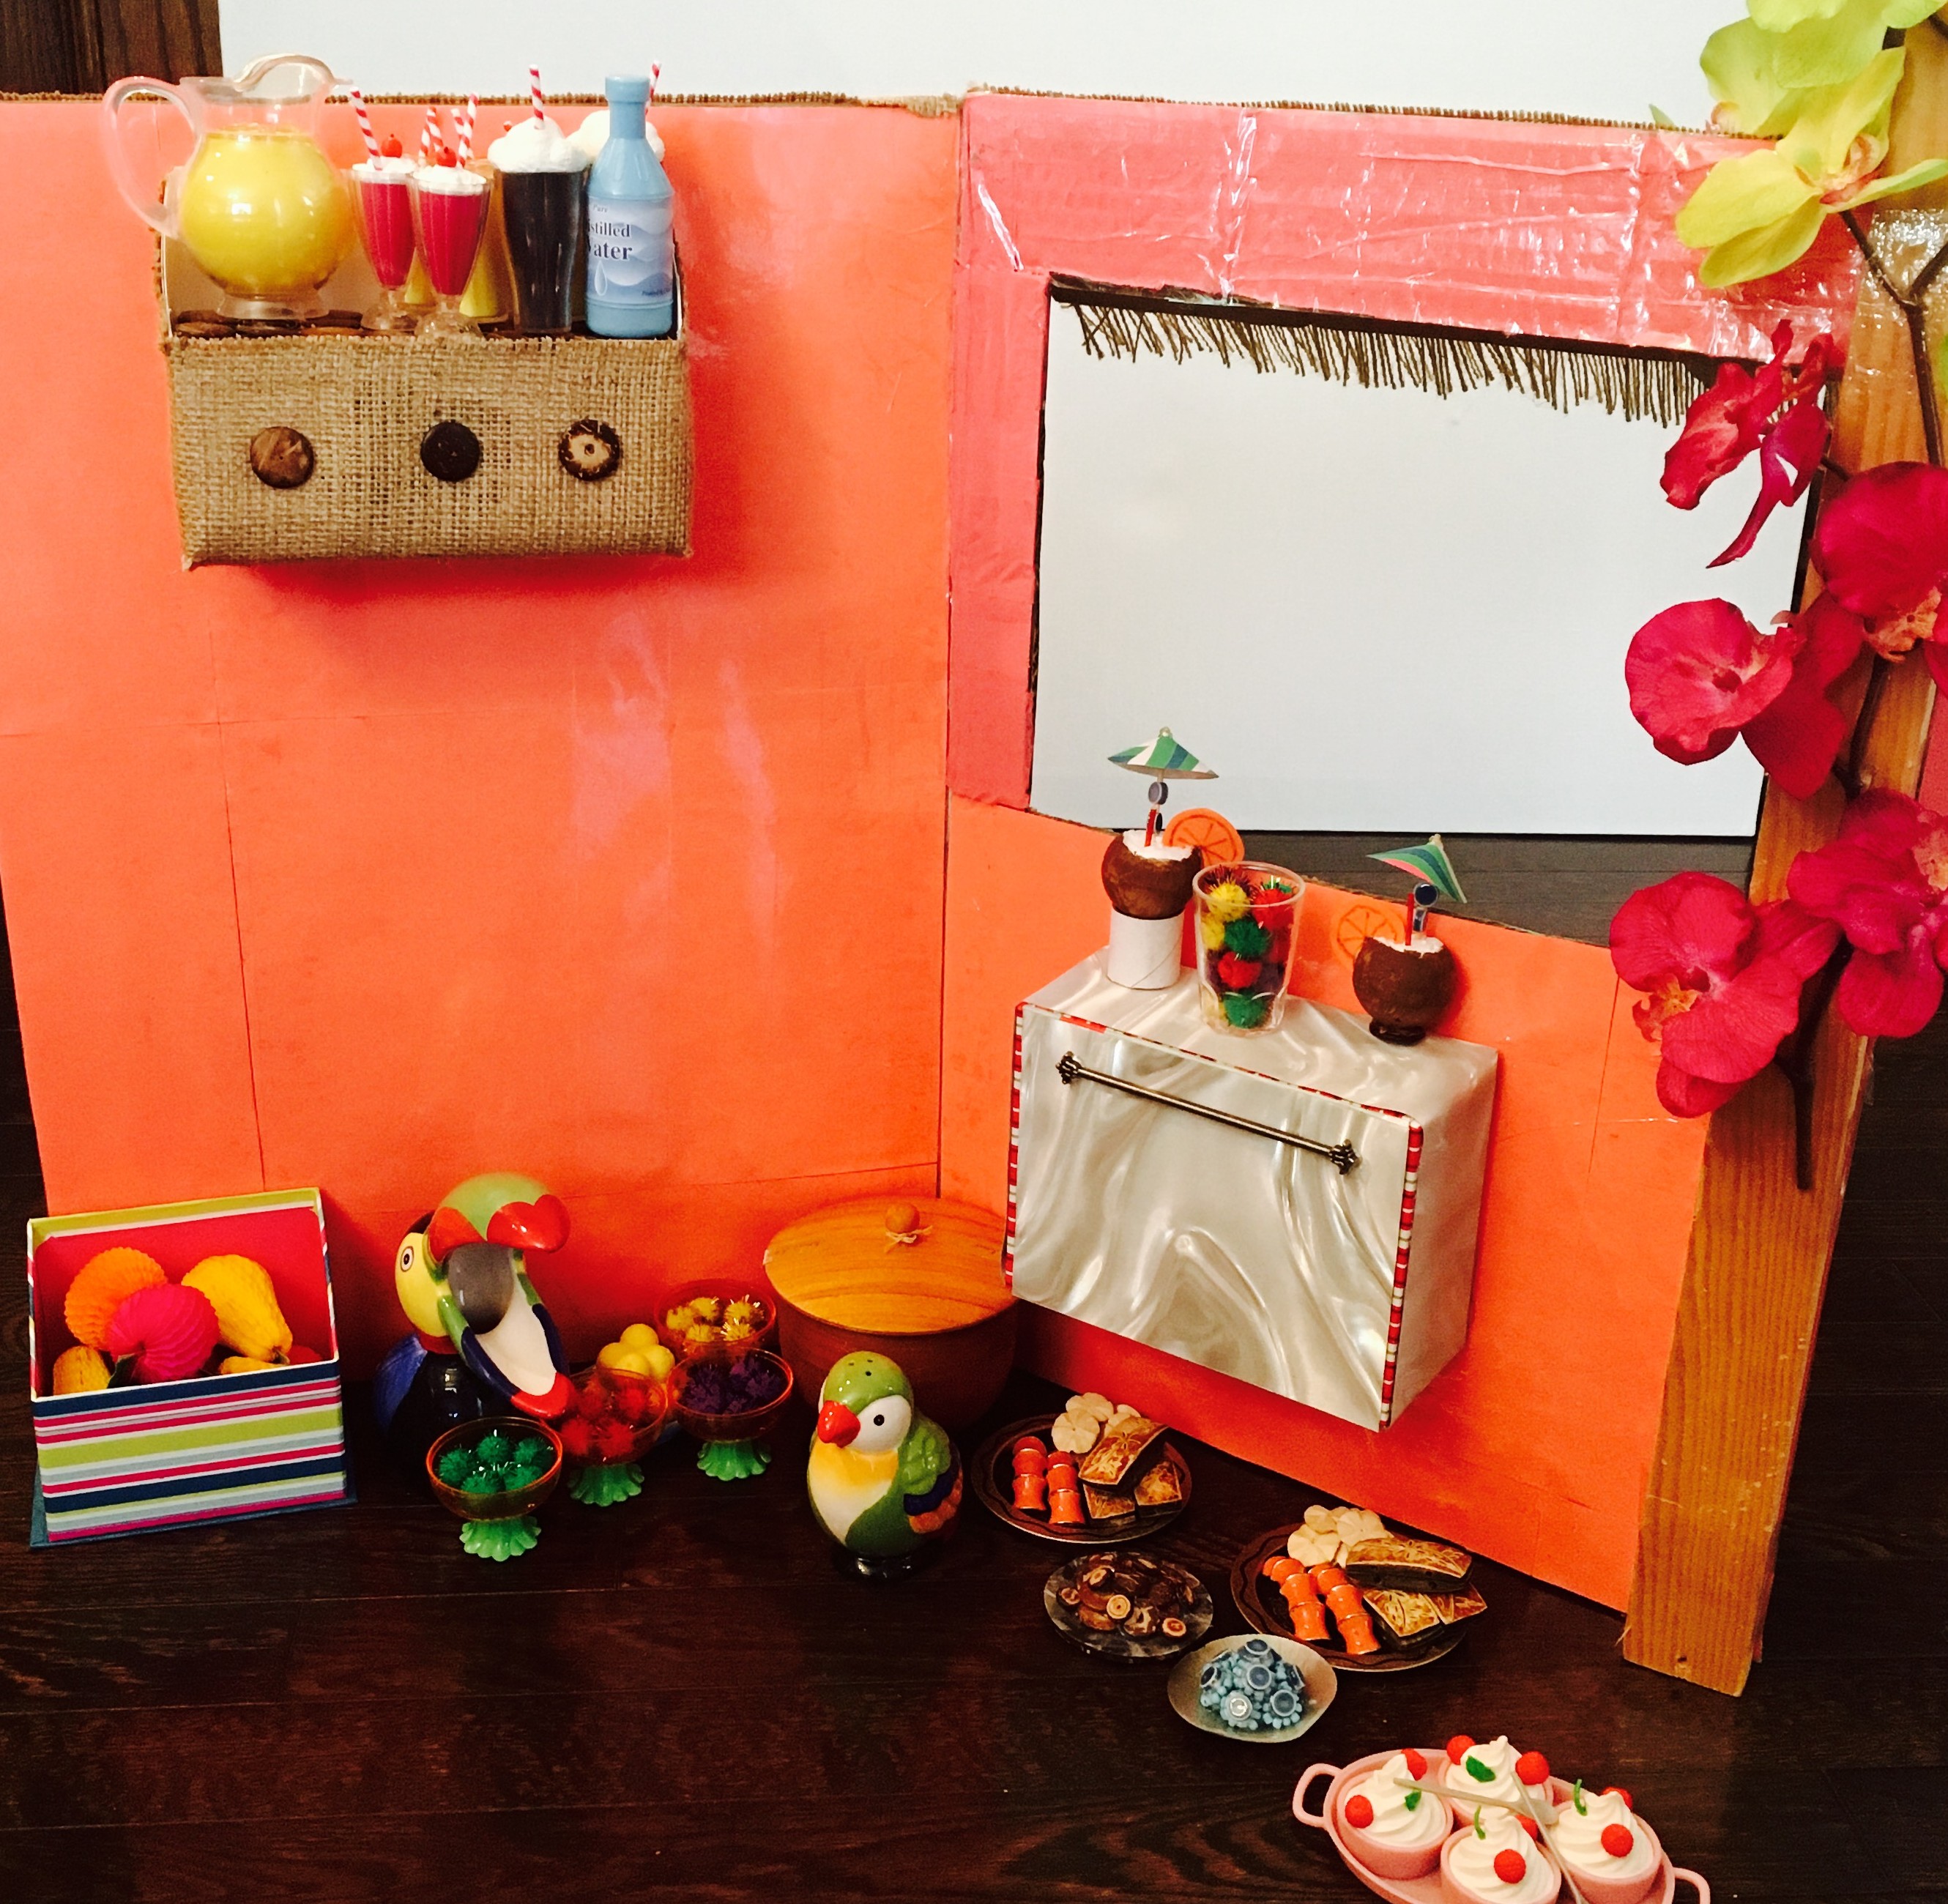
Next, I covered another Christmas card box in foil paper. I hot glued it into place so that the lid opened like a stove. I also added a cute decorative handle.
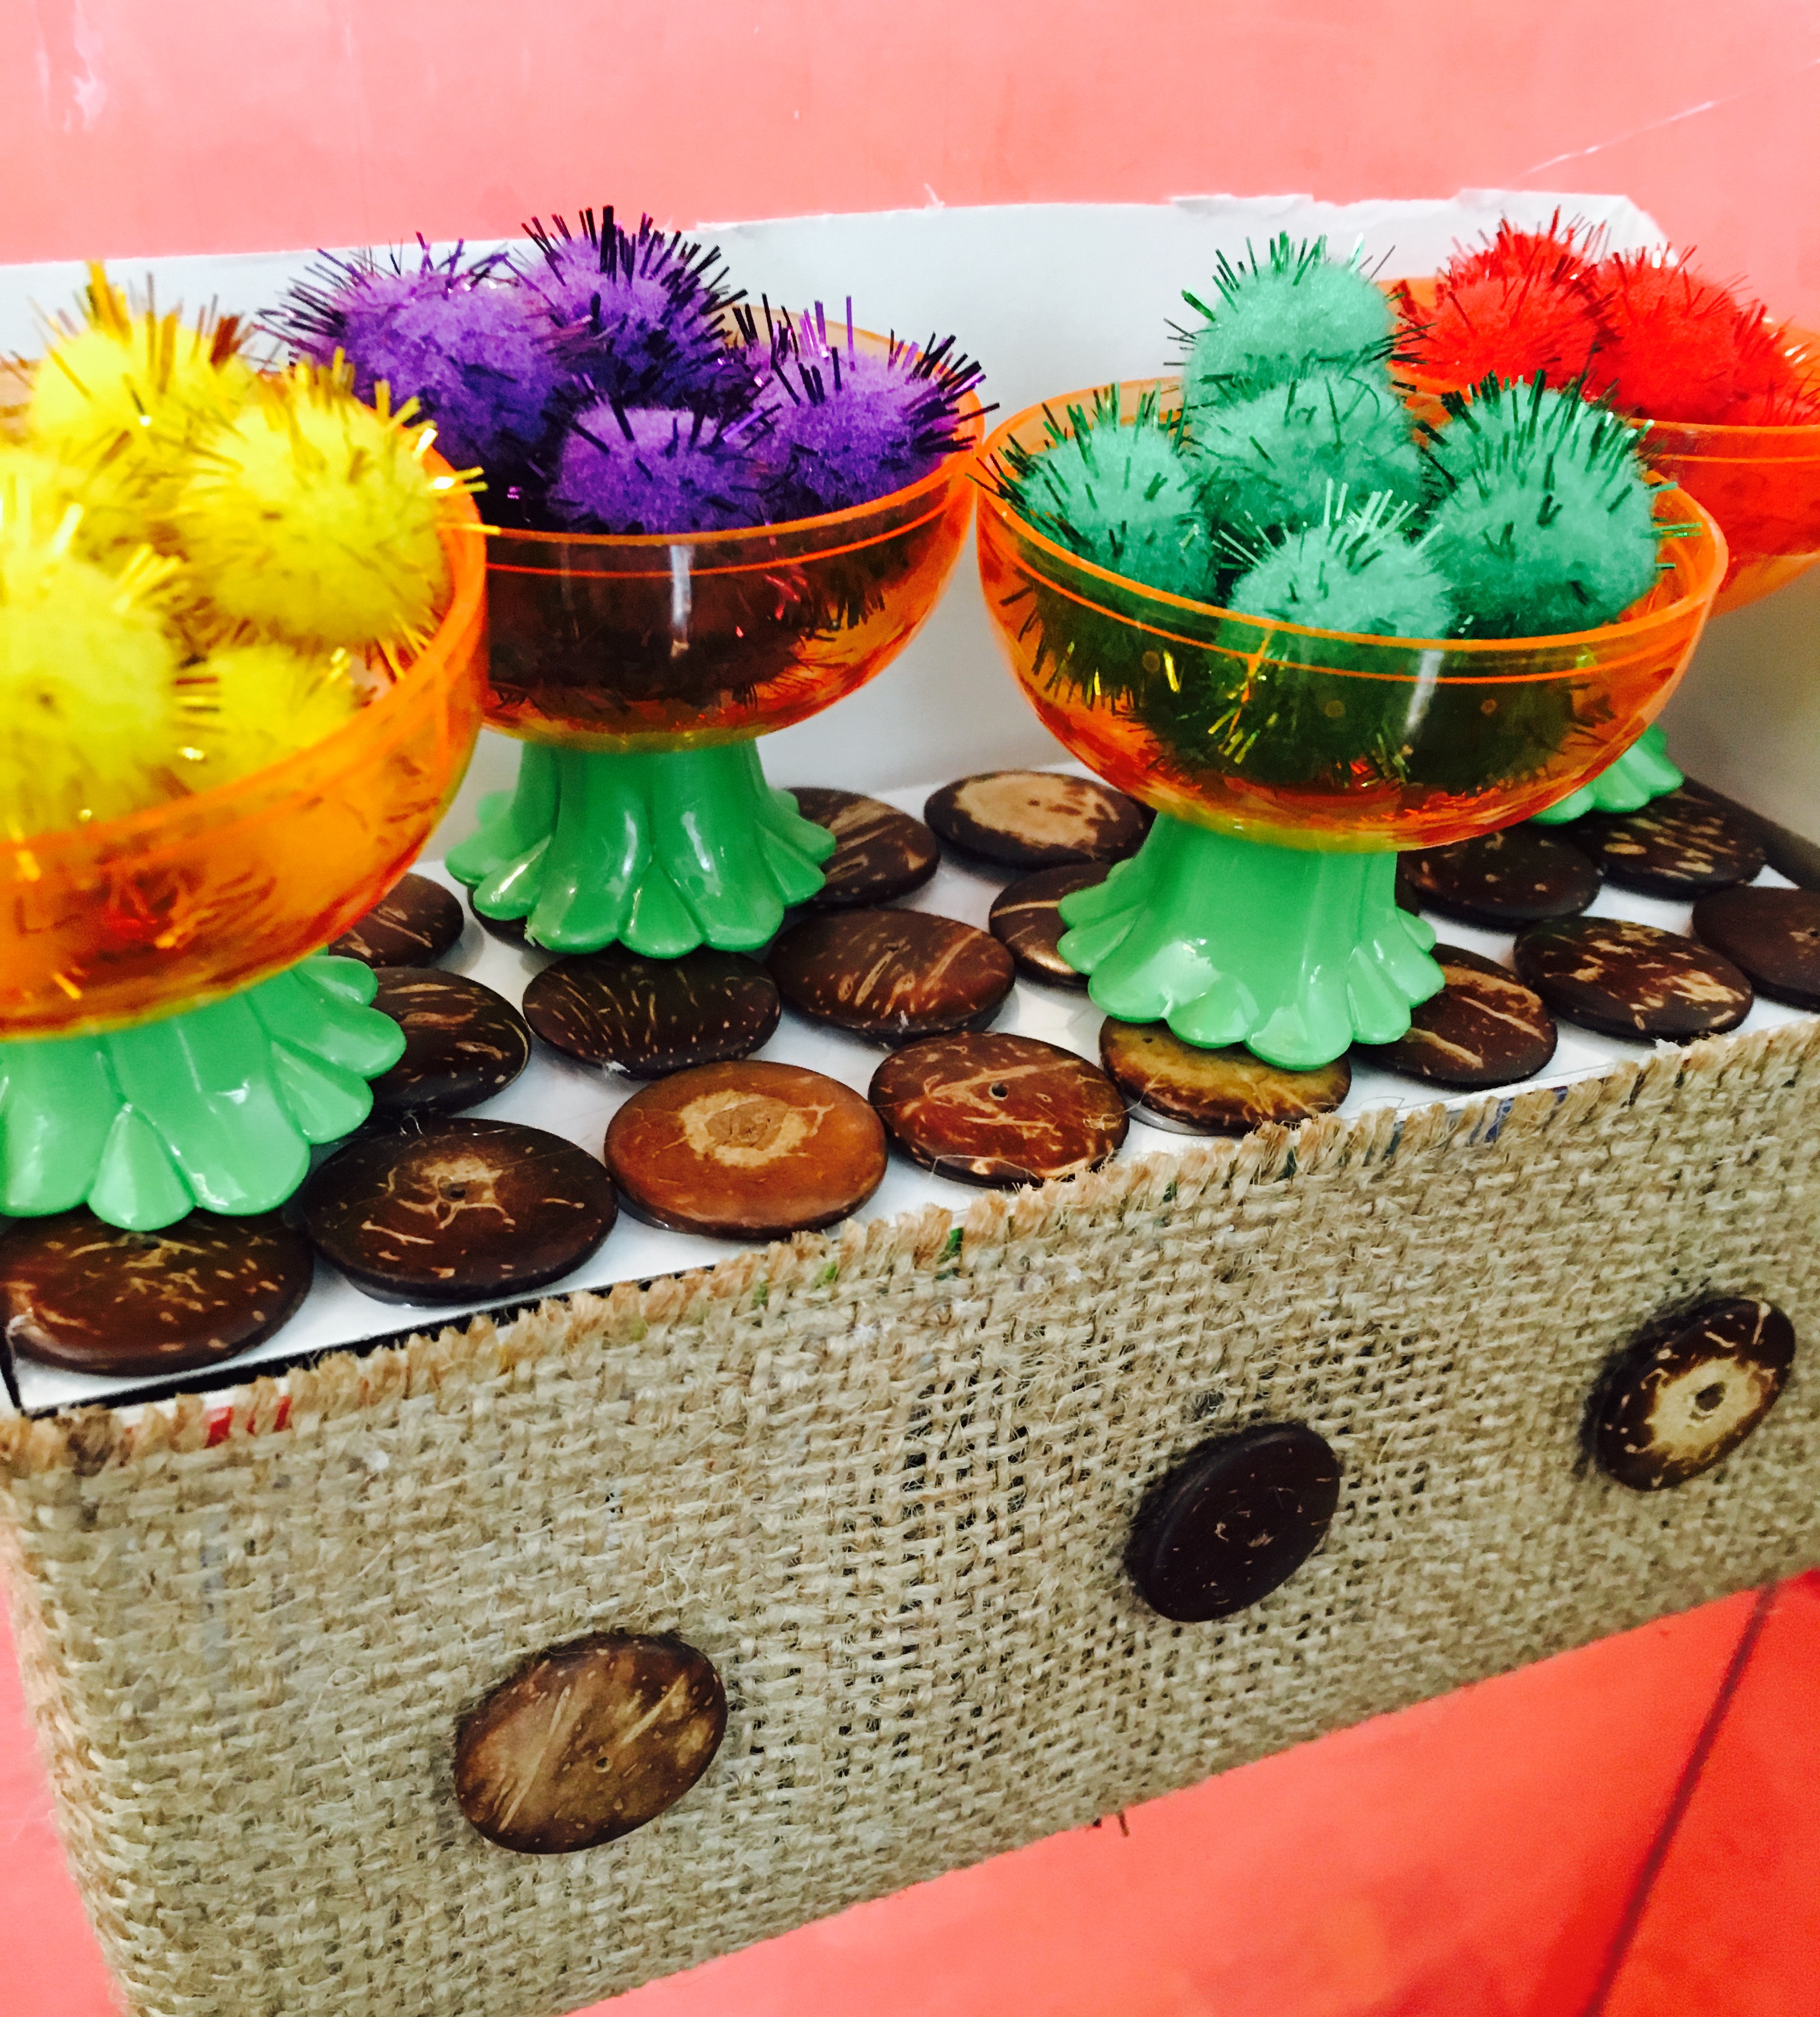
To build the shelf, I used a Canon printer cartridge box.

It was the perfect shape and it already had separate compartments inside. There was also a little flap that I covered in flat beads to use as a lid. I covered the shelf with burlap. Then I hot glued it to the wall of the fruit stand.

I have to admit, making the food for this stand was the most fun. Here are some of the materials that I used.
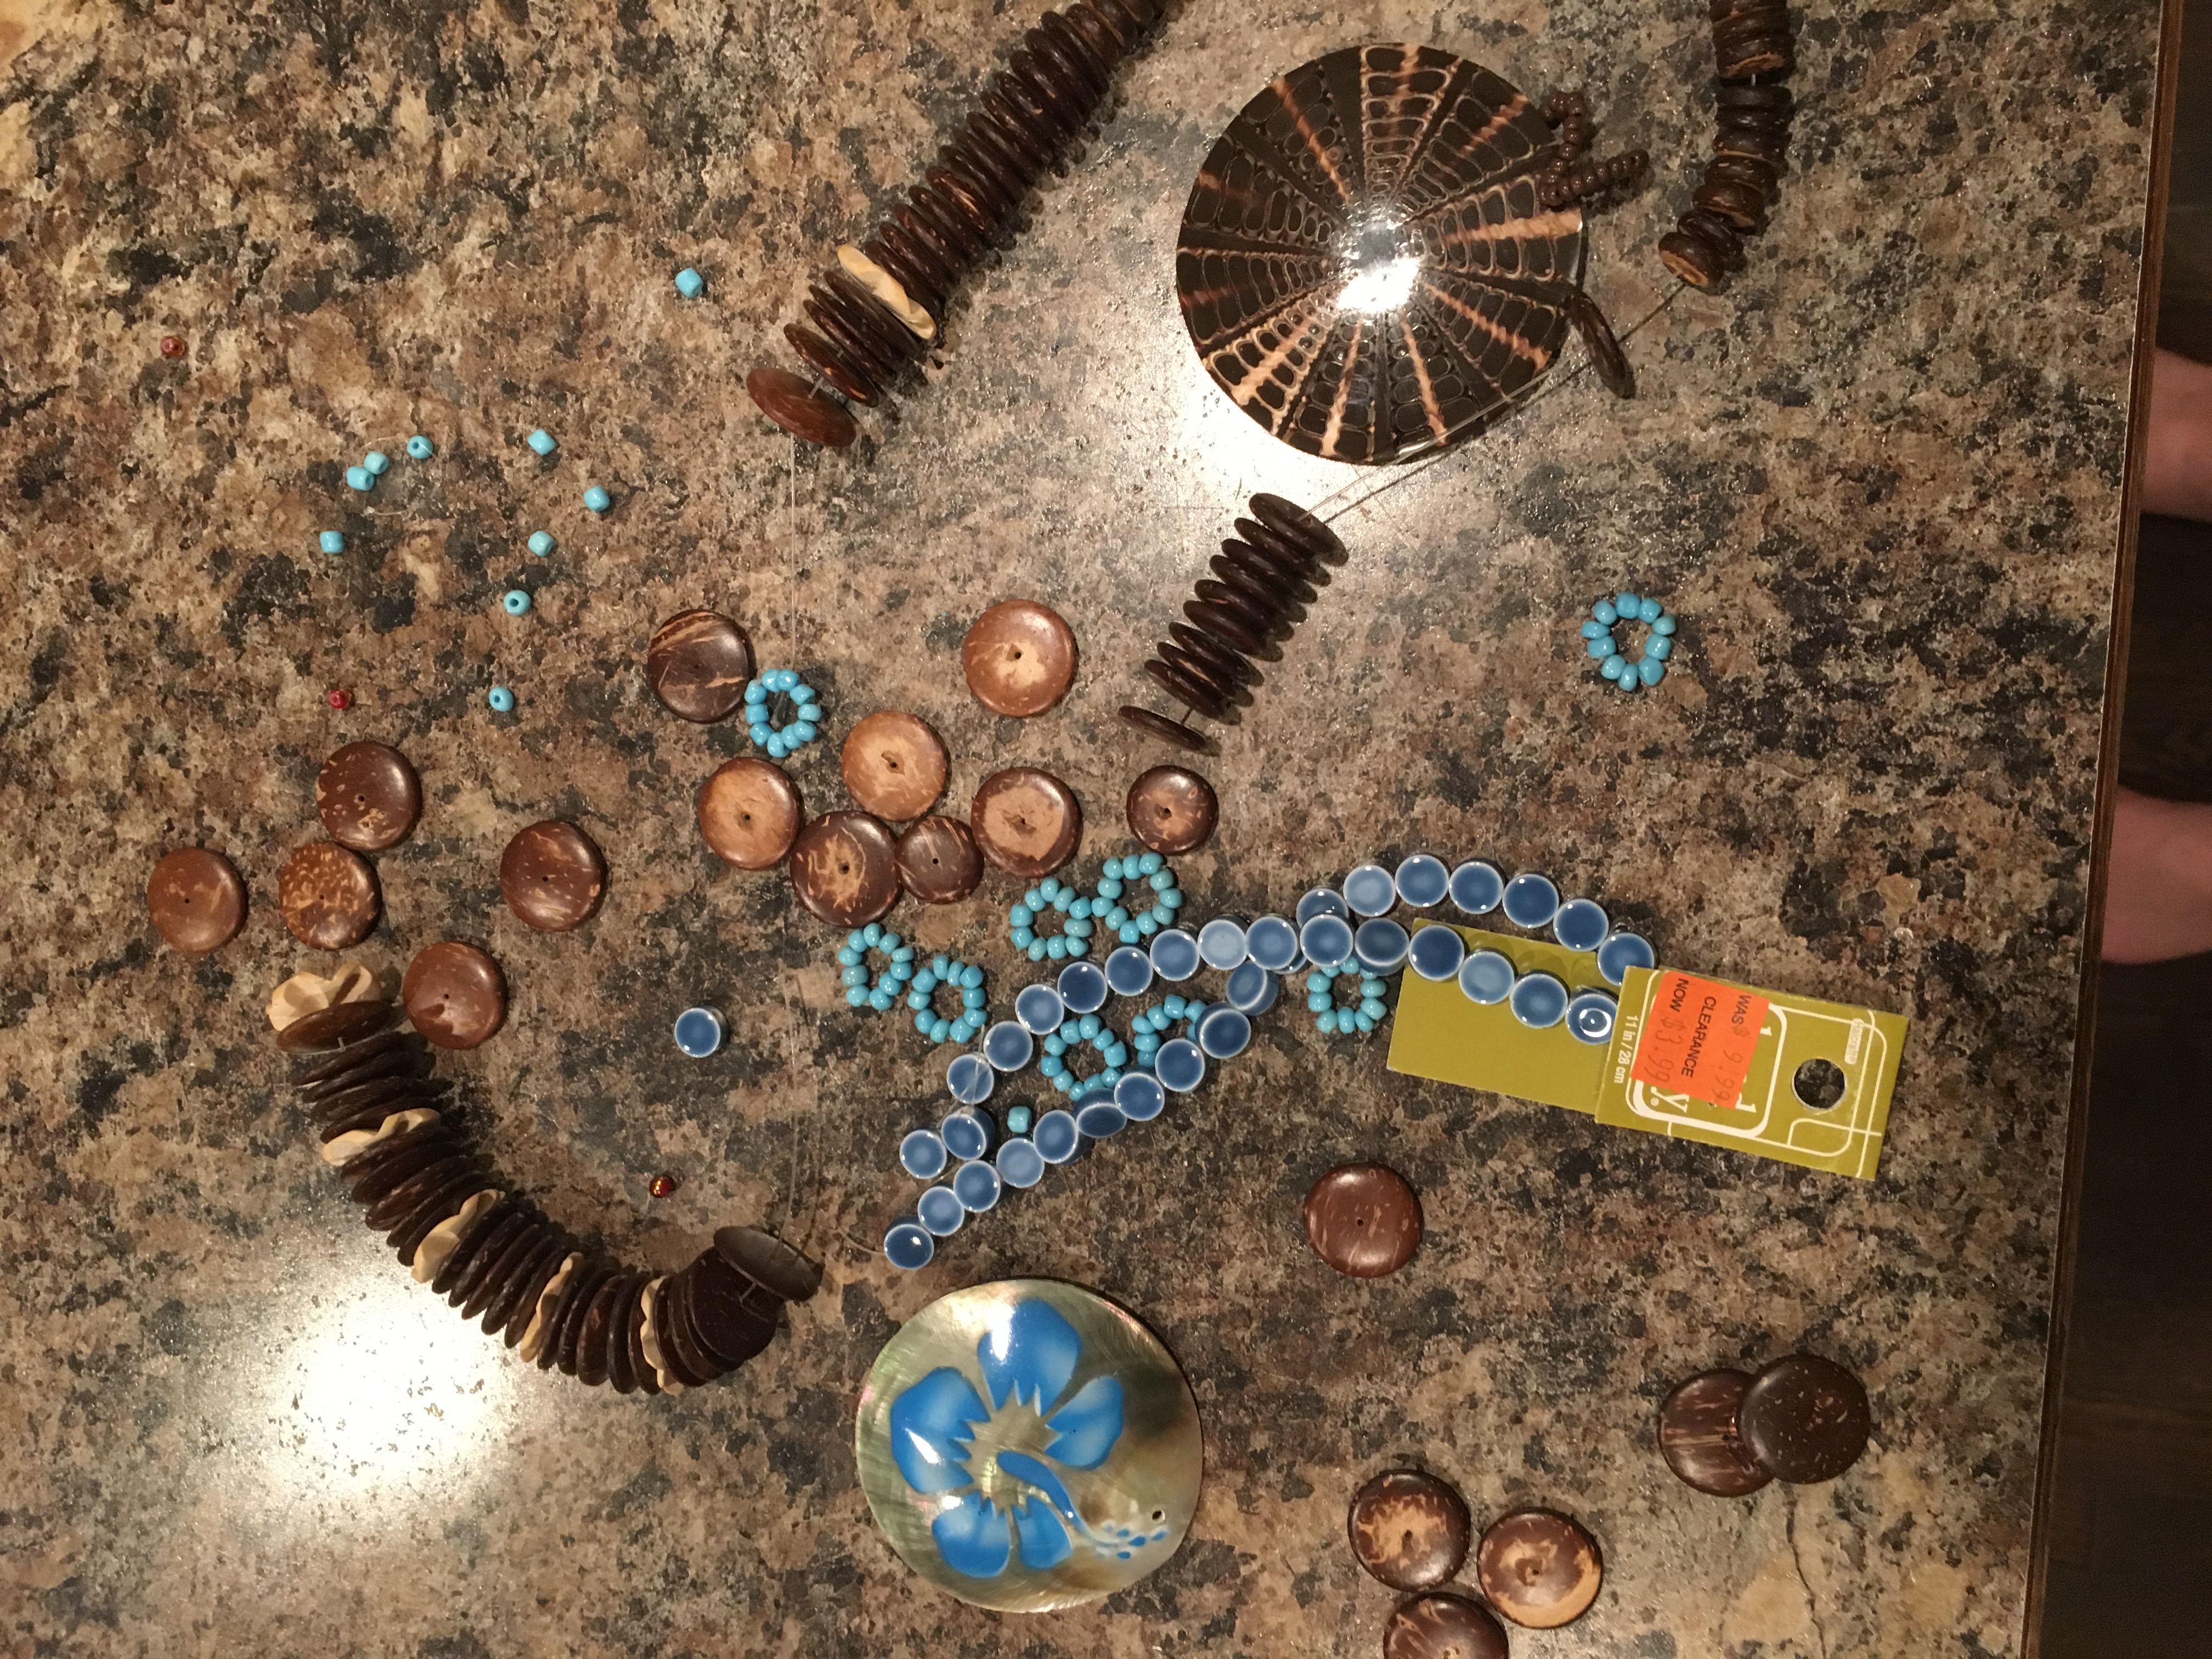
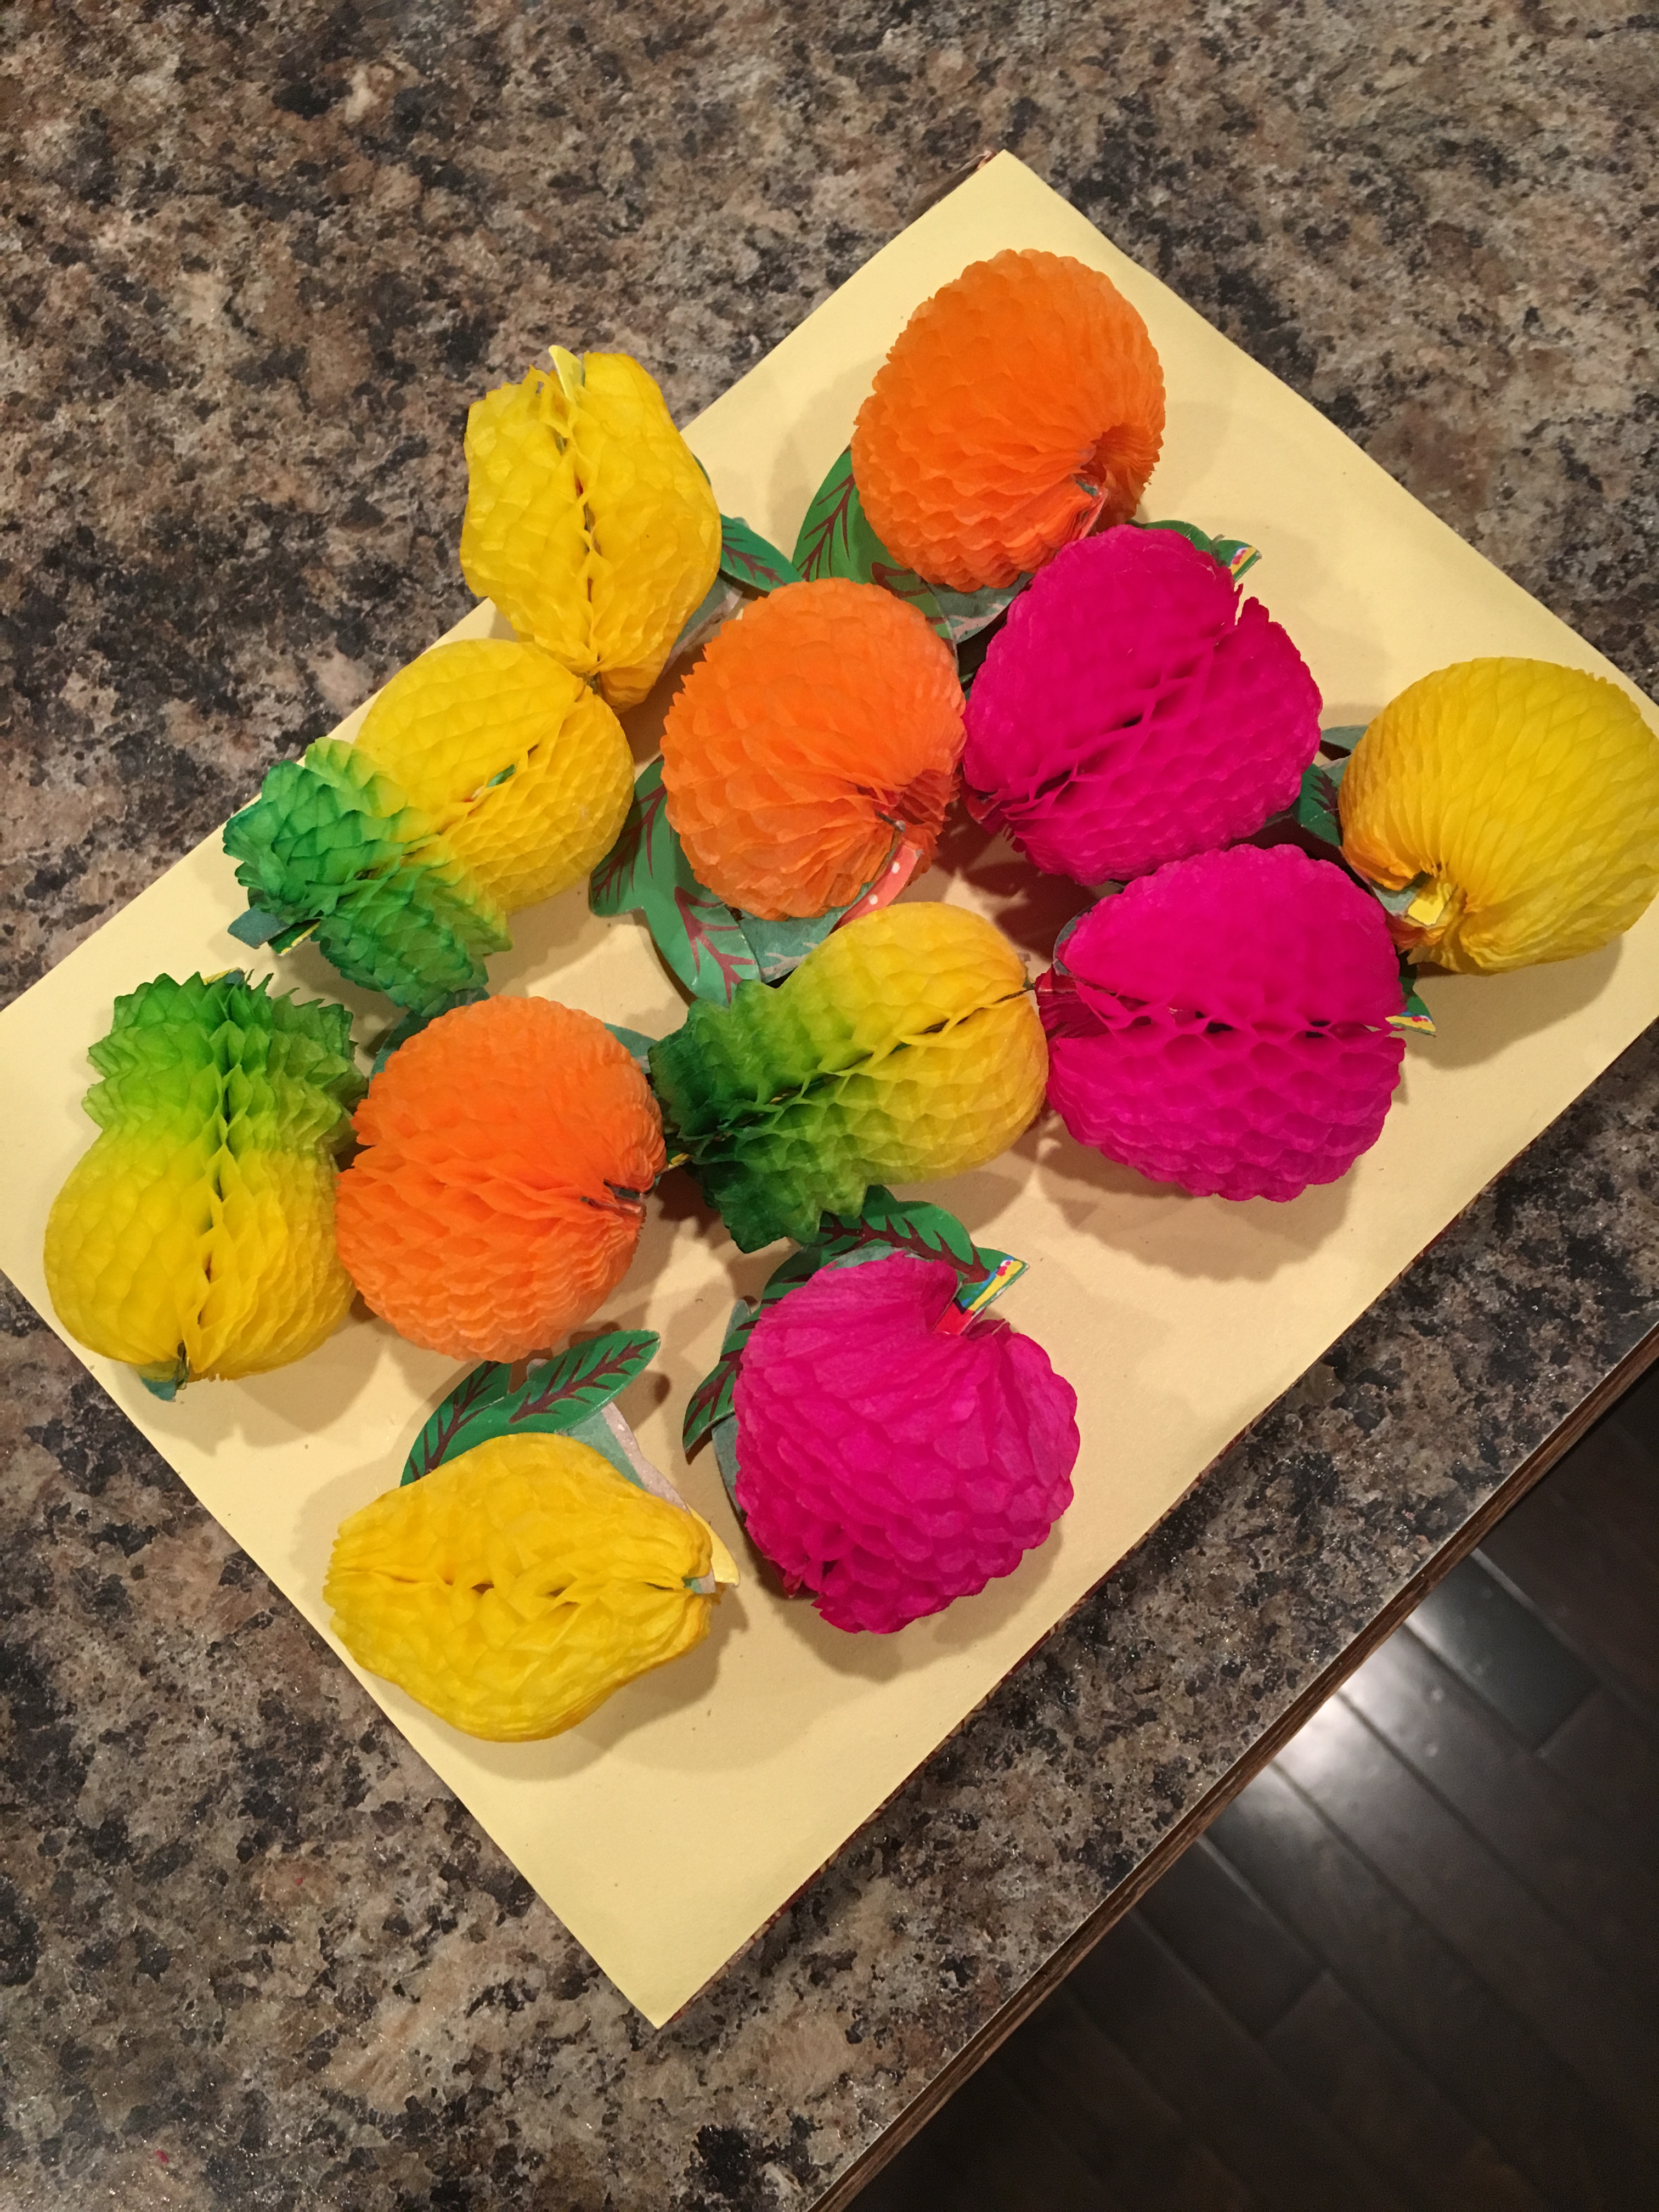
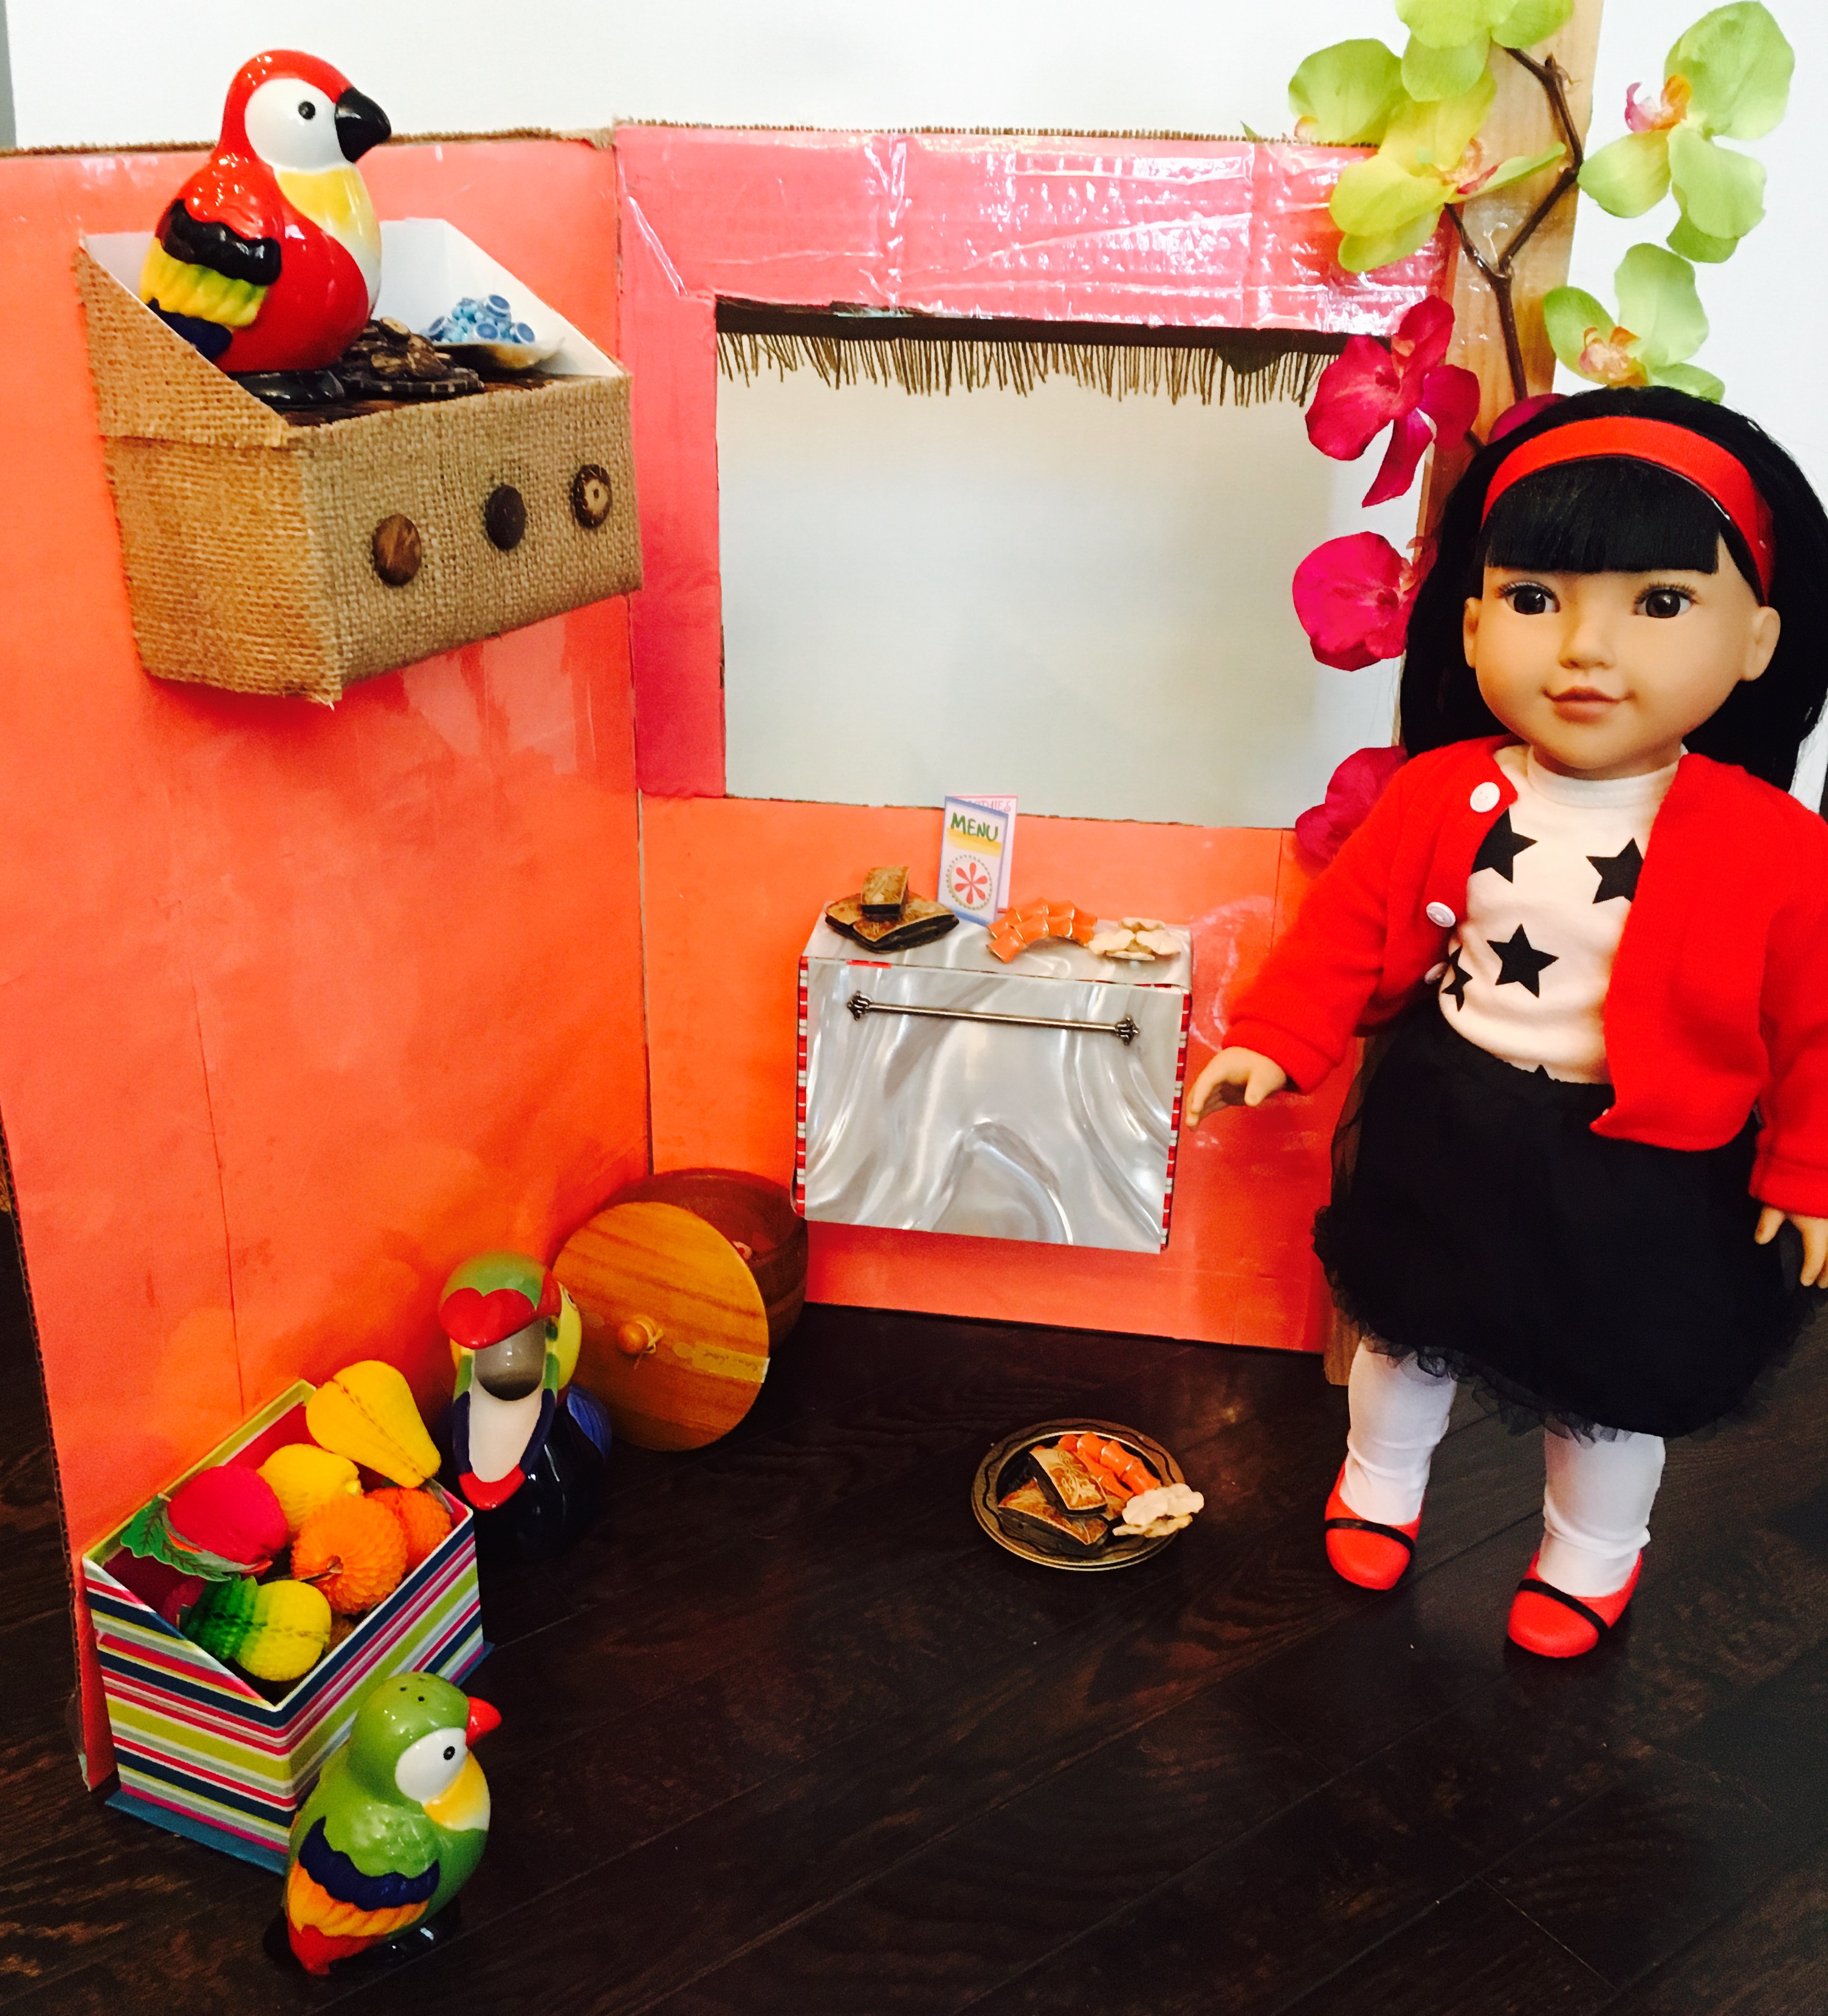
I had quite a few necklaces and bracelets that I found useful for this project. Anything that has shells or large tropical beads works well. I also had these funny honeycomb fruits leftover from a party. They are adorable! I just popped them into a cute little desktop caddy that I had on hand.
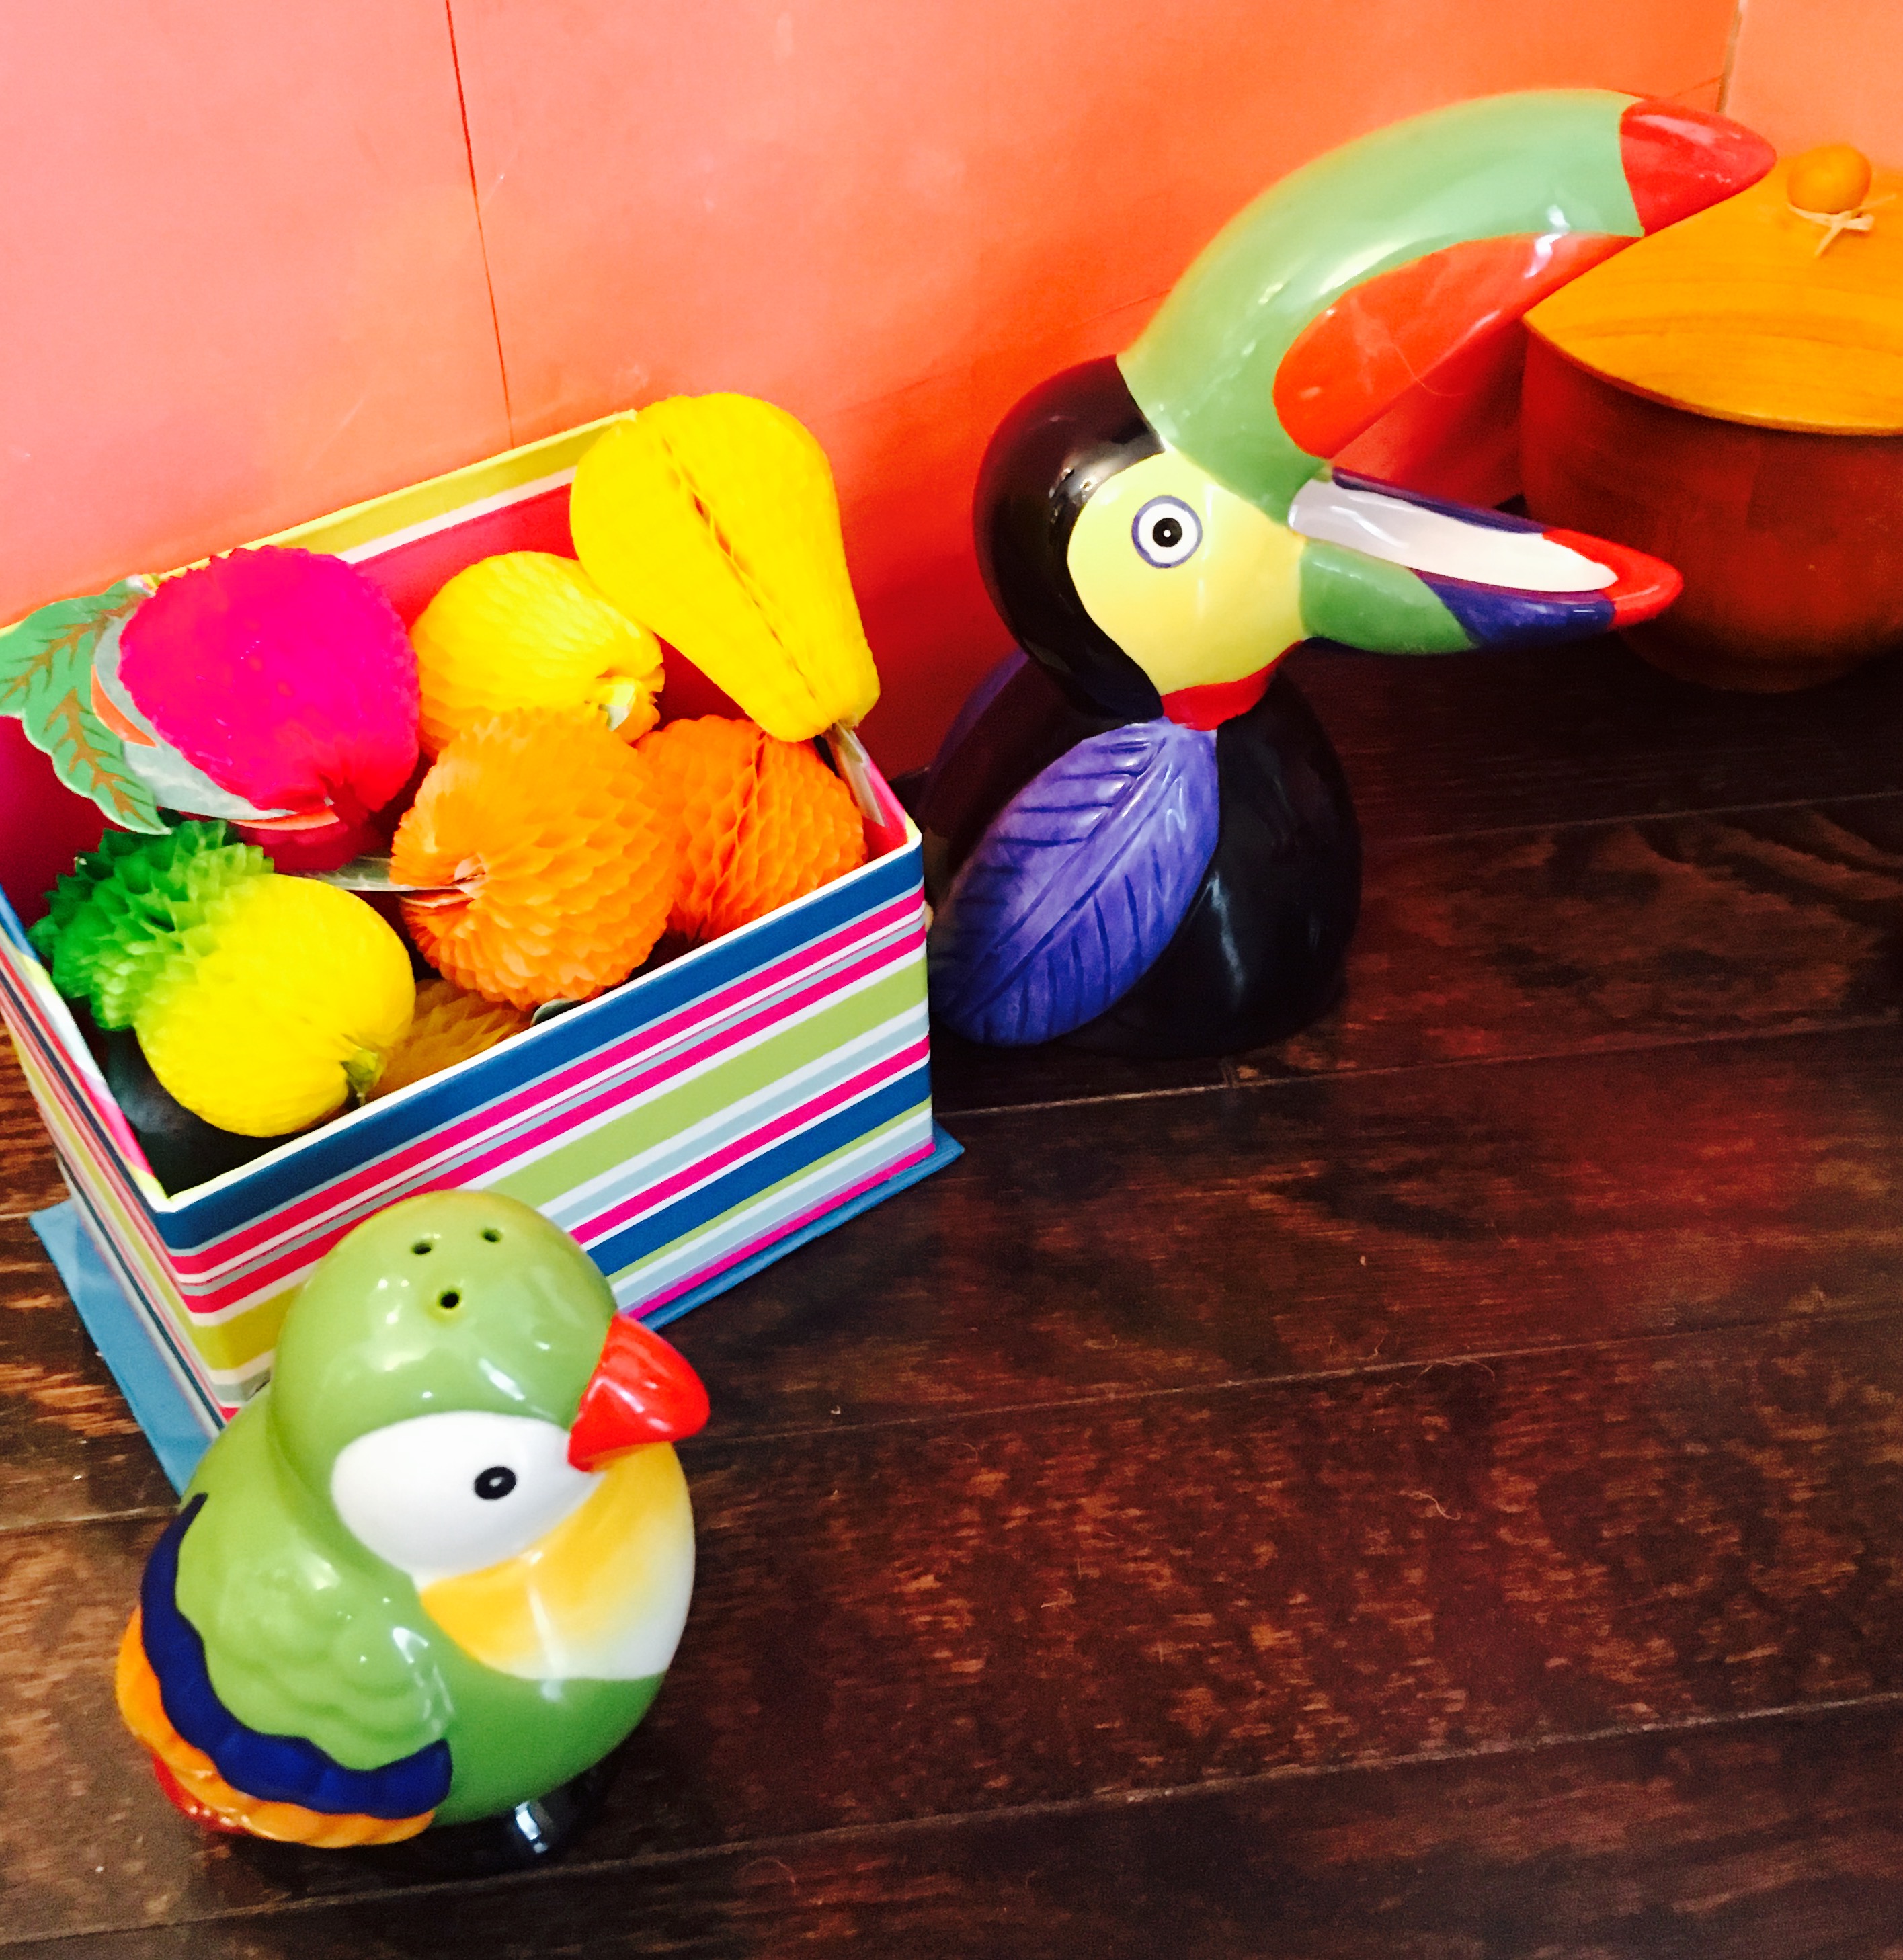
I had these cute little tropical bird salt shakers with matching toucan scrubbie holder that I thought complemented the set perfectly as well. I am still considering making a bird perch, but the birds are ceramic. I really don’t want them balancing precariously in case they fall off and smash. For now, they just hop around inside the fruit stand, snacking on all the fruits. 🙂
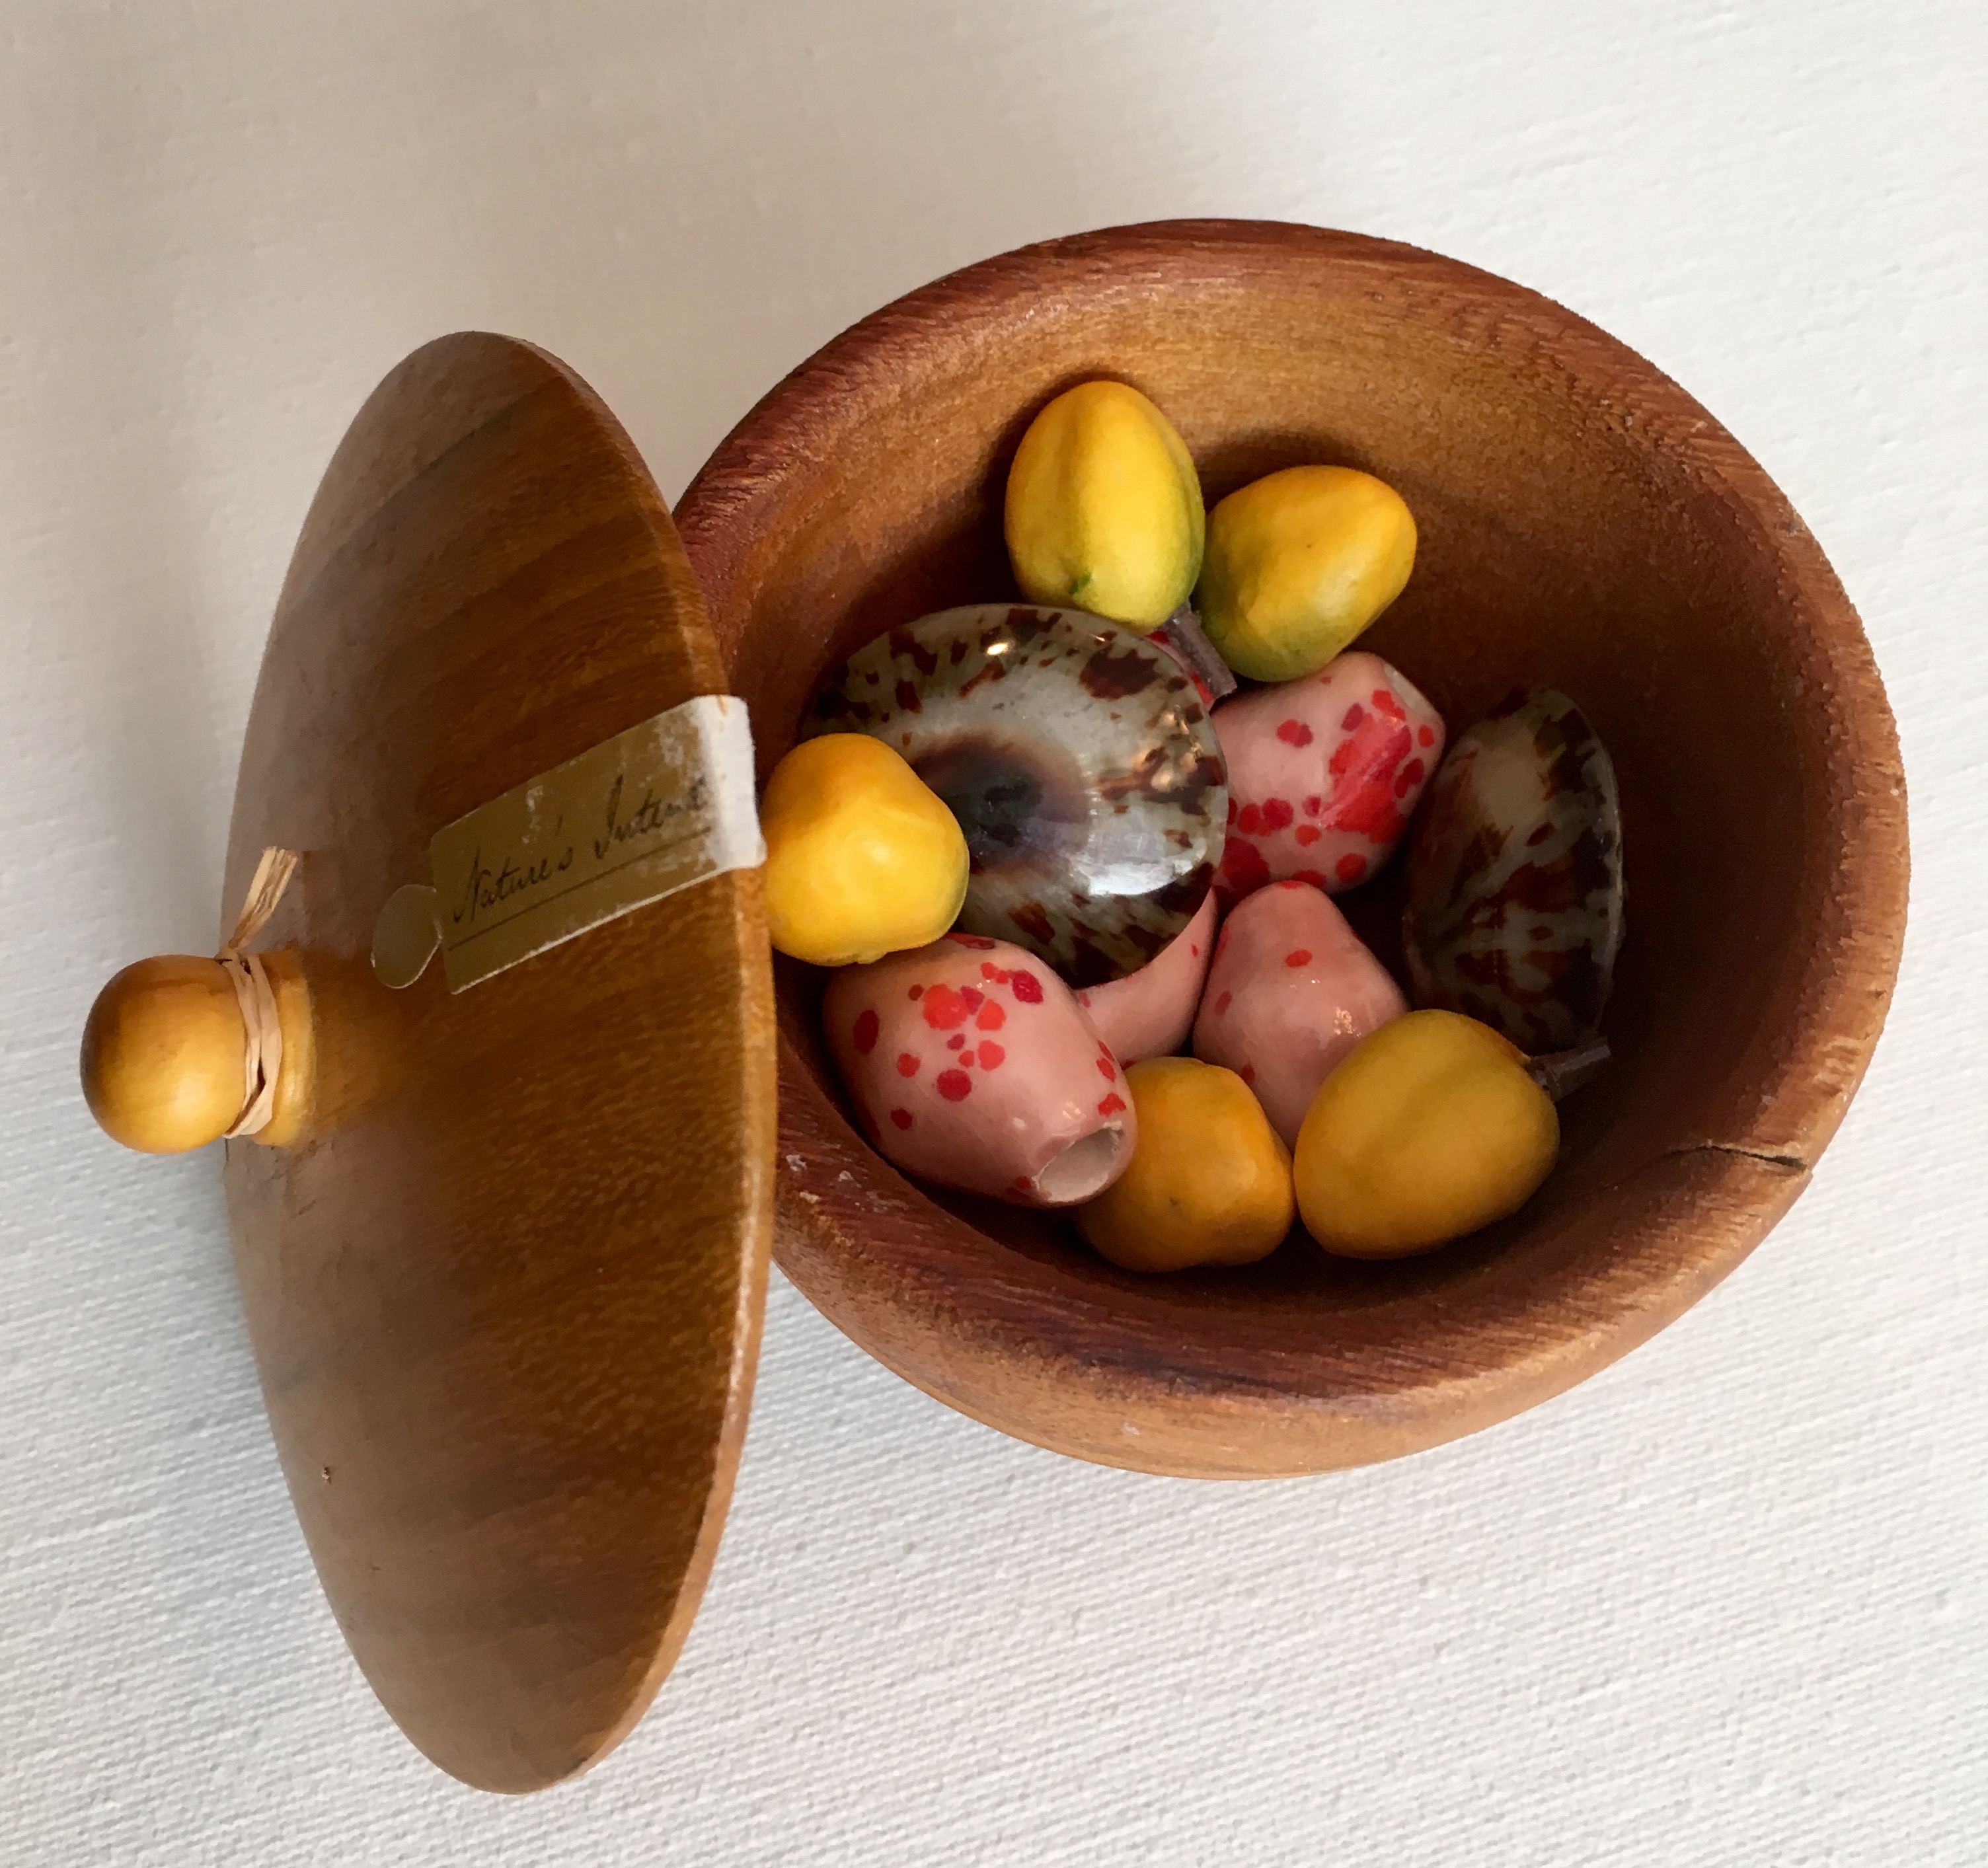
A lot of the food ideas for this stand are off the top of my head, but I found that truly anything goes. Coconuts, papayas, melons, wood chips, whatever! LOL

Even fuzzy pom poms work as “ingredients”. haha!
Here are some fun pics of the completed project.
Those “lobster tails” are from a chunky bracelet cuff that I had. So are the “tamales”. Like I said, pretty much anything goes. LOL!
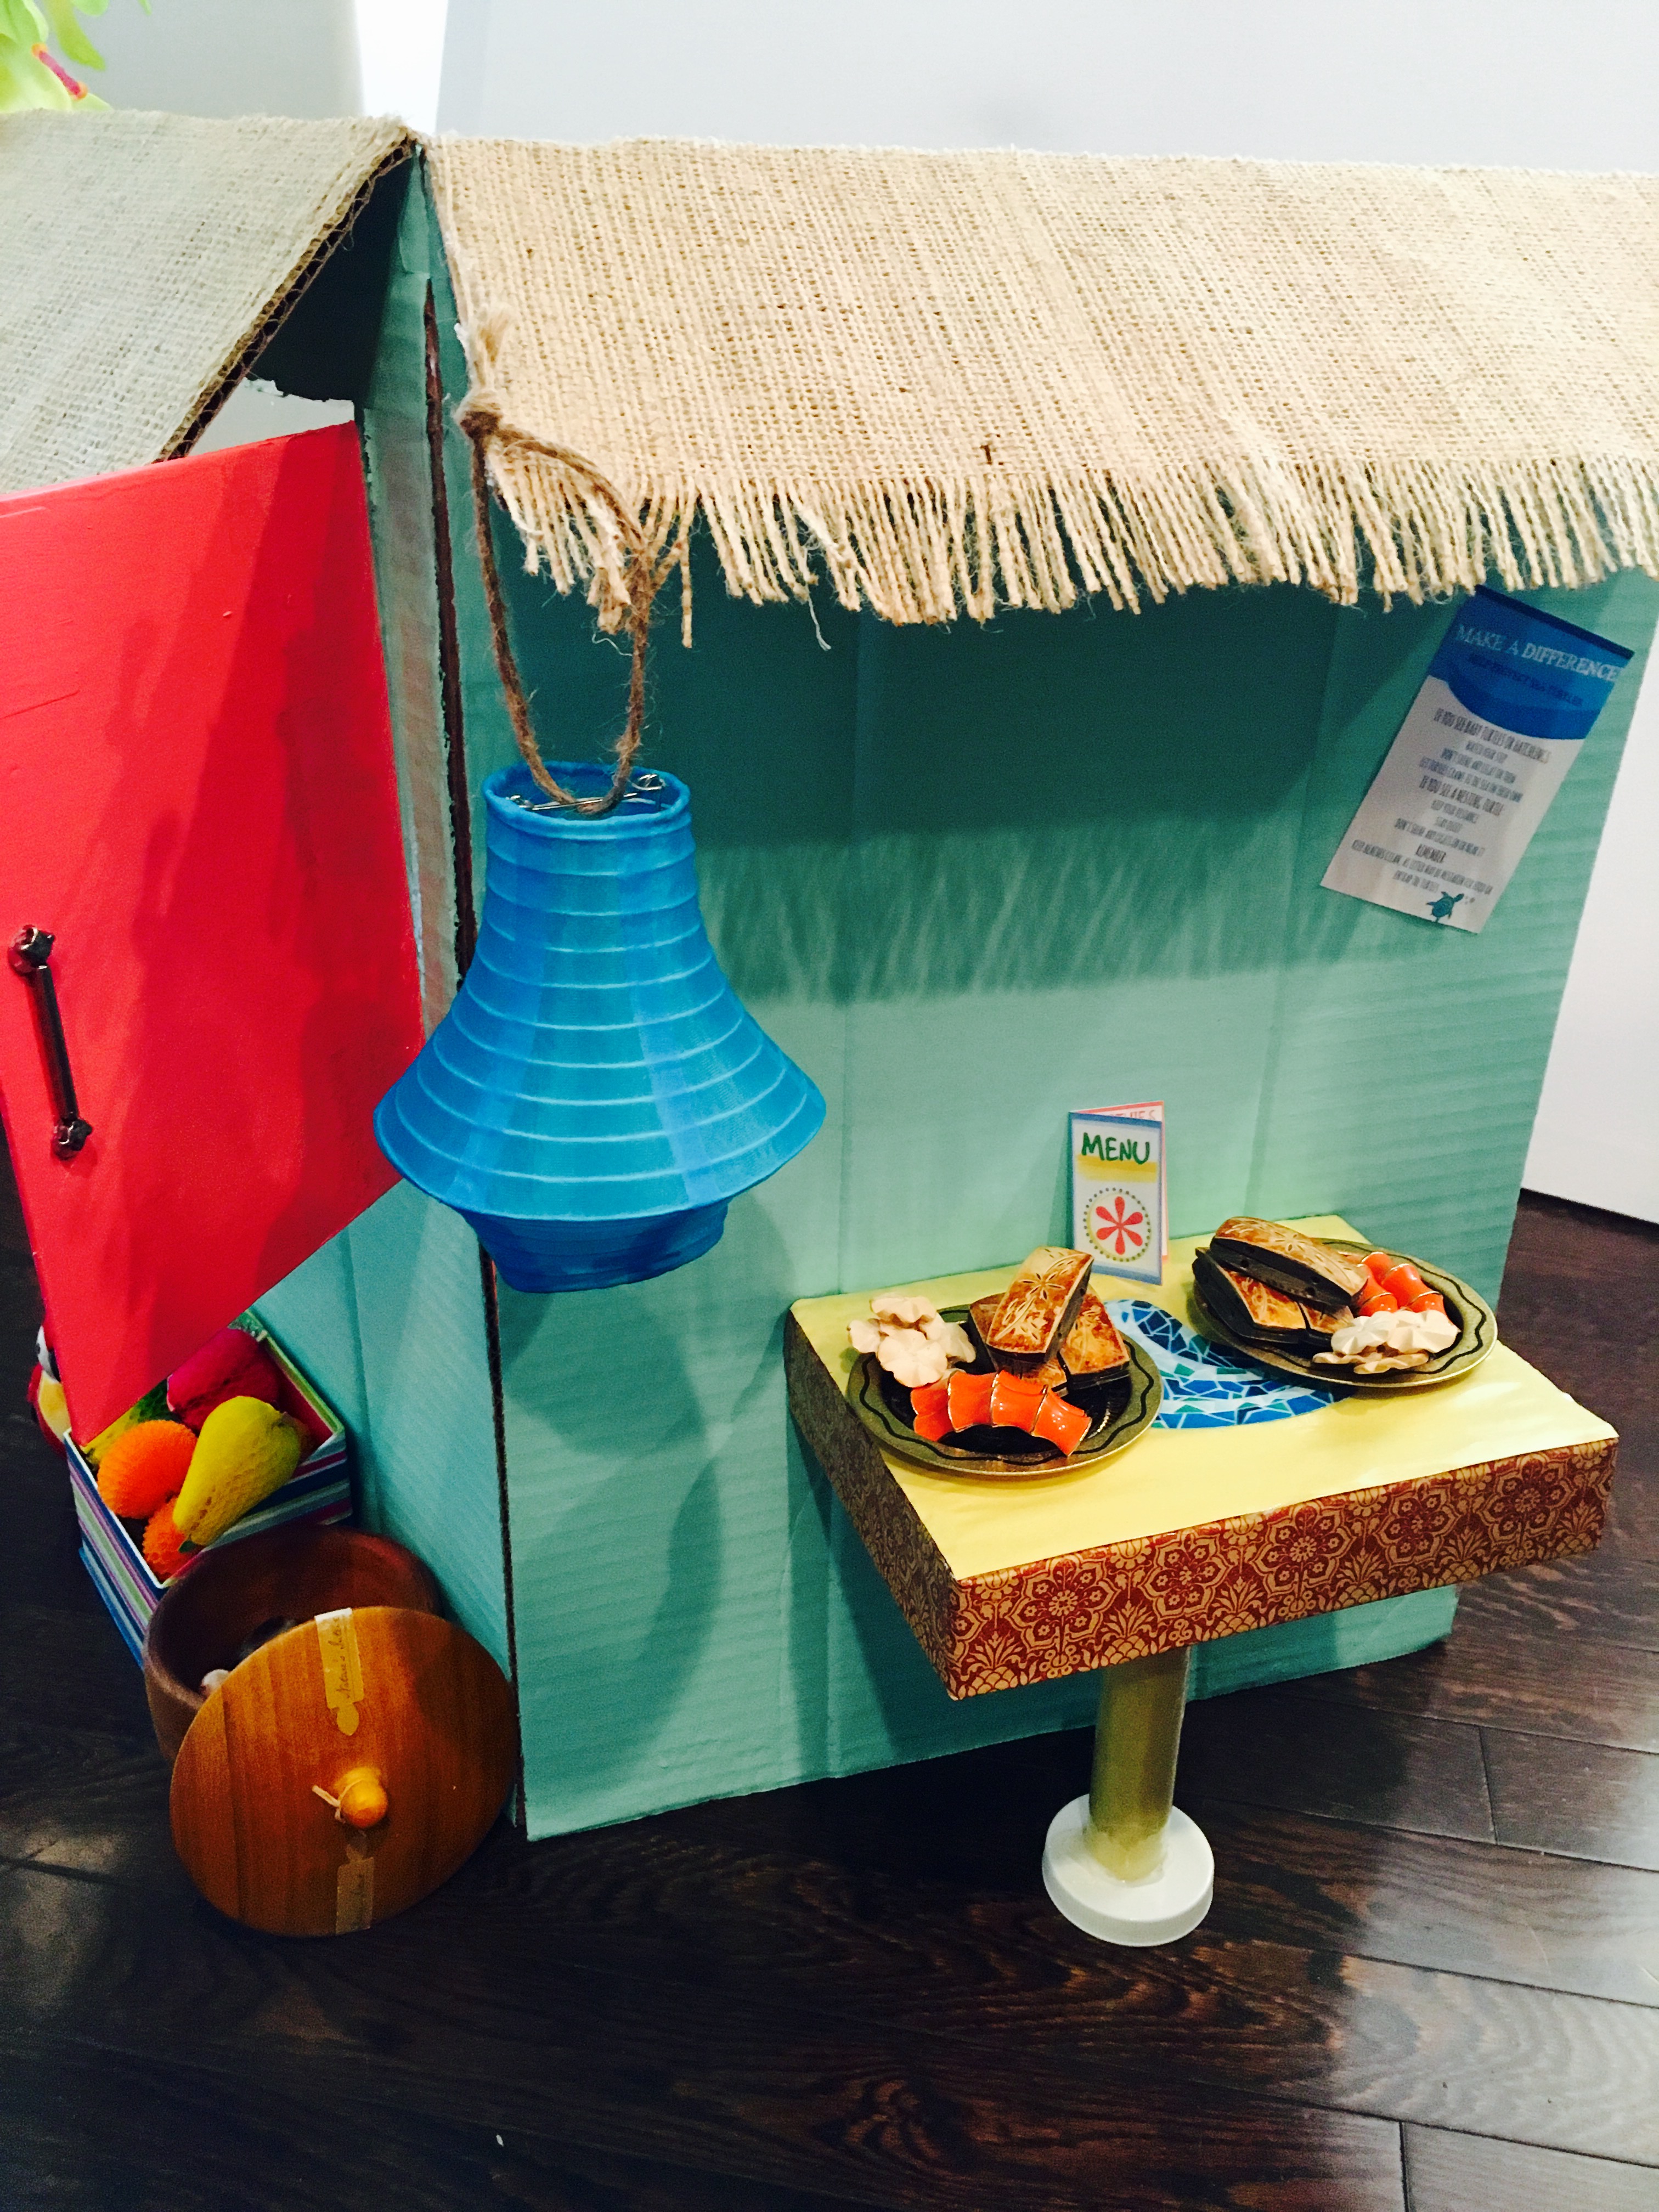

We got to use some of our existing doll food as well, and the little blue lantern was from my mom. Too cute! ❤
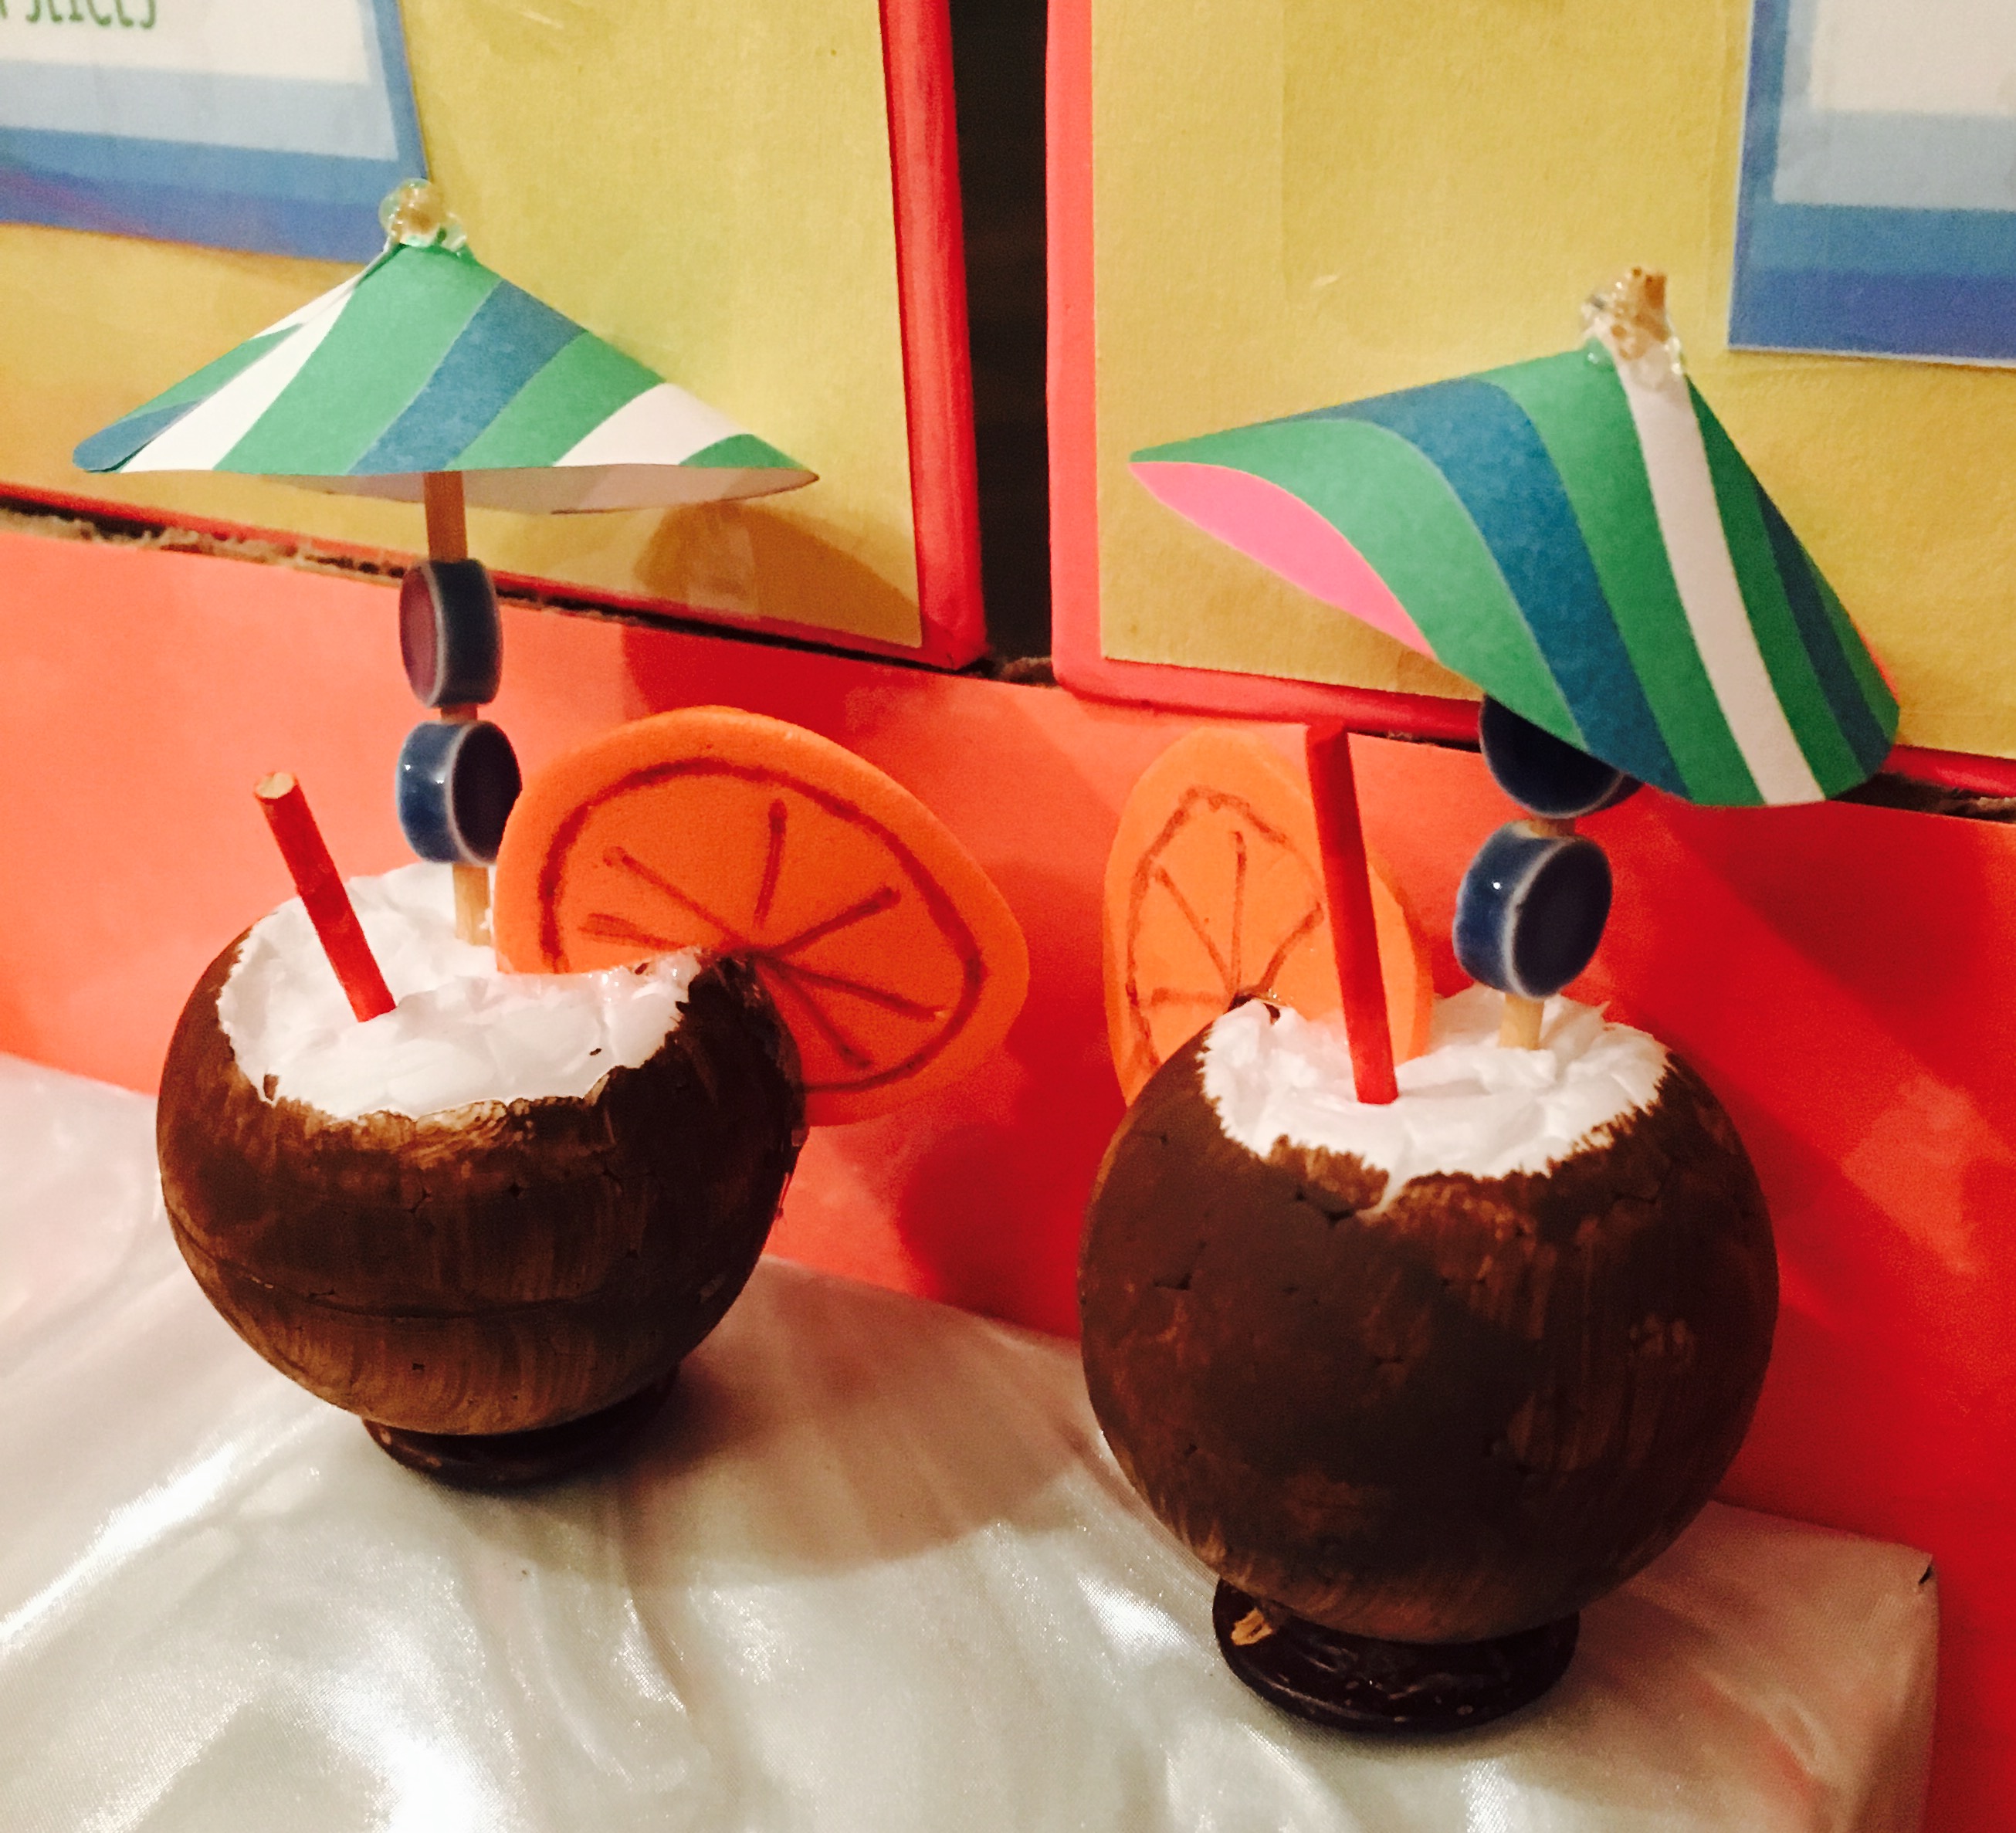
I also made these cute little coconut drinks courtesy of AmericanGirlIdeas. I used painted styrofoam balls with their tops cut off, toothpick straws and umbrellas, and craft foam orange slices.

Open for business! I just love the little tin buckets! We got them from Michael’s a while back. We actually didn’t hit the stores for anything while making this project. It was made from completely recycled materials, or whatever we had on hand. My favourite. 🙂
As you can see from the picture above, I hot glued a pretty bunch of orchids to the front of the awning. I thought it added some tropical pizazz to the otherwise boring burlap.
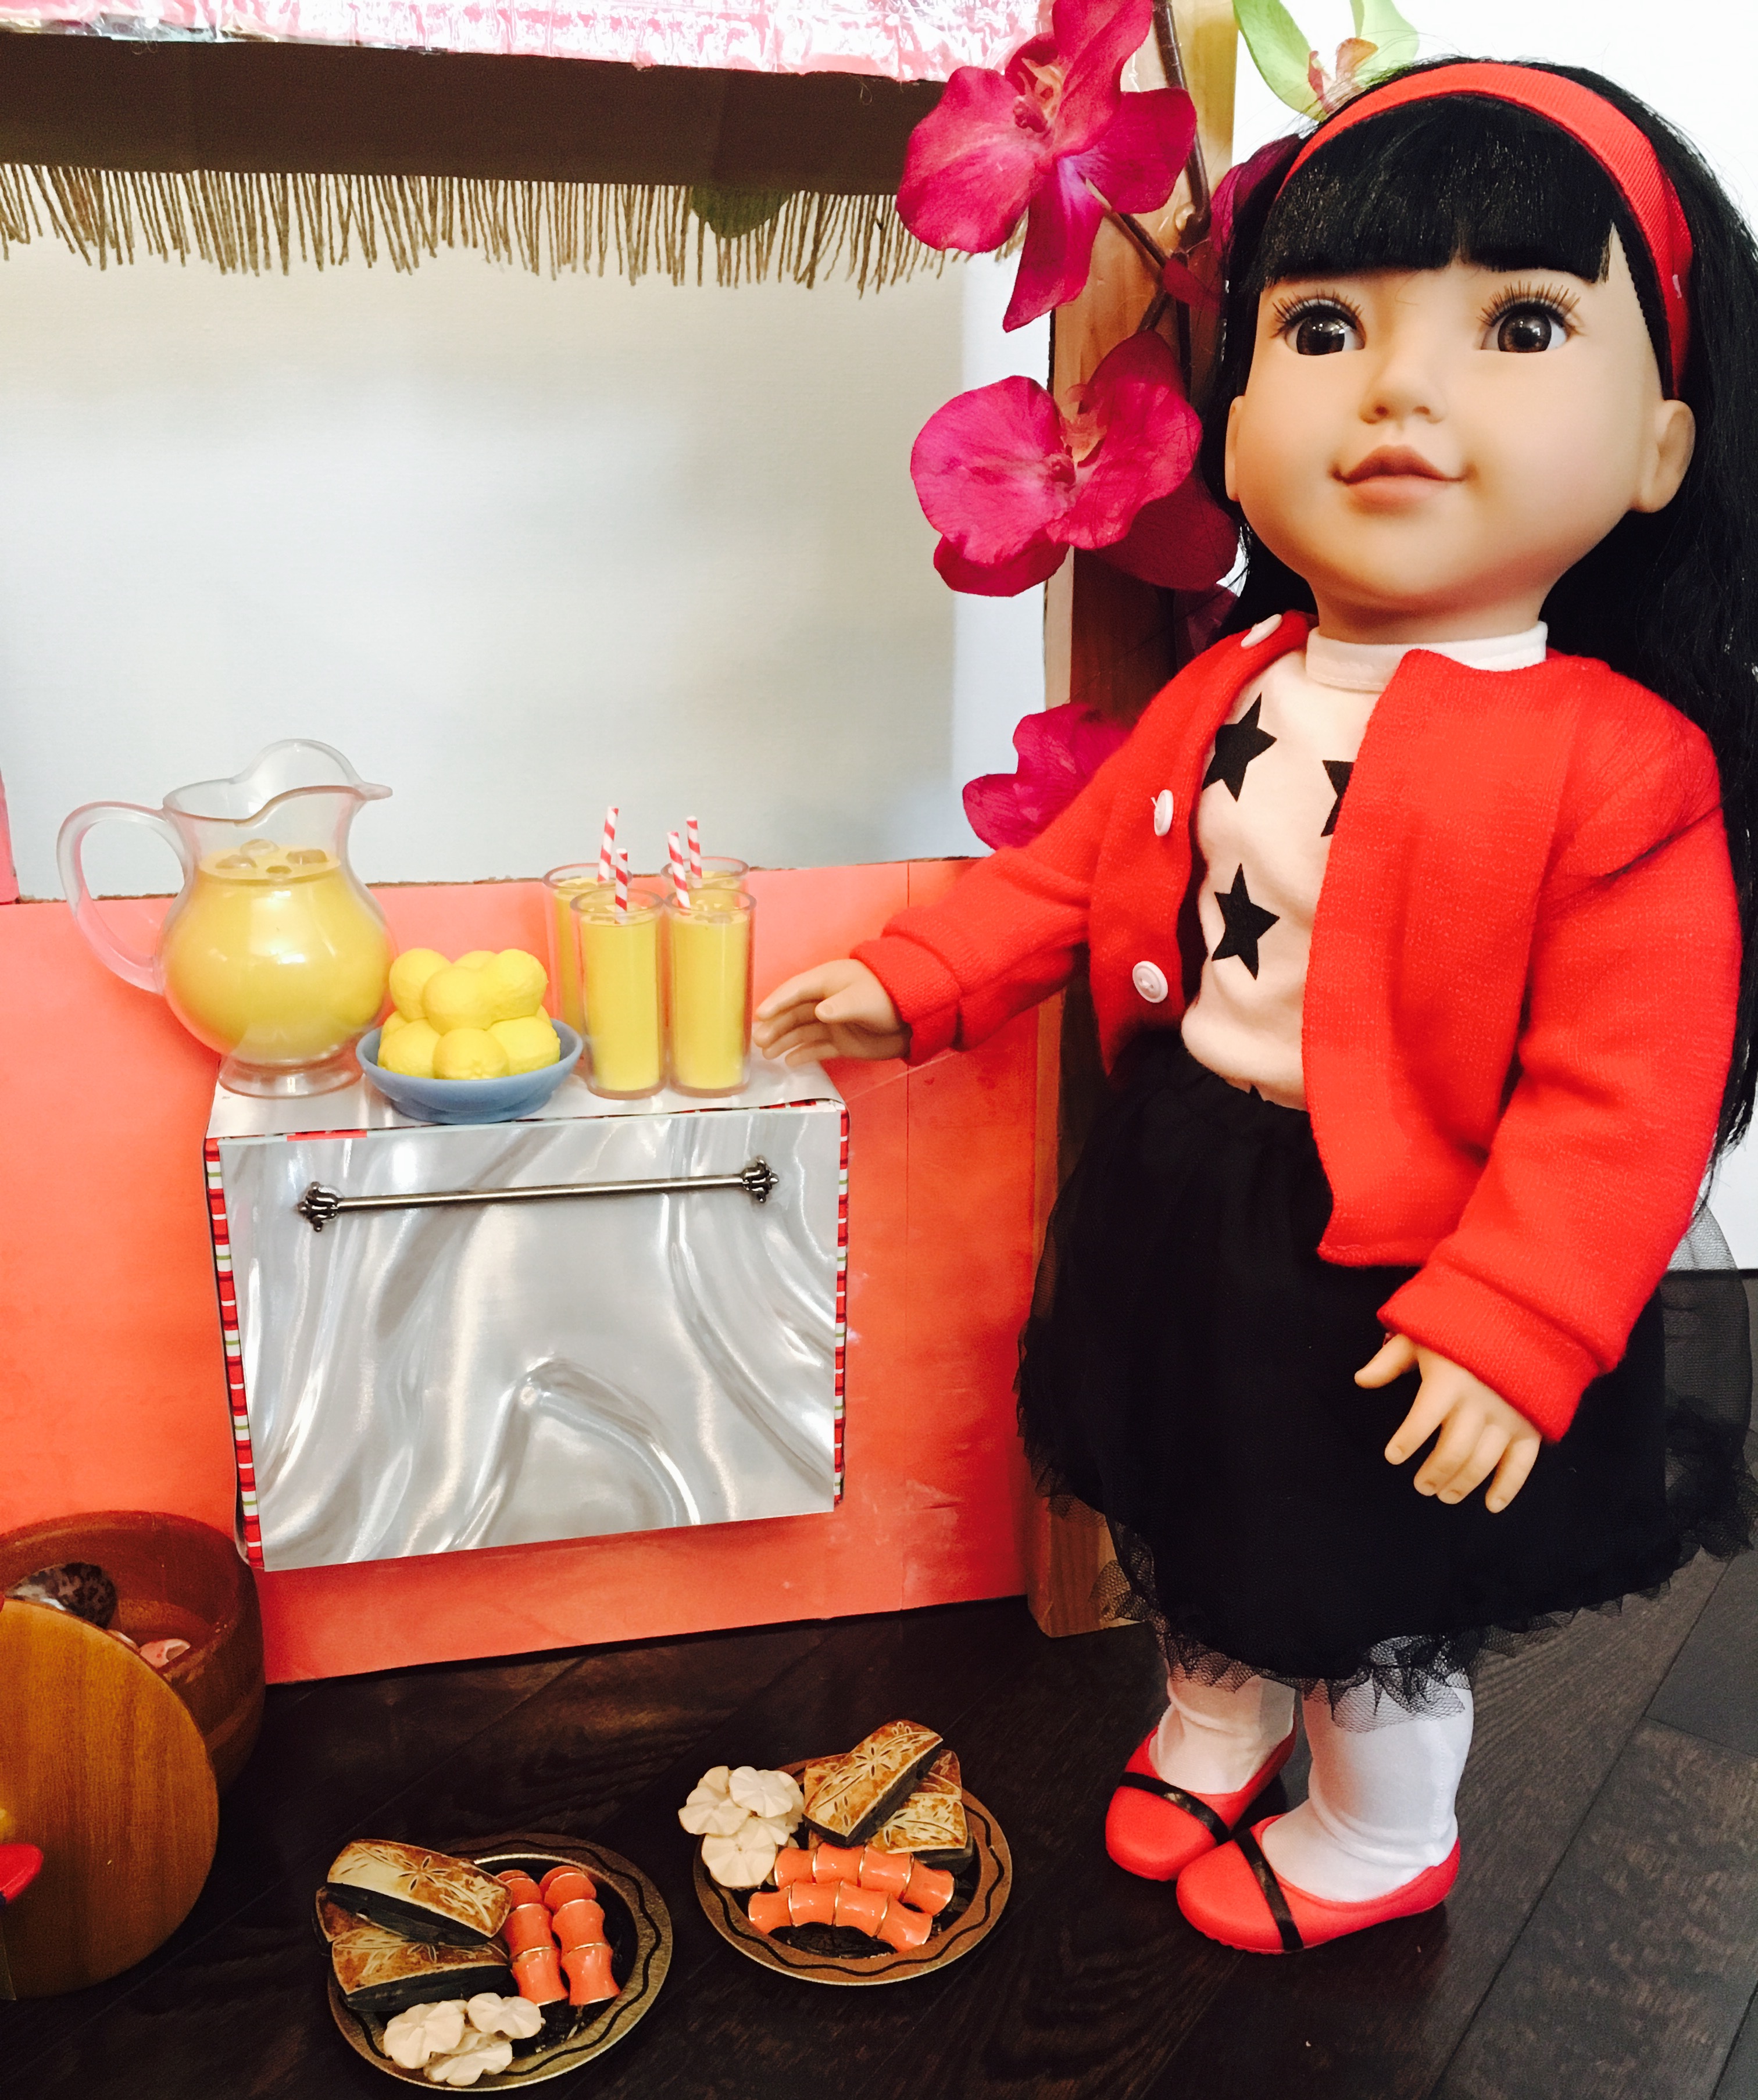
That little lemonade set is too cute! The picture to the right shows where I attached the piece of wood to the edge of the stand for stability. I just decorated it with the orchids to make it prettier.
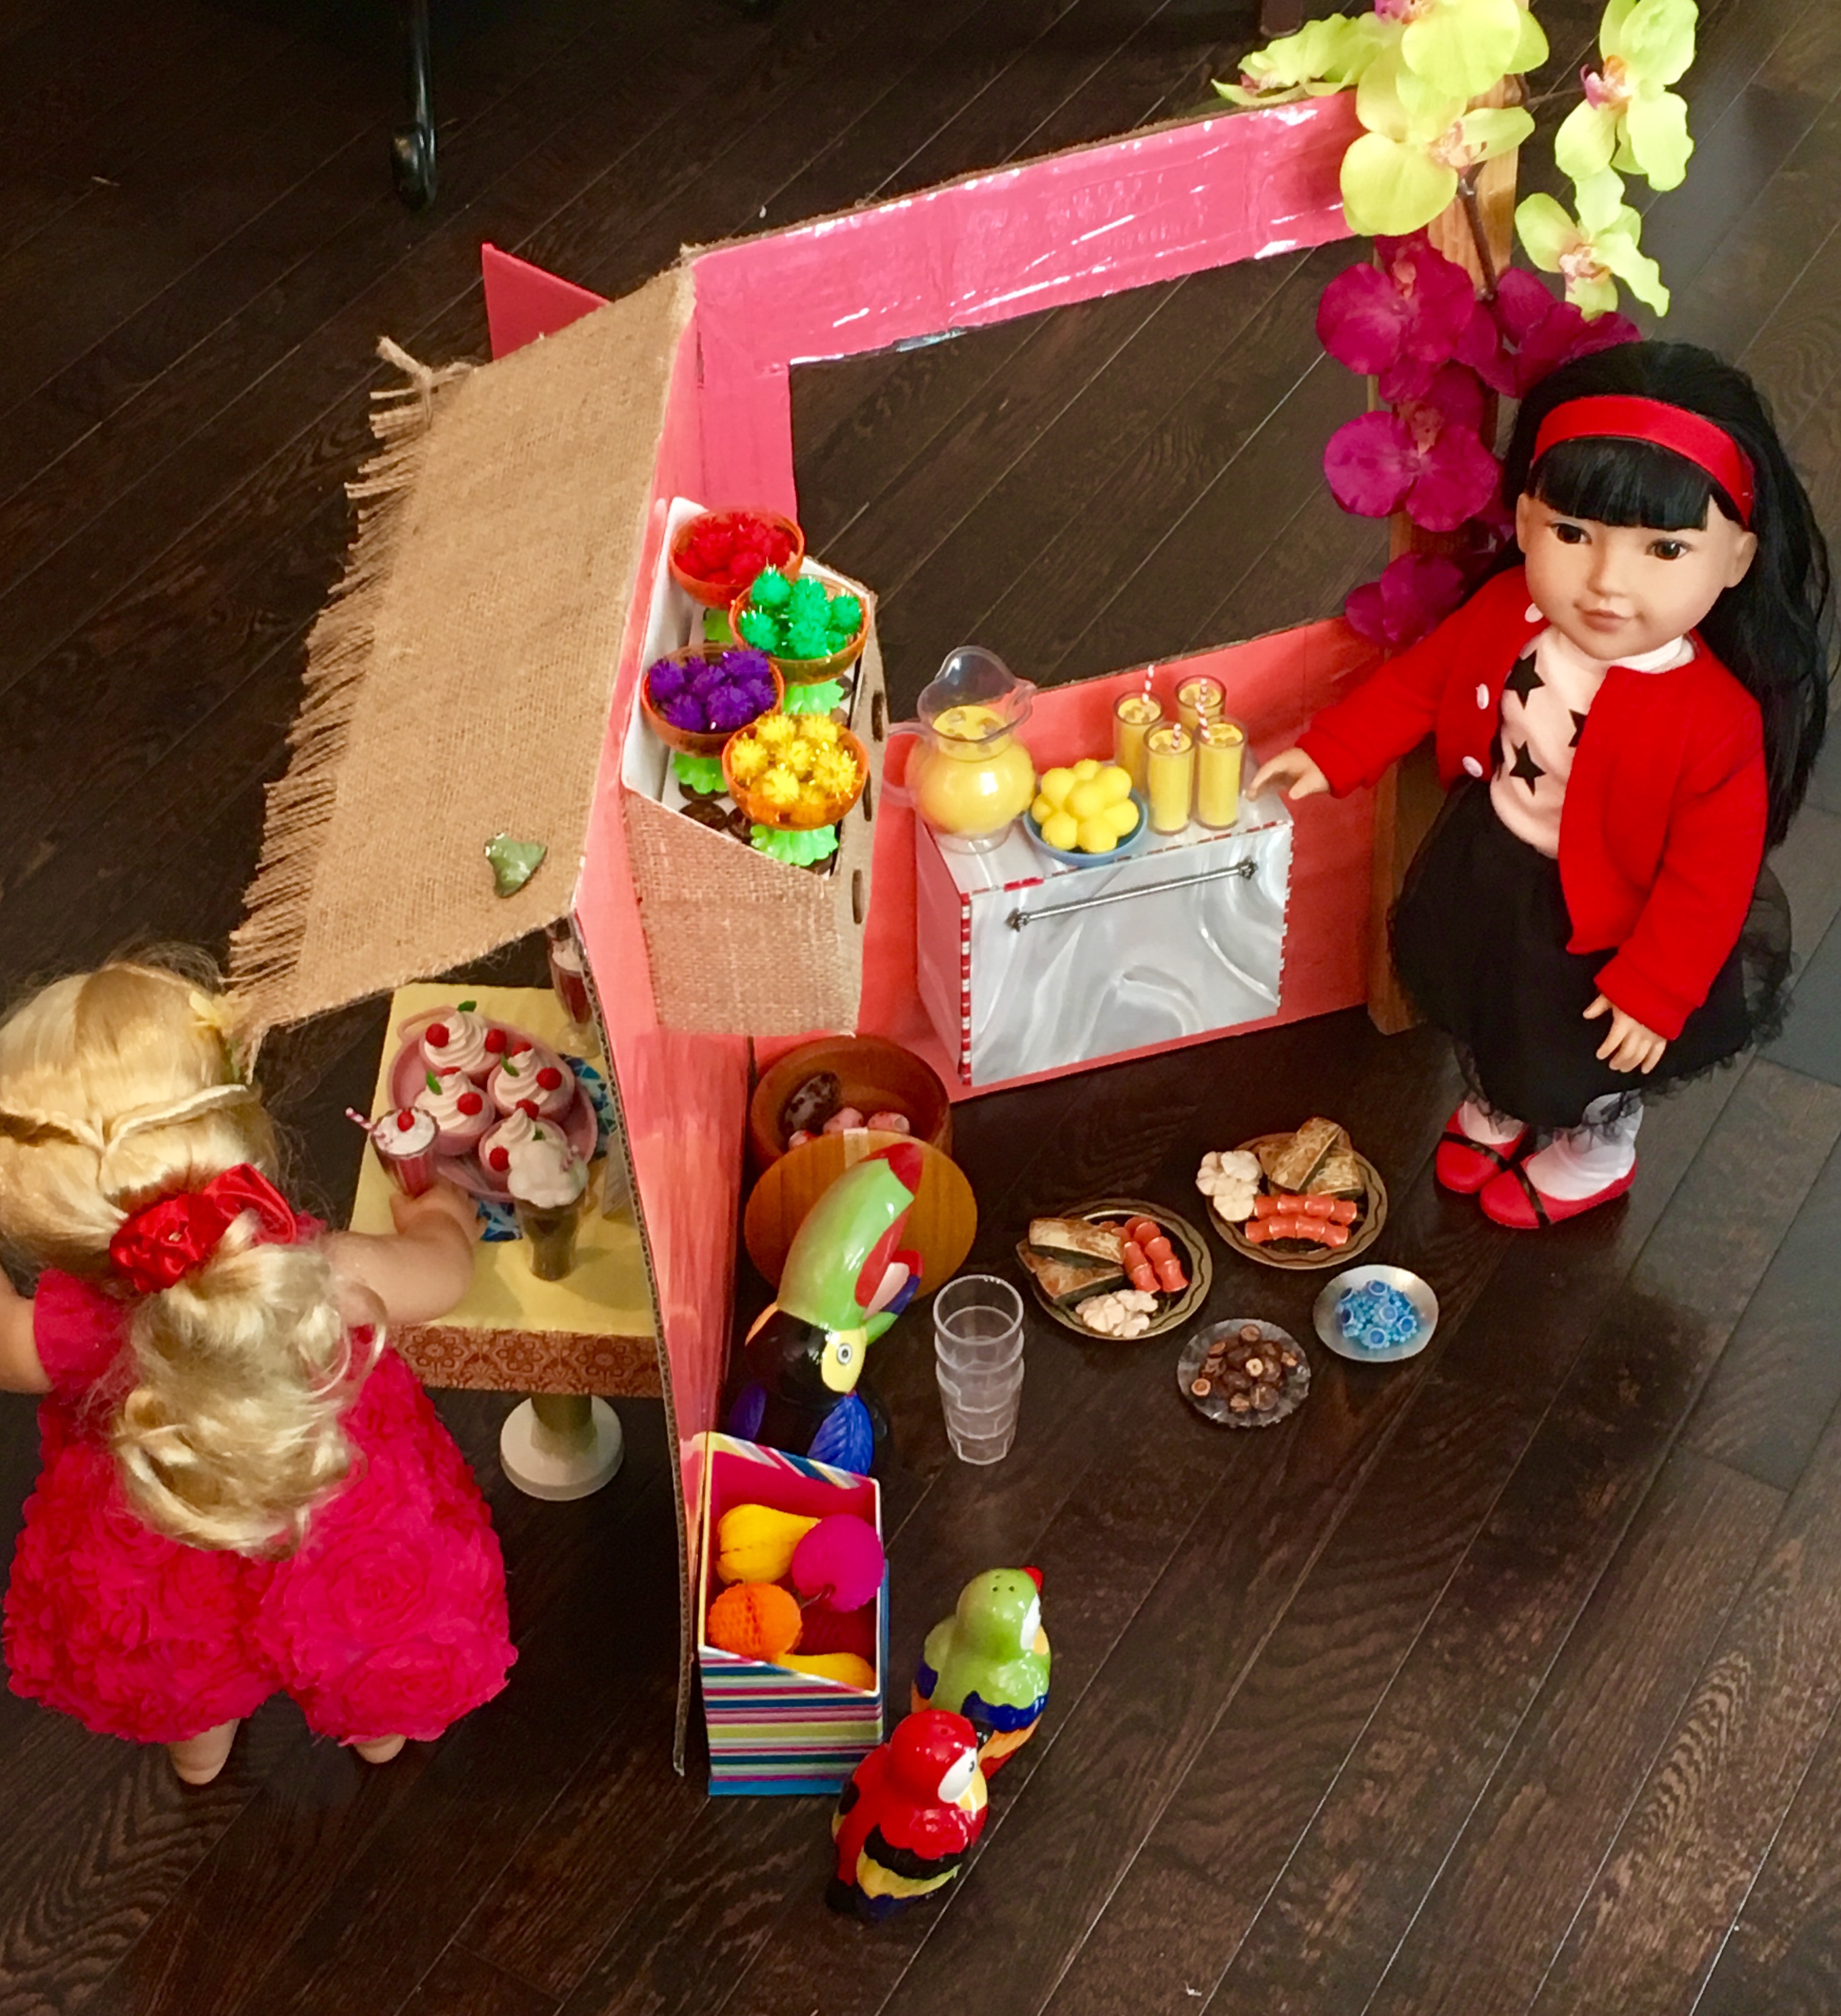
Here is a bird’s eye view. Lots of fun!!
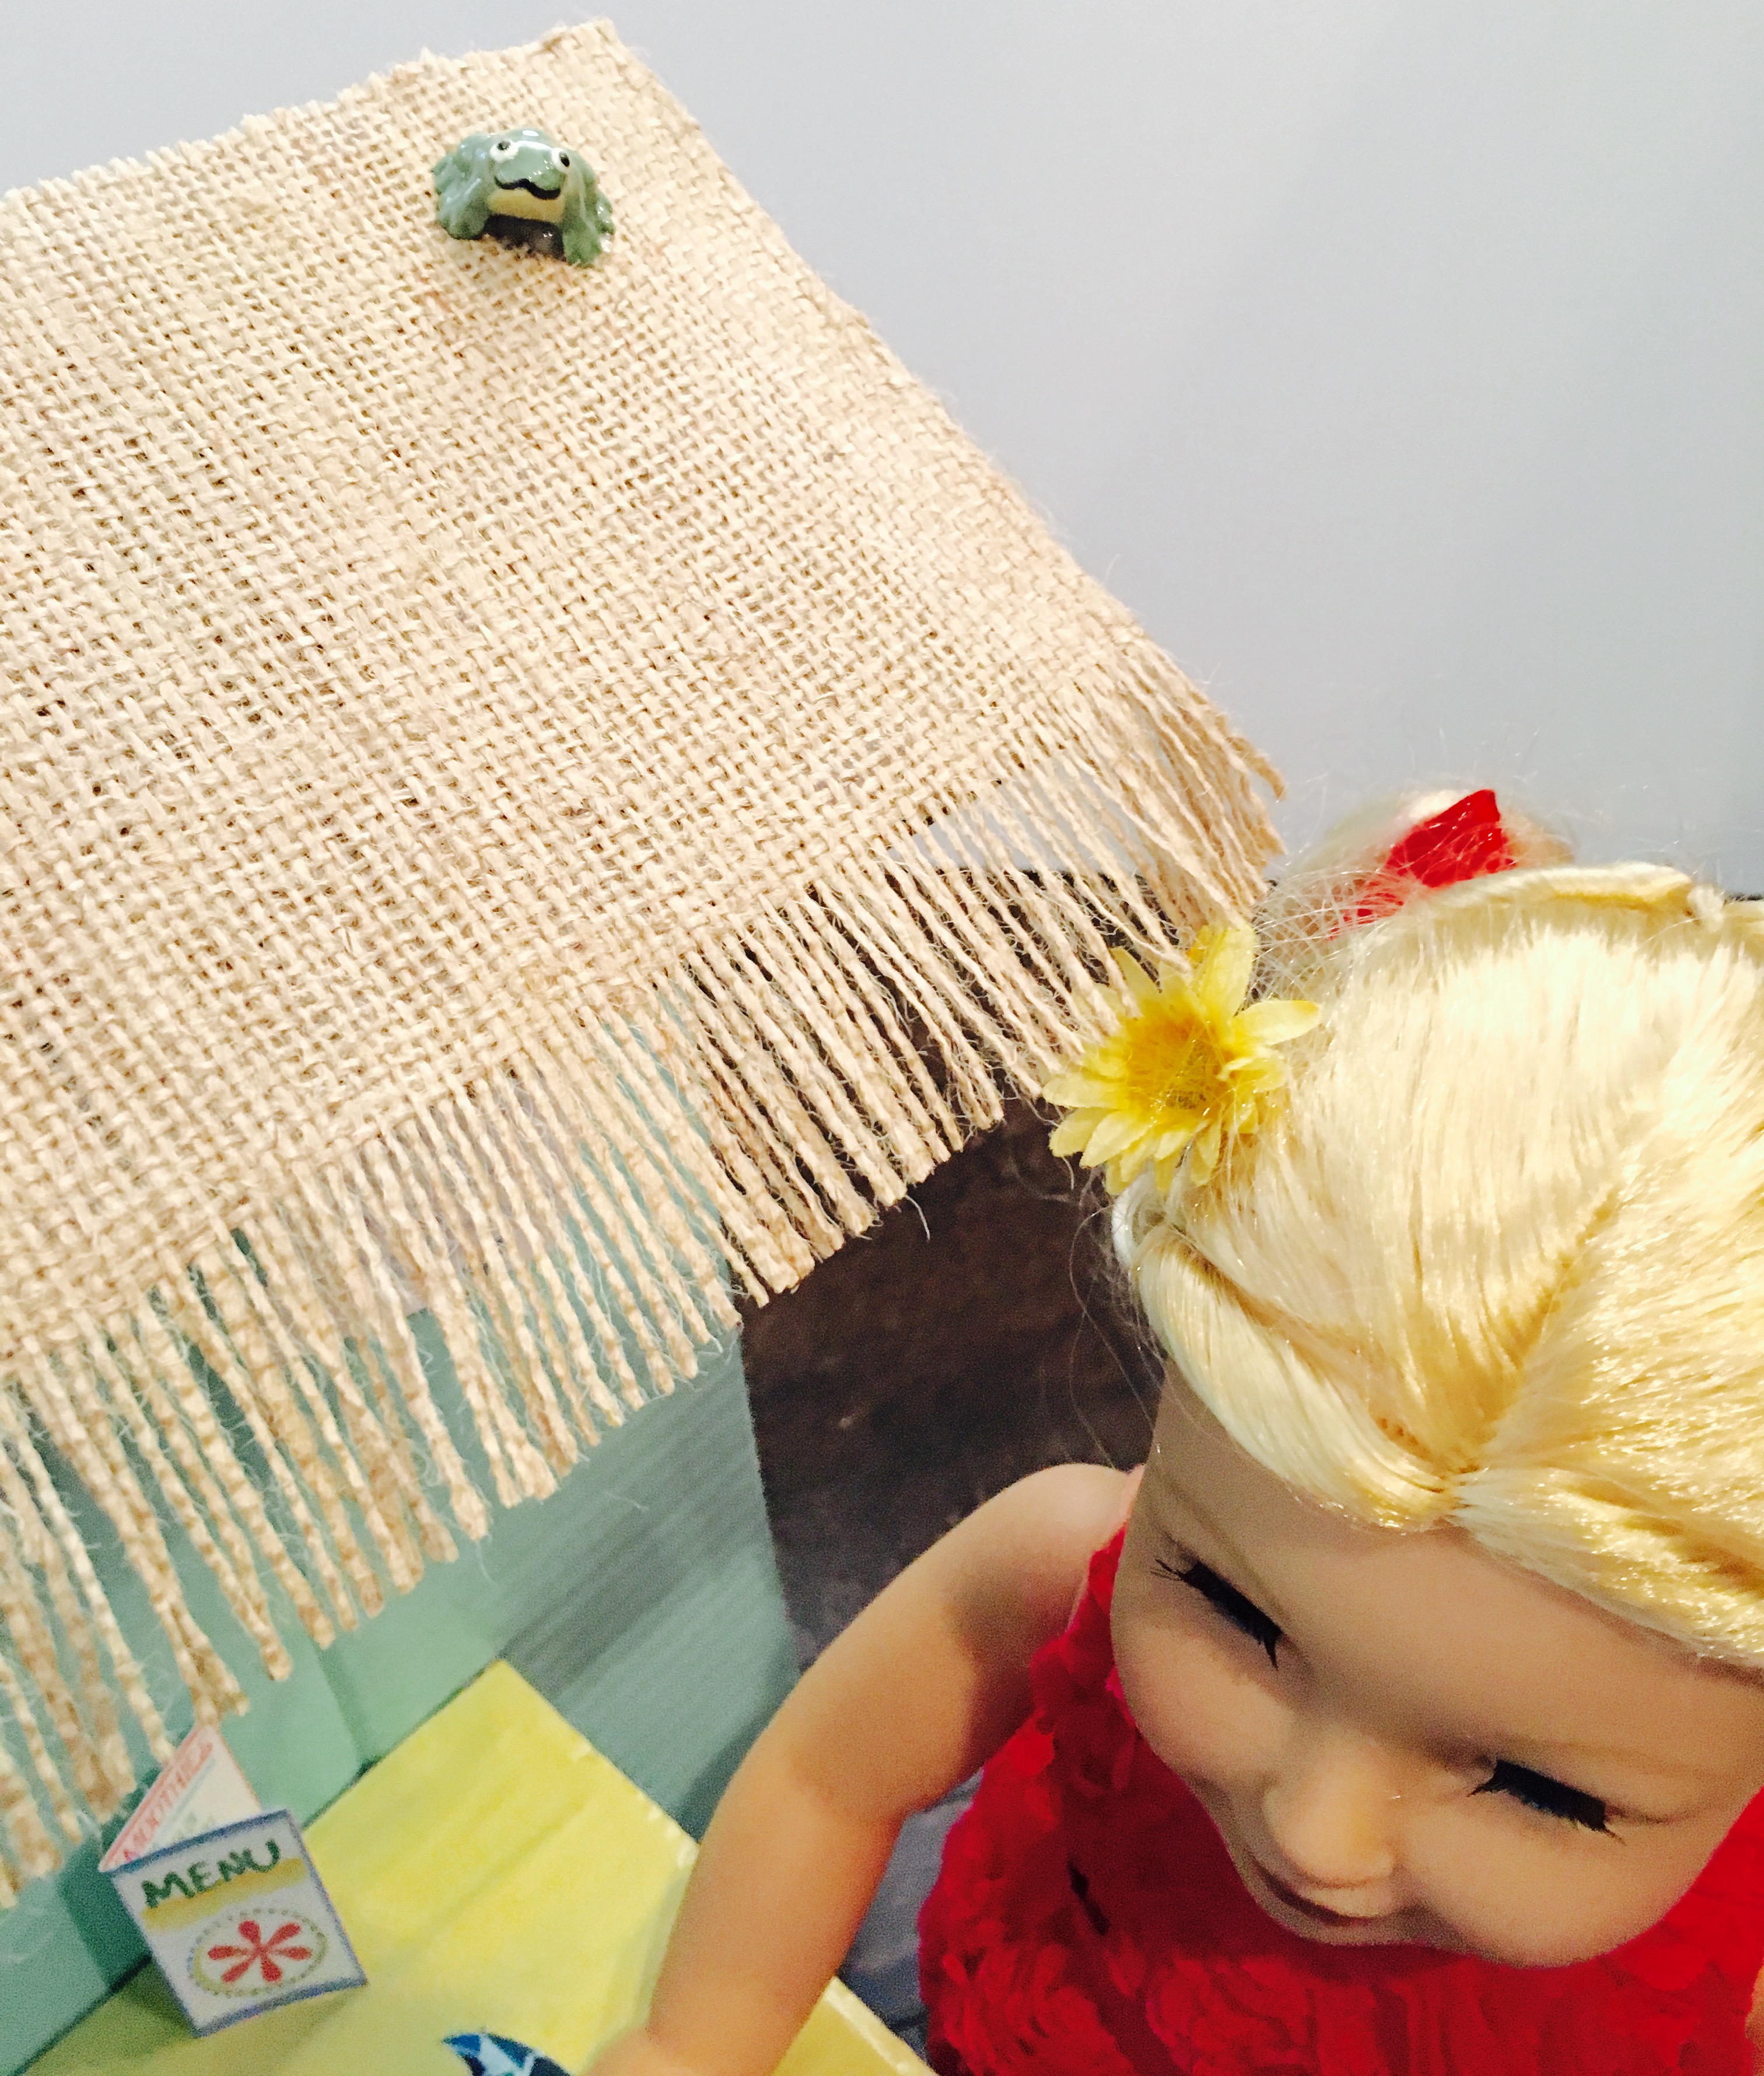
Can you spot the little tree frog who popped in for a visit? hee hee! 🙂

MUY BUENO!!
I hope you enjoyed!


WHOA! *applauds* so cute and realistic! I love how you made it all from recycled things!
LikeLike
Thank you! We love to repurpose and recycle! 🙂
LikeLiked by 1 person
Could you please tell me how you made or where you got the little papayas?
LikeLiked by 1 person
Hi! I used pink ceramic beads, yellow fake flower buds (I just clipped them off of the sprigs of fake orchids that I had) and other jewelry knick knacks for most of the “exotic fruits”. We used pretty much anything that we had on hand! 🙂 Thanks for asking!
LikeLike
Very cute!
LikeLiked by 1 person
Thank you! We had so much fun making it! 🙂
LikeLike
heeheeeheee, so cute!!
LikeLiked by 1 person