

Hello all! We are back into the swing of things after the New Year, and we are excited to see what 2016 brings!
To celebrate the new year, here is a cool little tutorial that I dreamed up for everybody. I gave a cute little egg chair for 18″ dolls to my daughter for Christmas, and I thought that you would all like to know how to make one too.
If you don’t recognize it, I got the idea from the American Girl Julie. She is a free spirited historical doll from the 1970’s who has a really fun, hippie style. When my daughter saw her line, she was instantly in love. Julie’s egg chair has been a coveted favourite for quite some time ever since, so at long last, here it is!


The original is wired for speakers, but since our dolls can’t actually hear anything, we figured that it didn’t matter if ours didn’t have sound.
Here are a few pics of the overall process:


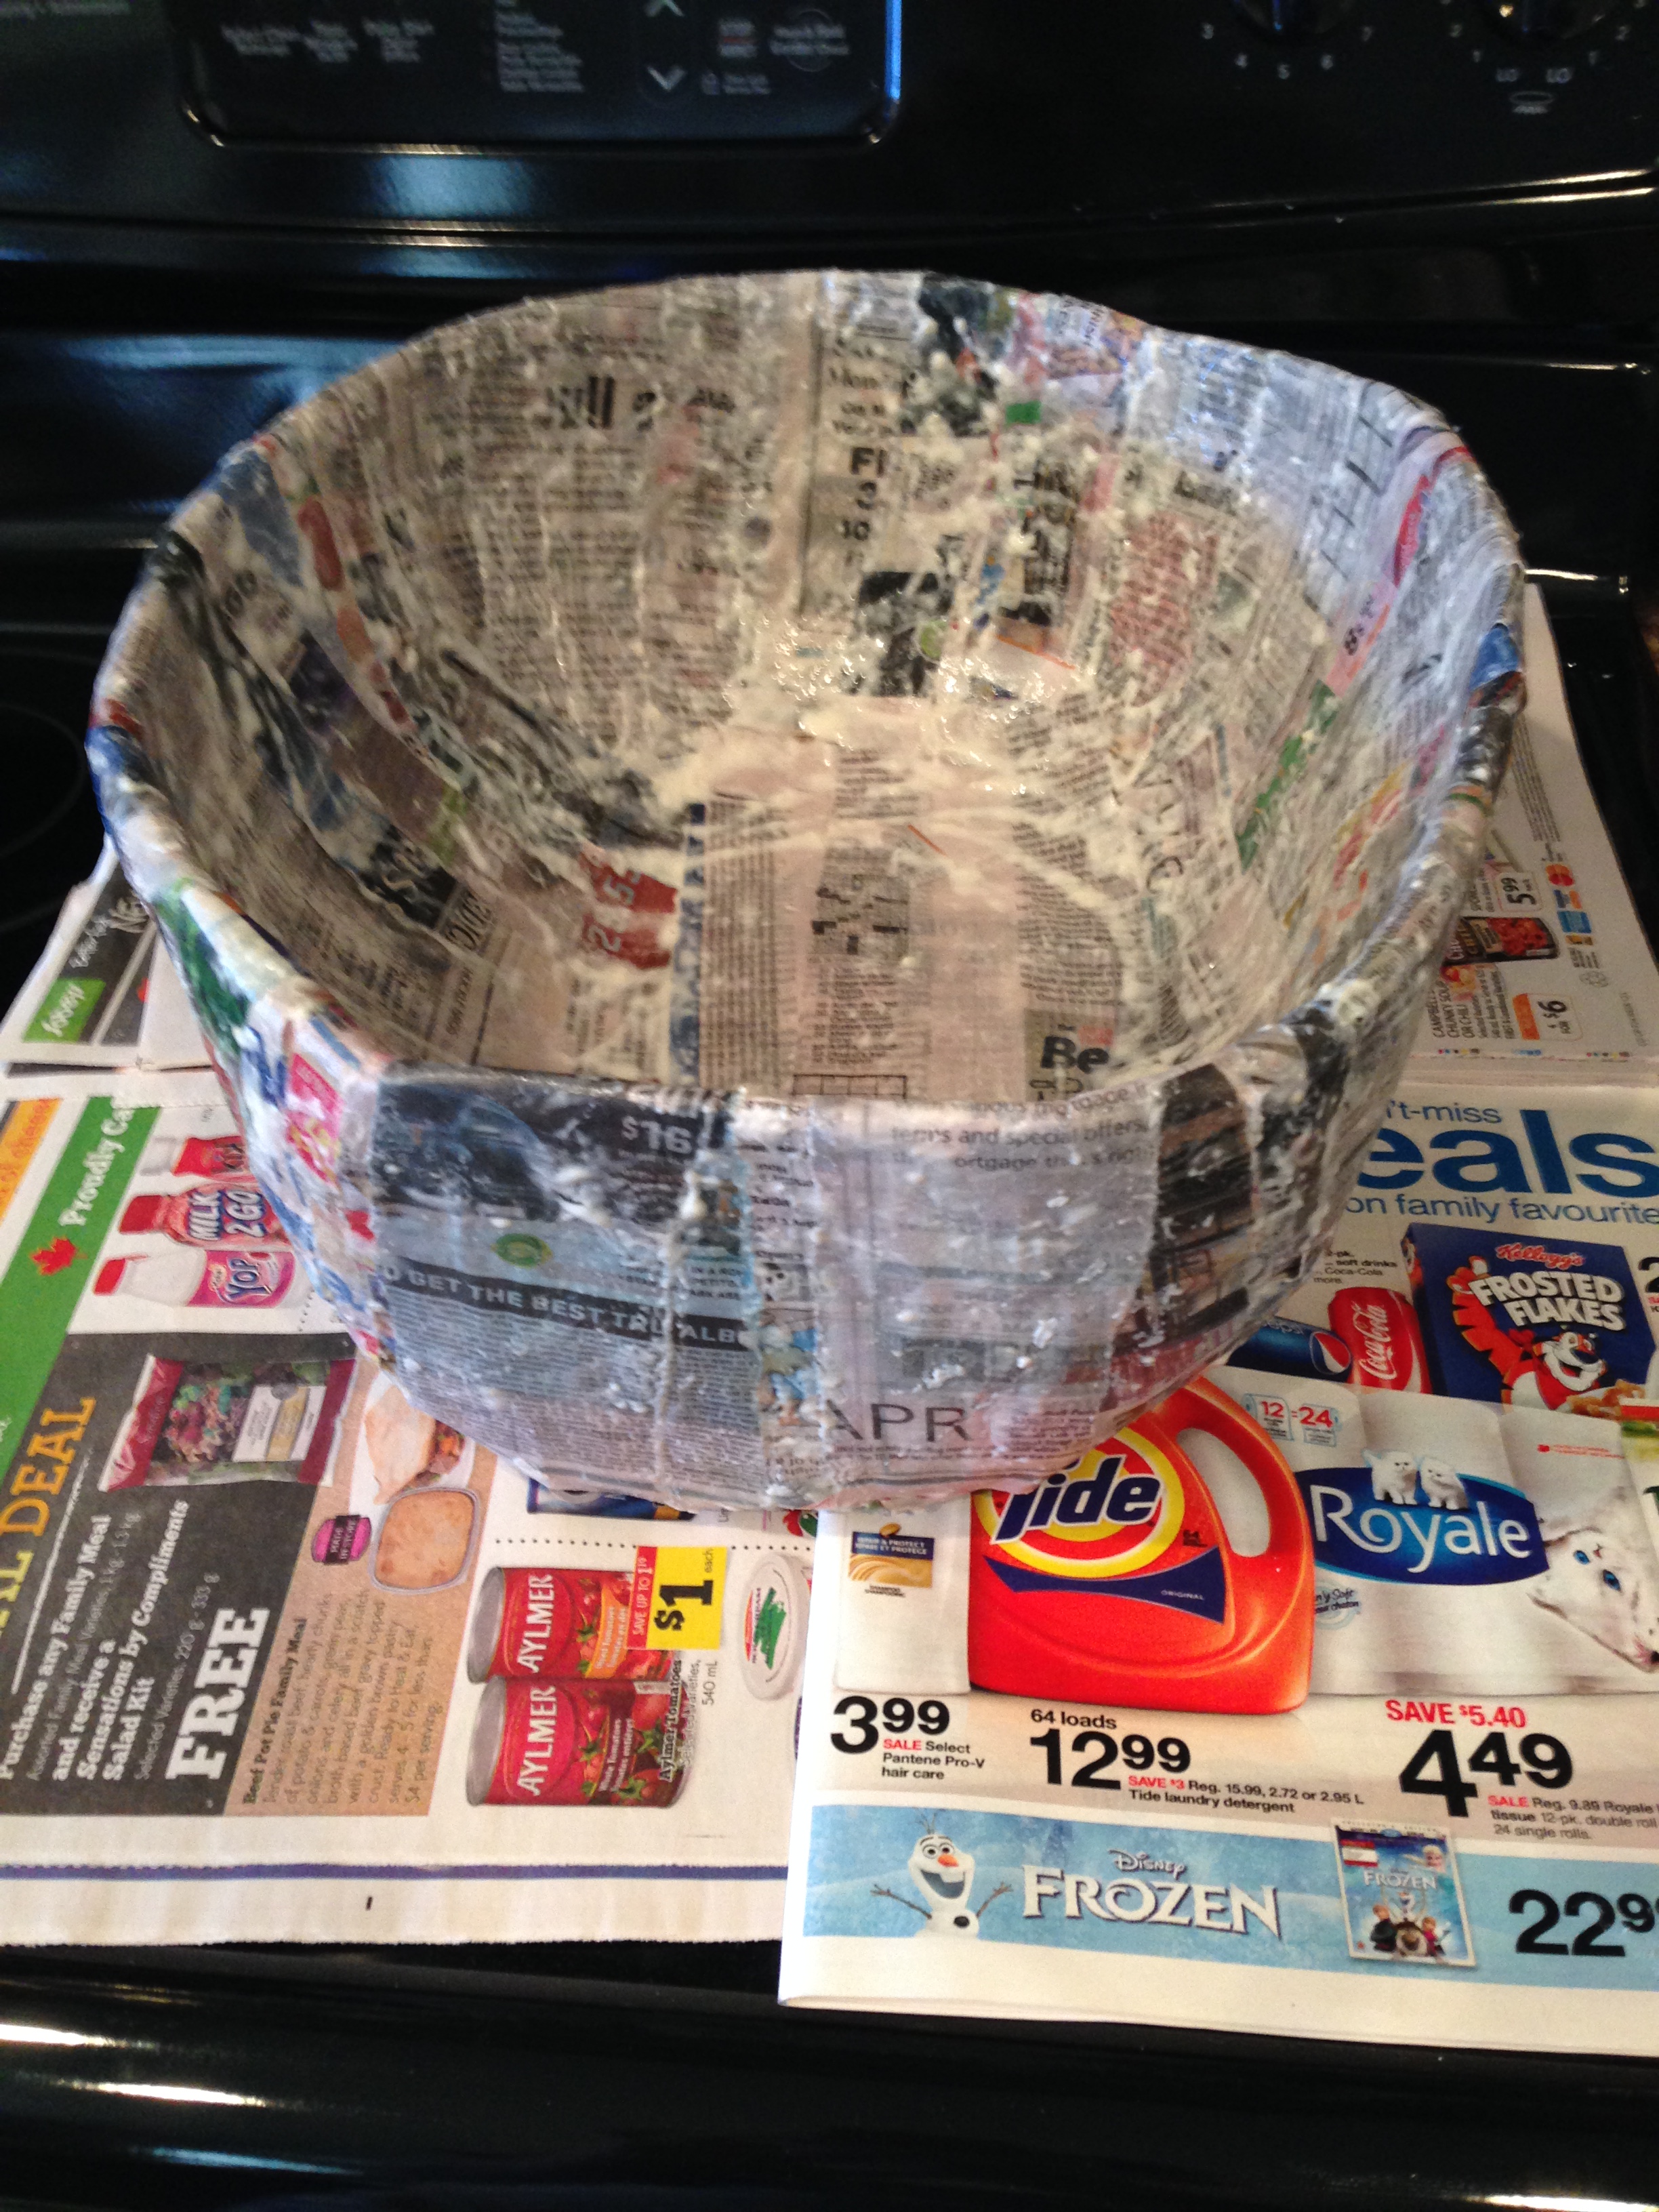
I started out with a clay pot. I have seen people use balloons to make the egg chair, but I didn’t have a balloon that was big enough. Instead, I used the pot to shape the top as well as the bottom of the tin foil into an egg shape.
It worked pretty well if I do say so myself, although I was winging it for the most part. At this point, I had no idea how the chair was going to turn out. Just be sure to measure to make sure that your doll fits in there.
Next, I used the papier mache technique to cover the entire thing. I did about three layers for this, so it is best to leave it to dry for a couple of days after.


The chair was beginning to take shape! Once it was dry, it was time to paint. After priming, I chose a high gloss white paint. A couple of coats are all that’s needed.

By now, I was starting to decide what kind of base I should put on the chair. I used a plastic child’s plate, and the plastic lid from a large peanut butter jar. I wasn’t ready to attach the base yet though. First, I had to add some 1970’s pizzazz!


Aren’t these the coolest stickers ever?! And they were absolutely perfect for my chair! I modpodged them on there so they wouldn’t come off, and then I used a high glossy varnish finish on the whole thing. The result was awesome, just like hard plastic!
I still hadn’t attached the base of the chair by this point. It is just balancing on there for the picture. I had to prime it and paint it with metallic silver paint first. I just used some silver spray paint I had on hand. It wasn’t as chrome looking as I would have liked, but it did the trick.
Last, I attached the base to the bottom of the chair with a heavy duty epoxy glue. That baby isn’t coming off any time soon.
I found some cute polka dotted orange fabric at Walmart in the $10 fabric bin that I thought was perfect for the chair. I lined the inside of the chair with cotton batting. Then I just hot glued the fabric inside.
I covered an empty margarine container with the same fabric for a matching footstool. I used a bit of cotton batting on top to give the upholstery more plush. Then I added a button for decoration, and Voila!
How comfy!

Queen for a day!
I hope you enjoyed!

Great job! So creative! Love it!
LikeLike
Thank you! 🙂 This chair is definitely a hit around here.
LikeLike