

It’s back to work and school for us so I am busy, busy but I promised a short tutorial on the bakery that we made for Christmas. I ended up making the bakery a bit bigger than the original, so I didn’t add the doors to the front. Those would have been some pretty heavy duty doors!
Luckily, my girl didn’t care much for doors since they would just have to be moved out of the way for play anyway, so it worked out. Without the doors, the basic construction that I used was pretty straightforward. I skipped out on a lot of the fancier details and tried to stick to something that just about anyone could build. I also just used some scrap plywood that I had on hand, but it can be purchased at any lumber store.
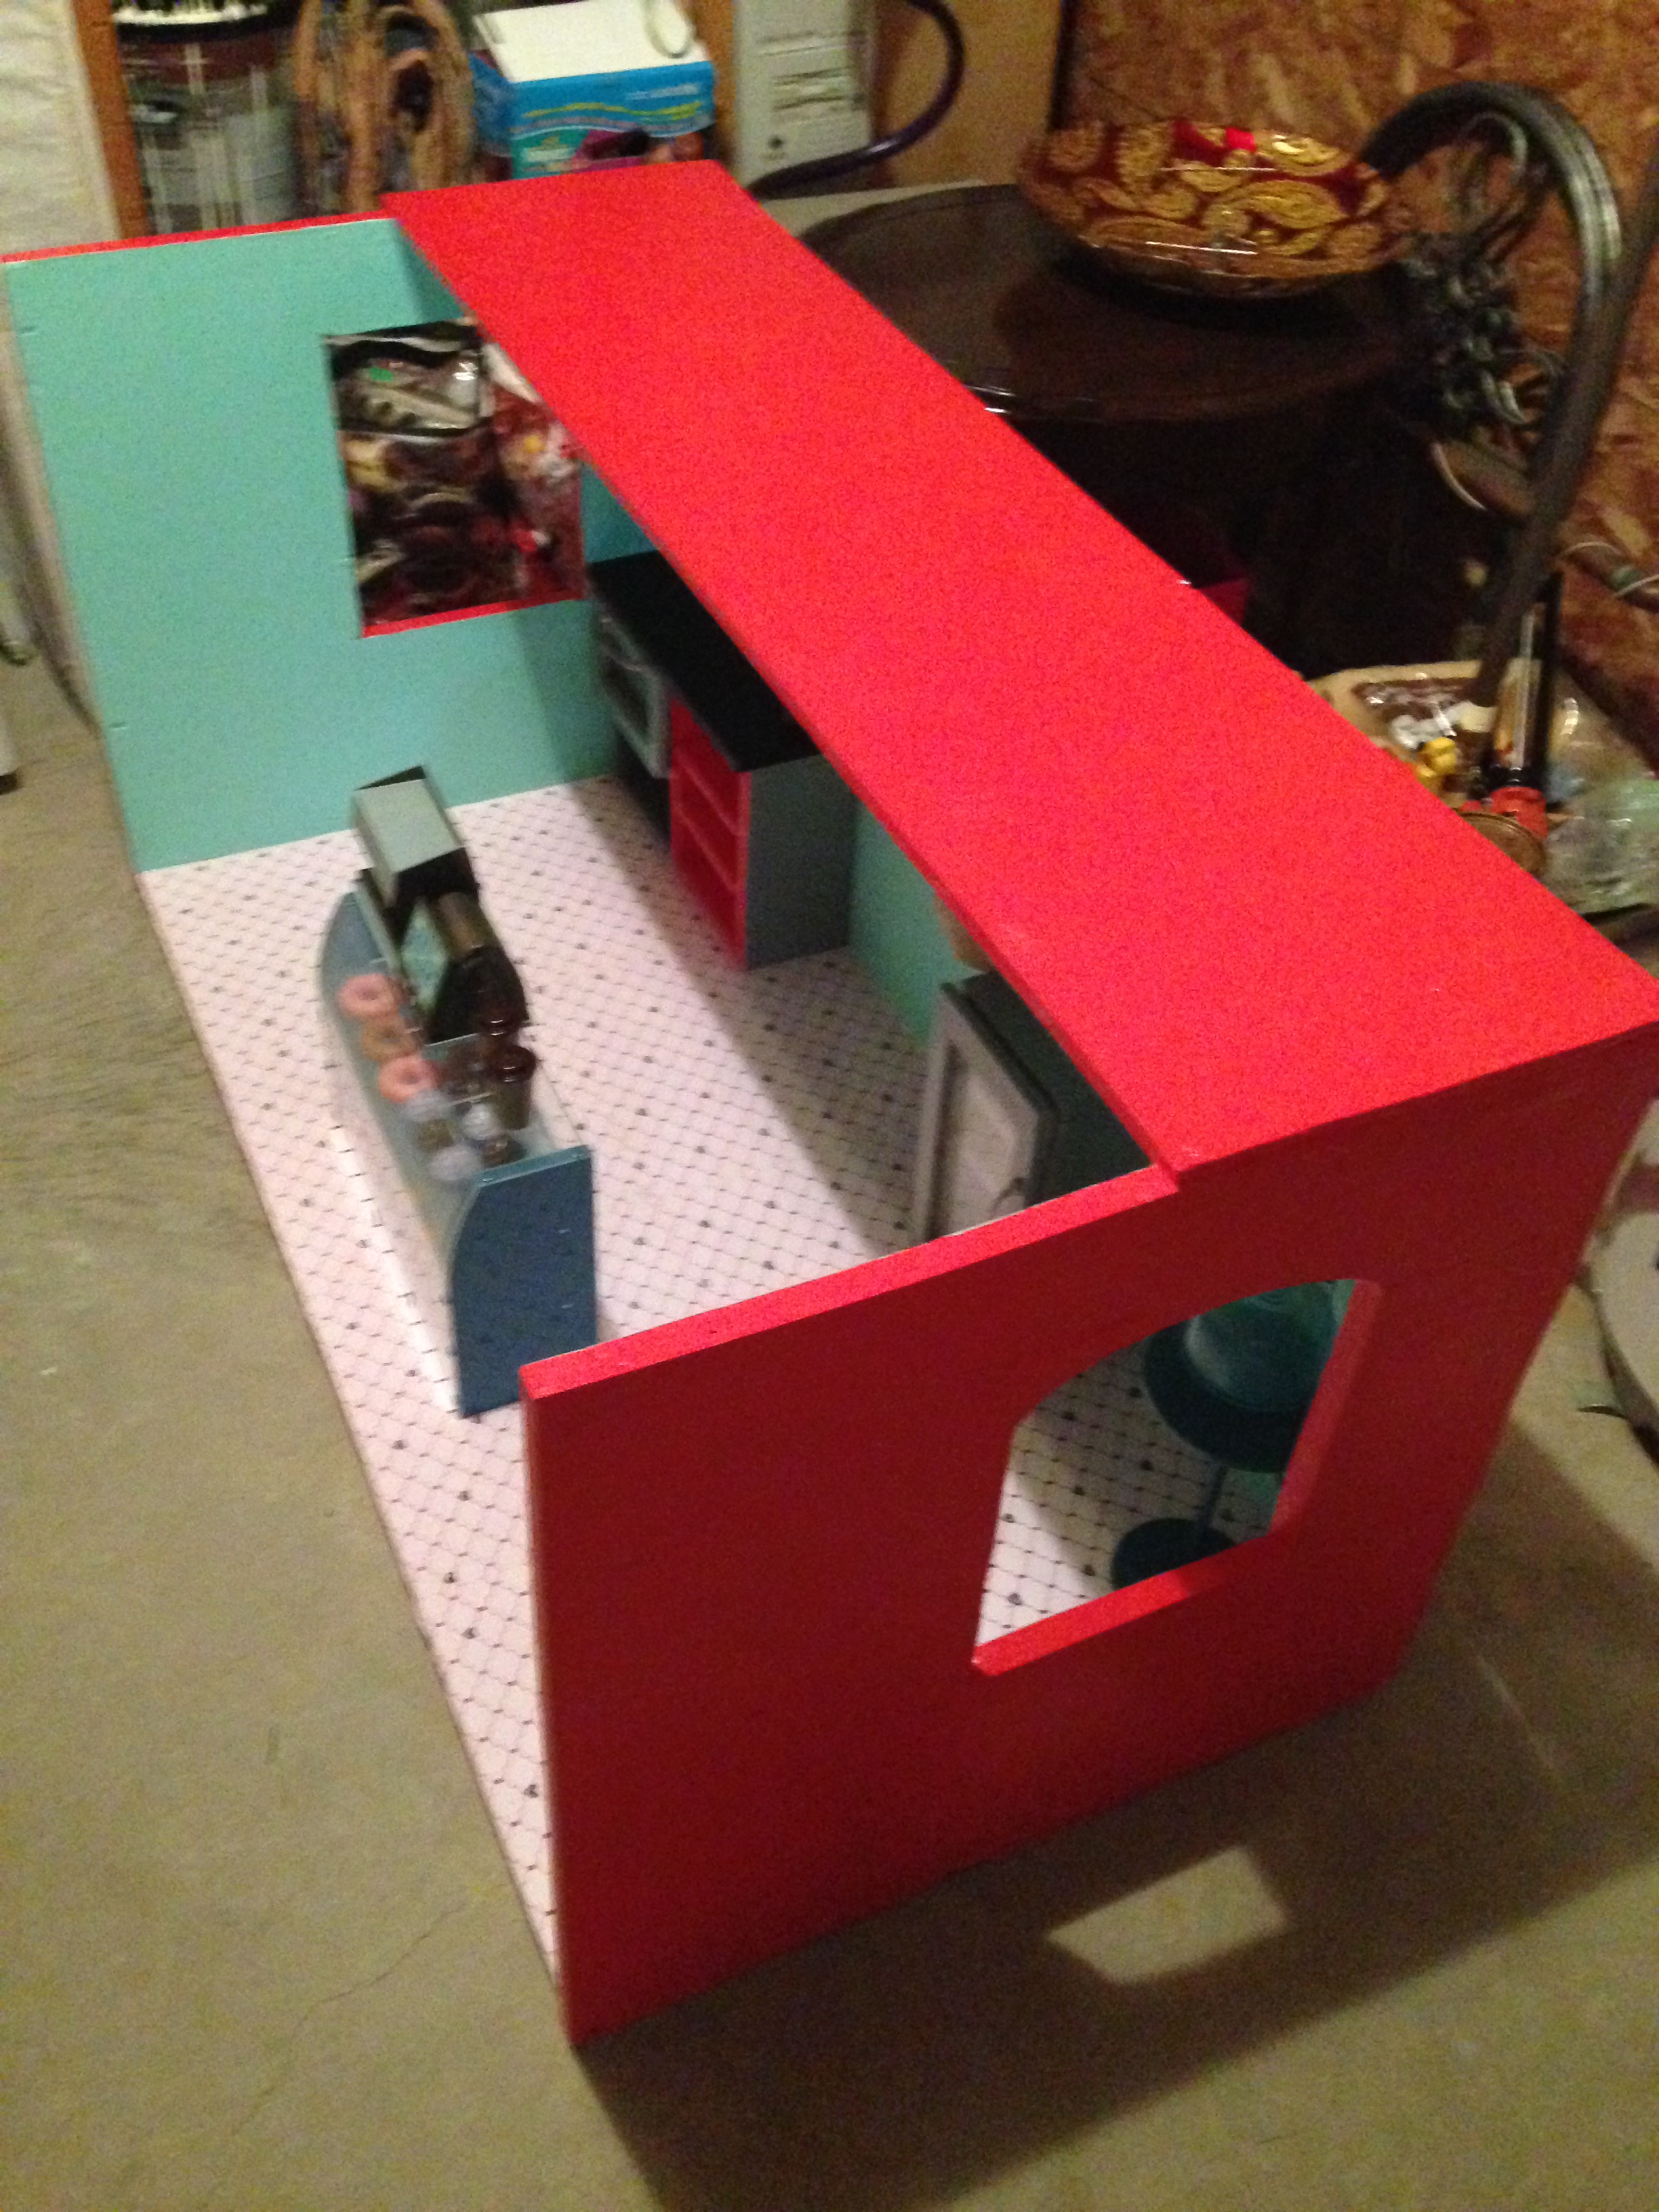
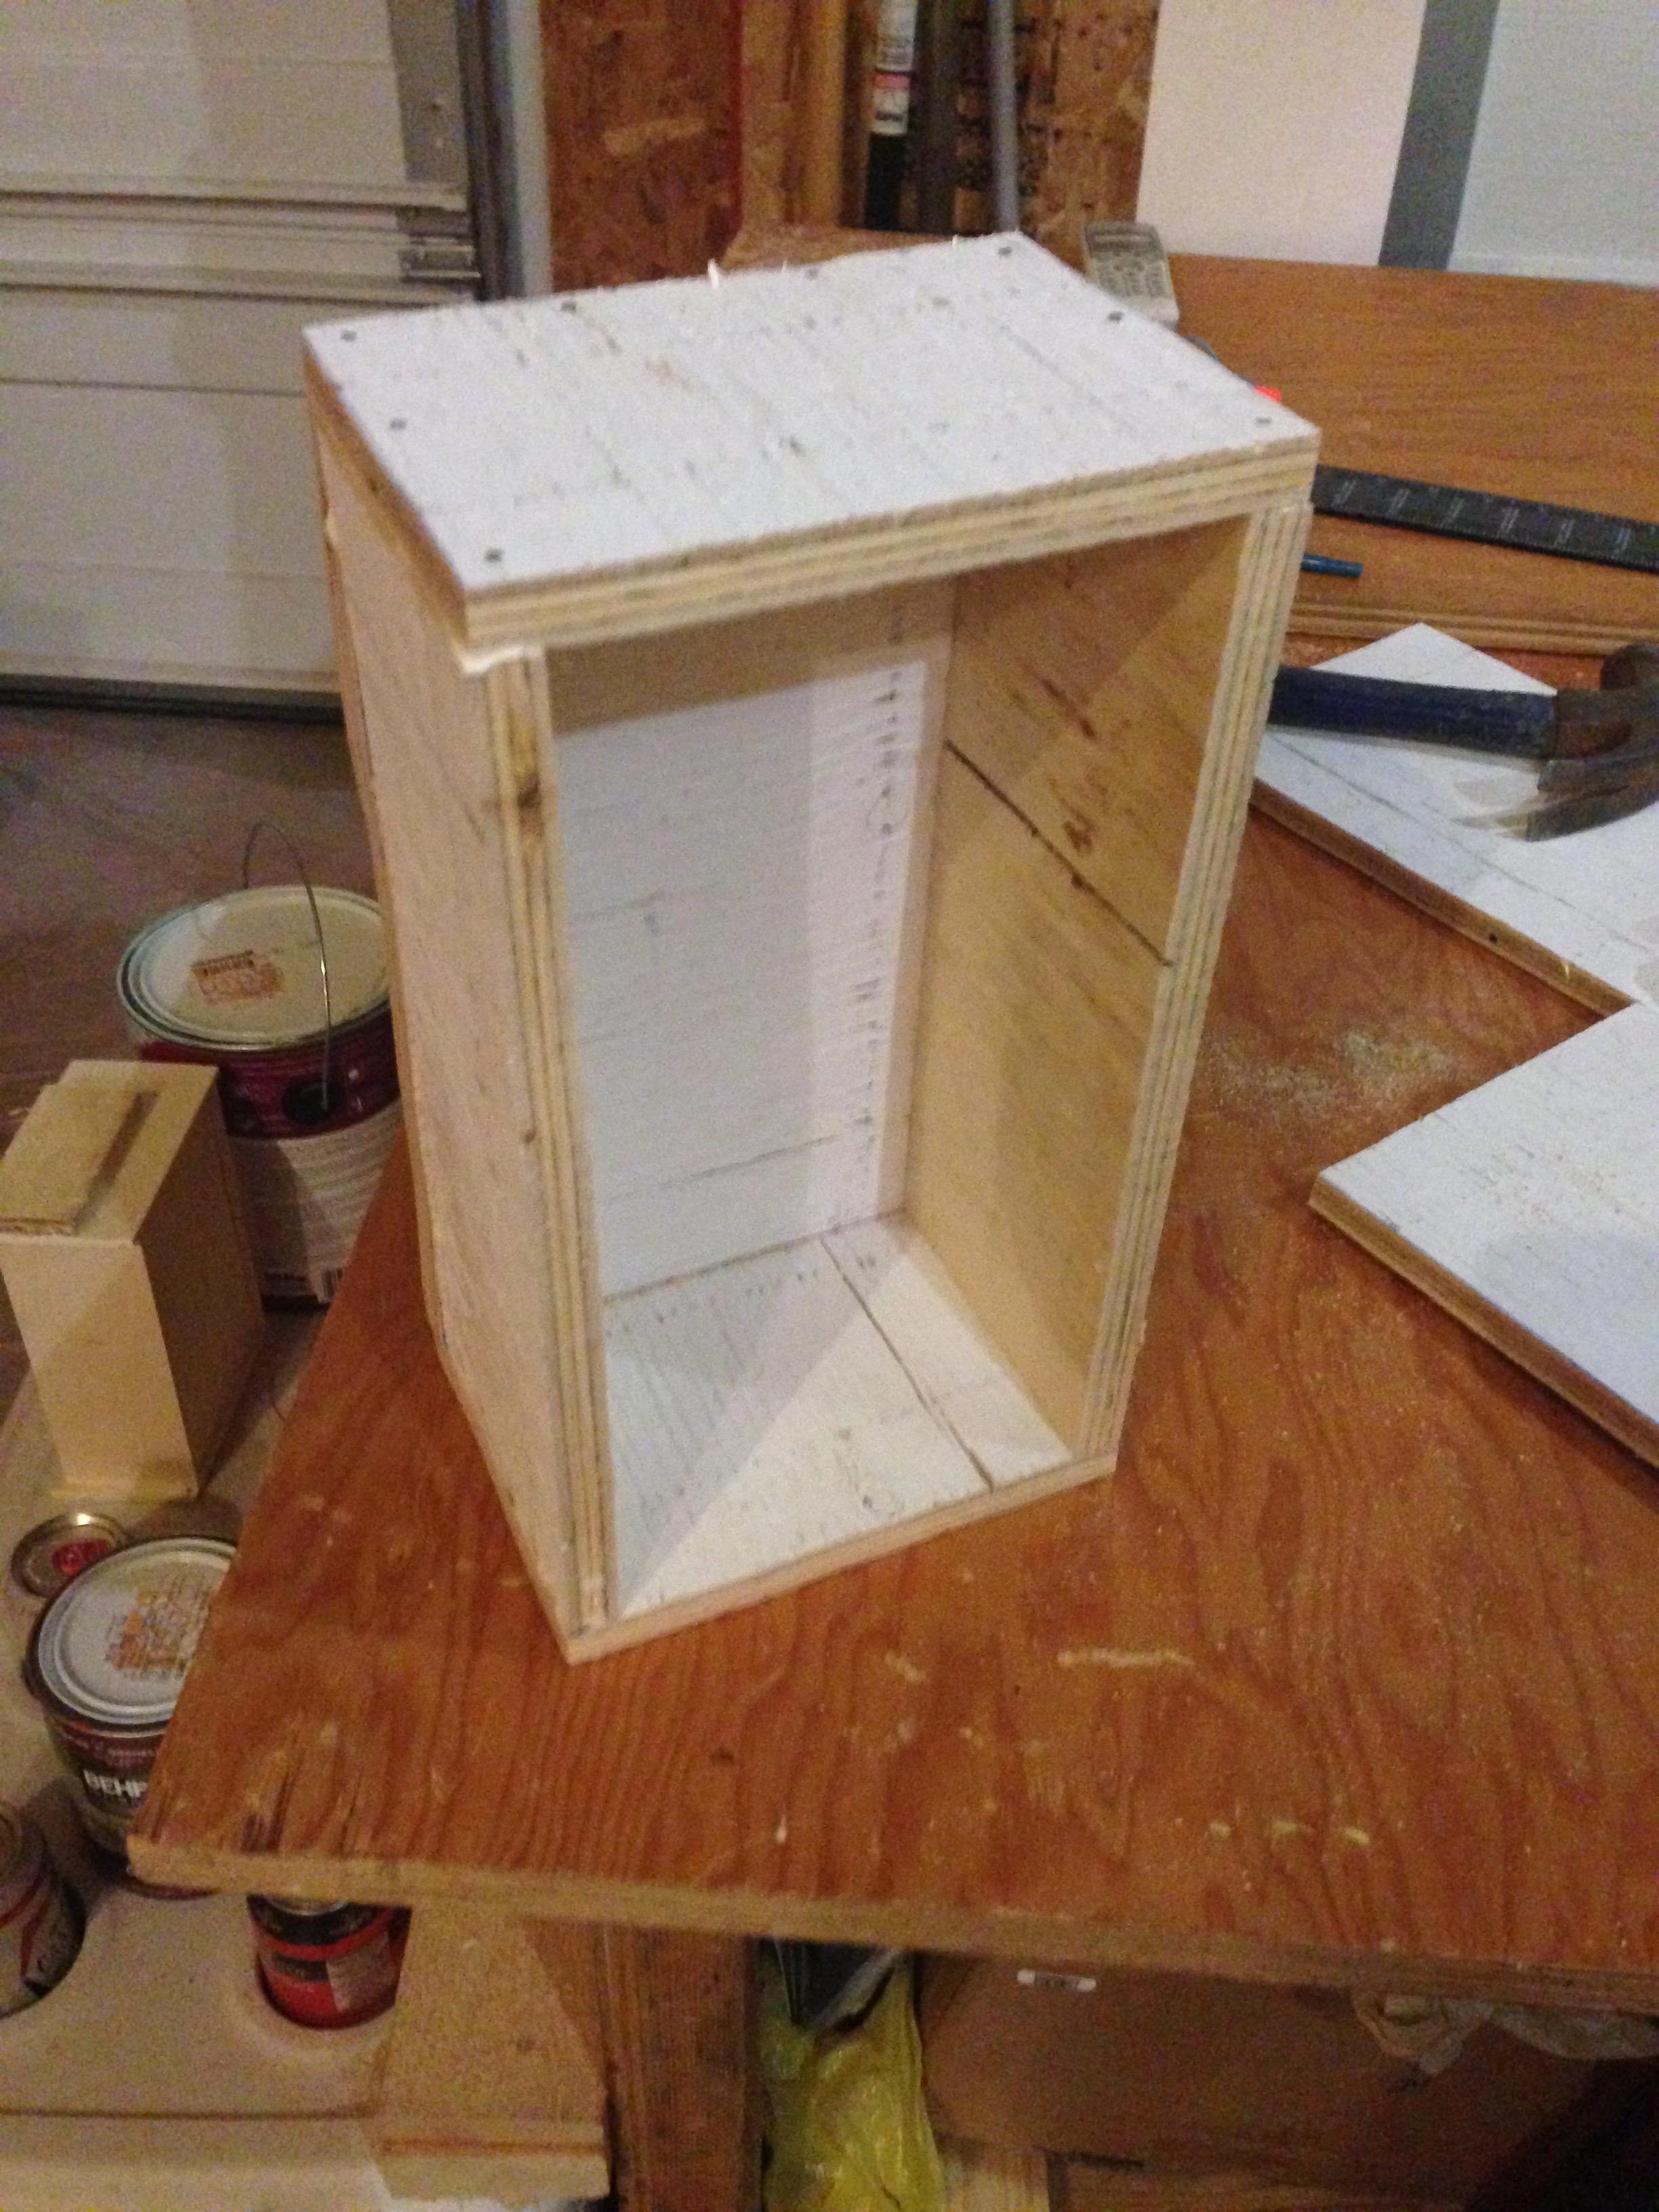
My measurements were quite simple. What I wanted was to build a basic room box. It turned out to be 2ft high X 4 ft long X 2 ft deep. I don’t know why I chose those measurements. Possibly because they are nice round numbers. Easy!
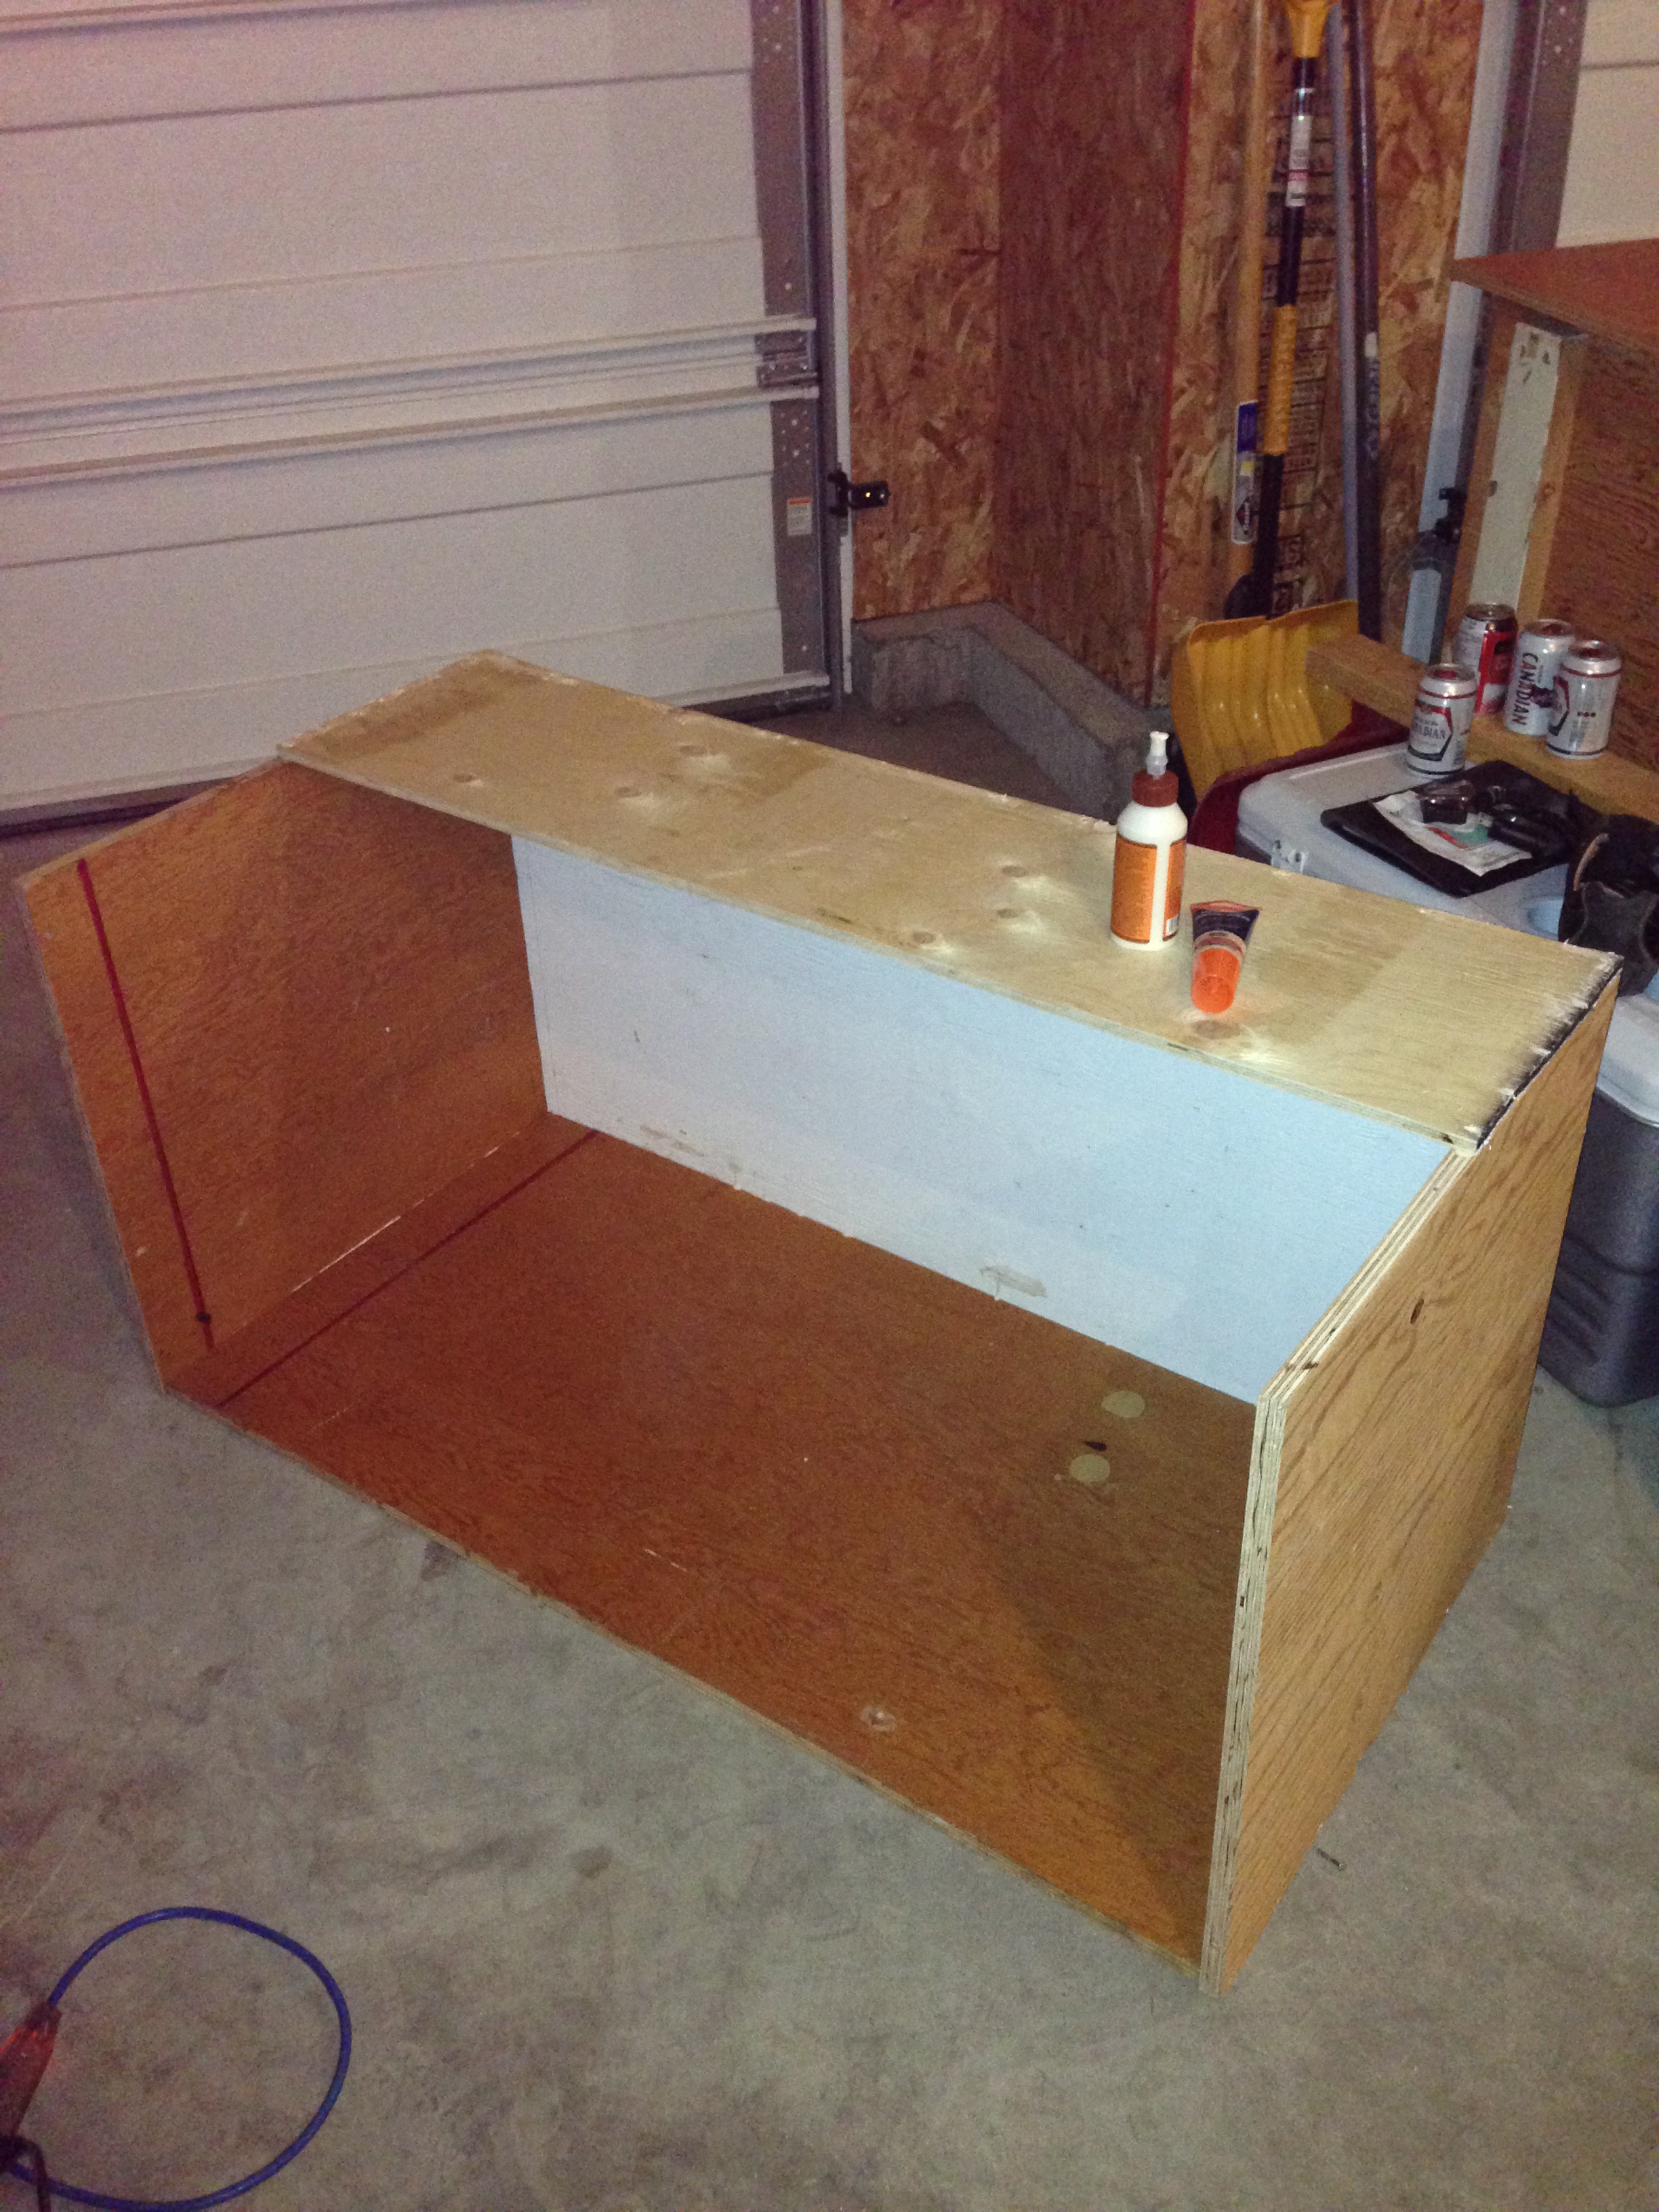
Here you can see the basic construction of the box. I only built a half roof in order to let in more light and to allow for more play within the structure. I don’t know about you, but my girl enjoys crawling right in there to play with her dollies.
After the main structure was built, it was time to add the details. First, I cut out the windows, one on either side.
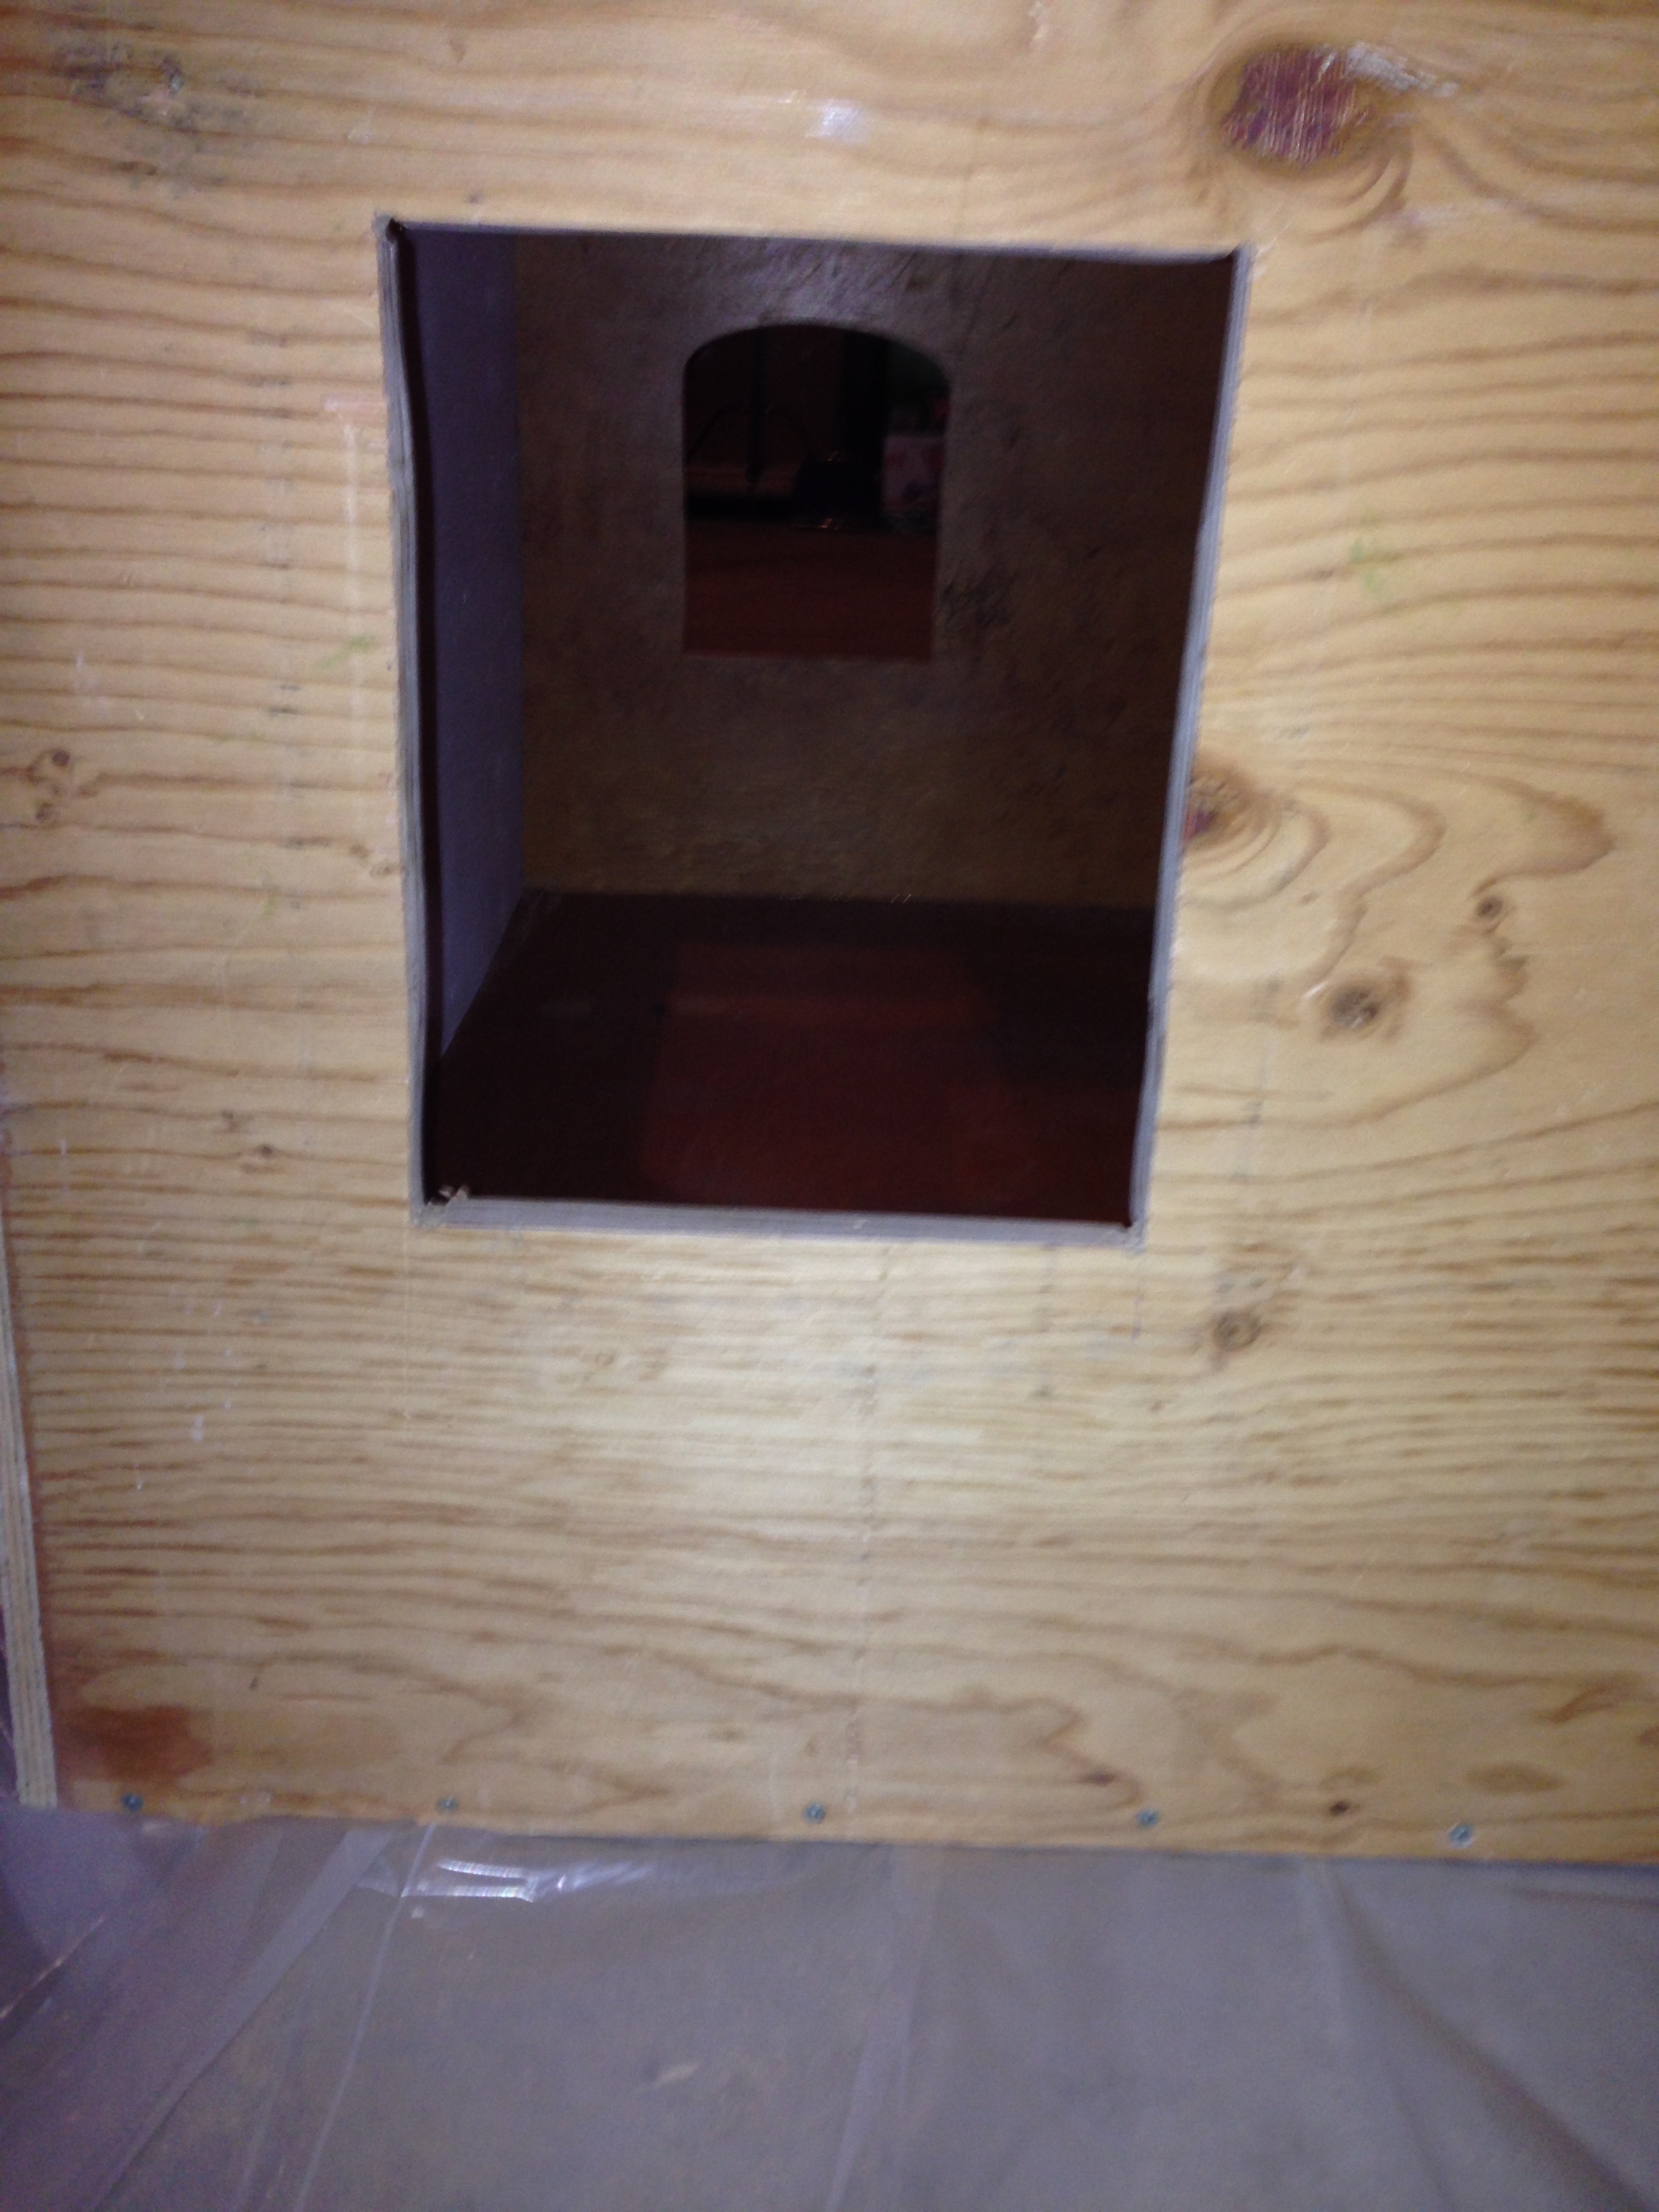
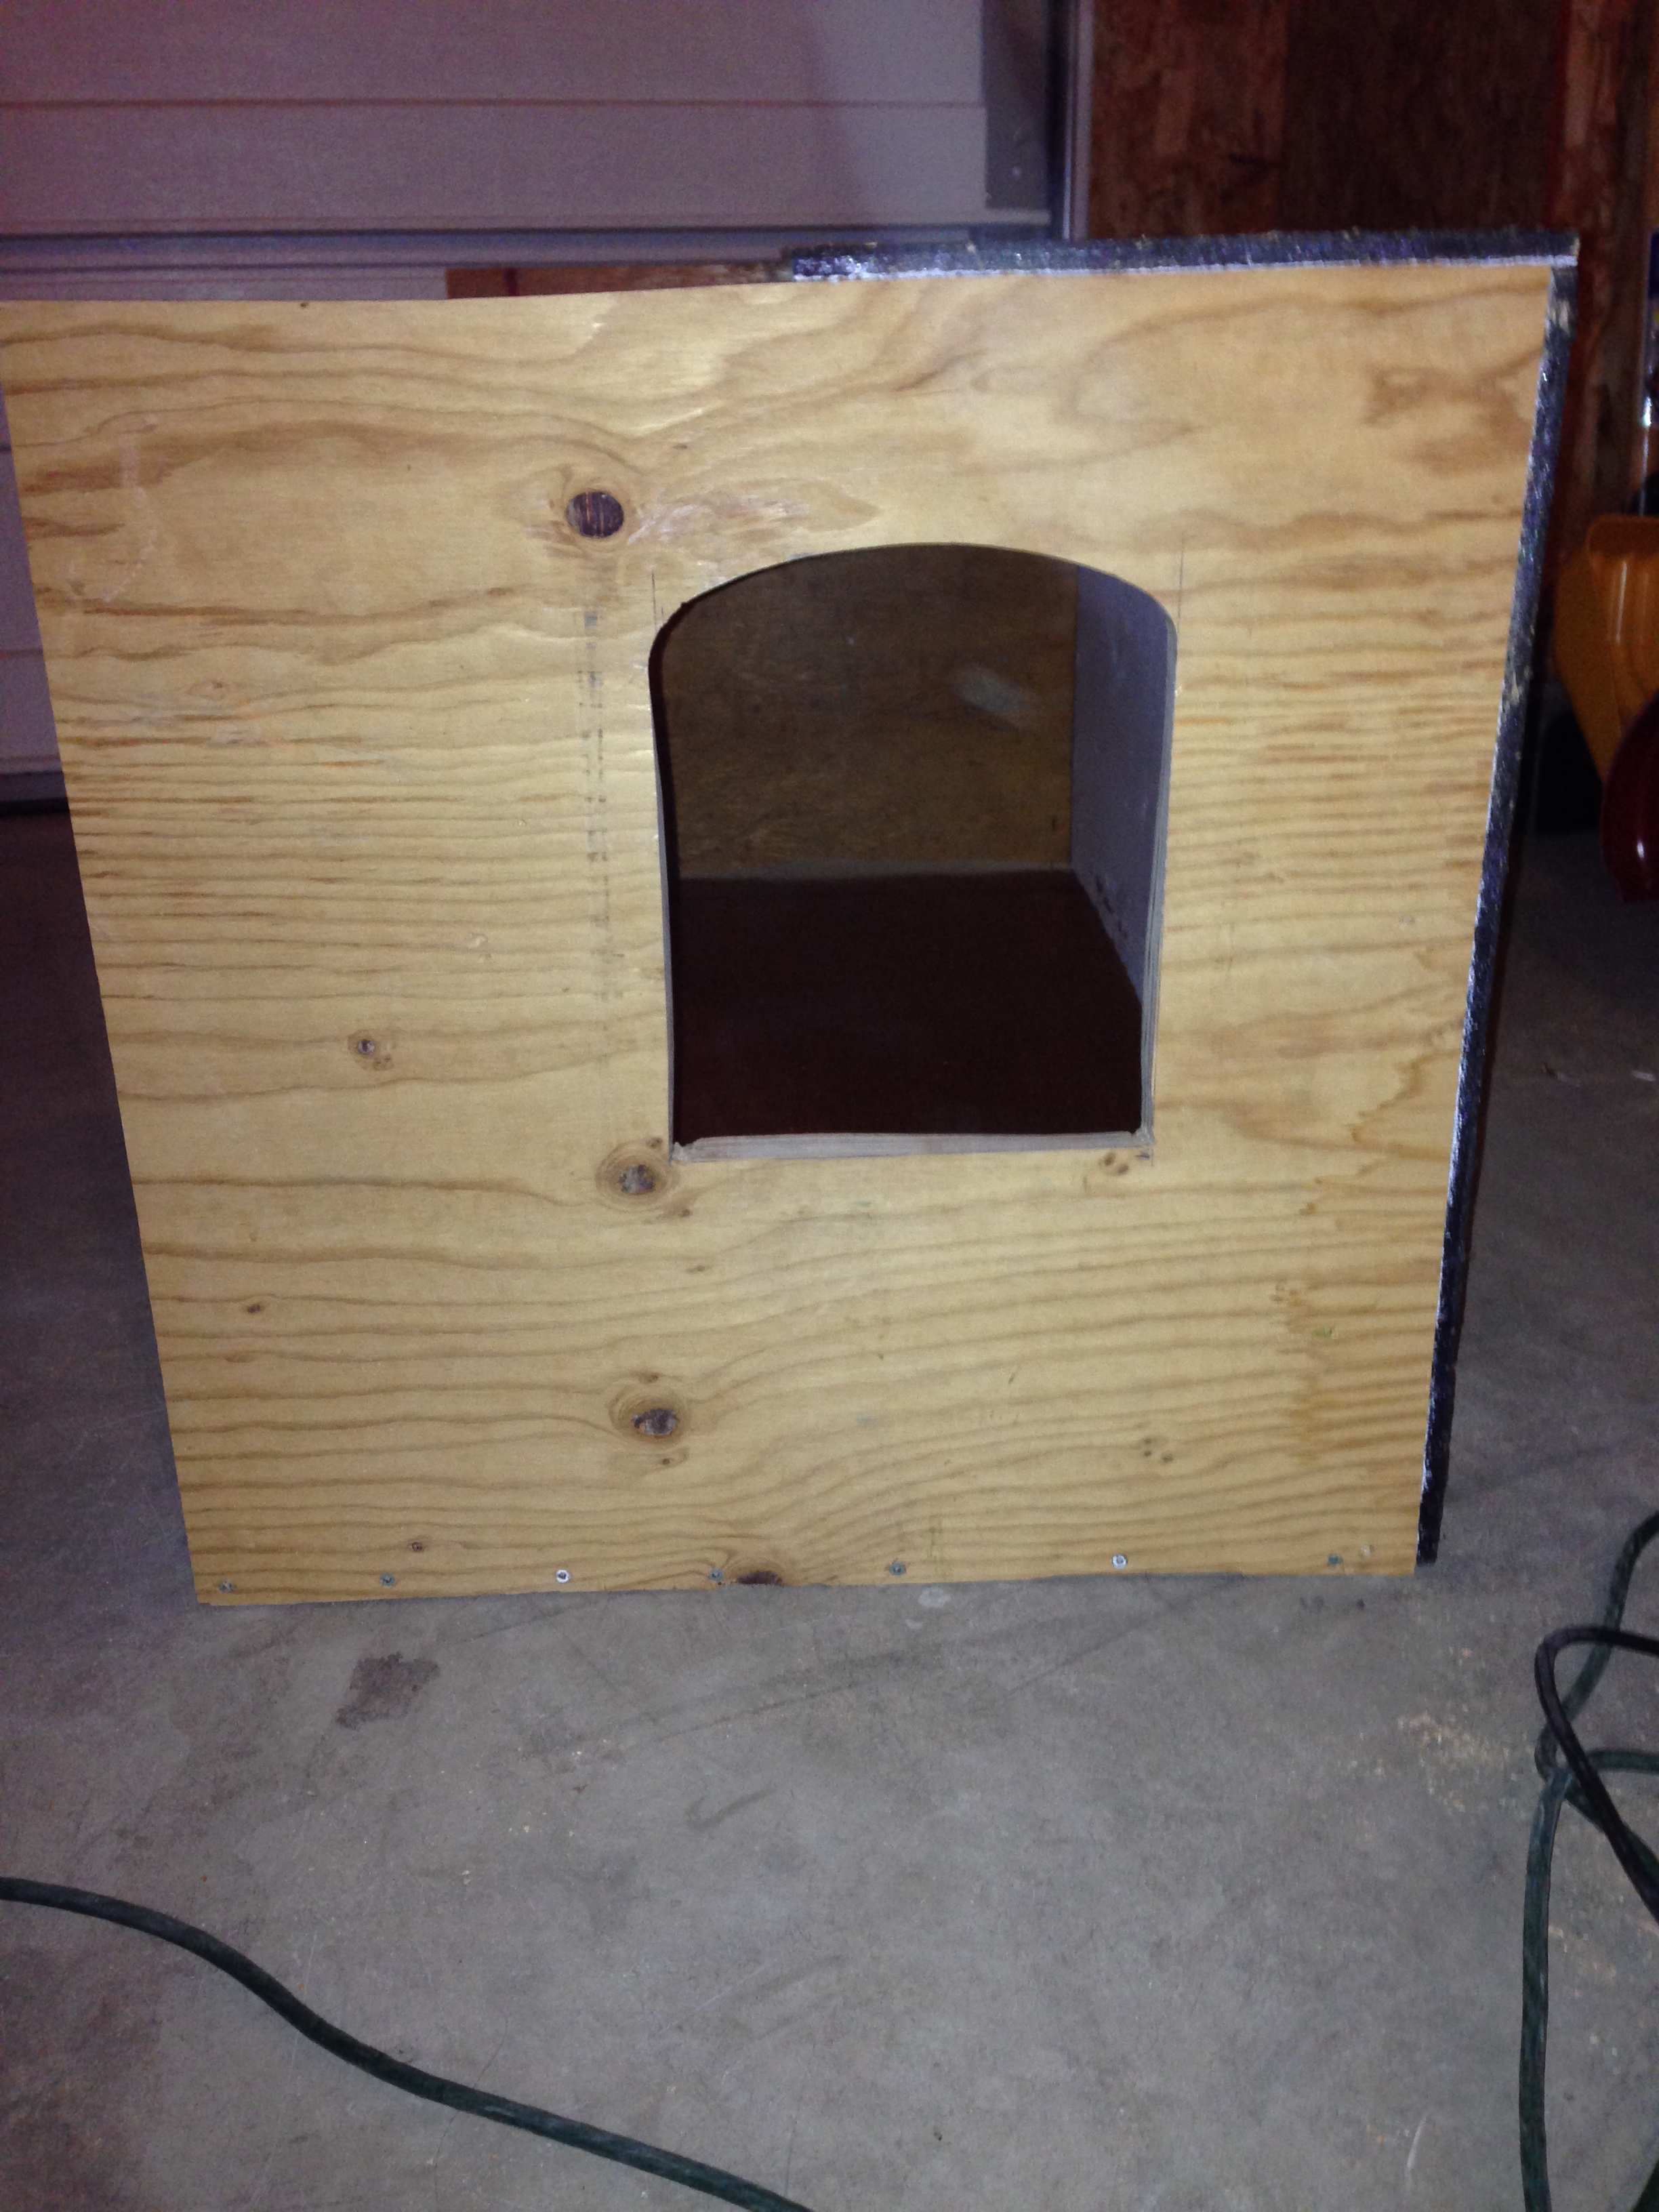
Check out my mad skills! This was my first time using a jigsaw so I was pretty proud of myself. LOL 🙂
Next came the paint. I started by using spray paint. That was a total bust. In the end, I picked up some candy apple red acrylic paint and just used that instead. Here is the spray paint. I don’t recommend it for this project.
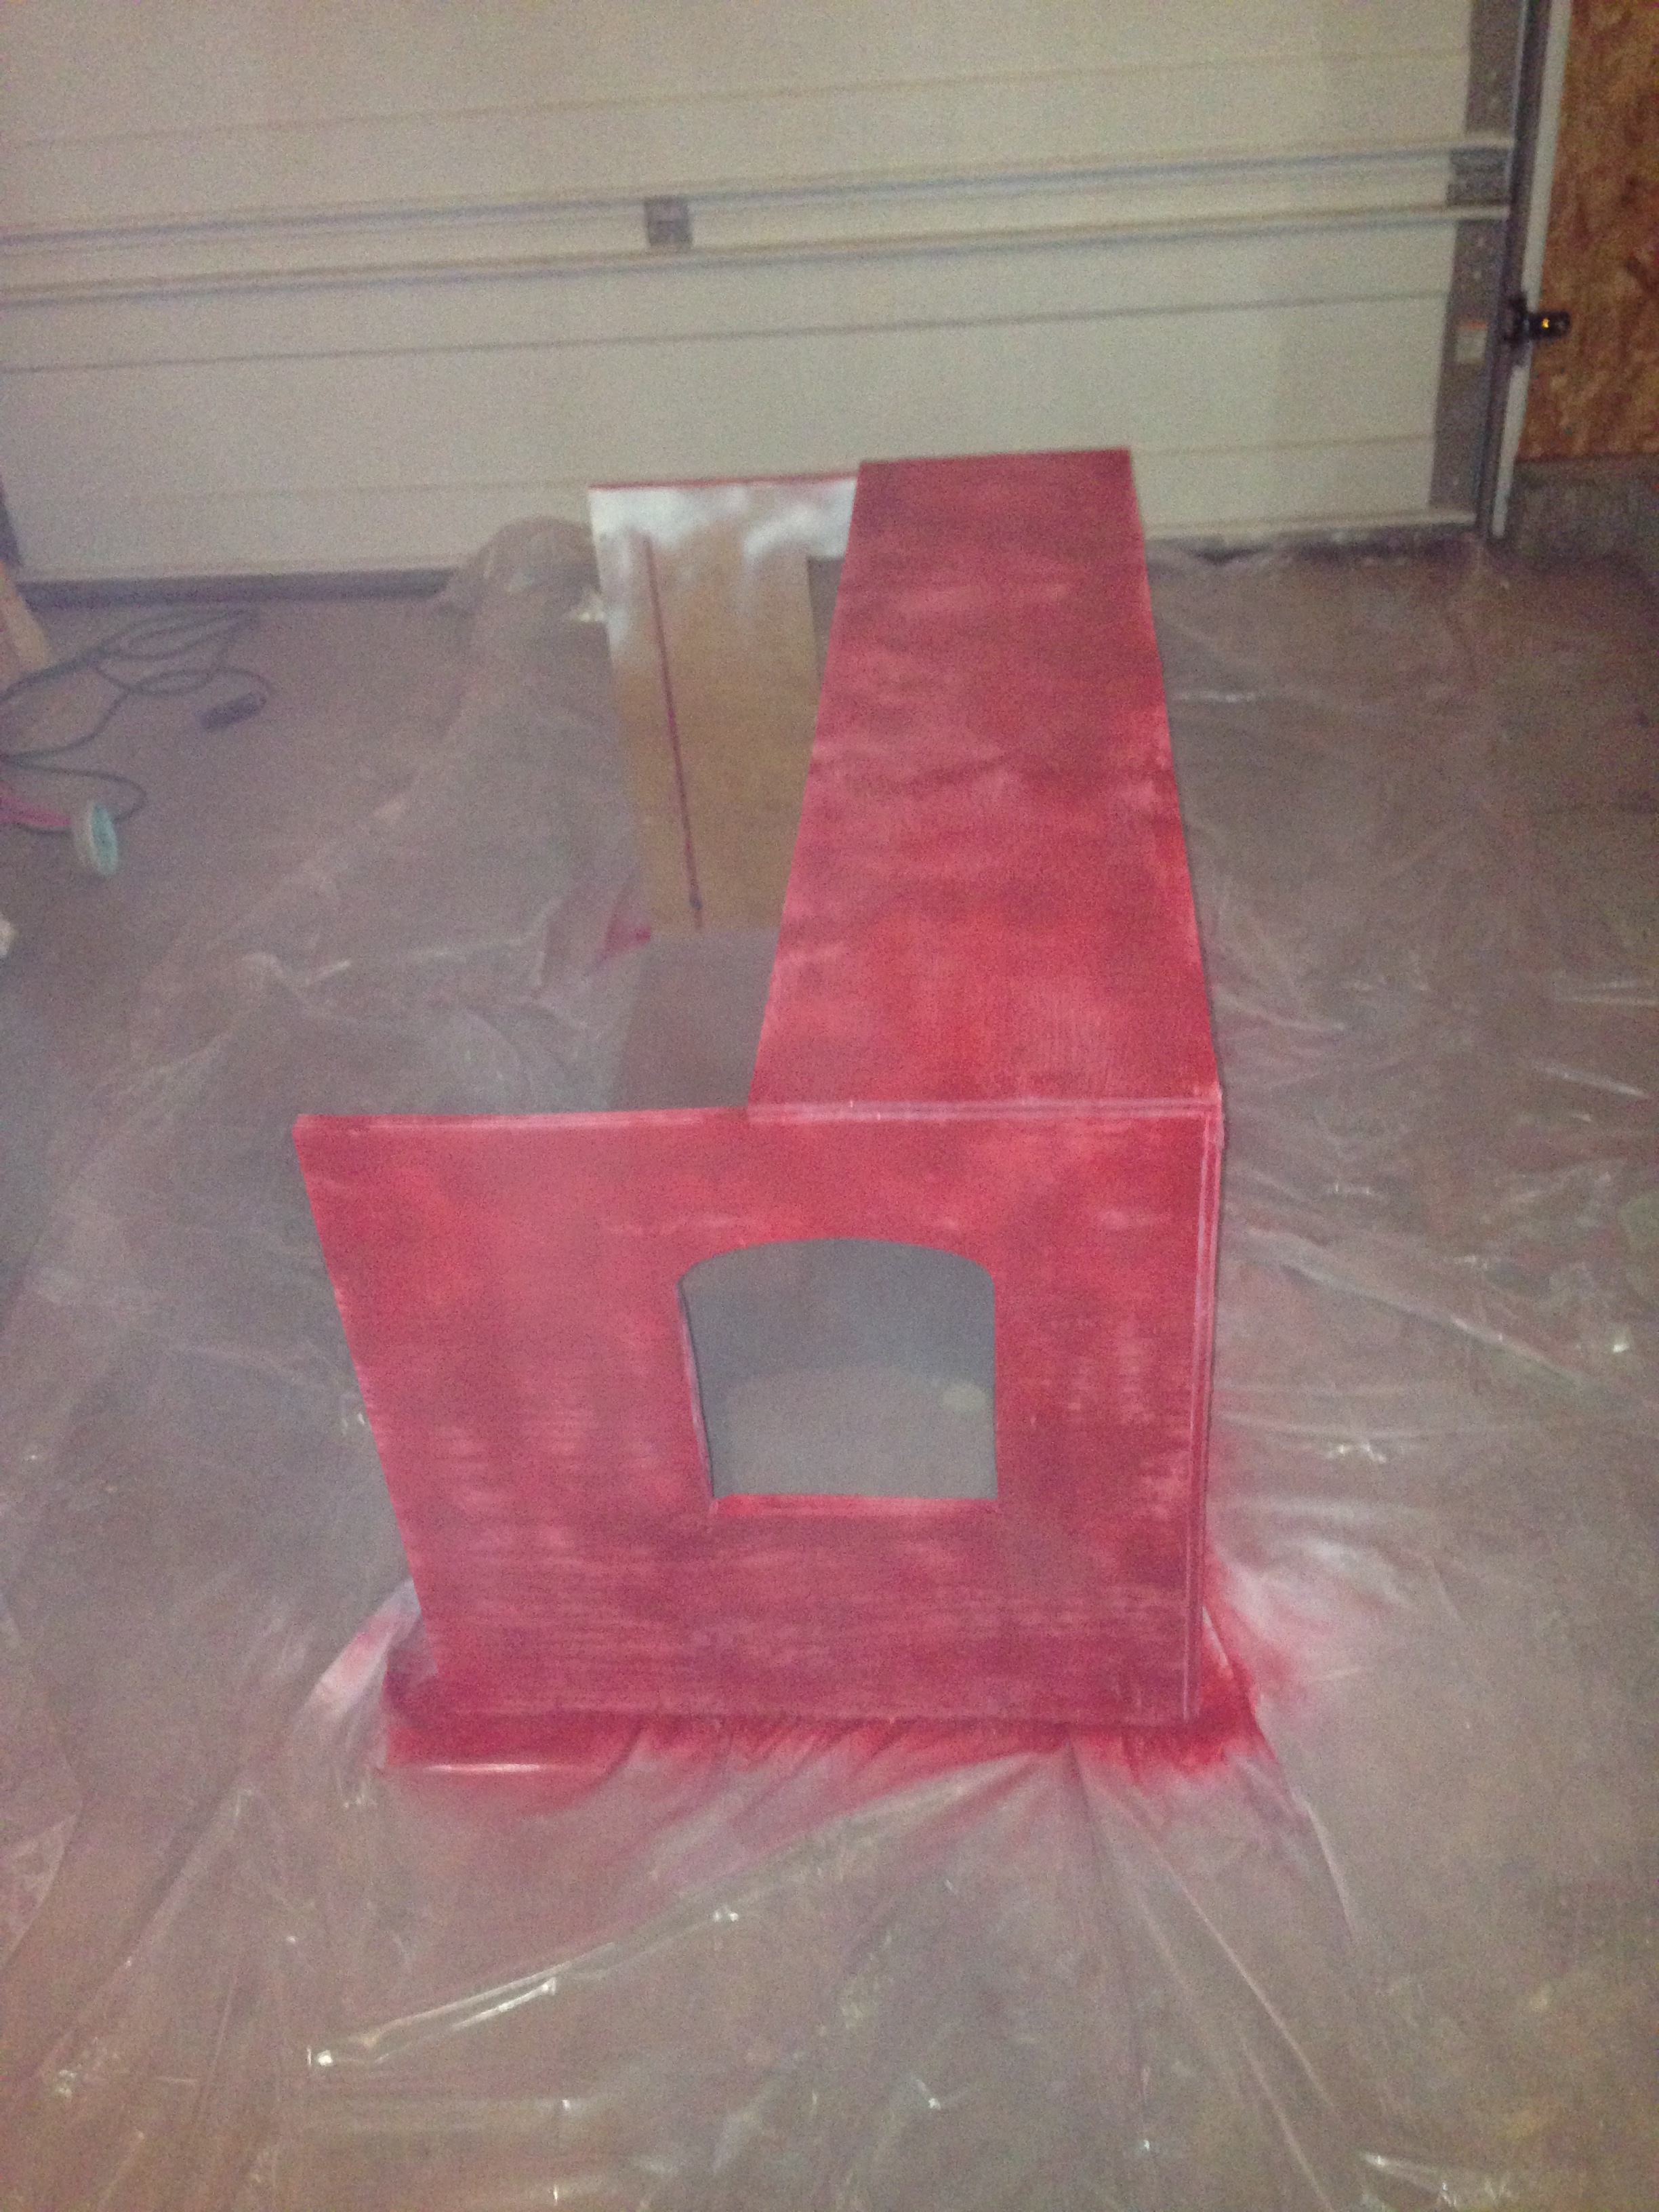
It was very splotchy. I probably would have spent a fortune in spray paint alone.
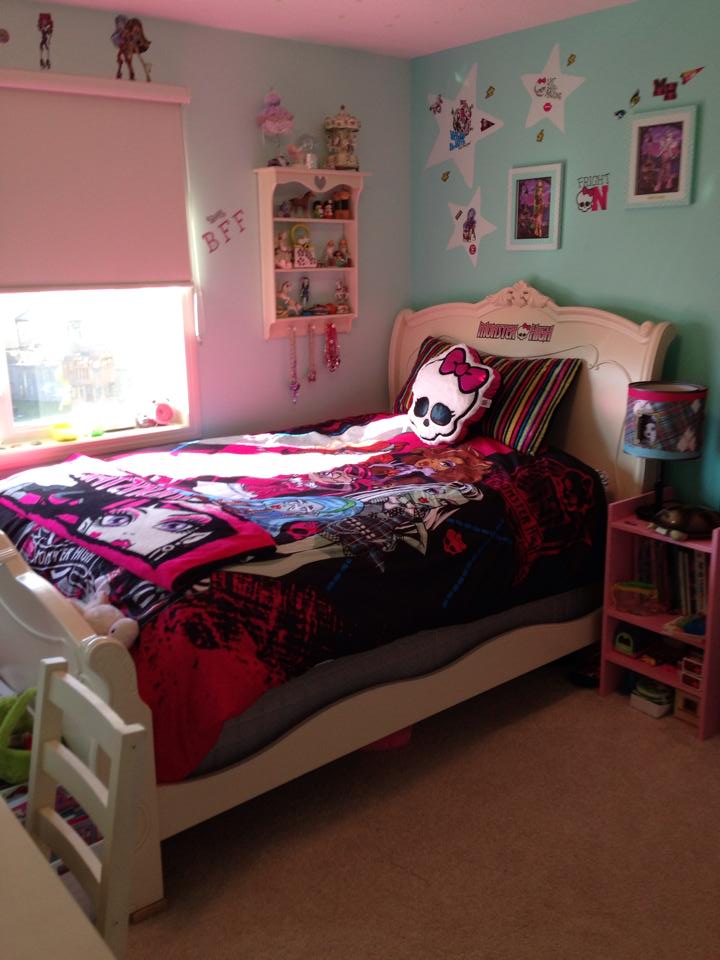
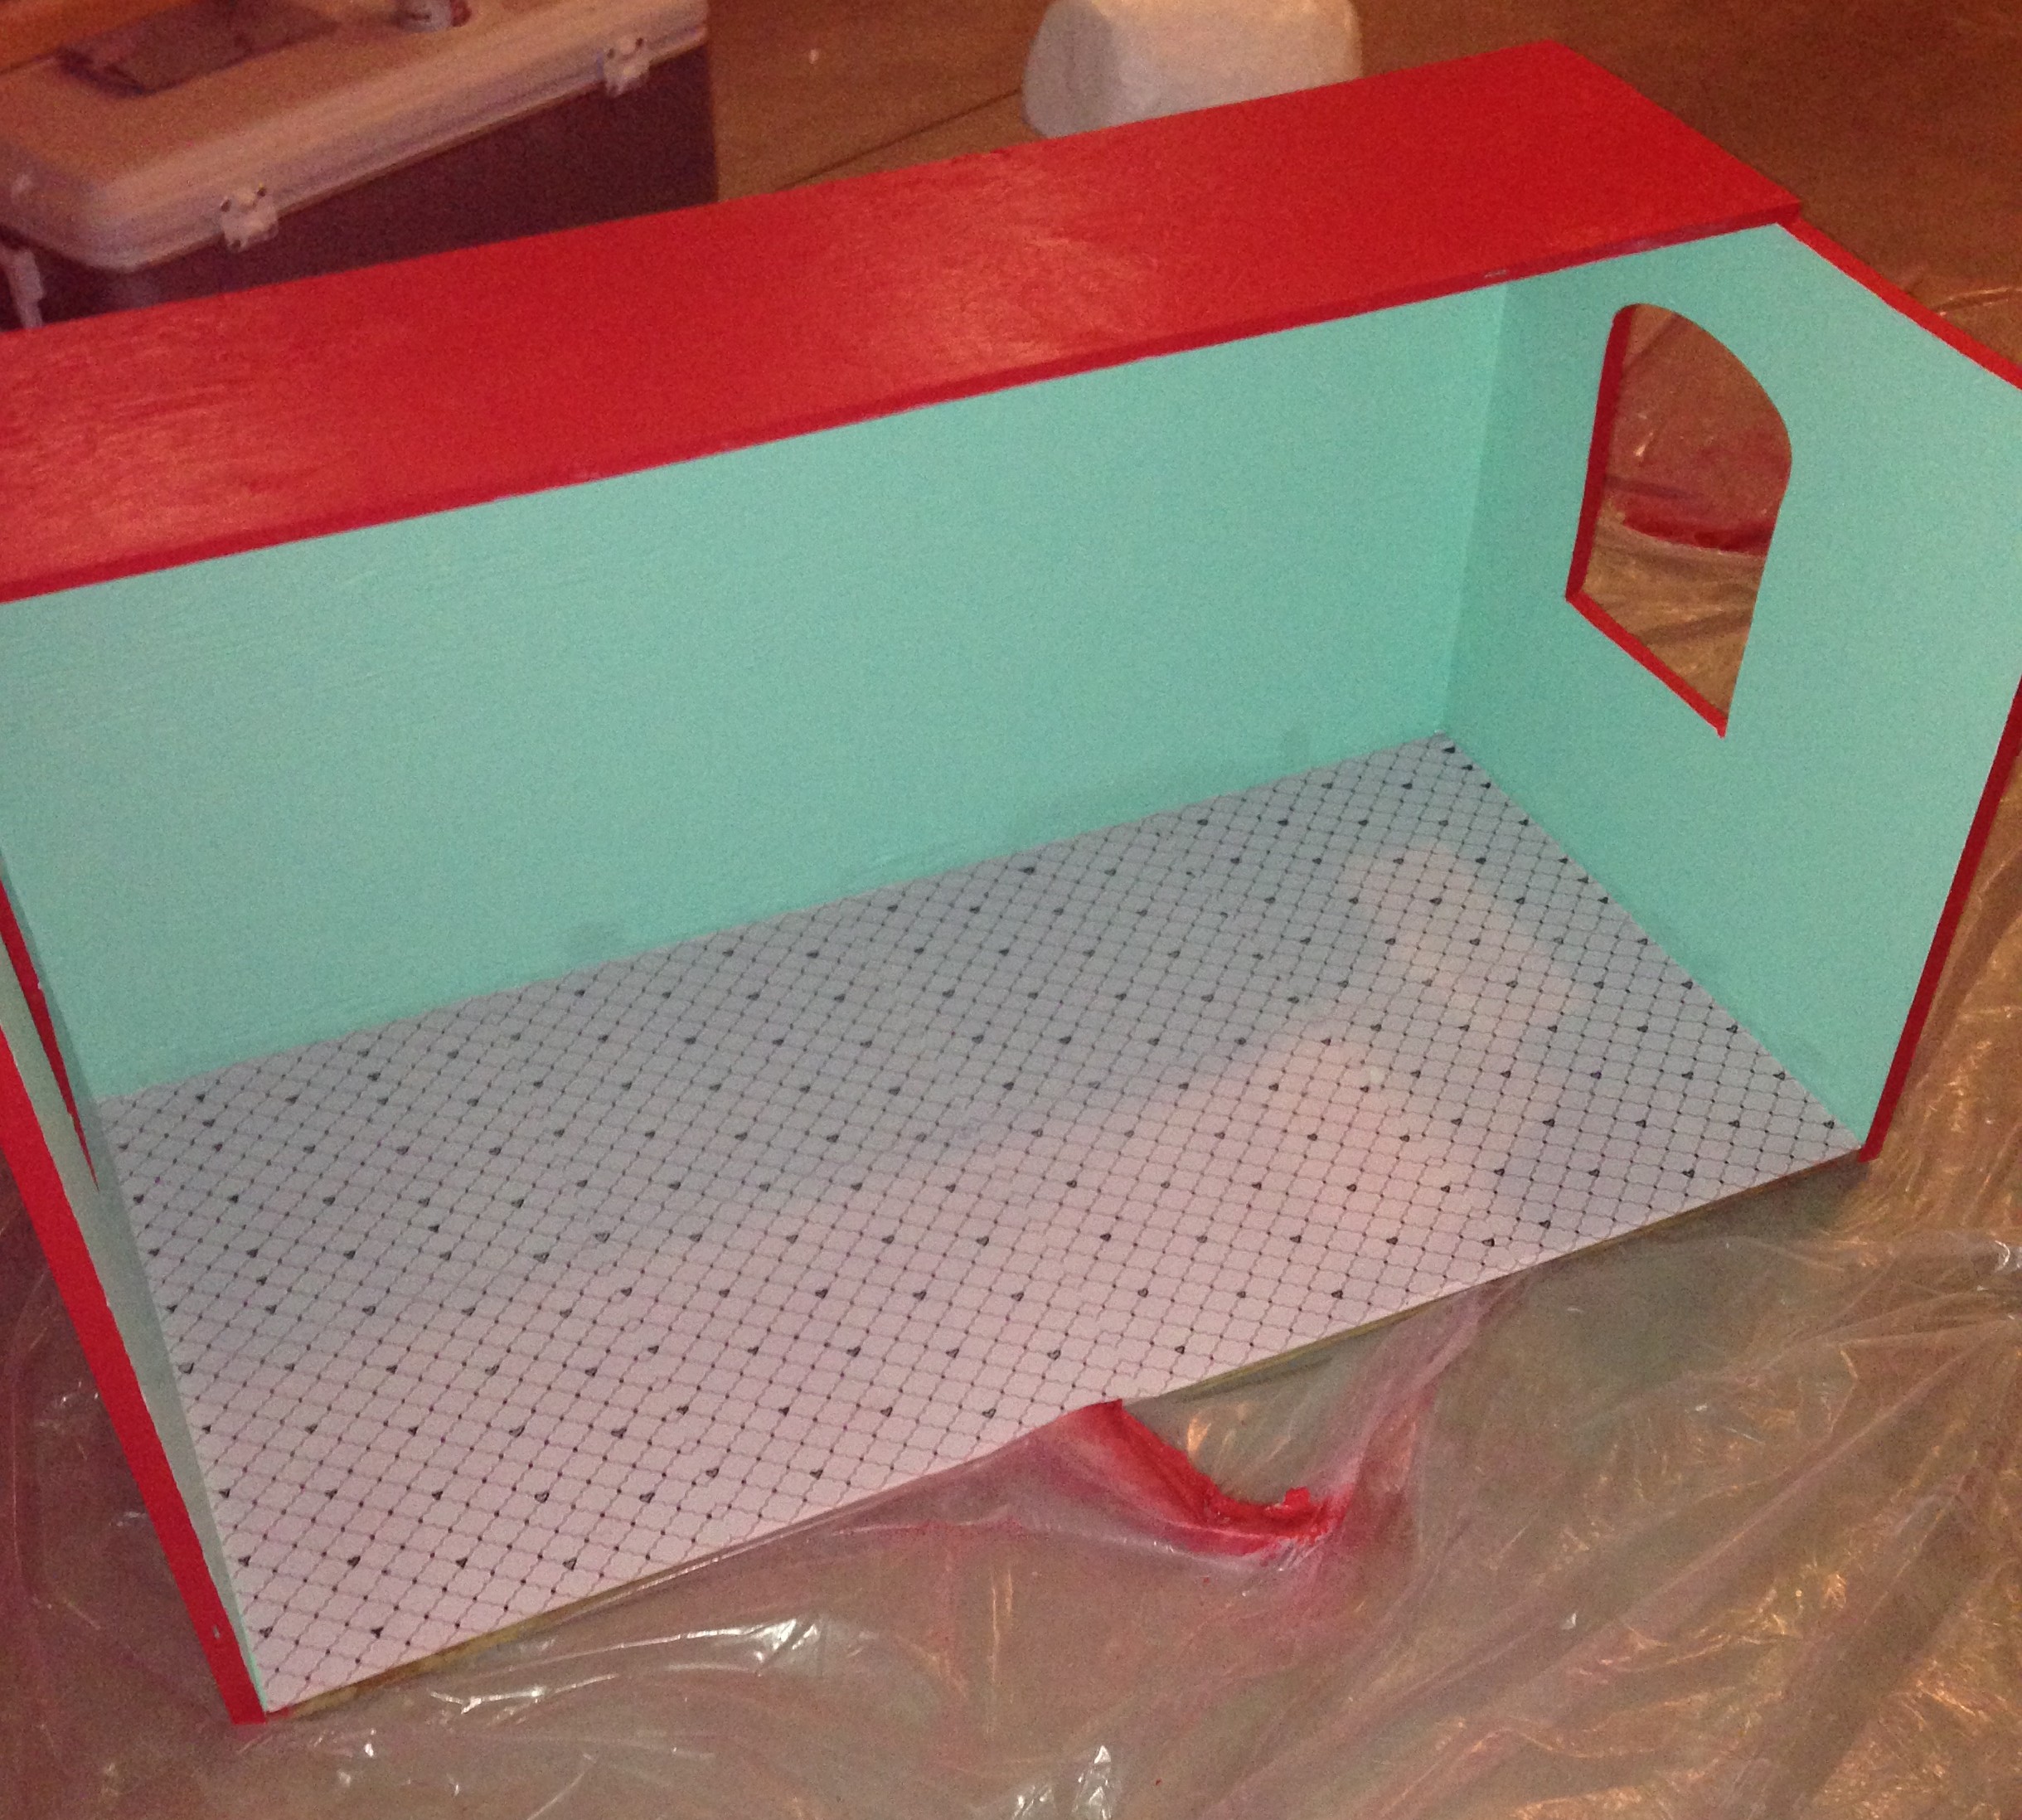
That’s a better colour! I used a pretty aqua for the interior. I had about a gallon of it leftover from when I painted my daughter’s bedroom. She’s a bit of a Monster High fanatic lately.
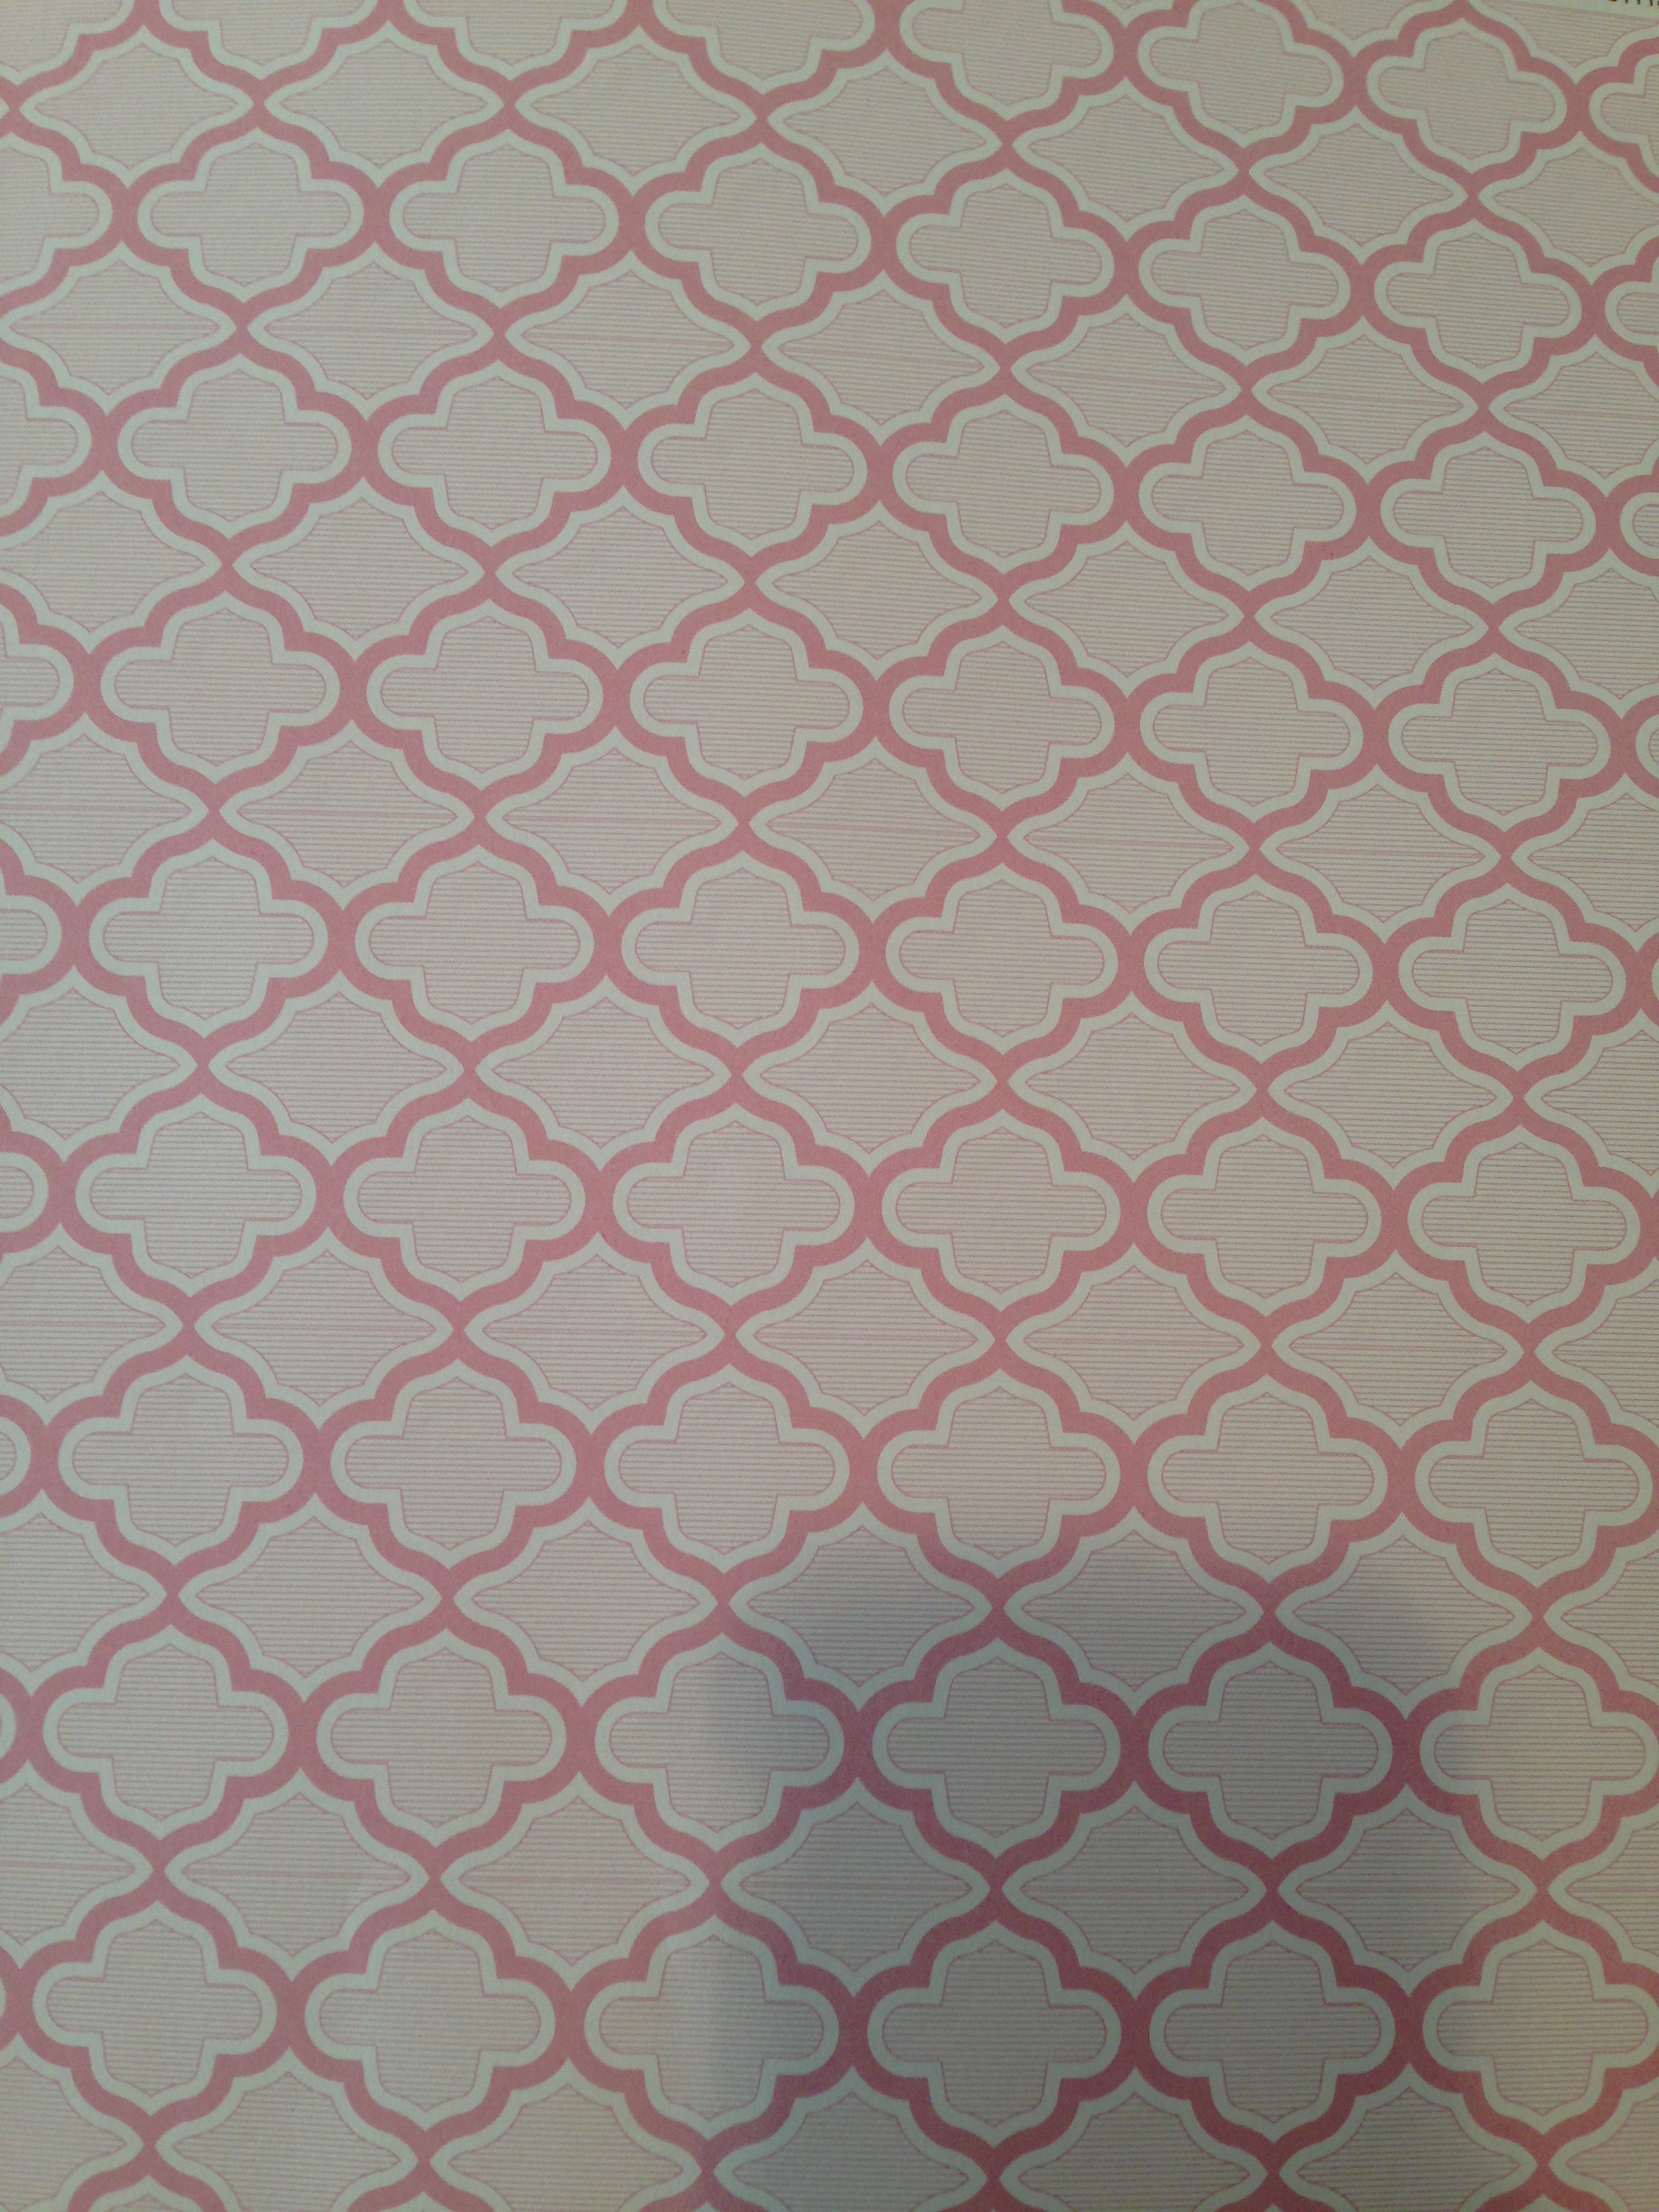
Once the inside of the bakery was painted, it was time to add the floor. I had a lot of difficulty deciding how to do the floors. I finally settled on mod podge. I didn’t know how it would turn out, but it actually worked pretty well. I used scrap book paper.
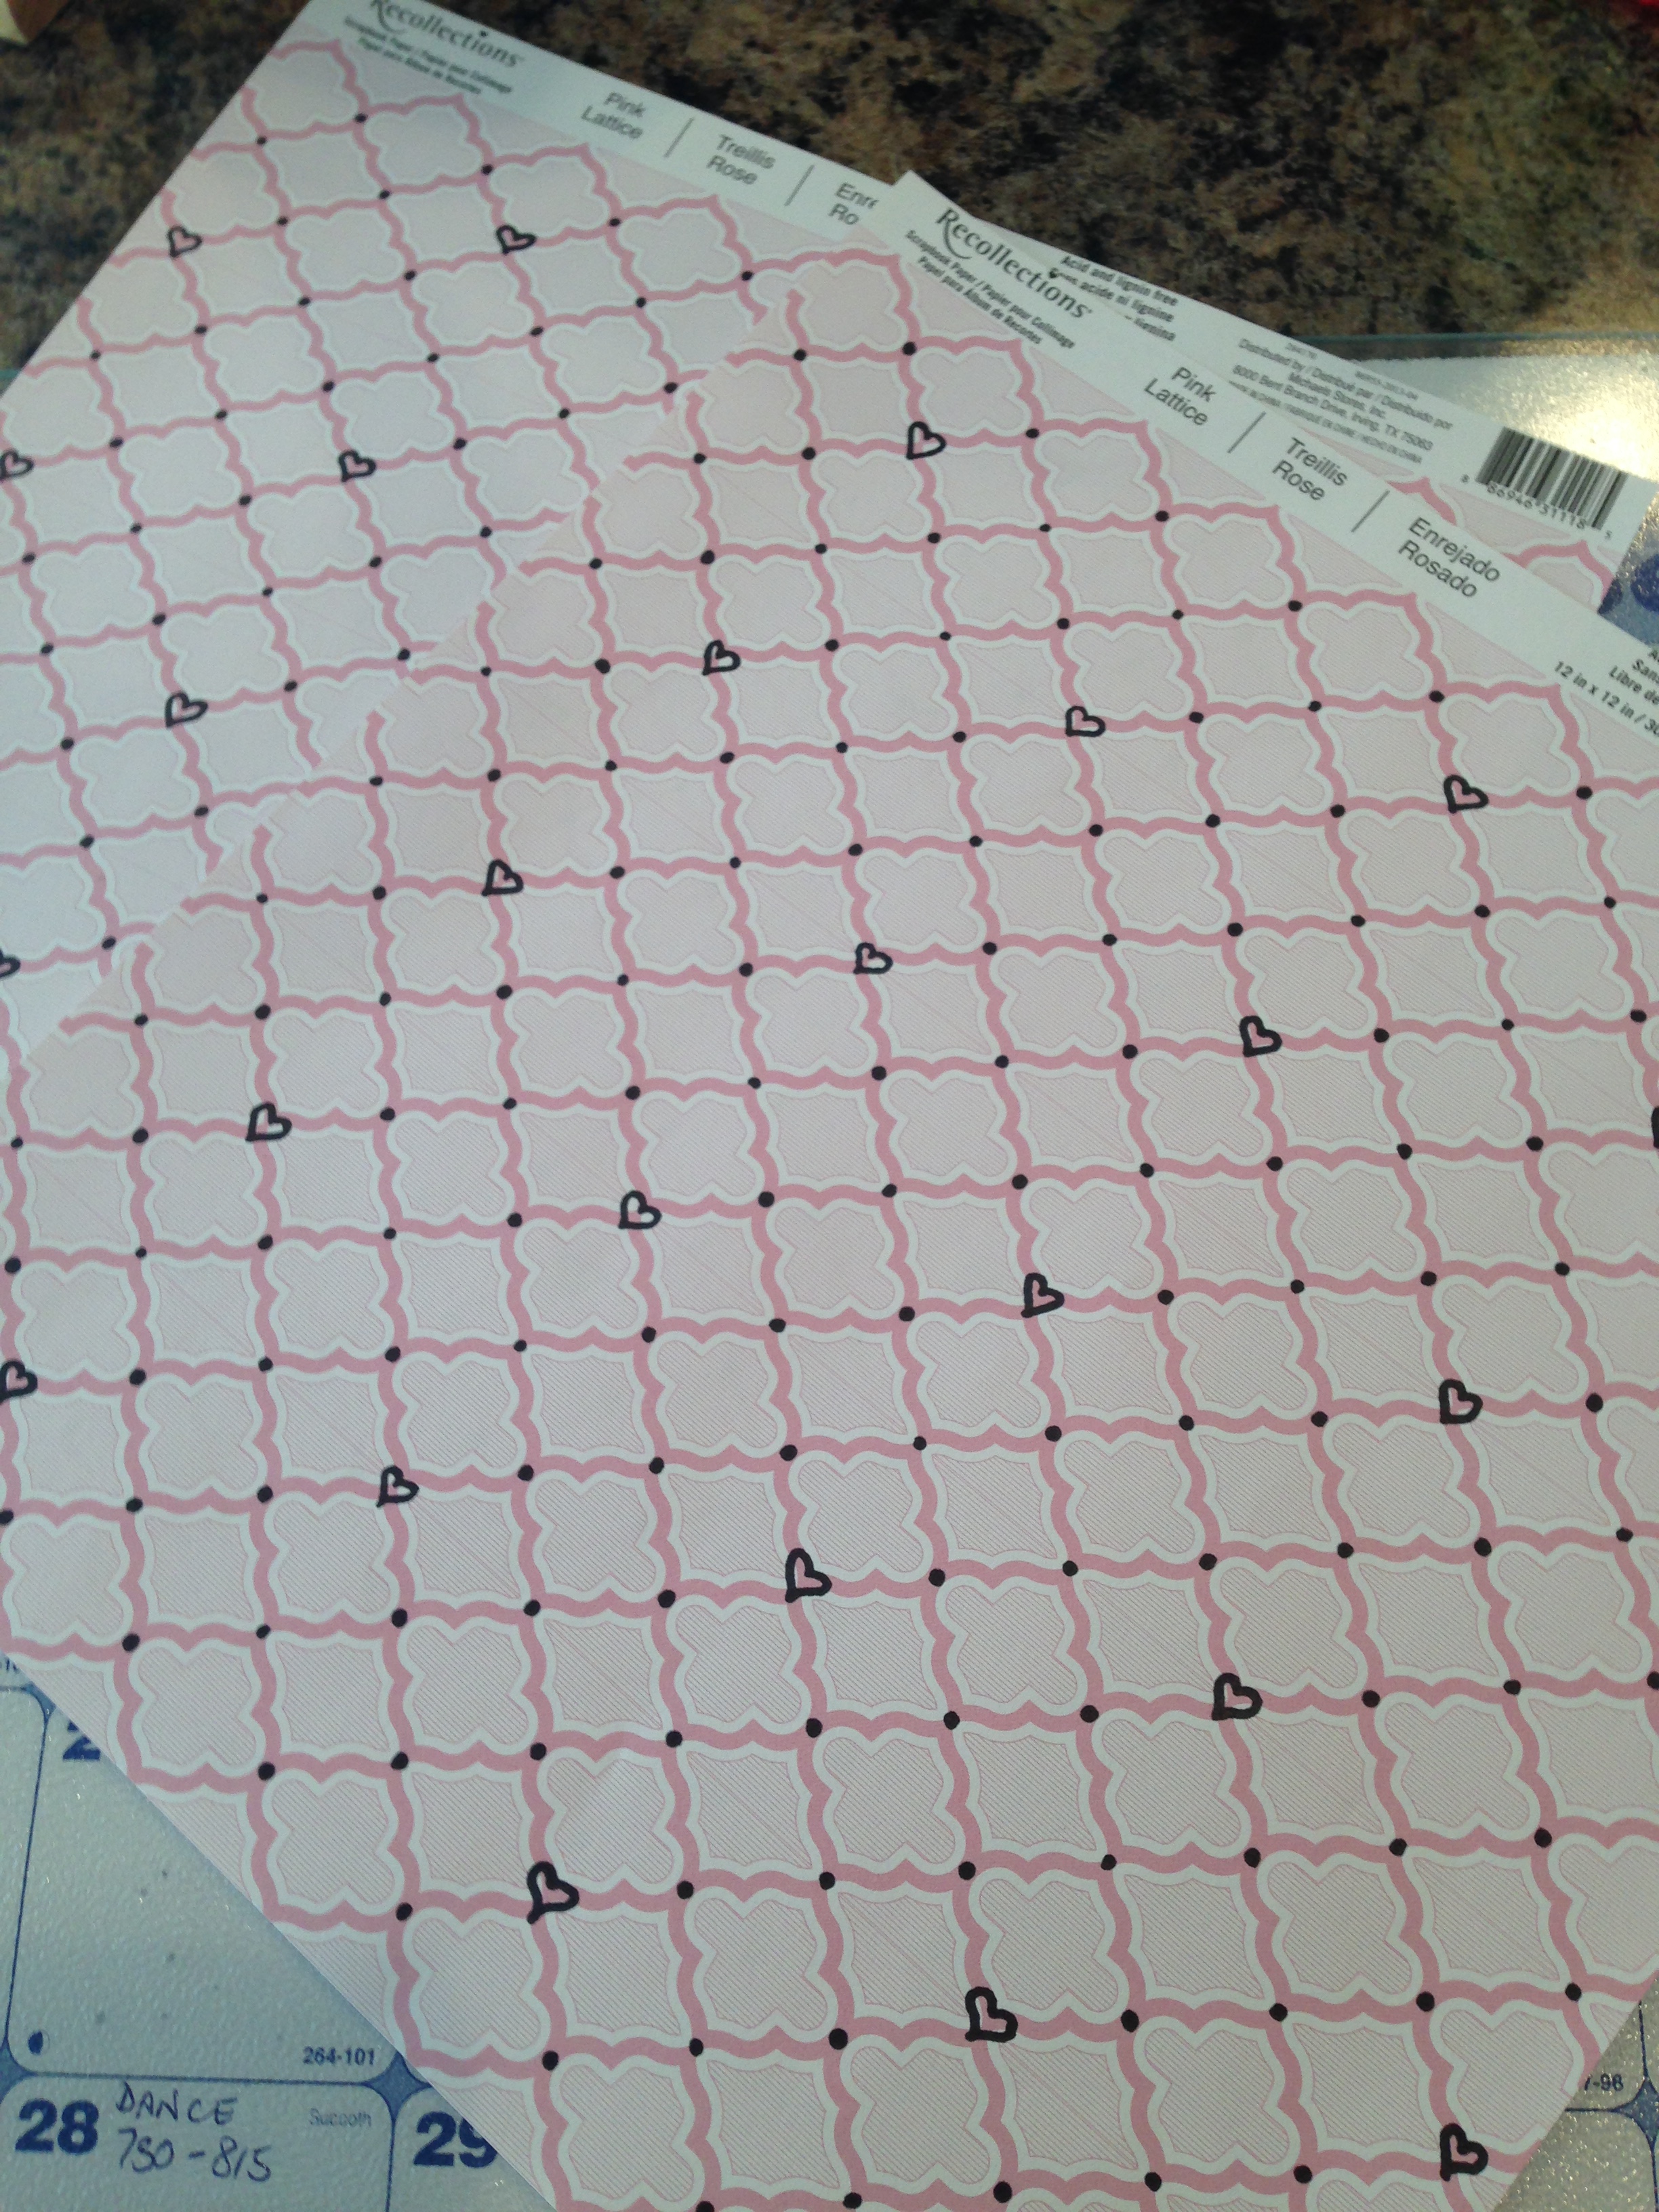
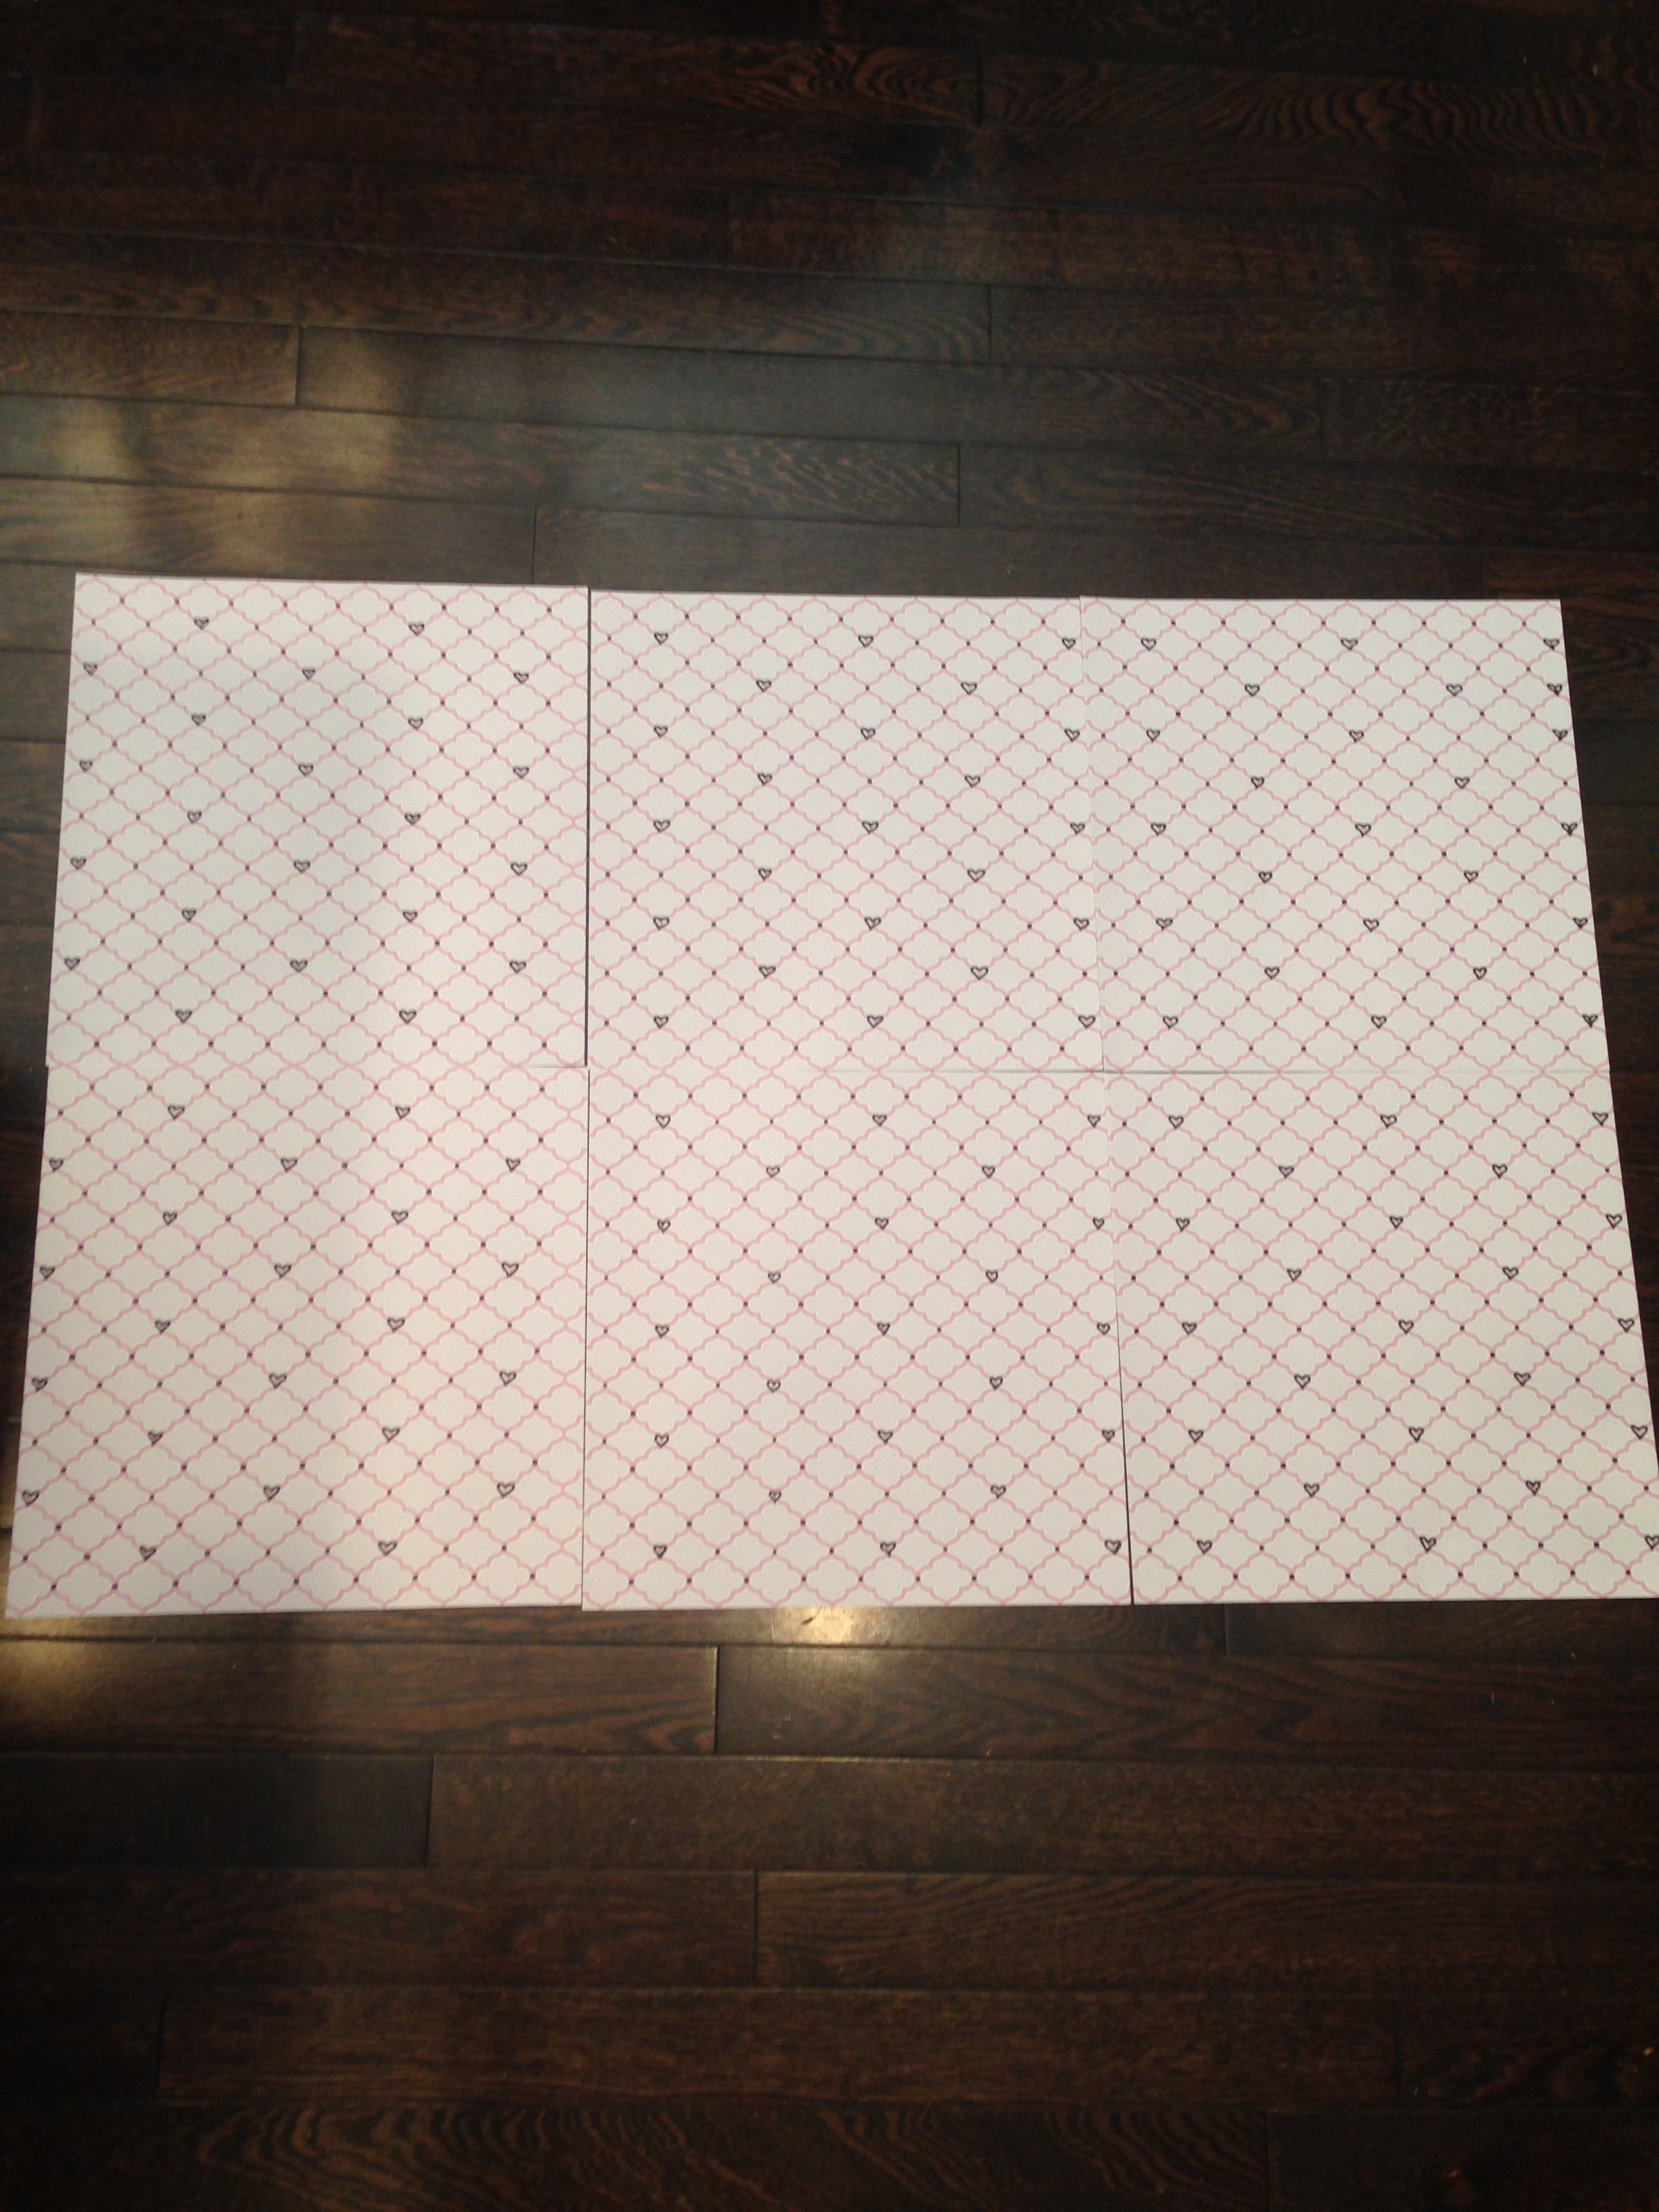
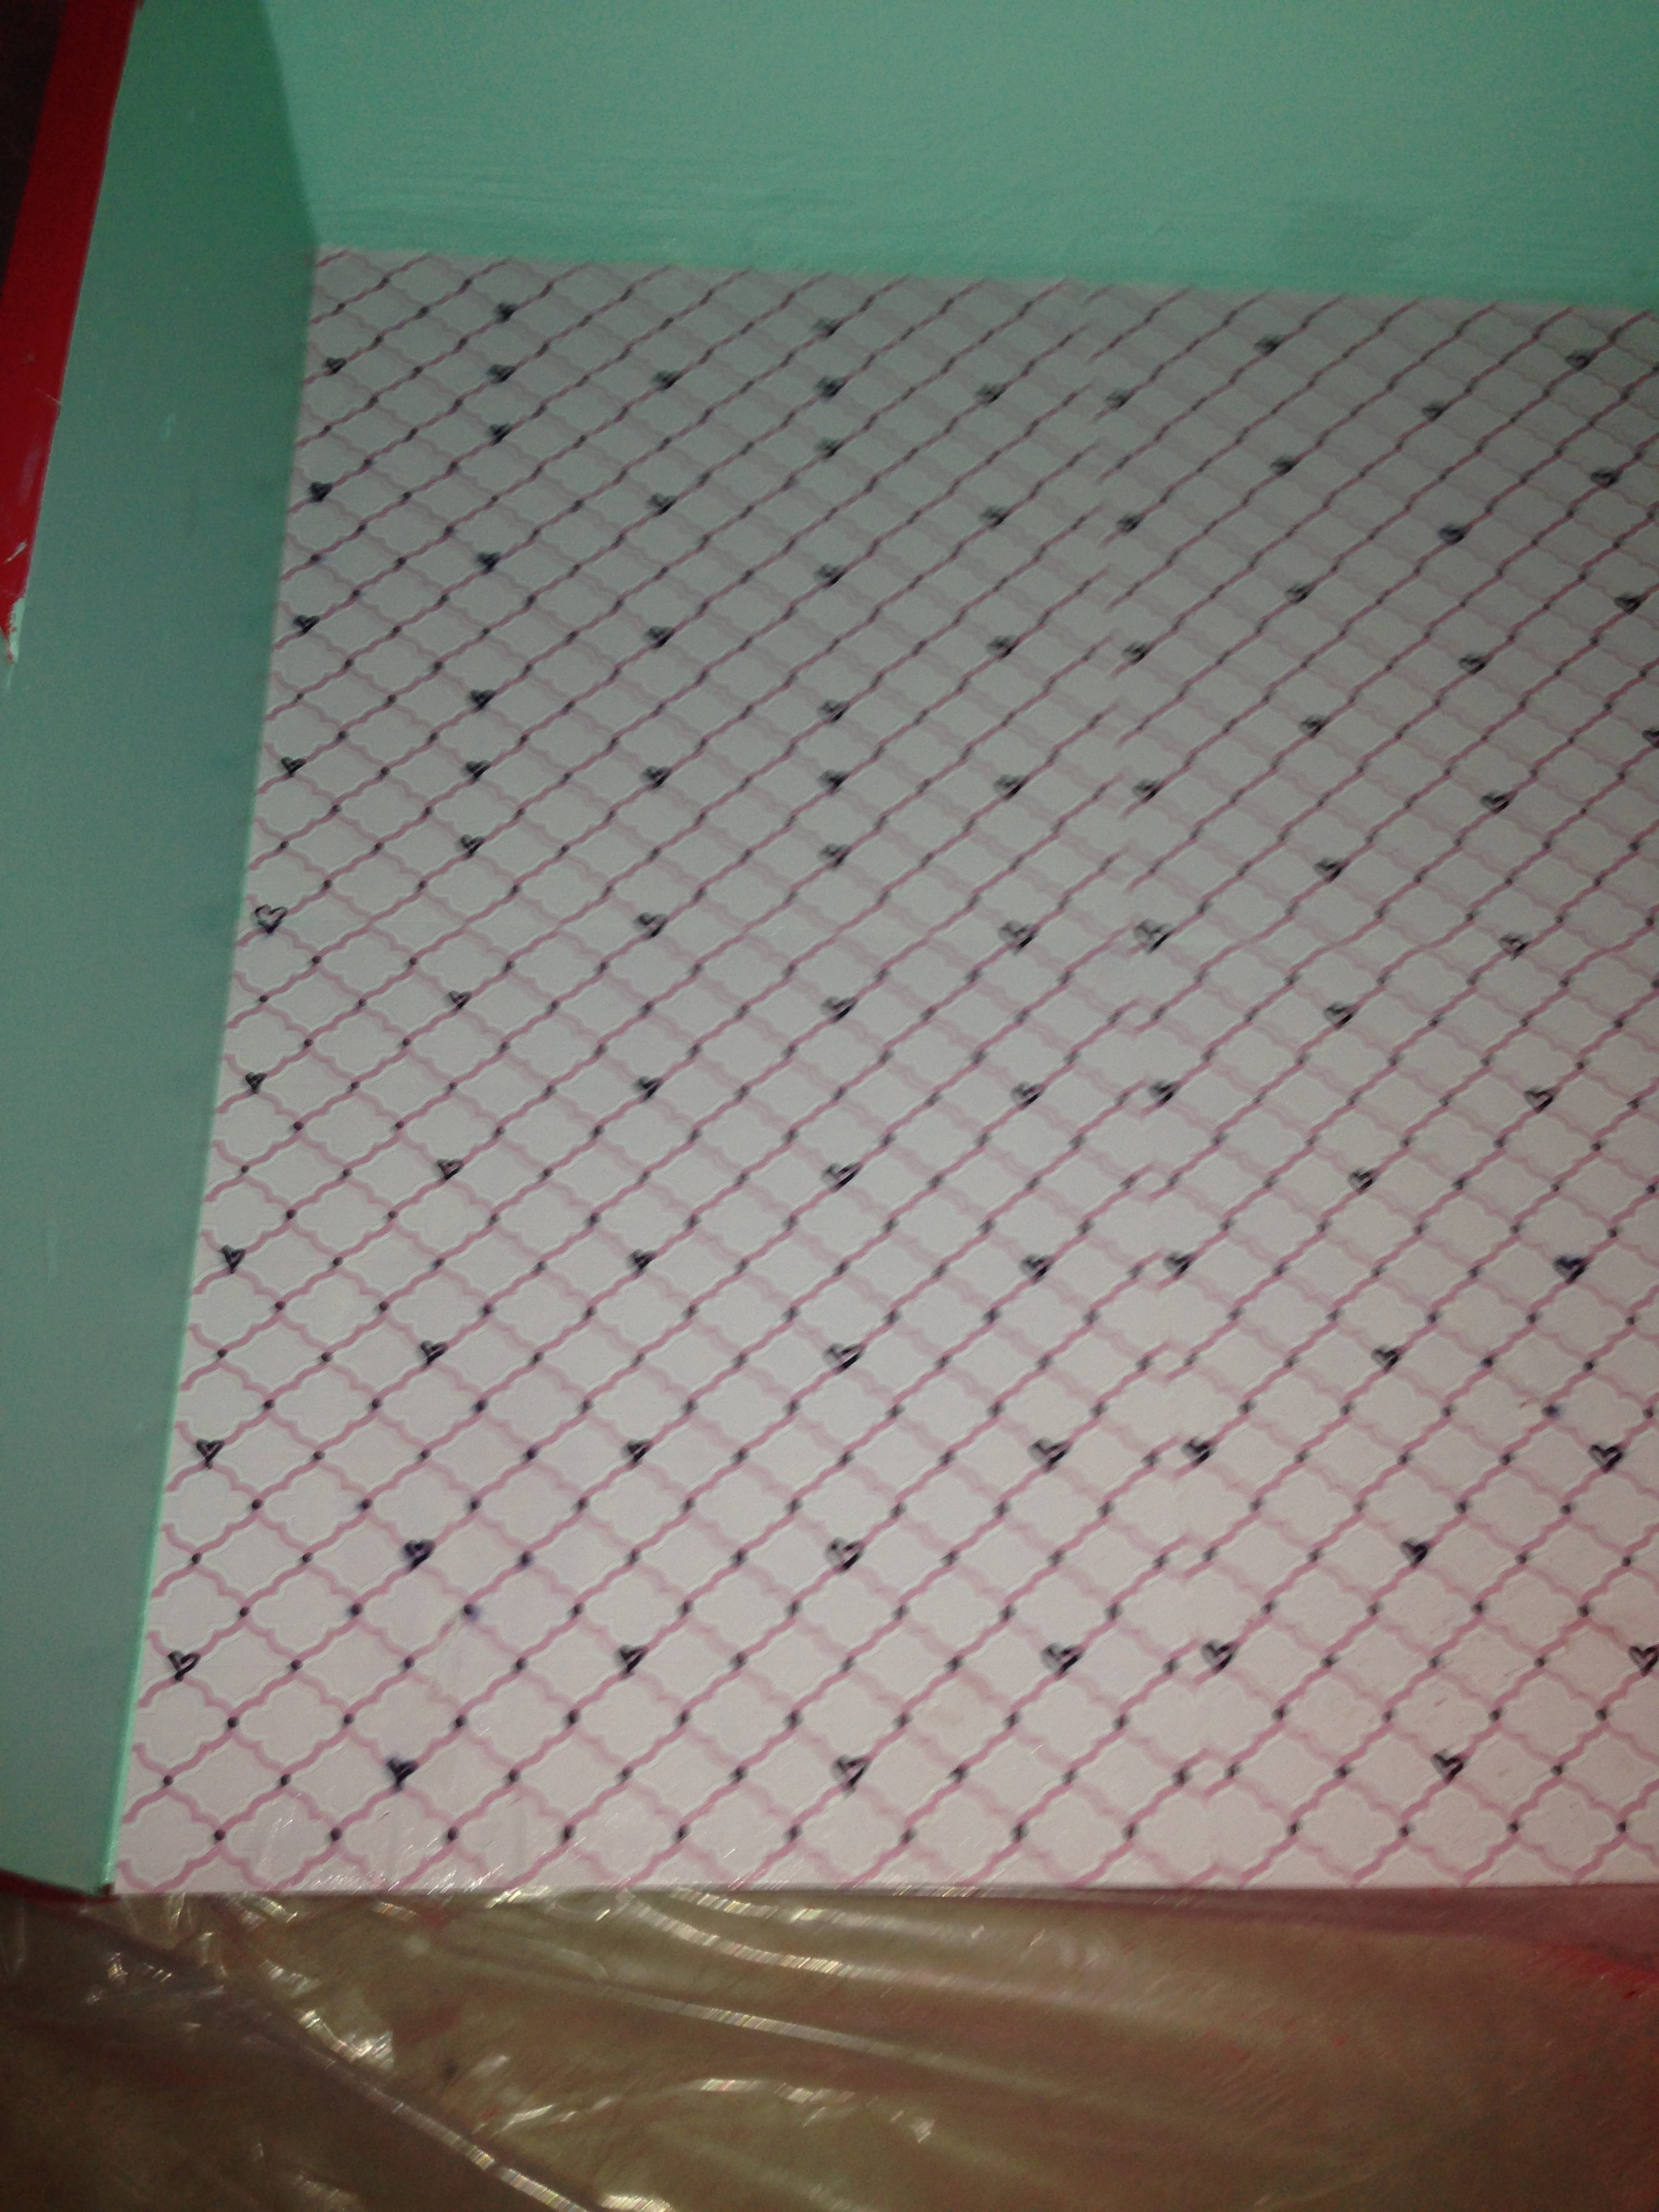
I drew little hearts on with a black permanent marker. Be sure that the pen is completely dry before painting it with the modpodge, otherwise it will smudge.
Voila! So simple, and yet so adorable!
Now on to the furniture.
FRIDGE:
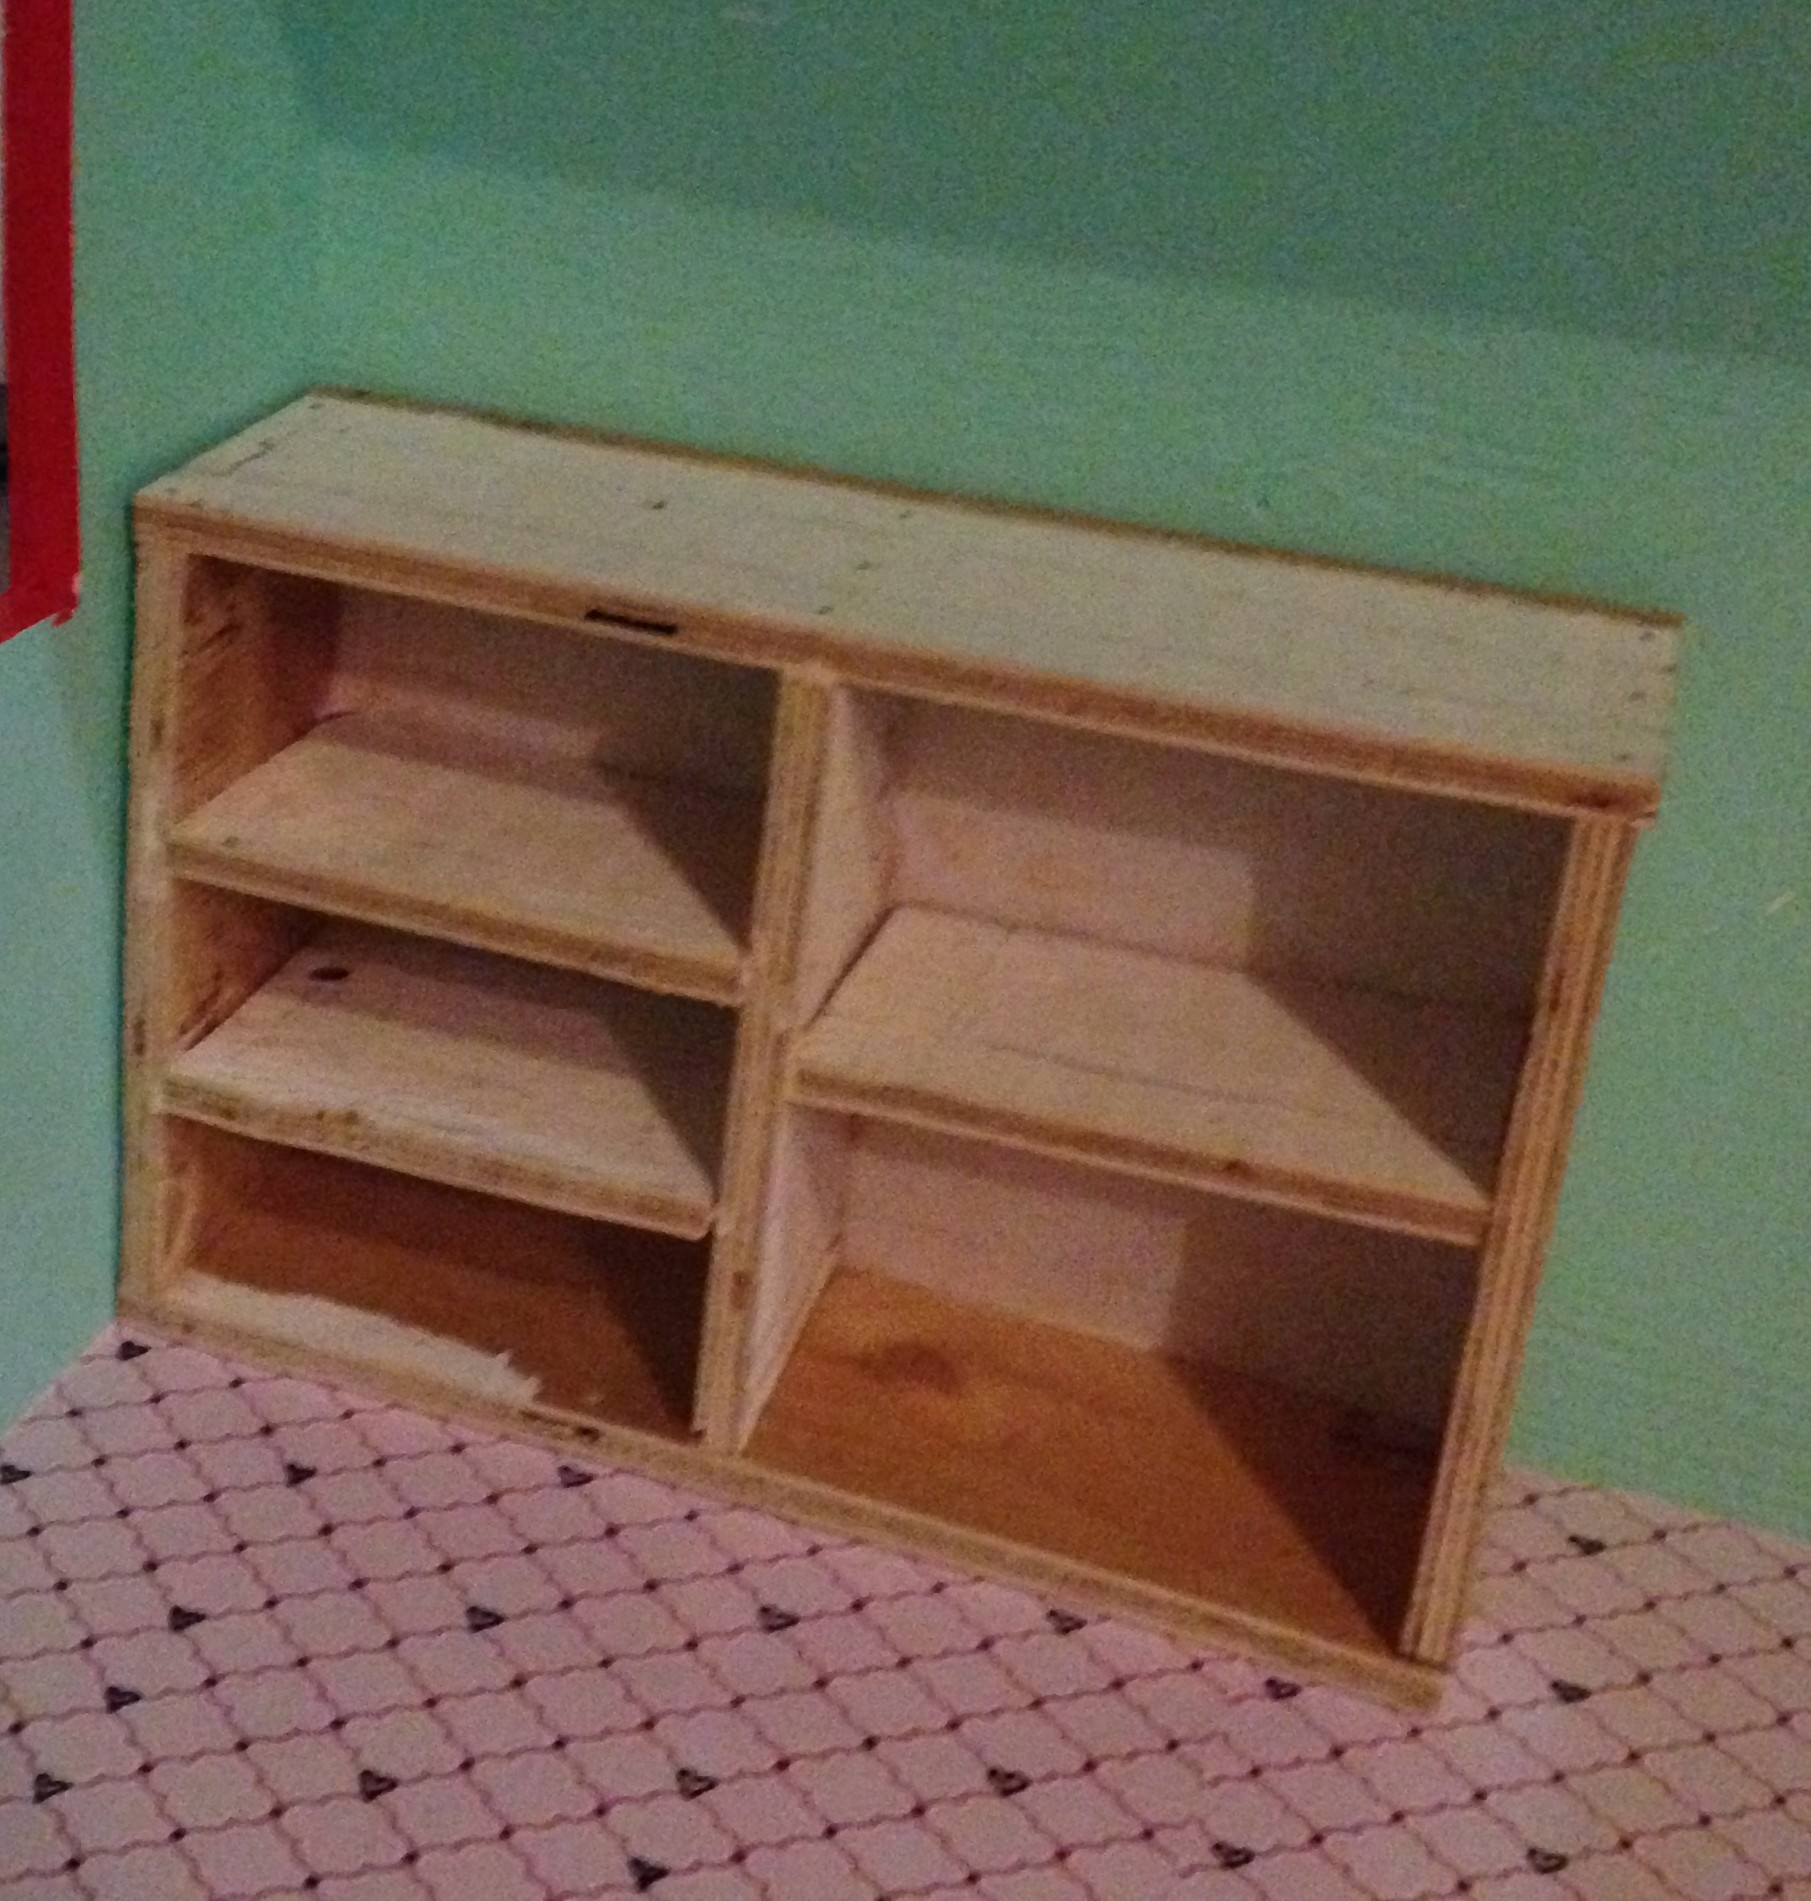
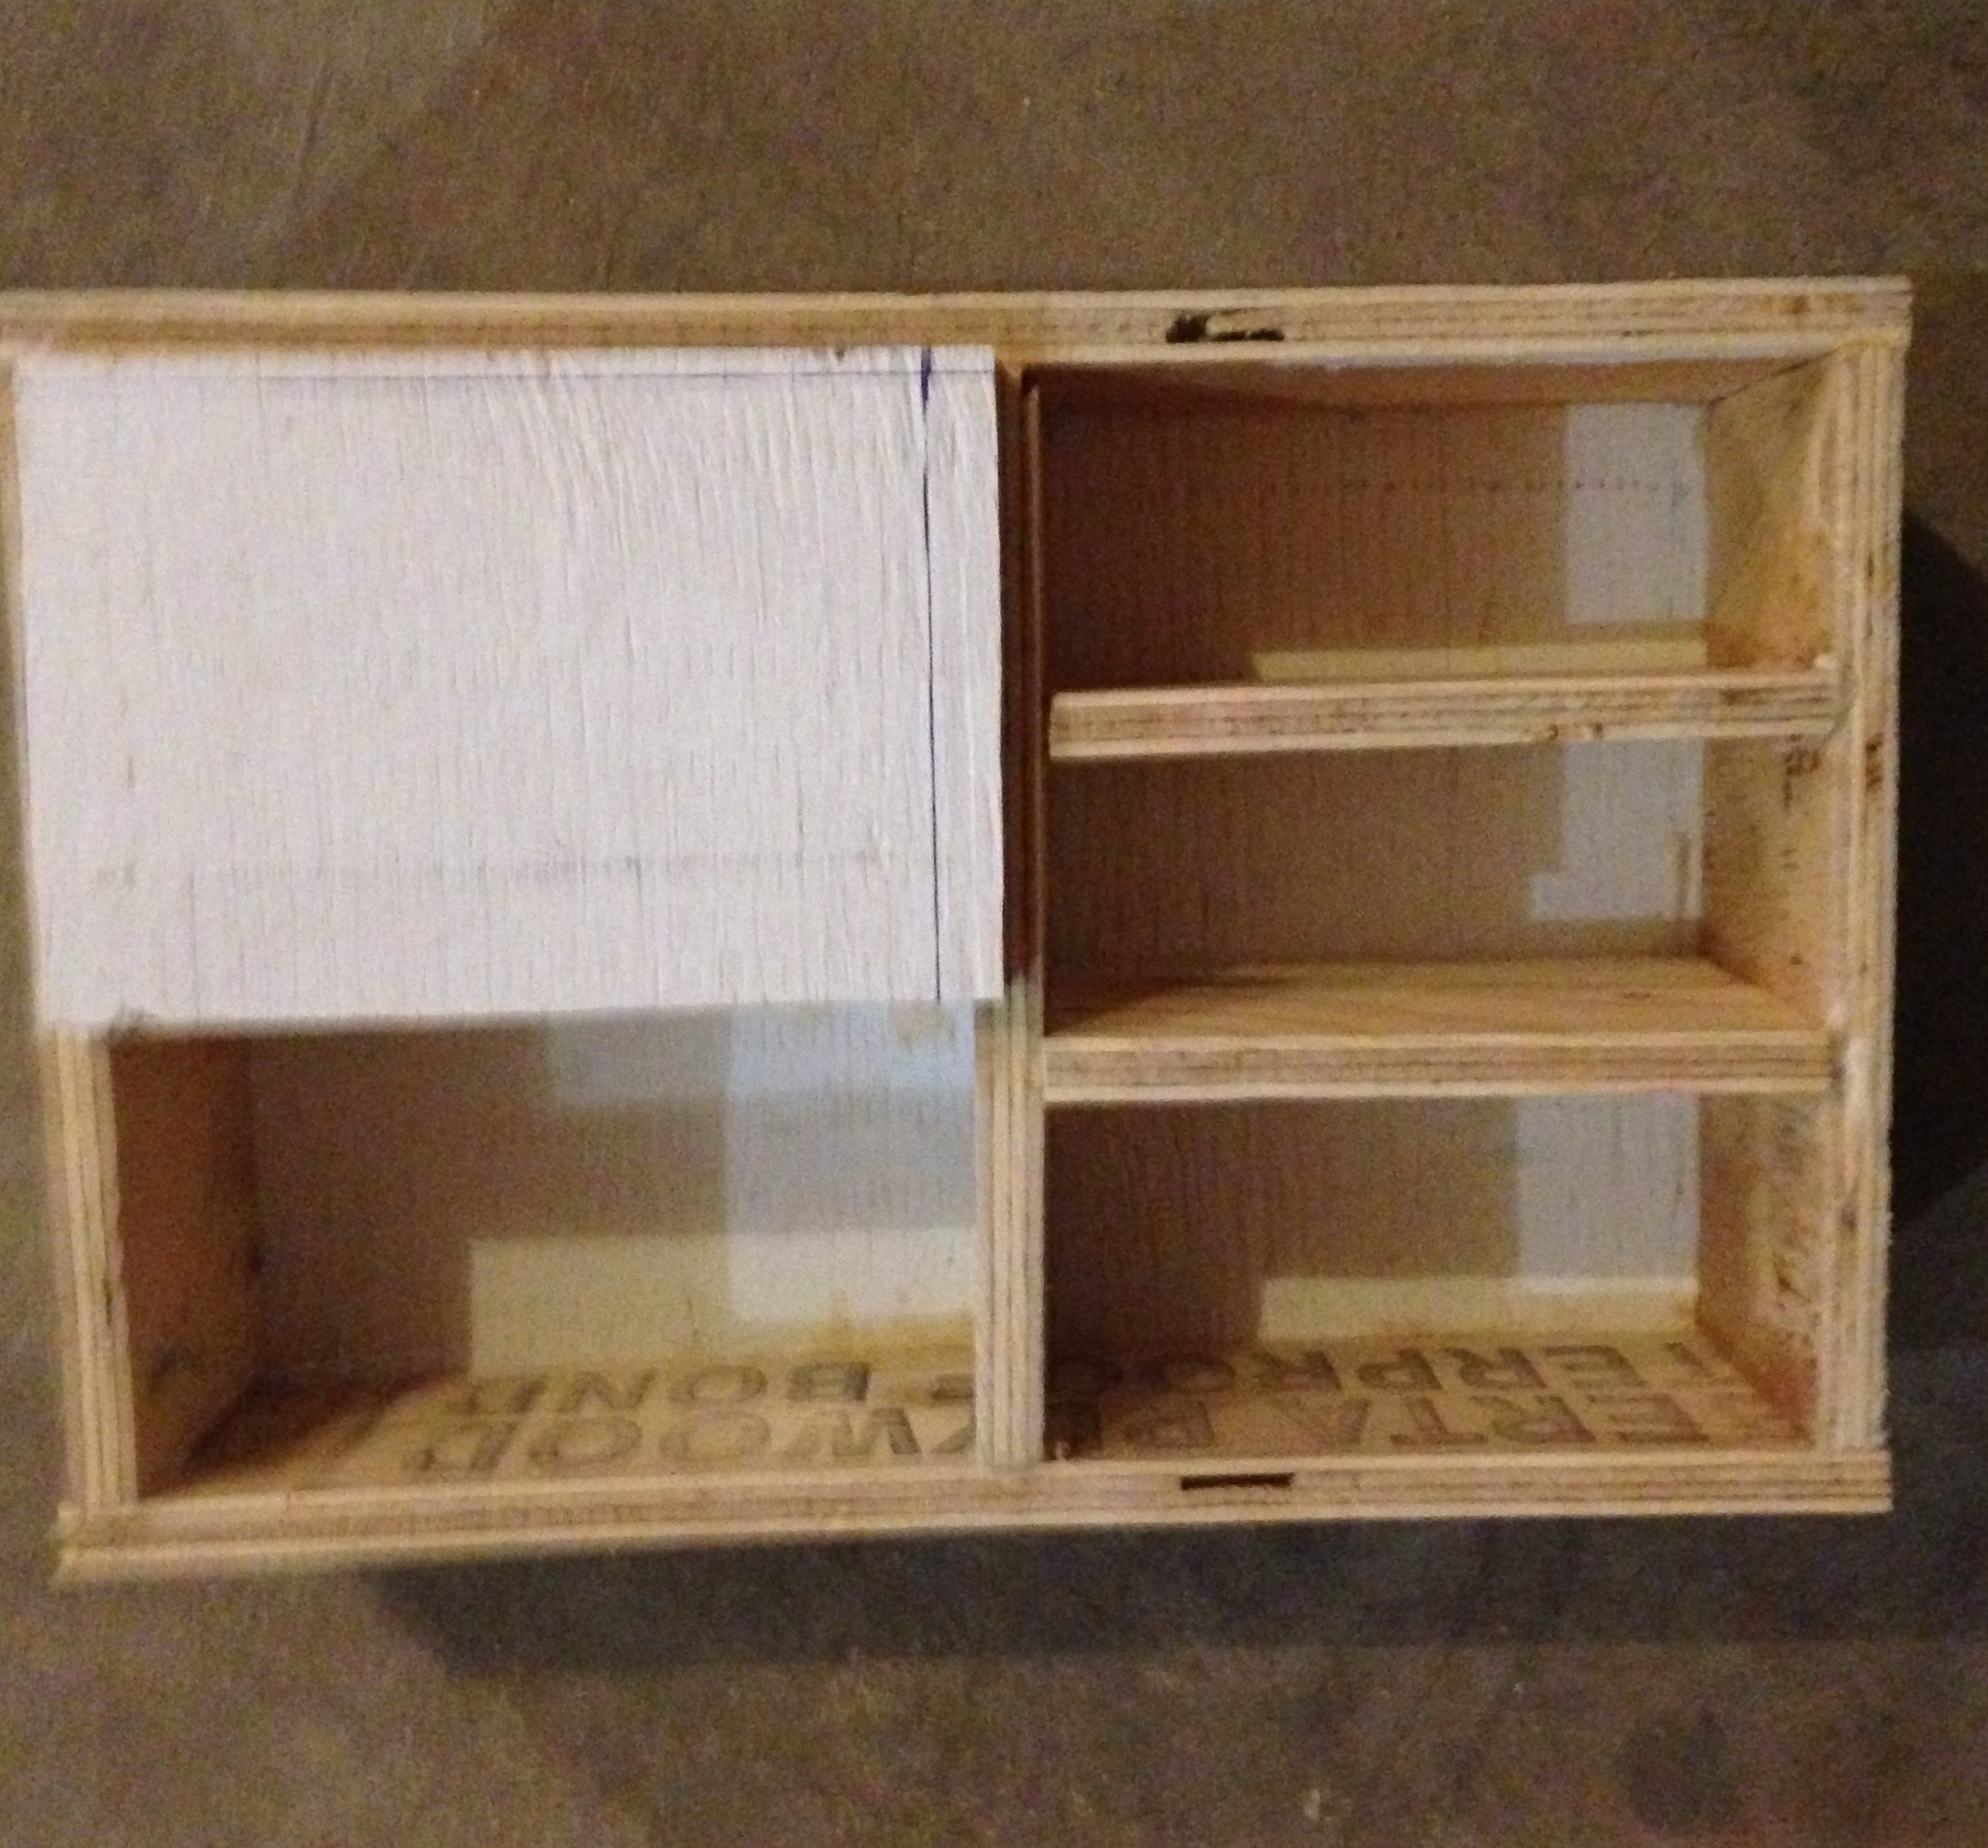
I started with a box. I am not a pro by any means so bear with me.
I added a door and some shelves.
I painted it with metallic silver. Then I cut a window in the door.

Tada! I added a drawer pull for a handle and some plexiglass to the front. I also screwed some vitamin bottle caps to the bottom for legs. Reusing everywhere!
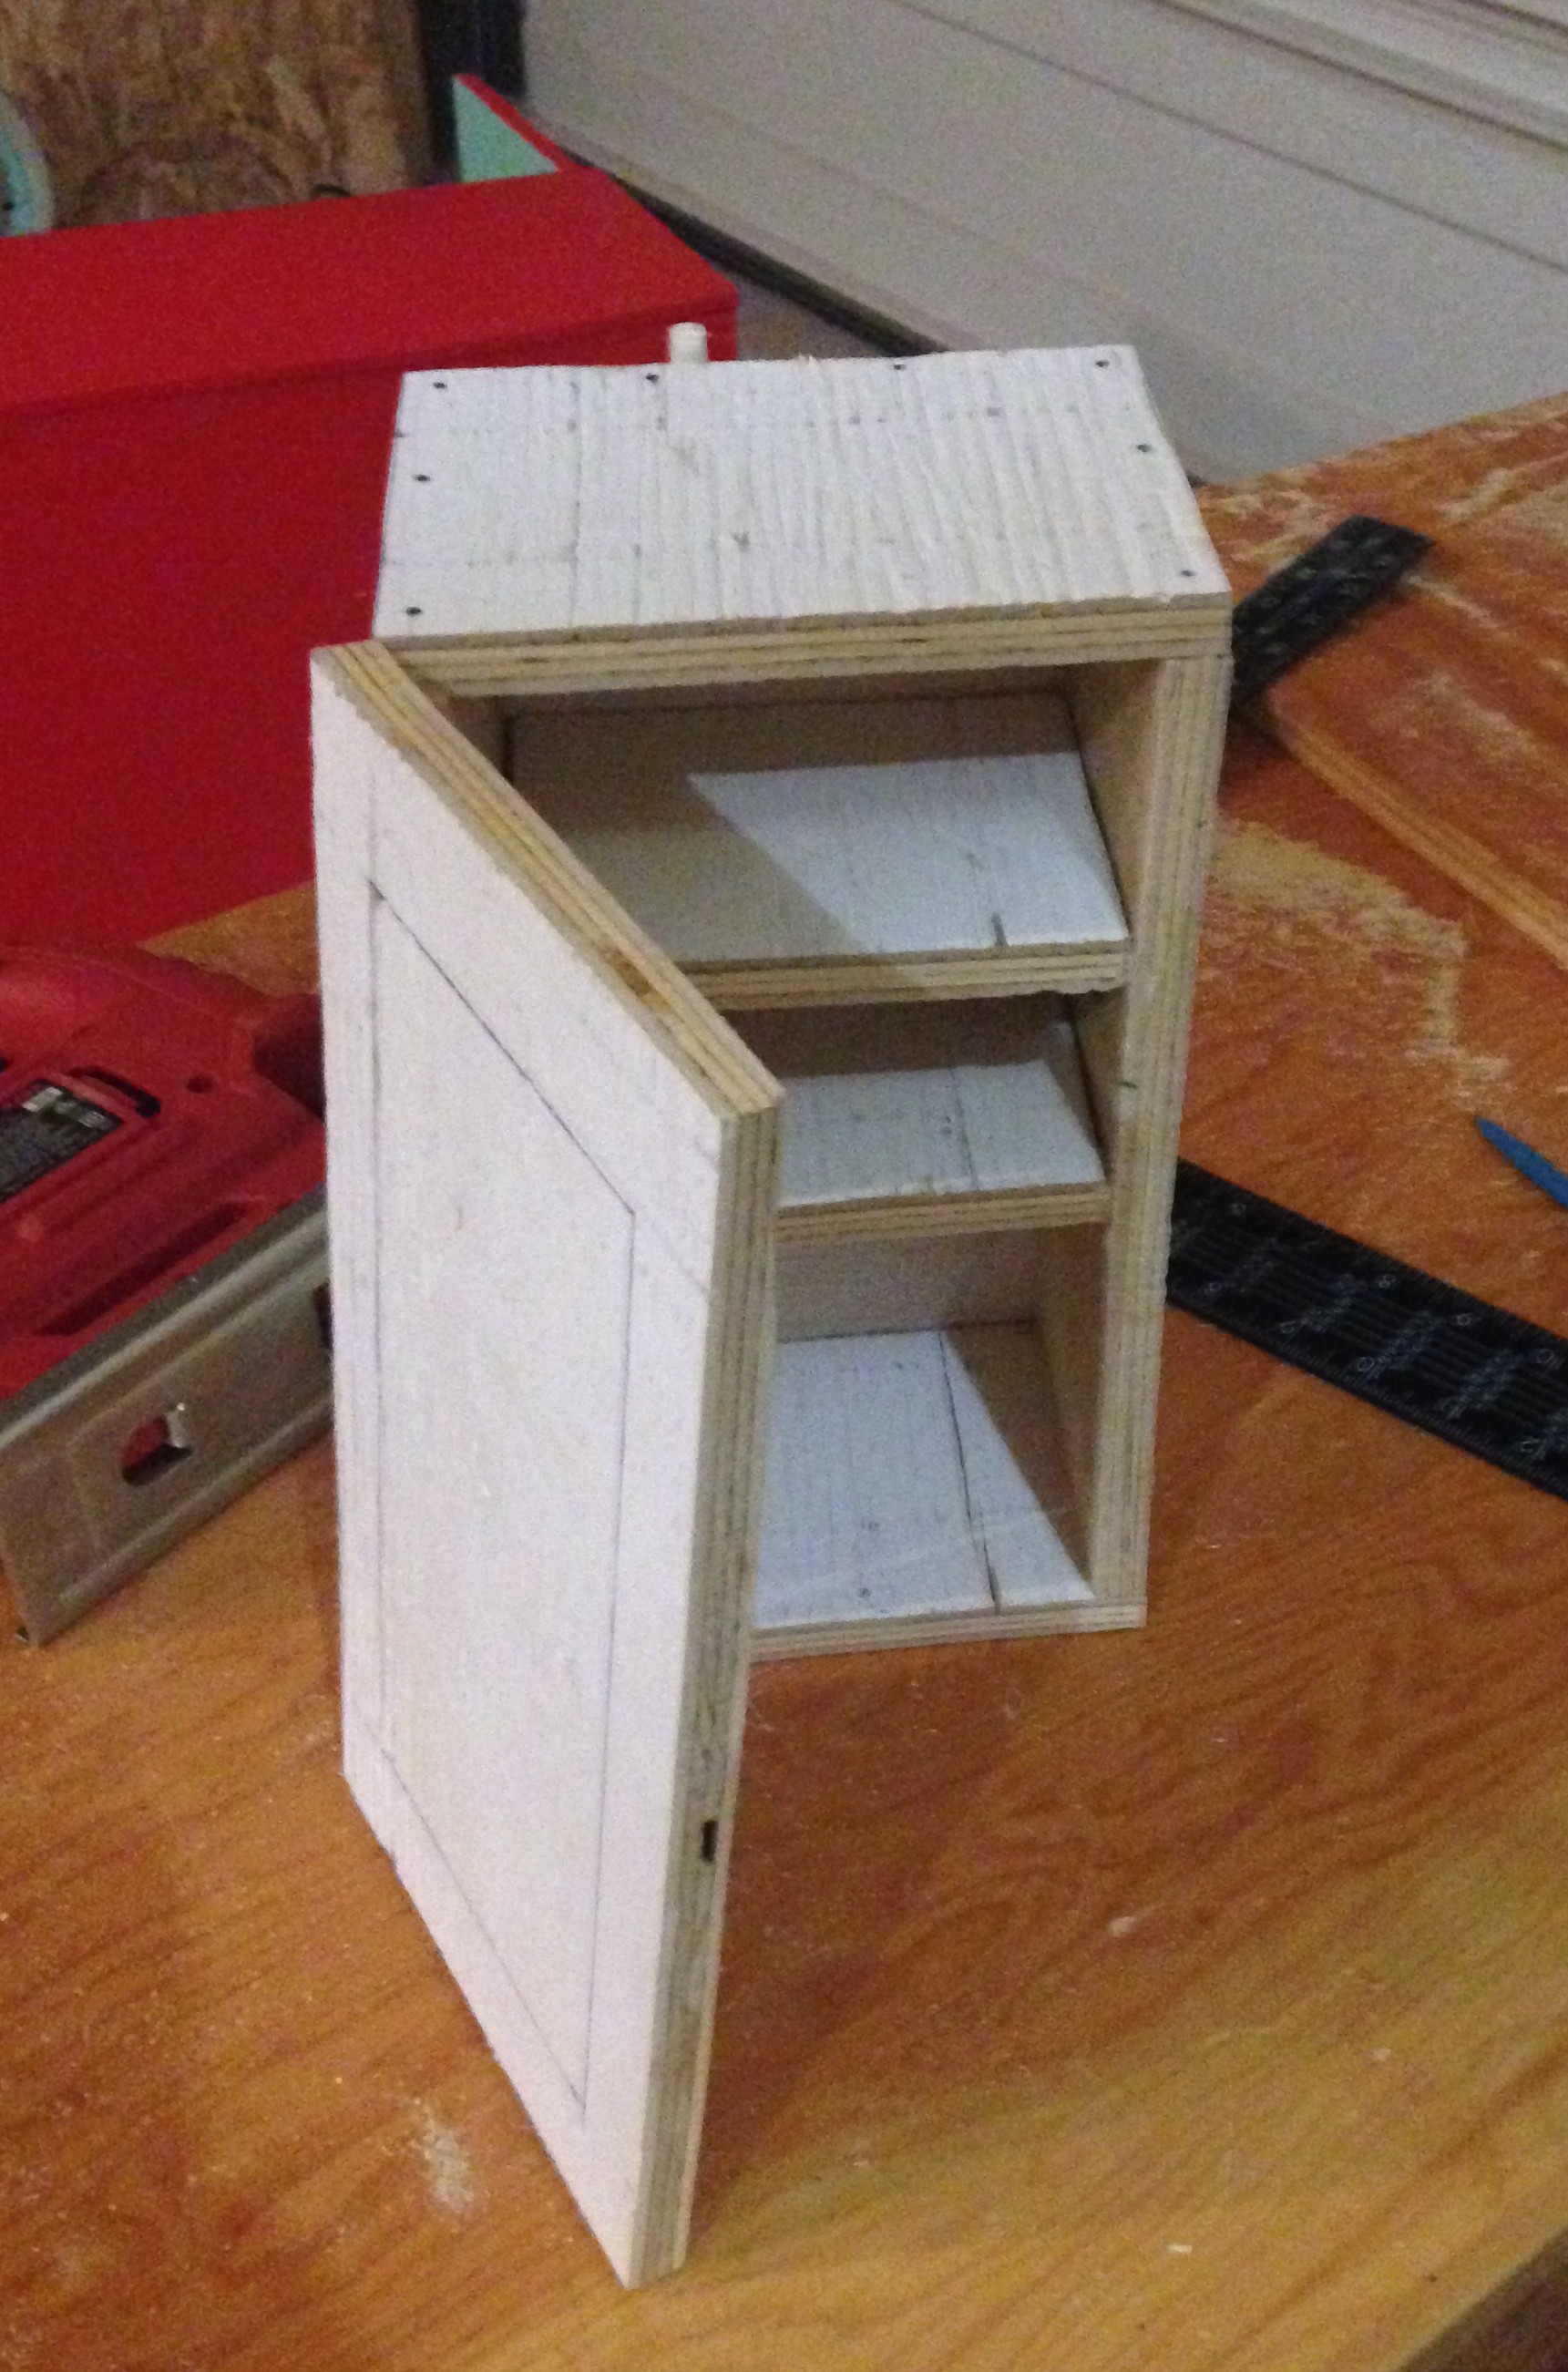
SINK/OVEN COMBO:
Again, I started with a box, and I added some shelves. I know that this isn’t exactly the best tutorial, but I was winging it just as much as the next person. I used 1″ finishing nails and wood glue to hold it all together. I realize that in the first picture the unit is actually upside down. Oops. 🙂
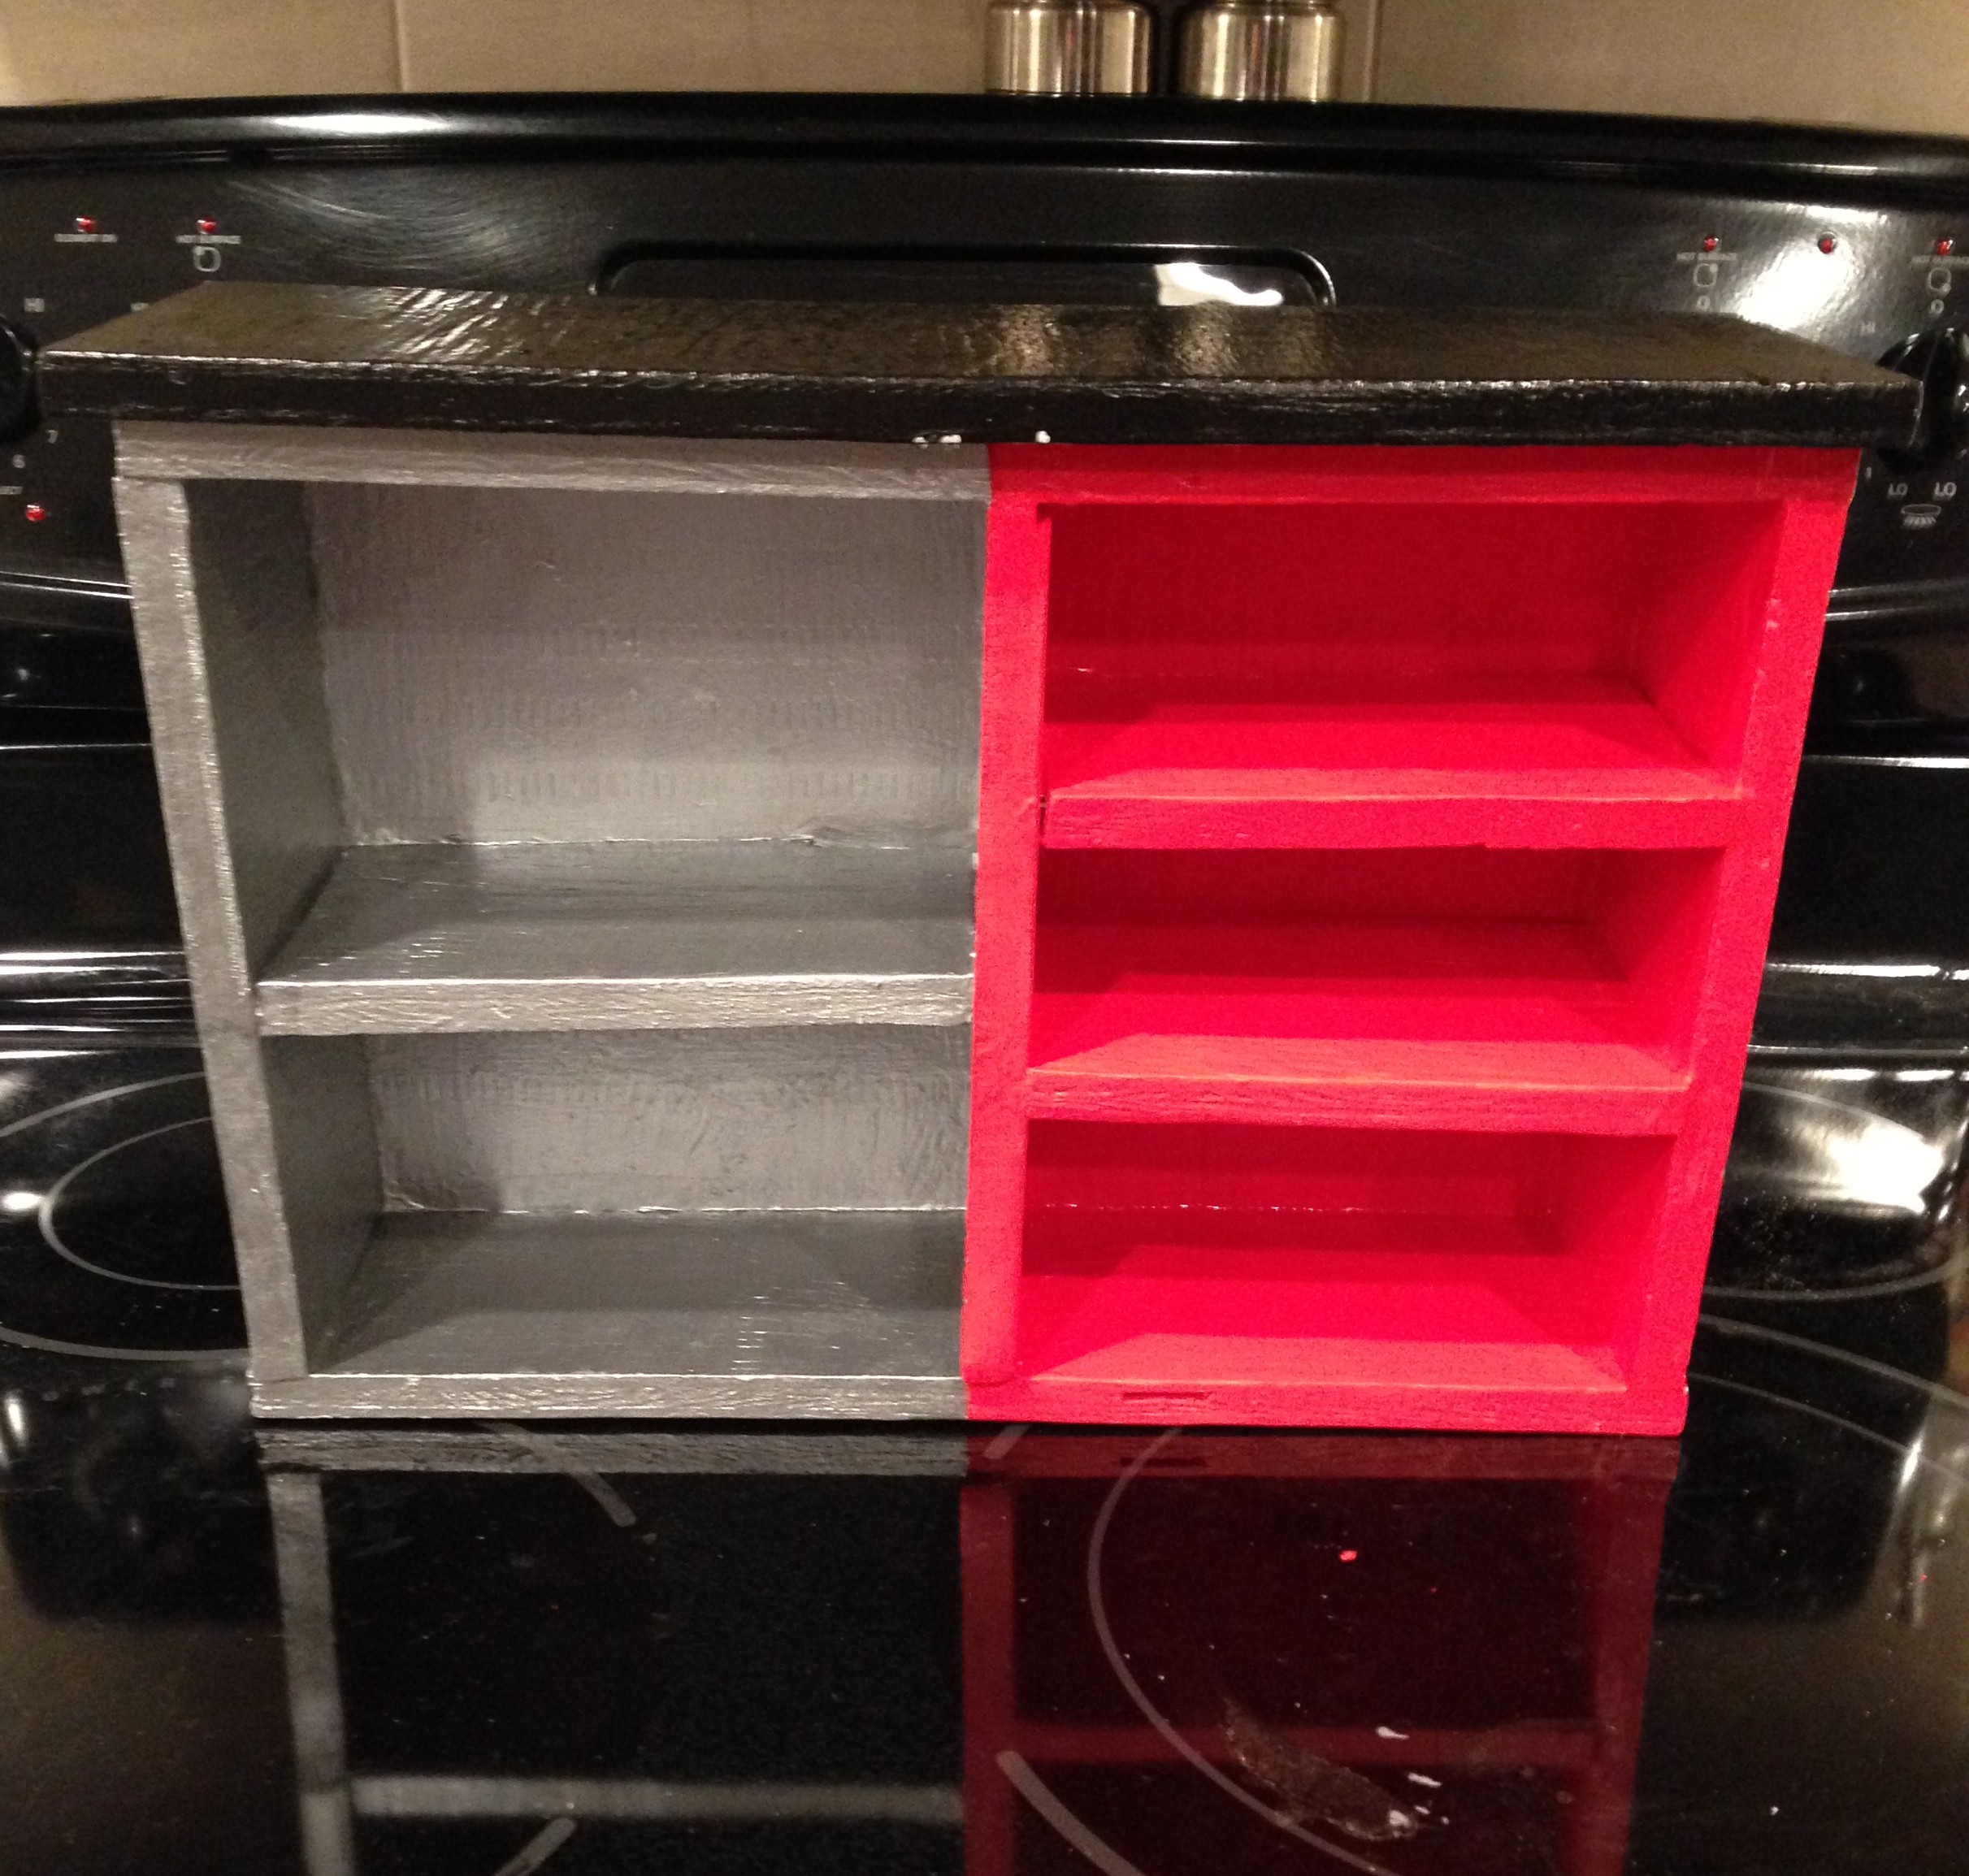
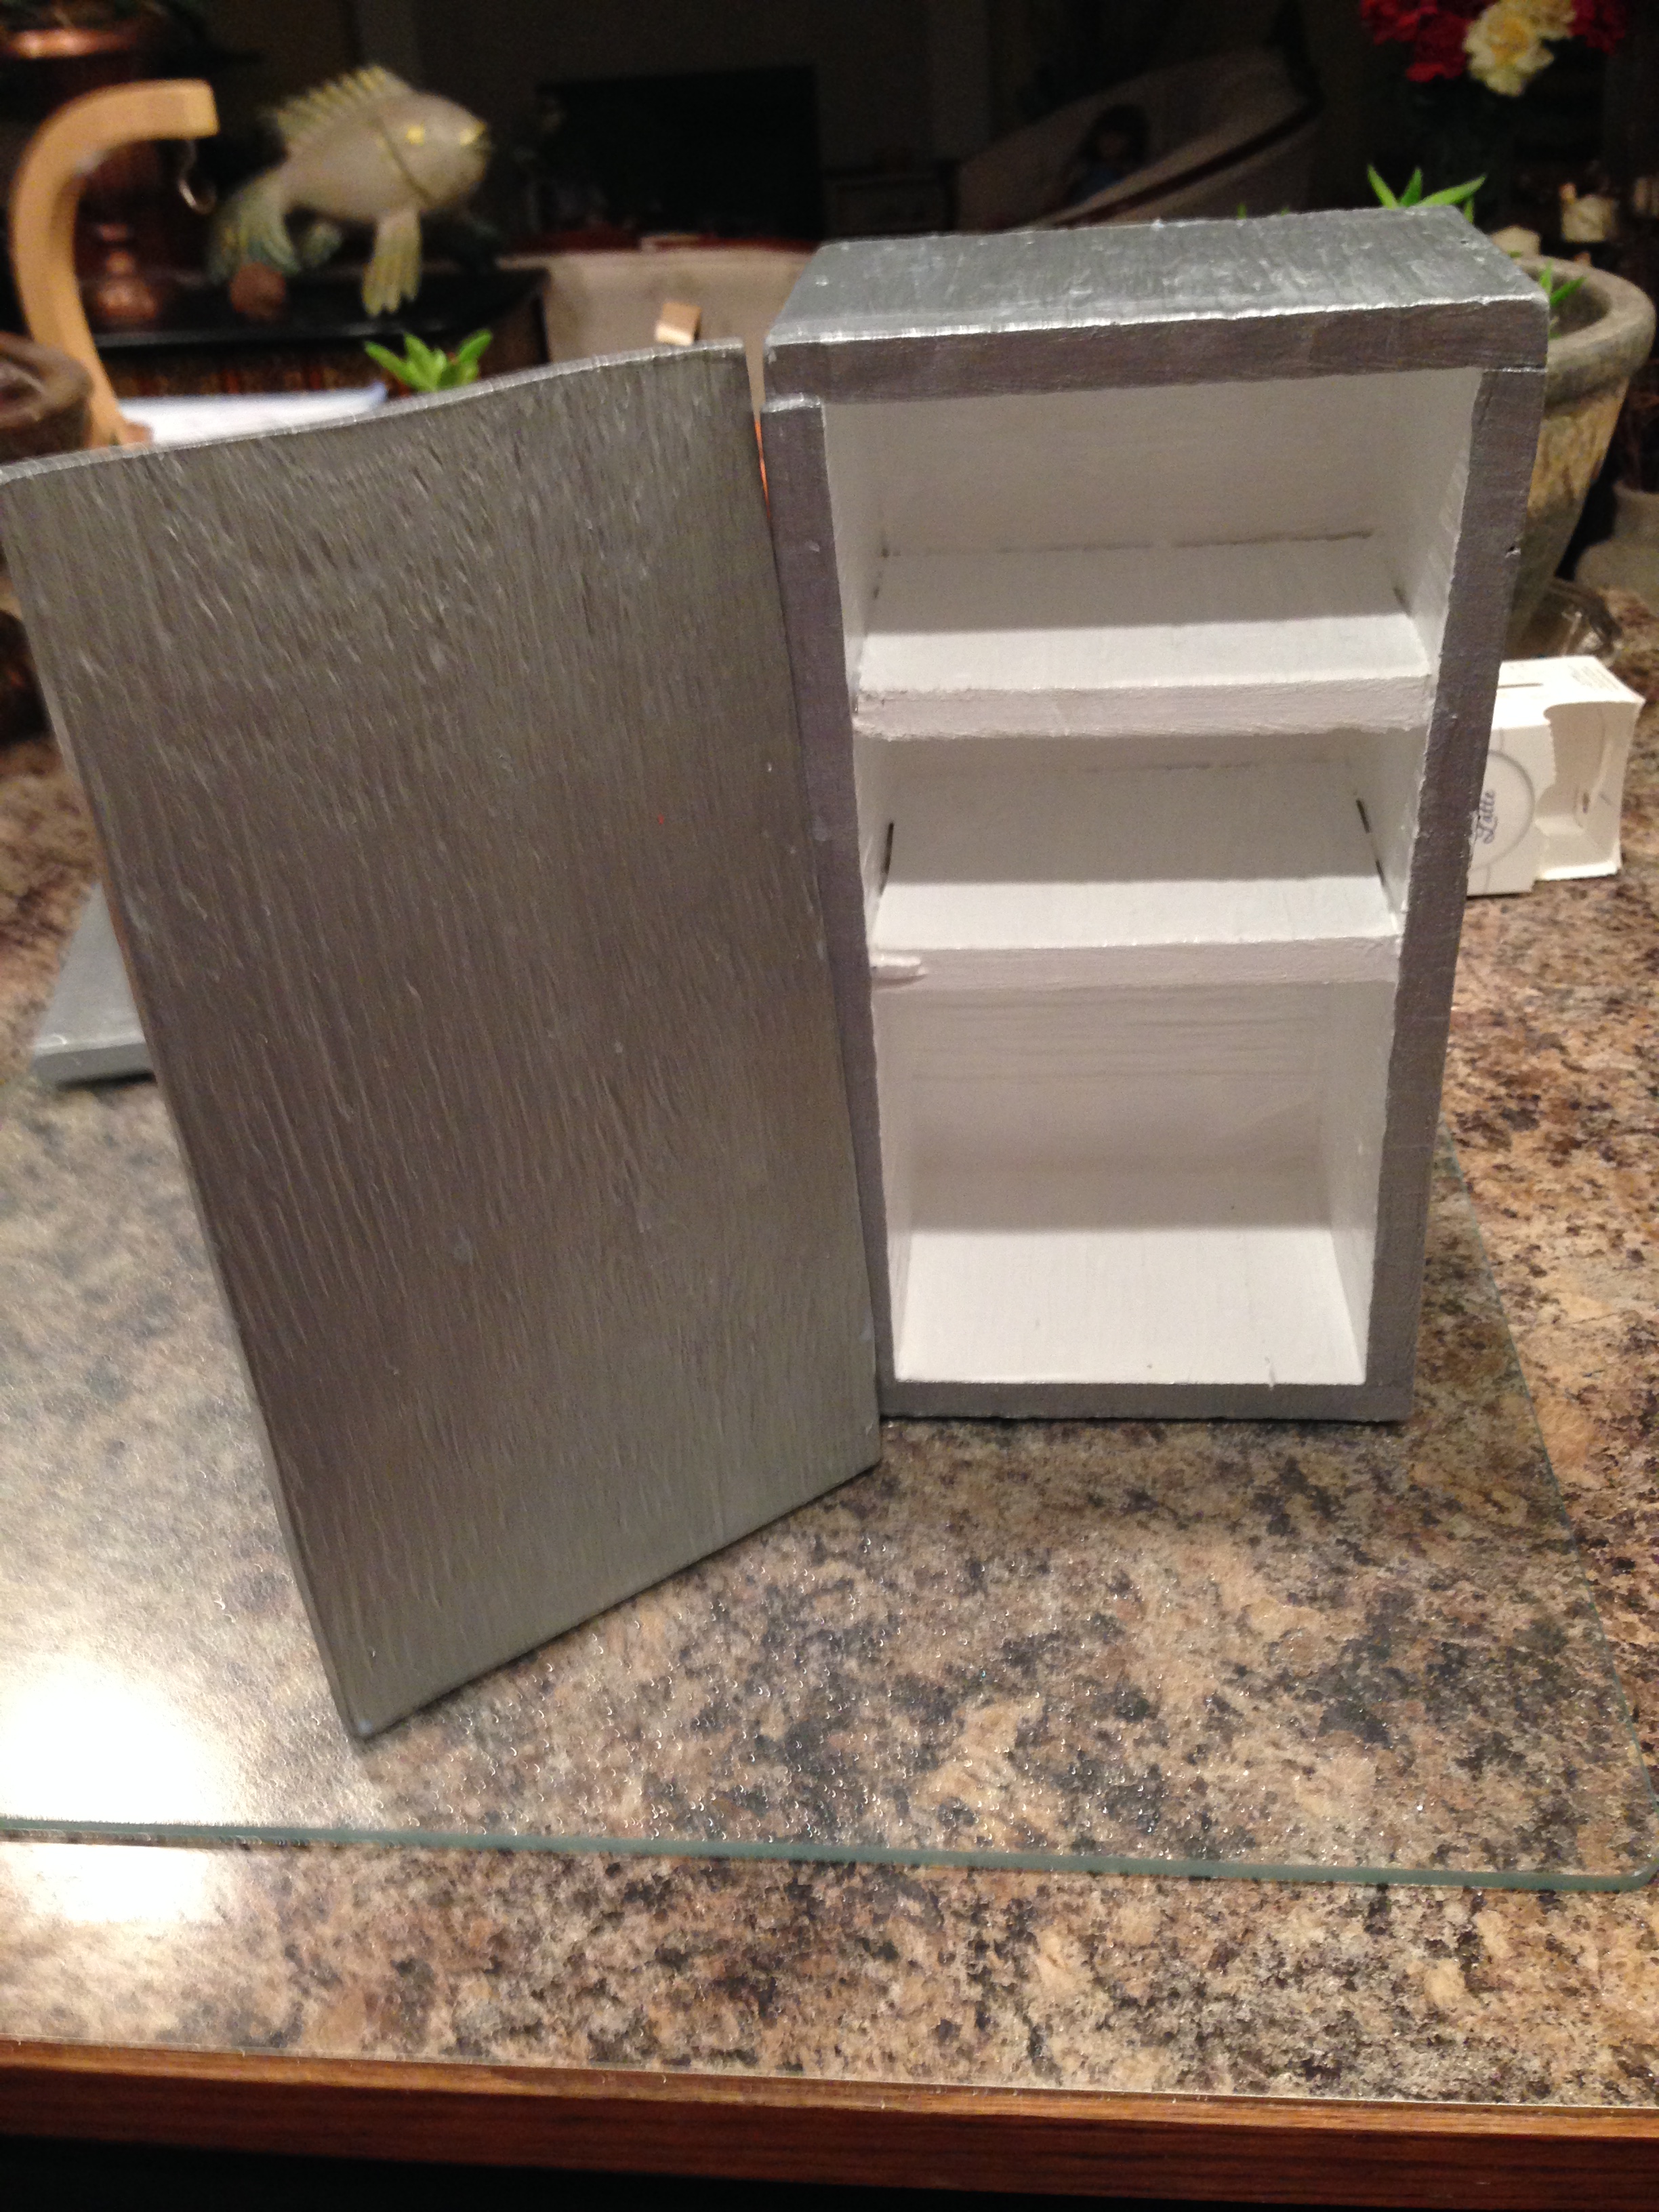
Next, I painted one side the same red as the bakery, and the other side in metallic silver. I used a high gloss black paint for the countertop. I cut a hole in the oven door and added some plexiglass and a handle. Then I used a small cabinet clasp to secure the oven door closed. Pretty!
SHELF:
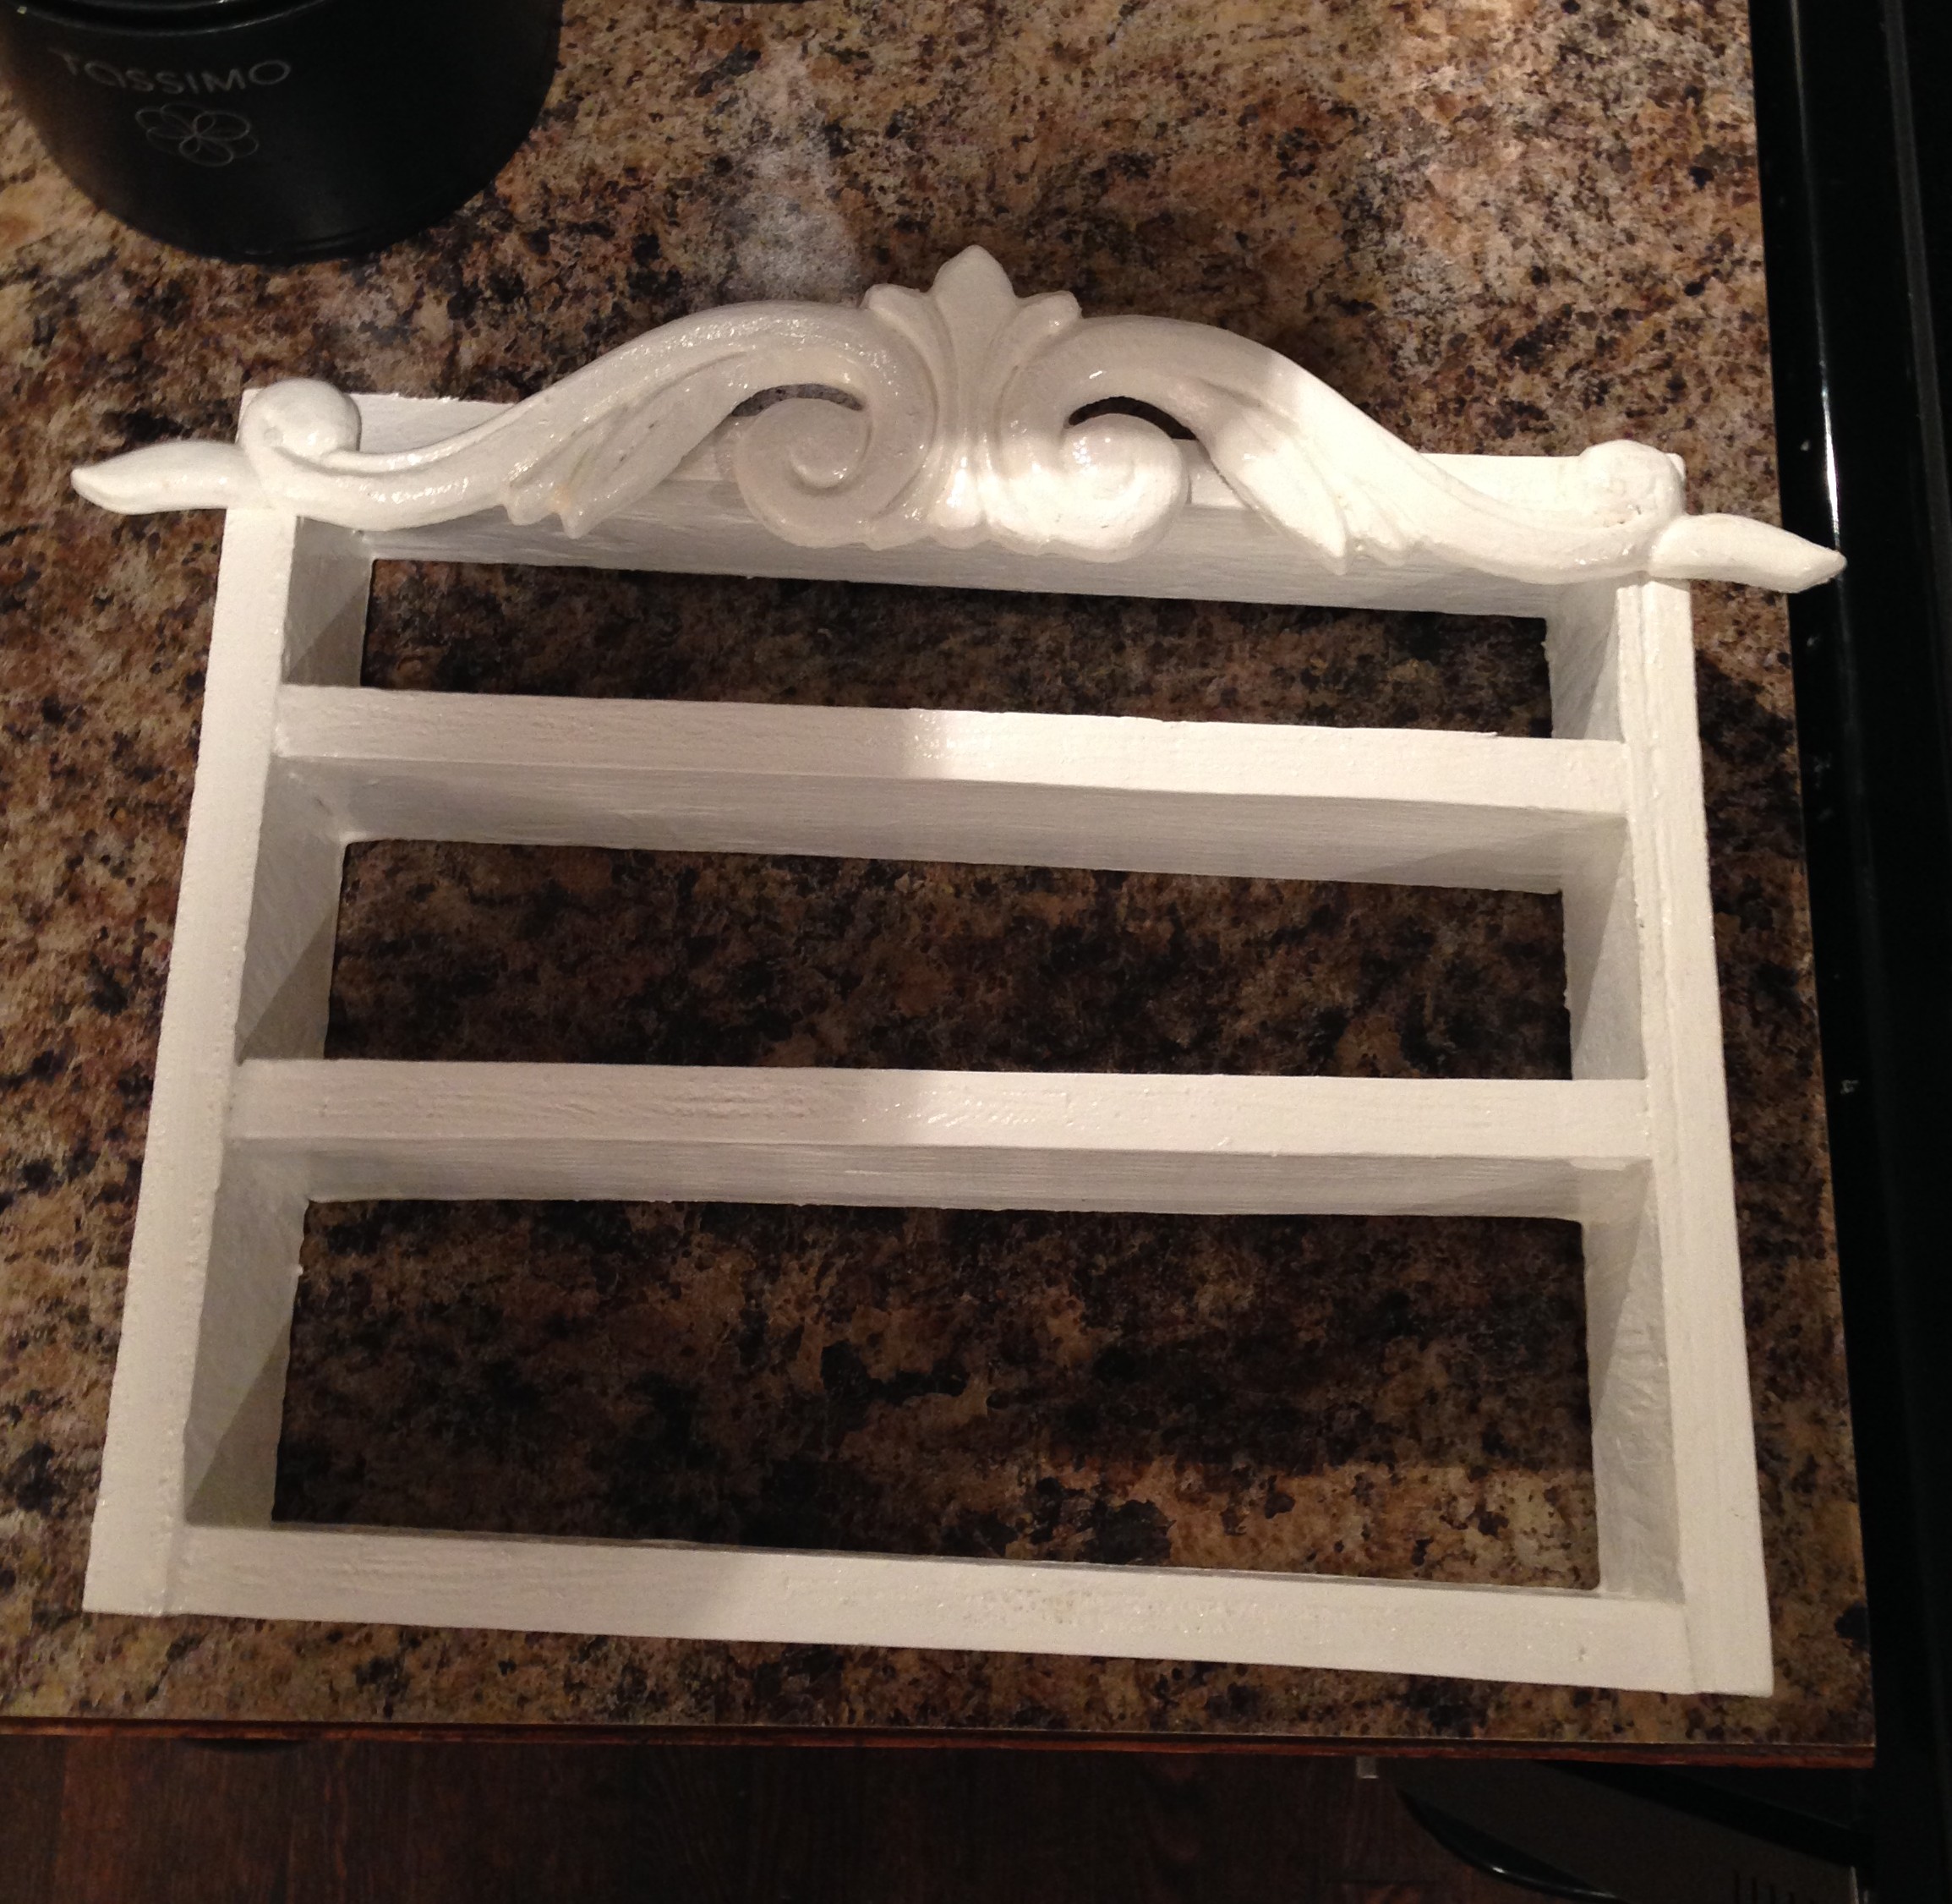
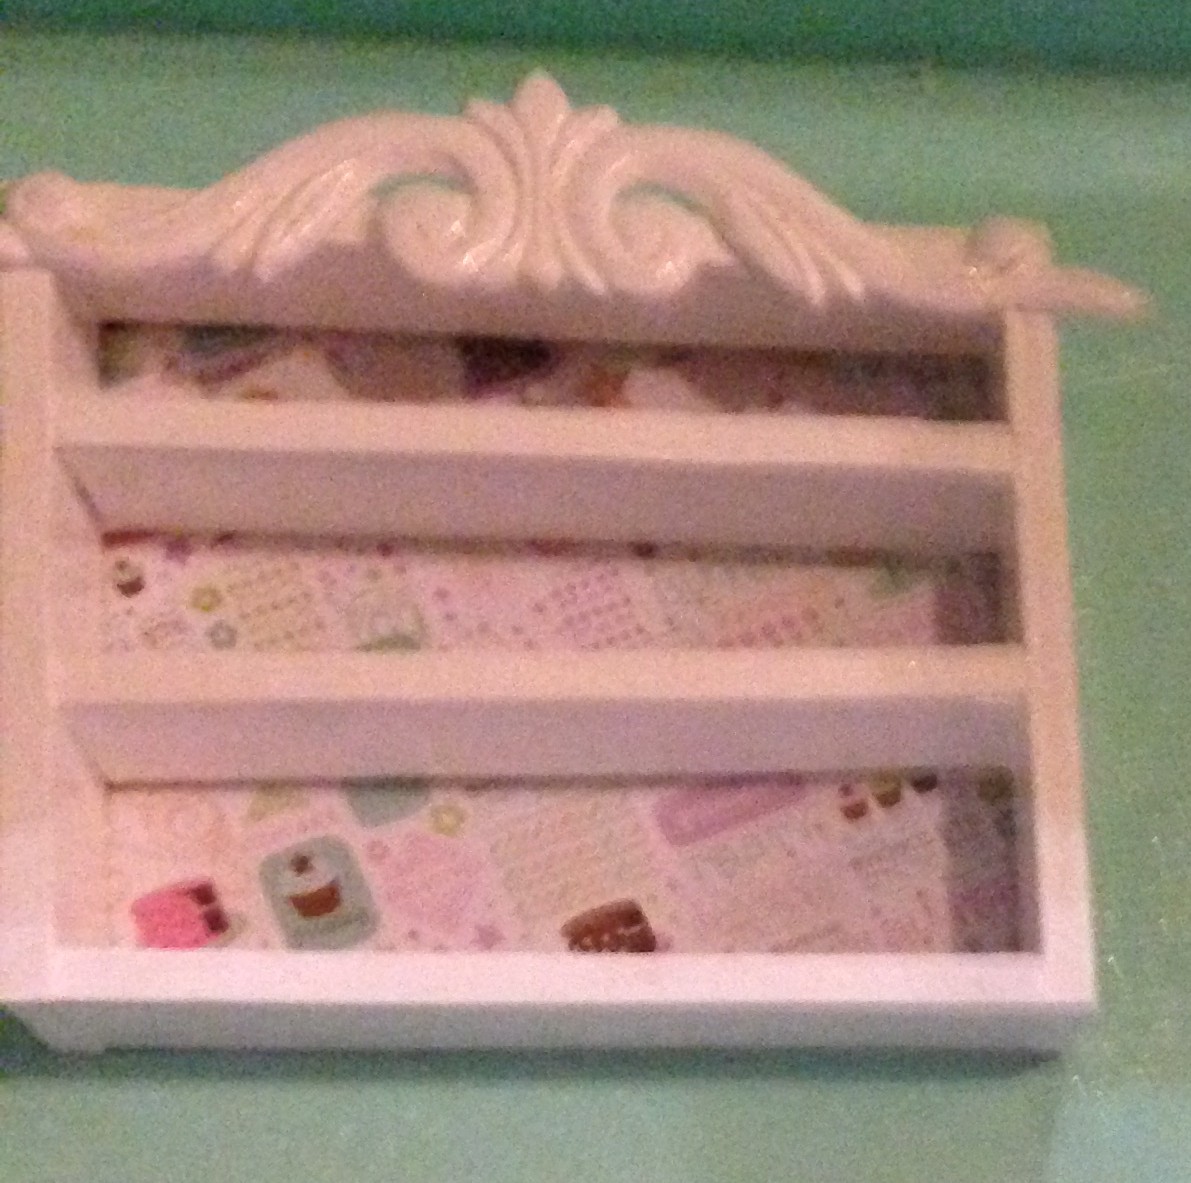
Okay, I didn’t realize how crooked these shelves were until now! Haha! Oh well, my girl doesn’t seem to notice. Remember, I’m not a pro at this! 🙂 I put up some bakery themed scrapbook paper on the wall behind the shelf.
I also added a piece of scrollwork at the top to give the shelf some detail. There are a lot of these wood pieces in all sorts of different designs at Home Depot. I even wood glued one to the front of my fireplace to create an elegant illusion. Can you spot it?
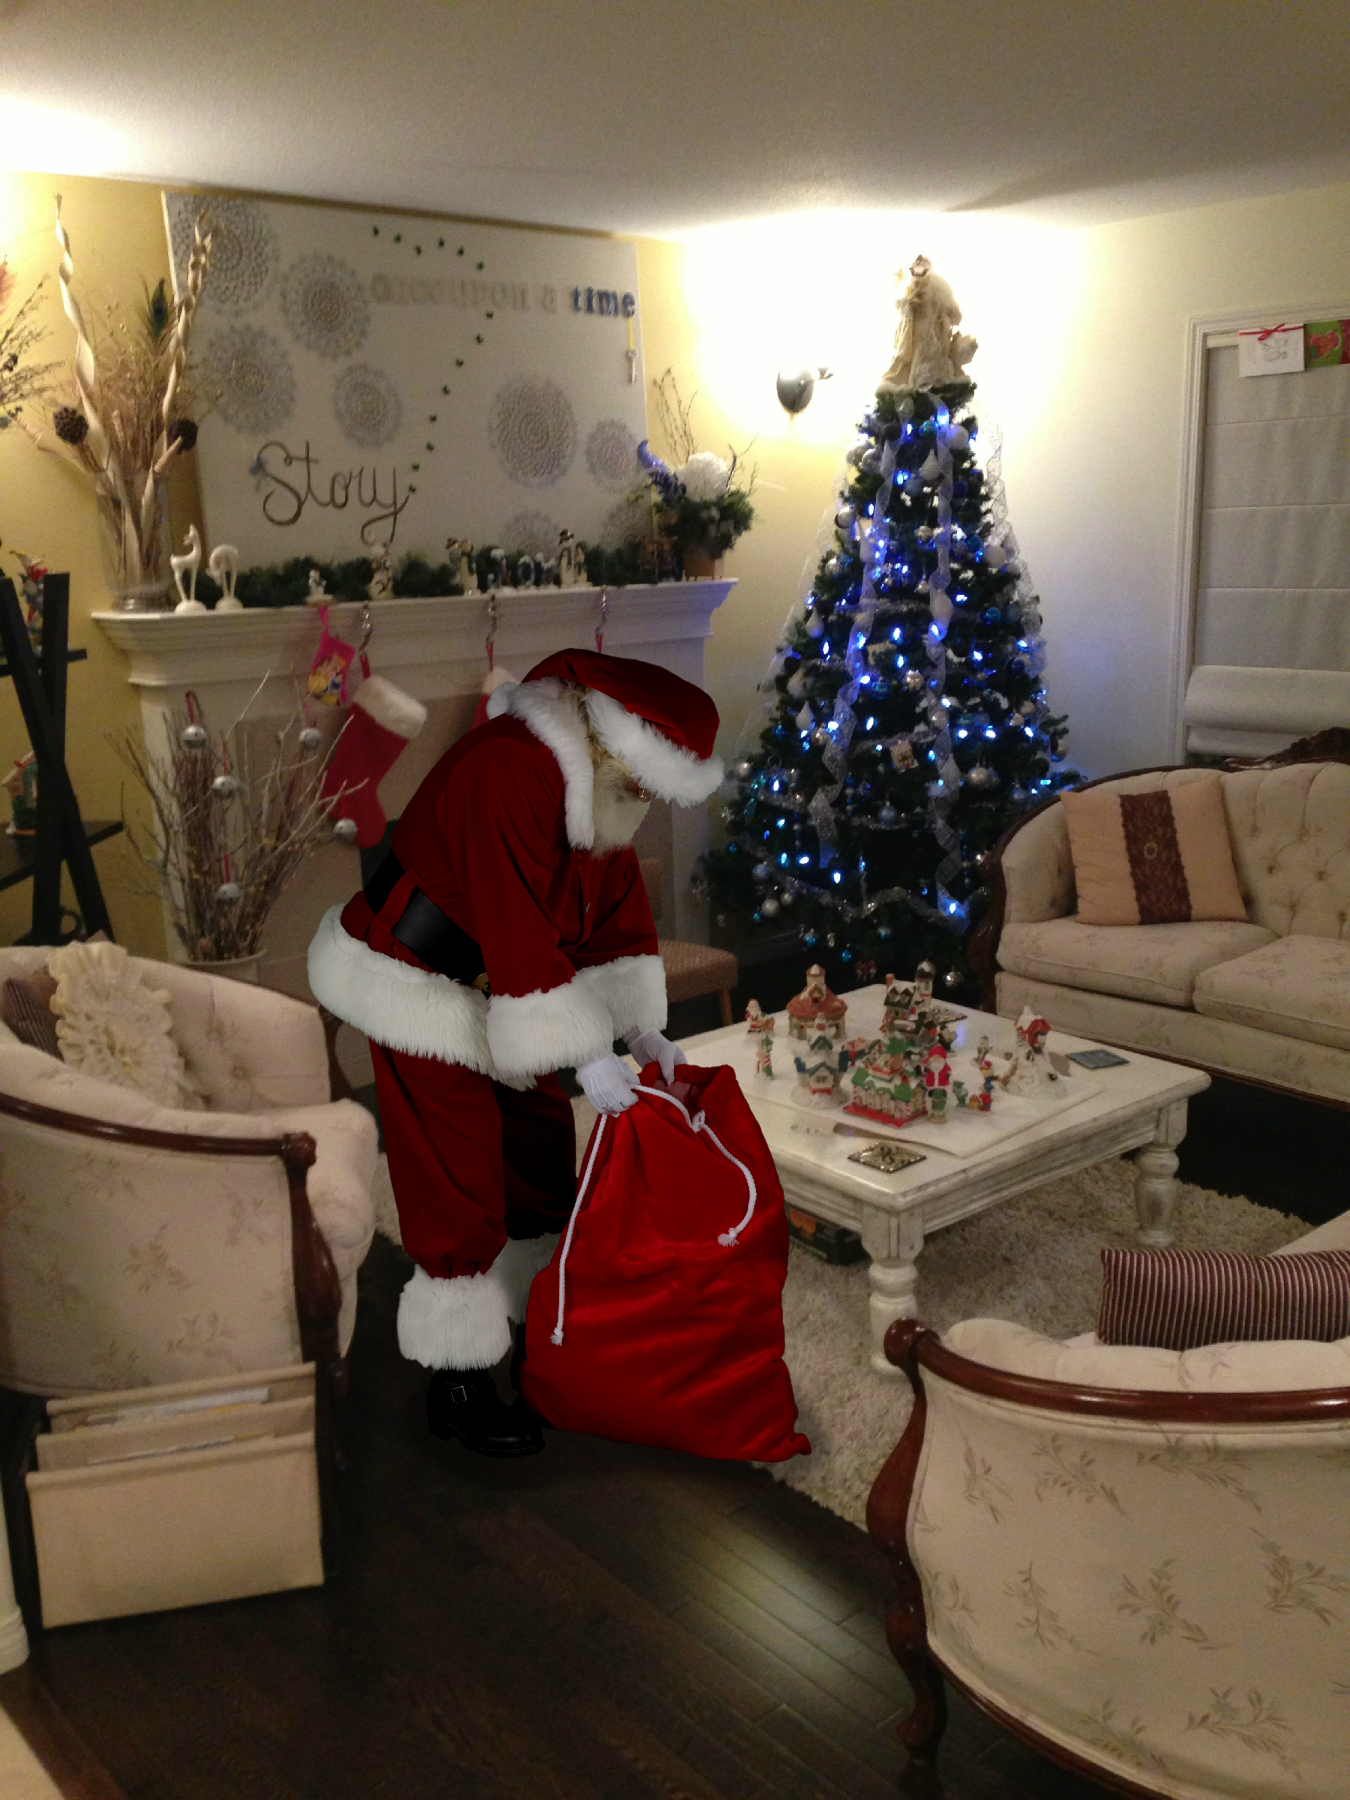
It might be difficult to see in these pictures, but it’s behind one of the stockings. 🙂
And yes, we caught Santa Claus on film this year. My daughter insists that it was all my idea. She wants Santa to know that she had nothing to do with it in an effort to stay off of the naughty list. Haha!
So there you have it! A basic tutorial to help you build your own Grace’s bakery. Like I said, I kept it pretty simple. I’m not exactly fancy, but it sure did the trick! My girl absolutely loves her new bakery!

For all of the adorable little details, check out the bakery reveal.
Now let’s all go rock 2016!!

One thought on “GRACE’S BAKERY BUILD TUTORIAL”