

Can we all do a little squeal of happiness for the new Maryellen Larkin historical American Girl doll?
Yes please!!
As soon as we saw her, we were totally in love! Now everything is coming up Maryellen Larkin, especially anything from her era of the 1950’s.
So of course when we saw her Seaside Diner, we were even more excited. But then we saw the price tag, and obviously all of that excitement went straight out the window. Back to reality.
Then again, sometimes reality isn’t such a bad place to be. I mean, I could make that thing right? How hard could it really be?
I am going to break this post up into two parts because it was quite the job, and we aren’t quite finished with it yet. We are busy adding to it a little bit each day. So in this post, I am going to cover the making of the actual diner structure itself, and I will save all of the other bits and bobs for later.
Let’s begin!
Things you will need to build the counter:
1/2″ Plywood (I had some scrap sheets on hand)
1″ Finishing nails
Wood glue
Circular saw (safety glasses and adult required)
Tape measure
Sandpaper
Jigsaw (optional)
*Note: I made this plan myself, but I am not an expert builder.
Cut List:
20″x 10″ Floor
25″x 5″ Left side
20″x 5″ Countertop
21″x 3.5″ Diner Sign
20″x 10″ Front of counter
You will also need this for the right side of the diner:

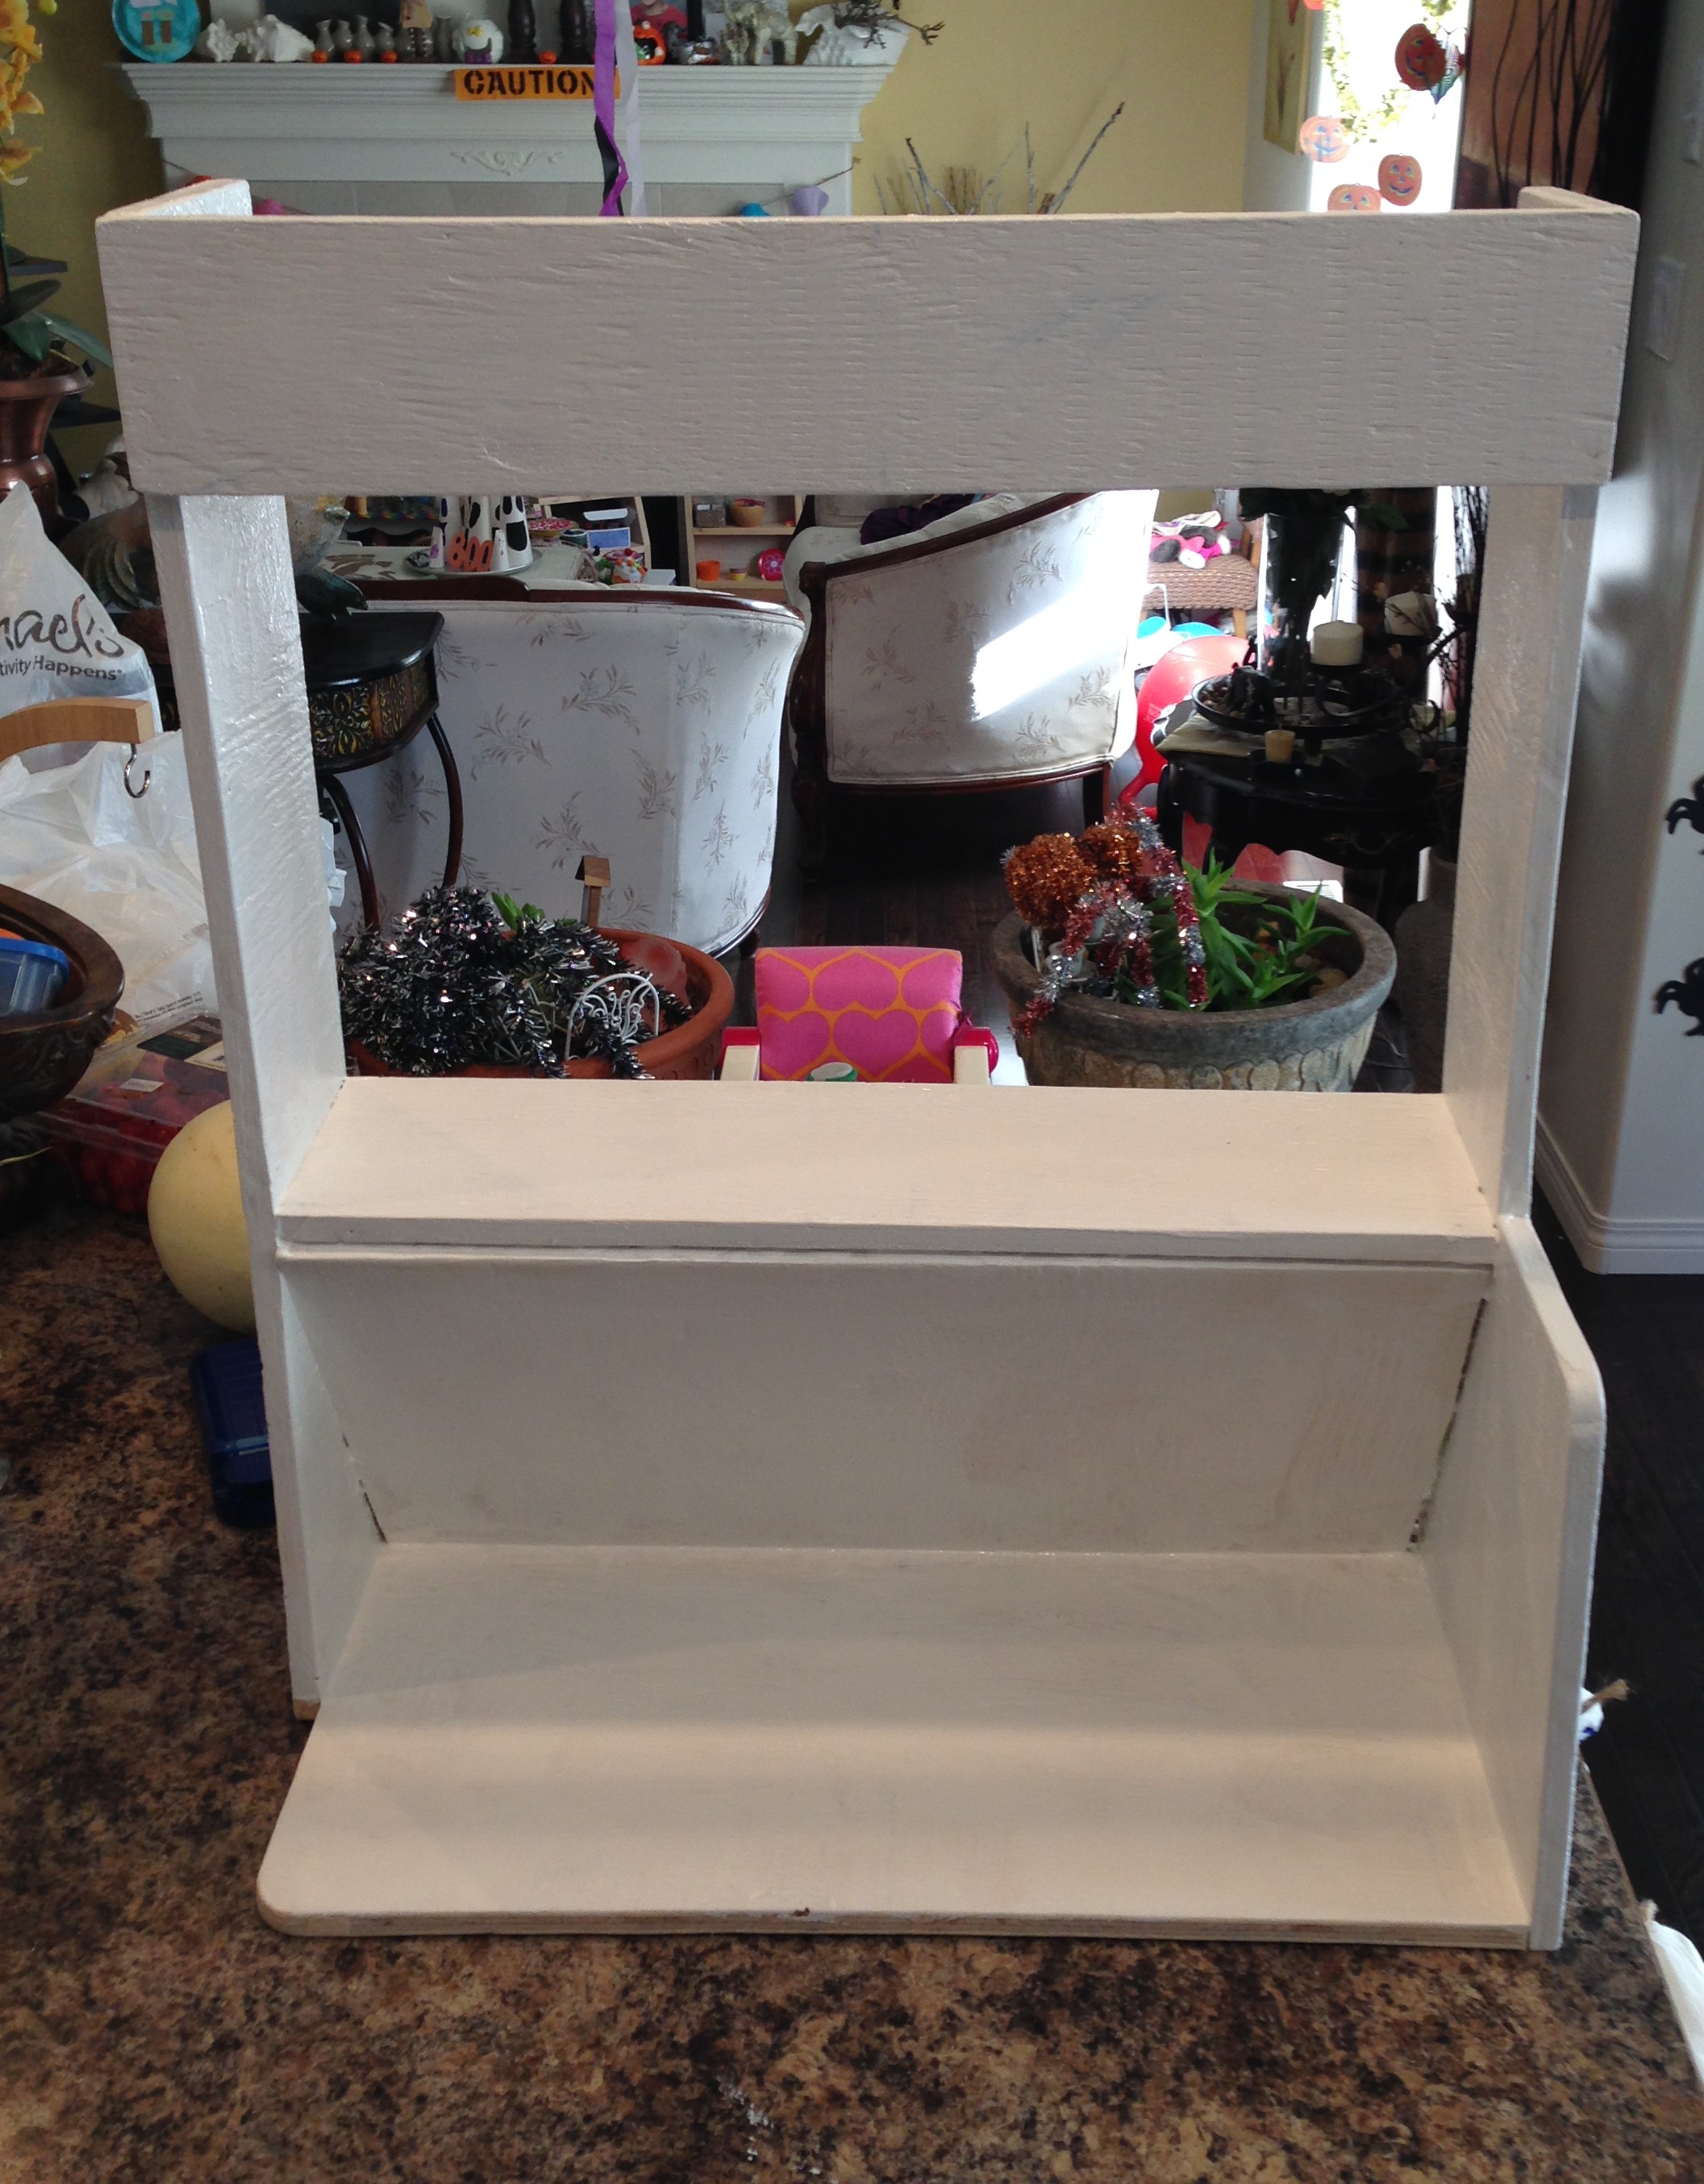
Essentially this is kind of what your finished product should look like:
 This is the counter side of the diner. The diner sign must be an inch longer than the rest of the 20″ cuts because it attaches to the front of the 1/2″ plywood on either end.
First measure and cut out all of your pieces. Sand the edges smooth.
To assemble, use wood glue and finishing nails to attach the right and left sides to the floor piece. Next use glue and nails to attach the diner sign at the top. Insert the front of your counter at an angle and glue and nail into place. Finally, attach the countertop.
There you have it! As you can see, I used my jigsaw to round the corner of the floor, and the edge of the retaining wall, but that is optional. I just like the way that it looks.

Next, I cut out a side piece for the wall. I made mine 30″x 25″

I will be attaching it to my counter with hinges later. I also cut out a smaller plywood piece at 20″x 25″ to hinge onto the very end, but I haven’t done much with that yet.
Let’s get to the fun part!
You will need:
Sharpie marker
Pencil/Ruler
Any hexagonal patterned paper (I just printed a tile image from online)
Printables (I found these awesome retro diner images from LivingADoll’sLife)
Mod podge
Silver scrapbooking card stock
Paint colours:
Primer (quart)
Behr Eggshell-Aqua Wish (quart)
Behr Semi-Gloss-Hot Gossip (quart)
Behr Marquee Collection Satin Finish- Gulf Waters (small sample)
Black (small sample)
White (small sample)
Silver craft paint
Reddish orange craft paint
*****************************
Let’s begin:
First prime everything.
Next paint the left side of the diner with Aqua Wish and the right side with Hot Gossip. (Paint colour names are just too cute!)
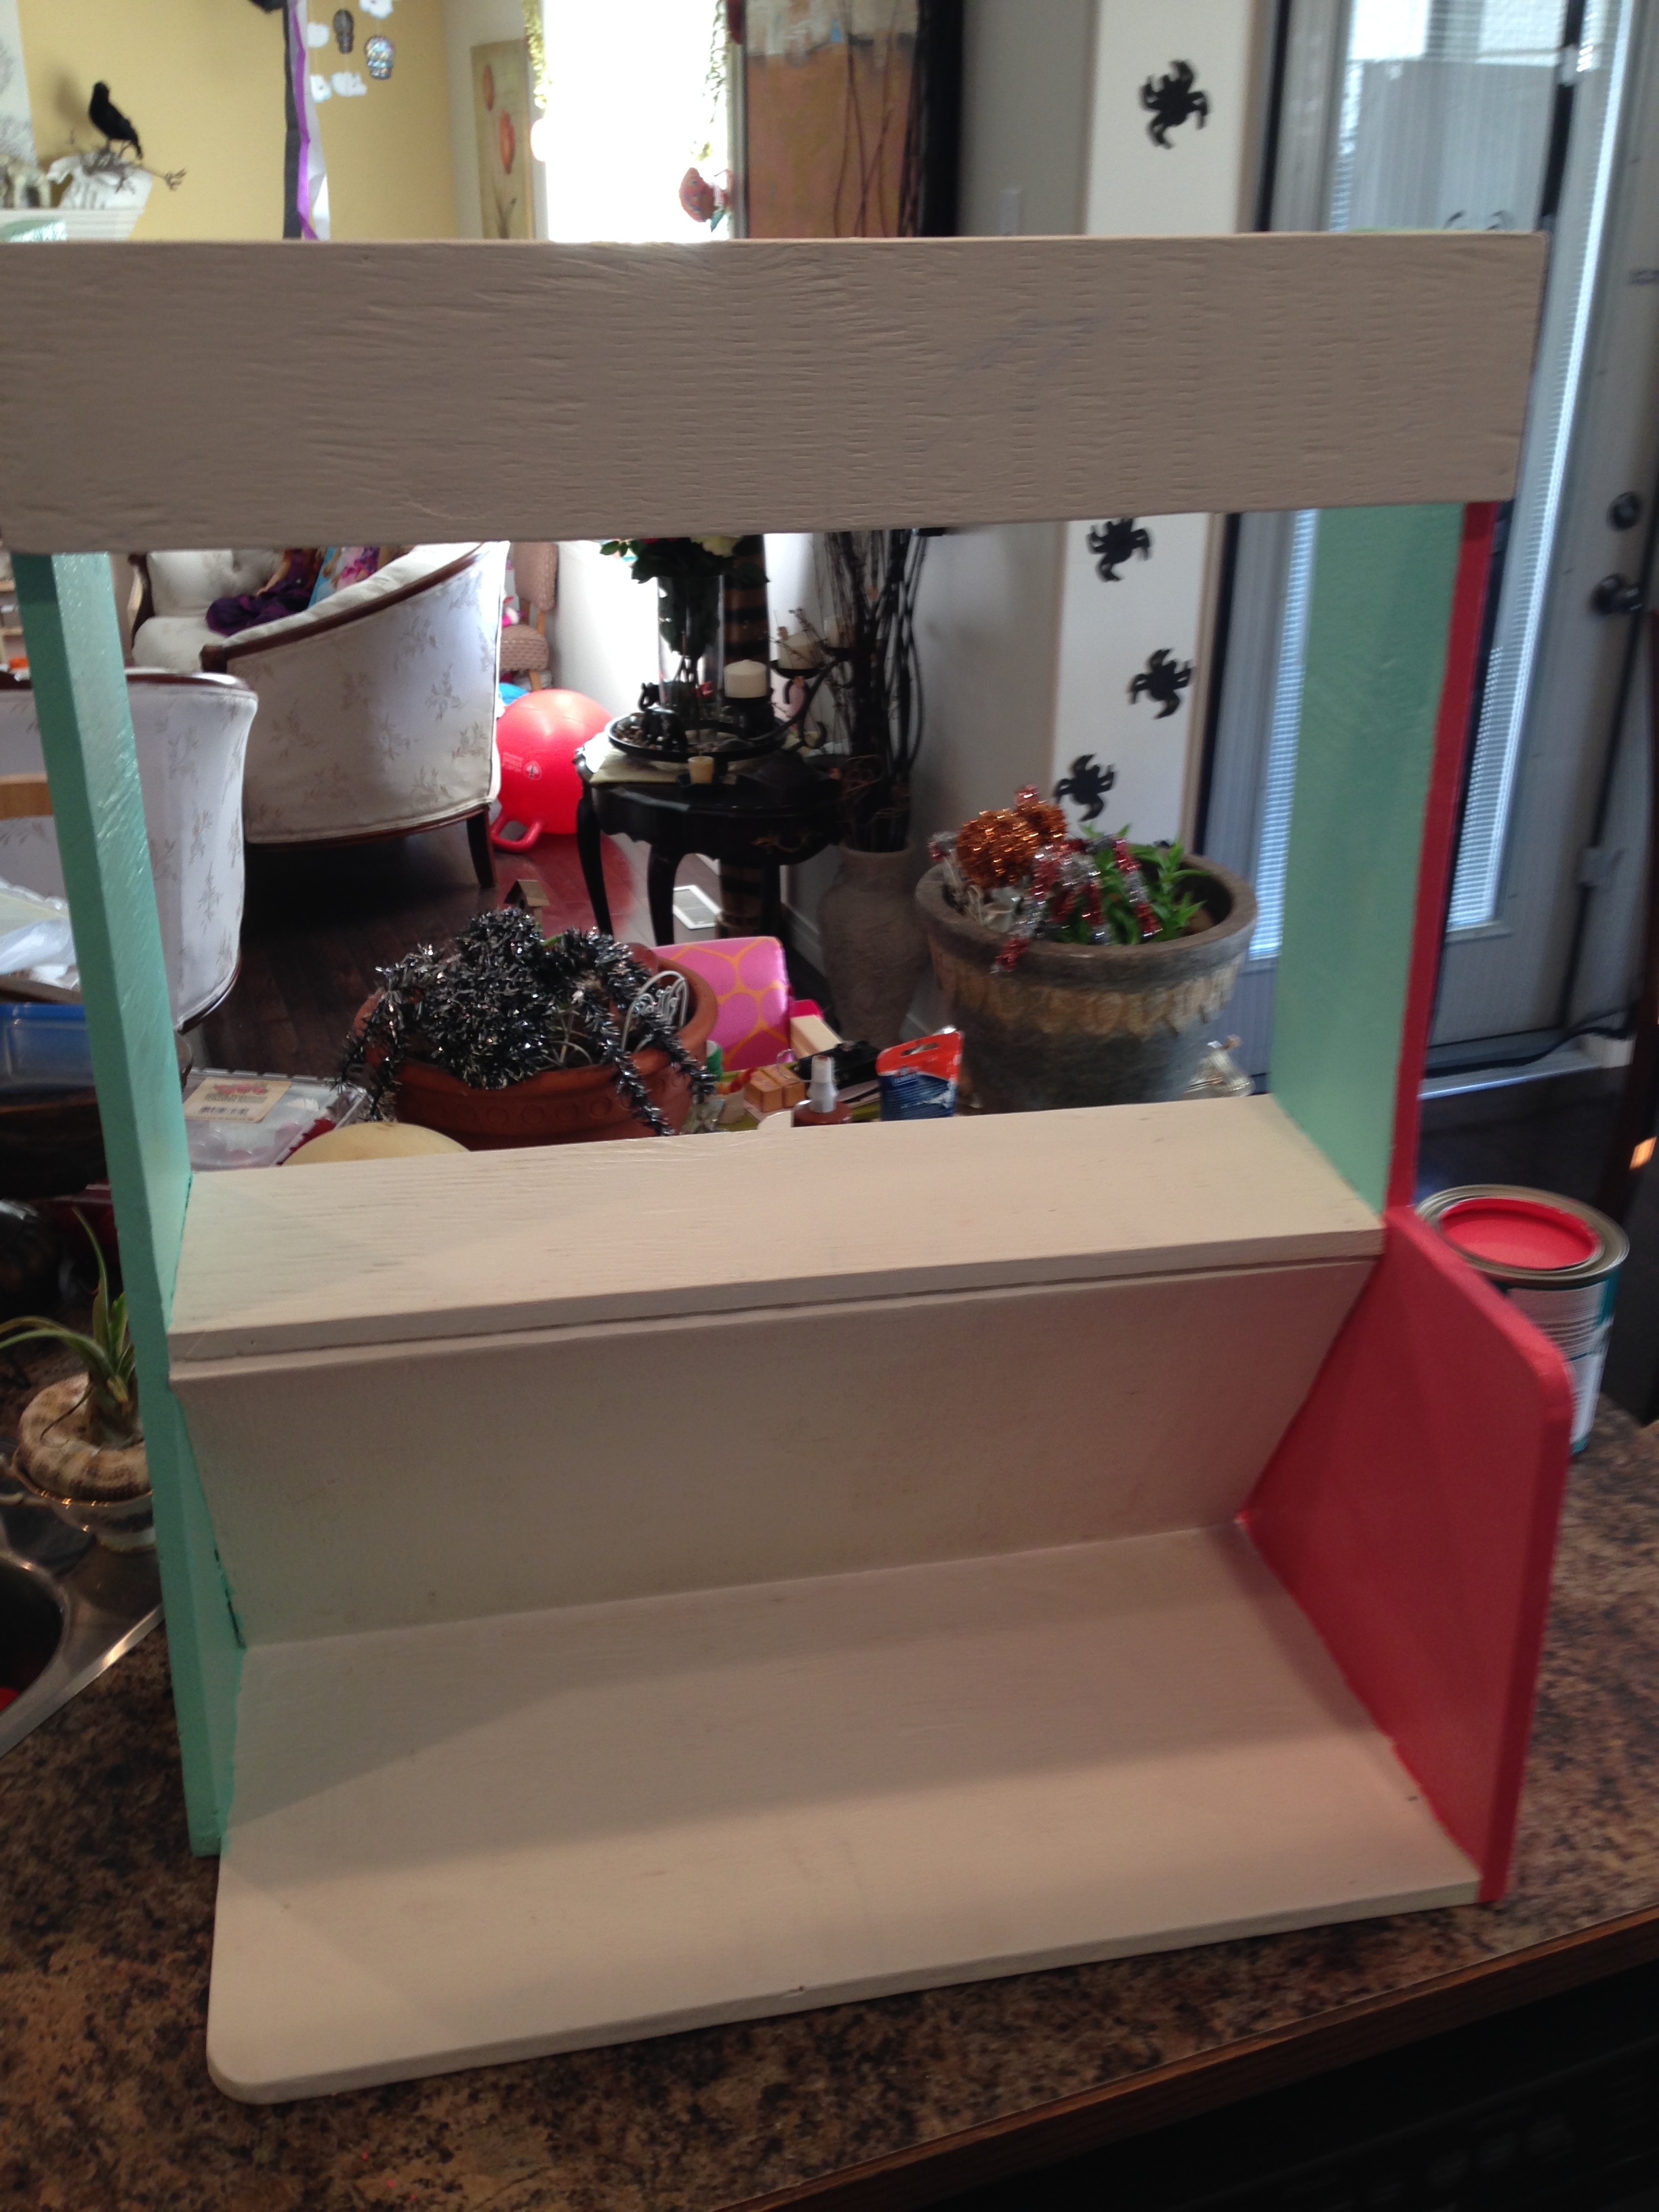
I painted the inner part of the right side with the aqua as well because I wanted it to be uniform. Paint the rest of the pieces white. (You have to excuse the fake spiders crawling up my wall. My house has Halloween decor everywhere right now.)
Once everything is dry, it is time to add the details.
Take your hexagonal paper and paint it with the Gulf Waters blue and the Hot Gossip pink like the picture below. Then mod podge it down onto your floor. Don’t worry, it dries clear. I also found that the paper doesn’t have to fit right to the edges as long as it is centered.

Next draw your lines with a pencil and a ruler where you want the design on the front of your countertop to go. Once you have it looking the way you like, trace it over with a sharpie marker.
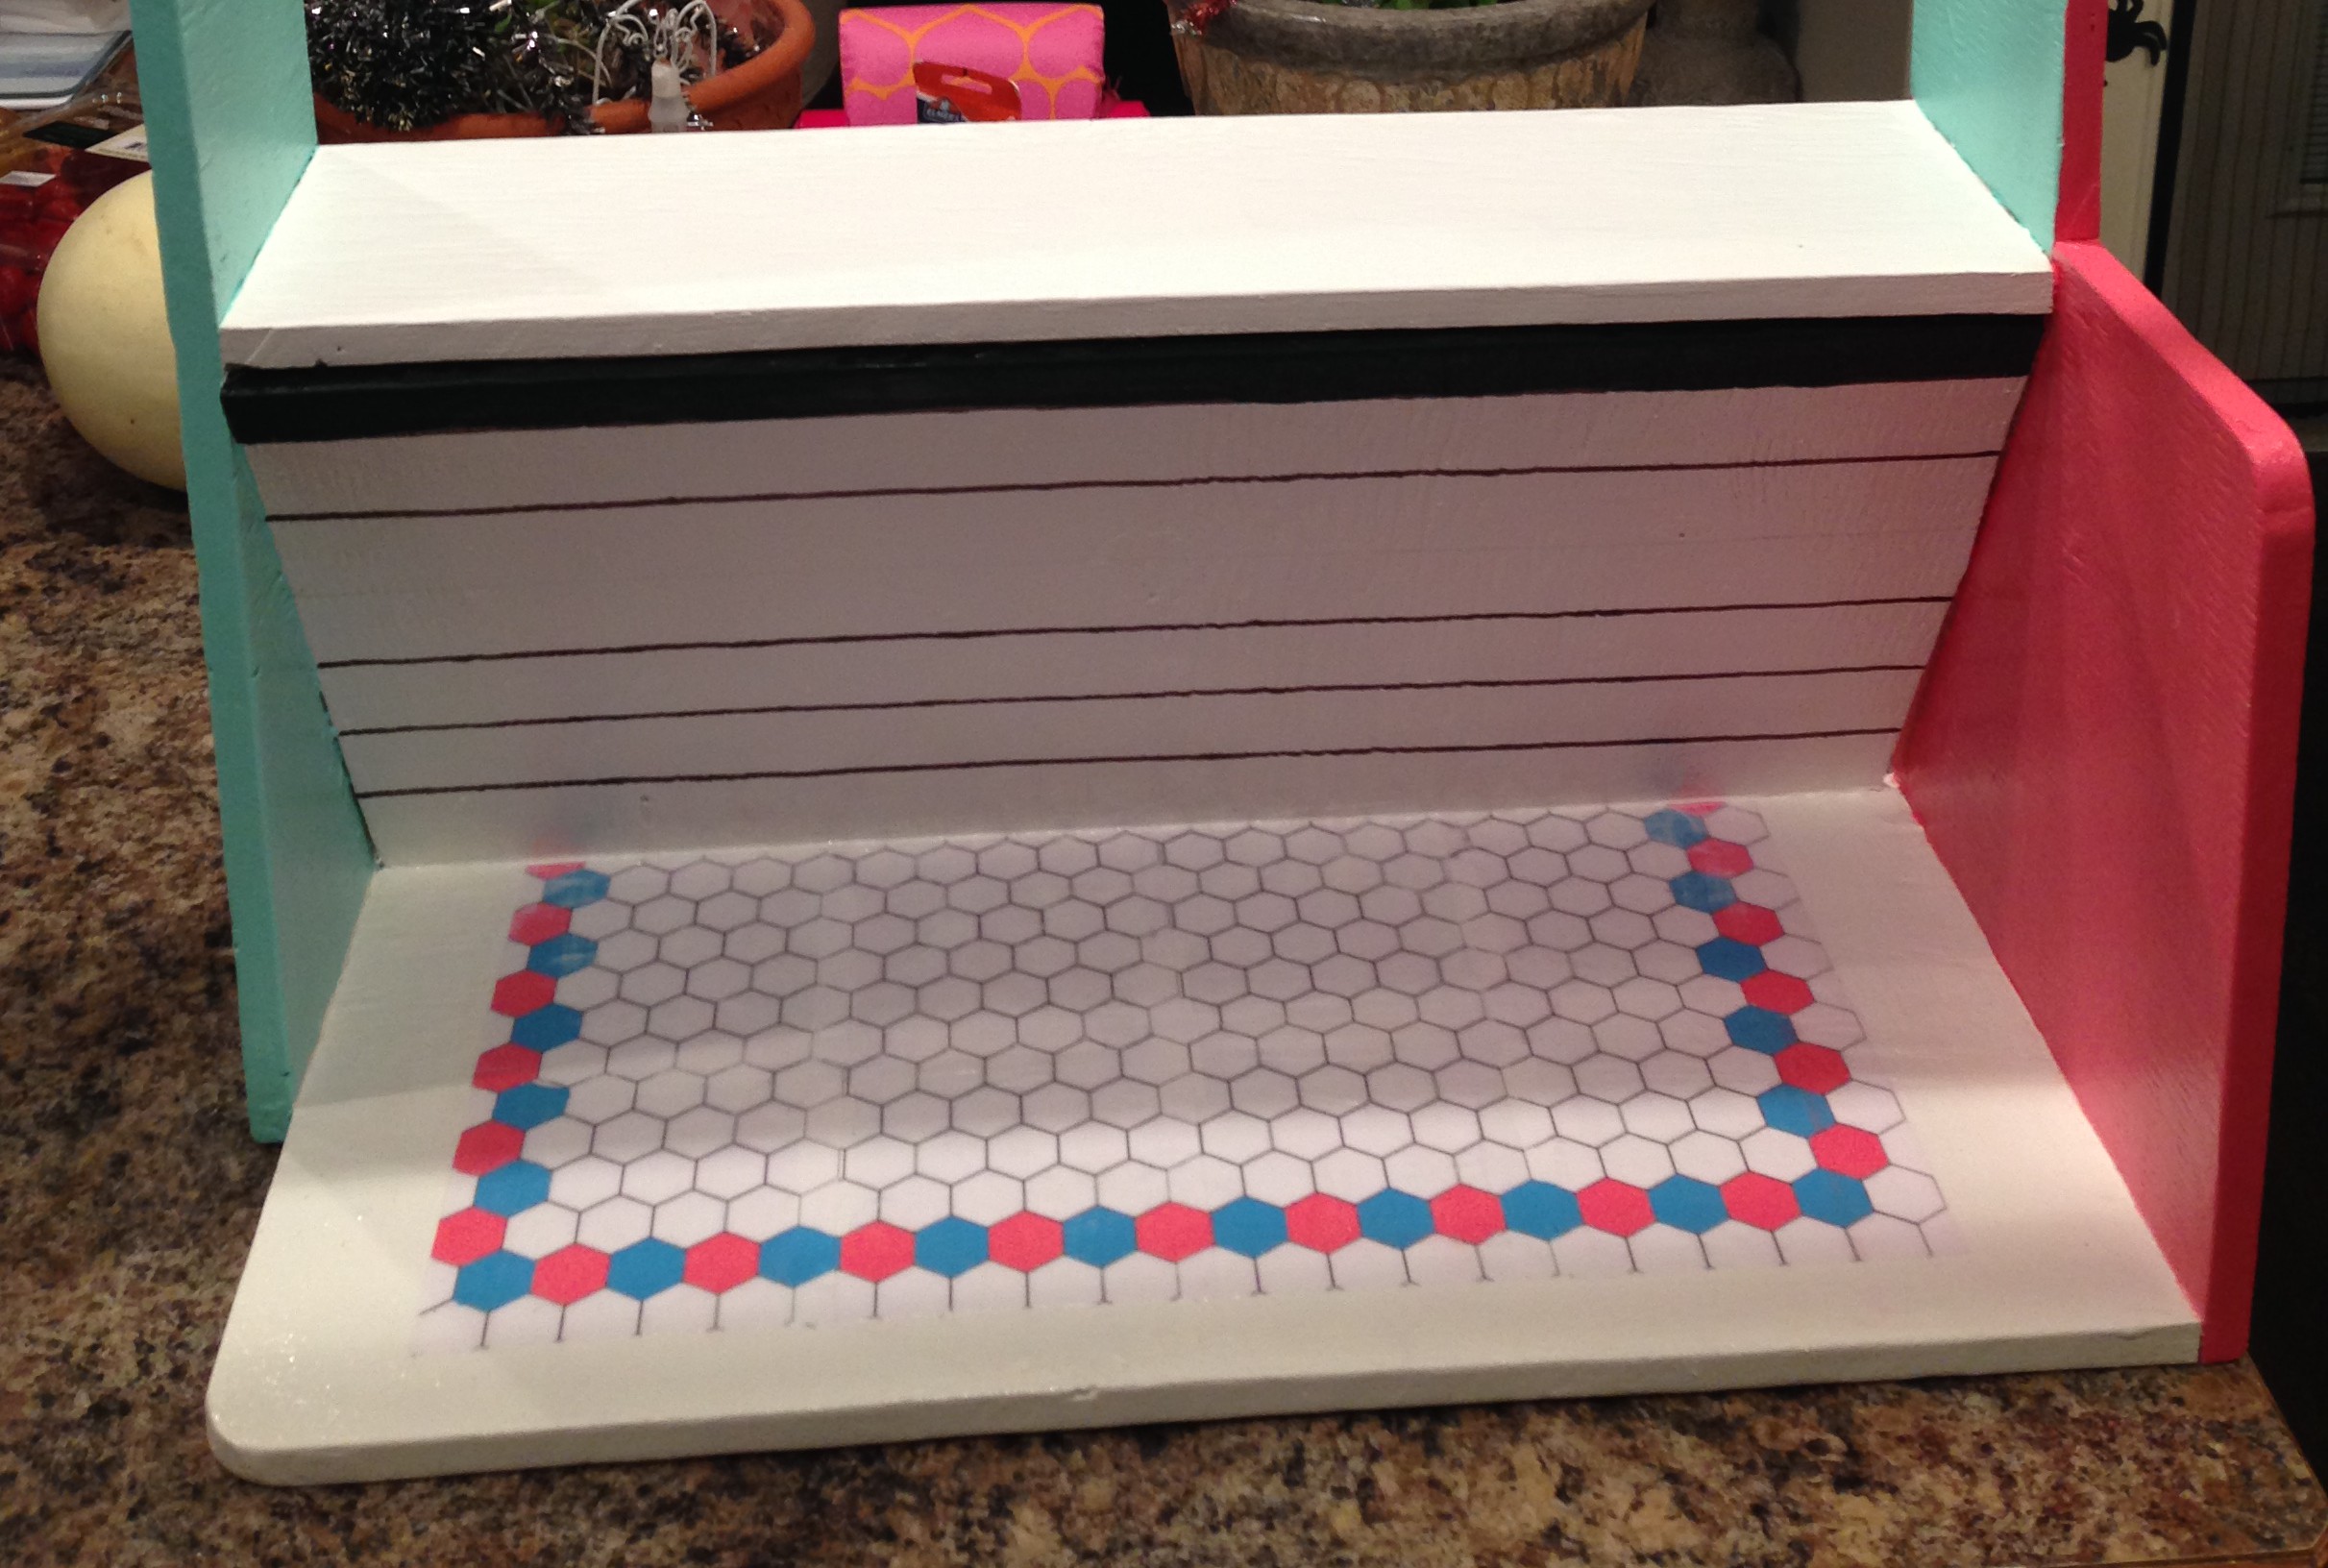
Here I have started to paint the black line on top. I didn’t really measure where my lines were going. I just sort of winged it. I do that. A lot.

Here is me just winging it again. I really like the Gulf Waters blue. It took me forever to find, but it is the perfect Maryellen colour. The black tile lines are Sharpie marker. I just found that it was a lot easier than trying to paint a perfectly straight line. The black stripes at the top and bottom are painted on there though. You can see how the tips of the pink diamonds line up perfectly with the Sharpie lines. That’s pretty much how I eyeballed it.
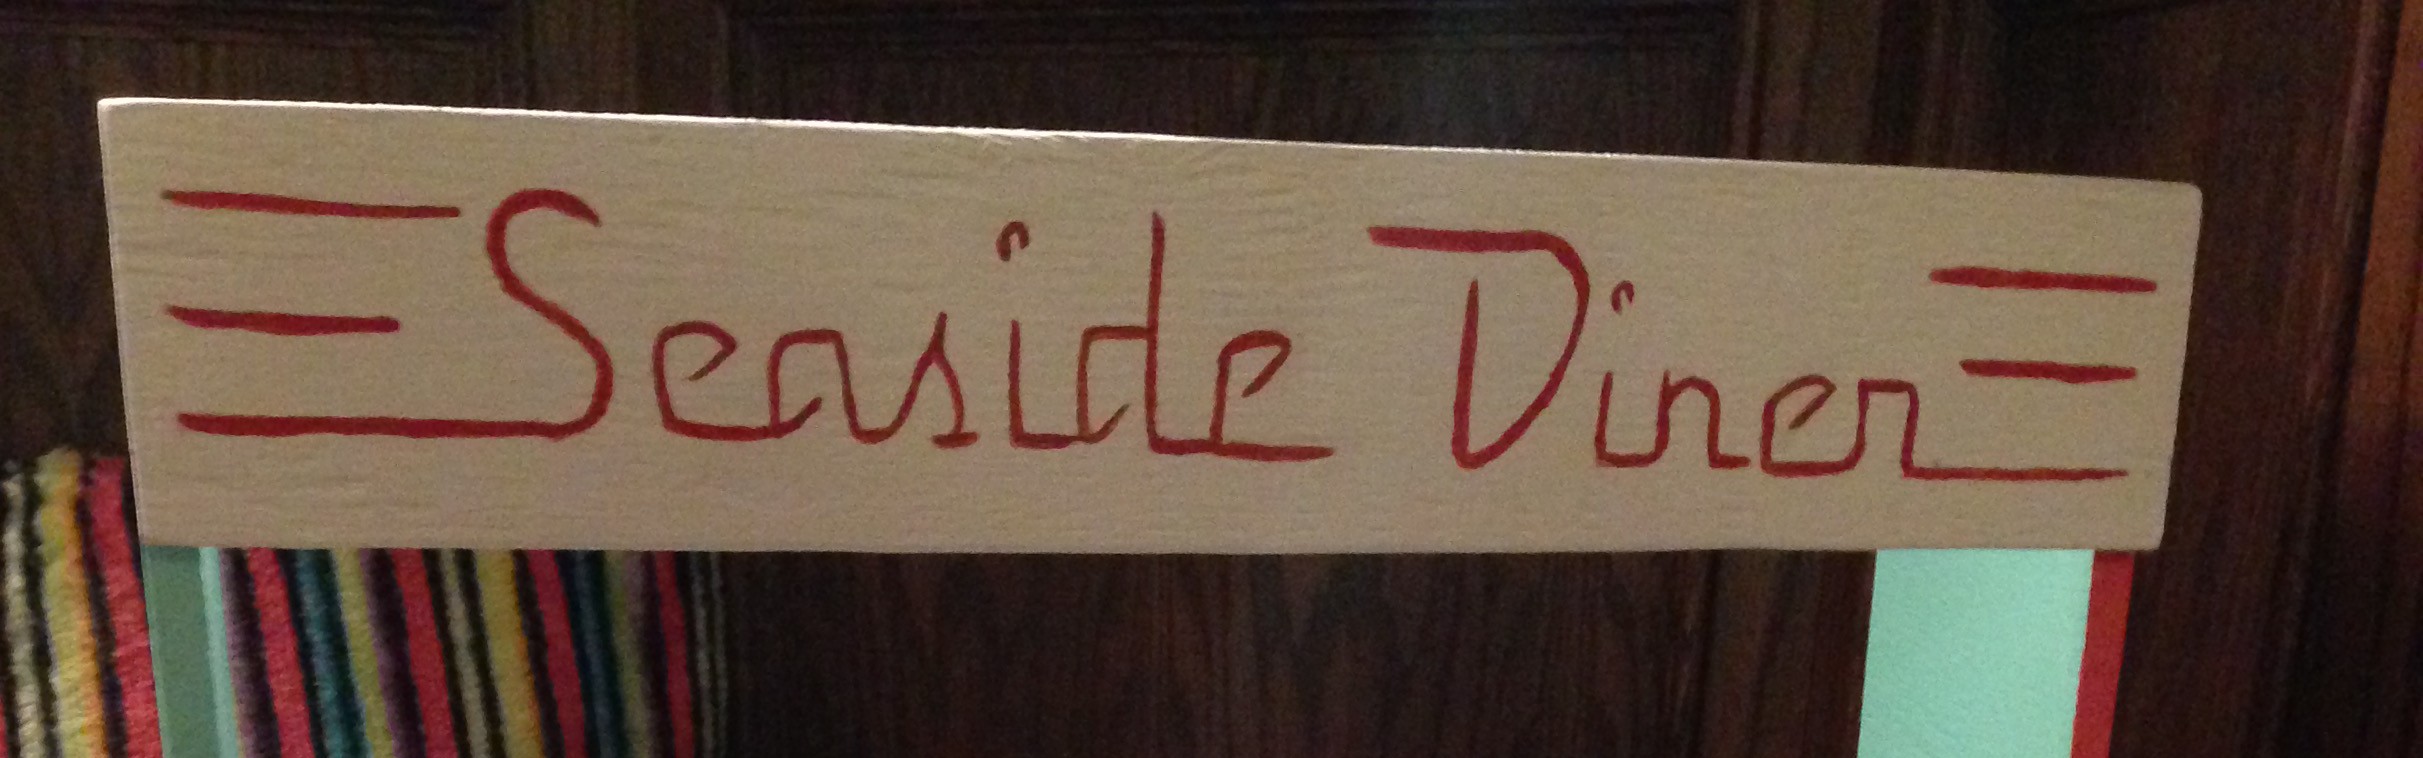
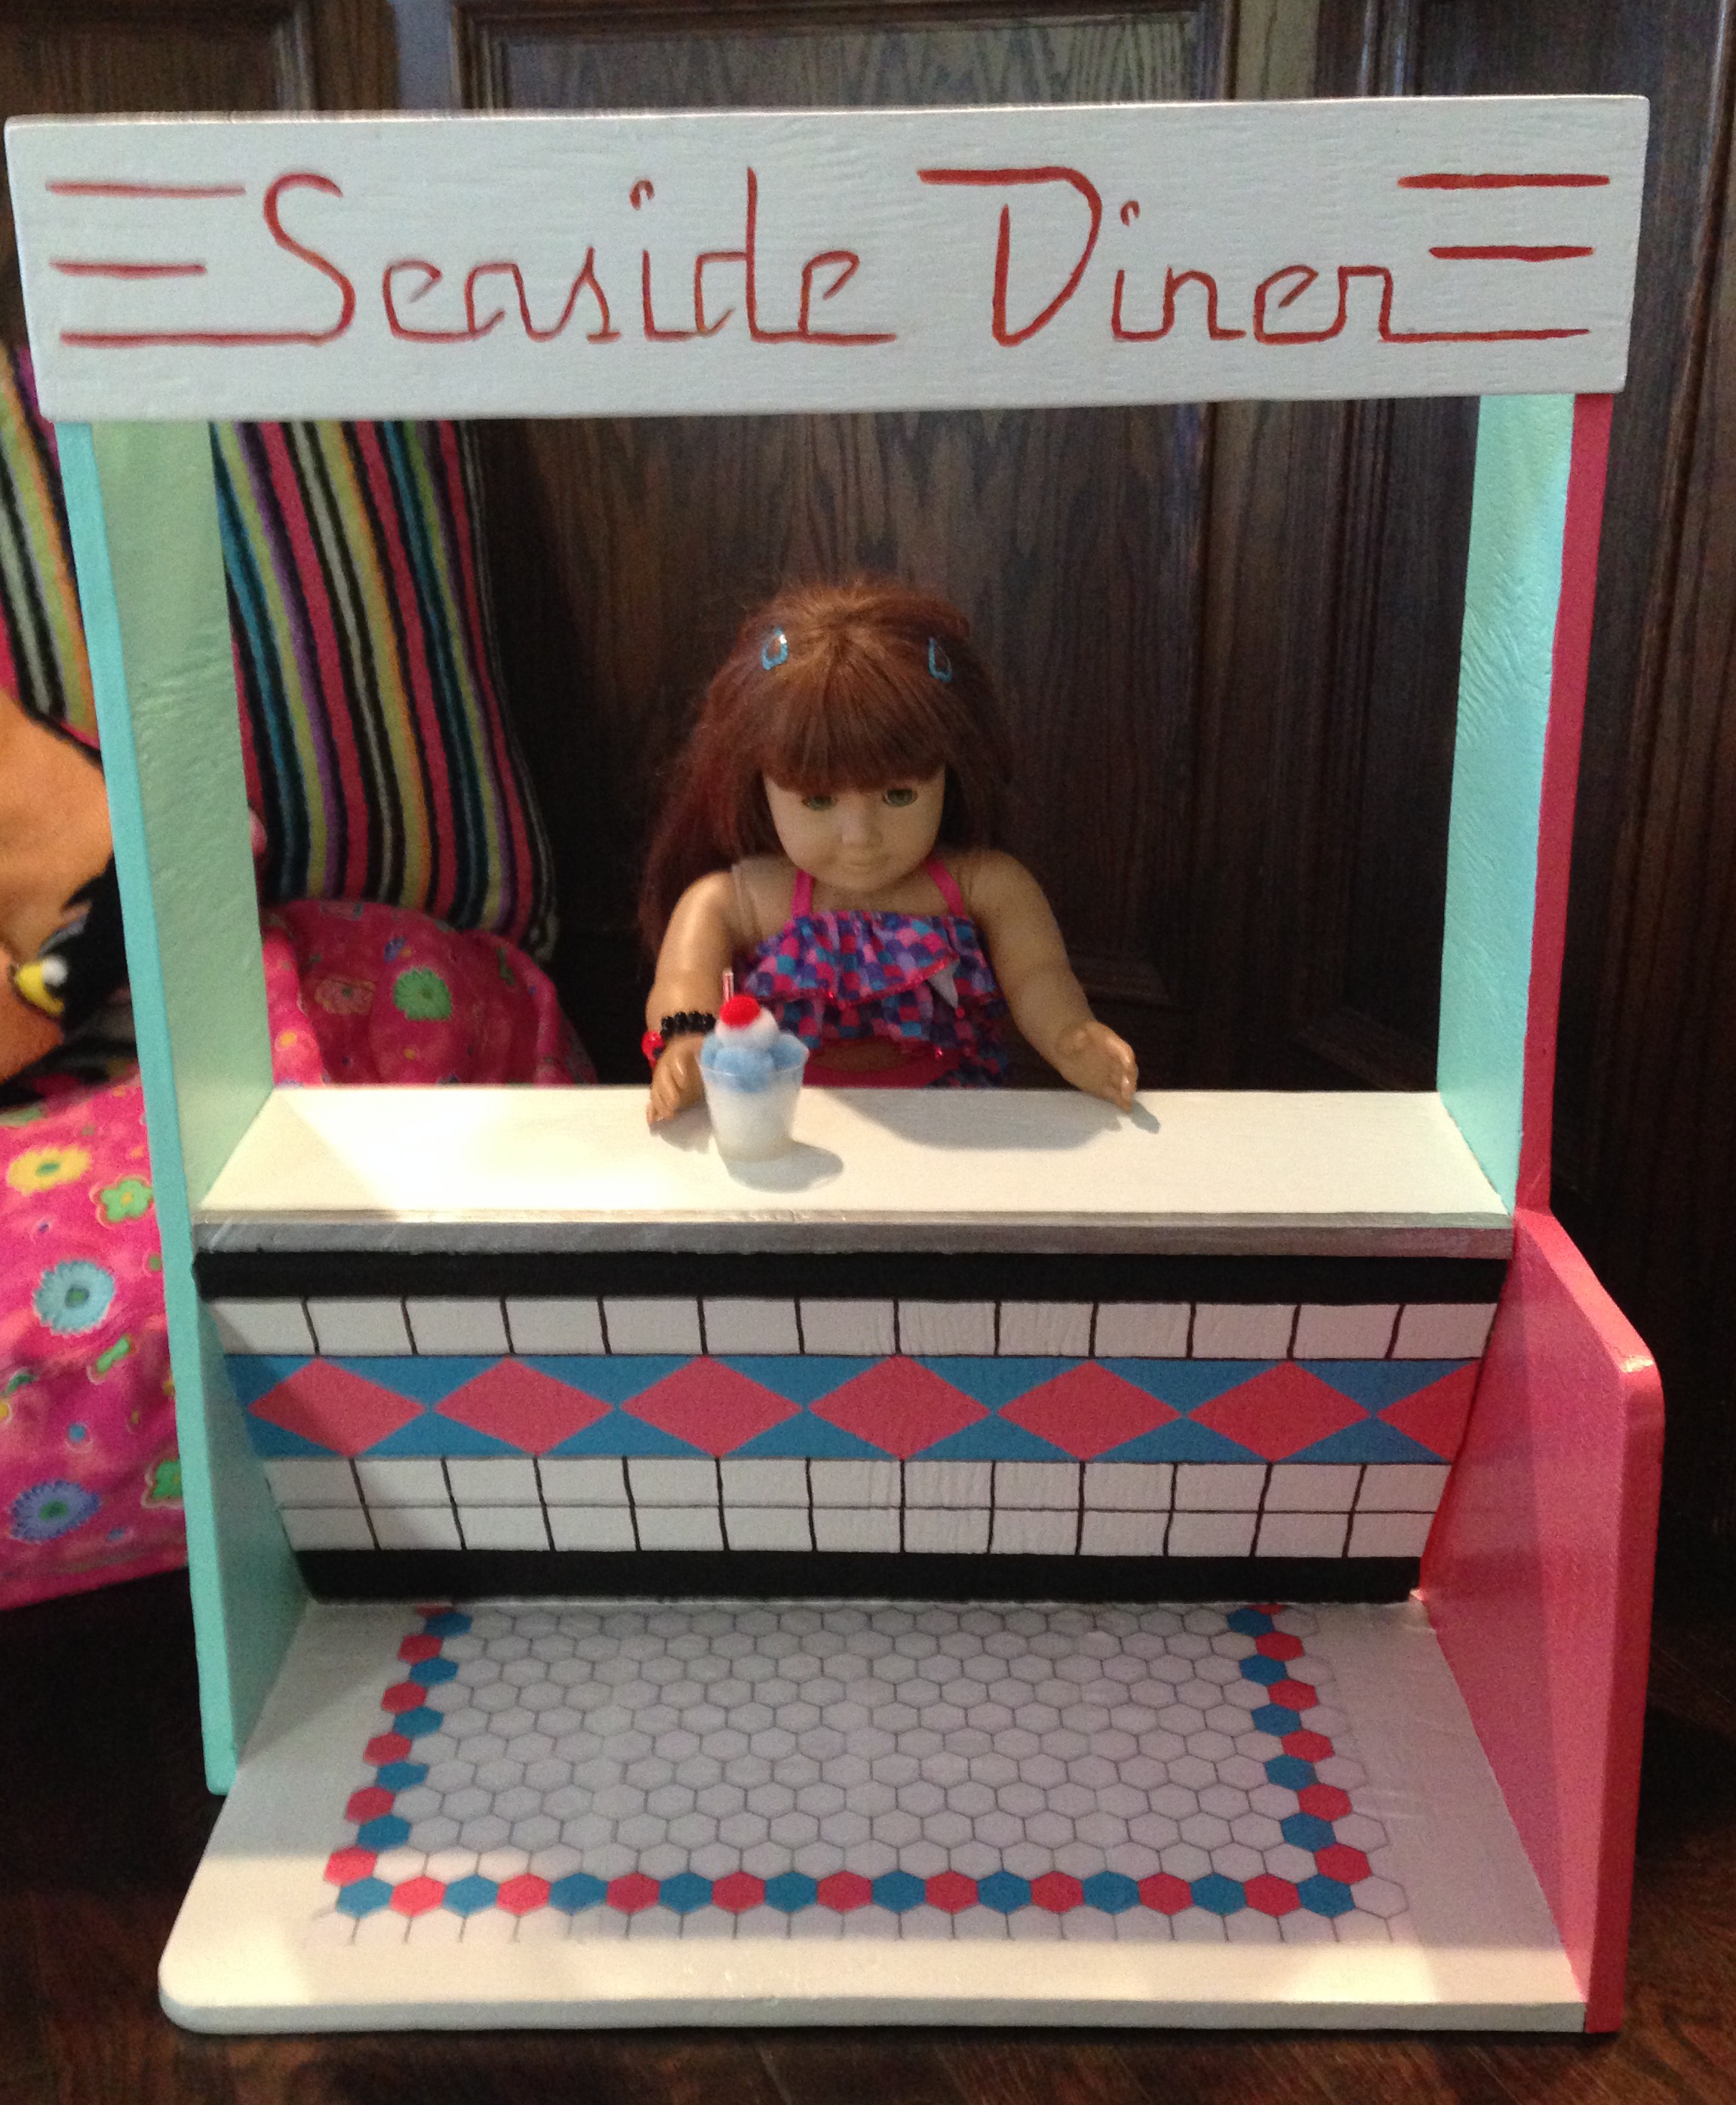
For the diner sign, I did a lot of rough sketching with a pencil. I am afraid that you are on your own for this one. I just did the best that I could freehand. I used a reddish orange craft paint that I had on hand. I think it turned out pretty cute!

As a final touch, I painted the edge of the countertop with silver paint. Order’s up!
And here is the diner counter! Samantha is so excited to start serving milkshakes!
Okay, now that that’s done, it’s time to make the other half.
Take the board you cut before, prime it, and paint it aqua. Then take some silver scrapbooking paper and cut strips to glue along the top and at the middle.

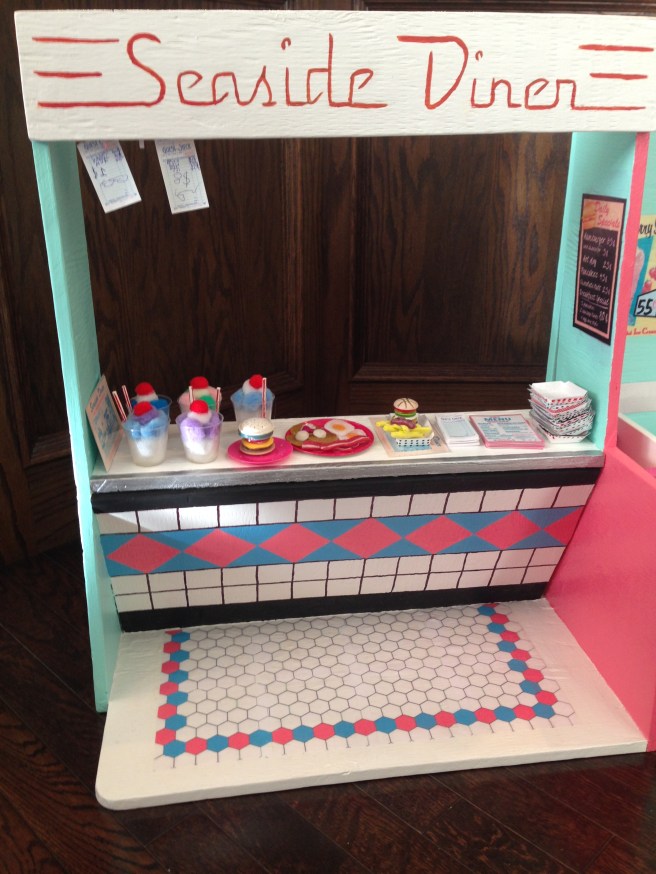
I haven’t hinged it on there yet, but it’s looking pretty cute! I wanted to finish the counter part first because there is so much play value there. My girl has even started putting food in the diner. If you wanted, you could just leave it at that and skip the extra wall bit entirely.
Take your printables next, and mod podge them to your wall wherever you like. My girl got in on this part because by this time, she began to see results, and so she really wanted to help. I know that all the priming and painting can be a bit boring for her. That’s why I did all that the night before while she was asleep. It was quite the wowee!! the next morning though. 🙂
We love printables! We got these retro diner signs from LivingADoll’sLife. ❤ Her blog is so cool, so don’t miss out!

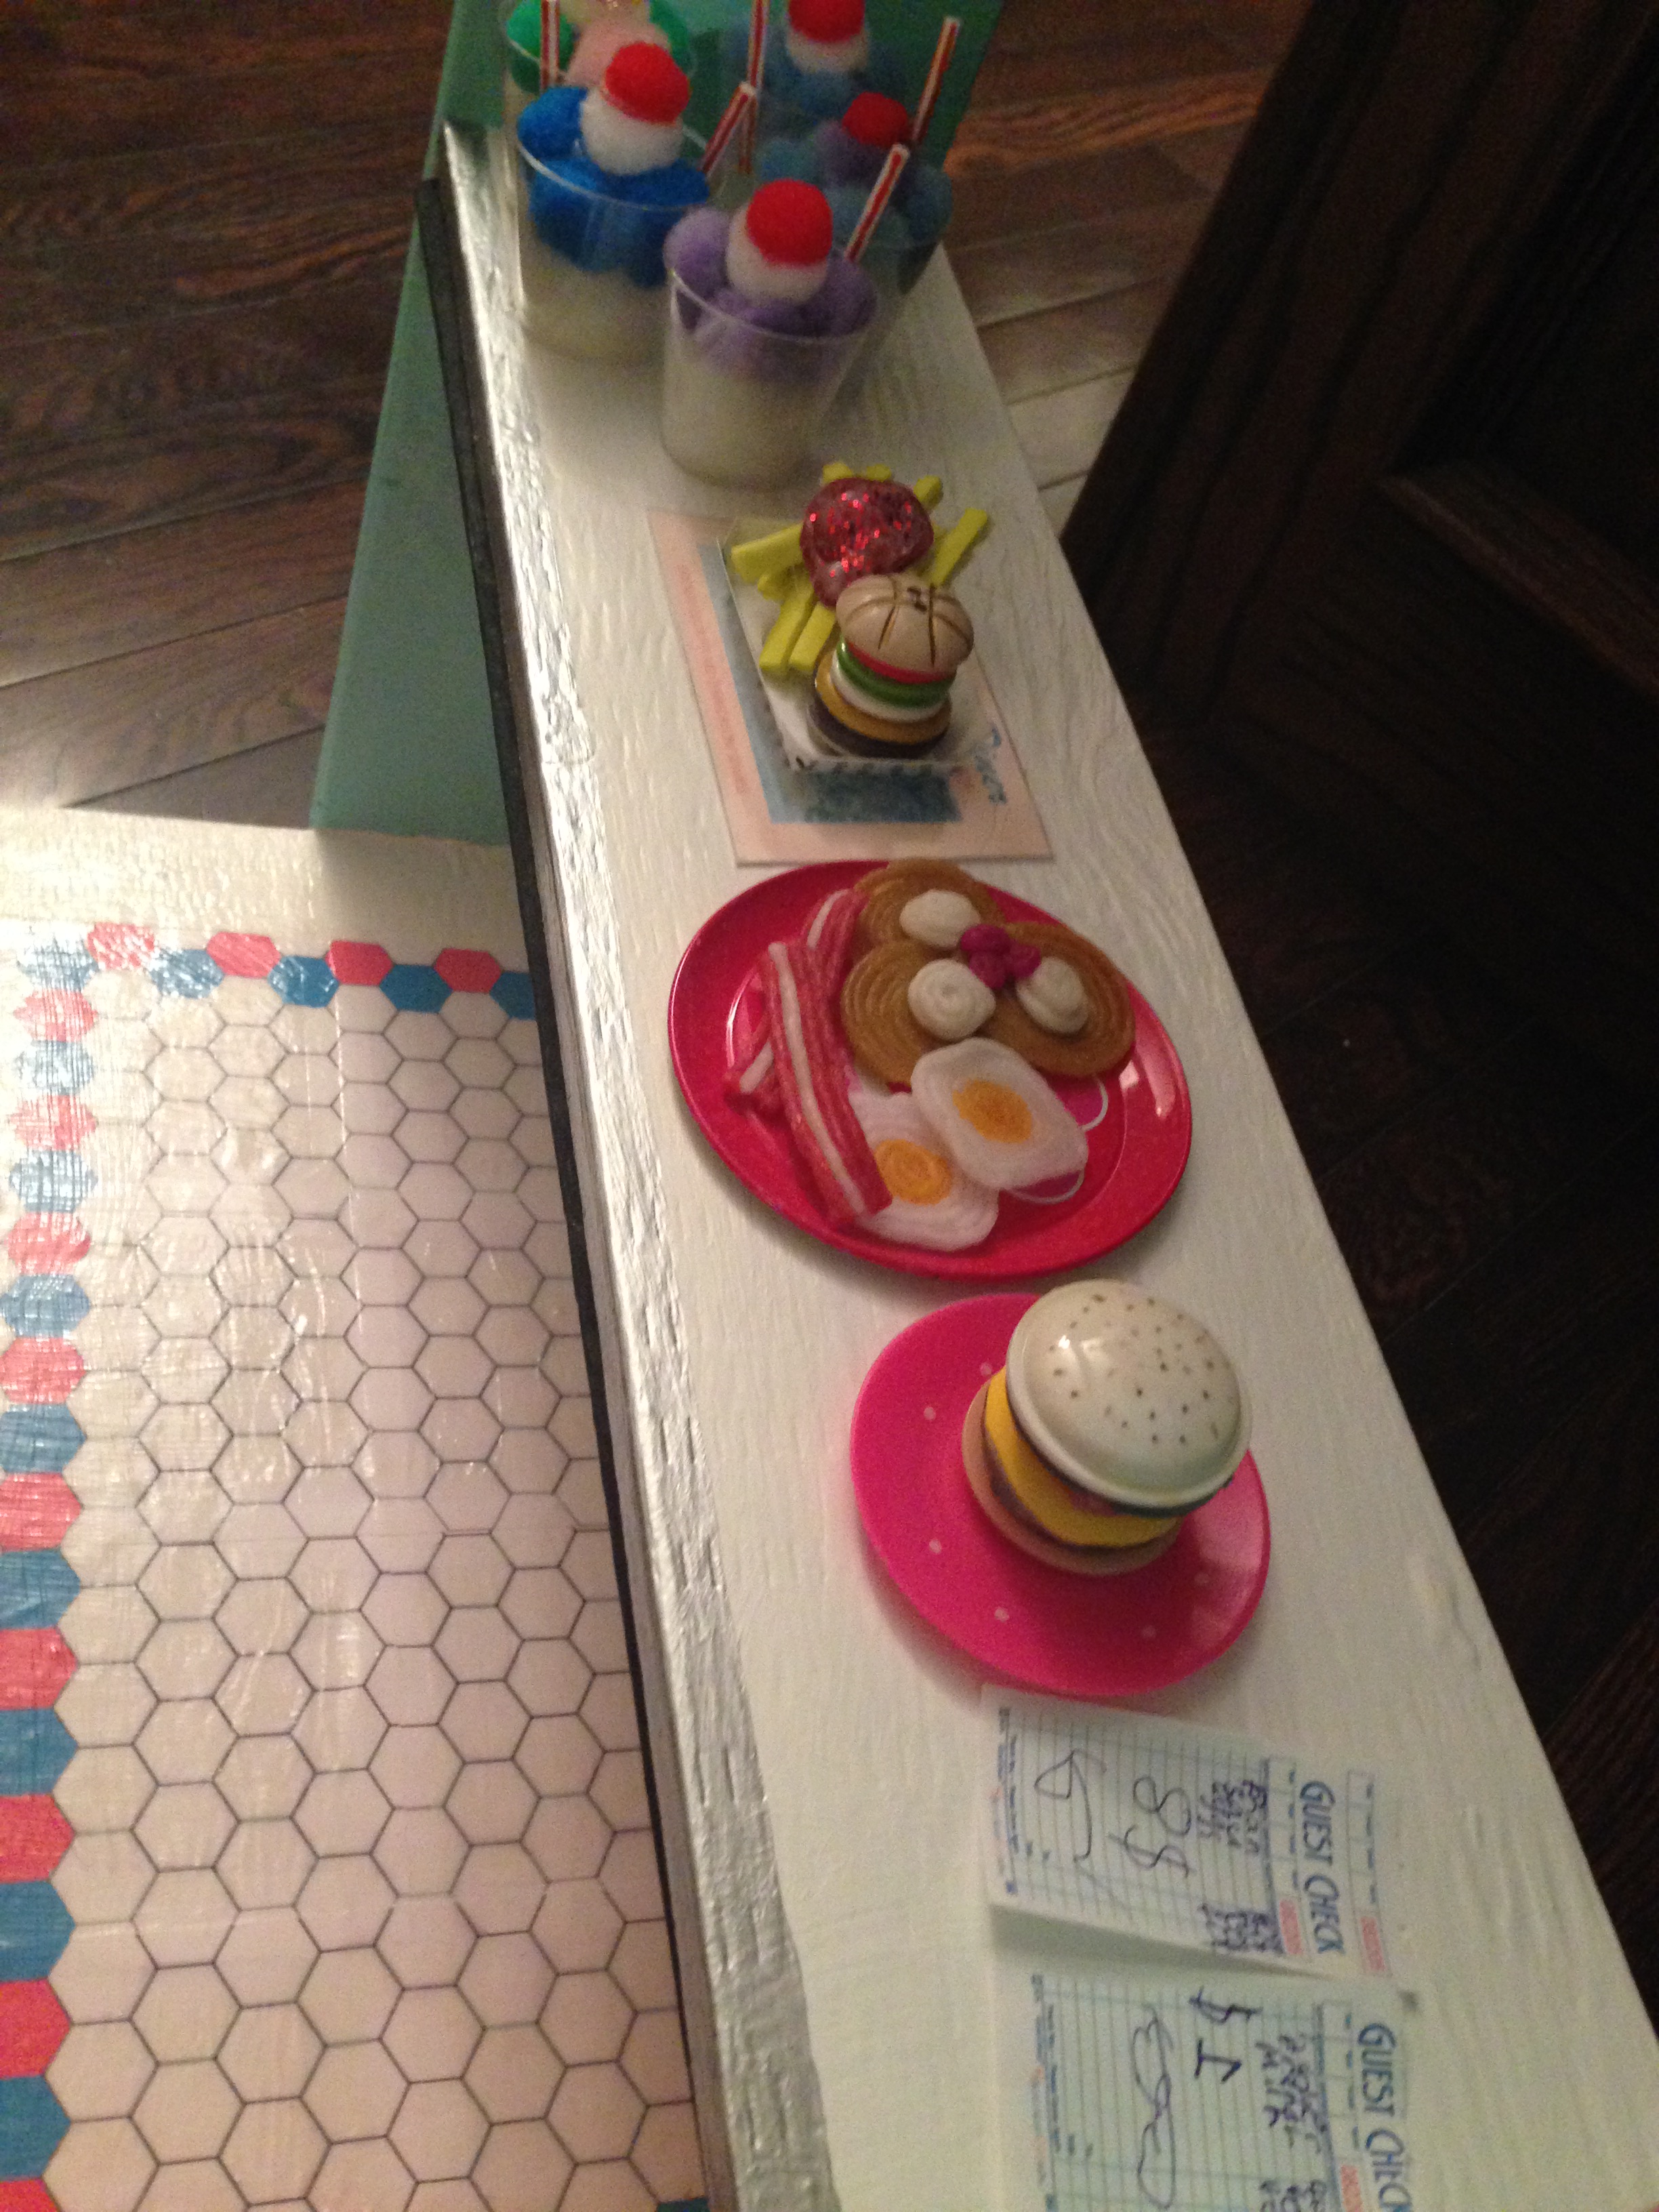
Lastly, we added some menus, placemats, guest checks and paper food trays. You can get all of these awesome printables over at AmericanGirlIdeas.com. There is tons of amazing stuff over there, so go check it out!
These printies were my girl’s favourites. She is really getting into this project now. She assembled all of those little paper food trays herself! Whew! That’s quite the job!
She also insisted that we needed A LOT of menus because there are going to be tons of customers. We printed them out on cardstock and laminated them with tape.

Aren’t the little guest checkbooks the cutest!
Well, that’s the end of Part One for this project.
Stay tuned for when we add the diner booth and table, and a grill at the back. We will also be making some polymer clay food, but for now our button burgers are coming in quite handy.
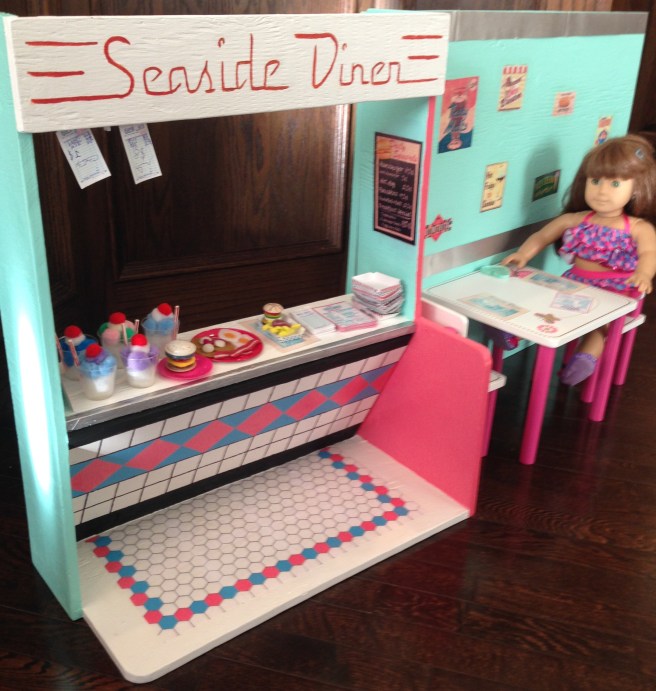
Here is a look at the final product. (I still have to go get the hinges!)

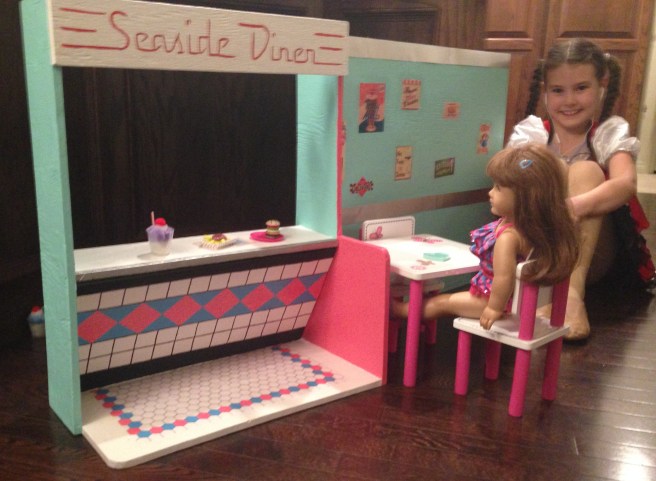
Someone was super excited. She wanted to be in all of the photos. She didn’t want to leave this little diner alone for even a second! 🙂 Aw, my little dancer.
Here are more pics! Go ahead, make something fun! Enjoy!!


Find Part Two of the Seaside Diner project here.

I think it turned out better than the AG one!
LikeLike
Awww thank you so much! I just love DIY because it is way cheaper, but also because we can just do whatever we want. We can tweak here and there, and add on whatever we wish! 🙂
LikeLike
I used to use LaDL for printables once in a while, but I didn’t exactly read it… 0.o what have I been missing? XD
You guys are a lot like MyFroggyStuff. 🙂 and I’m a Froggy Fan, so that’s a compliment!
LikeLike
Oh wow, that’s a huge compliment! Thank you! We love MyFroggy! We also love LADL! 🙂
LikeLike
This is so pretty! It turned out exactly as the genuine AG diner.
LikeLiked by 1 person
Thanks! We have been having a lot of fun with this! 🙂
LikeLike
We LOVE it! Great job!
LikeLiked by 1 person
Thank you so much! We are big fans of your blog! :)<3
LikeLike