

Hello crafty crafters! I bet you have been waiting for this post. I know that I have!
After tons of contemplation, most of which was done in my craft cupboard staring at all sorts of paraphernalia trying to create something out of nothing, I finally decided to attempt what I considered to be the inevitable, as well as quite possibly the impossible.
Now I’ve said it before, and I’ll say it again, nothing is impossible. In fact, I have proven this mantra true so many times over now that I should just know better, but I have to admit, what I was about to attempt was a tad bit intimidating, even to me.
We are sewers. (Is that a word?) What I mean is, we love to sew. I am not a seamstress by any means, but I can mend pretty much anything, and I can follow a simple pattern. I have even sewn some clothing for our 18 inch dolls that turned out pretty great, if I do say so myself.
So it went without saying that since we are sewers (I now realize that is indeed a word, but it certainly doesn’t mean to sew. haha!), our dolls would also be interested in sewing, and for that, they would need a sewing machine.
Needless to say, an 18 inch doll sewing machine was not in the budget, and even if it was, I much preferred to face the challenge of making one myself instead, for zero dollars.
Now I love Pinterest. Whenever I feel like crafting, it’s the first place I go. However, this time I came up completely empty. I couldn’t find any ideas on what to make a doll sewing machine out of.
I saw a couple of doll sewing machines that were made out of wood, and they were super cute. If you want to make one, have a look at one of them here. It is adorable, but I am not a woodworking genius by any means. I am only a light crafter at best.
I saw another doll sewing machine that was crafted out of clay here, and I thought that it was interesting, but it seemed heavy, like it might crack with use. Plus, I didn’t have that much clay, and I didn’t want to have to buy anything.
I was officially stumped. I finally decided to ditch the idea entirely. It was just…impossible. Sigh.
But then it began to eat away at me. That’s what always happens when something refuses to give. I can’t sleep. I get restless, and then I get determined.
Nothing is impossible, I thought stubbornly.
I thought about two of my other fantastic projects that I had made previously out of papier mache. Tinkerbell’s Pixie Hollow and Rapunzel’s Tower.
Were they lightweight? Yes.
Were they hard as a rock? Yes.
Were they still going strong after all of these years? Yes yes yes!!!
A glimmer of hope began to shine on my impossible, and usually that’s where the crazy comes from.
I started out by finding some boxes.
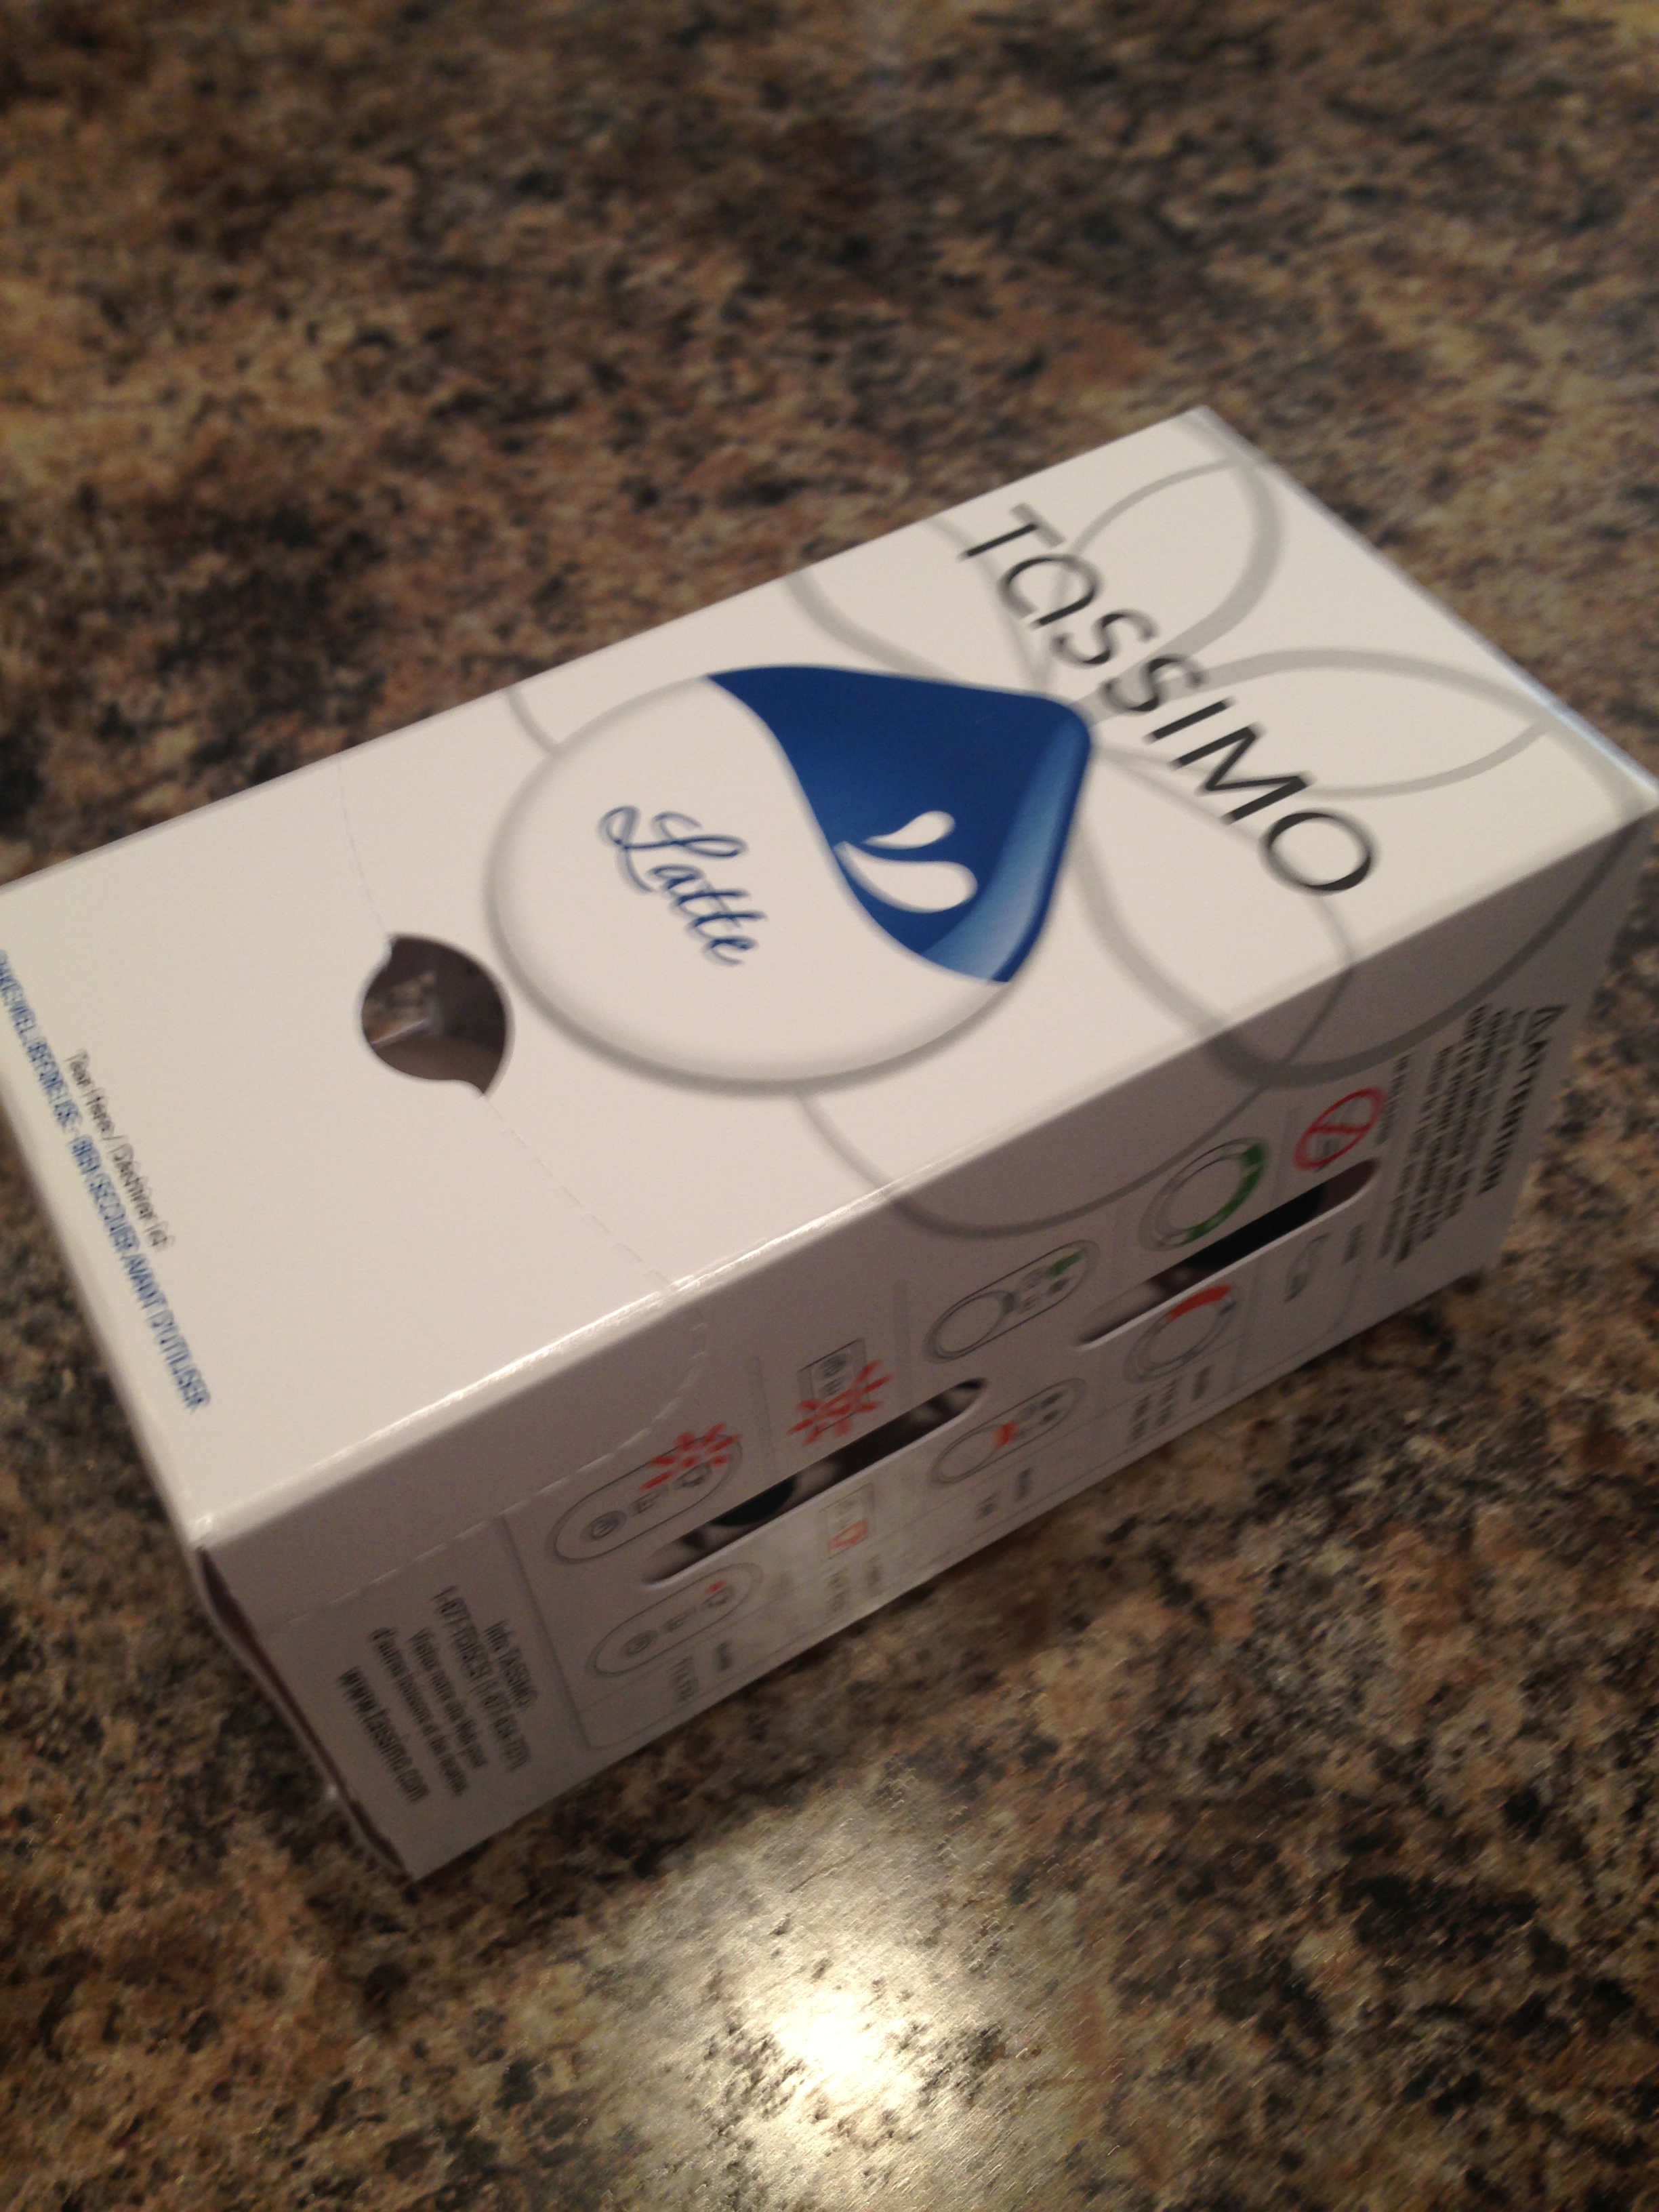
I used Tassimo boxes. I absolutely adore these little boxes, and I have about a billion of them at all times. I am a bit of a coffee-aholic.
These little boxes can be used for so many things. I usually use them to store things like paper doll clothes, tiny doll accessories, or office supplies. The possibilities are endless. I just chop them in half lengthwise.
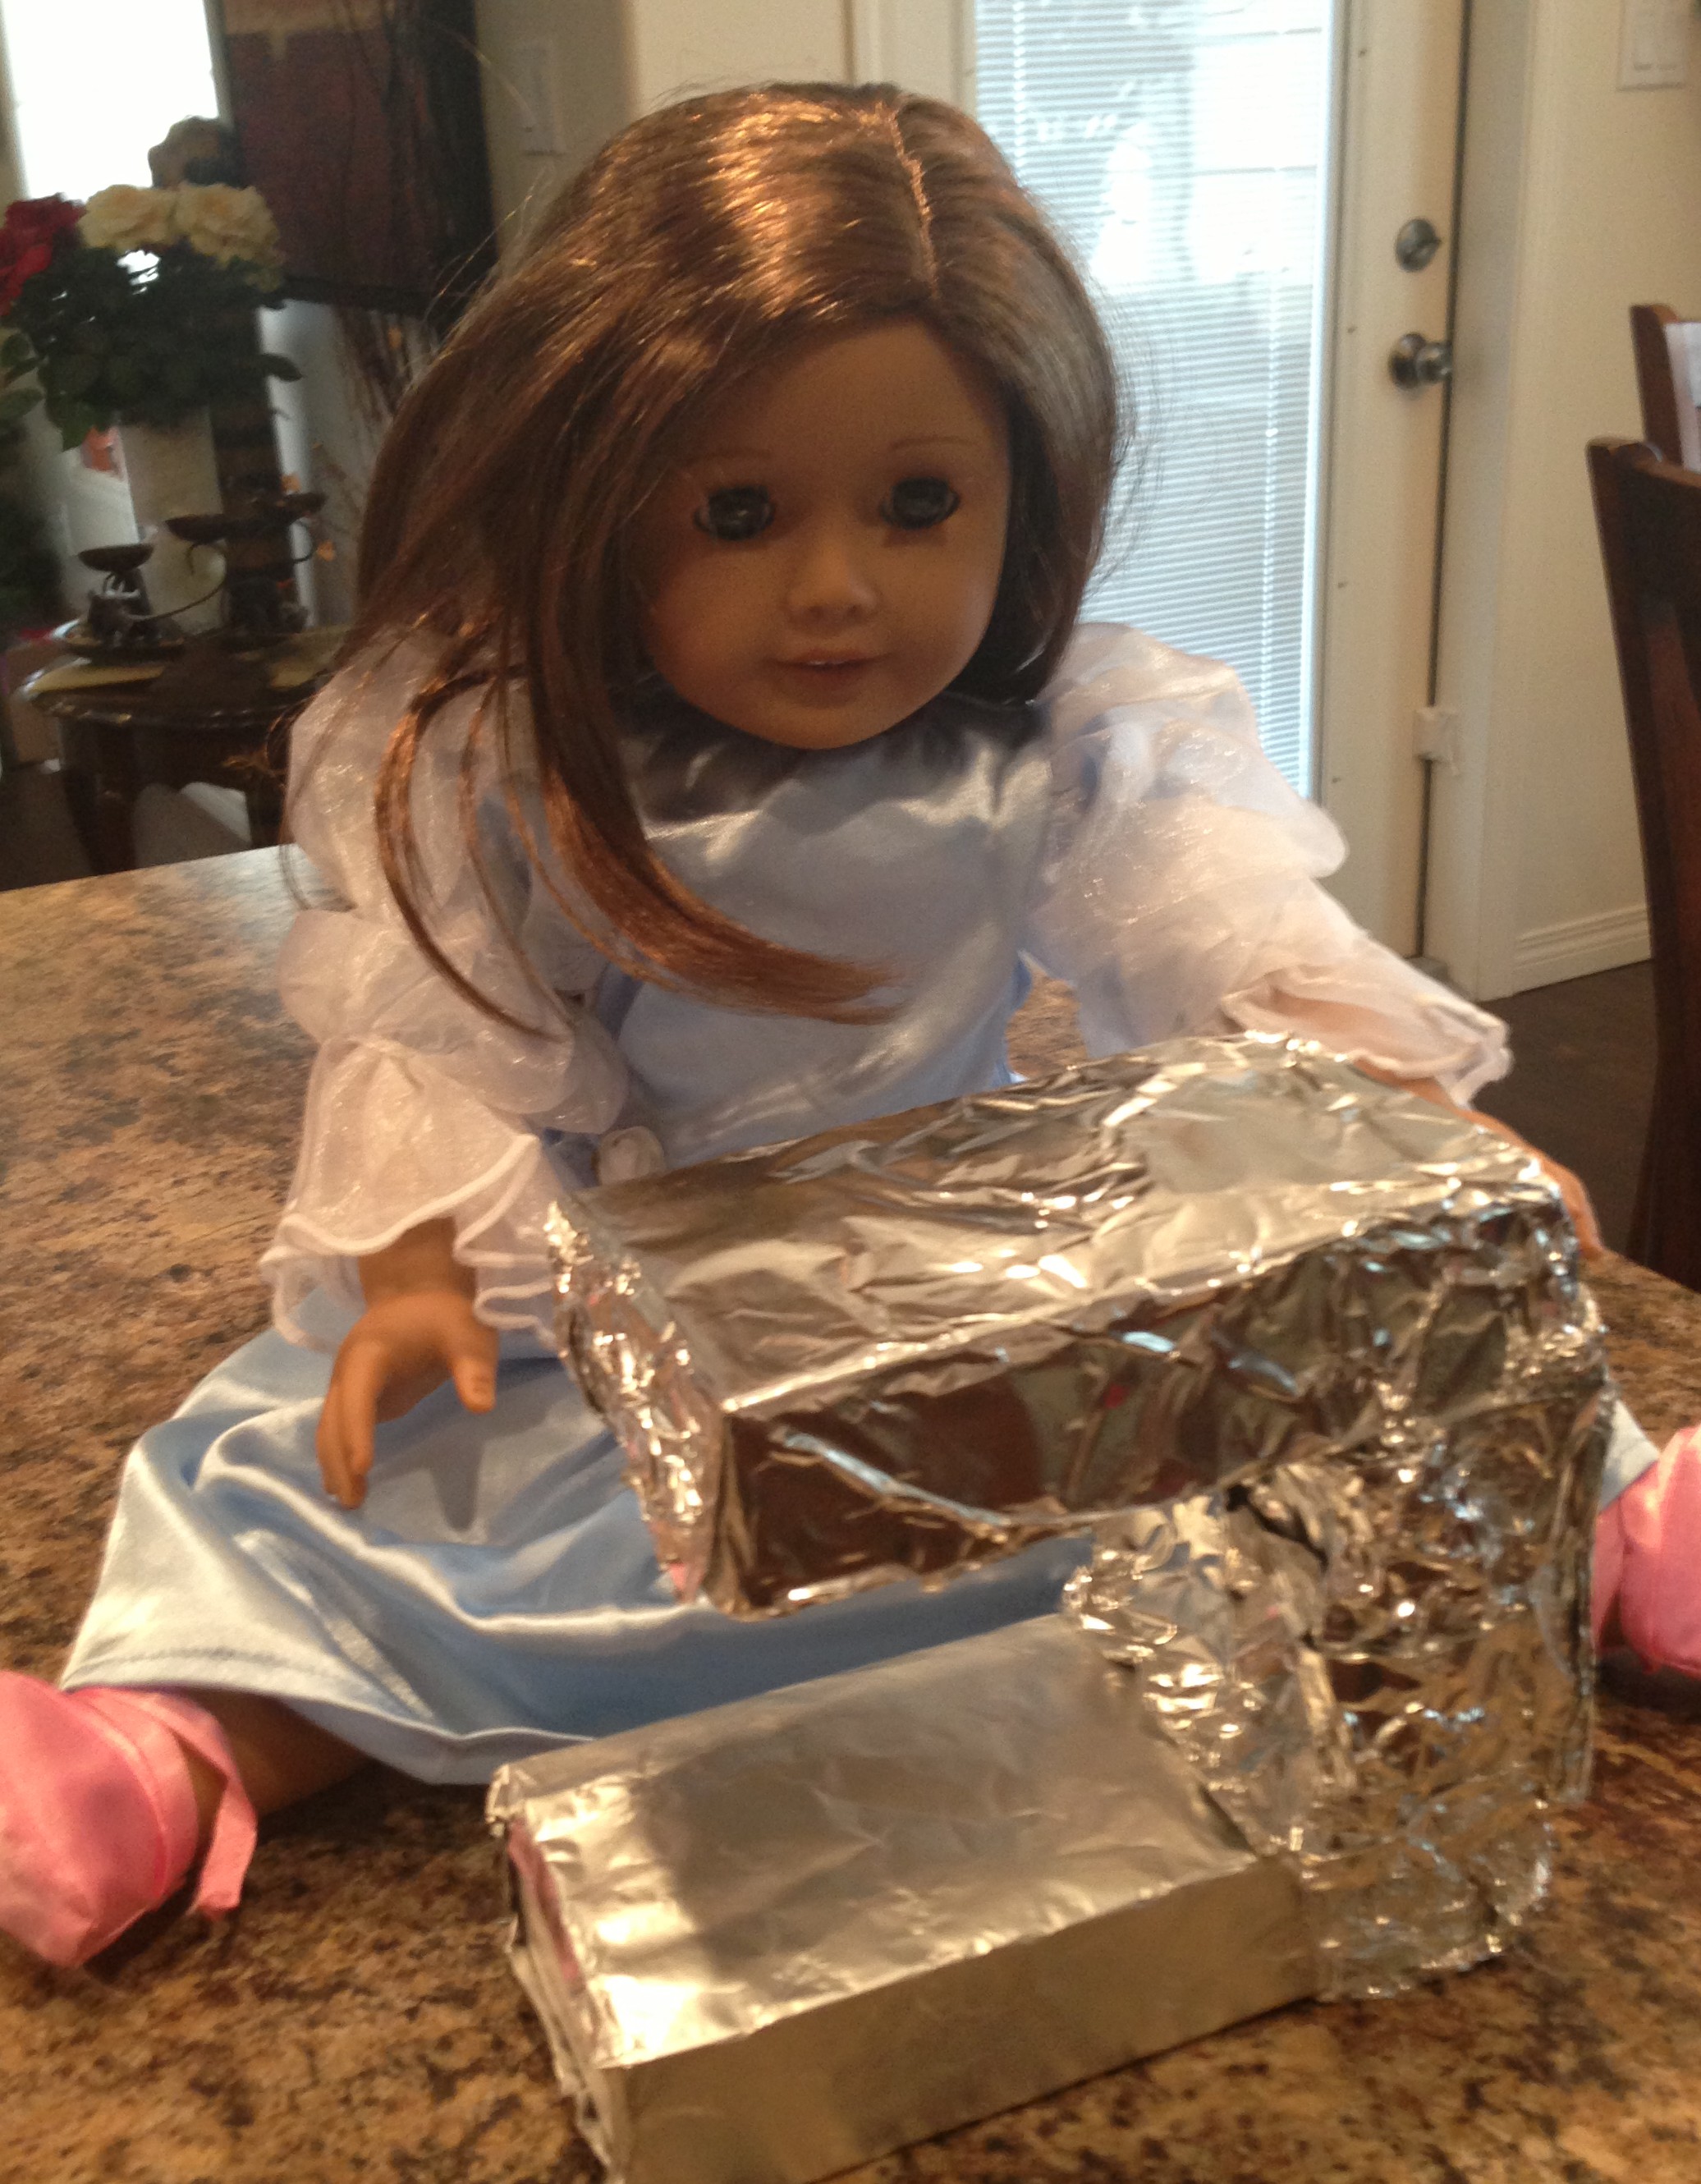
I used three halves to create the form of my sewing machine. Then I wrapped them in tin foil. This does not have to be perfect. Once the papier mache is on there, the whole thing turns as hard as a rock anyway.

As you can see, these boxes are hollow. For stability purposes, I just stuffed them with newspaper and then wrapped the foil around. To link them together, one just fits inside the other, and it is all held by tape.

I made the top of the sewing machine just a tiny bit shorter than the base. For size purposes, here is a picture of the sewing machine form with the doll.
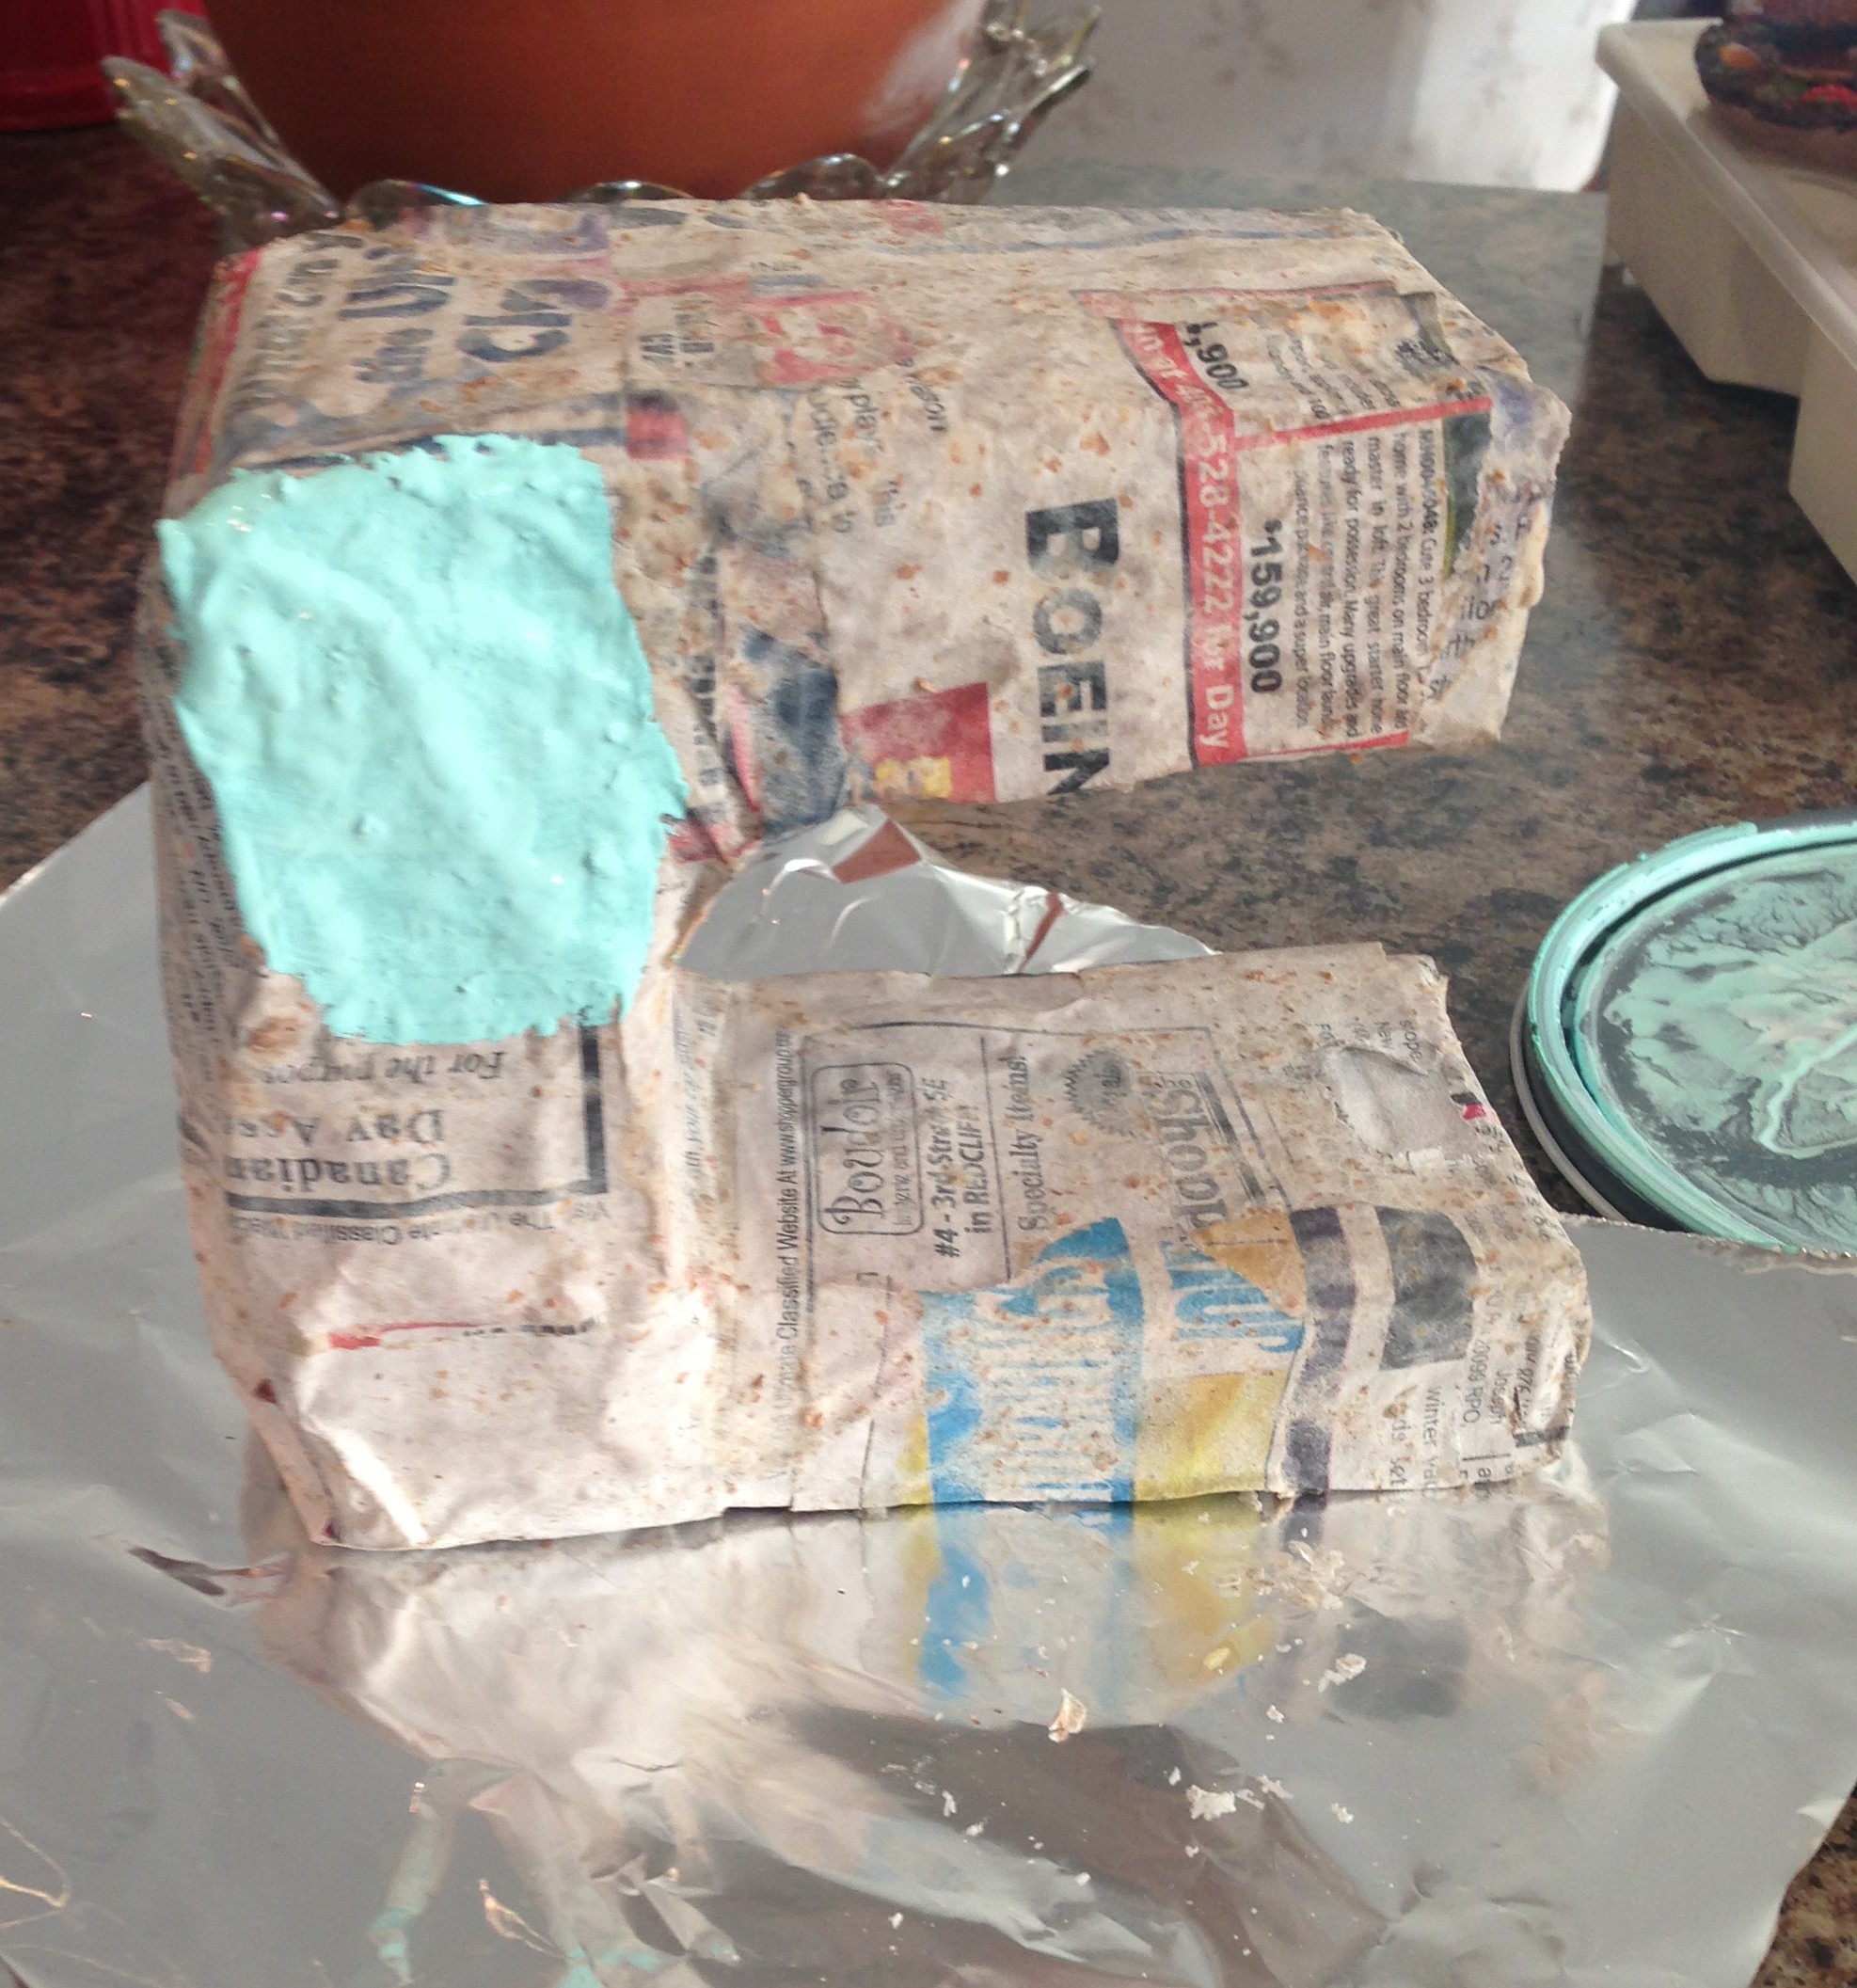
Time for the papier mache. Be prepared to get messy. Papier mache is one of the messiest crafting mediums on the planet in my opinion, but it is well worth it. Honestly, I don’t know how my husband puts up with me.
Here is the reality of papier mache. I like working on my cooktop because it comes off easily.
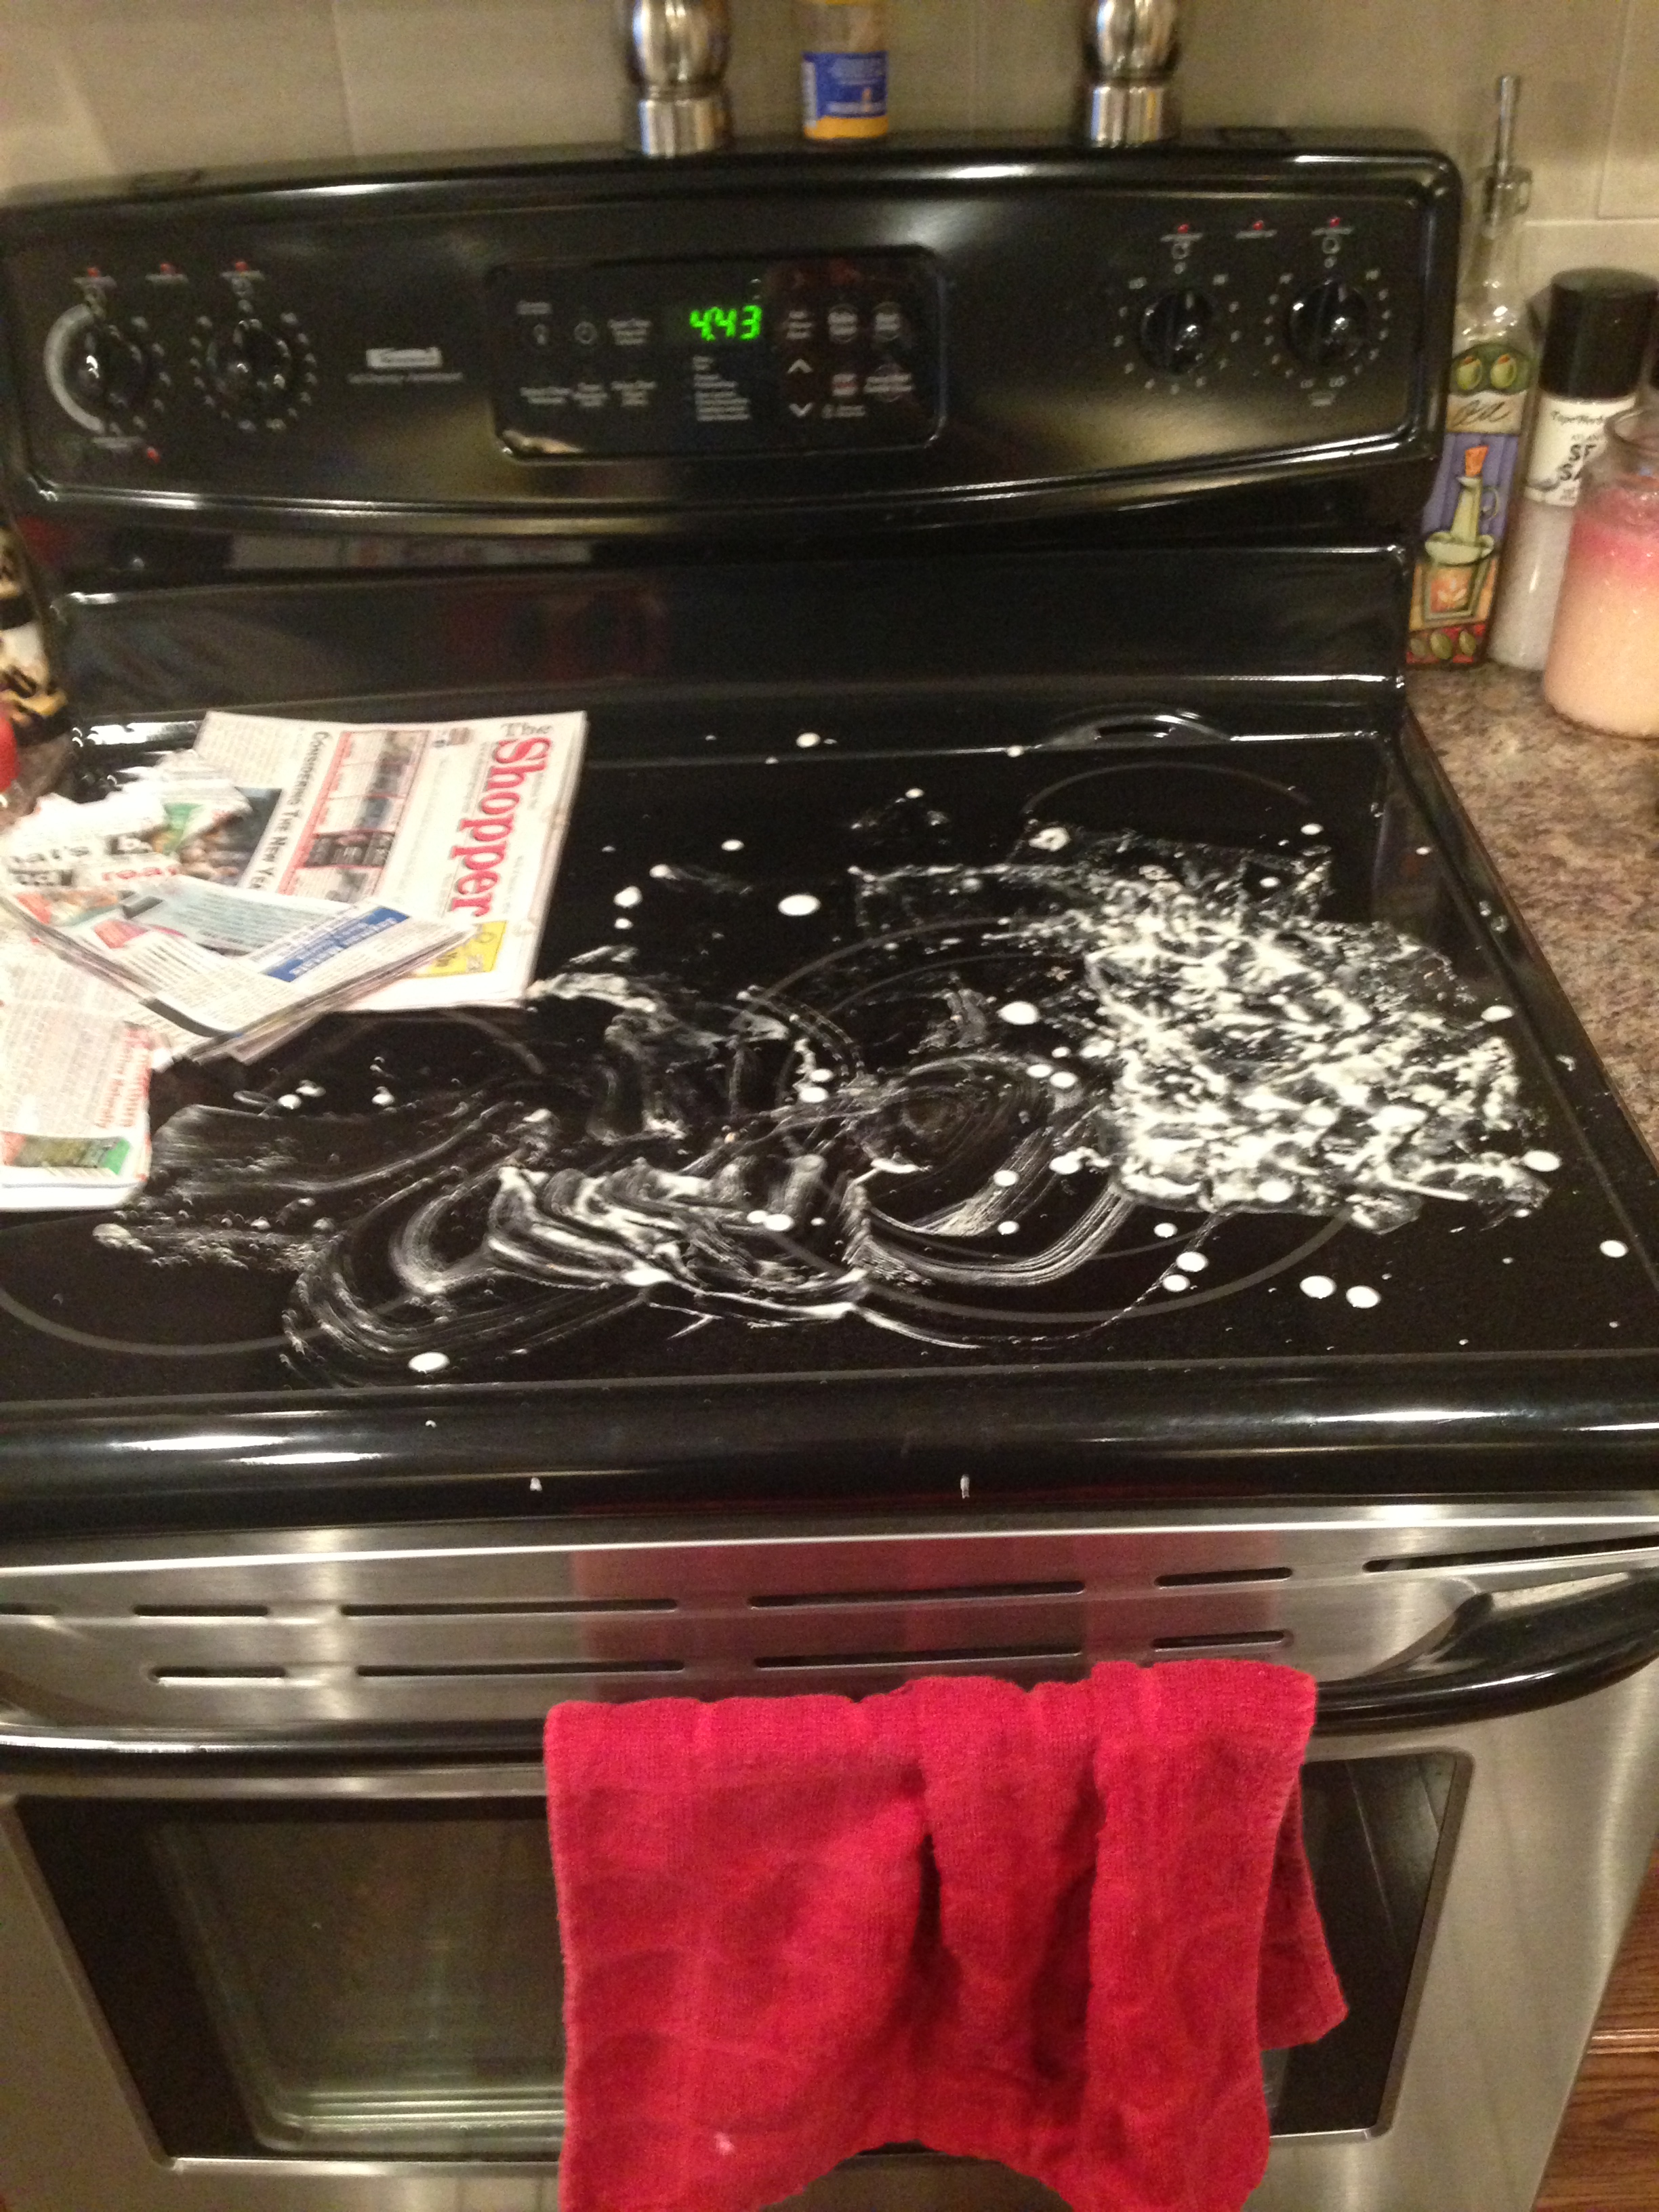
And here is the finished result, much tidier.
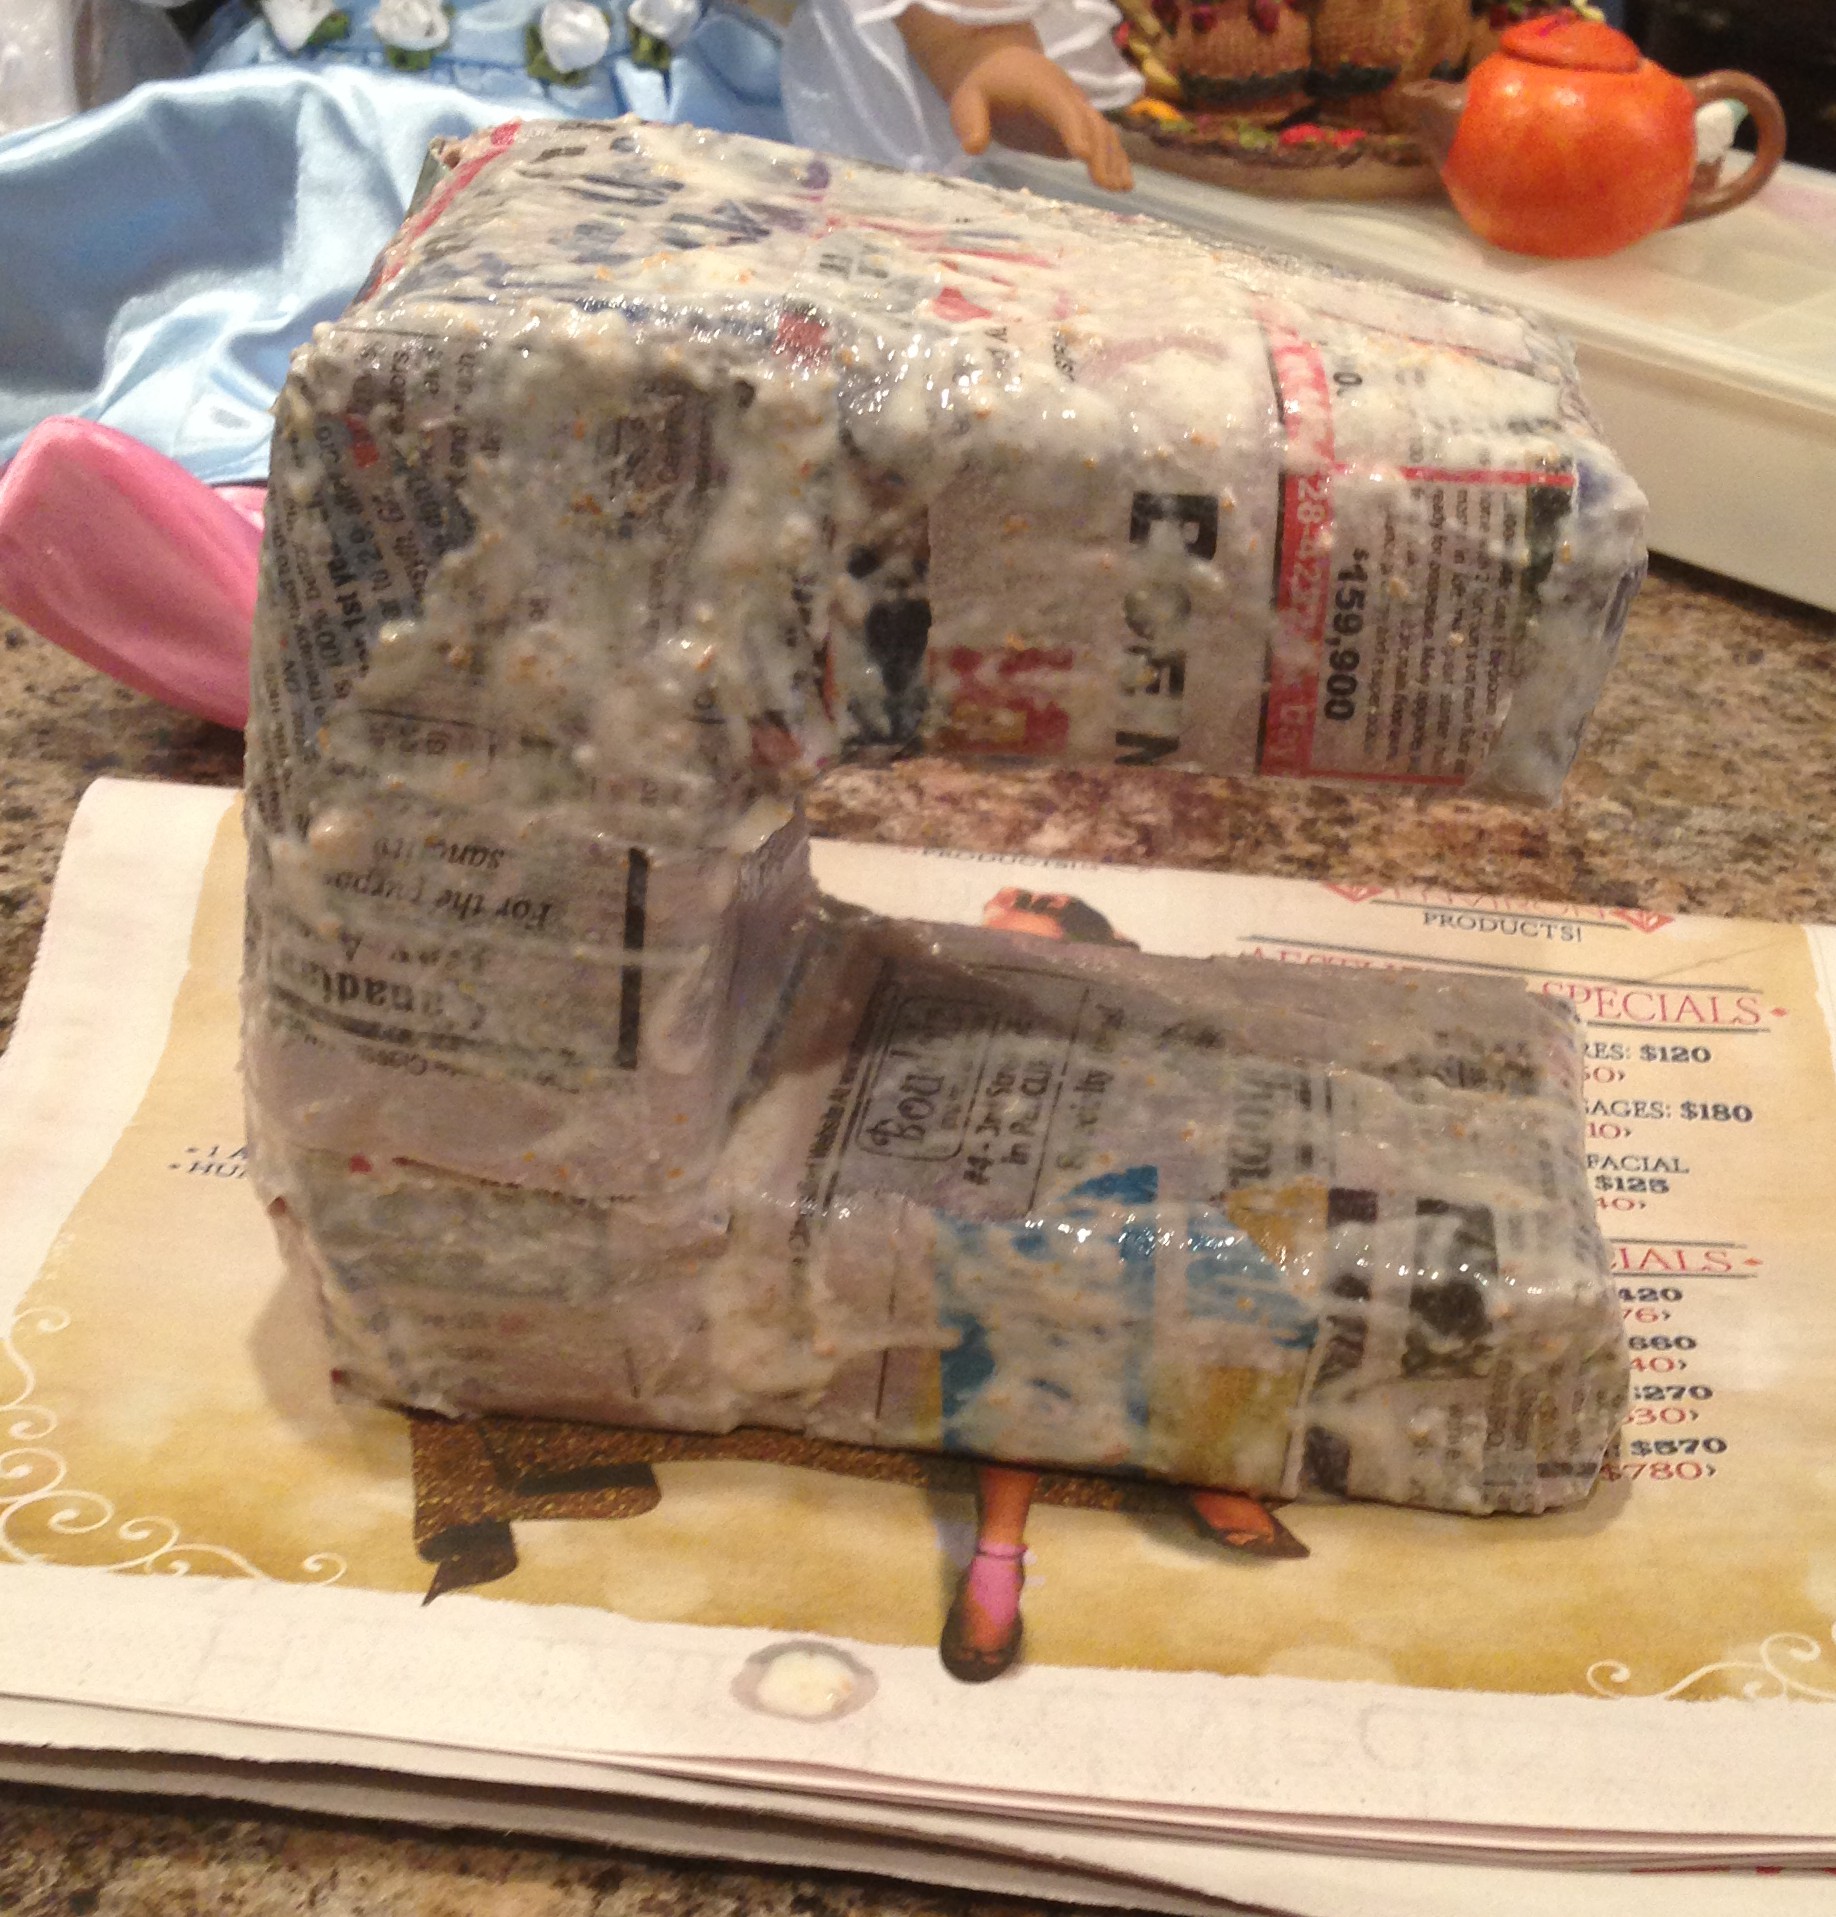
About three layers of coated newspaper is best. I used strips of paper because they are the easiest to wrap around. I also had to put a prop between the top and the bottom as it was starting to sag a little under the weight of the wet paper.
Wait overnight, or even a couple of days for it to dry completely. It should be hard as a rock.
The next step is to paint it. Two coats of paint should do. We chose this pretty teal colour as it was what we had on hand from painting her Monster High room. I think that coloured appliances are so cute, don’t you?
I wish that I could go and buy all of my kitchen appliances in my favourite green colour instead of the white ones that I already have, but that would cost me a small fortune.
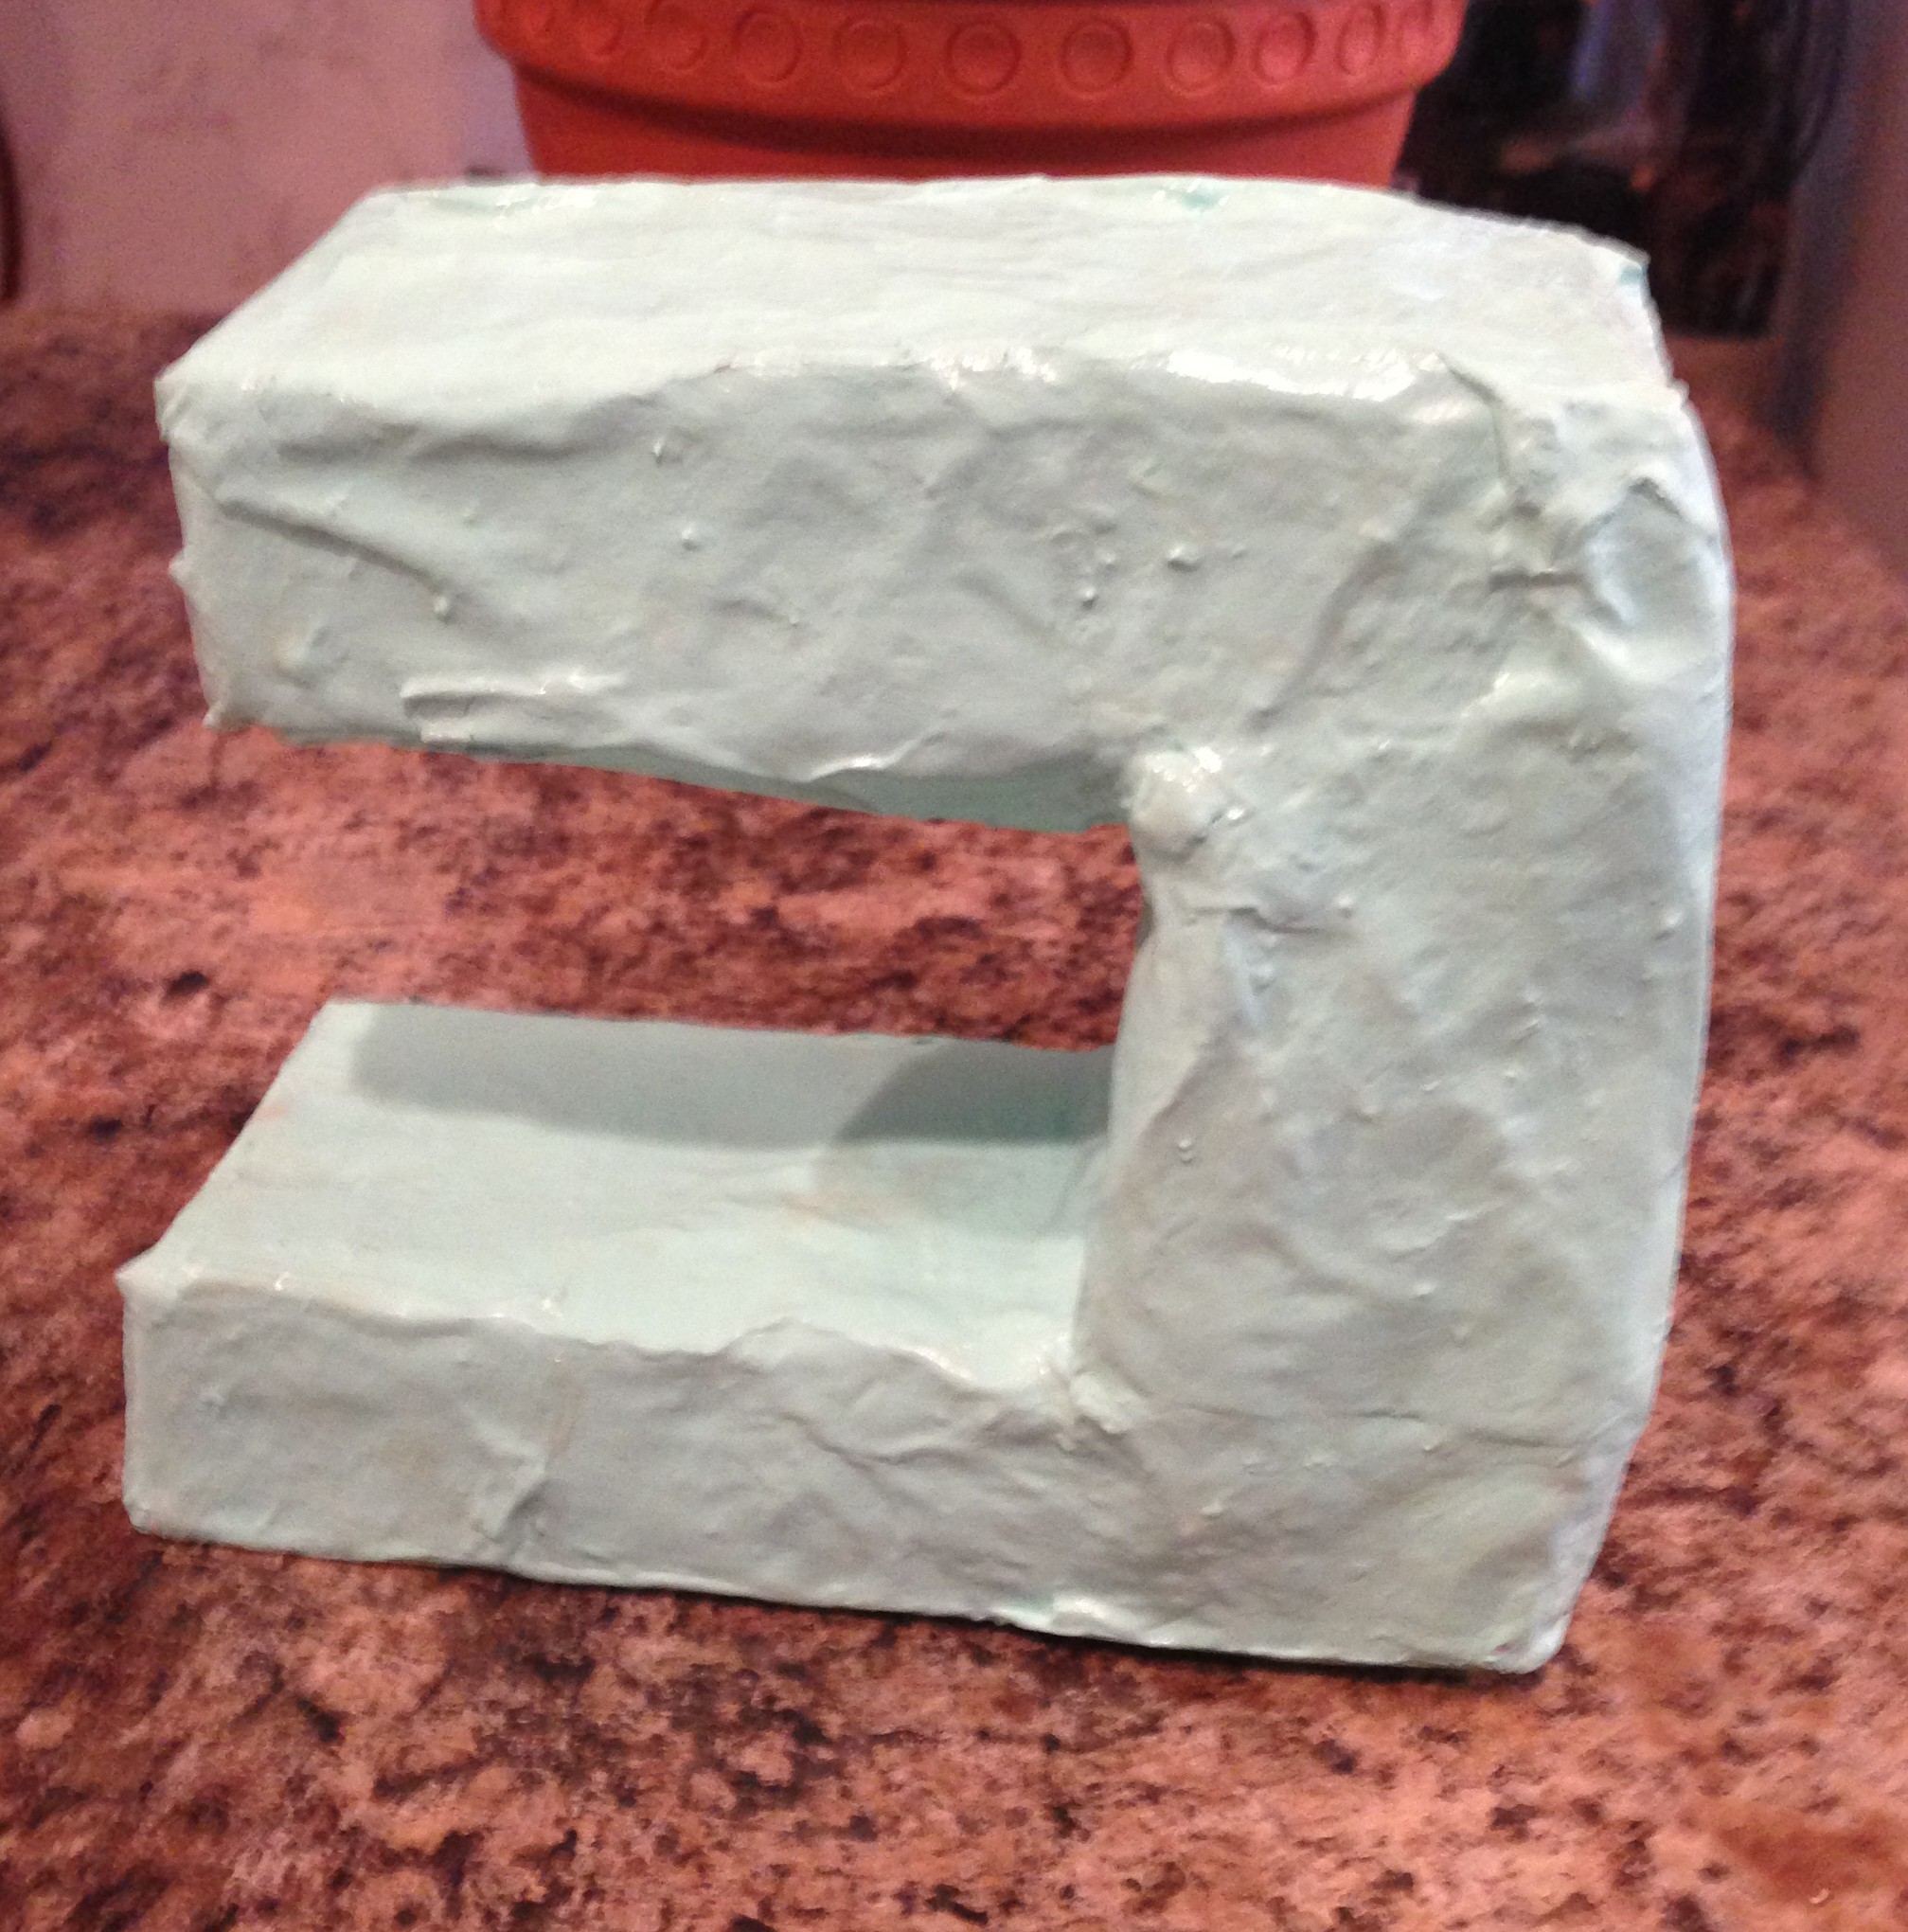
Once the paint is dry, just add a top coat of varnish, and you’re done! Sort of.
Now all you have to do is add all the details, basically to make it look, and function more like a real sewing machine.
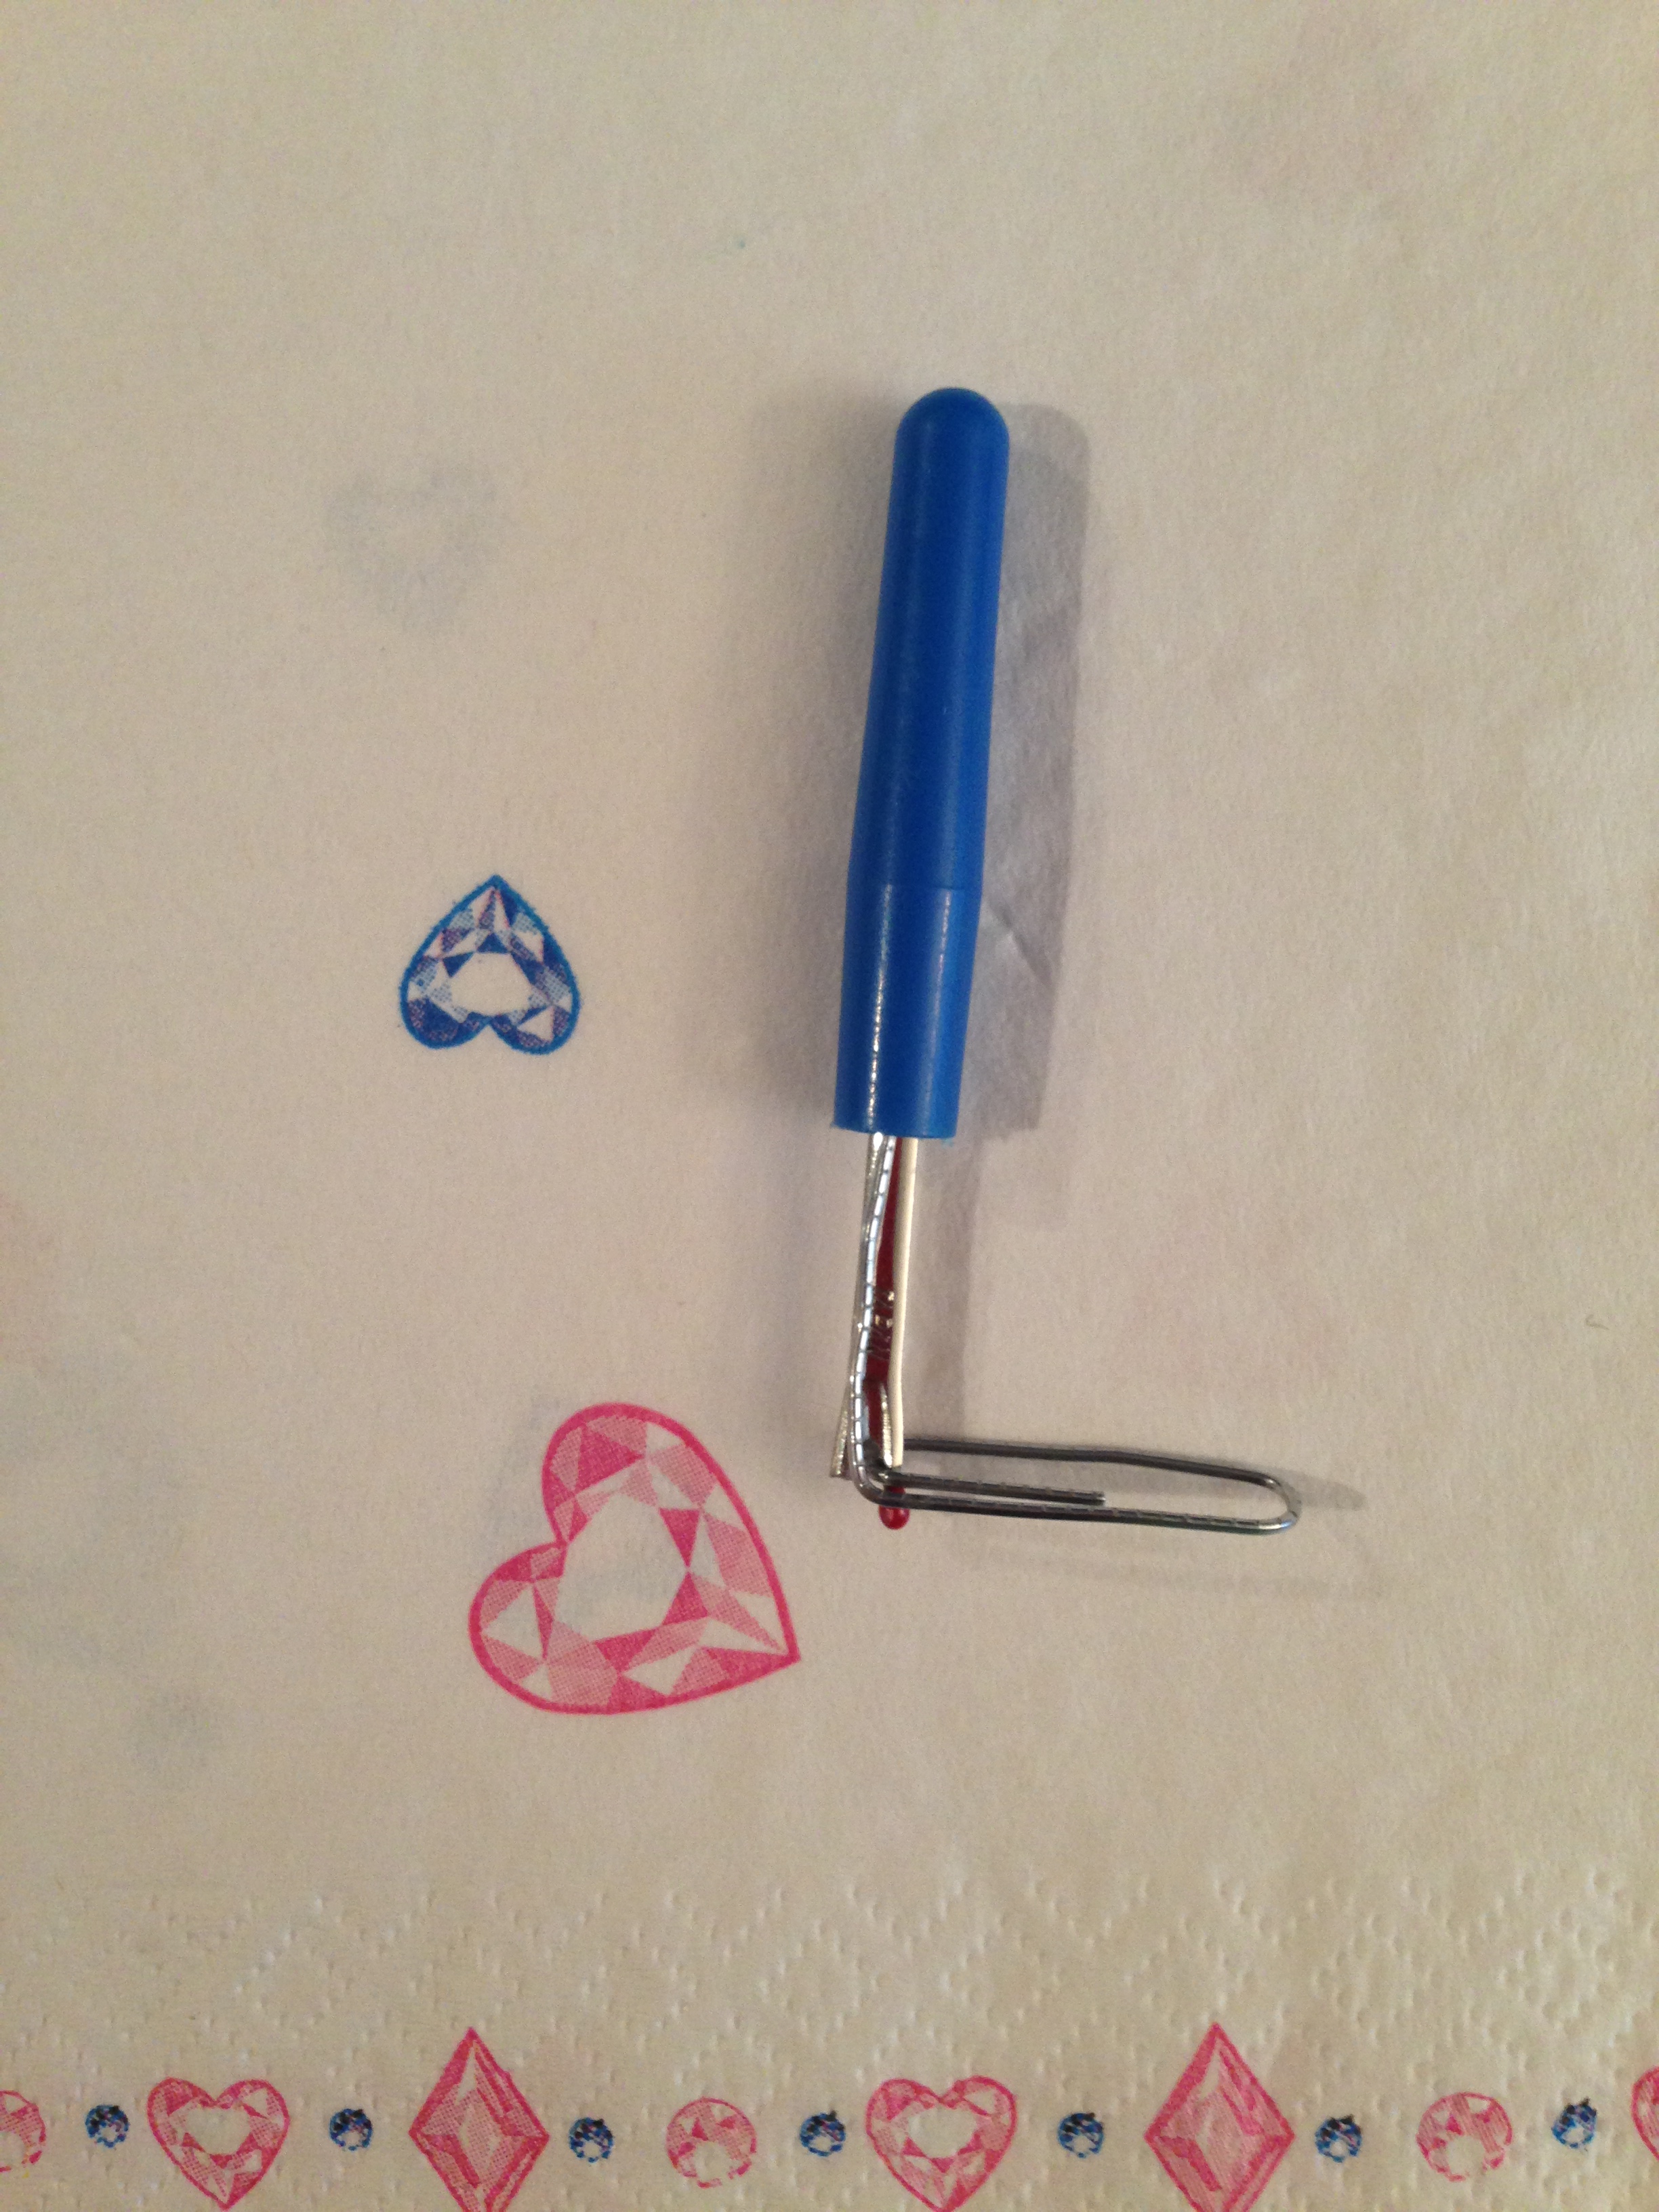
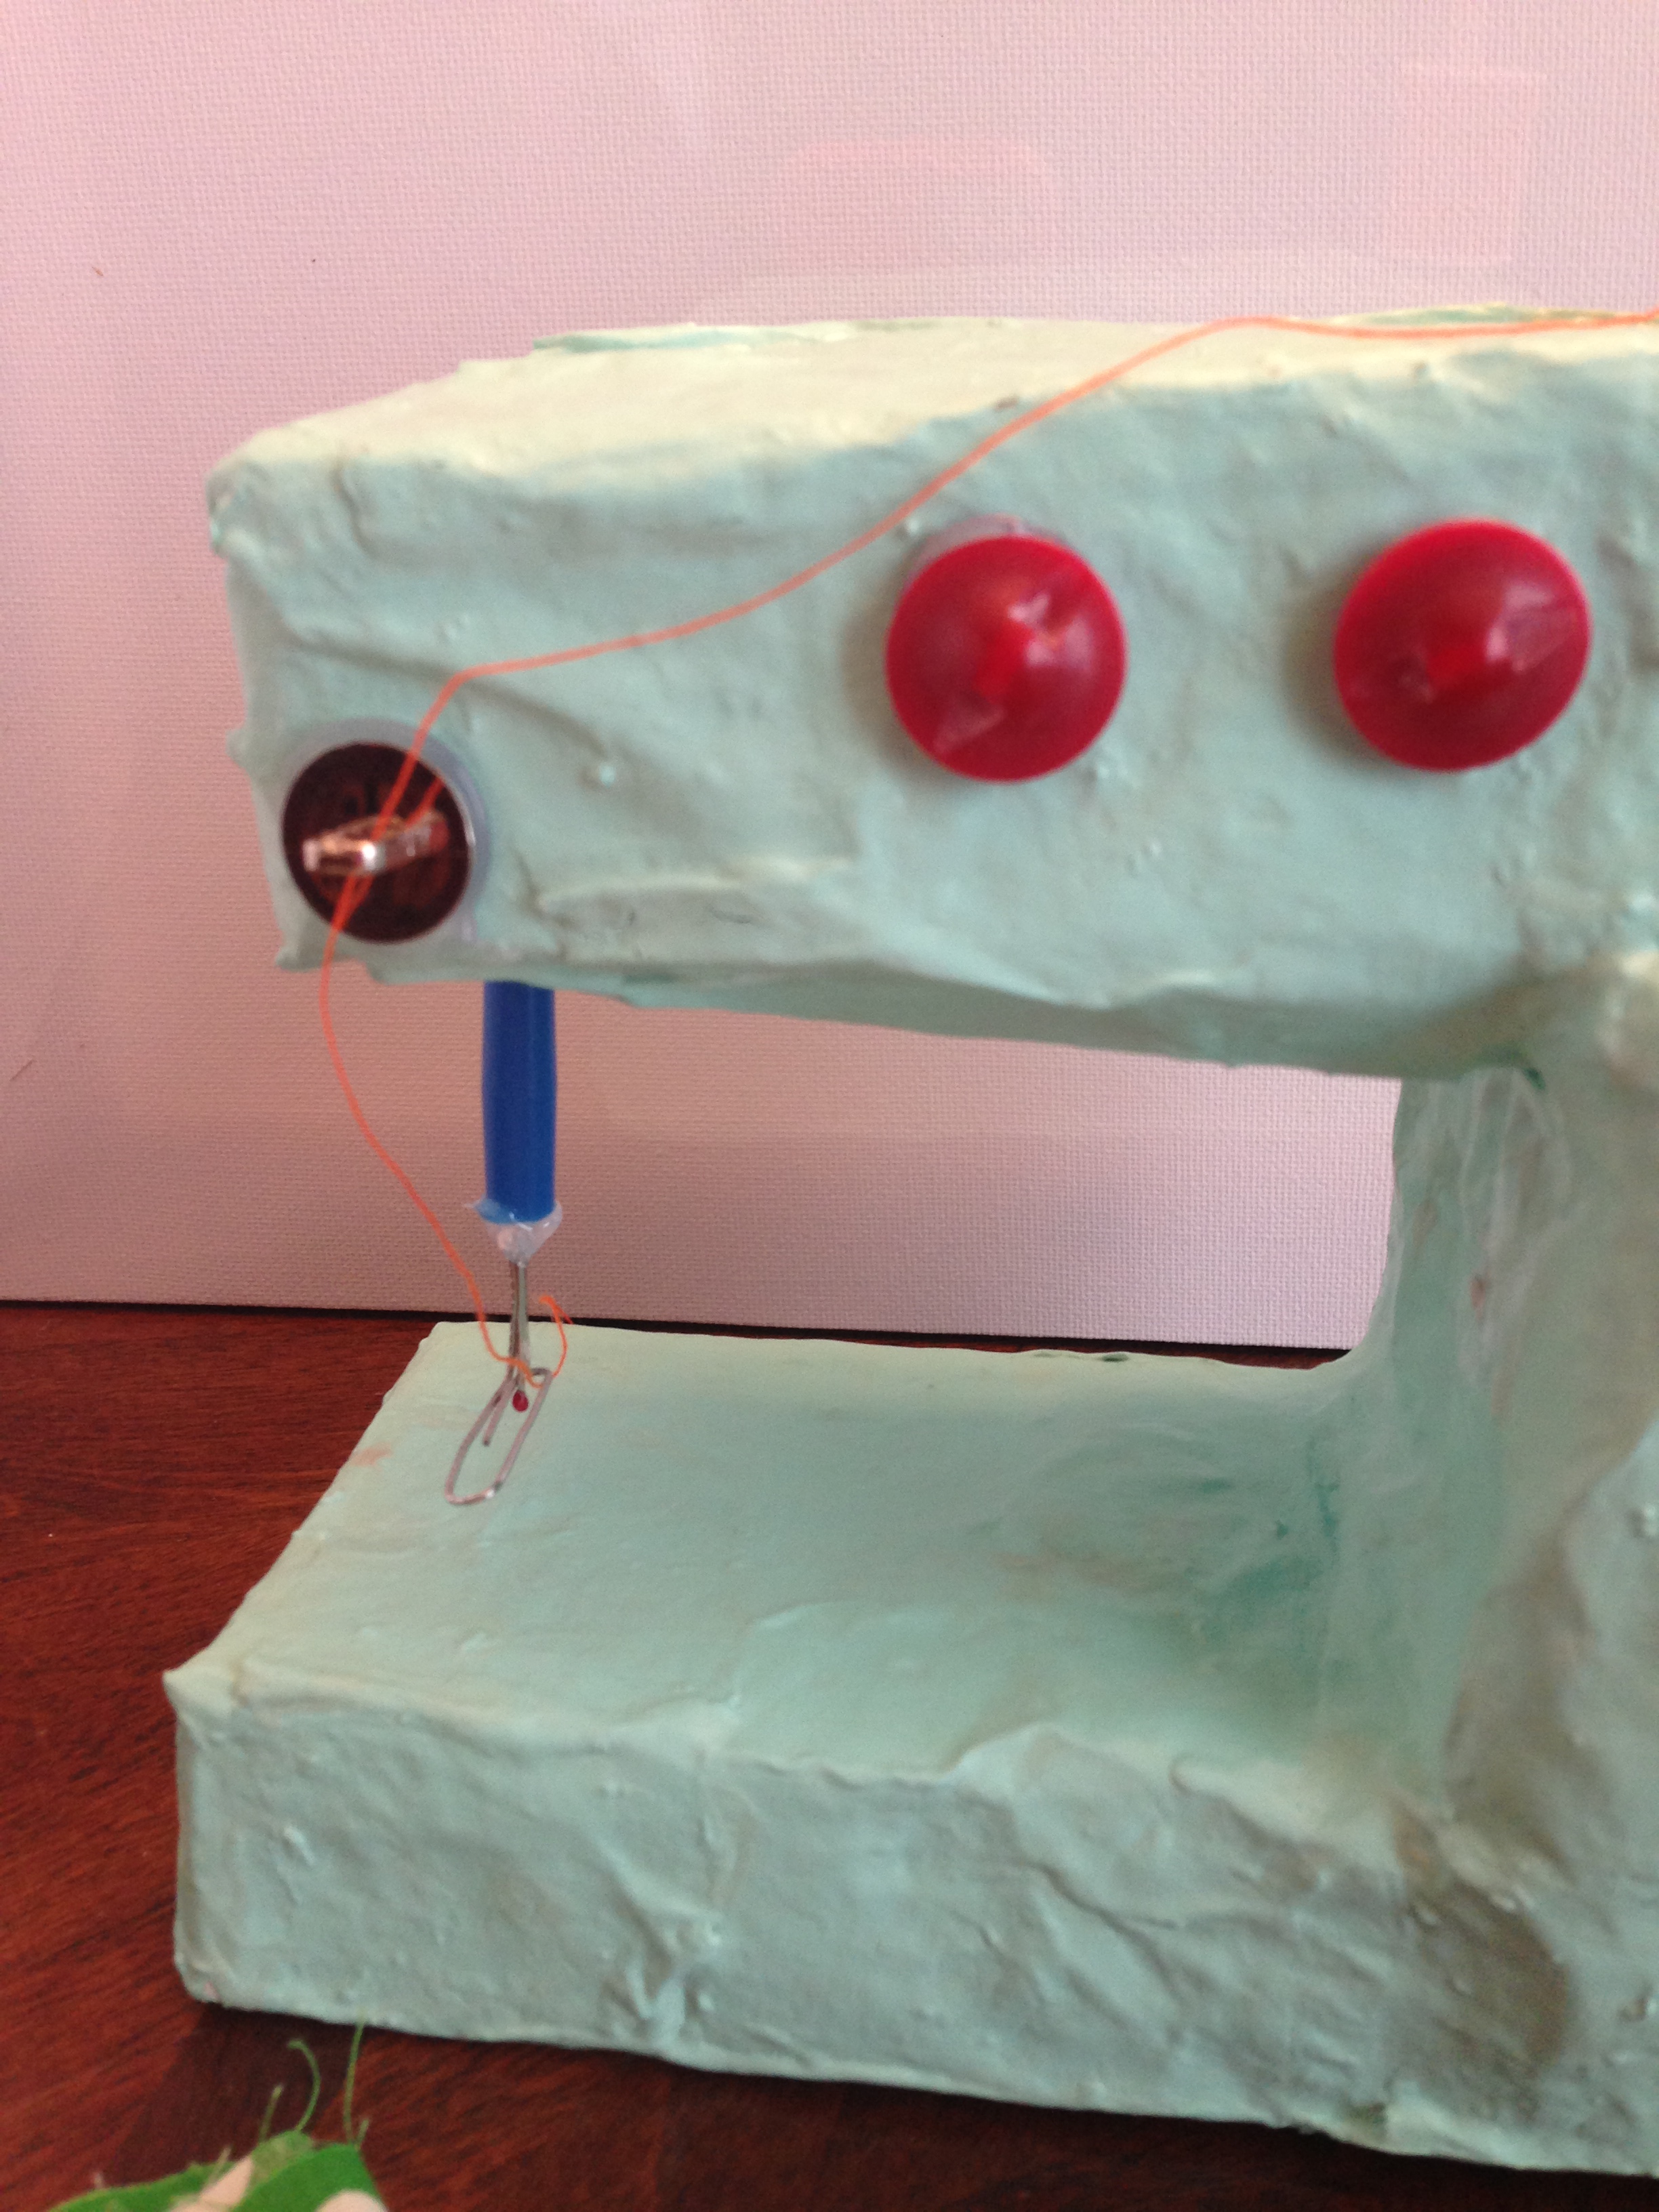
The first thing you need is a needle. Here is what I used. 
I took an old stitch pick and broke the sharp end off with a pair of needle nosed pliers. Then I took a paper clip and bent it. I inserted the paper clip into the pick, and glued the whole thing together to look like this:
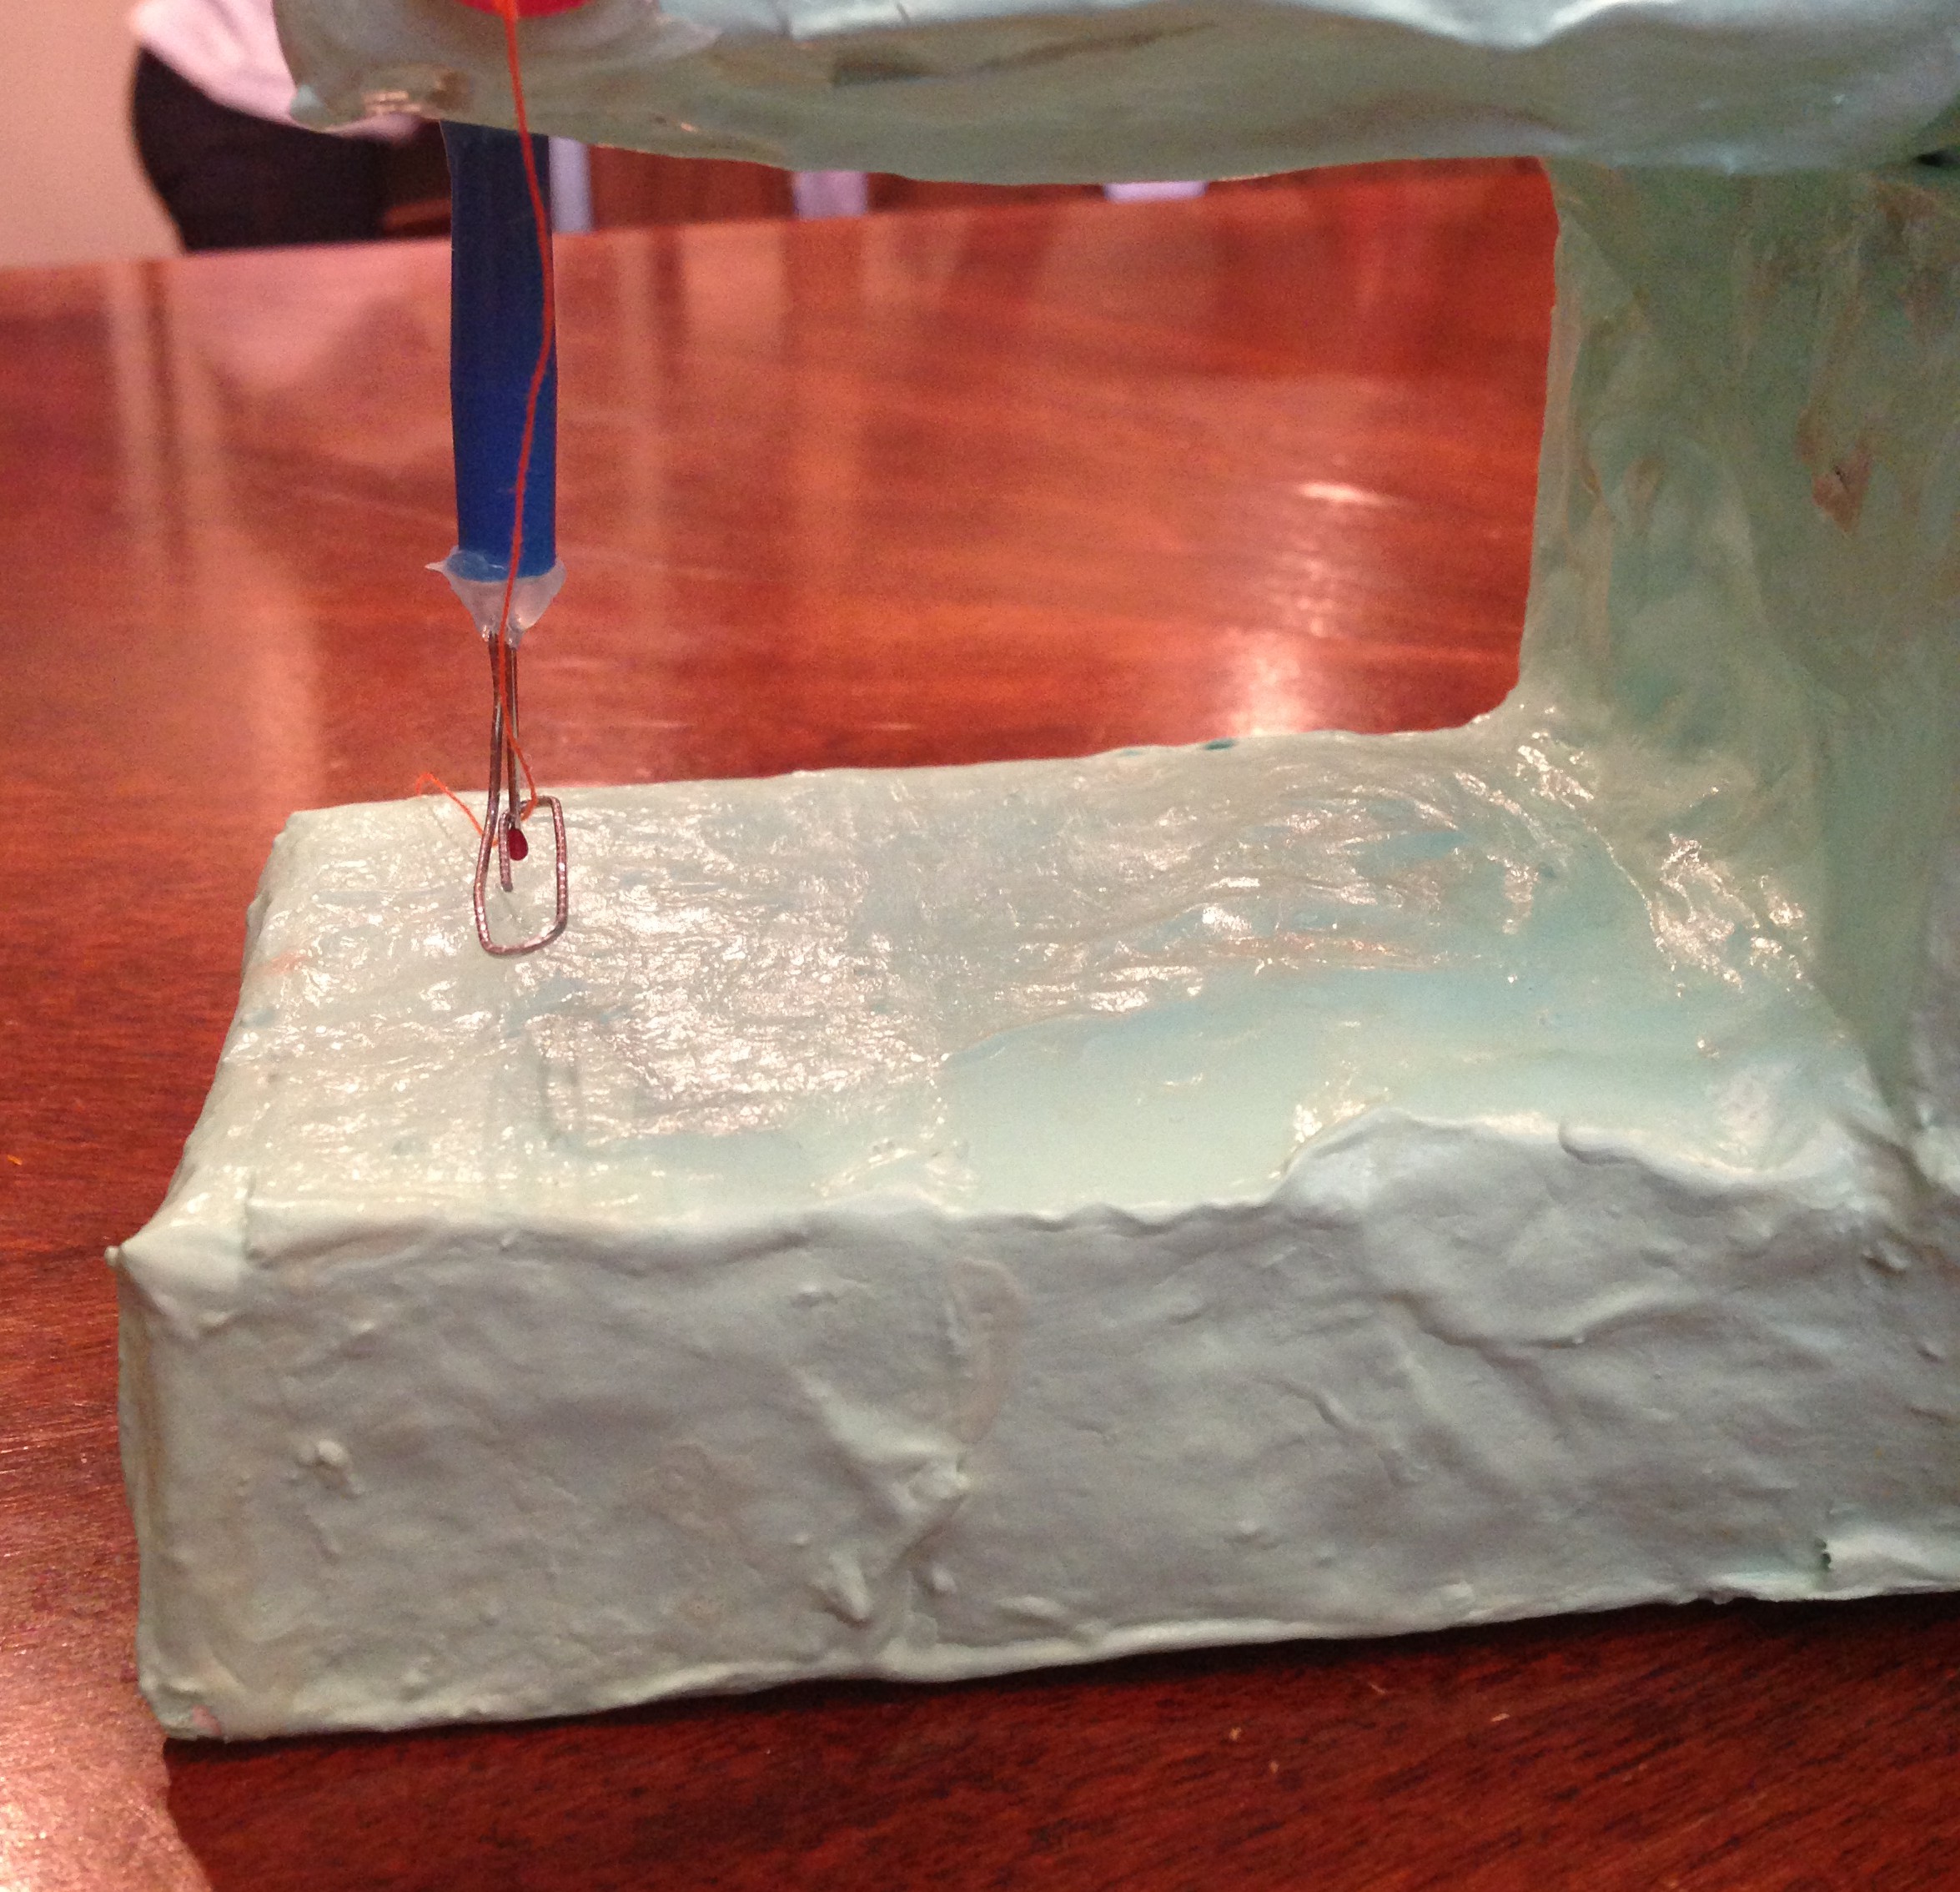
Then I hot glued it in place under the sewing machine.
I used a few bottle caps and buttons for knobs and a wooden dowel for the thread to go on.
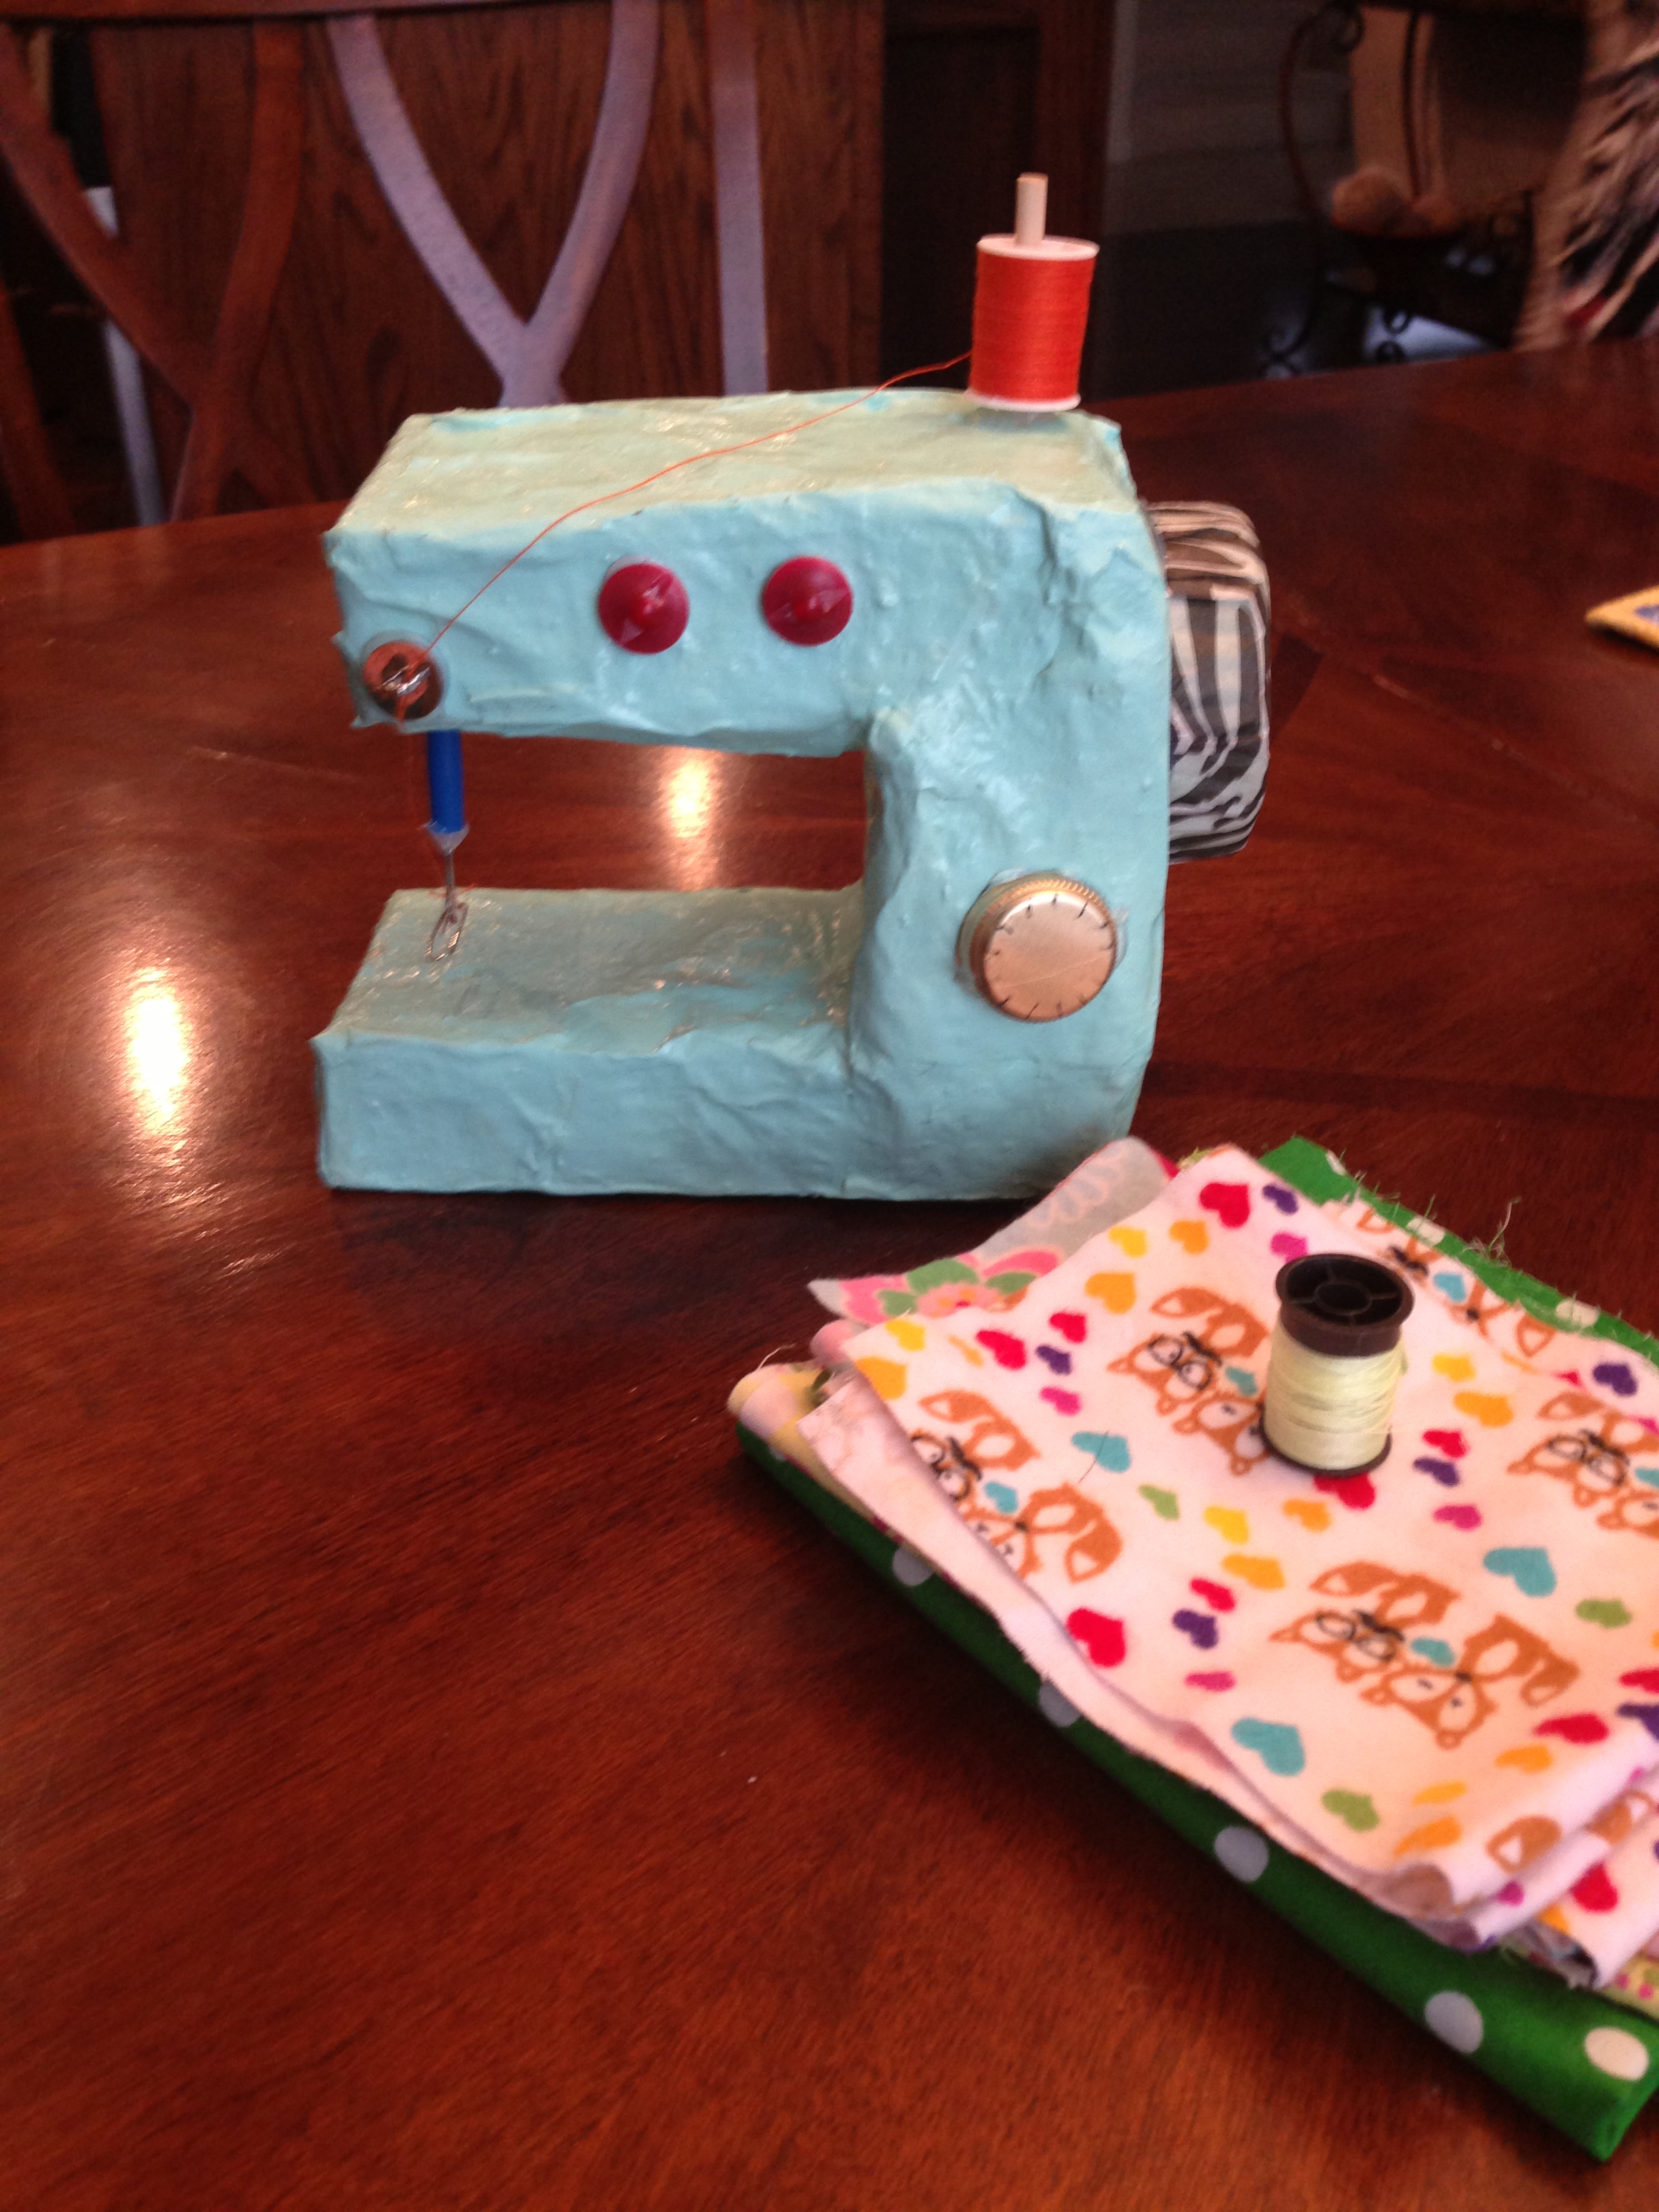
I also used another button for the thread to go through.
So there you have it. As it turns out, nothing is impossible after all, just like I knew from the very start.


And it’s not just for the dolls. My girl had sew much fun pretending to sew too! 🙂

Enjoy!!
