

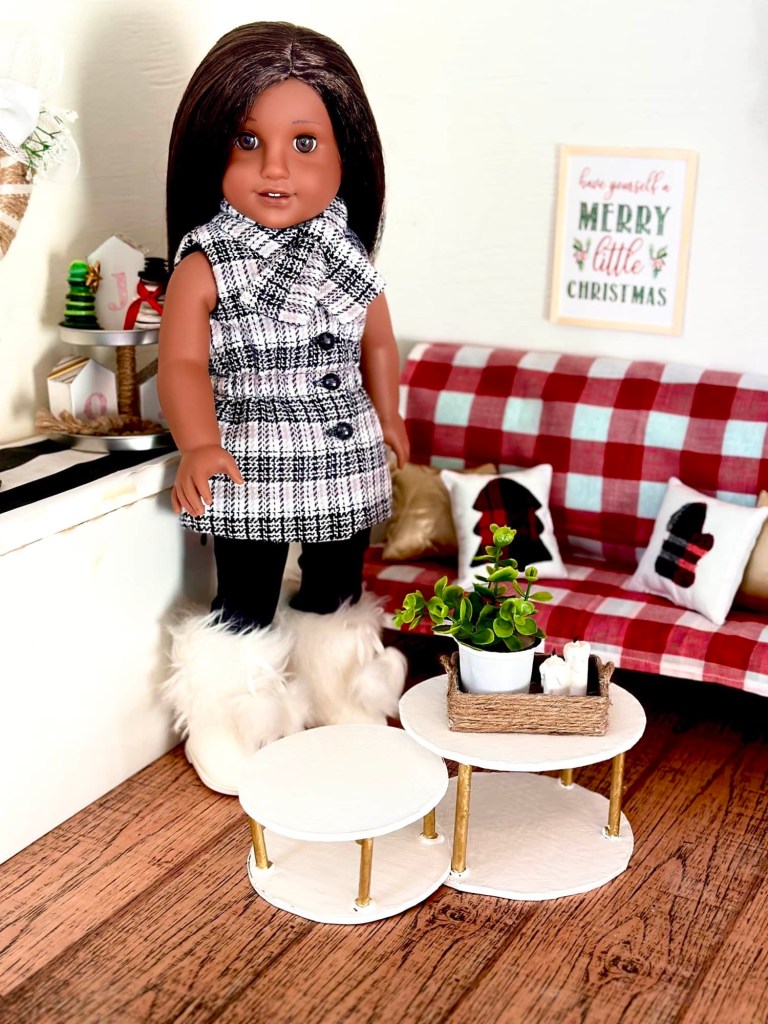
Hi guys! We are doing our big Christmas party tonight, but I didn’t want to go without sharing this super cute craft with you.
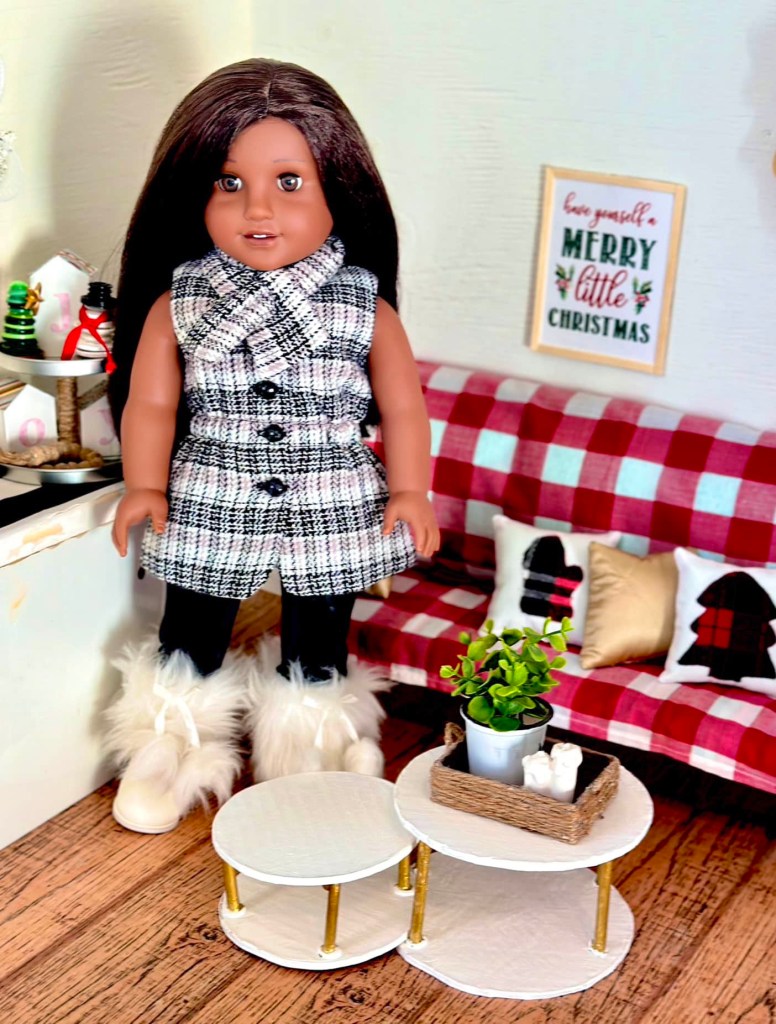
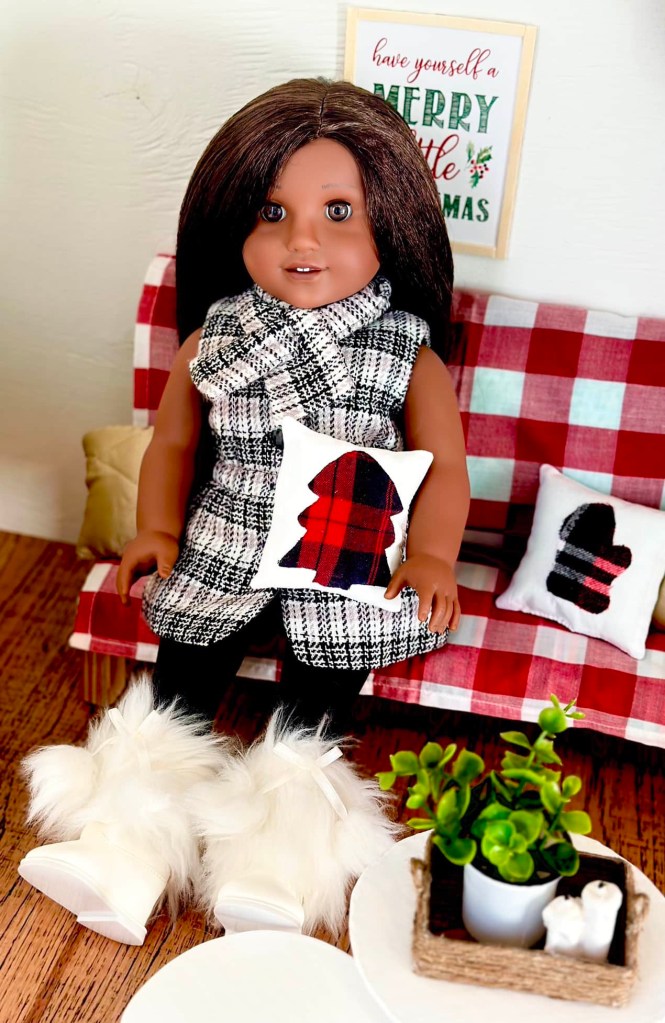
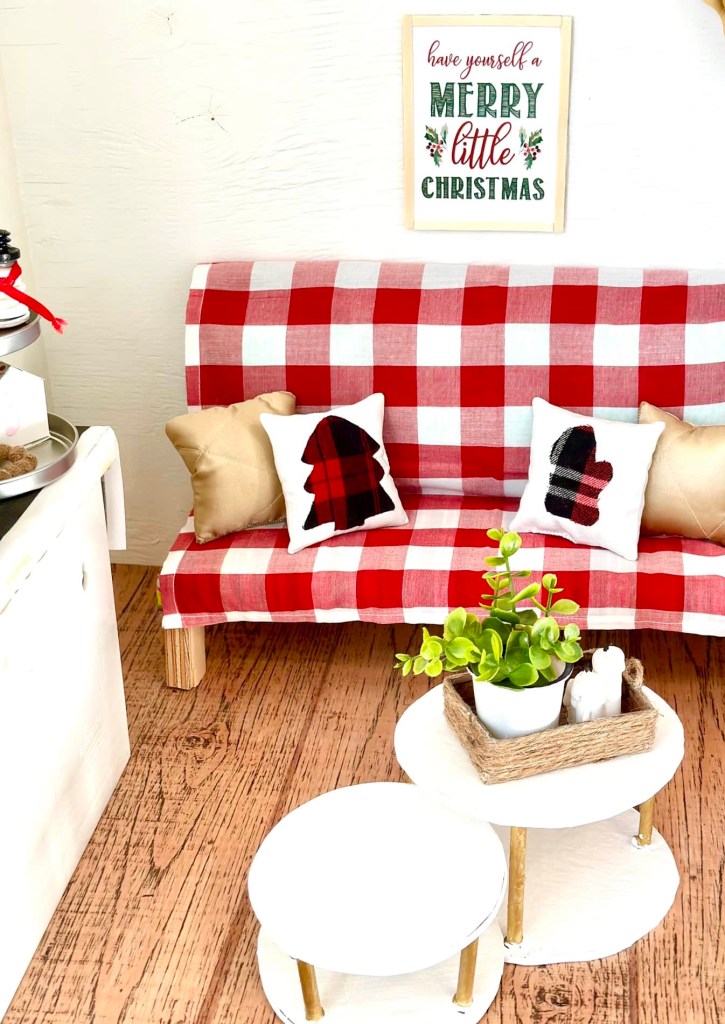
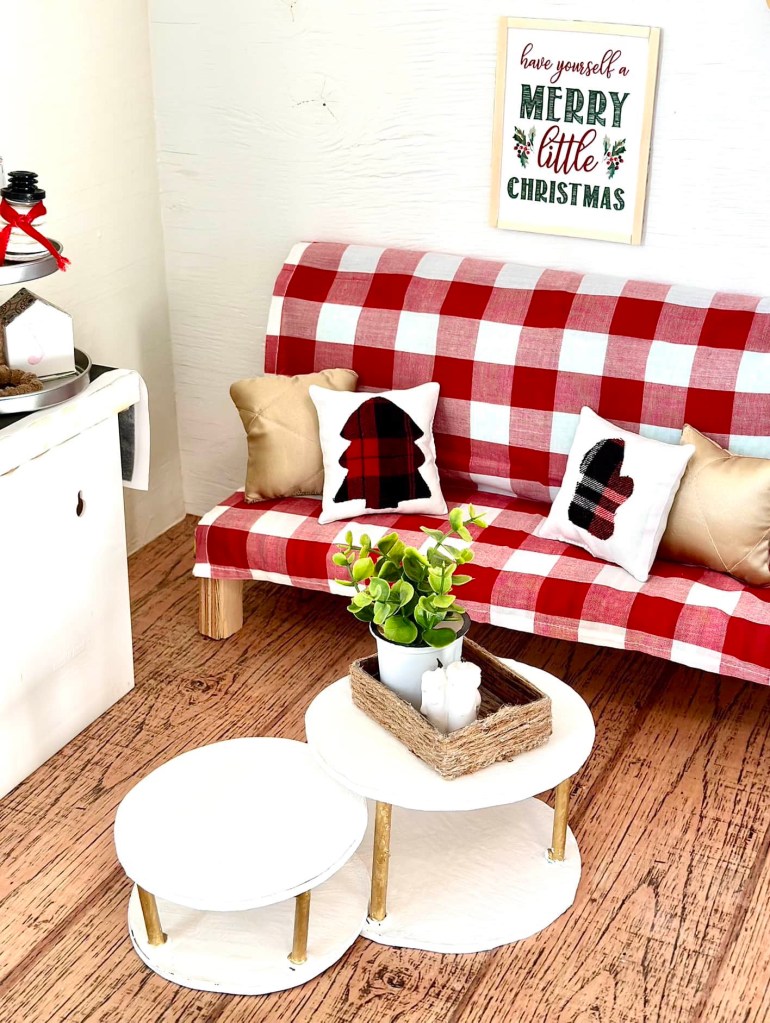
In my opinion, you can never have enough throw pillows. I am constantly changing mine out, but I love how it can bring new life to a room just by adding a few pillows.
What’s even better is that these doll sized ones are so easy to make!
Here is what you need:
White fabric
Plaid fabric
Fabric scissors/rotary tool
Sewing machine/needle and thread
Chopstick/hemostats
Fabric glue/paintbrush
Cotton batting
Iron/Iron Board
Paper/Scissors/pencil
Cardstock
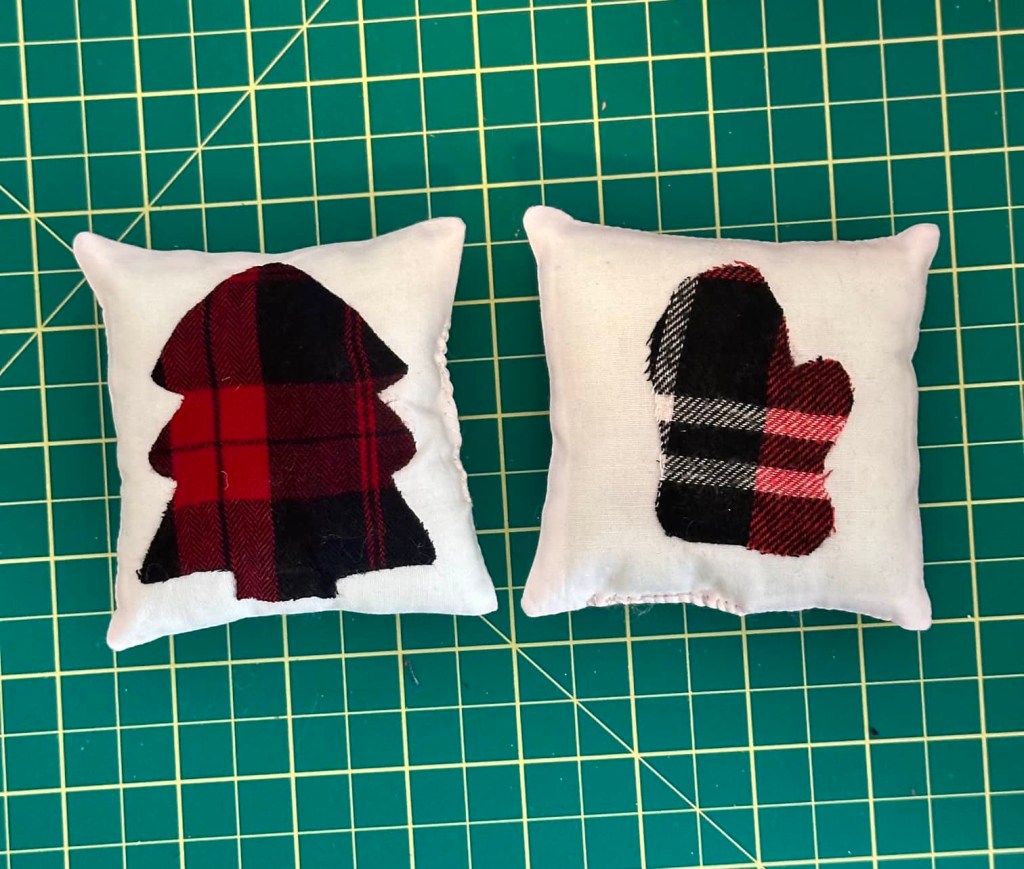
First use your paper and pencil to measure a 4 inch square. This is the pillow pattern.
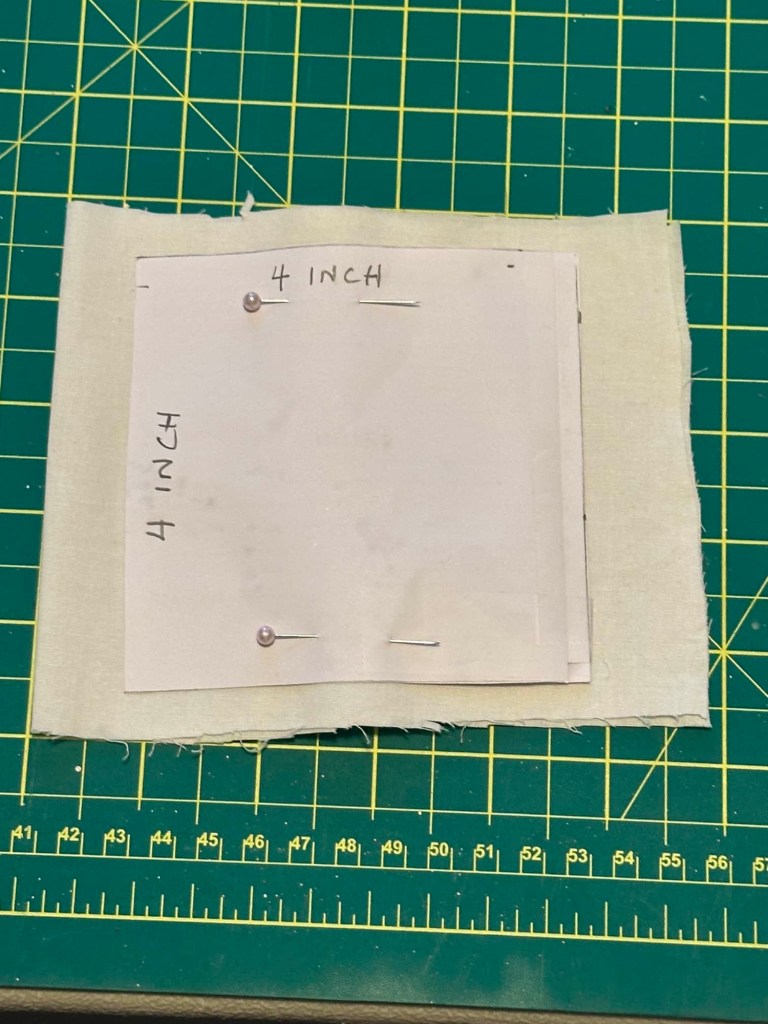
Fold your white fabric and pin the pattern on. There should be two layers of fabric. Cut out your pattern using fabric scissors or a rotary tool.
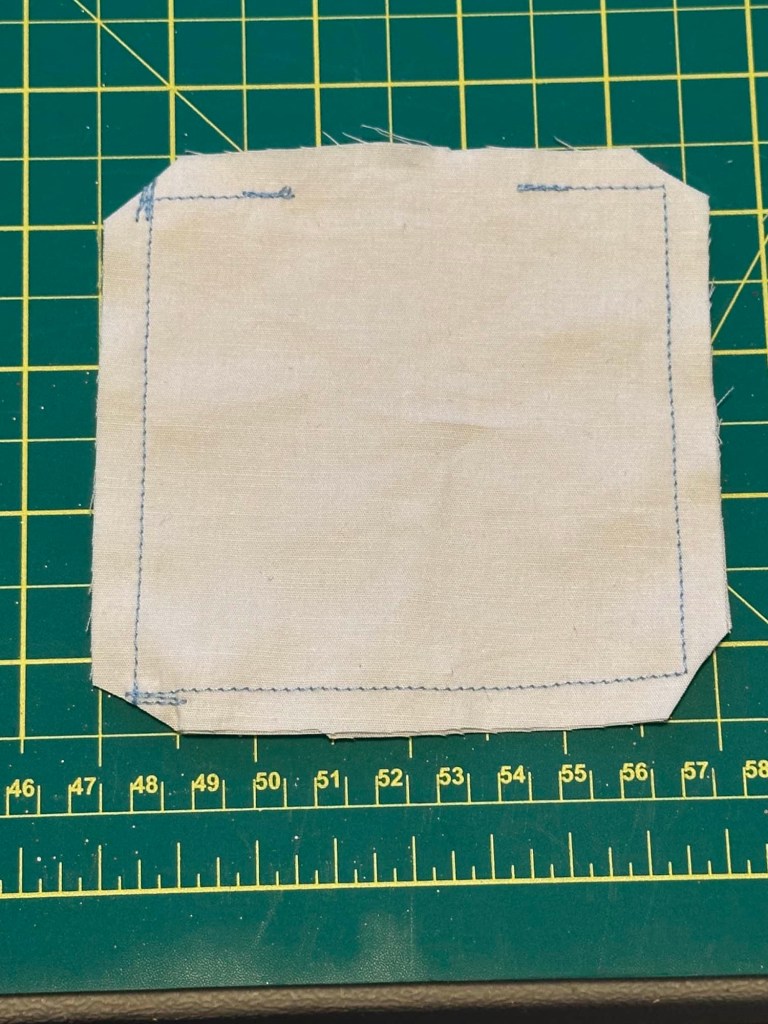
Now we will sew the pillow. Leave a space in one of the sides for turning. Once you have sewn the pillow, trim the corners. Don’t clip your stitches!
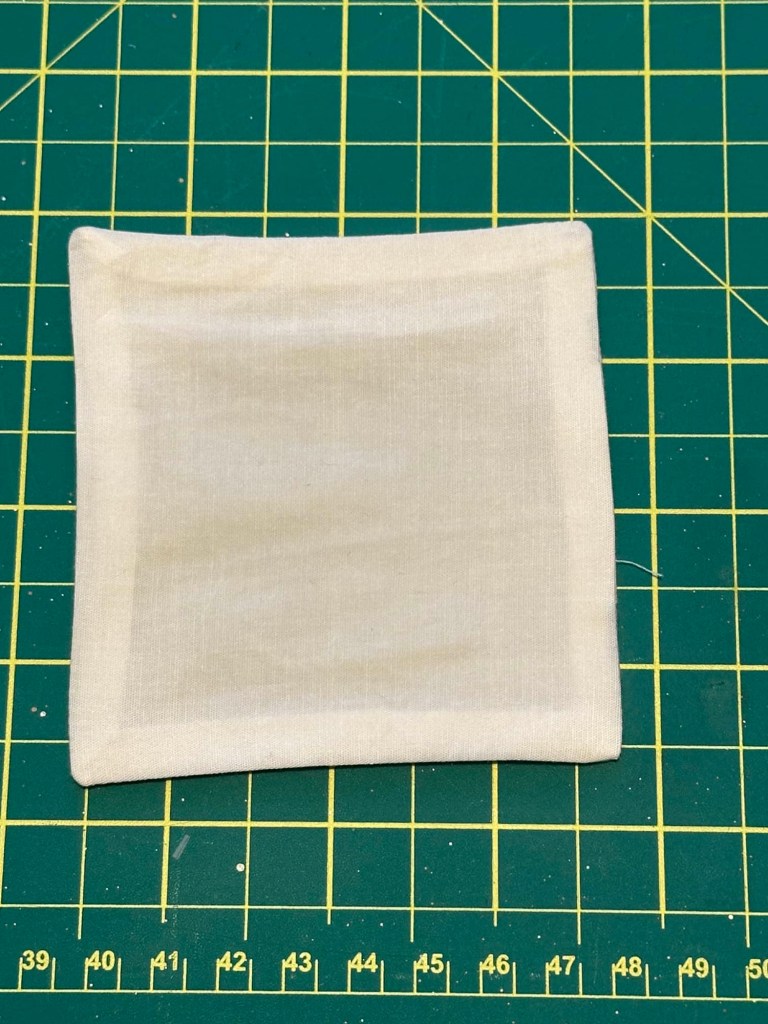
Turn the pillow right side out. Use a chopstick or a pair of hemostats to poke sharp corners. Press and set aside.
Now we will make the graphic. I went online and searched ‘Christmas tree sihouette’. I traced one I liked directly from my phone screen, but you could print it out instead.
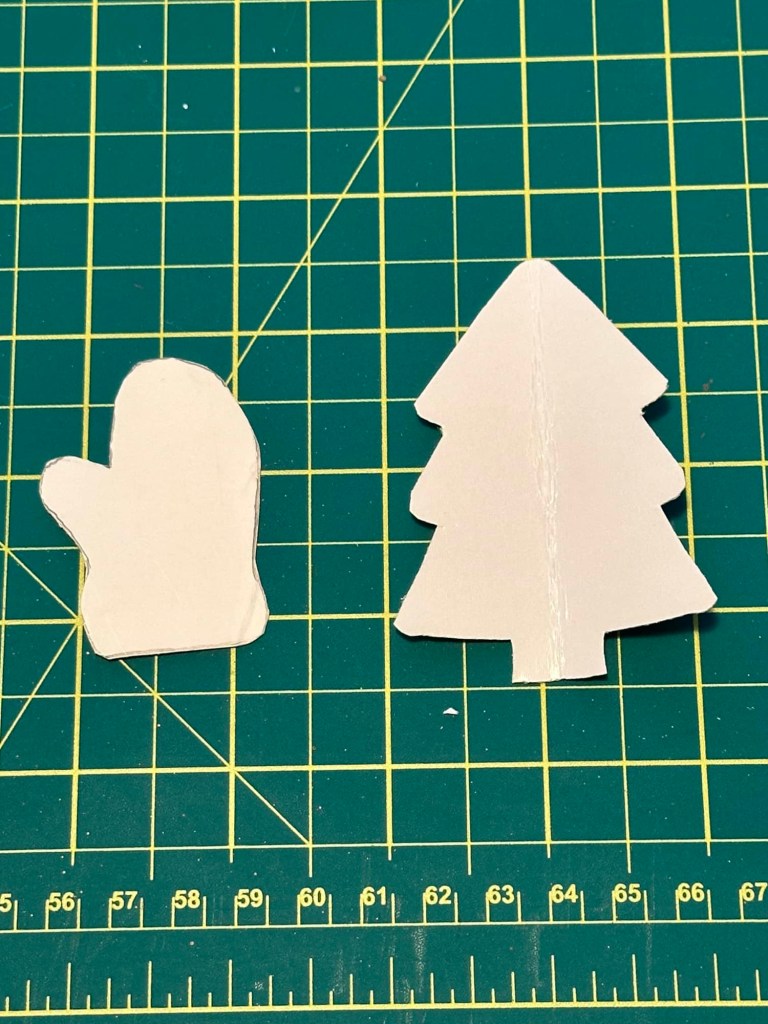
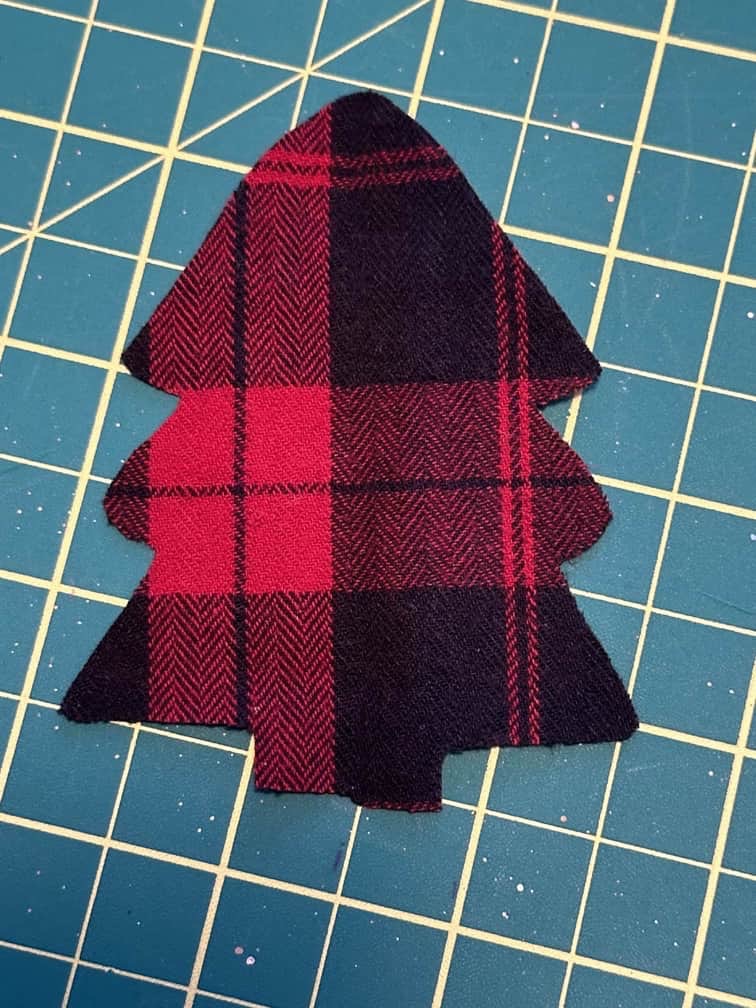
Next I cut it out. I traced the paper tree onto heavy cardstock paper just to have a sturdier template. I also made a mitten the same way.
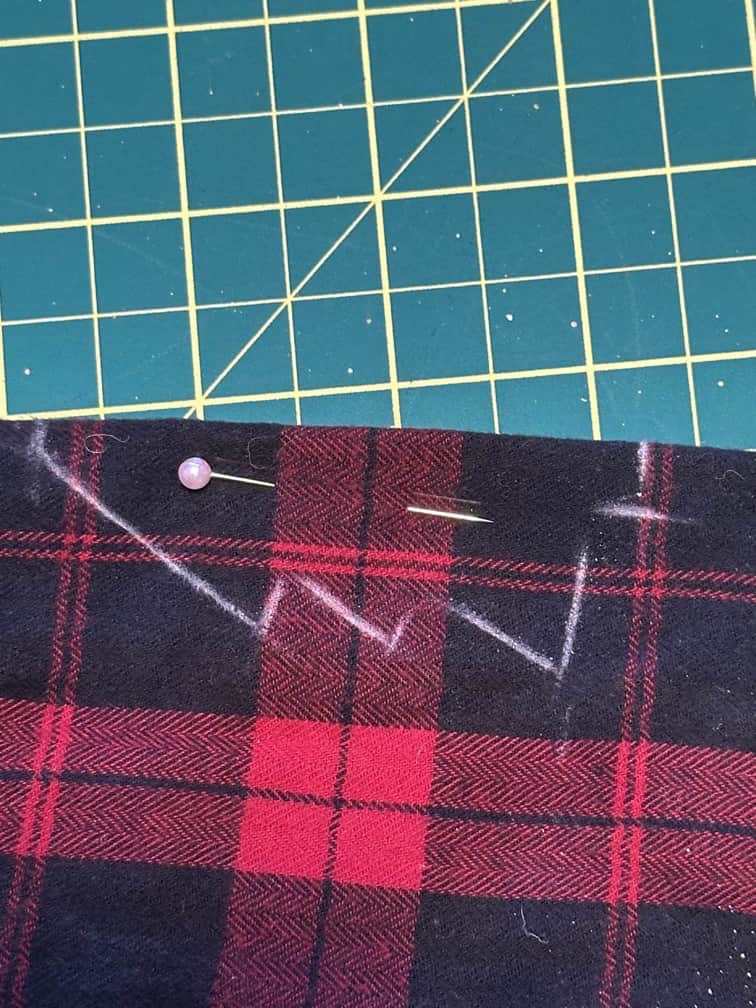
Using your template, trace your design onto plaid fabric. I pinned my fabric in half and only traced half of the tree, so it would be symmetrical.
Using a paintbrush, brush on a layer of fabric glue to the back of the tree. Be sure to get all the edges.
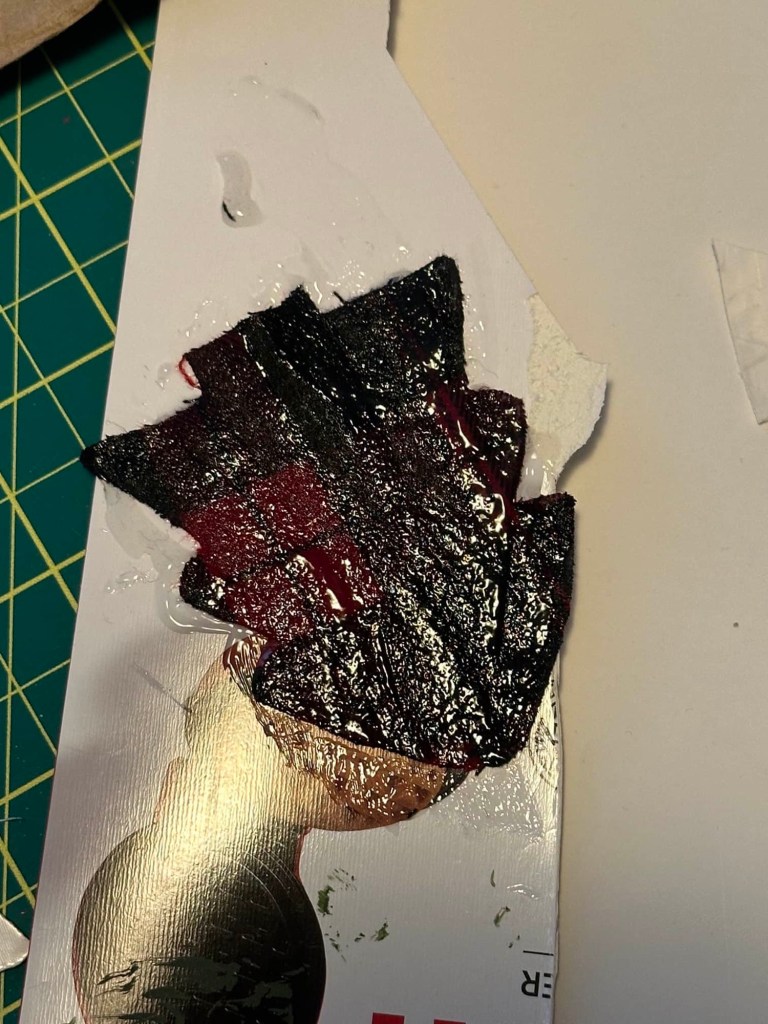
Now attach your graphic to the center of your pillow. I put a strip of cardstock in between just to be sure the glue didn’t seep onto the other side of the pillow.
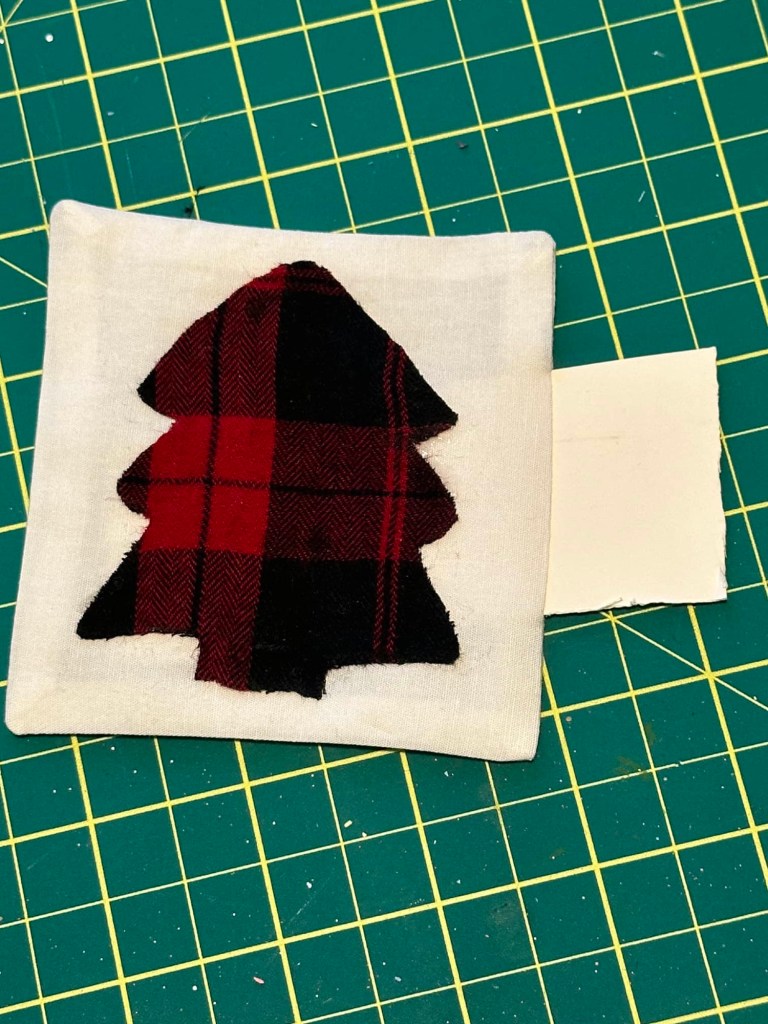
I made my pillow this way rather than putting the graphic on and then sewing it because finding the center of the pillow is more accurate this way. I also didn’t want to accidentally catch the graphic in the pillow seam.
Now stuff your pillow and hand stitch the opening closed. Don’t overstuff the pillows or your designs will bulge. The pillows should still be relatively flat.
And you are done!!
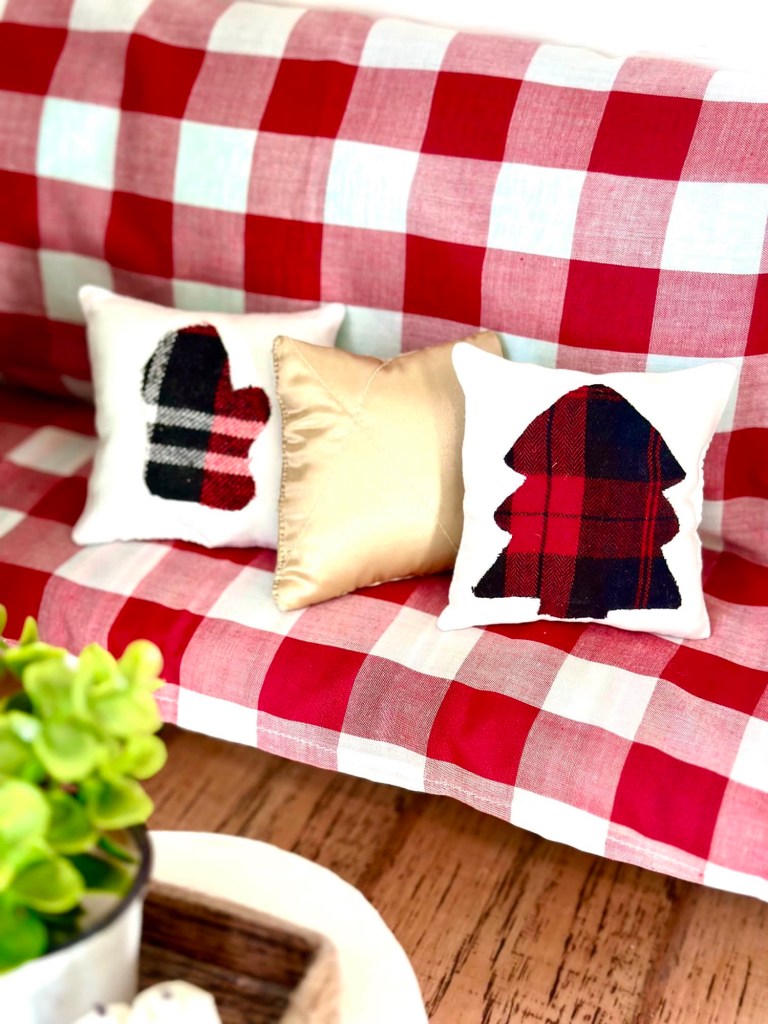
Seriously cute!!
And of course you can make them for any time of the year, not just Christmas depending on the graphic that you use!

I just love plaid for Christmas. 😍
You could also hot glue bows or buttons to your pillows if you wanted to jazz them up even more.
So many ideas!
So little time before Christmas!
Now I am off to my Christmas party! 😊
I hope you enjoyed and I hope you are inspired to make some cute throw pillows for your dolls.
I still have a few Christmas ideas left, so stay tuned for that!
Merry Christmas, everybody!
Leave a comment below!
🎄🎄🎄

These cute little pillows add such a nice touch to your doll’s room and make it feel even cozier for Christmas and Winter. Thank you so much for this darling idea! I’m just now beginning to get caught up on some of your “doings” and hope to see them all soon!
Terry in Colorado
LikeLiked by 1 person
Thank you!! I am so excited to be back blogging. I missed it and you! I just loved doing the Christmas decor series! So many ideas! 😊
LikeLike