

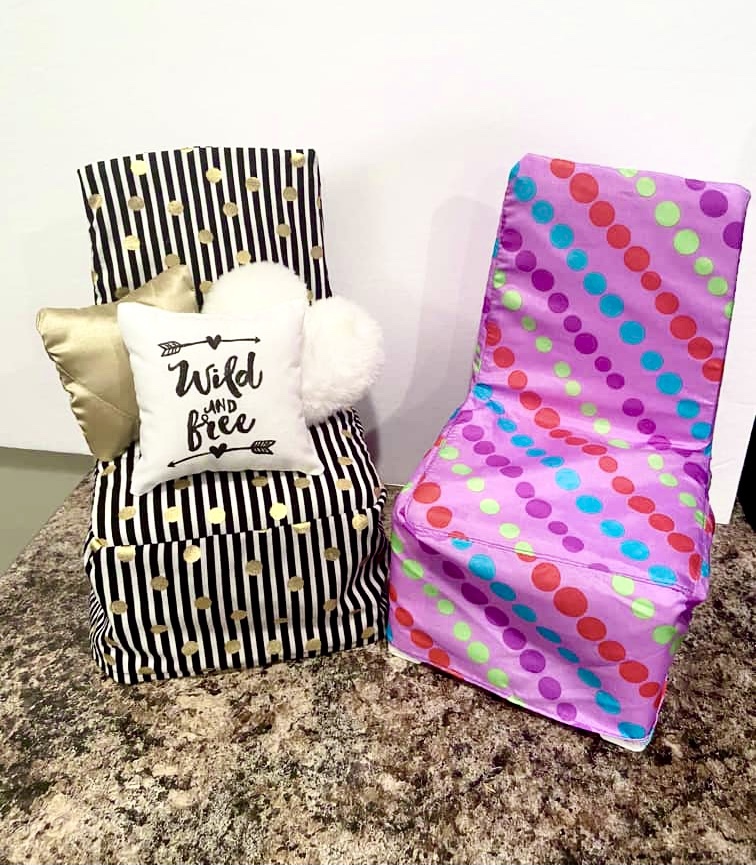
Hi guys! I am here today with a DIY from our dollhouse renovation. I wanted to make a new chair cover for one of our MyLifeAs dining room chairs to use as a vanity chair in our PBTeen doll room.
I think it turned out pretty cute, and the Little Miss thinks so too! She’s been helping on the interior design side of things as well as with the smaller crafting projects.
For this chair cover, I used an existing chair cover as a template, but if you don’t have a chair cover, it would be pretty easy to make the pieces just by measuring your chair. Just be sure to add in an extra 1/4” on all of your edges for the seams.
Here is the chair cover we had.
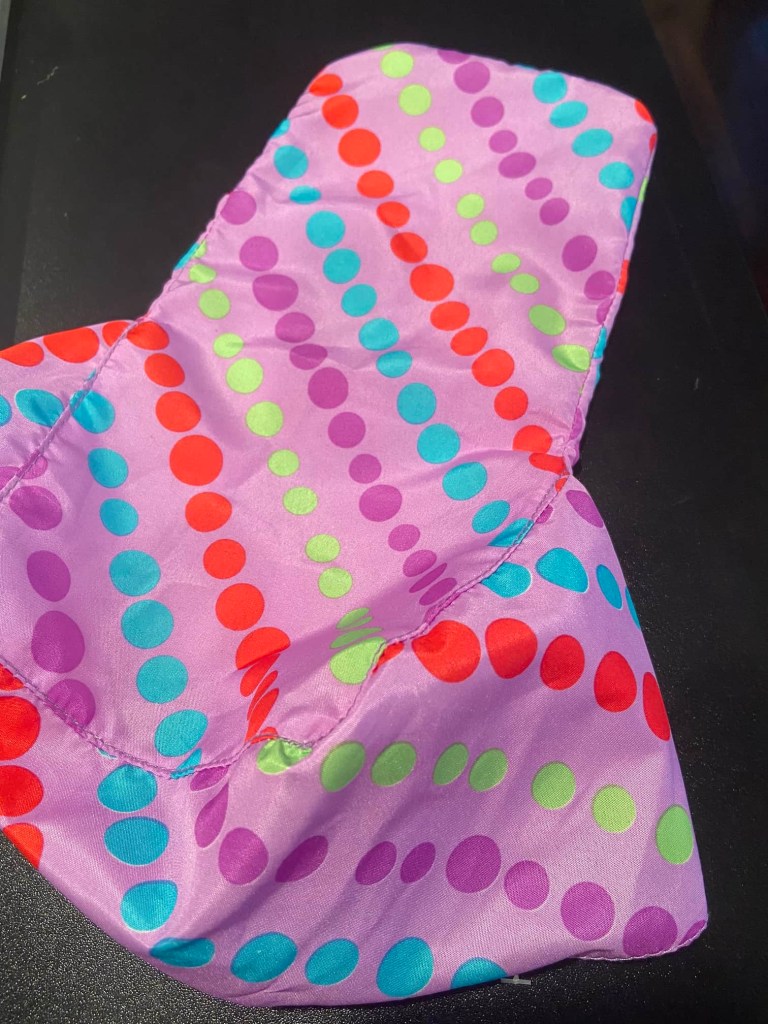
Now this is way too bright and cartoon colours for what we have in mind for our doll room, so I used a seam ripper, and took it apart.

It has three pieces. Front, back and chair skirt.
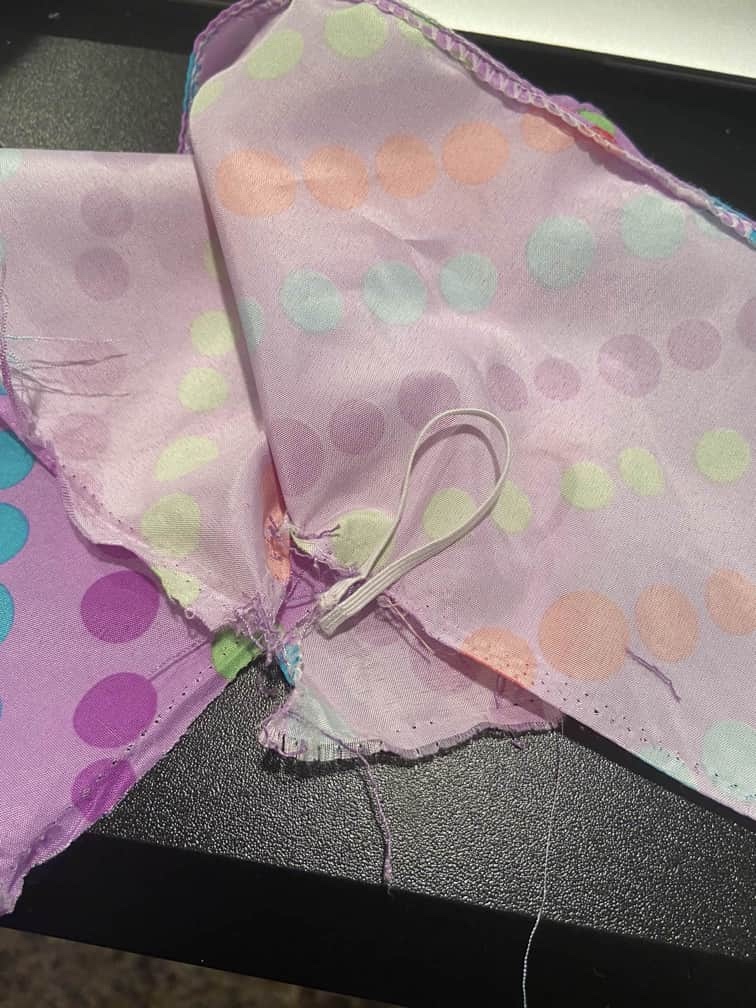
It also had these little elastics. I took them off and set them aside to use later.
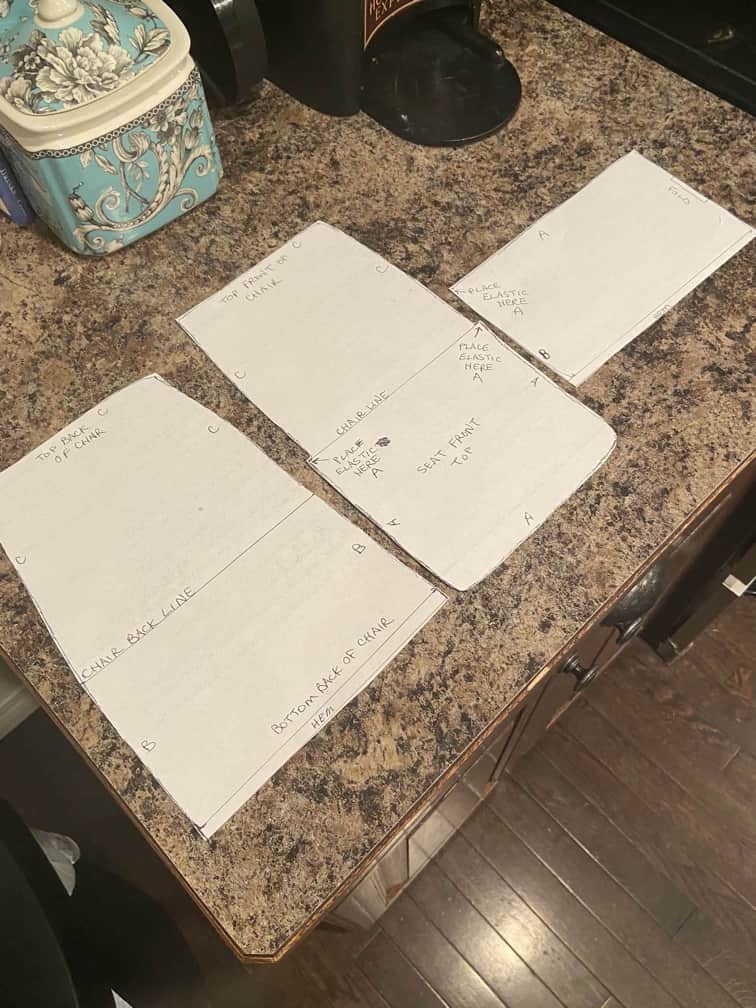
Now take all your pieces and trace them onto paper. You can use a ruler for this. I just eyeballed it. Be sure to add 1/4” for a hem at the bottom of the chair back as well as on the bottom of the chair skirt. Cut them out and mark all the info.
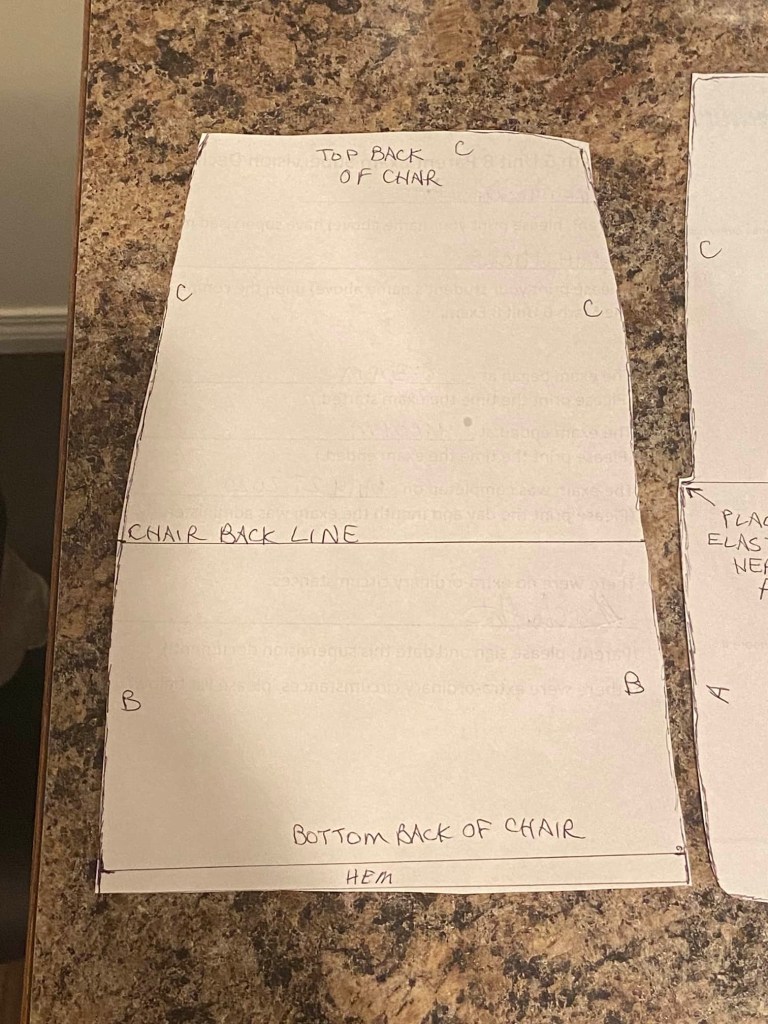
I wrote AB&C on the pattern pieces to help me know which edges attached where.
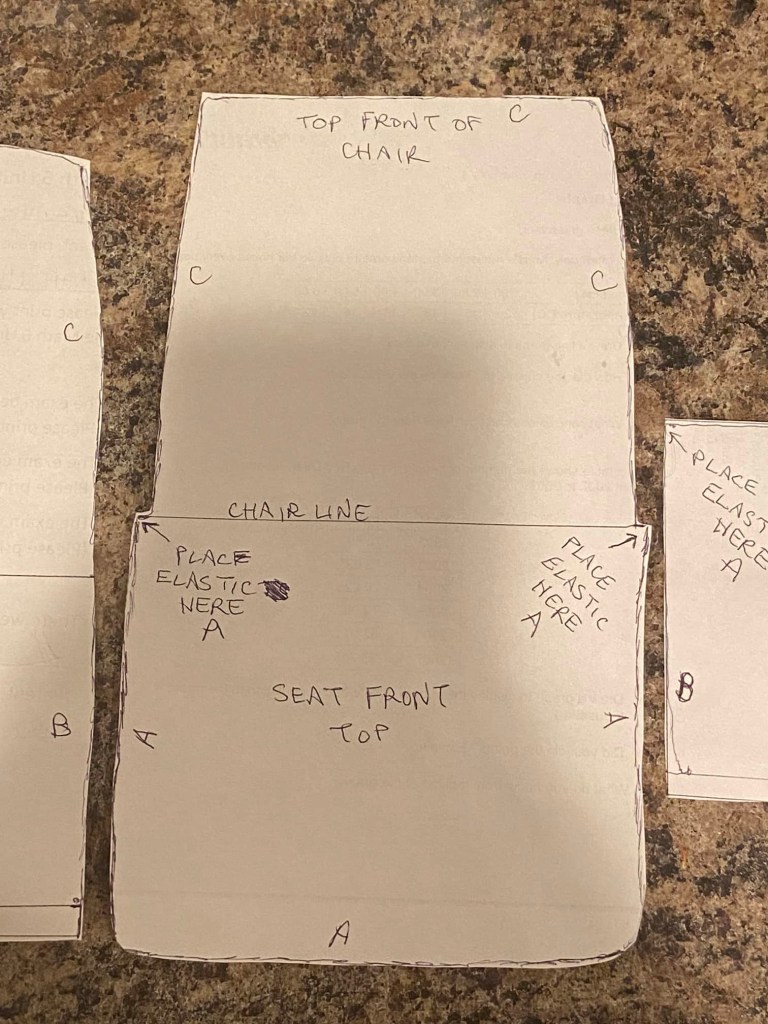
So Side A attaches to Side A and so on.
It also helped me to know to sew Side A first, then B and C, which I soon discovered was actually one continuous seam.
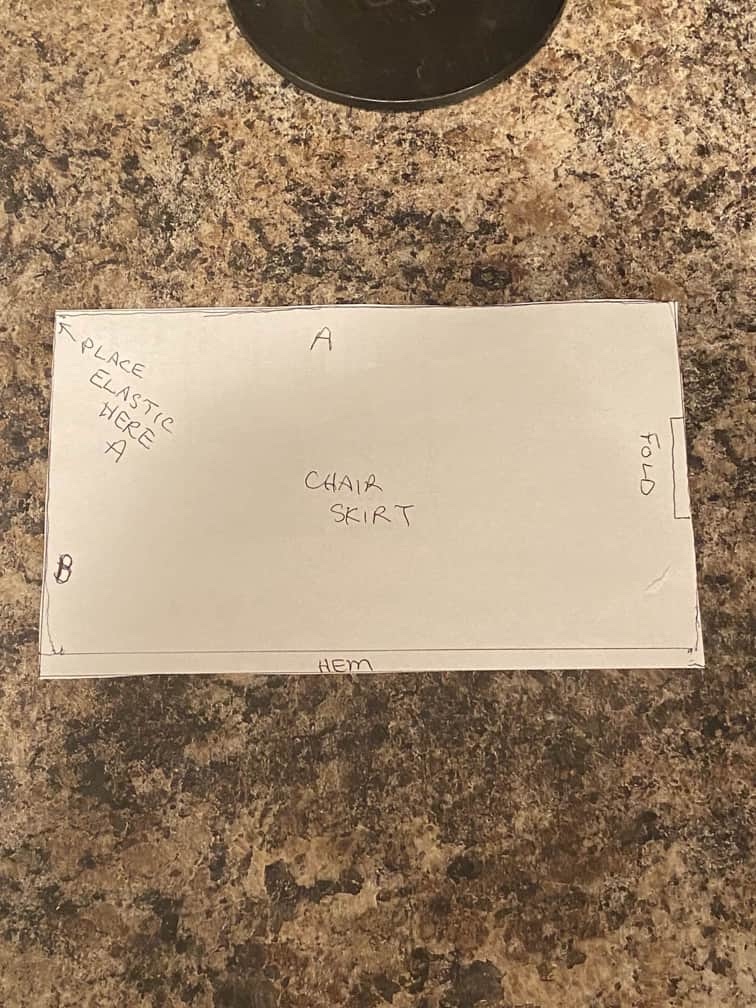
The chair skirt was just a rectangle to cut on the fold.
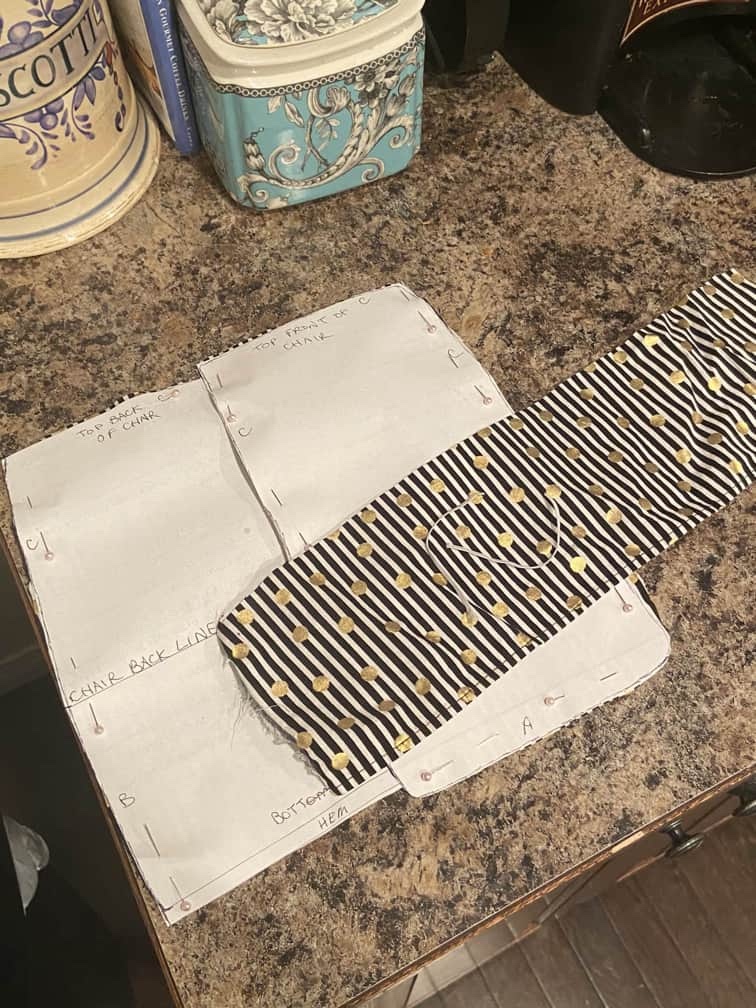
Pin your pattern pieces on your fabric. If your fabric has stripes like mine, be sure to cut your pieces all the same way, either horizontally or vertically. Cut out. Don’t lose the elastics.
Stitch the elastic loops to the corners of your chair skirt as shown. My fabric already had a hem, but I found that I had to hem my chair cover again in the end anyway.

Pin the chair skirt to the seat of the chair front, right sides together all the way around Side A. It will be a square. Stitch all the way around with a 1/4” seam making sure to catch the elastic ends in the seam, but also be sure to move the loose fabric out of the way as you sew.
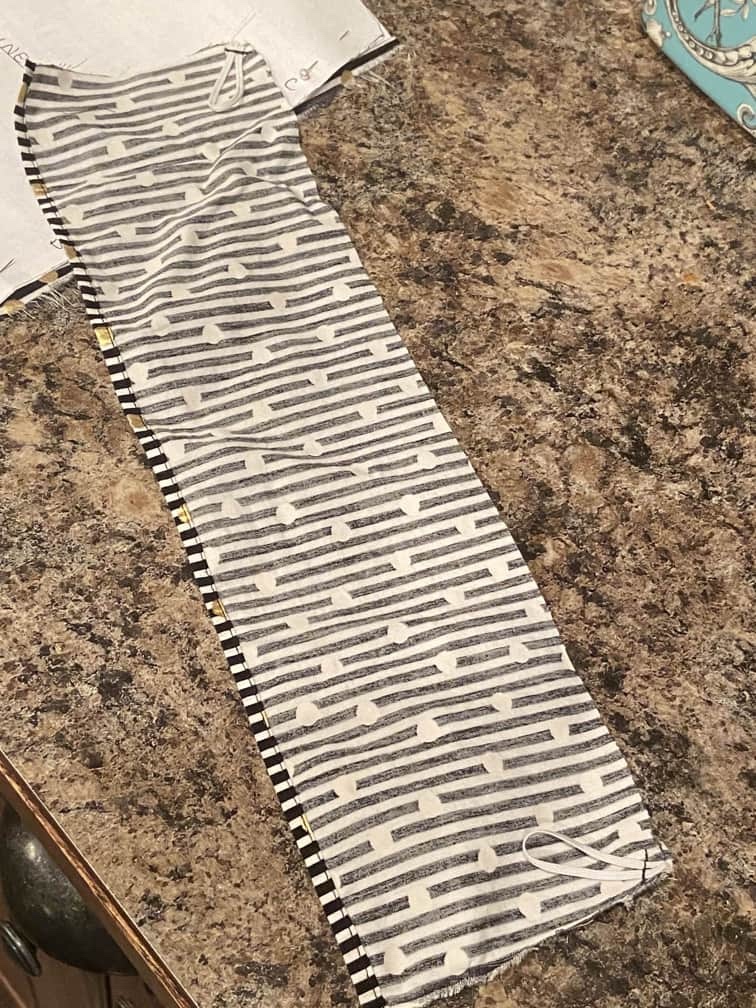
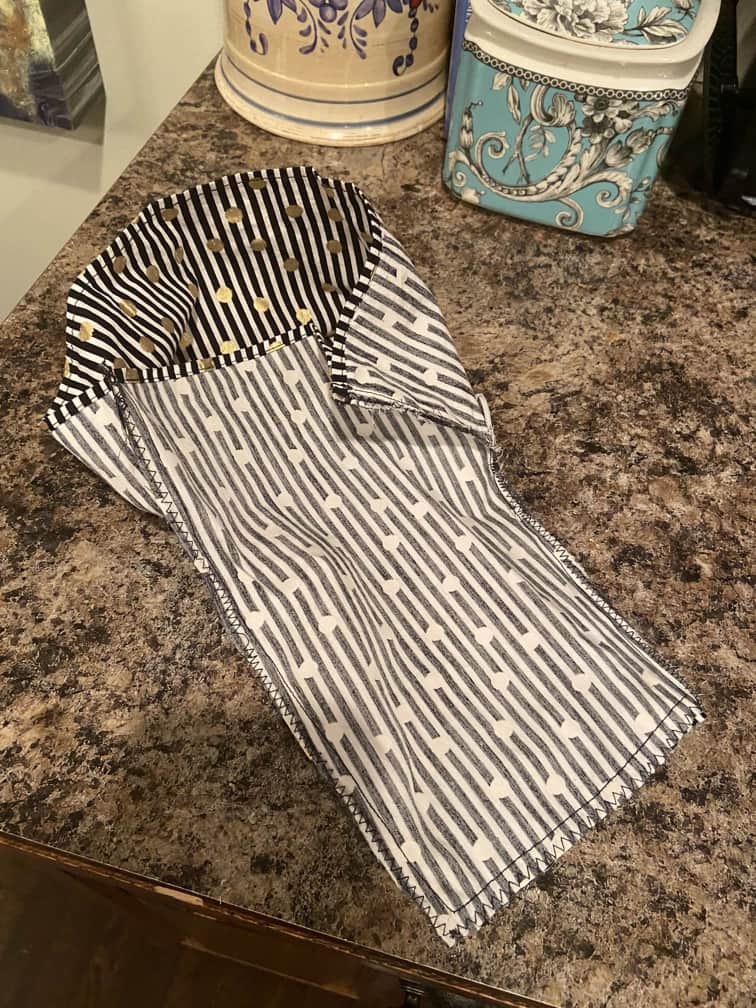
Serge or zigzag stitch the seam edge. Turn inside out and press with an iron.

This is what you should have. You can try it on your chair at this point, just to be sure of the fit.
Next, take the back chair piece and pin right sides together, all the way along Sides B and C in one continuous seam.

Your seam will run up one back leg of the chair, around the back of the chair and back down the other back leg. Stitch a 1/4” seam. Serge or zig zag stitch the edge.
Last, turn your chair cover right side out and press with an iron. Use a chopstick to poke out your corners.
Finally, hem the bottom edge of your chair cover measuring on your chair so that it isn’t too short or too long.
And you’re done!!

We actually have two of these chairs. I might do a different cover for the second one.
I made the little pillows previously. They are actually for the bed in our room reno.
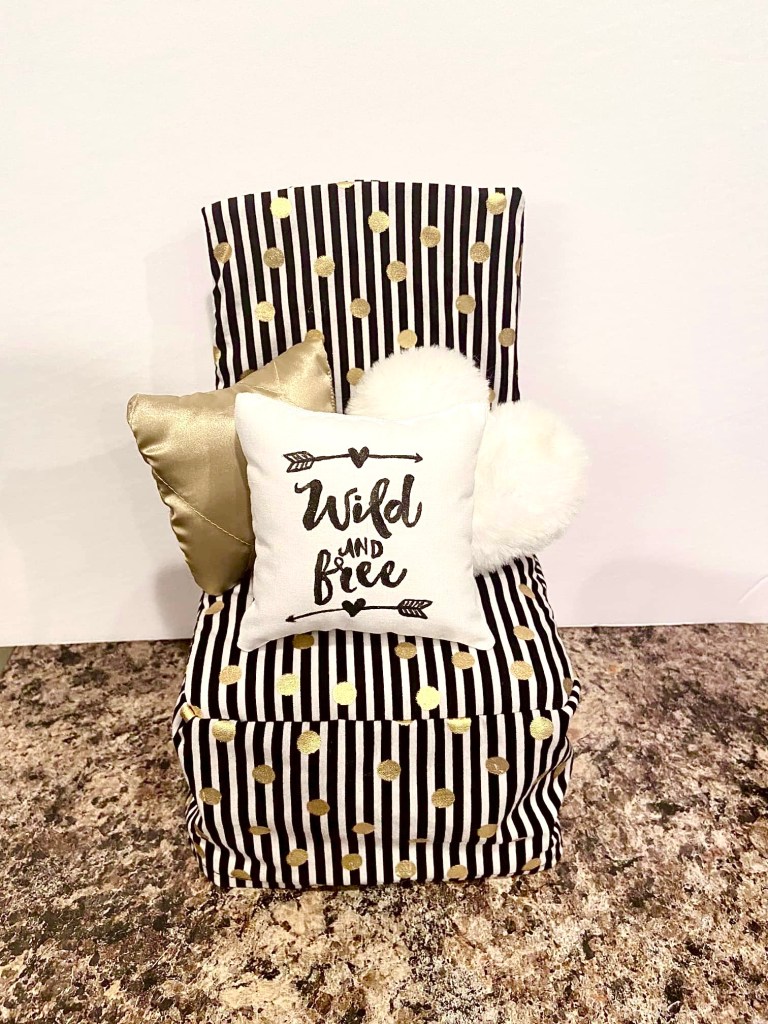
I painted the Wild and Free pillow by hand.
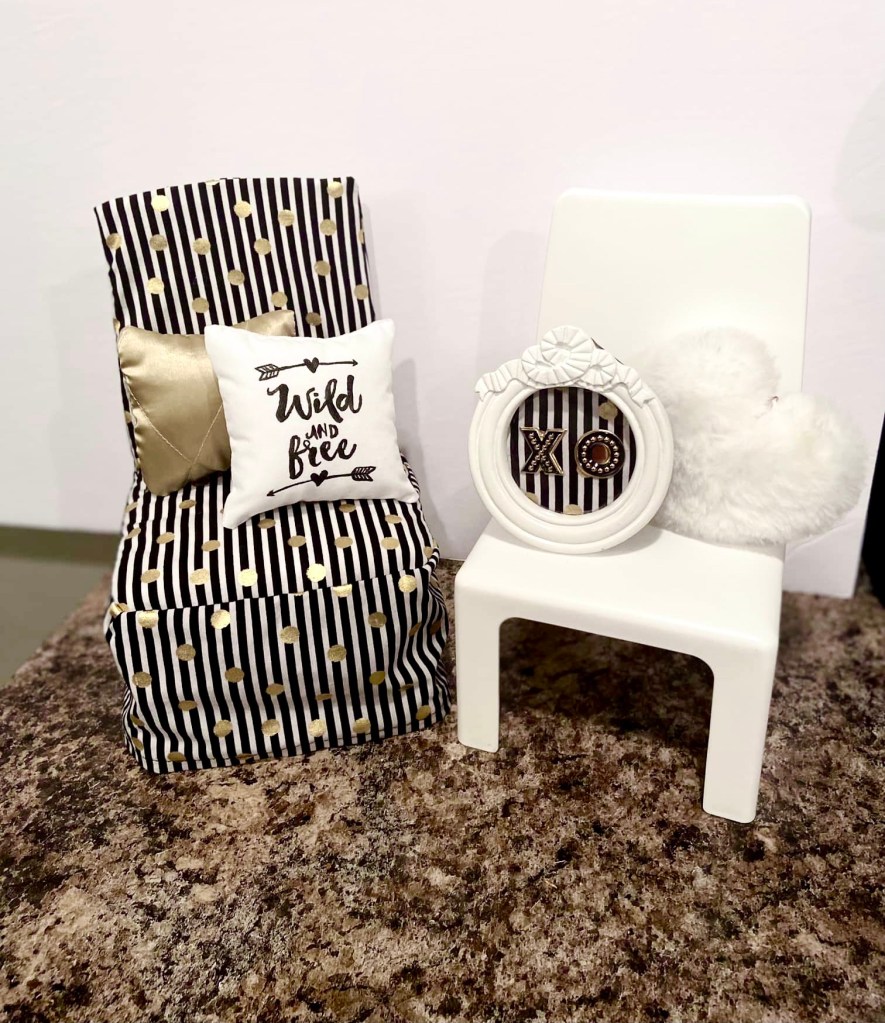
I also took a small piece of matching striped fabric and stuck it in this frame. The letters are just stickers.

I’m just waiting on some wall decor and we have a few other little crafts up our sleeve for this PBTeen doll room, and then we can do the reveal!!
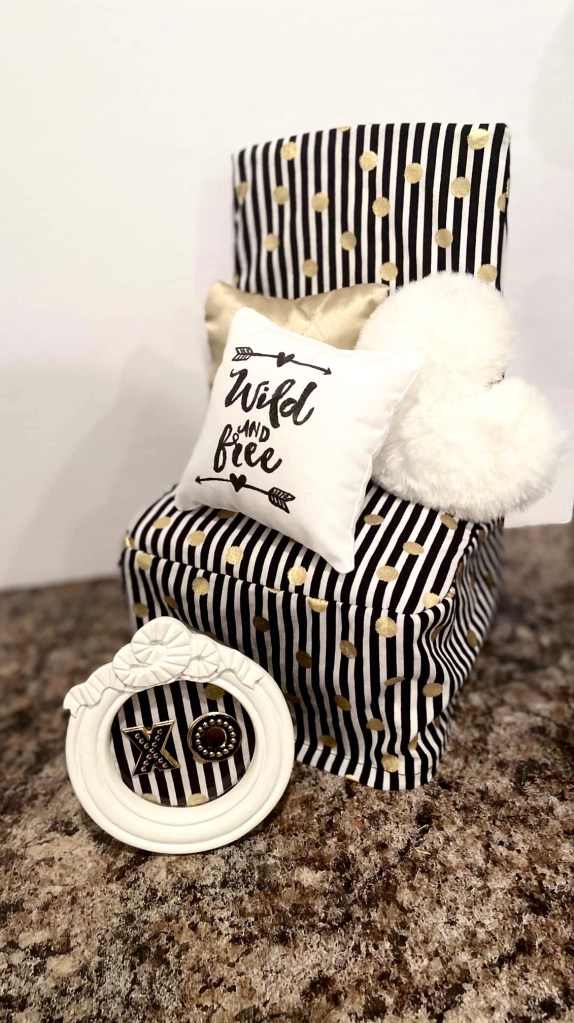
The room colours are white, black, gold and blush pink. This chair is a perfect match! ❤️
I hope you enjoyed this little tutorial! We are in the middle of a very cold snap, so I’ve been keeping busy indoors, reorganizing the craft room and trying to get this doll room ready.
We are still on Christmas break, which has been so nice! Now that all the stress of Christmas is over, we can just relax. Little Miss’ birthday is coming up right away though, right after Christmas!! Sometimes it feels like it never ends! Lol!
Ah well, I better sign off for now as it is getting late, but as always,
Keep calm, and have a crafty kind of day!!
Thanks for stopping by!
Leave a comment below!
❤️❤️❤️

I LOVE your version. I don’t know where they come up with some of these colors, yuck. I laughed at your cartoon reference, spot on!
LikeLiked by 1 person
Right??!! I guess they want to appeal to children with all the bright colours, but my teen likes a more sophisticated look. 😊
LikeLiked by 1 person
Beautiful work !
LikeLiked by 1 person
Thank you so much!! 💖
LikeLike
Your new chair cover looks so GOOD!
Congratulations on another super idea and result for your dolls, and thanks for sharing it with all of us.
LikeLiked by 1 person
Thank you!! I think so too! I love repurposing doll items as I can’t bear to throw them away! 😊💖
LikeLike
I love how the chair turned out! I can’t wait to see your doll house renovation!
LikeLiked by 1 person
Thank you! We are having so much fun renovating! 😊
LikeLiked by 1 person