
Hey everybody! We have started the new year! I am busy doing homeschool reports, so nothing has changed there as I usually have to do them at this time of year.
We are also busy bees, crafting up a storm. We are still in the middle of dollhouse renovations, but I took a small break from that to finish this craft tutorial which has been on my work table for awhile now.
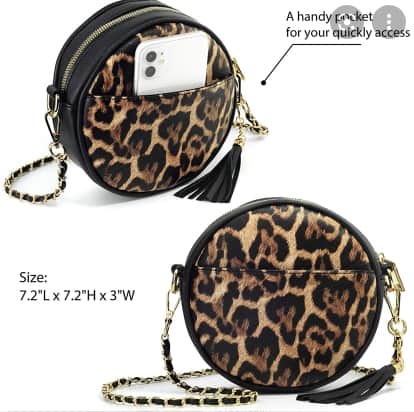
Now we’ve done doll purses before, we even did some cute doll totes for fall, but the new Girl of the Year Corinne Tan has an interesting and adorable round backpack that got me thinking that I had better finish up this post.
Okay, round doll purses, so cute, so trendy!
Here is what you need.
Large jar lids – Any large lid, metal or plastic will do. We had lids of all sizes. From lotion lids, to metal mason jar lids to plastic jar lids. Pretty much the sky is the limit as long as your lid is wide enough to be a purse.
Stiff card or cardboard – We used the back of an old art journal.
Scissors

Felt, fabric, craft foam
Hot Glue
Ribbon or Purse strap – We always end up with a few of these extra long purse straps that come with purses. A flexible skinny belt or rope from a gift bag would also work. Just anything that you like, really. Chains, old pearls, bracelets. Like I said, the sky is the limit.


Embellishments – This is the fun part. I always have a million little charms, old jewelry, gems, found items, bit and bobs as they are called. They are perfect for this project.


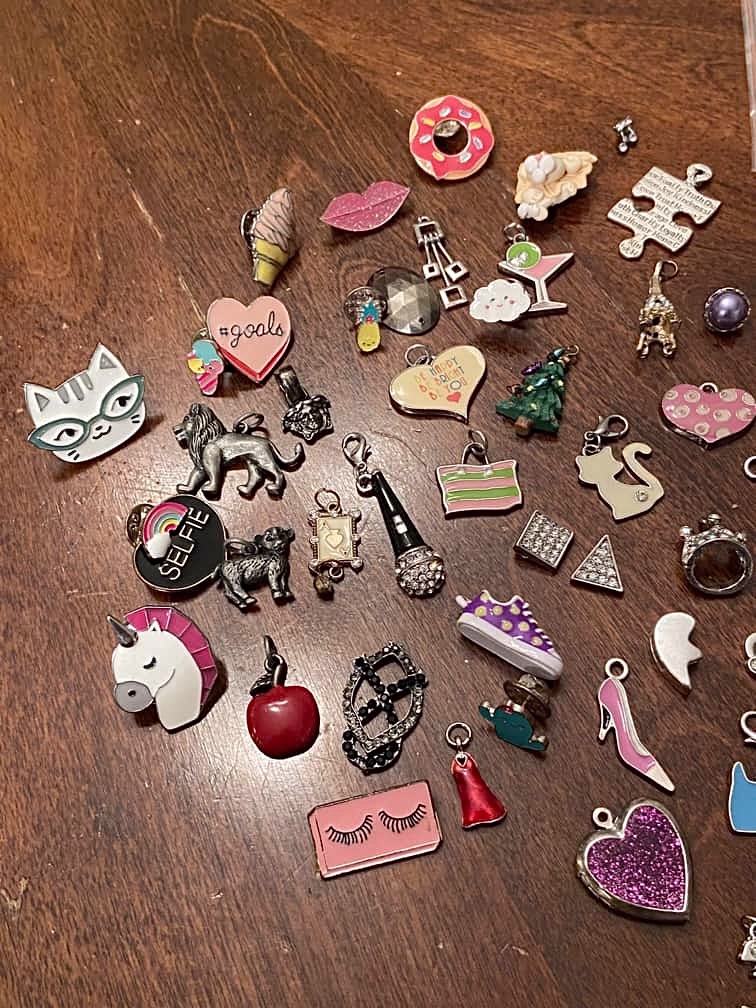
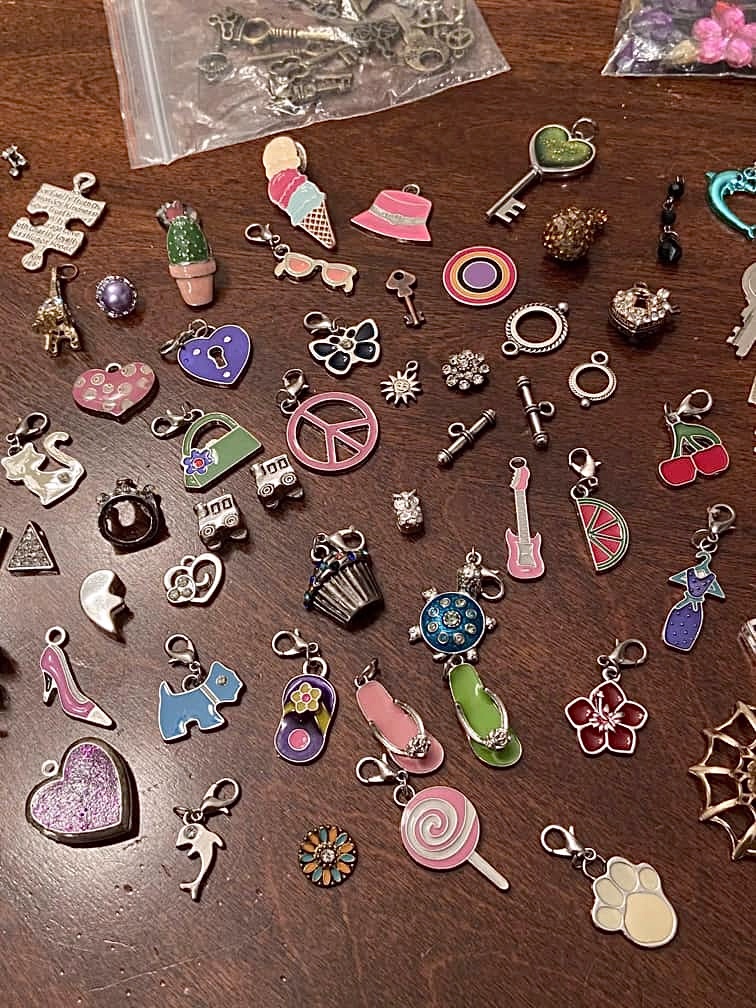
And anything else that you can think of to make your doll’s purse AMAZING.
Twine, yarn, denim, buttons, fun fur, lace, fake flowers, faux leather, stickers, bows, glitter, sequins, pom poms…the list goes on and on and on!
That’s why I love DIY. Anything goes. ❤️
First, trace your lid onto the stiff card/cardboard.
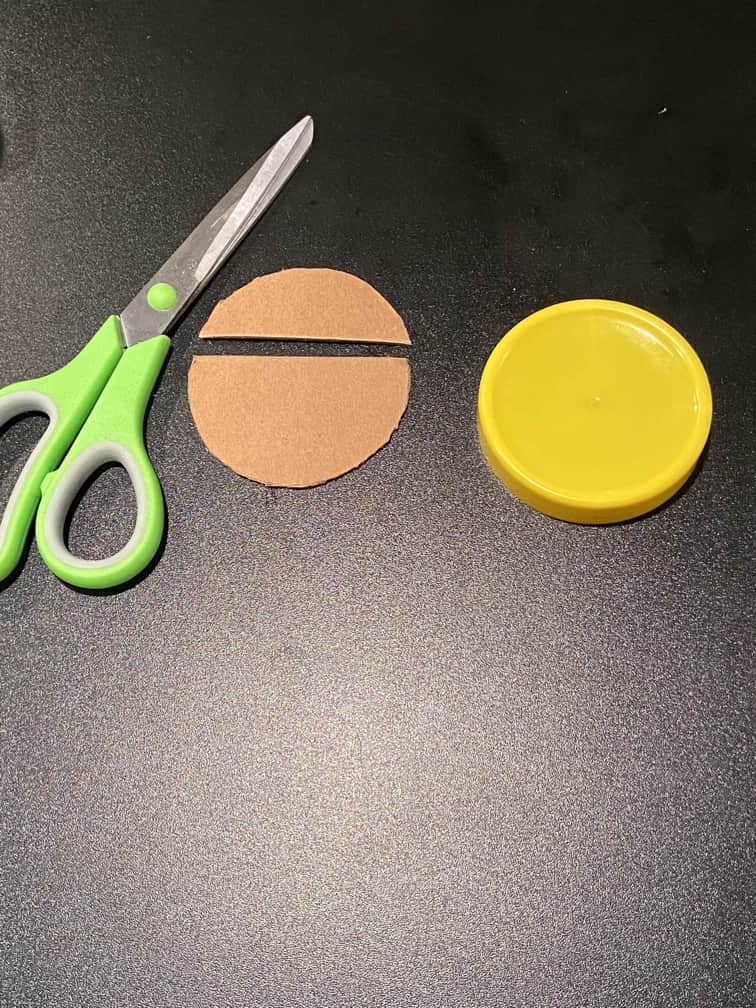
Cut out the circle. Then cut off the top as shown.
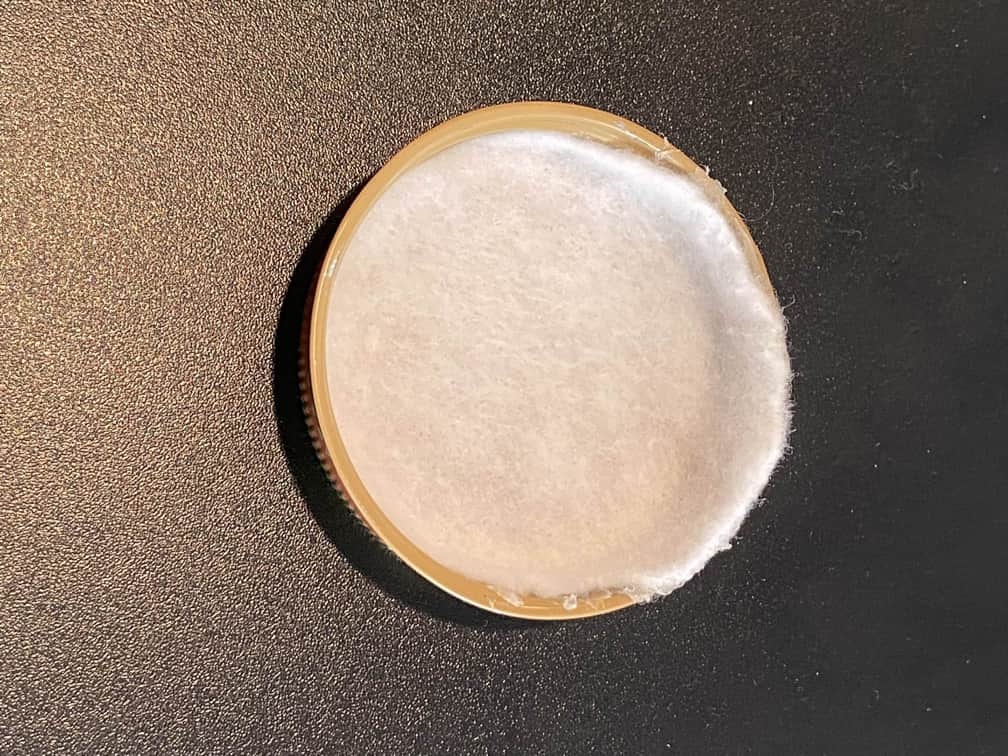
Now trace your lid onto felt or fabric.

Cut out the circle. Hot glue the circle inside the lid. It will spill up one side of the lid as shown.
Take the cardboard circle piece and glue it in place leaving the part where the felt comes up the side open.
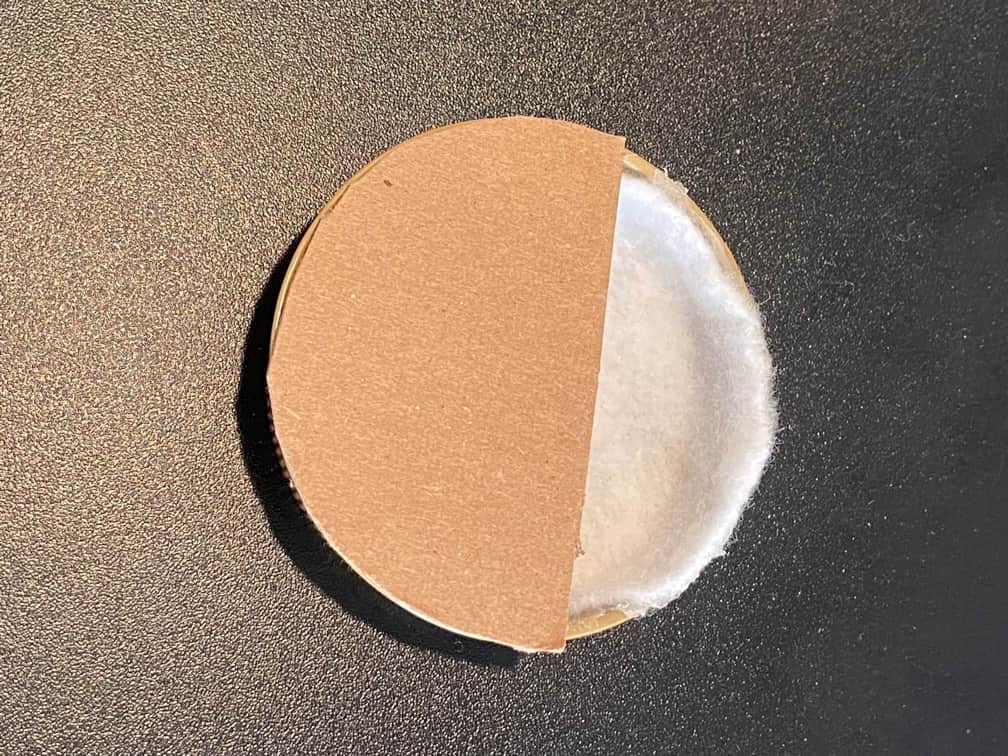
Now paint or colour the cardboard, whatever you like. Okay, the back of the purse is done with a pocket to put your doll’s items.
Remember that this pocket needs to remain upright, so the doll’s purse doesn’t spill. From now on, this is the top of the purse. You could also hot glue a felt flap with a little piece of velcro if you want.
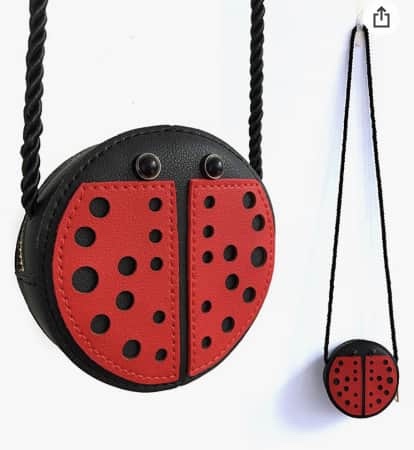
For the front of the purse, you can make it however you like. We did a quick Google search of round purses, and there were so many cool designs!!!


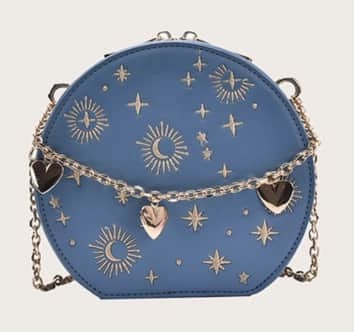
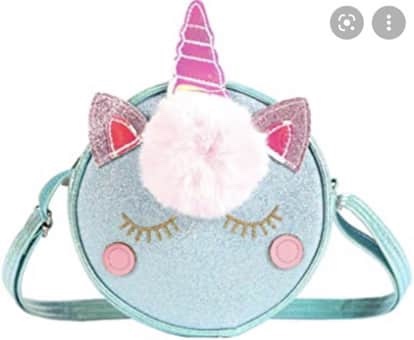


Way too many to post here! Decisions! Decisions!
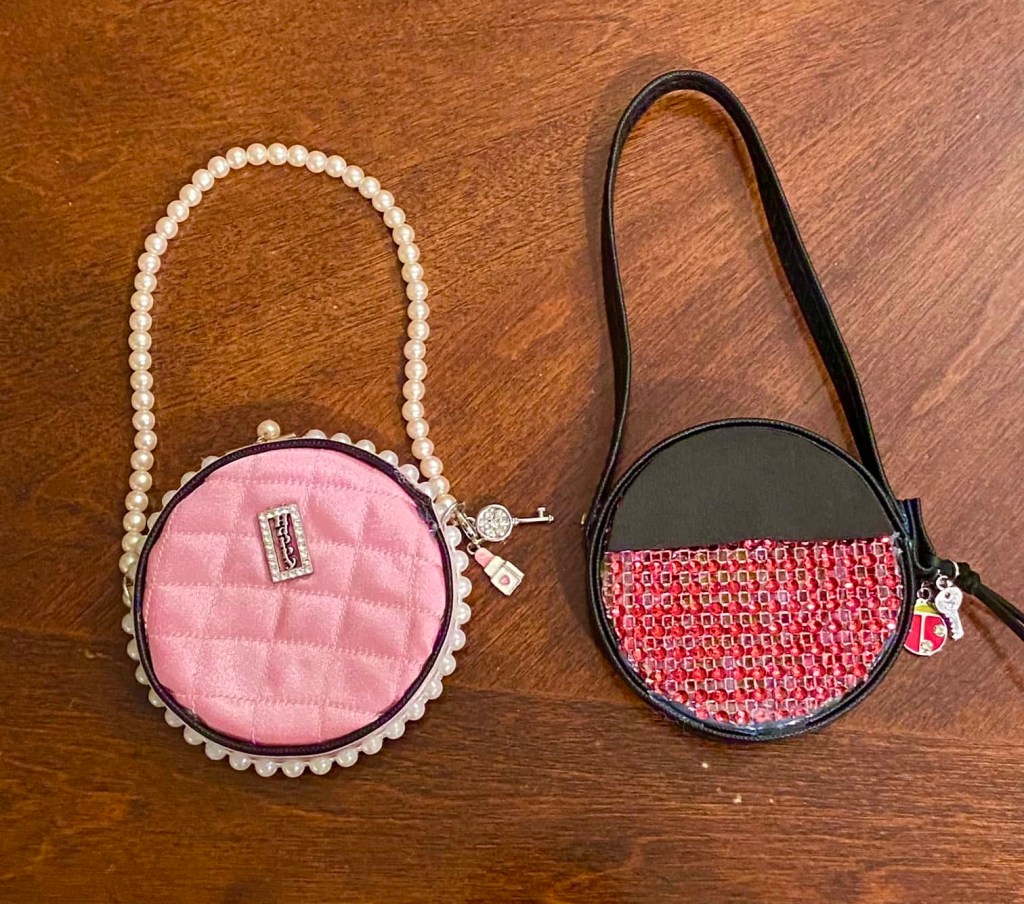
We started by choosing this one.
First, we took some glittery red mesh and covered the front of the lid using hot glue. Just trace the lid, cut it out and hot glue it on.

We did two layers of the sparkle mesh. You could also first cover the front of the lid with red felt before adding the mesh.
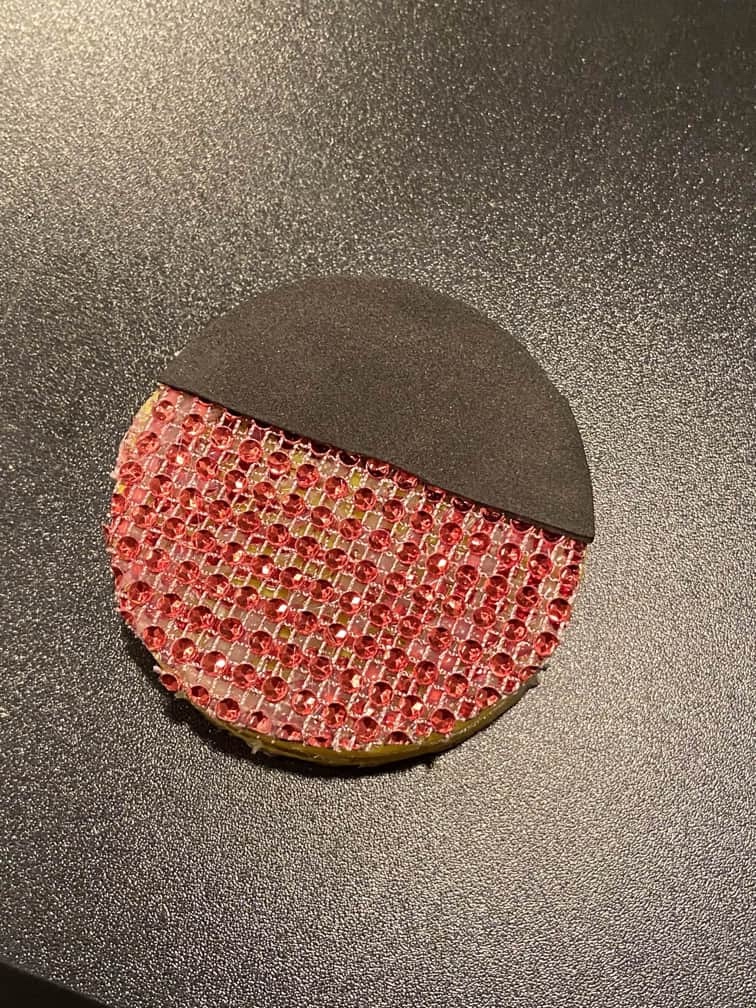
Next, we cut out a piece for the ladybug head out of black craft foam, and hot glued it at the top.
At this point, you could add black dots and ladybug eyes, but Little Miss liked the simplicity of it as is.

Take some black ribbon or a black purse strap and hot glue it all the way around the edge of your lid.

We had this other smaller purse strap to use as a handle. We cut it and hot glued it to either side of the purse.

Cut a loop to secure to one side of your purse. Use jump rings and lobster clasps to add tassles, keys, charms or even pom poms. This tassle is just a knotted strip of leather. Little Miss liked the simplicity of this purse, but if you wanted, you can embellish it further.


Okay, now we’re cookin’! Let’s make another design!
Prepare the back of the purse same as before.
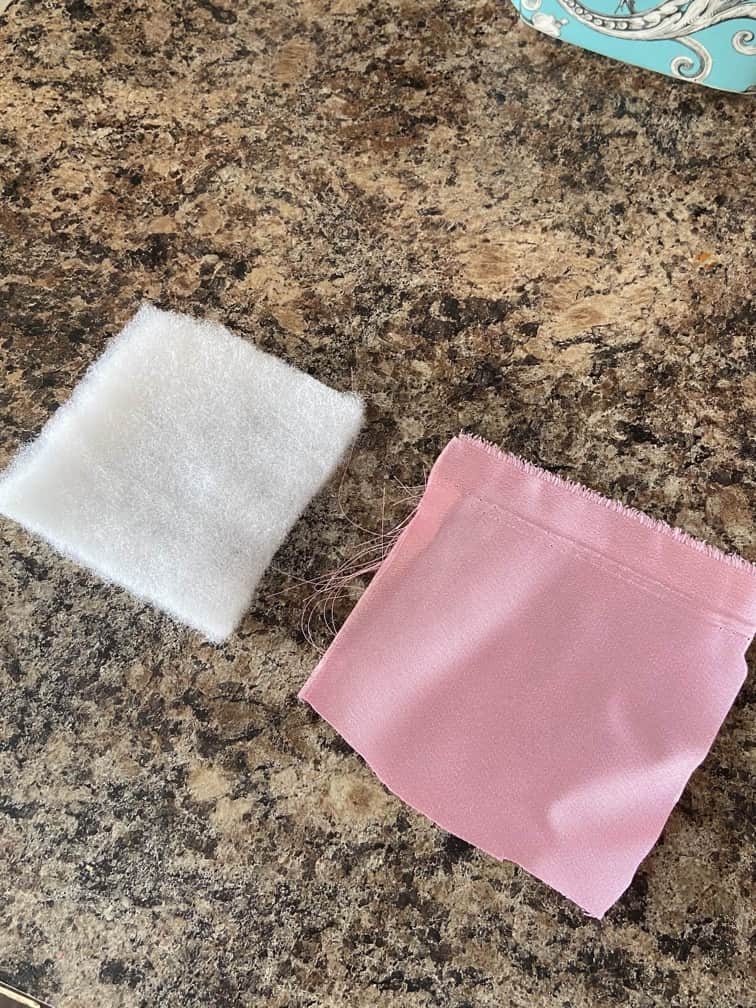
Next, take a piece of fabric and some cotton batting. We are going to quilt it by sewing straight lines in a crisscross pattern.
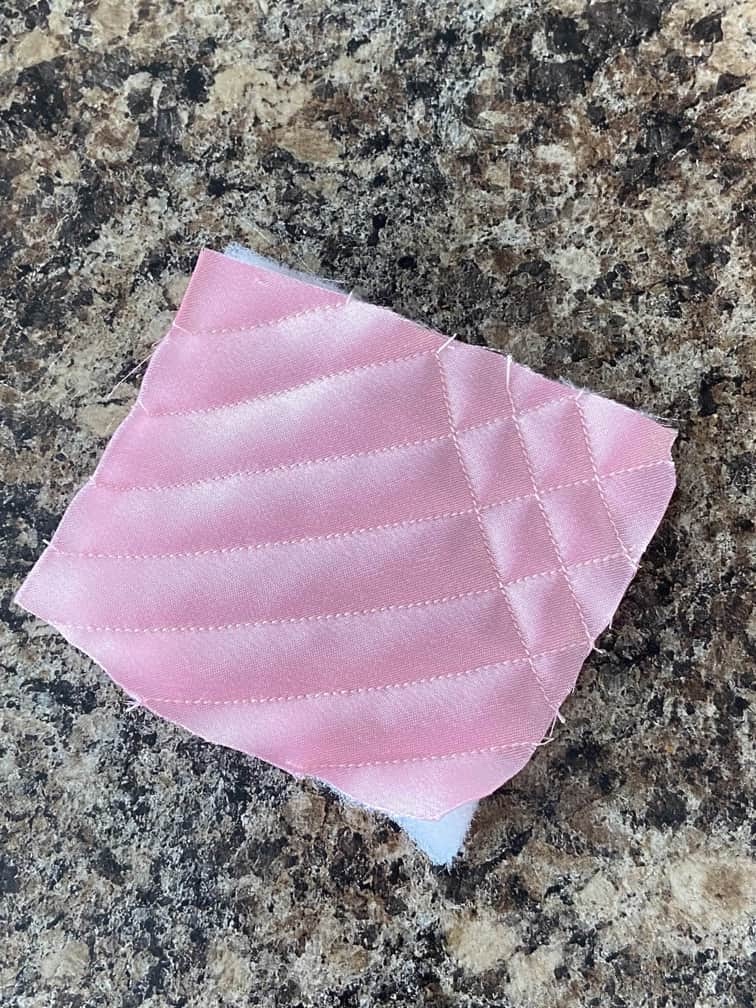
More lines!
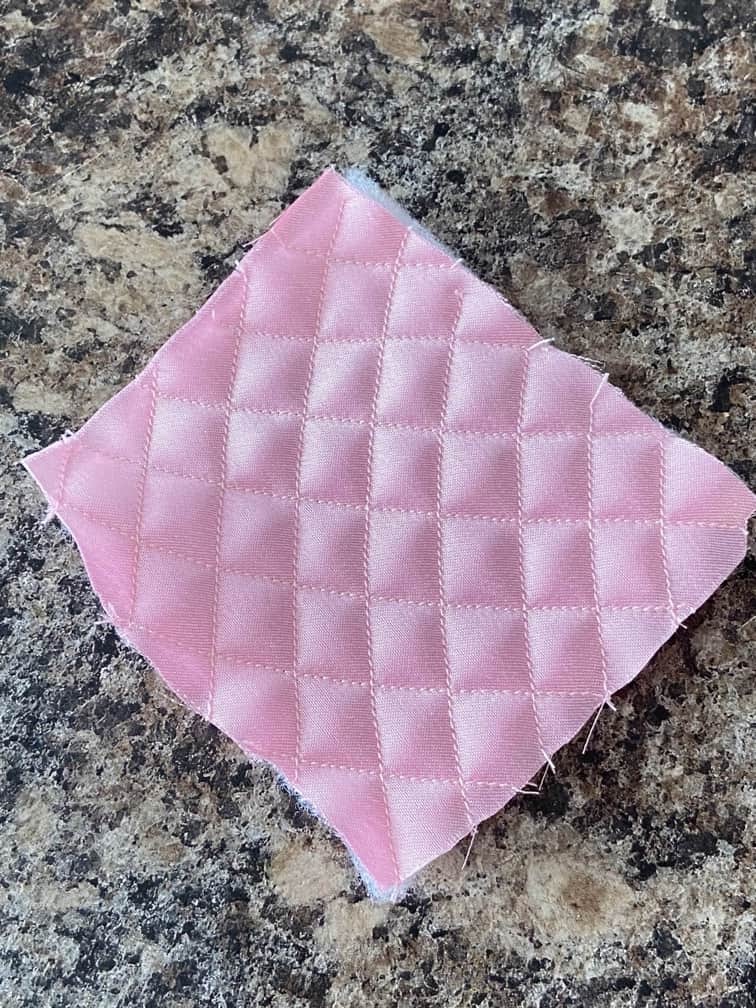
Perfect!
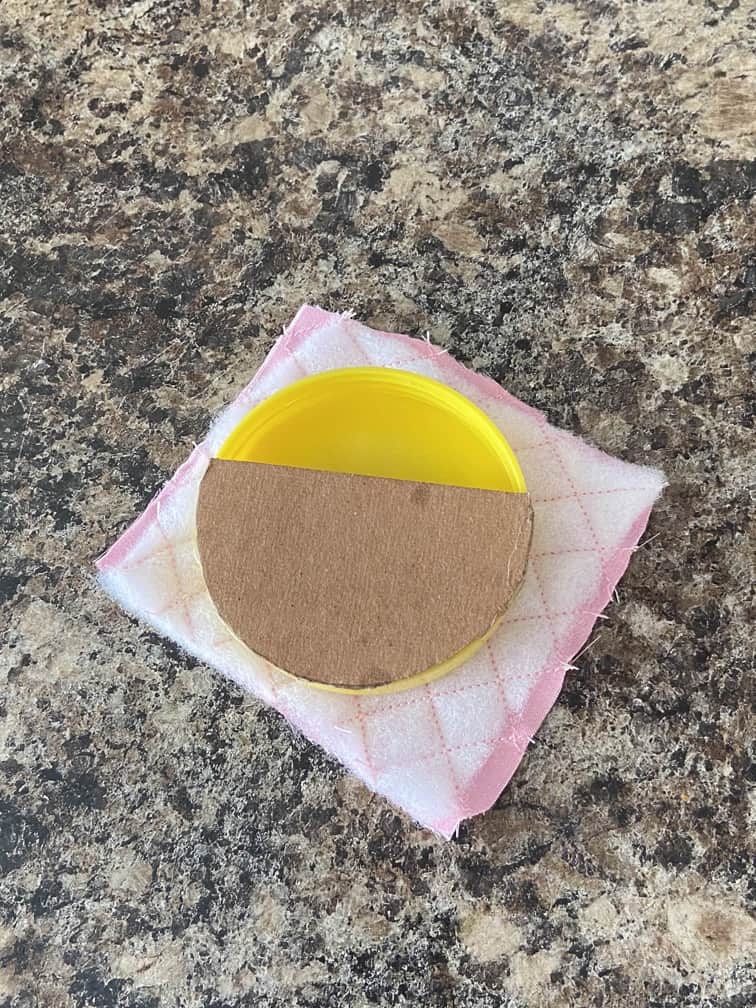
Now hot glue your lid to the quilted fabric. You can use any fabric at all, depending on your taste, to cover these purses this way.
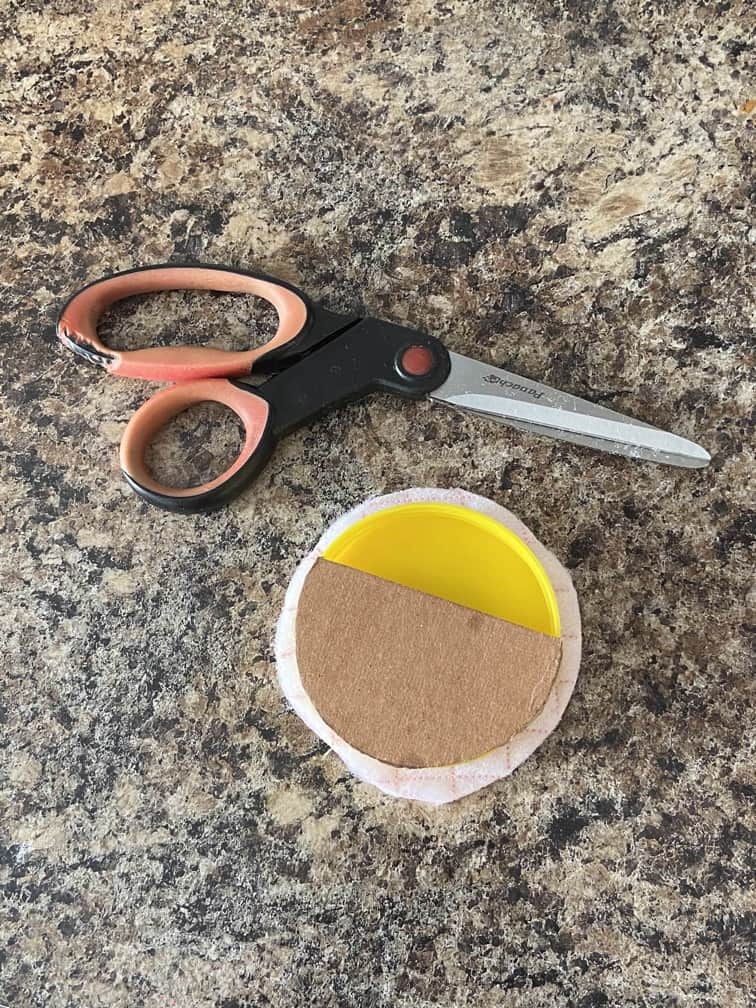
Cut around the fabric leaving an inch hem.

Hot glue the hem all around the sides of the lid.

Now cover the entire edge of the purse with a ribbon, or purse strap just like before.
Embellish! This is the Little Miss’ favourite part.
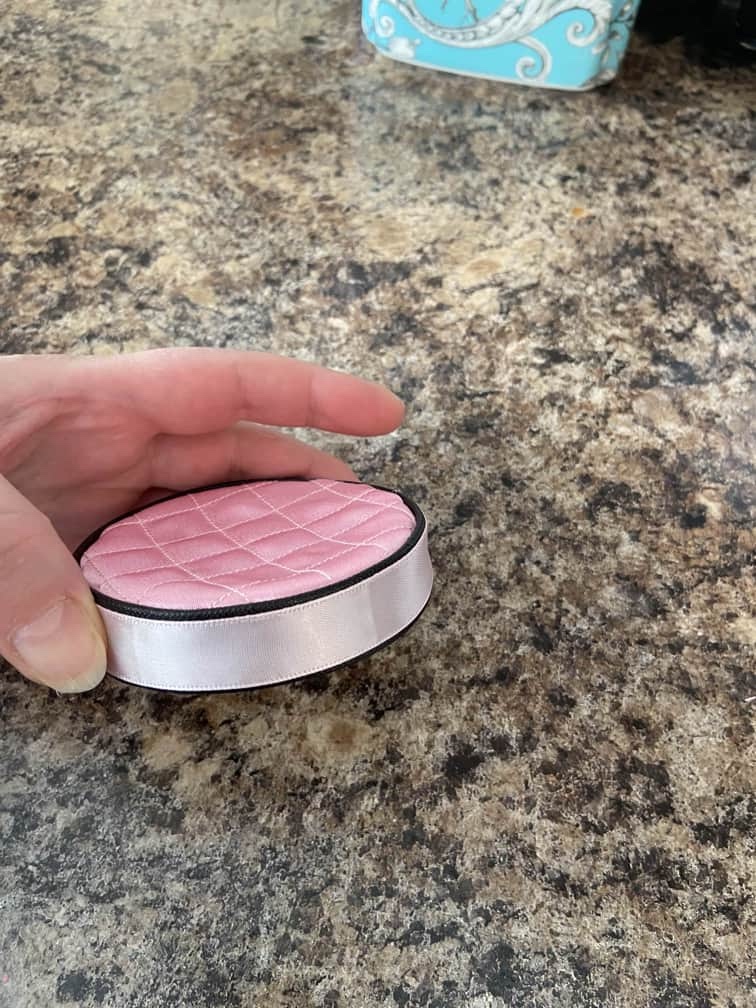
We added pink ribbon all the way around as well.
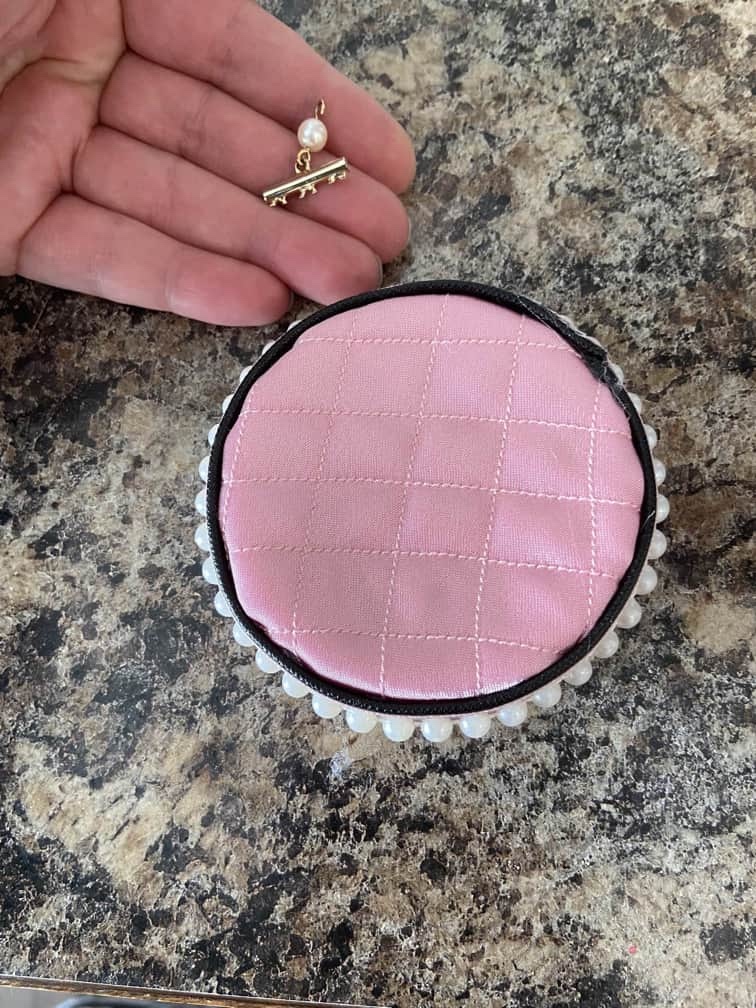
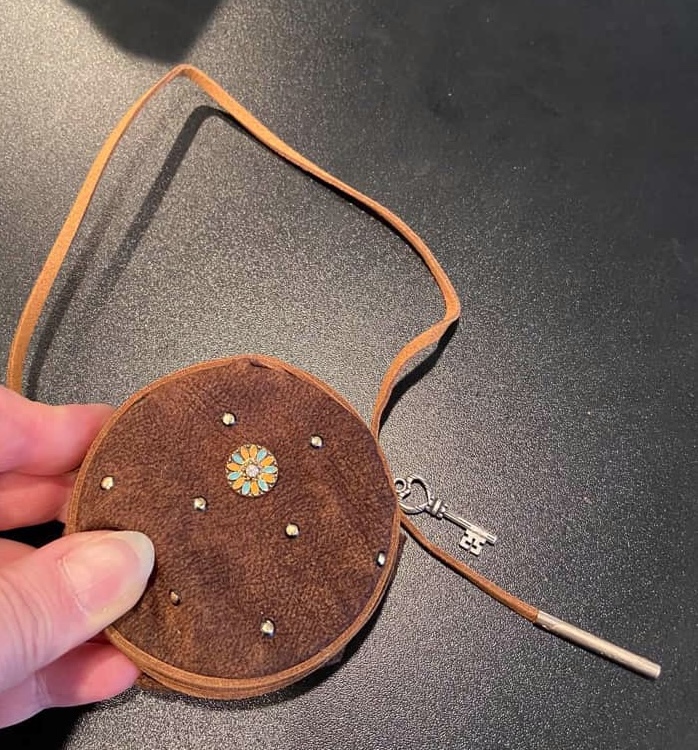
Next, we added some flat pearls on a string. The pearl strand was a tiny bit too short so we hot glued this clasp in the gap at the top.
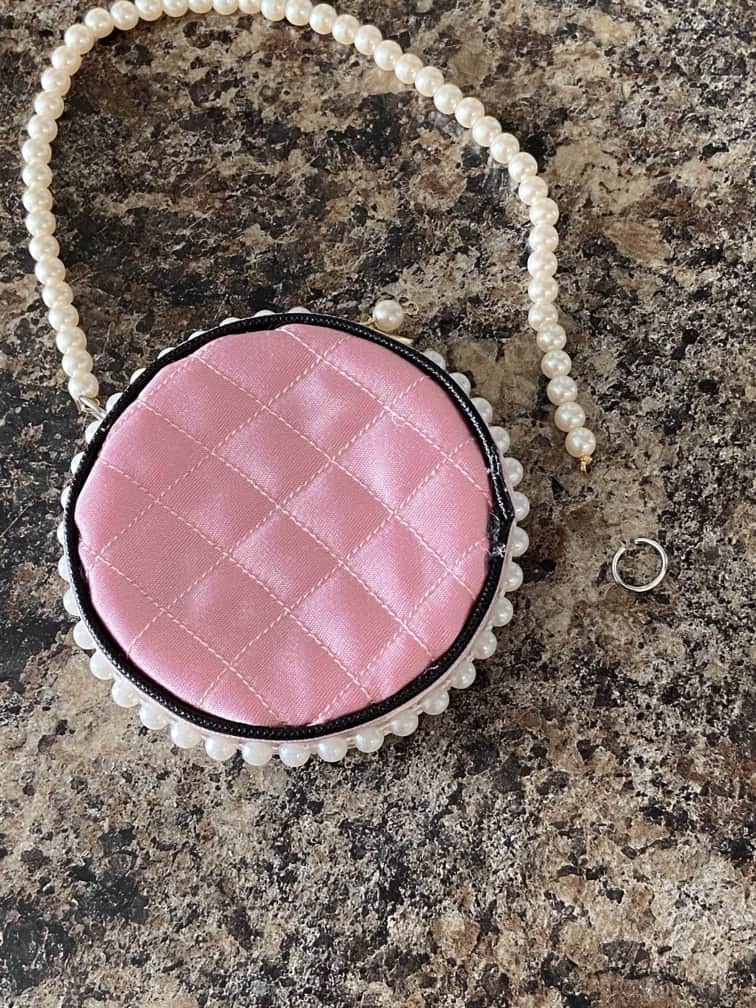
We secured a pearl purse strap using jump rings.

Then we added this charm to the front of the purse, along with another key and a lipstick charm to the strap.
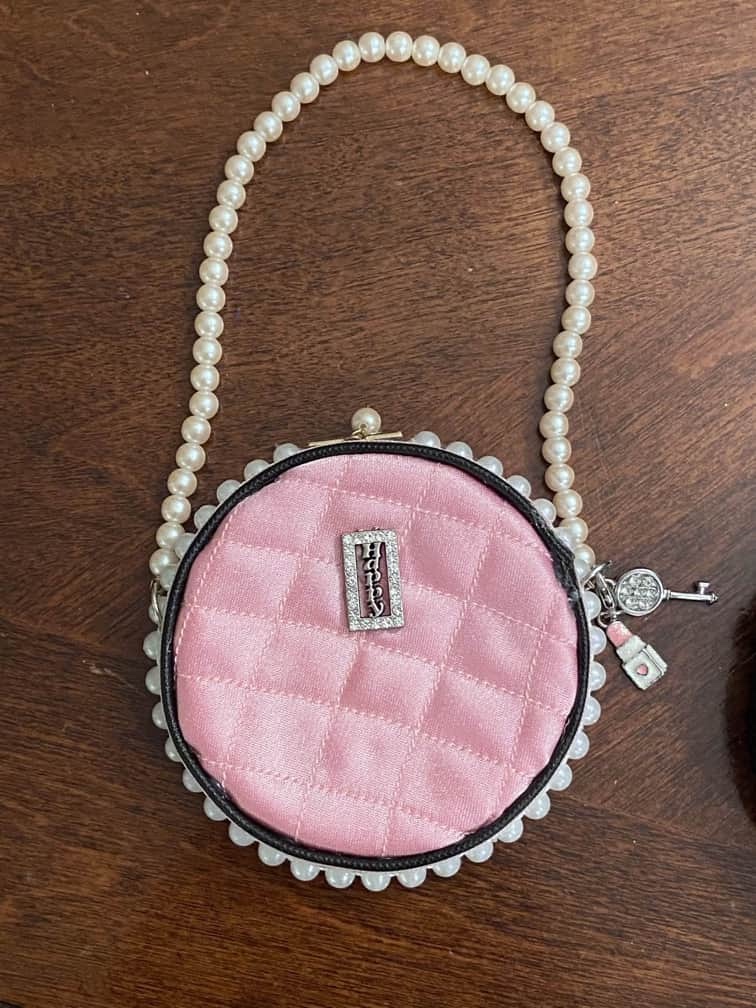
So cute!! ❤️

How cute are these purses? I mean, seriously?! Love!
But do they fit the doll?


They sure do!! Eek! Too cute!!
Okay, so sky is the limit, right? Let’s make our own gallery of round purses!


I hope you enjoyed crafting with us today! I can see me hoarding all of the jar lids now. LOL! We can never throw anything away. 😂


Well, gotta go finish those homeschool reports!
Keep smiling, my friends, and have a crafty kind of day!
Leave a comment below!
❤️❤️❤️

They are adorable! Question: is there an opening that you could put coins into it?My little girls want a bag that holds something.🙄
LikeLiked by 1 person
Hi! I put a half piece of cardboard on the back and if you wanted a closure you could attach a flap of felt with some velcro. You could also cover the entire back of the purse with felt and cut a coin slit but that might stretch out too much over time.
LikeLike
I love how much fun these are! When I was a teenager, round suitcases were super popular. With a larger lid, I can make some for our dolls to use, even just to have sitting in their bedrooms as decor. Nicely done once again, and thank you so much for sharing these with all of us!
LikeLiked by 1 person
I remember round suitcases! That’s a wonderful idea! I am so glad you enjoyed the post! 😊❤️
LikeLike
These are adorable!
LikeLiked by 1 person
Thank you so much!! 💖💖💖
LikeLiked by 1 person
So cute!! They look so real.
LikeLiked by 1 person
Thank you! I think so too!!! 💖💖💖
LikeLike