
 Hi guys! We are so excited to share today’s tutorial with you because it has been on the back burner for soooo long, but we think it is just the cutest craft! Doll lunch trays! These can also be used as inflight food trays that you get on an airplane, but that is totally up to you. DIY is always full of fun options like that!
Okay, first here’s the list of
WHAT YOU WILL NEED:
Small box (we used a JELLO box)
Craft foam
Exacto knife (parent supervision please!)
Hot glue
Tacky or white glue
Iron (parent supervision please!)
Scissors
Paper
Primer and paint (paint doesn’t adhere very well to craft foam so primer is needed, but painting is entirely optional)
Let’s get started!
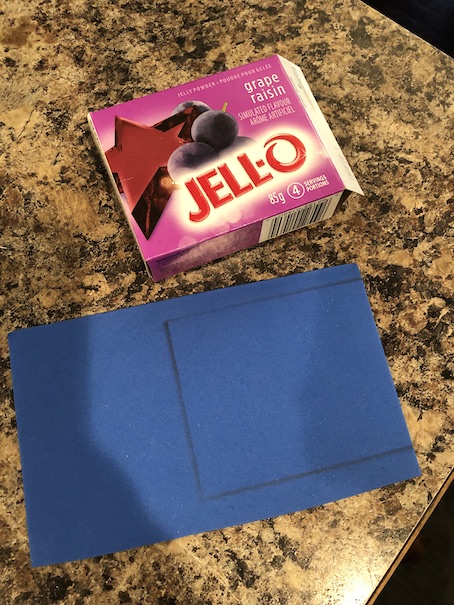 1. Trace your box onto the craft foam, and cut it out.
 2. Trace the craft foam onto a piece of paper.

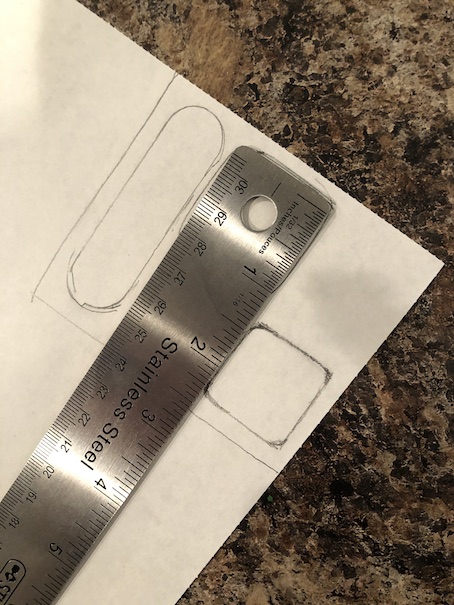

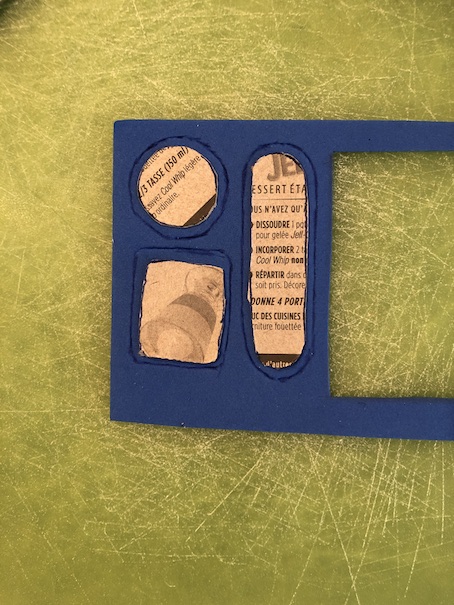
3. Begin creating the layout of your tray. We traced different objects for the tray compartments.
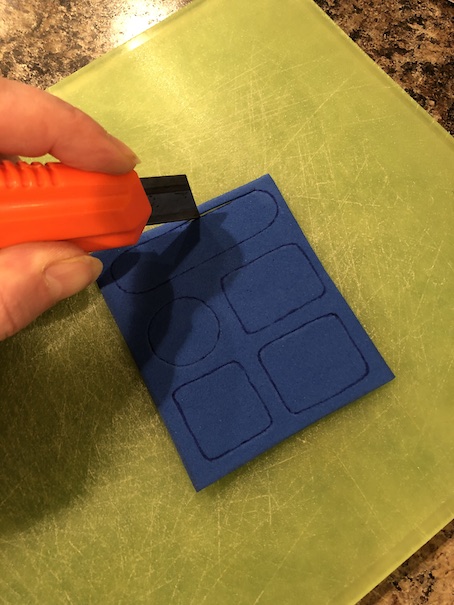
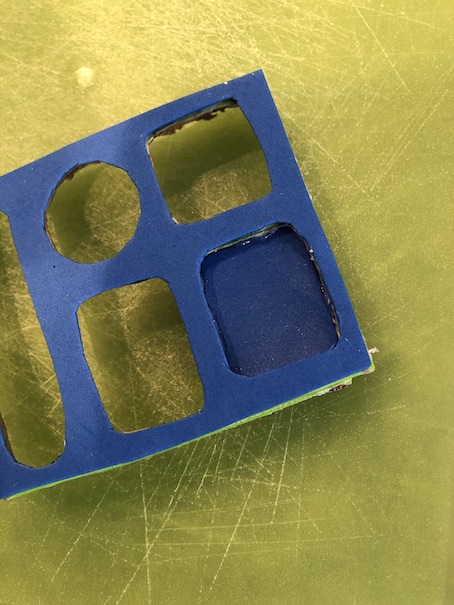
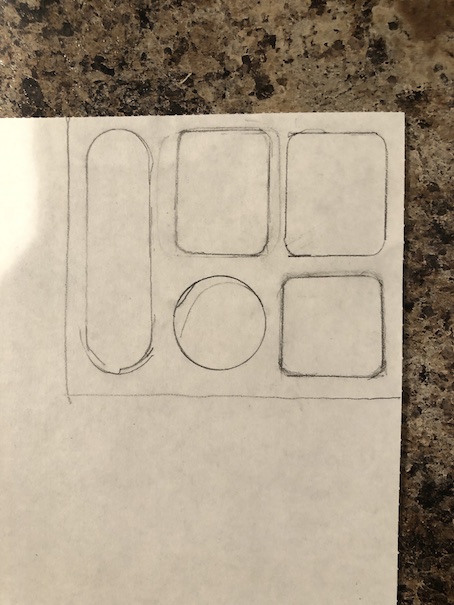 You should have something that looks like this. Now using an exacto knife, cut out the pieces.
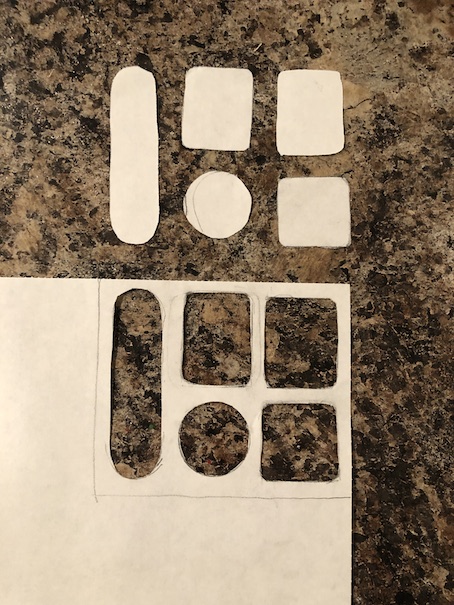 Set it aside.
Now we will cut our box.
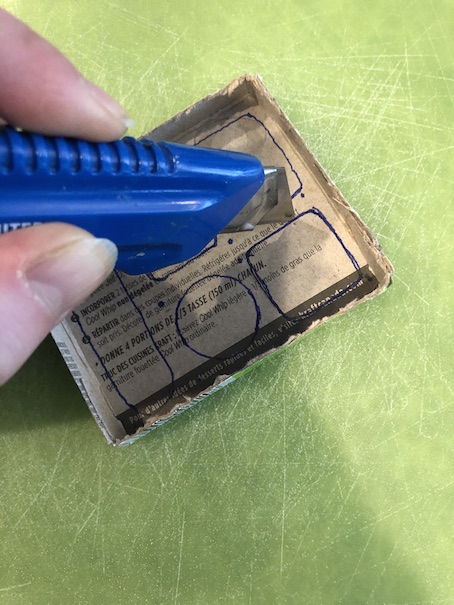
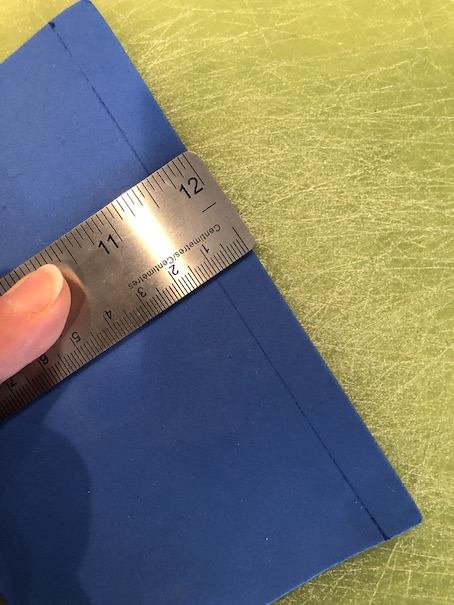
 4. Measure 1 cm and draw a line all the way around the box.


5. Cut all the way around to make a tray. Once it is cut, you may have to reinforce the sides of the box with hot glue.
 6. Cut out your paper template, and insert it into your tray. You will have to trim the sides in order for it to fit.
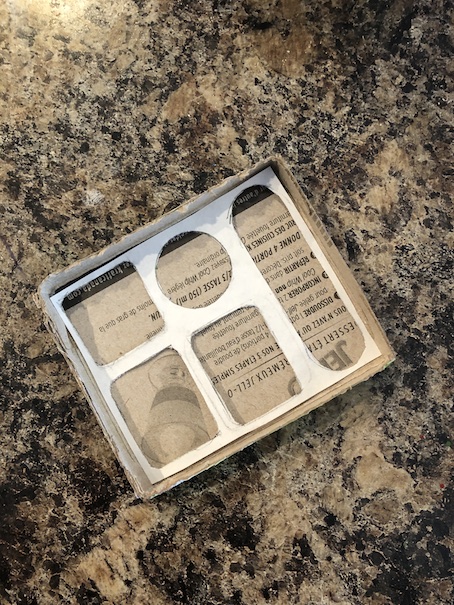
 7. Trace your template onto the inside of the box, and cut it out. Be sure when you cut out the pieces that you save them as you will need them. Also, when using an exacto knife, always cut on a cutting board.
 8. Trace your tray template onto the craft foam square that you cut at the start.
 9. Cut it out.
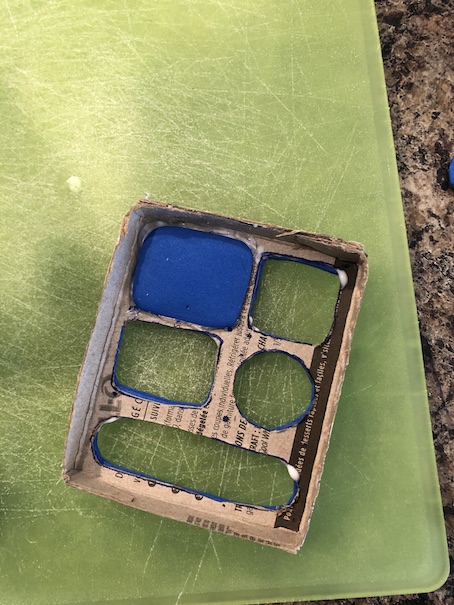
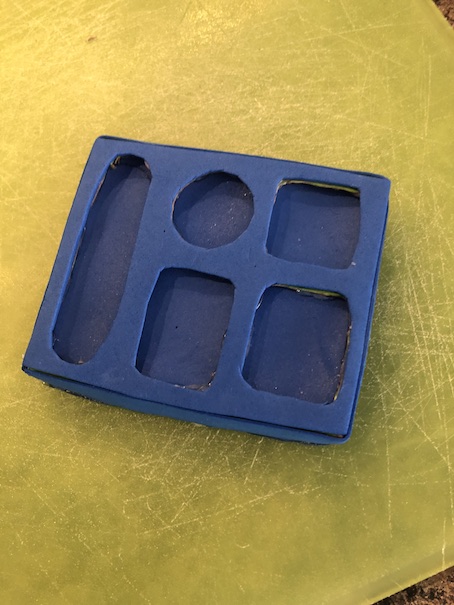
 10. Using white glue or tacky glue, adhere the craft foam piece to the top of your tray. Try to line up the holes as best as you can.
 11. Trace the cardboard pieces that you removed from your box onto some craft foam. Trace the edge about 1mm bigger as in the next step there will be some shrinkage. Cut them out.
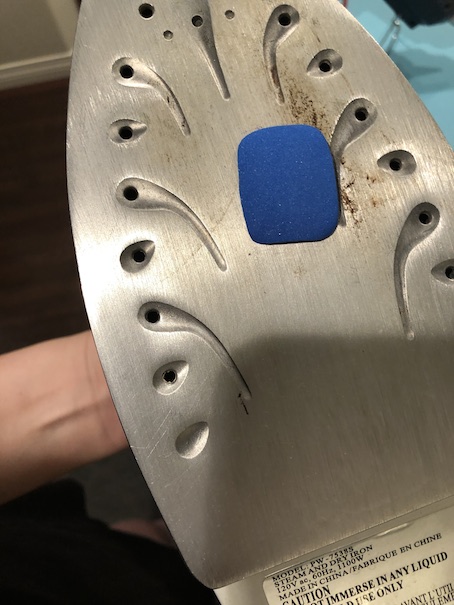

12. Place your pieces one by one onto the surface of the hot iron. They will first flatten. Then they will rise and curl. It only takes a few seconds for this, but it isn’t an exact science. They curiously don’t burn easily.
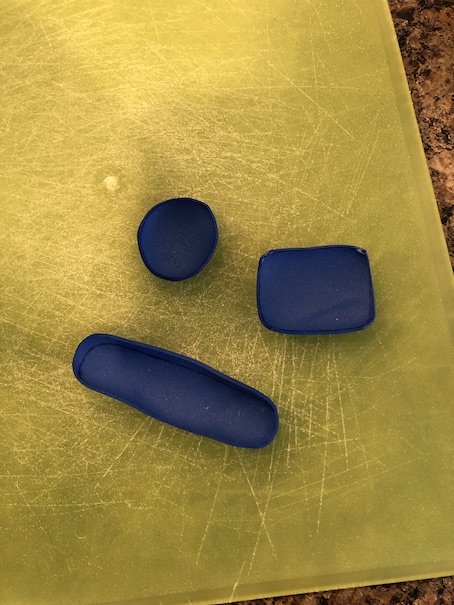 Your pieces will look something like this.
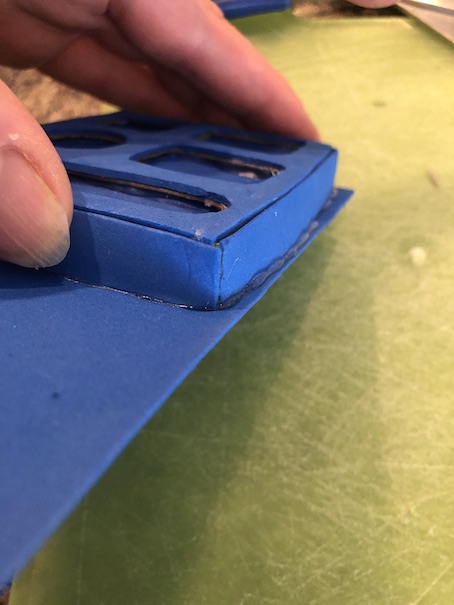
13. Hot glue your pieces into the back of the tray in their respective compartments. The bubble side should be facing up. When you turn your tray over, it will create a sort of recessed compartment as shown above.
 Here is the back with all the ‘bubbles’. We will be covering this up.
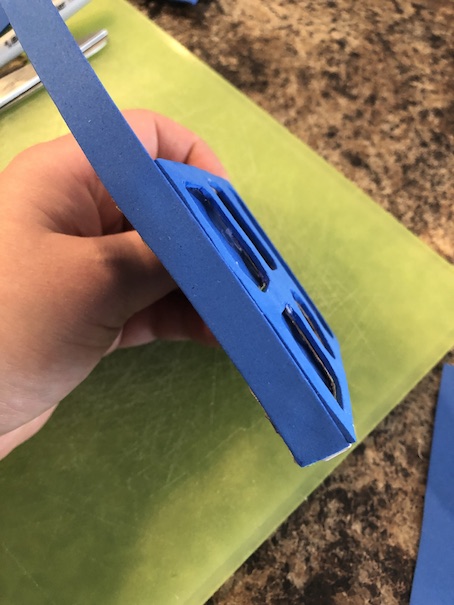
14. Cut a 1cm strip of craft foam to hot glue all the way around the sides of your tray.

15. Trace and cut a square of craft foam to cover the bottom of your tray. Hot glue it in place. We glued the foam on the back first, and then we just trimmed the edges off.
 Now this next part is optional. If you want to just call it done here, you can. It’s super cute, and if you like the colour of your craft foam then go for it. We wanted a lighter colour. We also wanted to try and cover up the rough edges a bit.
 First we primed it since paint doesn’t stick to craft foam very well.
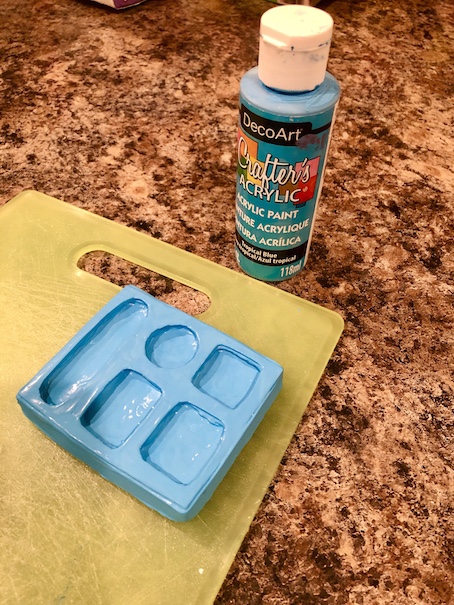 Then we painted it. We chose a light blue colour. Here the paint is still wet, but if you like the shiny look, you could always do a clear coat of shellac.
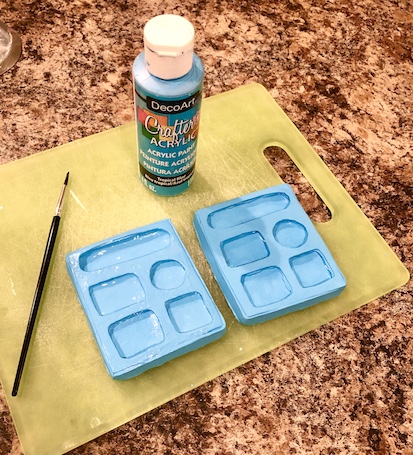 Keep your paper template in case you want to make more trays! We made two because we never like to see our dollies dining alone. 🙂 ❤
This is Our Generation food. It seems to be the smallest and it fits into the little compartments the best. However, do you see that cute little juice box there? We had to make one! Our dolly lunch tray just wasn’t complete without juice!
BONUS JUICE BOX TUTORIAL
Here is what you will need:
A tiny box
(we keep a lot of different tiny boxes, this one is a battery box)
Coloured paper (we used orange)
White paper for a label
Glue stick
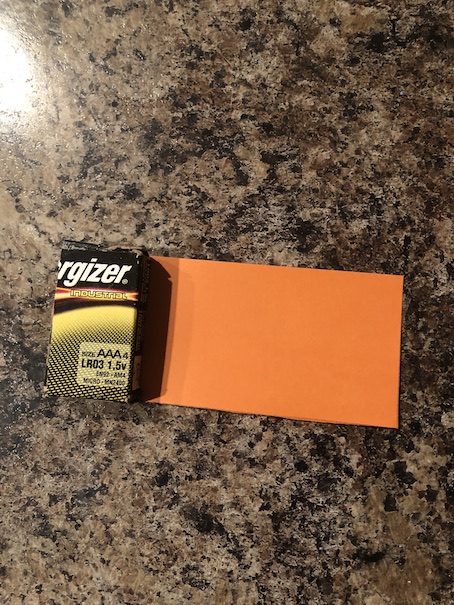
 Cut your box to size. We cut about 1/3 off of ours.
 Now slide one piece inside of the other. We used a bit of glue stick to hold it in place.
 Wrap the box in coloured paper. Use a glue stick to secure.
 Cut pieces to cover the top and bottom of the juice box as well.
 Wrap your juice box with a white paper label as shown. Secure with a glue stick. Draw a picture of a piece of fruit on the front.
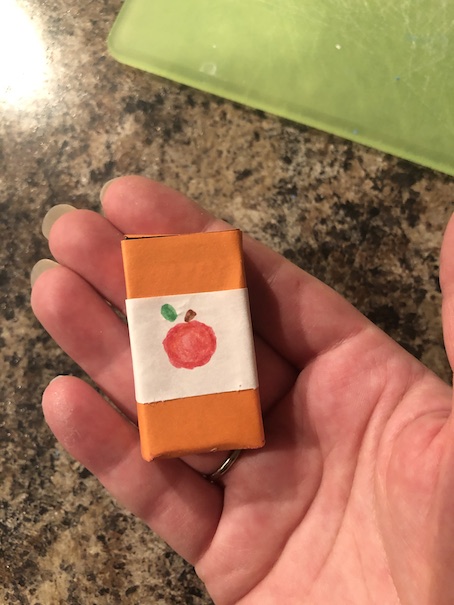 And you’re done. I also added a small black dot on top for the straw hole. If you want to add a straw you can. A lollipop stick glued to the top would work as it is the best size. I just left mine without a straw as I think it is just as cute.
Come join us at the lunch counter!!
 Kit and Emily wait in line at the school cafeteria.
 I got a new backpack last week, Emily says.
 I know, I really like it, Kit replies. I hope Mom makes me one too.
 I’m getting an egg salad sandwich, Emily says. What are you having?
 PB&J of course, says Kit. It’s my favourite.
❤ ❤ ❤
We hope that you had so much fun with us today!! This blog is always our super happy place, and we are so glad to be able to share it with all of you!
We also hope that everyone is safe and well as we head into another winter season.
Well that’s all for now, but as always, keep on smiling, and have a crafty kind of day! 🙂
Leave a comment below!
❤ ❤ ❤

i tryed the h
LikeLike
These trays are so cute and creative! I just found your blog today and absolutely love it. My little girl is three and playing with dolls is one of her favorite activities! She is still a little young for AG Dolls but I let her play with them carefully and we put them away when she is done playing. I will be visiting your blog often for all your tutorials and ideas!
LikeLike
Thank you! I’m so glad you found us!! 😊
LikeLiked by 1 person
This is adorable! Thank you for the tutorials!
LikeLike
You’re welcome!! I’m so glad you enjoyed! 😊
LikeLike