
 Hey guys! Today we are back with a fun and easy tutorial for a DIY Backpack for your dolls. So cute, and these little backpacks really do hold all the things!
So without any delay, let’s get started!
WHAT YOU NEED:
Felt or fleece
Pins
Needle and thread (optional)
Hot glue
Cord for the straps
Template pattern (see below)
Snap or velcro for the closure
Decoration
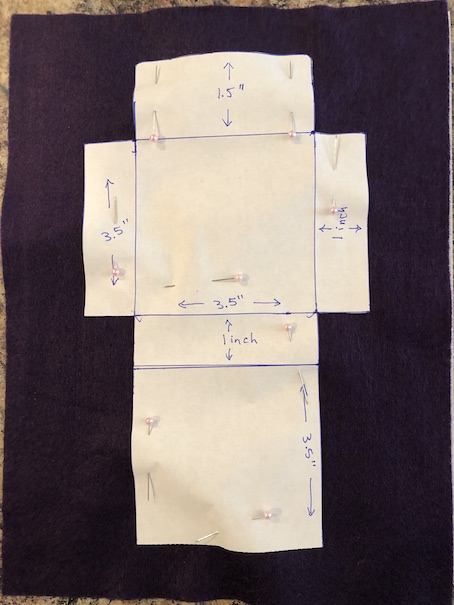
First things first, you will need a template. Here are the measurements.
 Now this little backpack is pretty simple. There are two 3.5 inch squares for the front and the back, a one inch strip for the bottom and a one inch strip on either side. There is also a 1.5 inch flap for the closure at the top. See? Pretty easy.
The next step is to cut out your template. Lay it flat on the felt and cut around it. You should use pins for this to keep the template from moving while you cut.
 Once it is cut out, it is ready to assemble. You can either use a needle and thread or you can use hot glue for this.
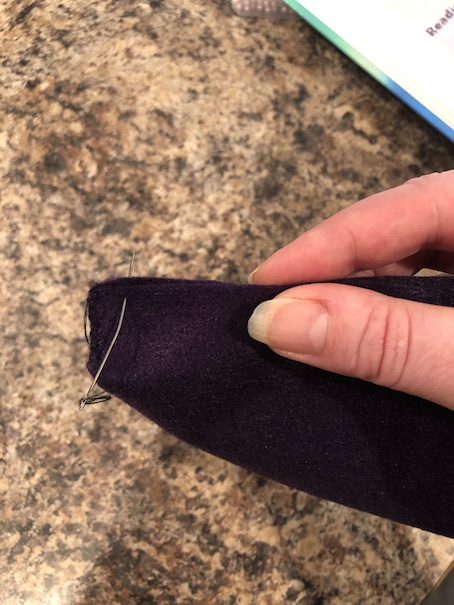
First you want to close up the sides so starting at each corner, pinch the seam closed and sew or glue to create a box.
 One side done!
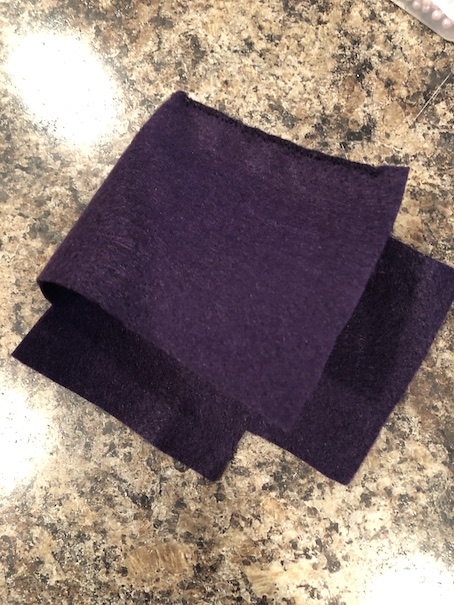 Now to close up that other side!
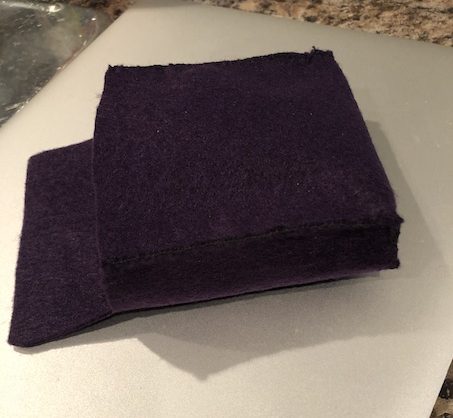
It should look like this when you are done:
 Let’s add the straps!
I had this kind of paracording but it was too thin to be straps for the backpack. I decided to braid it to make it thicker. You can use any type of cord or thick string that you might have. Ribbon might be too flimsy for this, so I don’t recommend using it.
Braiding the straps: You are going to want two straps, so cut six lengths of cord at 12.5 inches long. Braid using three pieces of cord for each strap. Be sure to braid these rather loosely rather than super tight as you don’t want really stiff straps.
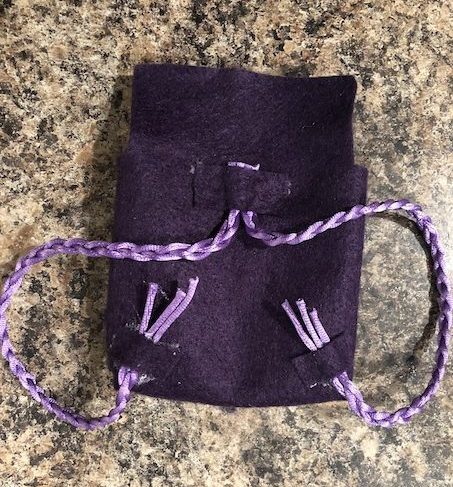
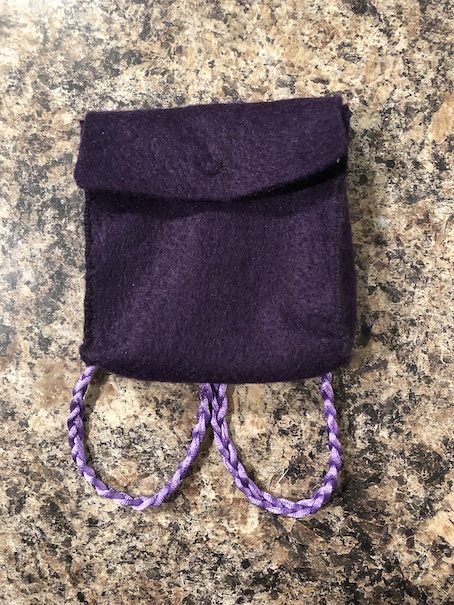
 Okay, this next part I actually made a mistake. I laid my two braids side by side at the top center of my backpack. This is incorrect, because actually the two straps should fold under themselves. You can do it my way if you like, it still turned out rather cute, but see the picture below for the proper way to place backpack straps if you would like to follow that. (Duh on my part)
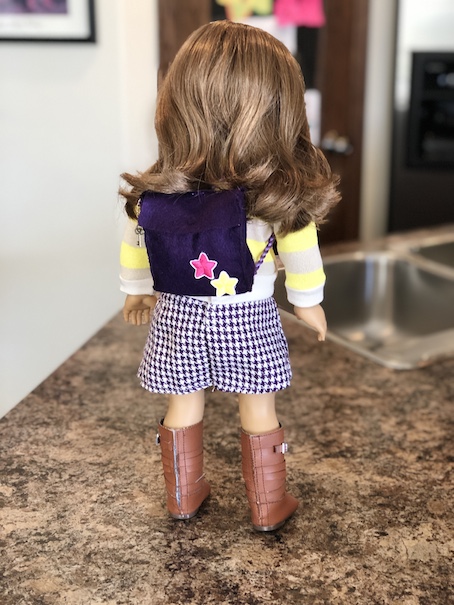
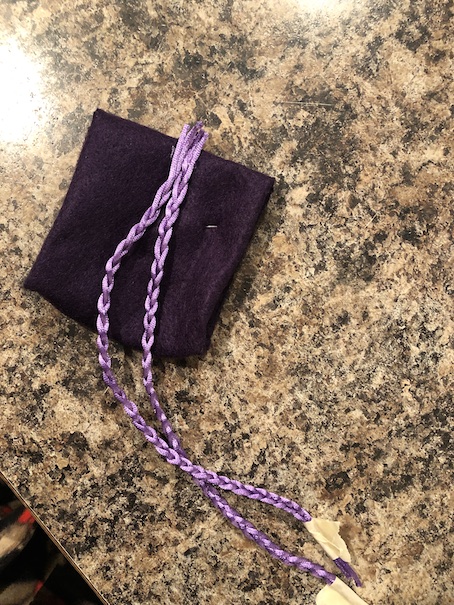 This is the proper strap placement:
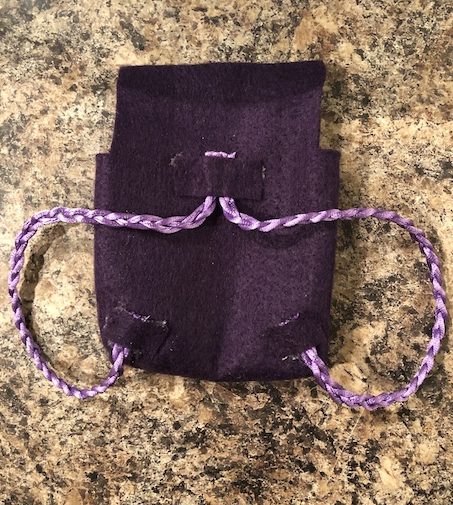
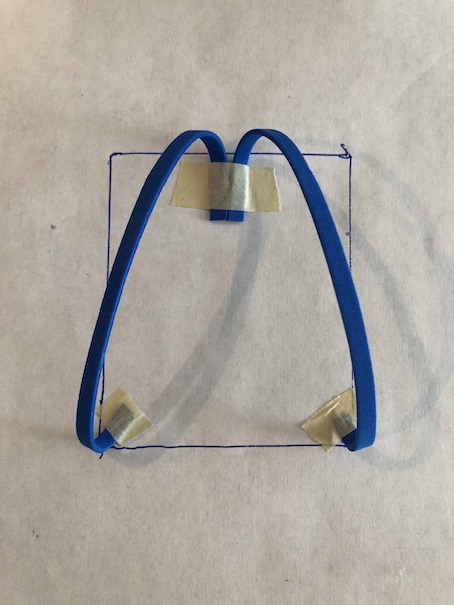 Hot glue the straps in place. Then glue a strip of felt over the ends of the straps where they are attached to the backpack.
 Trim off any excess.
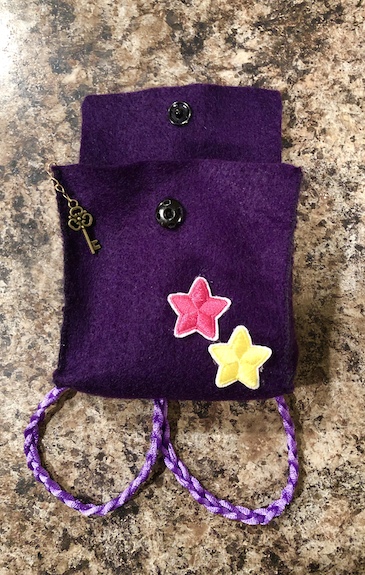
 Now it’s time to close the backpack. You can use velcro or a snap. We used a snap.
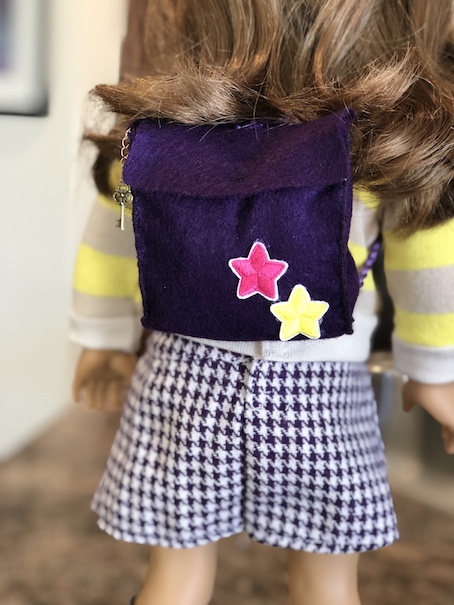
 All that’s left to do is to decorate!
 We used a couple of small star patches that we had on hand and we hung a small key on a chain from the side of the backpack.
 And you are done! Don’t forget to pack your backpack with school supplies!
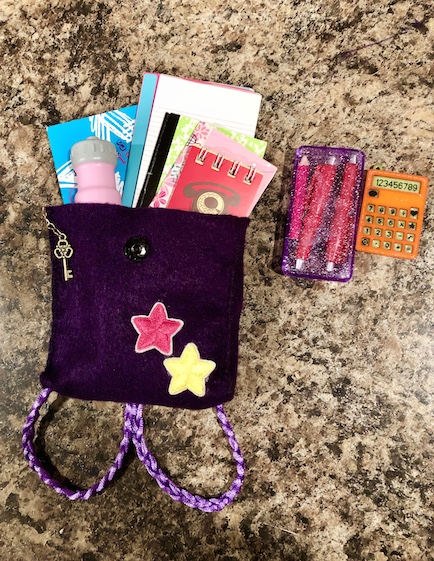 This little backpack holds everything your dolls will need for their day at school!
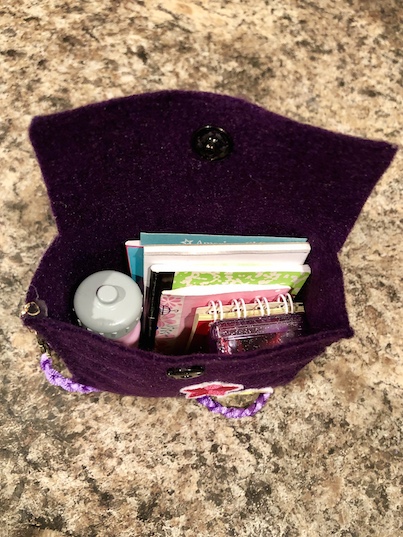 Out of supplies? We’ve got you covered! Here is a link for DIY school supplies for you! And if you scroll to the bottom of the post you will find a bunch of links to DIY school supplies for your doll’s backpack too!
Here’s Emily rockin’ her new backpack!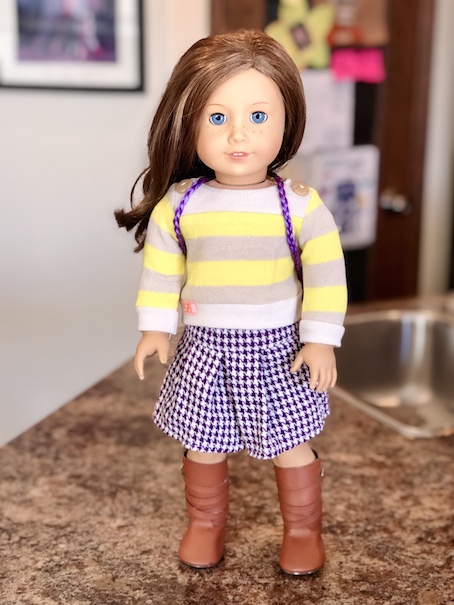 A perfect fit!
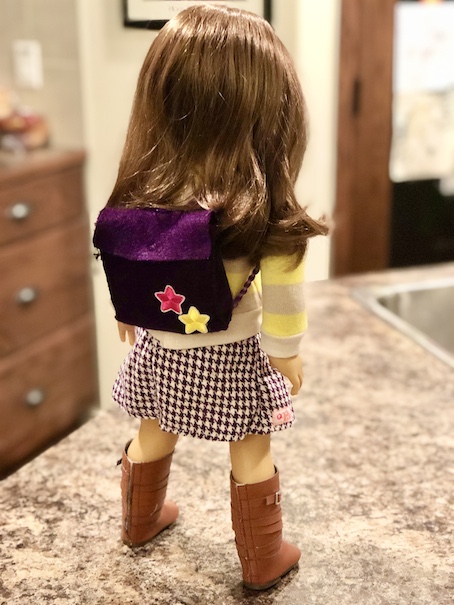 Have a great day at school!
 ❤ ❤ ❤ I can already tell that we are going to be making more of these. I think I will try some fleece next and maybe try lining it with felt. 🙂
 Hey Kit! Do you like my new backpack!
 So cute Emily!
❤
I hope that you enjoyed our tutorial! Thank you for joining us today! We love all of you guys and we are so happy to be able to share our creativity here with you.
So remember, keep smiling and have a crafty kind of day!
Love from your dolly friends at Faking It Mostly.
Be sure to leave a comment below!
❤ ❤ ❤

I can’t quite follow these instructions. Can you give me some advice?
LikeLike