

Hello, everyone! Today, we are here to show you how to stock your DIY Nanea’s Family Market with all of those cute little doll foods! 🙂
When it comes to absolute perfection, and gosh darn it all cuteness factor, dolly food is pretty high up there on our list.
So, when we saw all of the adorable little food items that came with Nanea’s Market, we just couldn’t resist!
In this blog post, we will be showing you how to make rice bags, dragon fruit, mangoes, and an assortment of canned goods.
Okay, let’s get started. First up are the rice bags! I seriously had a bit of a squeal over these. I mean, don’t get me wrong, everything miniature is darling, but these rice bags take the cake. I’m also thinking of making some feed sack dolly flour bags, because those would be just as squee-licious. 😛
What you will need:
Regular sized rice sack scrap
Sewing machine or a needle and thread (you could also use hot glue for this)
Pencil
Red and blue permanent marker
Rice, or dried beans (you can also use pillow fluff if you like)
Let’s begin!
To start, take your scrap of rice sack, and measure out a long rectangle. I made mine 9 inches by 4 inches.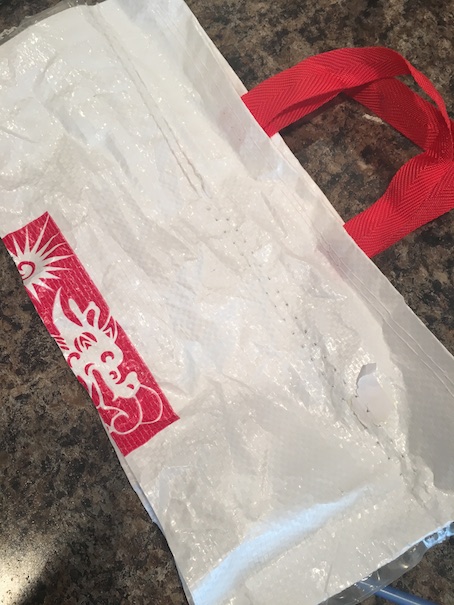
Cut it out. Be sure to fold the rectangle in half to determine the front of your bag, and where to draw your label. 
Using a pencil, draw the rice bag label onto the front of the rice bag. I just freehanded this. If you are not confident at drawing, you could also print out a rice bag label design, and glue it on.  Next, fold the rectangle in half. Wrong sides should be together, and your labels should be right side up on the front.
 Now simply sew up one side, and down the other. The top of the bag should remain open for filling. Fill your rice sacks with dry rice, beans or even pillow fluff. Then sew the top closed. You are done!
  Now you can put your adorable little rice bags out for sale at Nanea’s Family Market! 🙂 ❤
  So cute!! ❤
The next food items on our crafty list are the dragon fruit, and the mangoes! I’ve never actually had a dragon fruit before, but it is definitely on my list to try. Then again, I’m not sure that it even sells locally. I will have to keep an eye out for it.
Anyway, just because we don’t have it, doesn’t mean that our dolls have to go without! 🙂
What you will need:
Model Magic or air dry clay
Pink, yellow, green and lavender paint
Craft glaze or sealant
Let’s begin!
First roll out three clay balls. This seems easy enough but be sure to check your doll’s hand to ensure that these are sized to scale.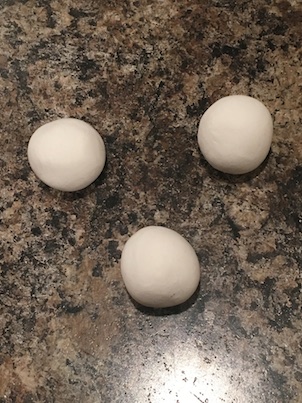
Shape the balls of clay into oblong shapes. Then cluster them into groups of three. I made two groups of three dragon fruits, and one group of three mangoes. 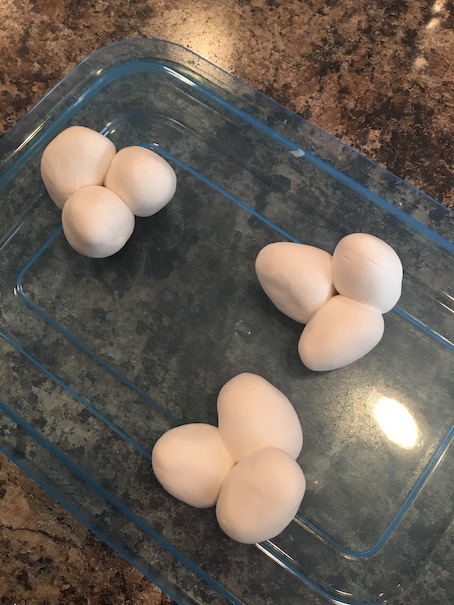 Leave these to dry overnight, or longer. I usually use Model Magic, and I often leave my projects to dry for a couple of days.
Once dry, it is time to paint! Yellow for one cluster of dragon fruit, pink for the other, and lavender for the cluster of mangoes. (Okay, correct me if I’m wrong, but every mango that I have ever encountered has been green. Now since the ones at Nanea’s Market are lavender, we decided that we would paint ours the same.)
Let the paint dry. I usually do two coats.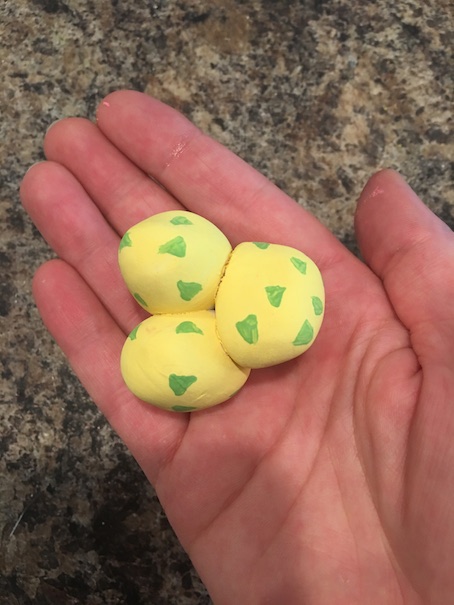
Now it’s time to add the detail. Using a tiny brush, paint tiny green triangles all over the dragon fruits in random order. I also painted tiny three leaf stems at the top of each fruit. Once dry, seal with craft glaze.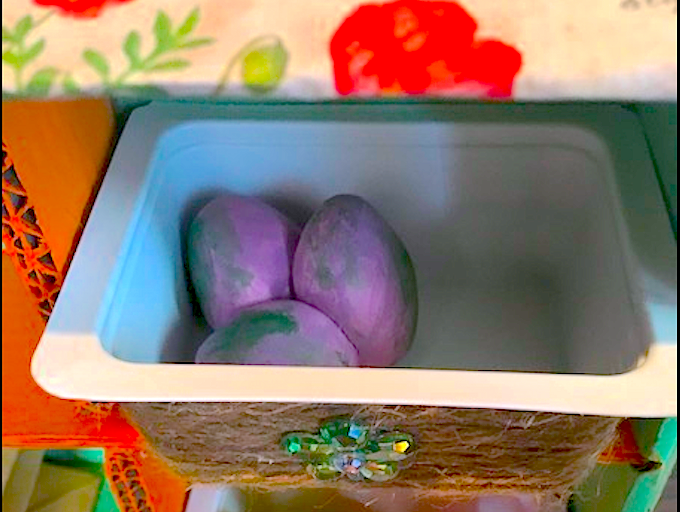
For the mangoes, I dipped my finger in some very watered down green paint, and lightly smudged some small splotches on them.
Don’t cover up too much of the purple colour, you only want a hint of green in places. (Again, I don’t know what AG was thinking with the colours for these mangoes. All I’ve ever seen are green mangoes with yellow, or red ripe spots on the peel. *shrug* Oh well, who am I to question, or to judge?)
Once the paint is dry, seal the mangoes with craft glaze.
As an added bonus, you can make little baskets to hold your mangoes and dragon fruit. 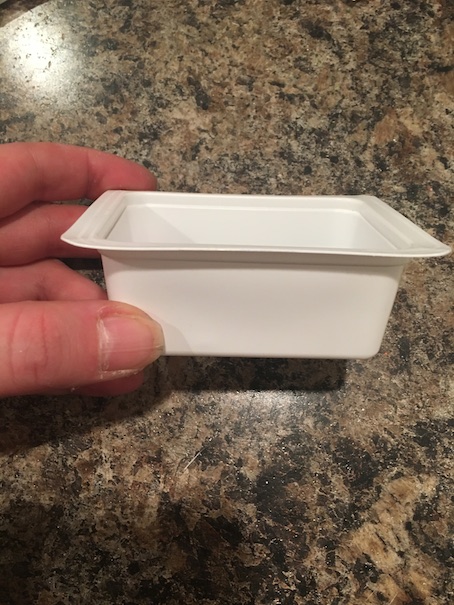
My mom gave me these little containers that used to hold flavoured tofu. I used twine, and hot glue to cover them. Just wrap the entire container in twine, hot gluing it as you go. I love this technique, and I have used it to cover numerous other larger containers as well. 🙂
 I decided to add some bling to my baskets but you could leave them plain. Other ideas are to add basket handles, ribbons or bows, sea shells. Pretty much anything goes when you DIY! 🙂
 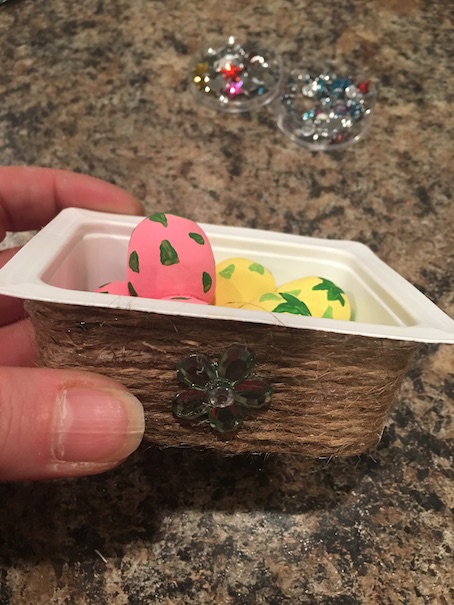 And you’re done! The fruit is so cute, and ready for sale! ❤
The last DIY on our list is the canned items. These include: canned macadamia nuts, canned pineapple, and of course, the ever delightful canned SPAM.
Now, I won’t make a tutorial for the SPAM because our friends over at AmericanGirlIdeas have already put out a wonderful tutorial on them. Be sure to check it out HERE. So much cuteness!!! ❤
For the canned pineapples, and the macadamia nuts, we debated on cutting dowel rods to size, or rolling up paper into tubes. In the end however, we decided to try making them out of clay.
What you will need:
Model Magic, or air dry clay (polymer clay would also be ideal for this project)
Silver acrylic paint
Glue stick
** For canned goods labels, and other printables, click the LINK and scroll down. She has included a printable in the description box below her video.
Now, let’s begin!To make the three cans of pineapple, roll three uniform balls of clay.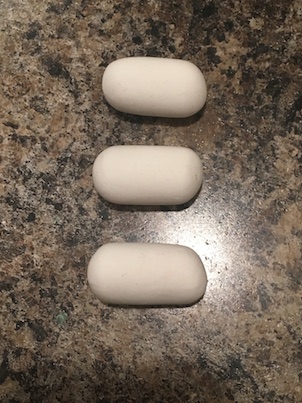 Shape the balls into cylinders. Try to keep them as similar as possible.
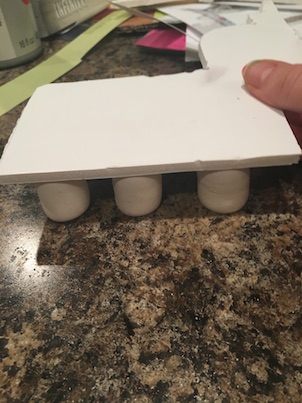 Using a piece of foam core board, flatten the tops and bottoms of the cans simultaneously. This helps to keep them uniform in height.
 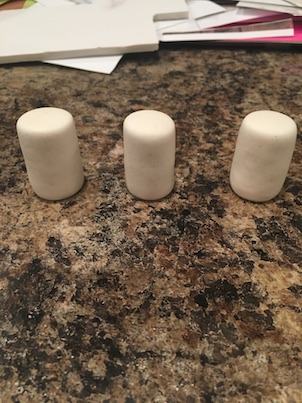 Here is what you should have. They aren’t perfect, but they aren’t bad. Once the labels are on, they will look way better 🙂 Set aside to dry overnight.
(A trick I use when working with air dry clay is to make a whole bunch of projects all at once. That way, I can leave them all to dry together in a safe place somewhere.) To make the macadamia nut cans, use the same concept above except this time roll six smaller balls of clay. Roll each ball into a cylinder. Then press down on top with your finger to flatten.
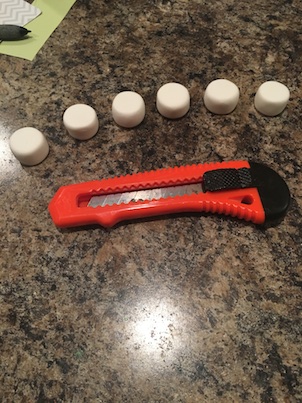 Always be sure to keep your cans uniform in size. Set aside to dry.
  Once dry, paint all of your cans silver.
  The only thing left to do is to cut out the labels.
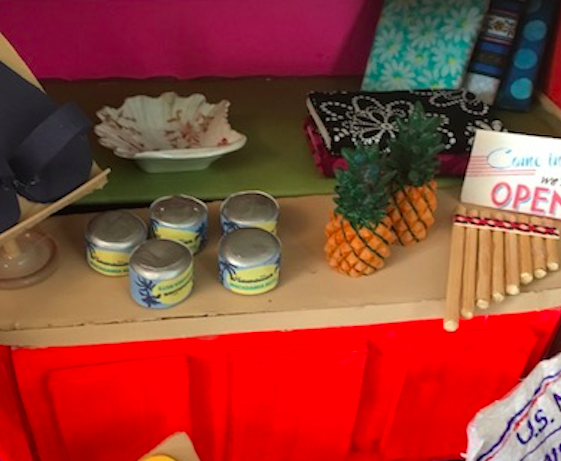
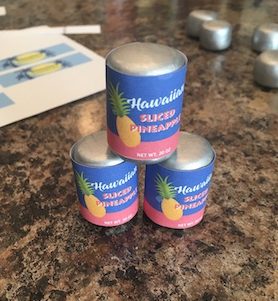 Using a glue stick, wrap the label around your can, and secure. Now you are ready to stock your market shelves!!
 LOVE! ❤
  Yes, there are meant to be six small cans of macadamia nuts. However, the printable only includes five labels. Rather than print another entire sheet for one extra label, I decided to just leave it at the five cans instead.
 ![]()
 Note: If you want extra detail on top of your cans, you can add lines with a toothpick or use something round to make an indented lip. I think the cans are super cute either way.
PS. We did not make the pineapples. We got them from the dollar store. They used to be table weights. We just removed the clips at the top.:)
I hope that you enjoyed our Family Market DIY Food Tutorials! Stay tuned as we have lots of other fun DIY’s to reveal for Nanea’s Market!
And in case you missed it, be sure to check out our how to, so that you can build your own DIY Family Market for Nanea!
Have a crafty kind of day!
Leave a comment below!
❤ ❤ ❤

Love it!
LikeLiked by 1 person
Thank you! 🙂 ❤
LikeLike
Fabulous! Very well done. The cans and rice are my favorites.
LikeLiked by 1 person
Thank you! I am in love with the little rice bags. They turned out so adorable! 🙂
LikeLike