
 Hello everyone! I hope you are all doing well!
Today I want to showcase something special that I made for our doll Secret Santa gift exchange at Christmas this year. We were each assigned a name along with the address of a person whom we were to make or buy a doll related gift for. Of course, it was all a secret so no one found out who their Secret Santa was until their gift arrived. I also didn’t get around to posting about it until now, but that’s okay!
We had so much fun with this project! The specifics of our doll Secret Santa recipient’s profile mentioned that she would like something in a steampunk fashion, so I immediately set to work to find the perfect pattern.
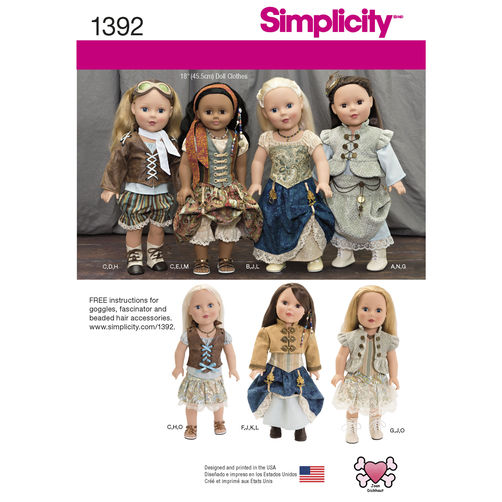
What caught my eye right off the bat was Simplicity’s 1392 Steampunk Pattern for dolls. I was instantly on a mission to create all of the pretty little doll things!
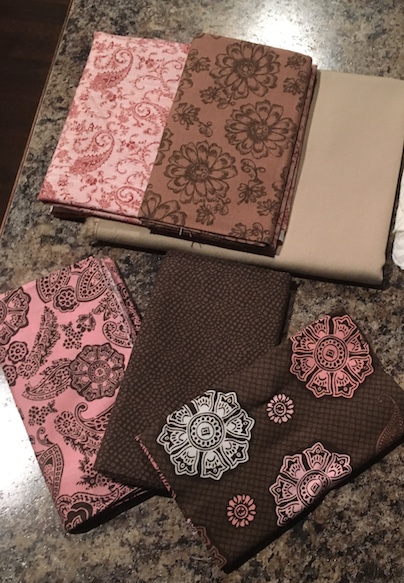
I already had a coordinating fabric bundle that I had purchased at Walmart that I thought would be so perfect for this project. I love all of the pinks and browns in these fabrics.
First things first, I had to get my hands on the pattern. We live in Canada, so a lot of Simplicity patterns are not that readily available to us. However, there was the option to download the PDF version of the pattern.
I finally decided that I would just take my chances, and purchase the download. I was unsure if it would even work since I am not always the most tech savvy person around, but it was worth a shot.
It turned out that downloading the PDF was not an easy task! First I had to wait two days for them to get my pattern ready. Then I had to register and submit to a copyright license that ensured that I would not share the pattern that I had purchased.
Next, I had to download and install some complicated software that would enable my computer to even read the pattern file. After jumping through these hoops for what seemed like an eternity, my file was finally ready to download, and print. All 26 pages of it. Right. LOL!
Okay, I thought to myself, I will just print it off, and then I can be done with this, and I can get to the fun part, the sewing. Yay! Go me! Wrong.
After printing off 26 pages I soon realized that the pattern was not all nice and neatly organized like the PDF patterns that I frequently download from Pixie Faire.
Instead, it was printing out exactly what was on the onion tissue paper pattern. That meant that many of the pattern pieces were split several ways between multiple sheets of paper. I was going to have to cut it all out, and put it all back together again like a giant jigsaw puzzle. Right.
Luckily, I have ridiculous amounts of patience and determination. After hours of cutting, and taping all of the pattern pieces together, I finally had all of the pieces that the pattern required. Success!! And maybe partial insanity, but I didn’t care. I finally had a pattern that I could work with! Now I just had to be sure to never, ever lose a pattern piece. EVER.
Step 528: Read the pattern instructions. Okay, that seemed easy enough. The instructions were in a read only file that I had saved onto my computer at the start of the whole downloading process. I opened the file.
Not long afterward, I came to realize that reading a Simplicity pattern is a lot like reading hieroglyphics, except that the pictures are few, and are far less user friendly.
Needless to say, I put a few of these garments together wrong first, before finally understanding what the instructions were actually saying. Seriously. I have a brand new appreciation for the wonderful ladies over at Pixie Faire who make our sewing life so much easier. I am not worthy. For real.
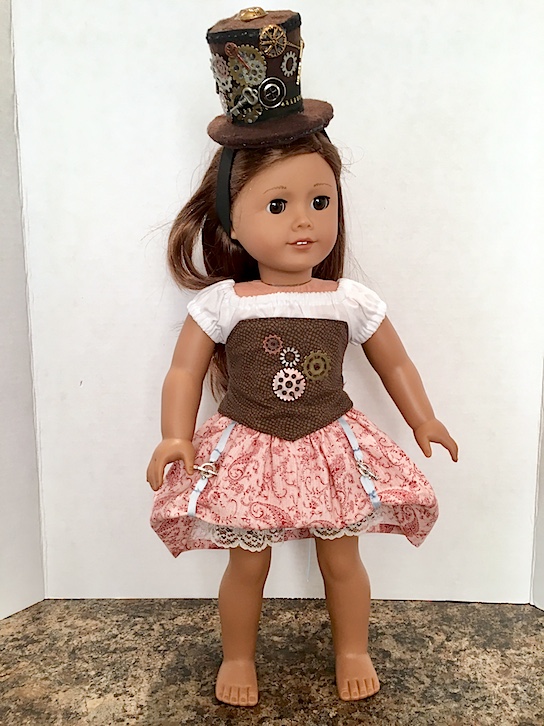
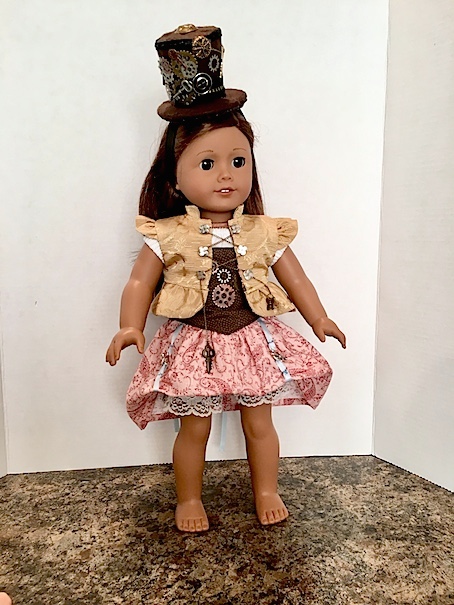
I did persevere however, as I do, and after all was said and done, I love the results! I love all of the different pieces that this pattern has to offer. I’ve never made anything steampunk before, but it is too cute, and this pattern has so much potential. 🙂
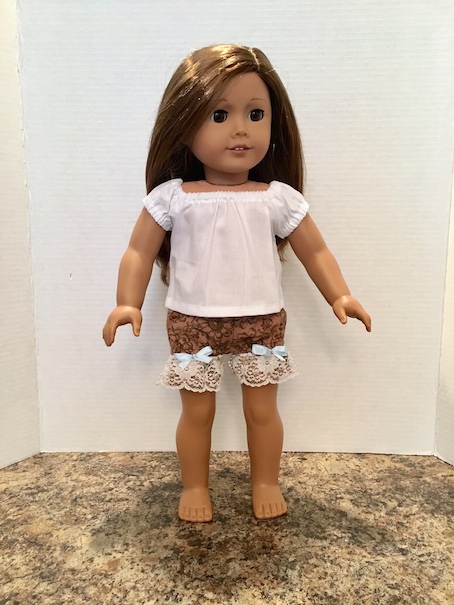
I made a pretty peasant blouse.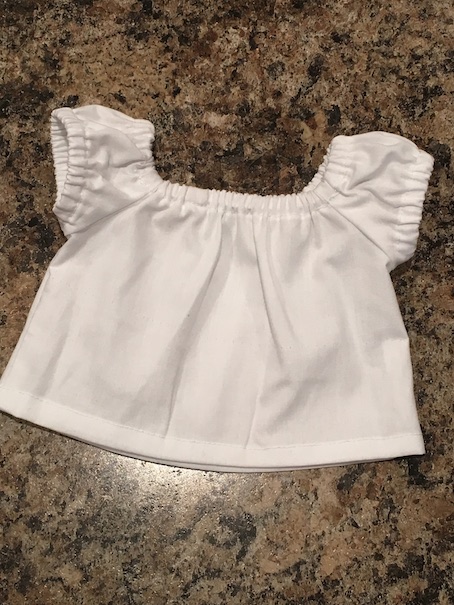
A pair of lacy bloomers.
❤ 
Next I made the corset. I found some gears and keys at Michaels that are perfect for steampunk design.
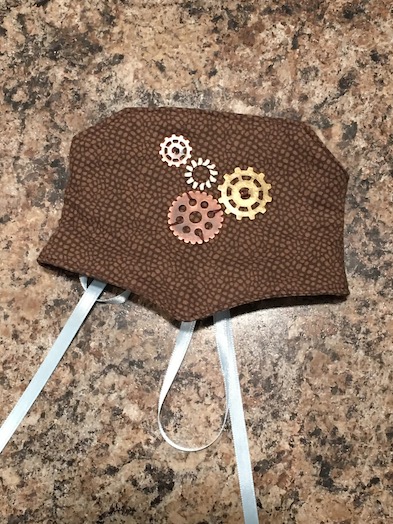 I had fun learning how to install the eyelet rivets in the back of the corset too. I think it’s the details in these outfits that are the most fun. 🙂
  I chose the shorter skirt because I wanted the lace of the bloomers to peek out underneath.
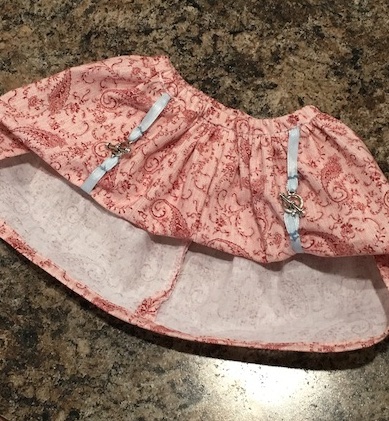 I added a little snap up and underneath the skirt at the waistband so it will stay bustled. The toggle clasps also help keep it bustled.
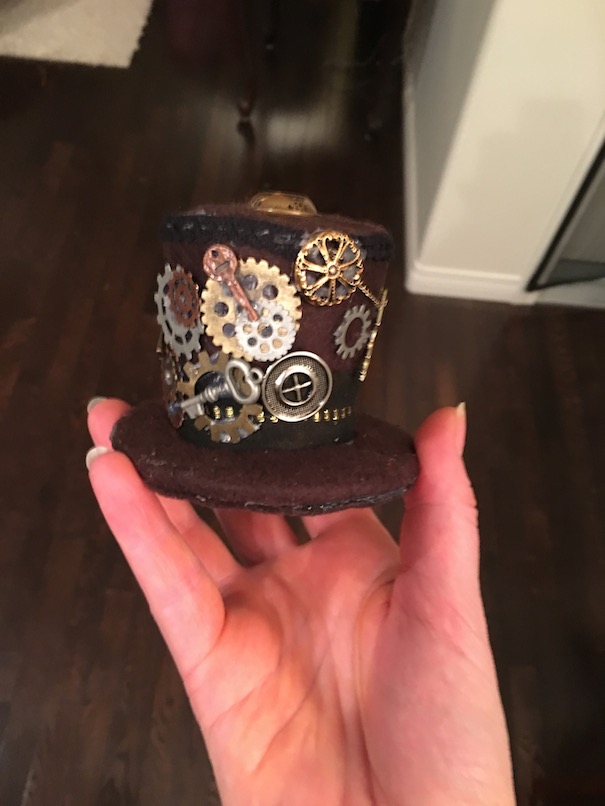
The pattern includes a tutorial for a hair fascinator and some goggles but I decided to make a little steampunk hat instead. I used hot glue to cover a Christmas ornament in brown felt. Then I covered it in found things like keys, gears and brass buttons. 
Very cute!! ❤
 As the final touch, I wanted to make the short coat with the flutter sleeves. I already had the perfect gold fabric for it. I bought some tiny buttons and a little chain.
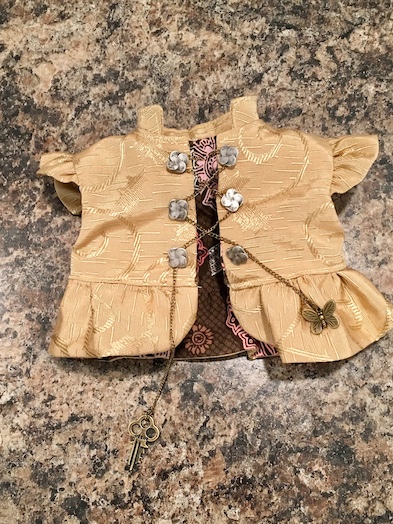
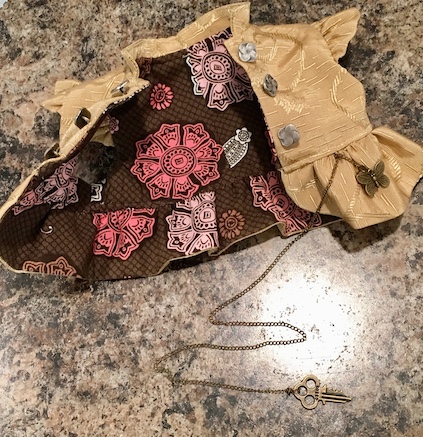 I love the fabric I chose for the jacket lining. I added a key to one end of the chain and a brass butterfly to the other end. Then I stitched the chain to the jacket so it wouldn’t get lost.
 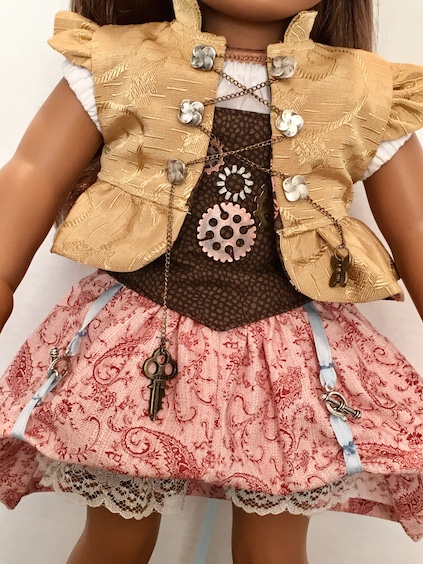 The chain loops around the buttons to secure the coat closed as well as to add some more decoration.
 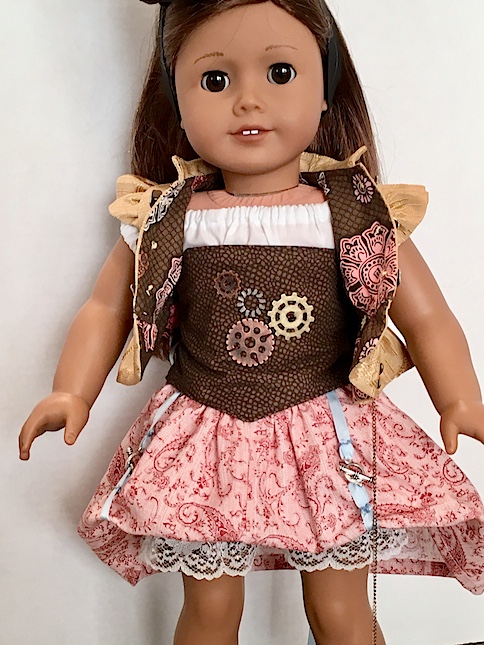 I am so thrilled with how this gift turned out! 🙂 ❤


I love the little bloomers! 🙂 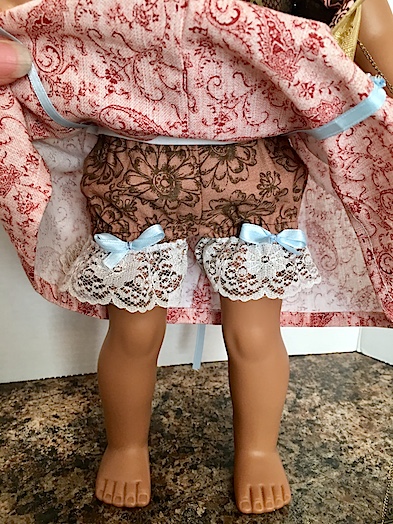 ❤
❤  What do you think of steampunk designs for dolls? I’m looking forward to trying some of the other pieces in this pattern too. I love how depending on the fabric used, you can create entirely different looks. You can also use all kinds of different trims and decorations to add cute detail.
Well, I hope you enjoyed! We are up to our eyeballs in snow and cold right now, so we’ve been working on a lot of different doll projects. The Little Miss is also getting a lot more crafty lately, so she is hoping to share some of her amazing creations too.
Have a crafty kind of day!

Wow! This has so many pieces! Totally love the bloomers! They steal the outfit! Great job!
LikeLiked by 1 person
Thank you! I love the bloomers too! 🙂 ❤
LikeLiked by 1 person
Congratulations! You did a fabulous job! This outfit is adorable. Keep up the good work!
LikeLiked by 1 person
Aww thanks so much! 🙂 ❤
LikeLike
Adorable! I have the same pattern, but have not made anything from it yet.
LikeLiked by 1 person
It’s a good pattern once you get the hang of the instructions. I like that mine is printed on computer paper instead of tissue. I personally find it easier to work with.
LikeLike
Despite the nightmare of downloading the pattern, it turned out adorable! I’m with you in regards to Pixie Faire patterns, they are head and shoulders above Simplicity. I can’t tell you how many times I’ve scratched my head at some of the big name companies and their instructions, they don’t make any sense!!!
LikeLiked by 1 person
Yes! I have so much trouble with these darn patterns! I have the Simplicity AG patterns, and the dress pattern that I’m trying to make right now is totally over complicated. (Adding sleeves on after sewing the bodice together?? What?? Lining for a regular cotton sleeve?? Why???) They make absolutely no sense. I finally just gave up, and was like, “To heck with it, I’m doing it my way.” I also traced all the pattern pieces onto computer paper. Forget that tissue paper! It’s awful! 🙂
LikeLike
So cute!
LikeLiked by 1 person
Thank you!! 🙂
LikeLiked by 1 person