

Hi all! In honour of AG GOTY 2016 Lea Clark, I wanted to show you how to make and tie your own doll sarong! I had so much fun with this!
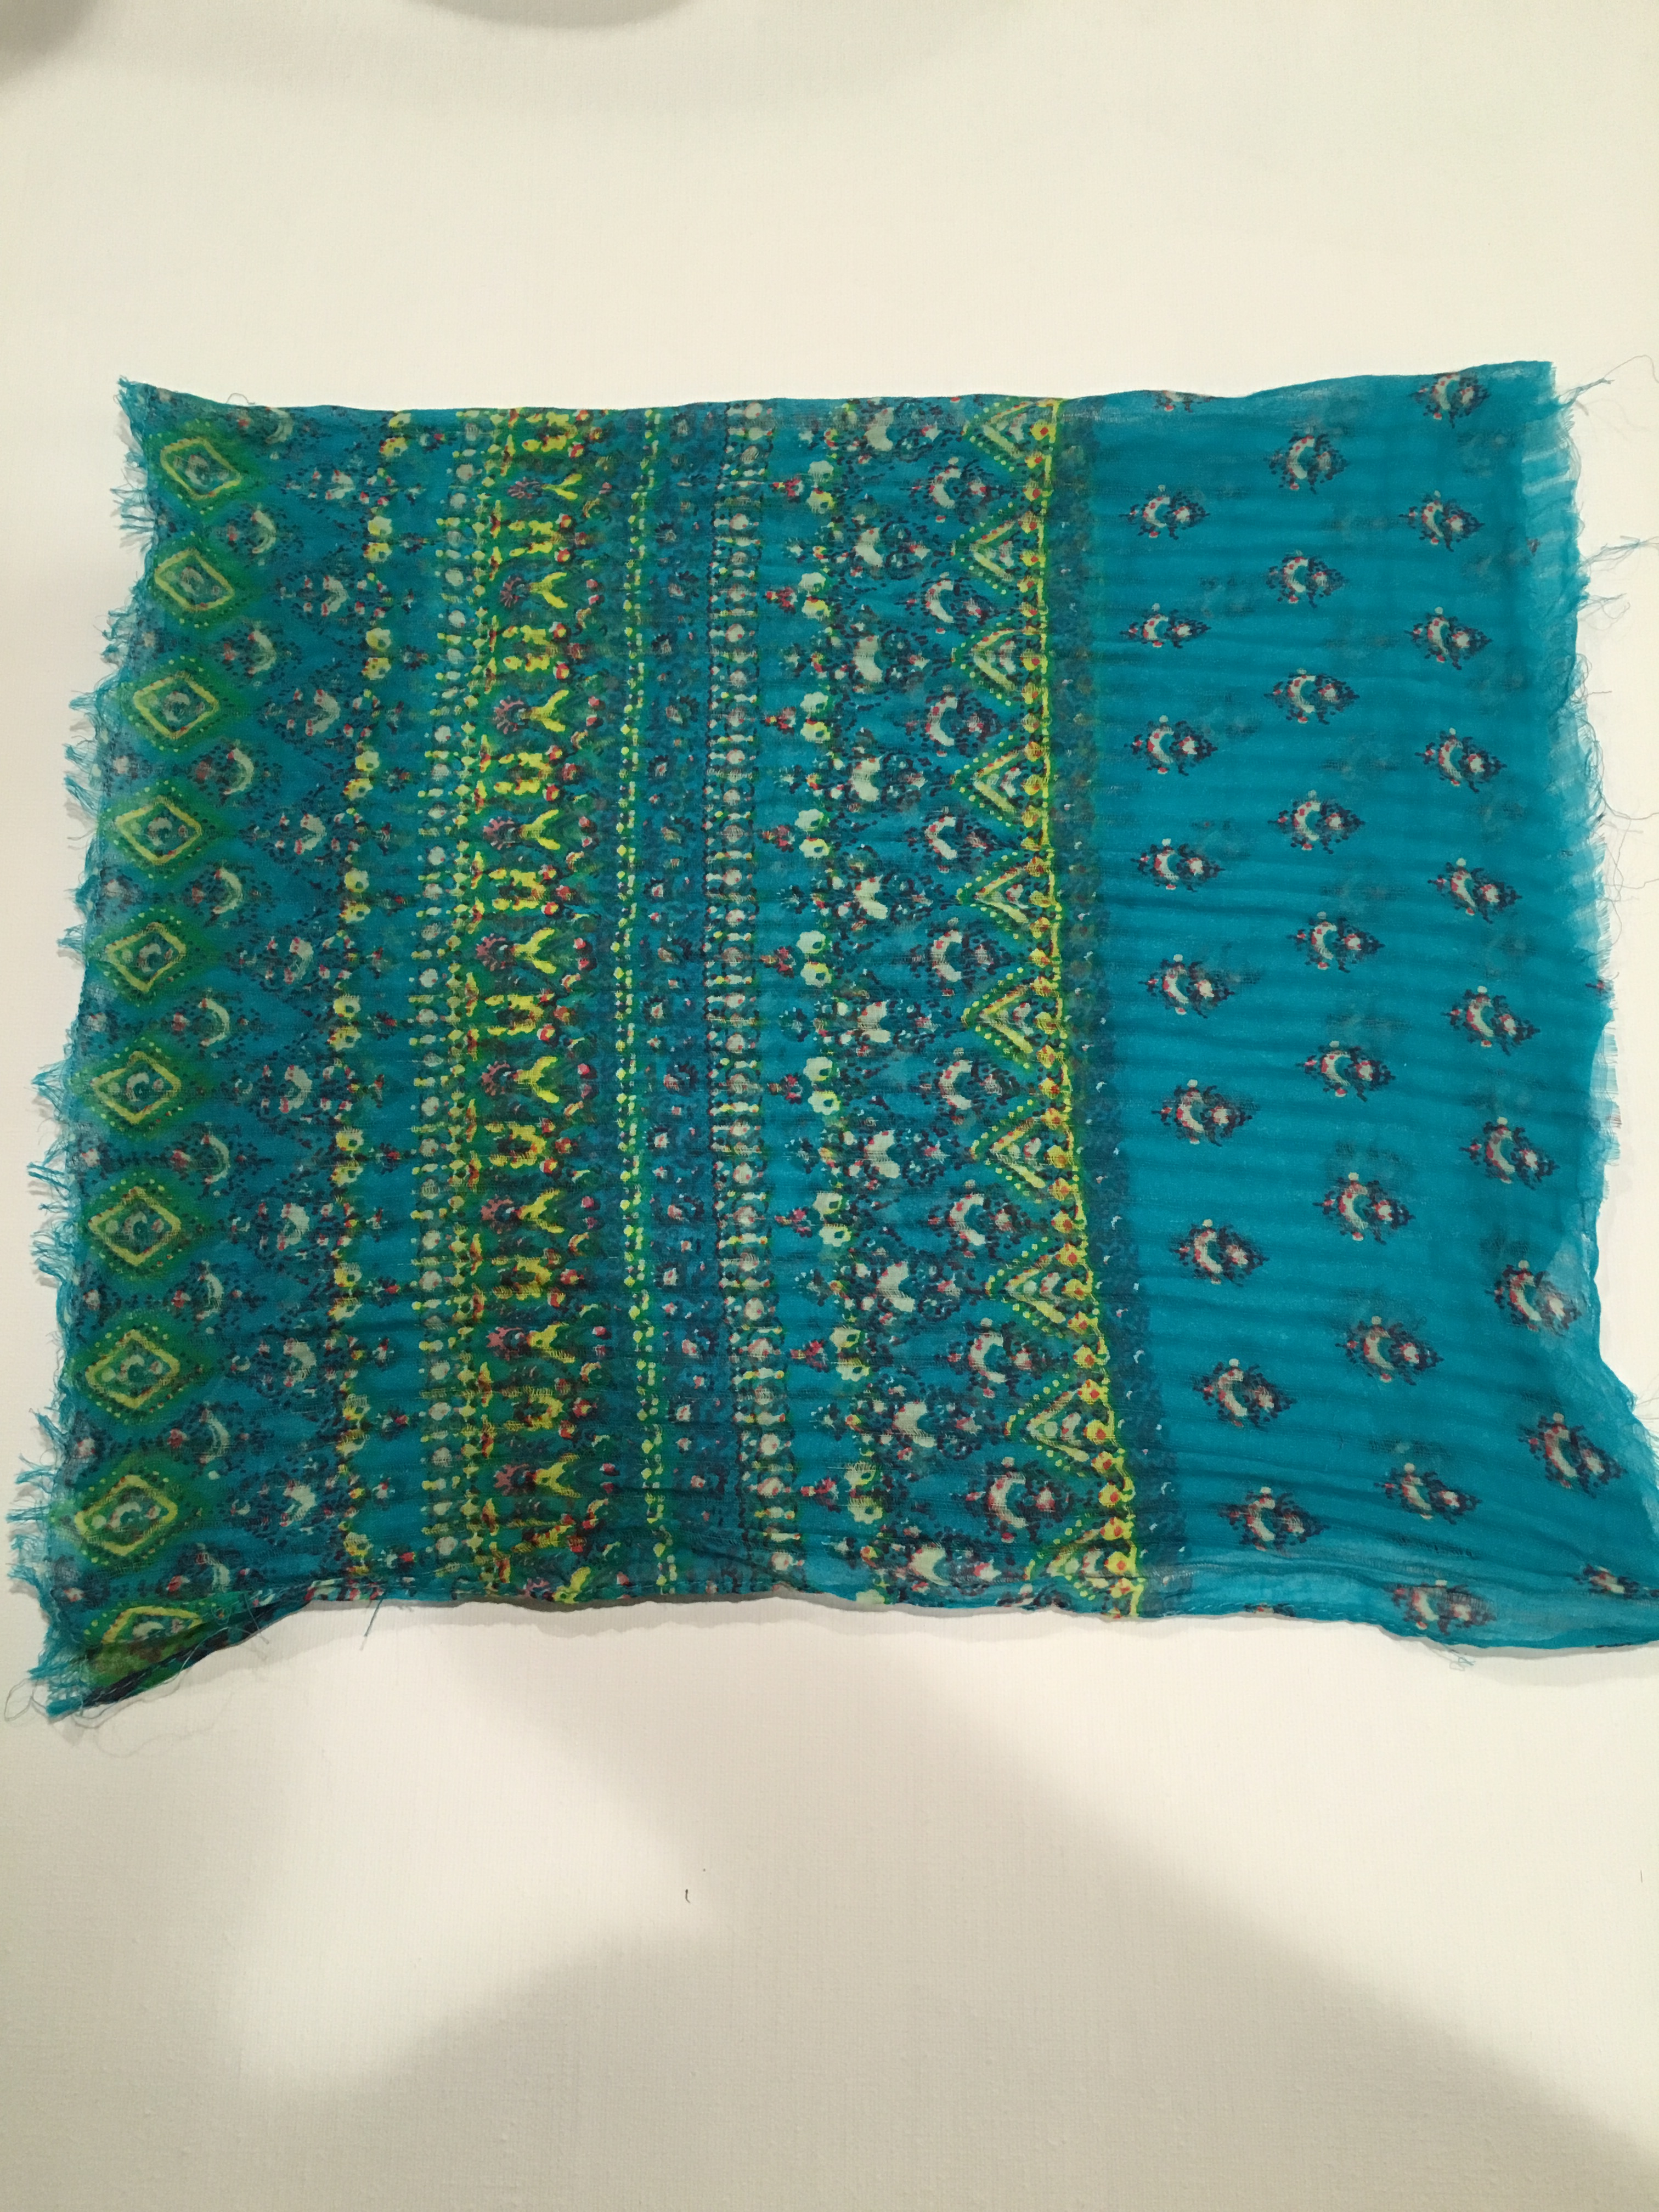
There are many ways to tie a sarong, but today I will be demonstrating three of my all time favourites. So get your favourite dolly sarong ready, (I just used a scarf from a thrift store cut to size) and let’s get tying!
Your scarf should be about 15 inches by 27 inches like mine shown.

If you have had to cut a scarf to size it might be best to stitch the cut side to prevent fraying. Mine didn’t do much fraying so I just left it as is. Smaller patterned scarves or solid colours are probably best for doll sarongs.
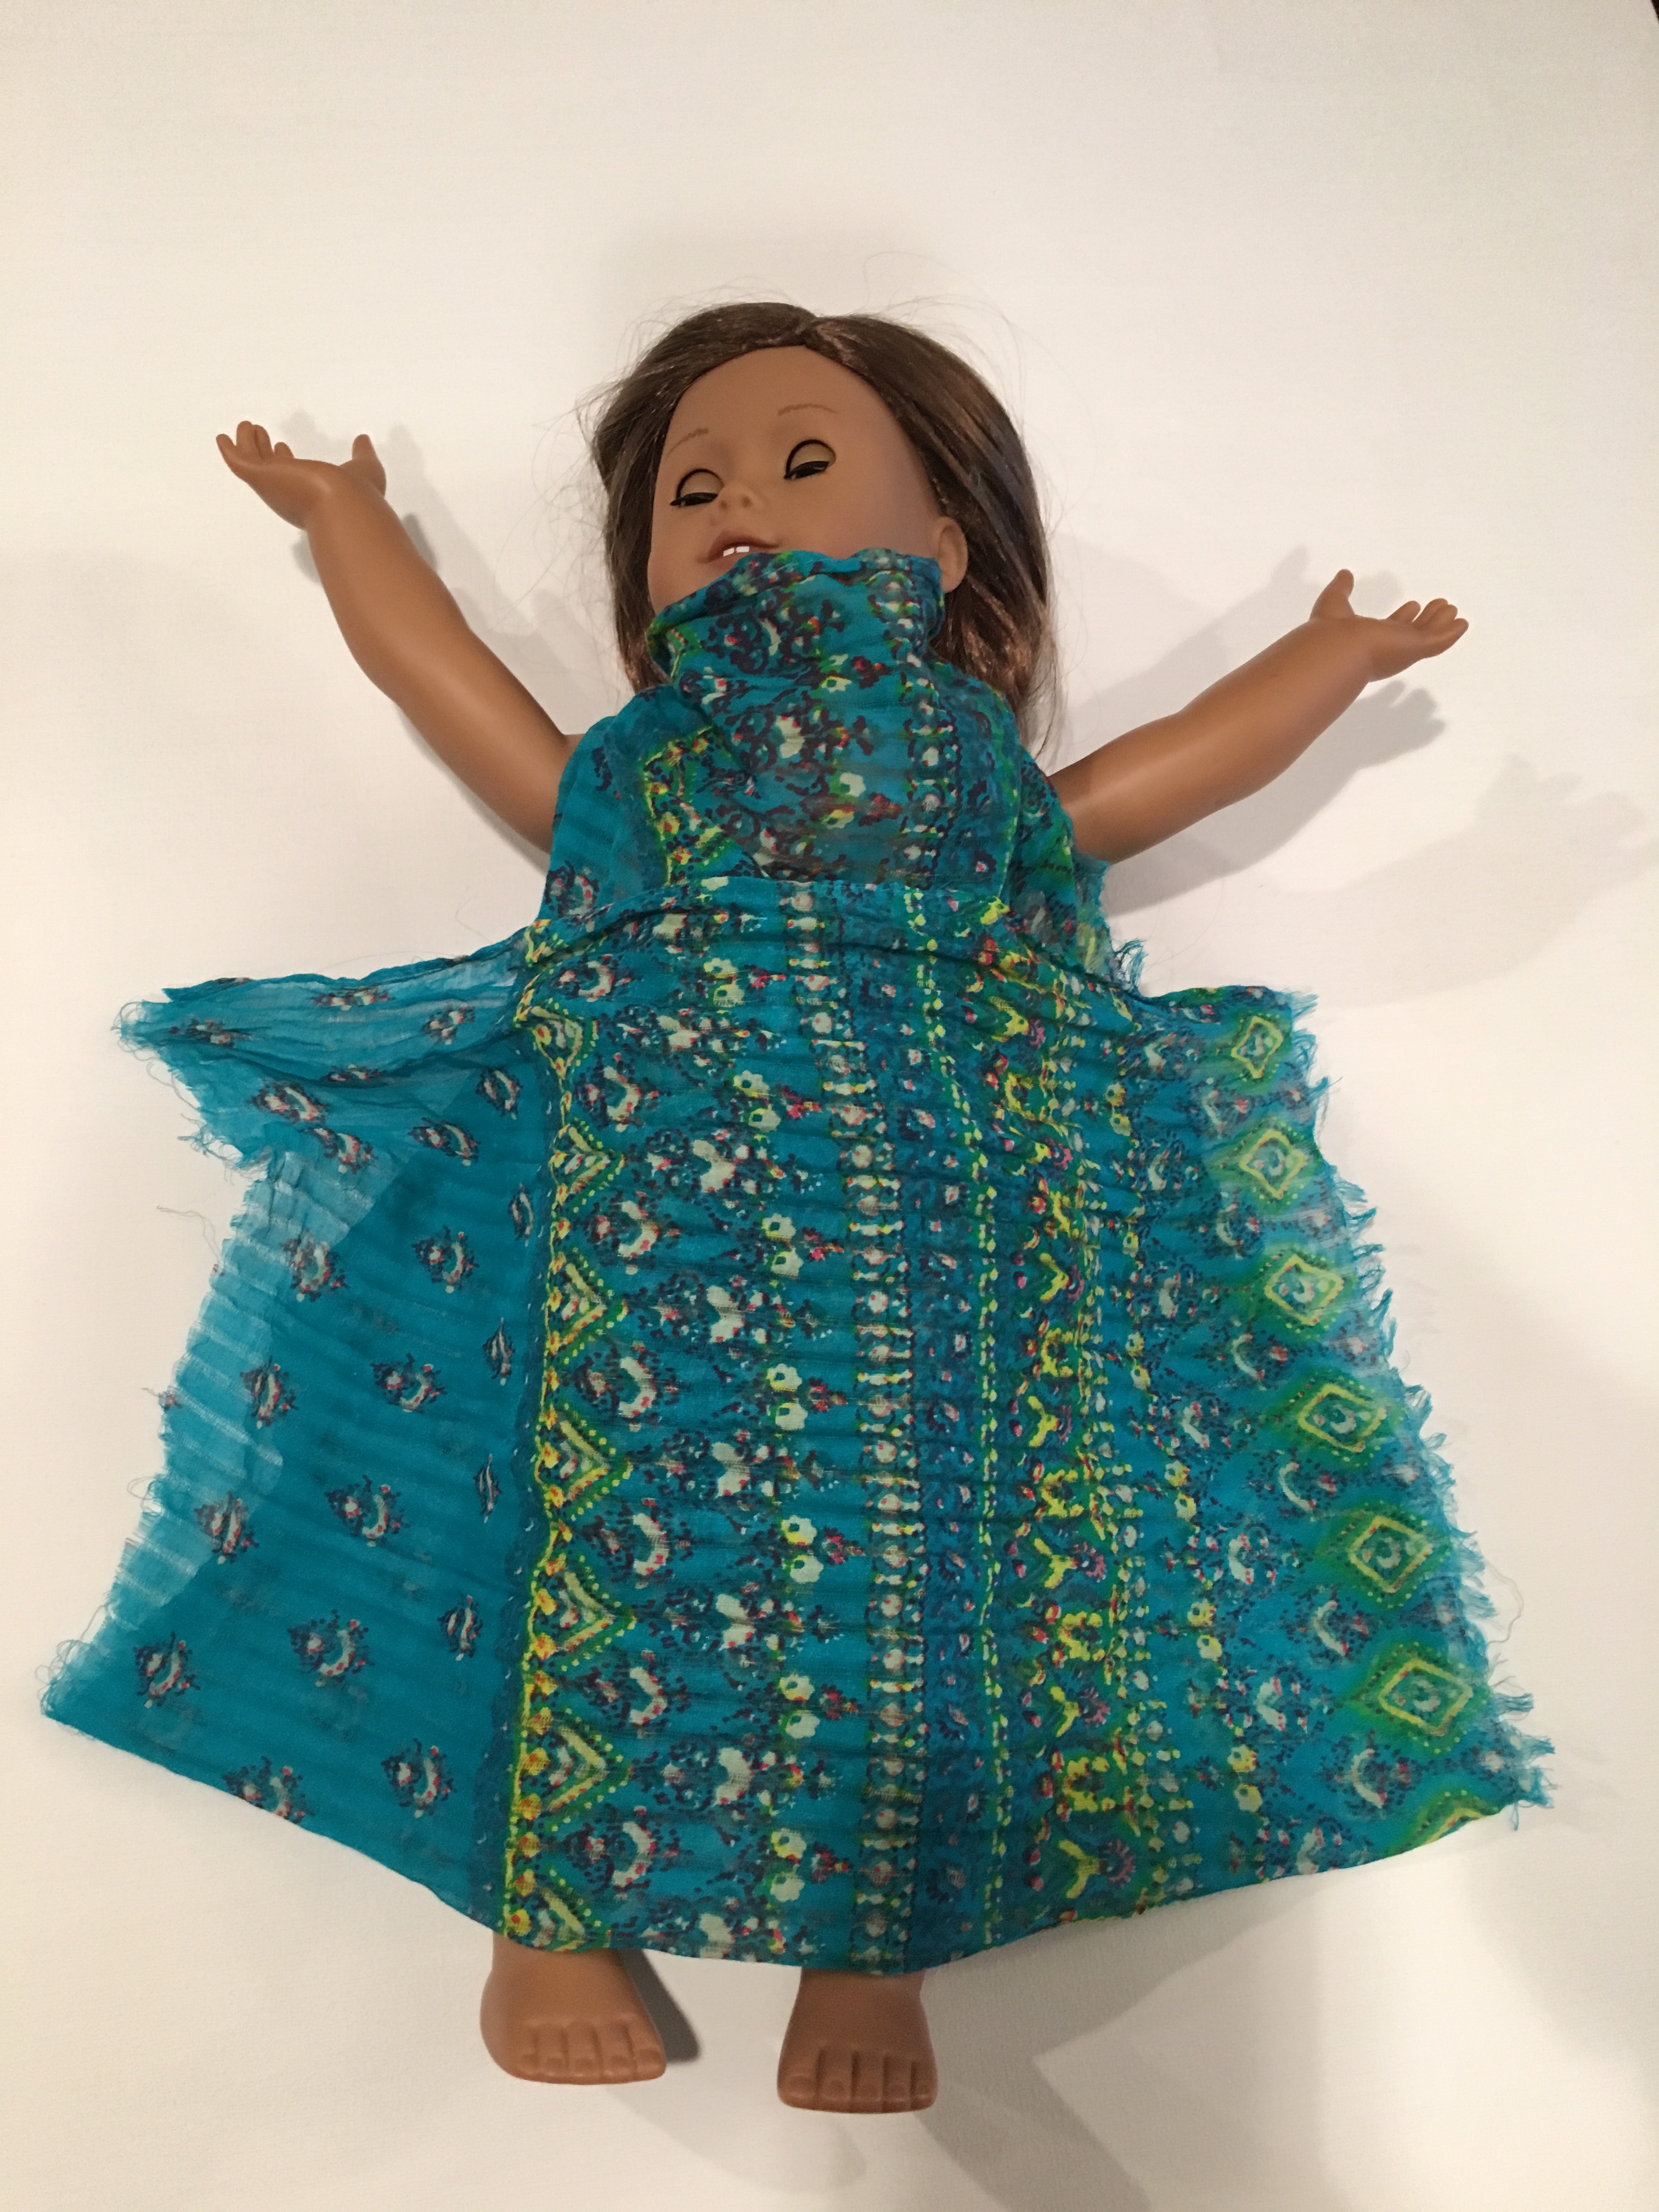
#1 FRONT CROSS SARONG
This is an easy starter for those of you who have never tied a sarong before. Just follow the steps below!
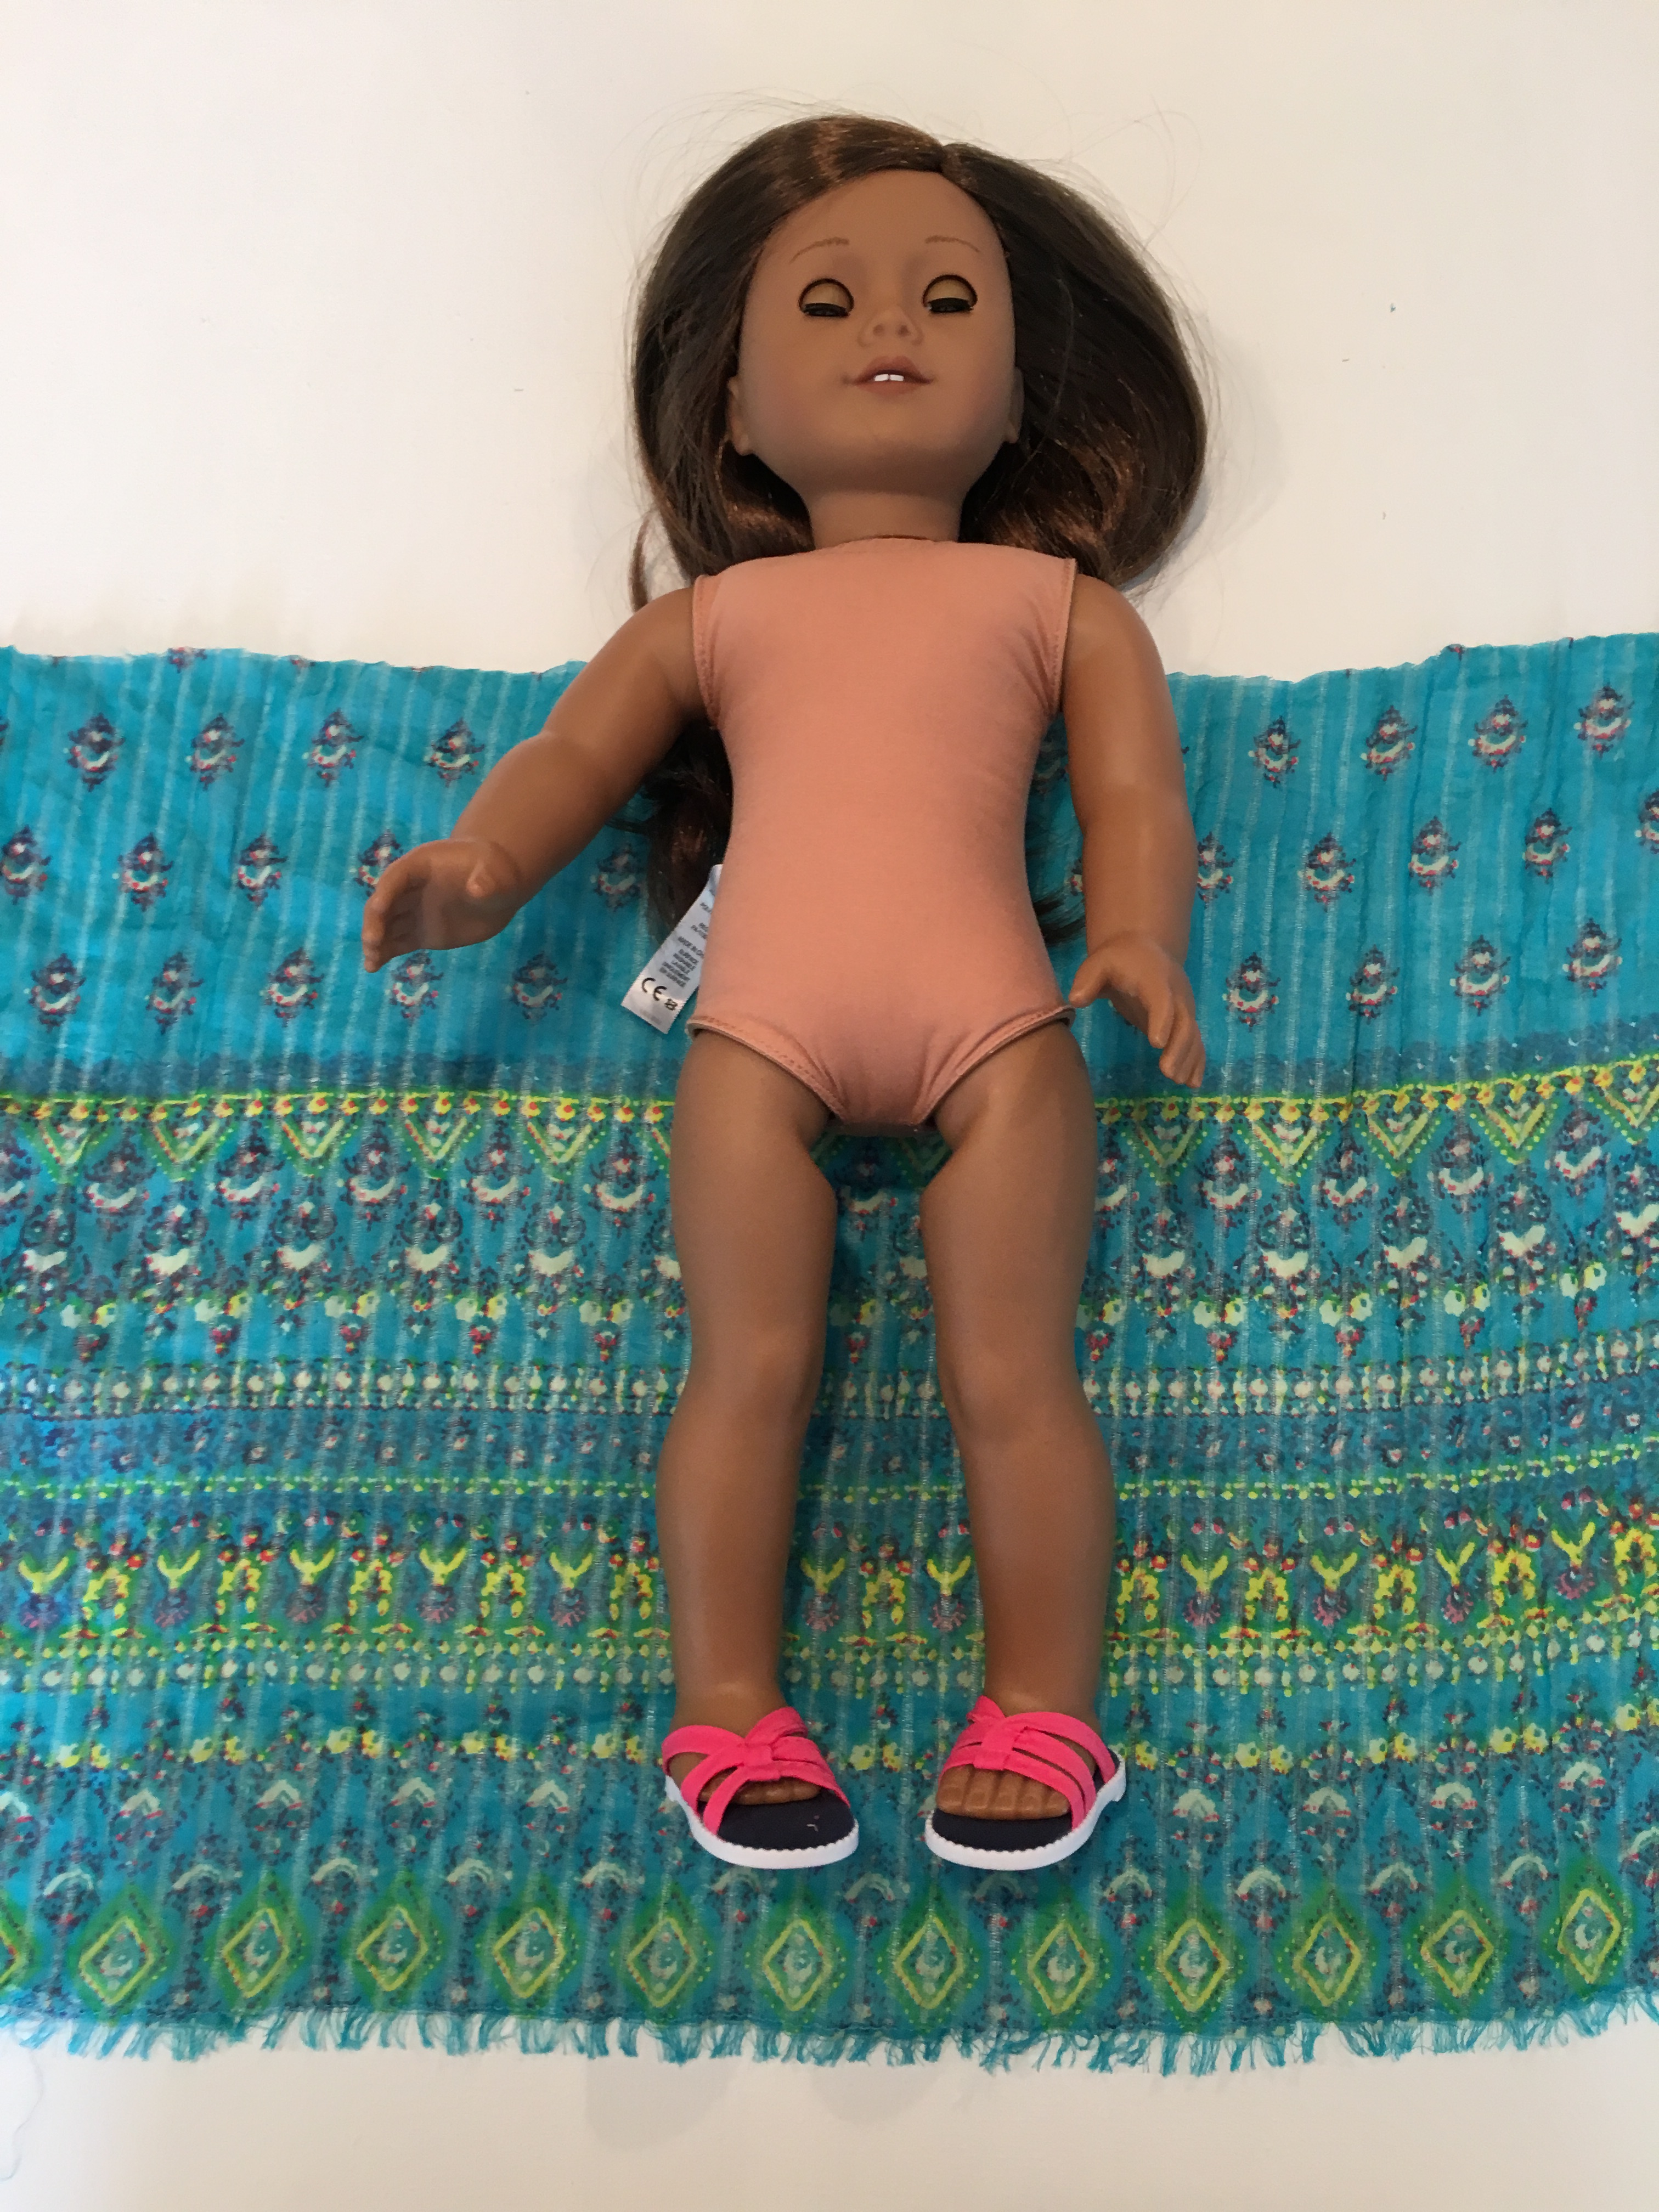
First, lay the scarf flat. Then lie your doll on top as shown.

Bring the right corner of the scarf up and over the doll’s left shoulder.

Then bring the left corner of the scarf up and over the doll’s right shoulder.
Tie the two corners together in a knot at the back of the doll’s neck. I turned the dolls head around for this so I wouldn’t get her hair caught in the knot. 
That’s all there is to it!!
If you would like to experiment with different looks, just add more scarf! (I had these two extra fabric pieces left over from when I trimmed my scarf to size.)


Add a sash around the waist for a more fitted look!

Or drape the larger piece over her shoulder to make it a sari!

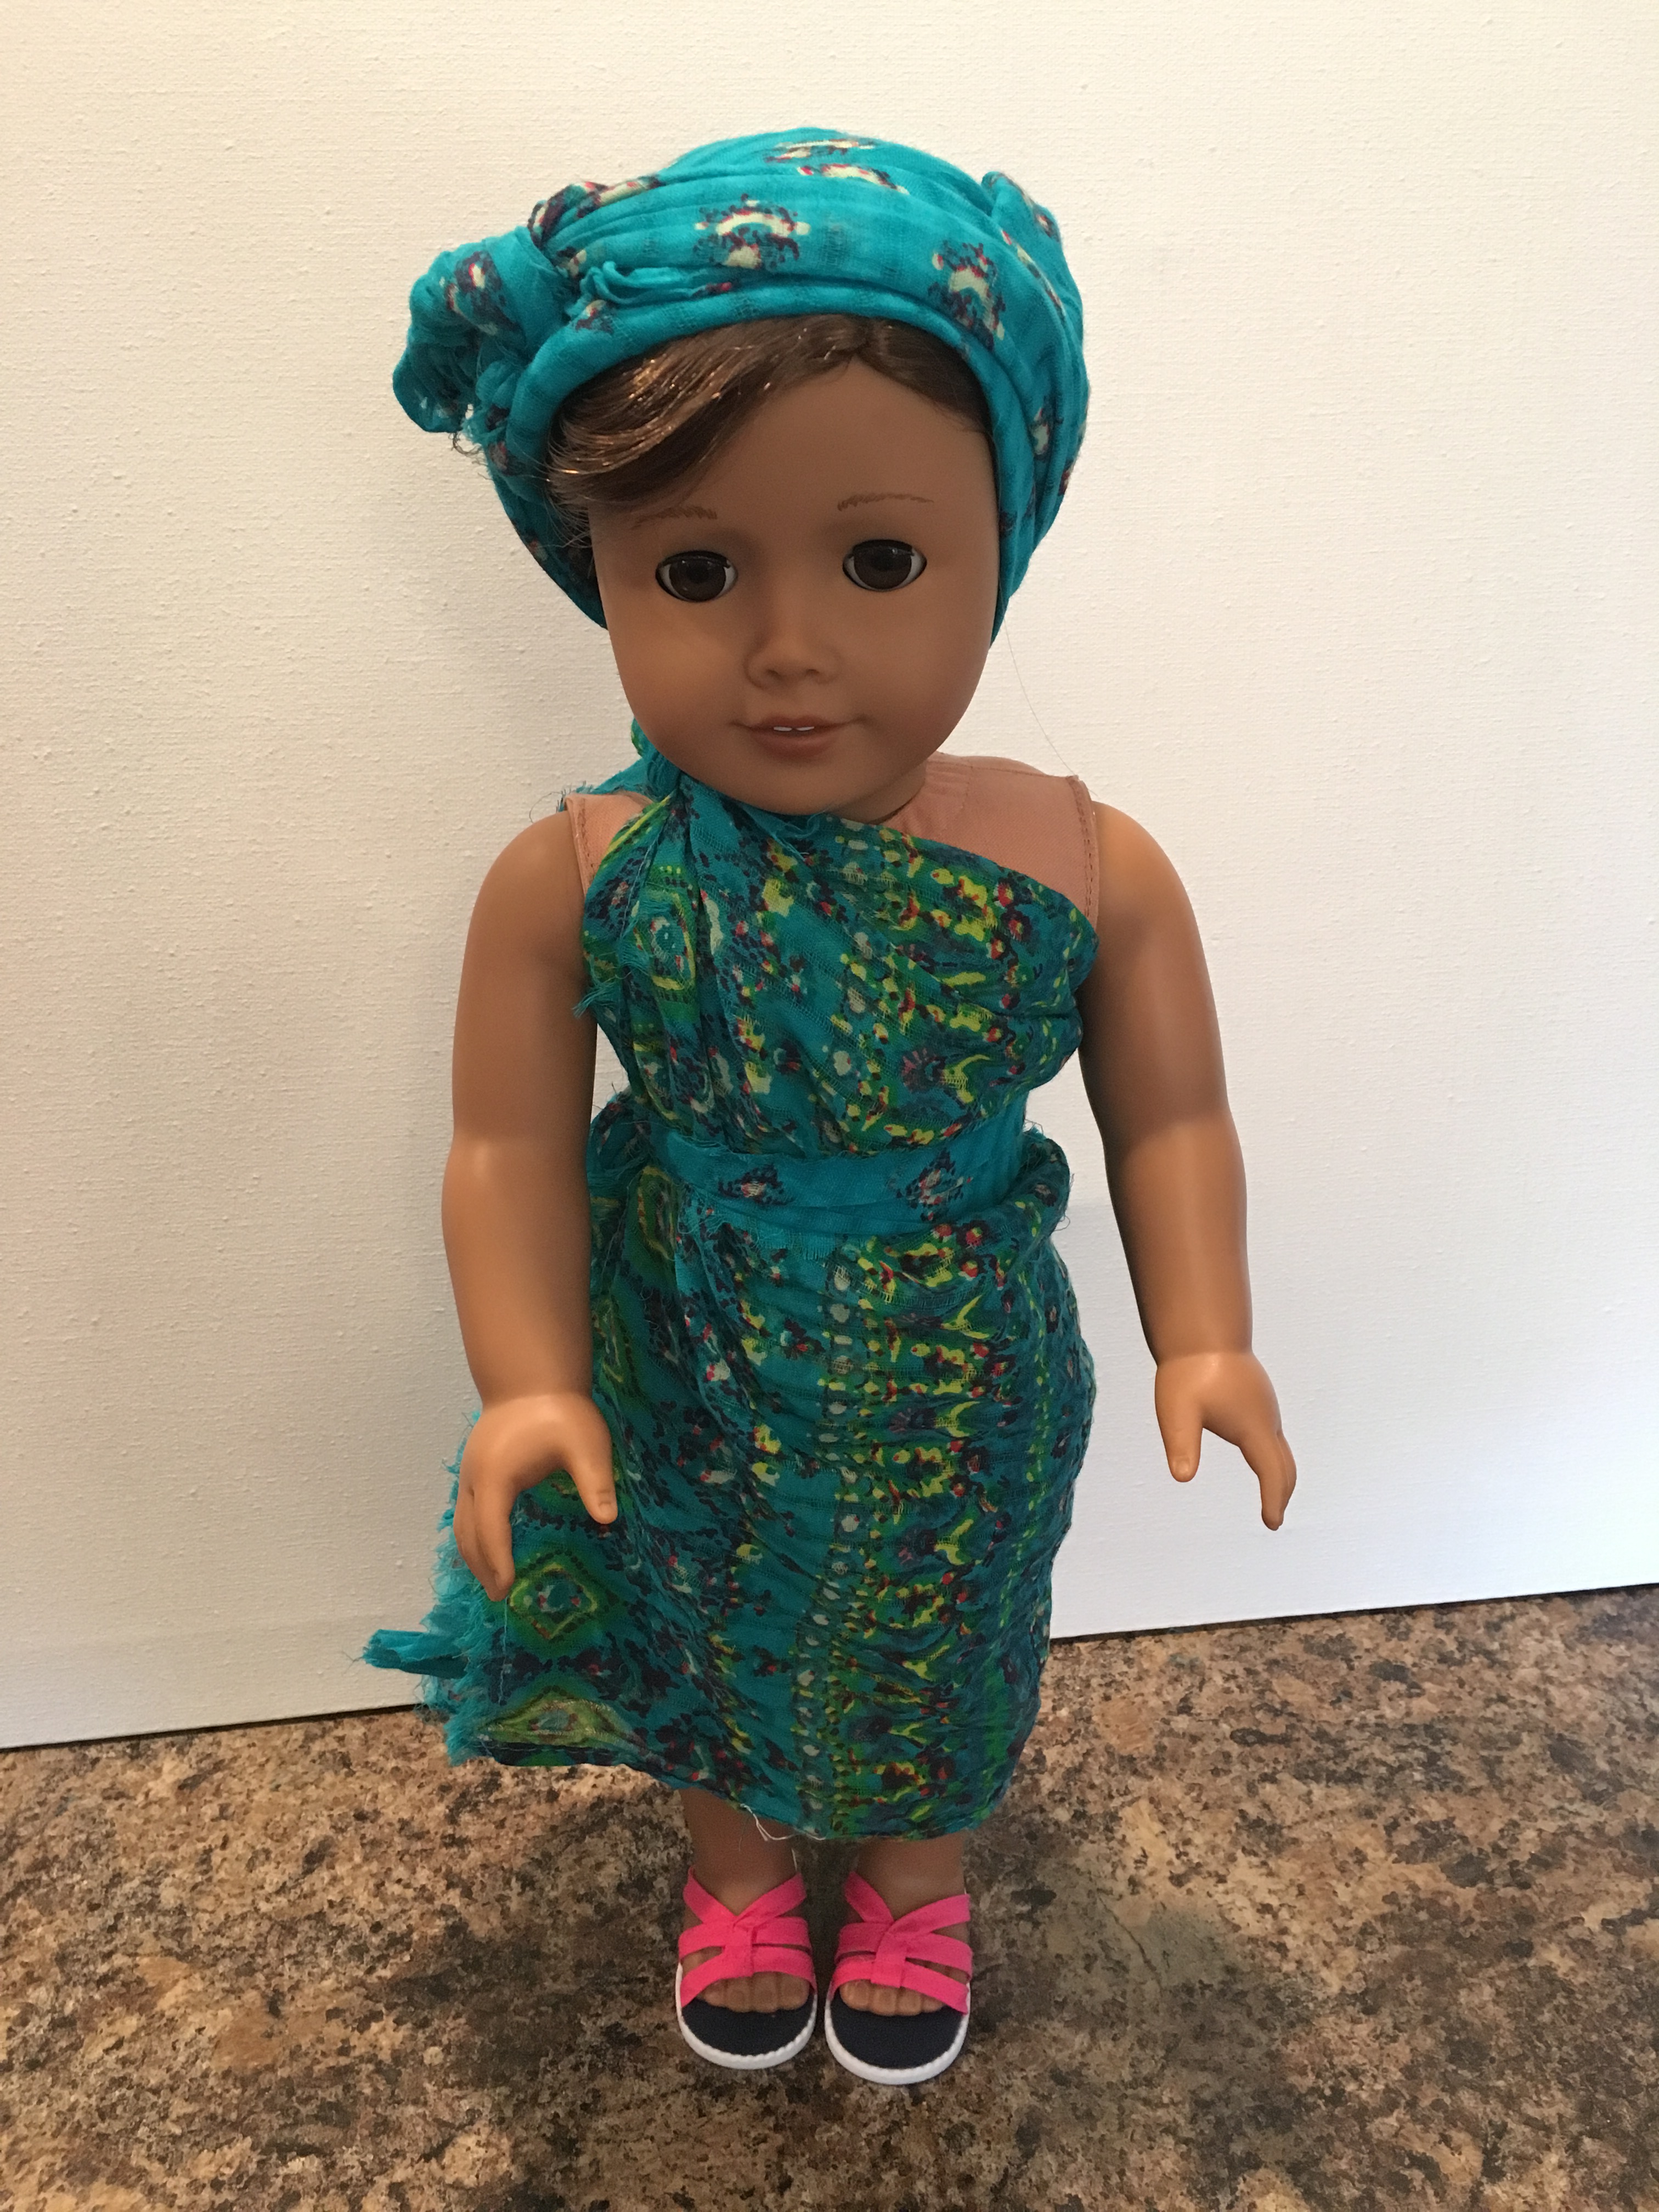
#2 THE ONE SHOULDER TOGA
This is another easy, but cute look for your doll to try out with her new sarong! Follow along step by step!
Fold your scarf in half.

Place your doll diagonally on the scarf. Having one arm raised helps.
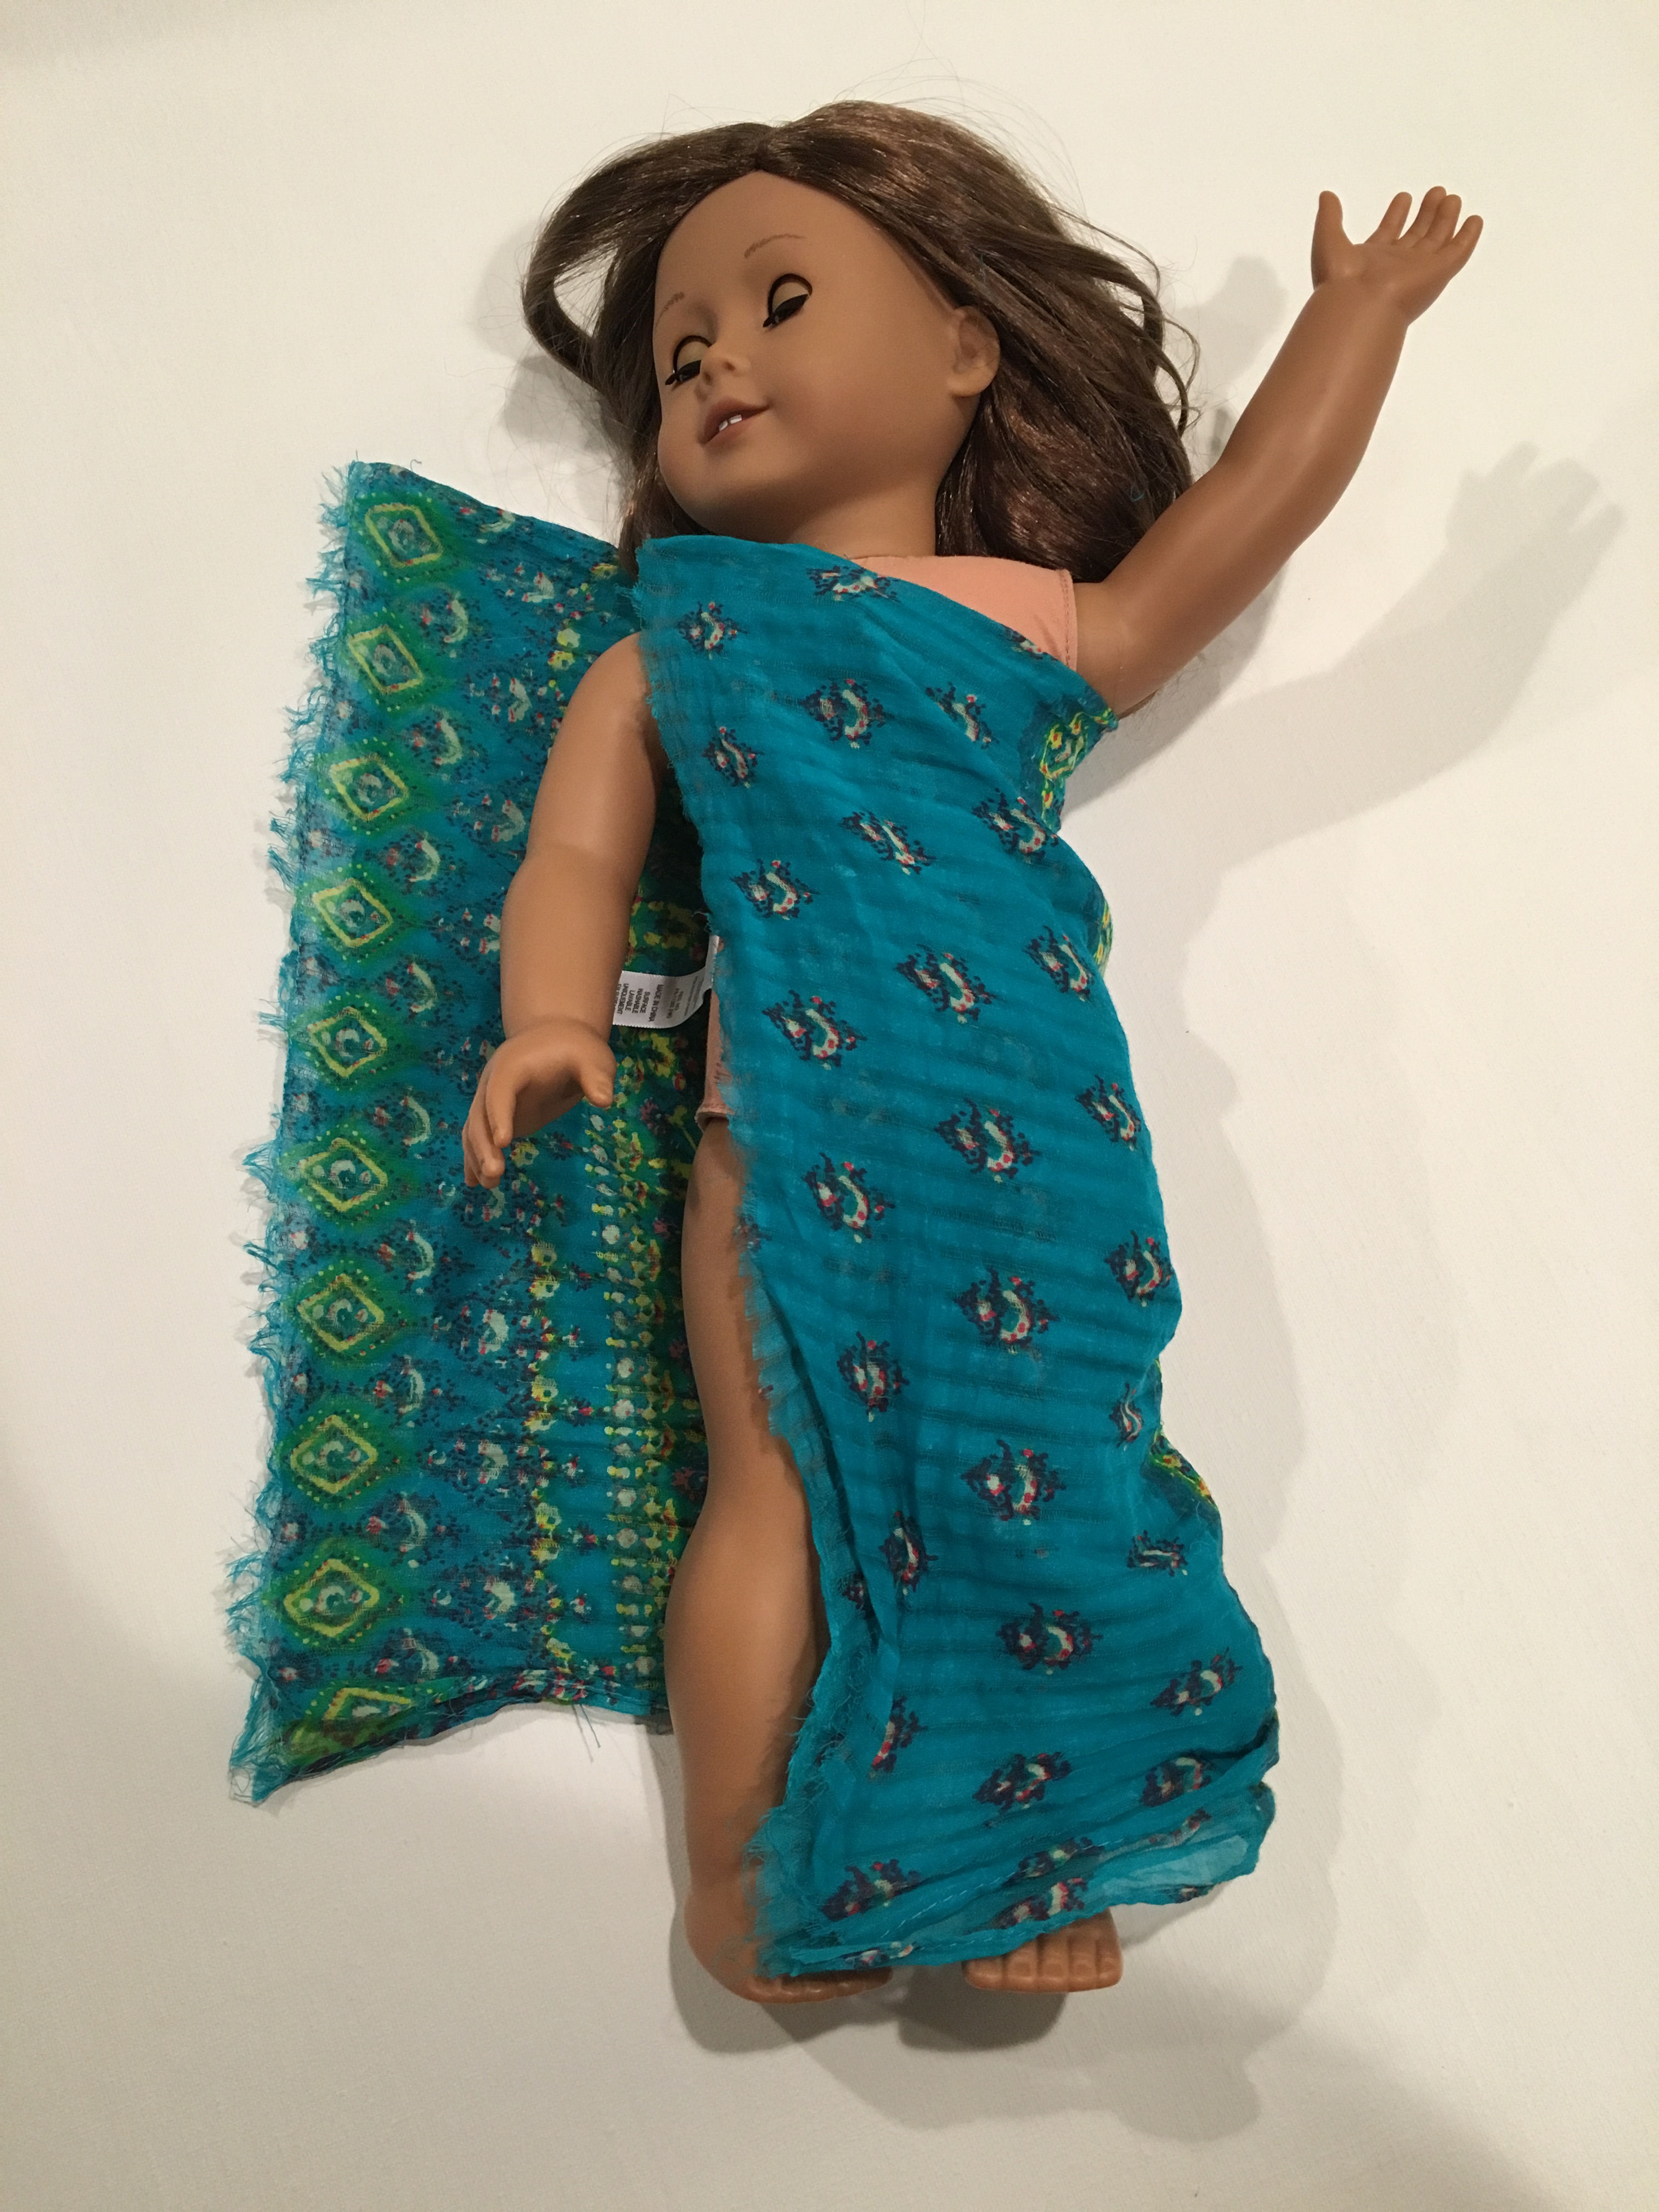
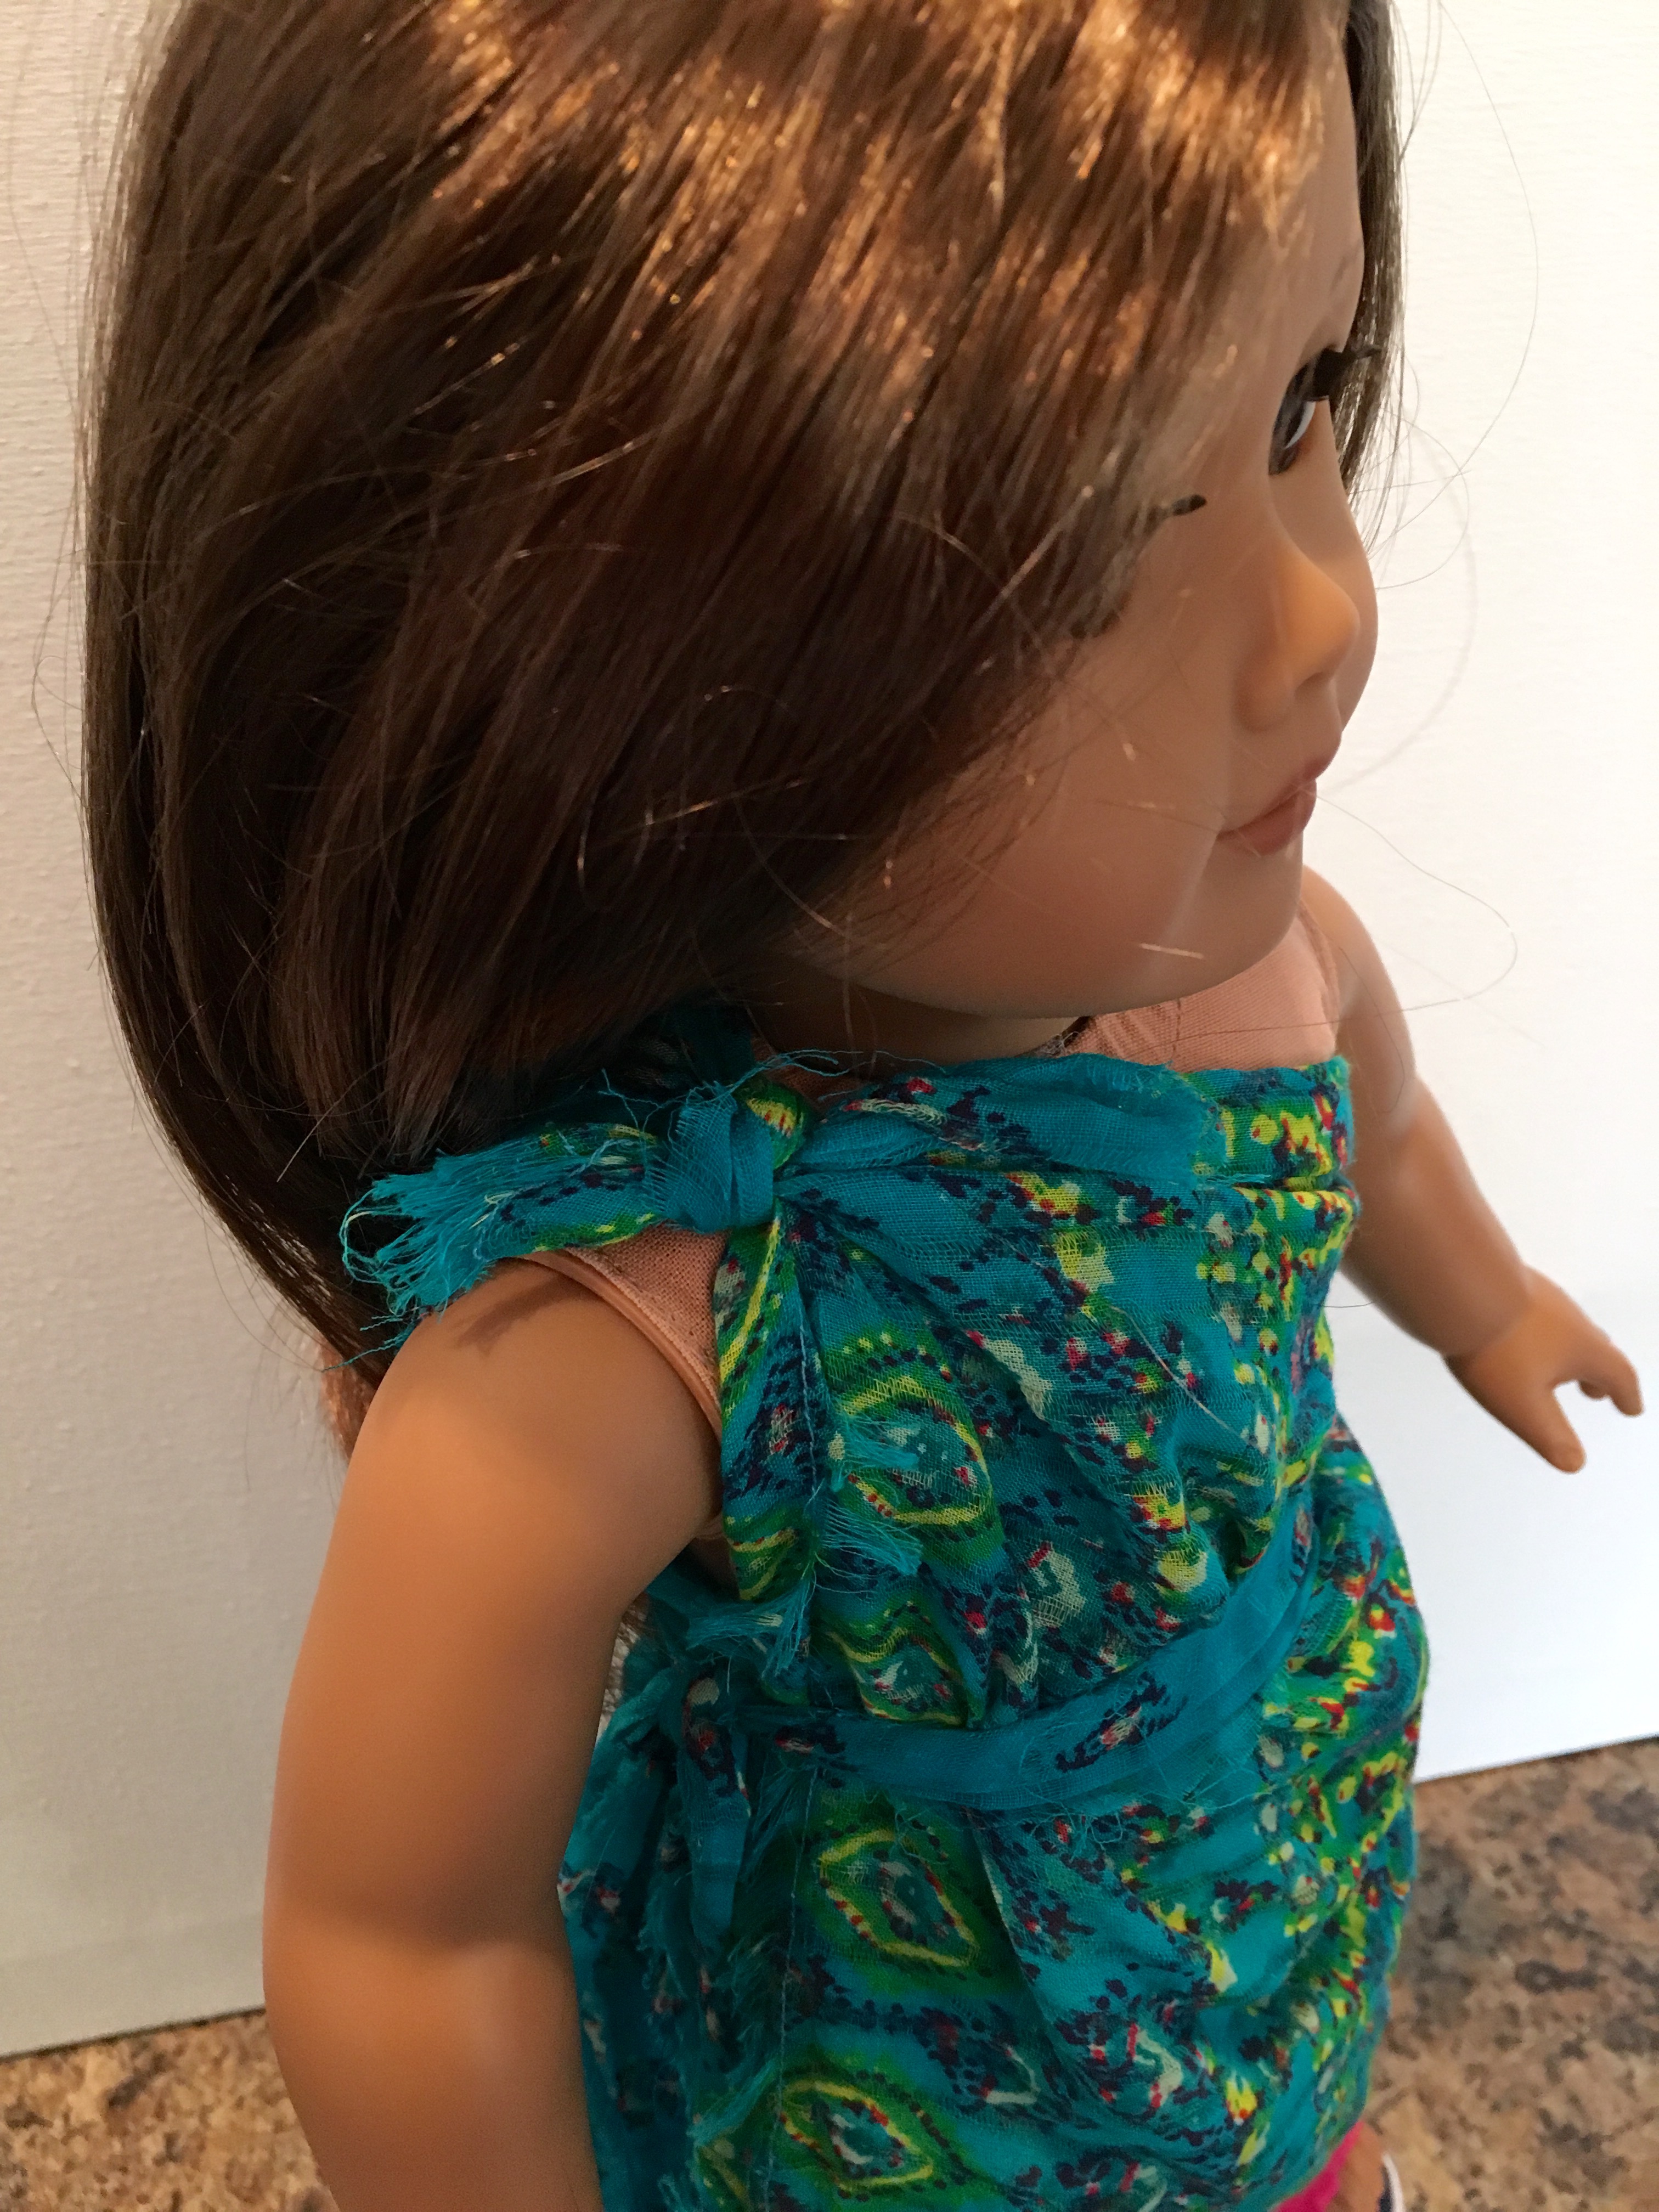
Bring the left corner of the scarf up under the doll’s underarm and over the right shoulder.

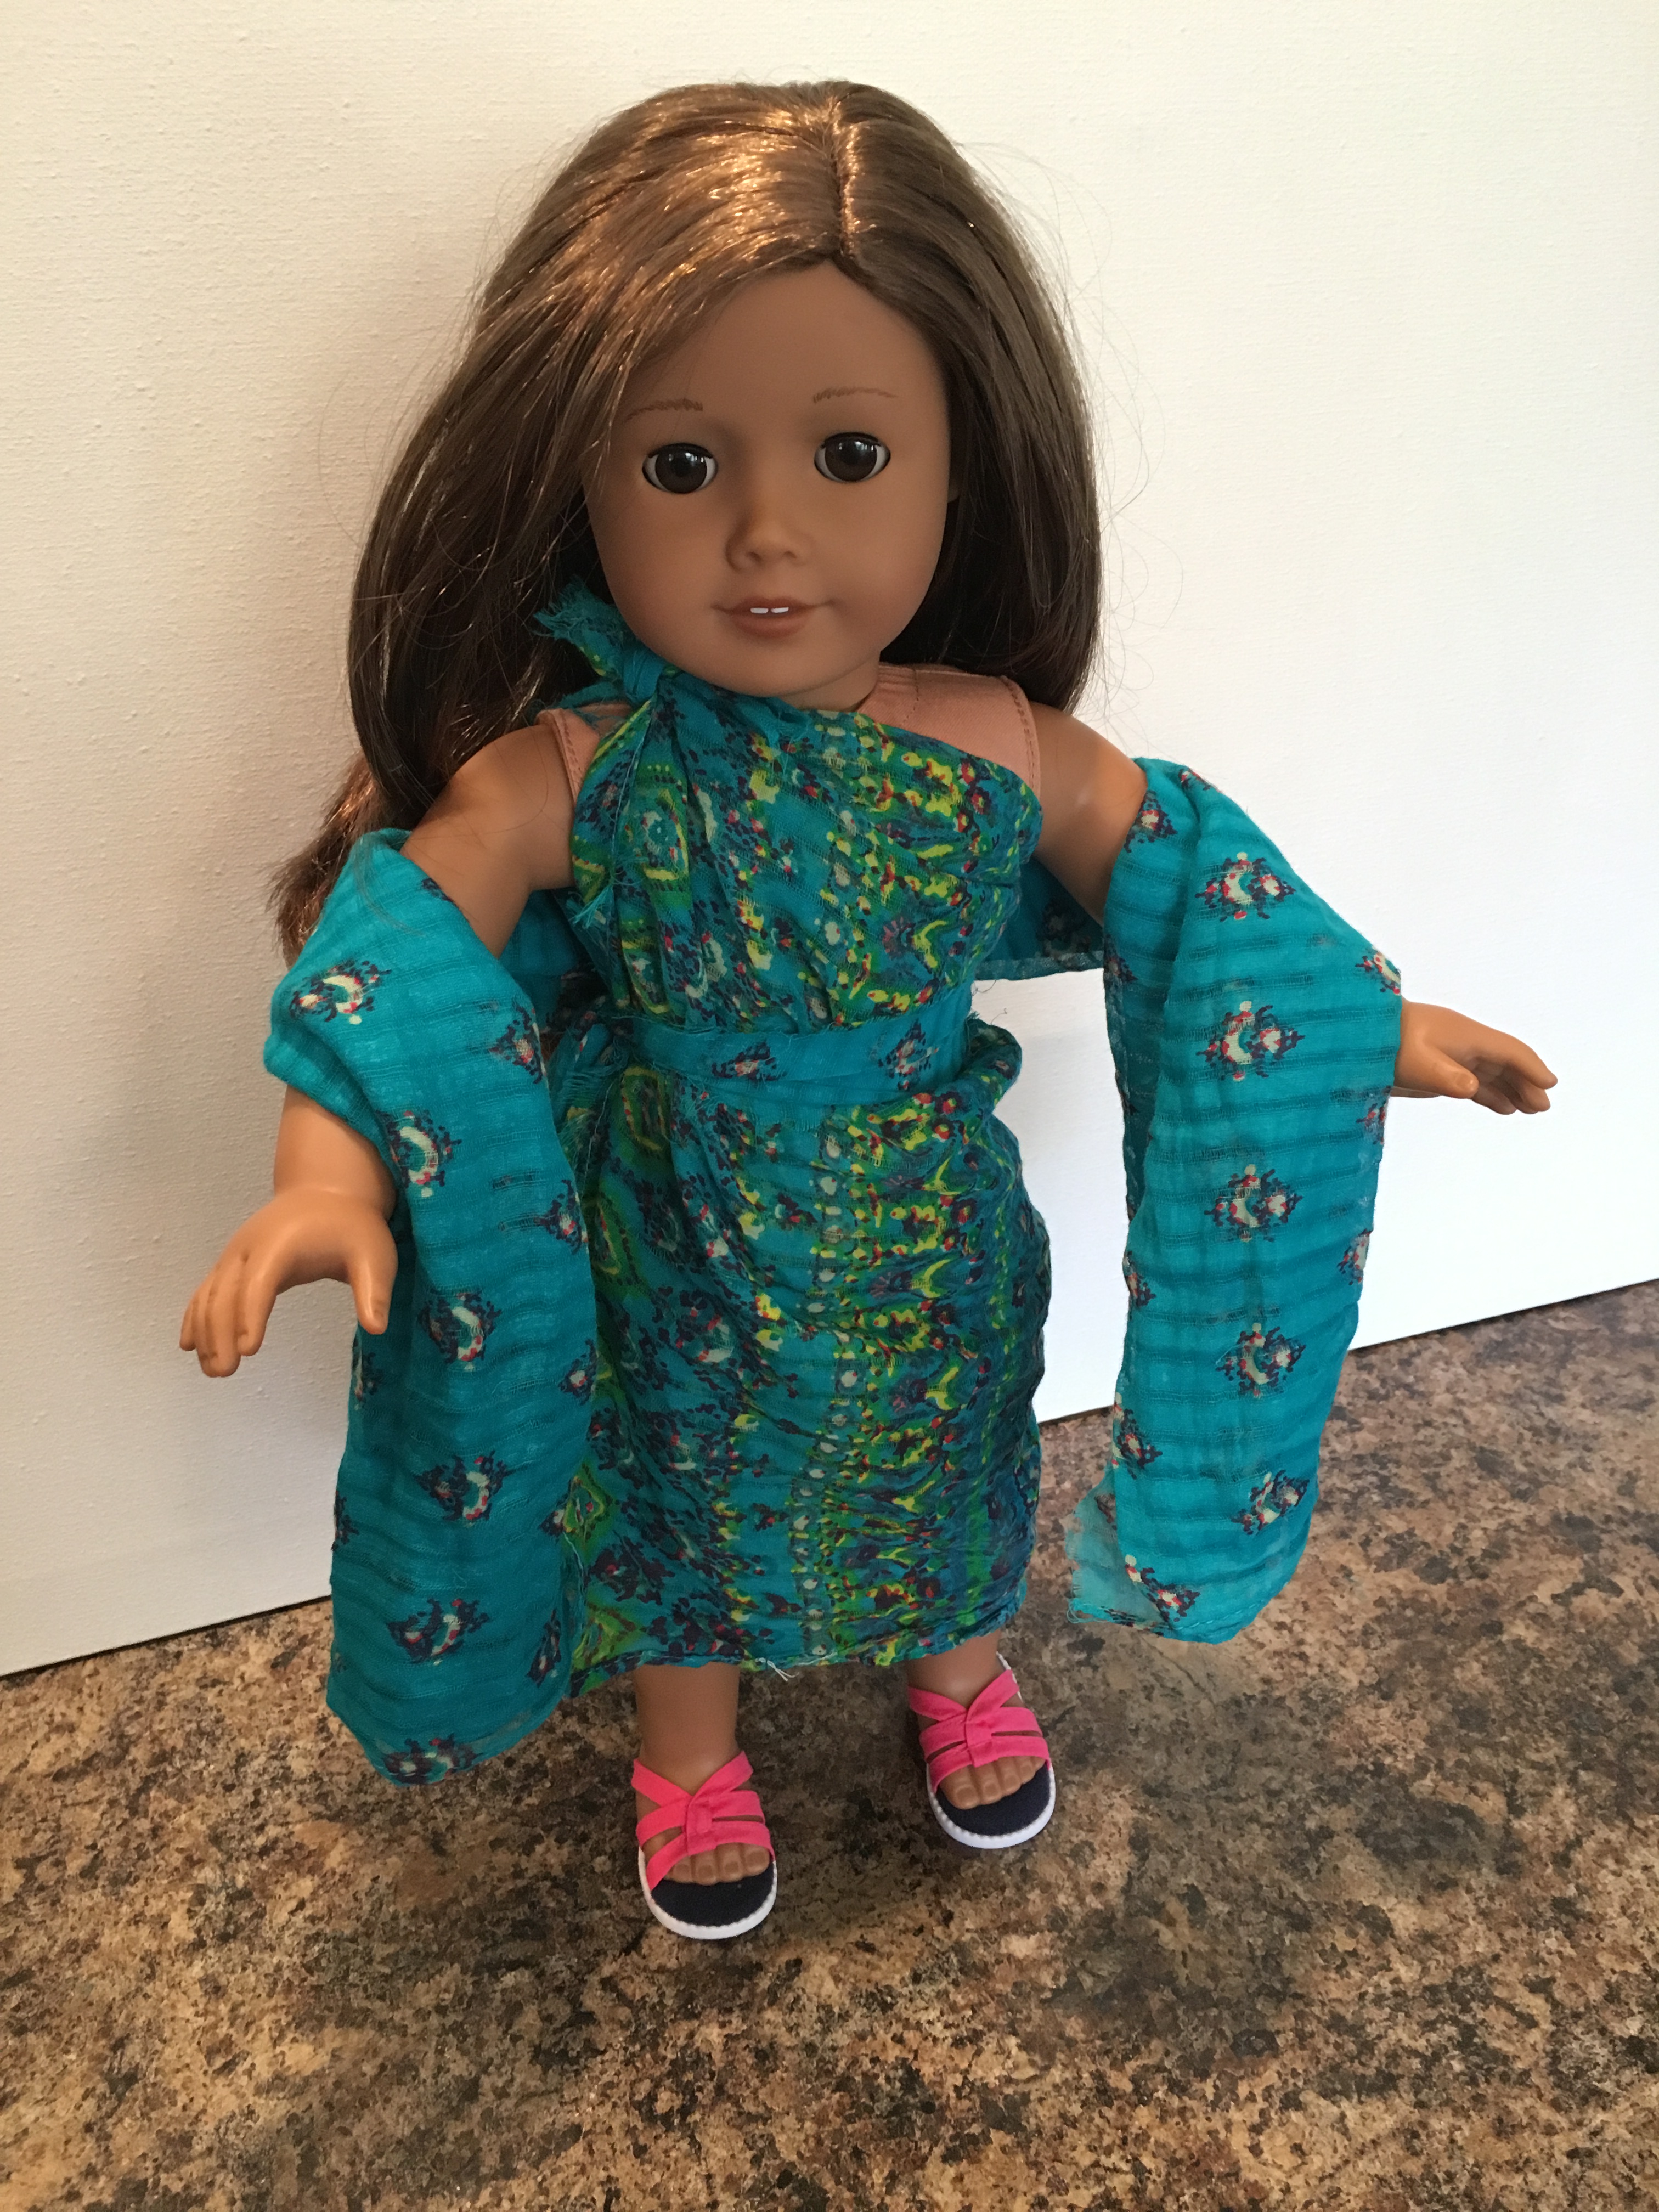
Tie the two corners together at the shoulder. Adjust. Tie a sash around the waist and you are ready to toga!

The larger scrap of fabric becomes a pretty shawl!
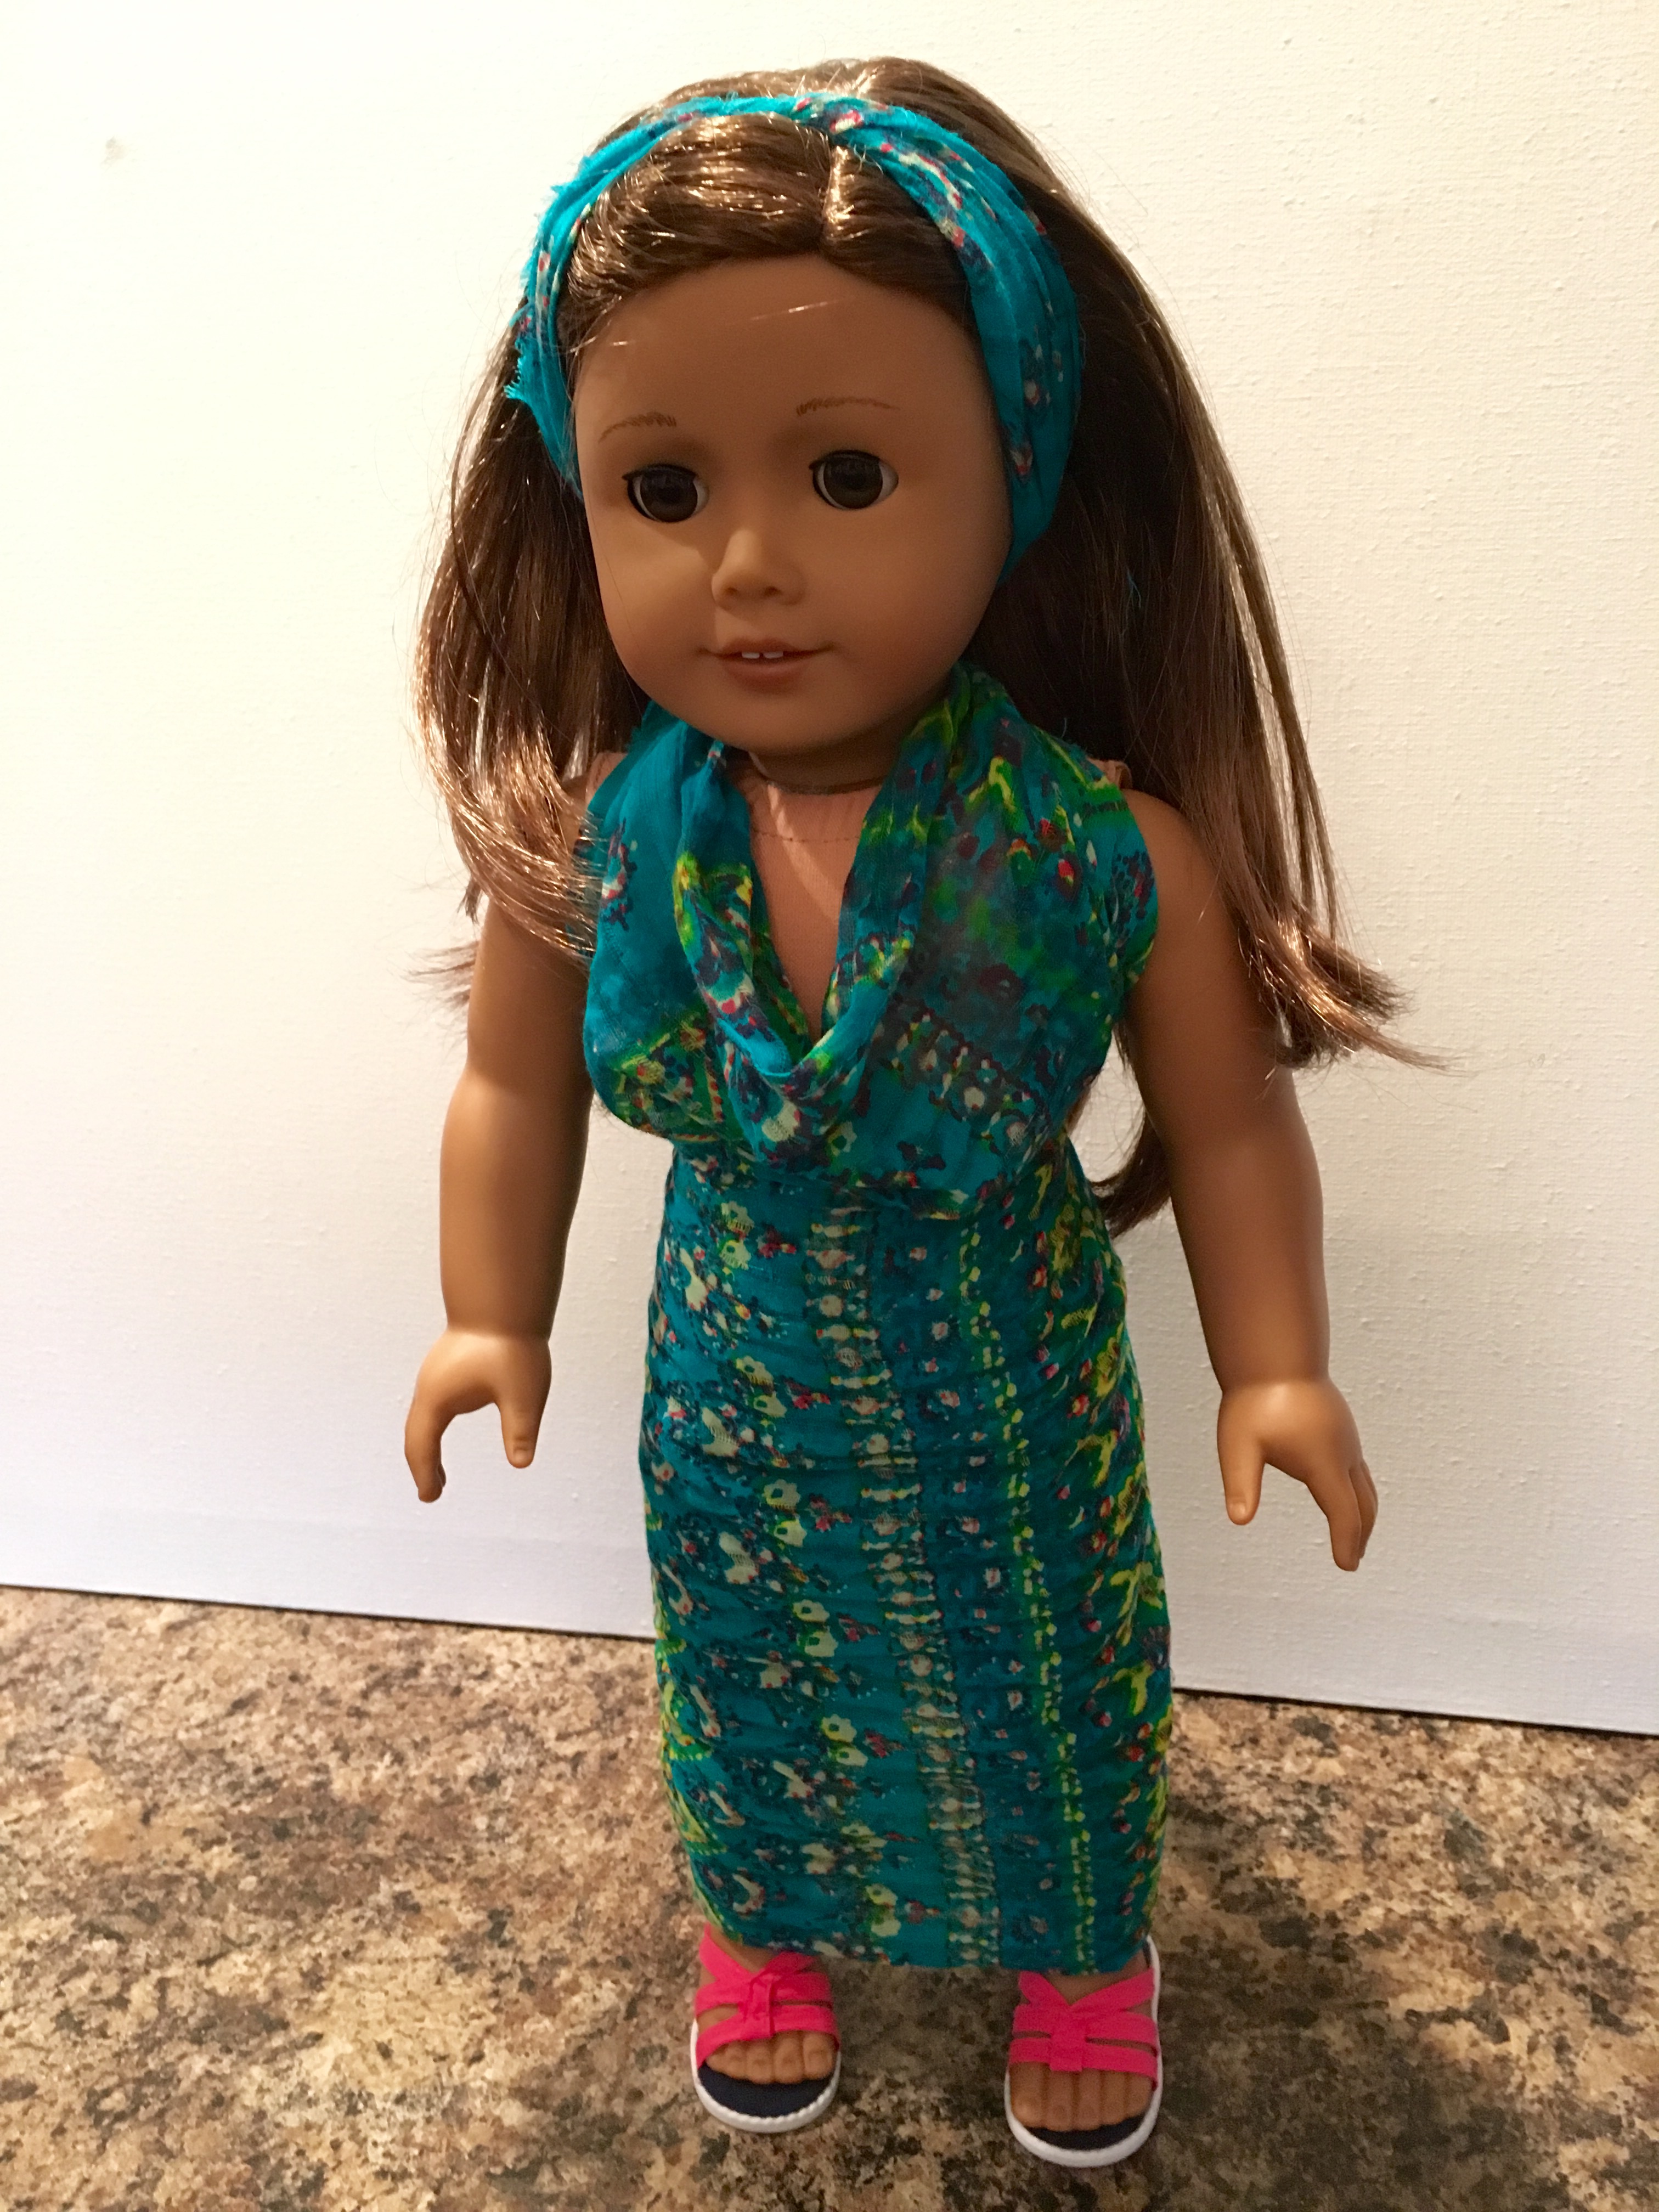
#3 COWL NECK DRESS
I love this last look the best. It is functional and pretty, but the best part is that it looks like a dress rather than a sarong. Follow the steps below!
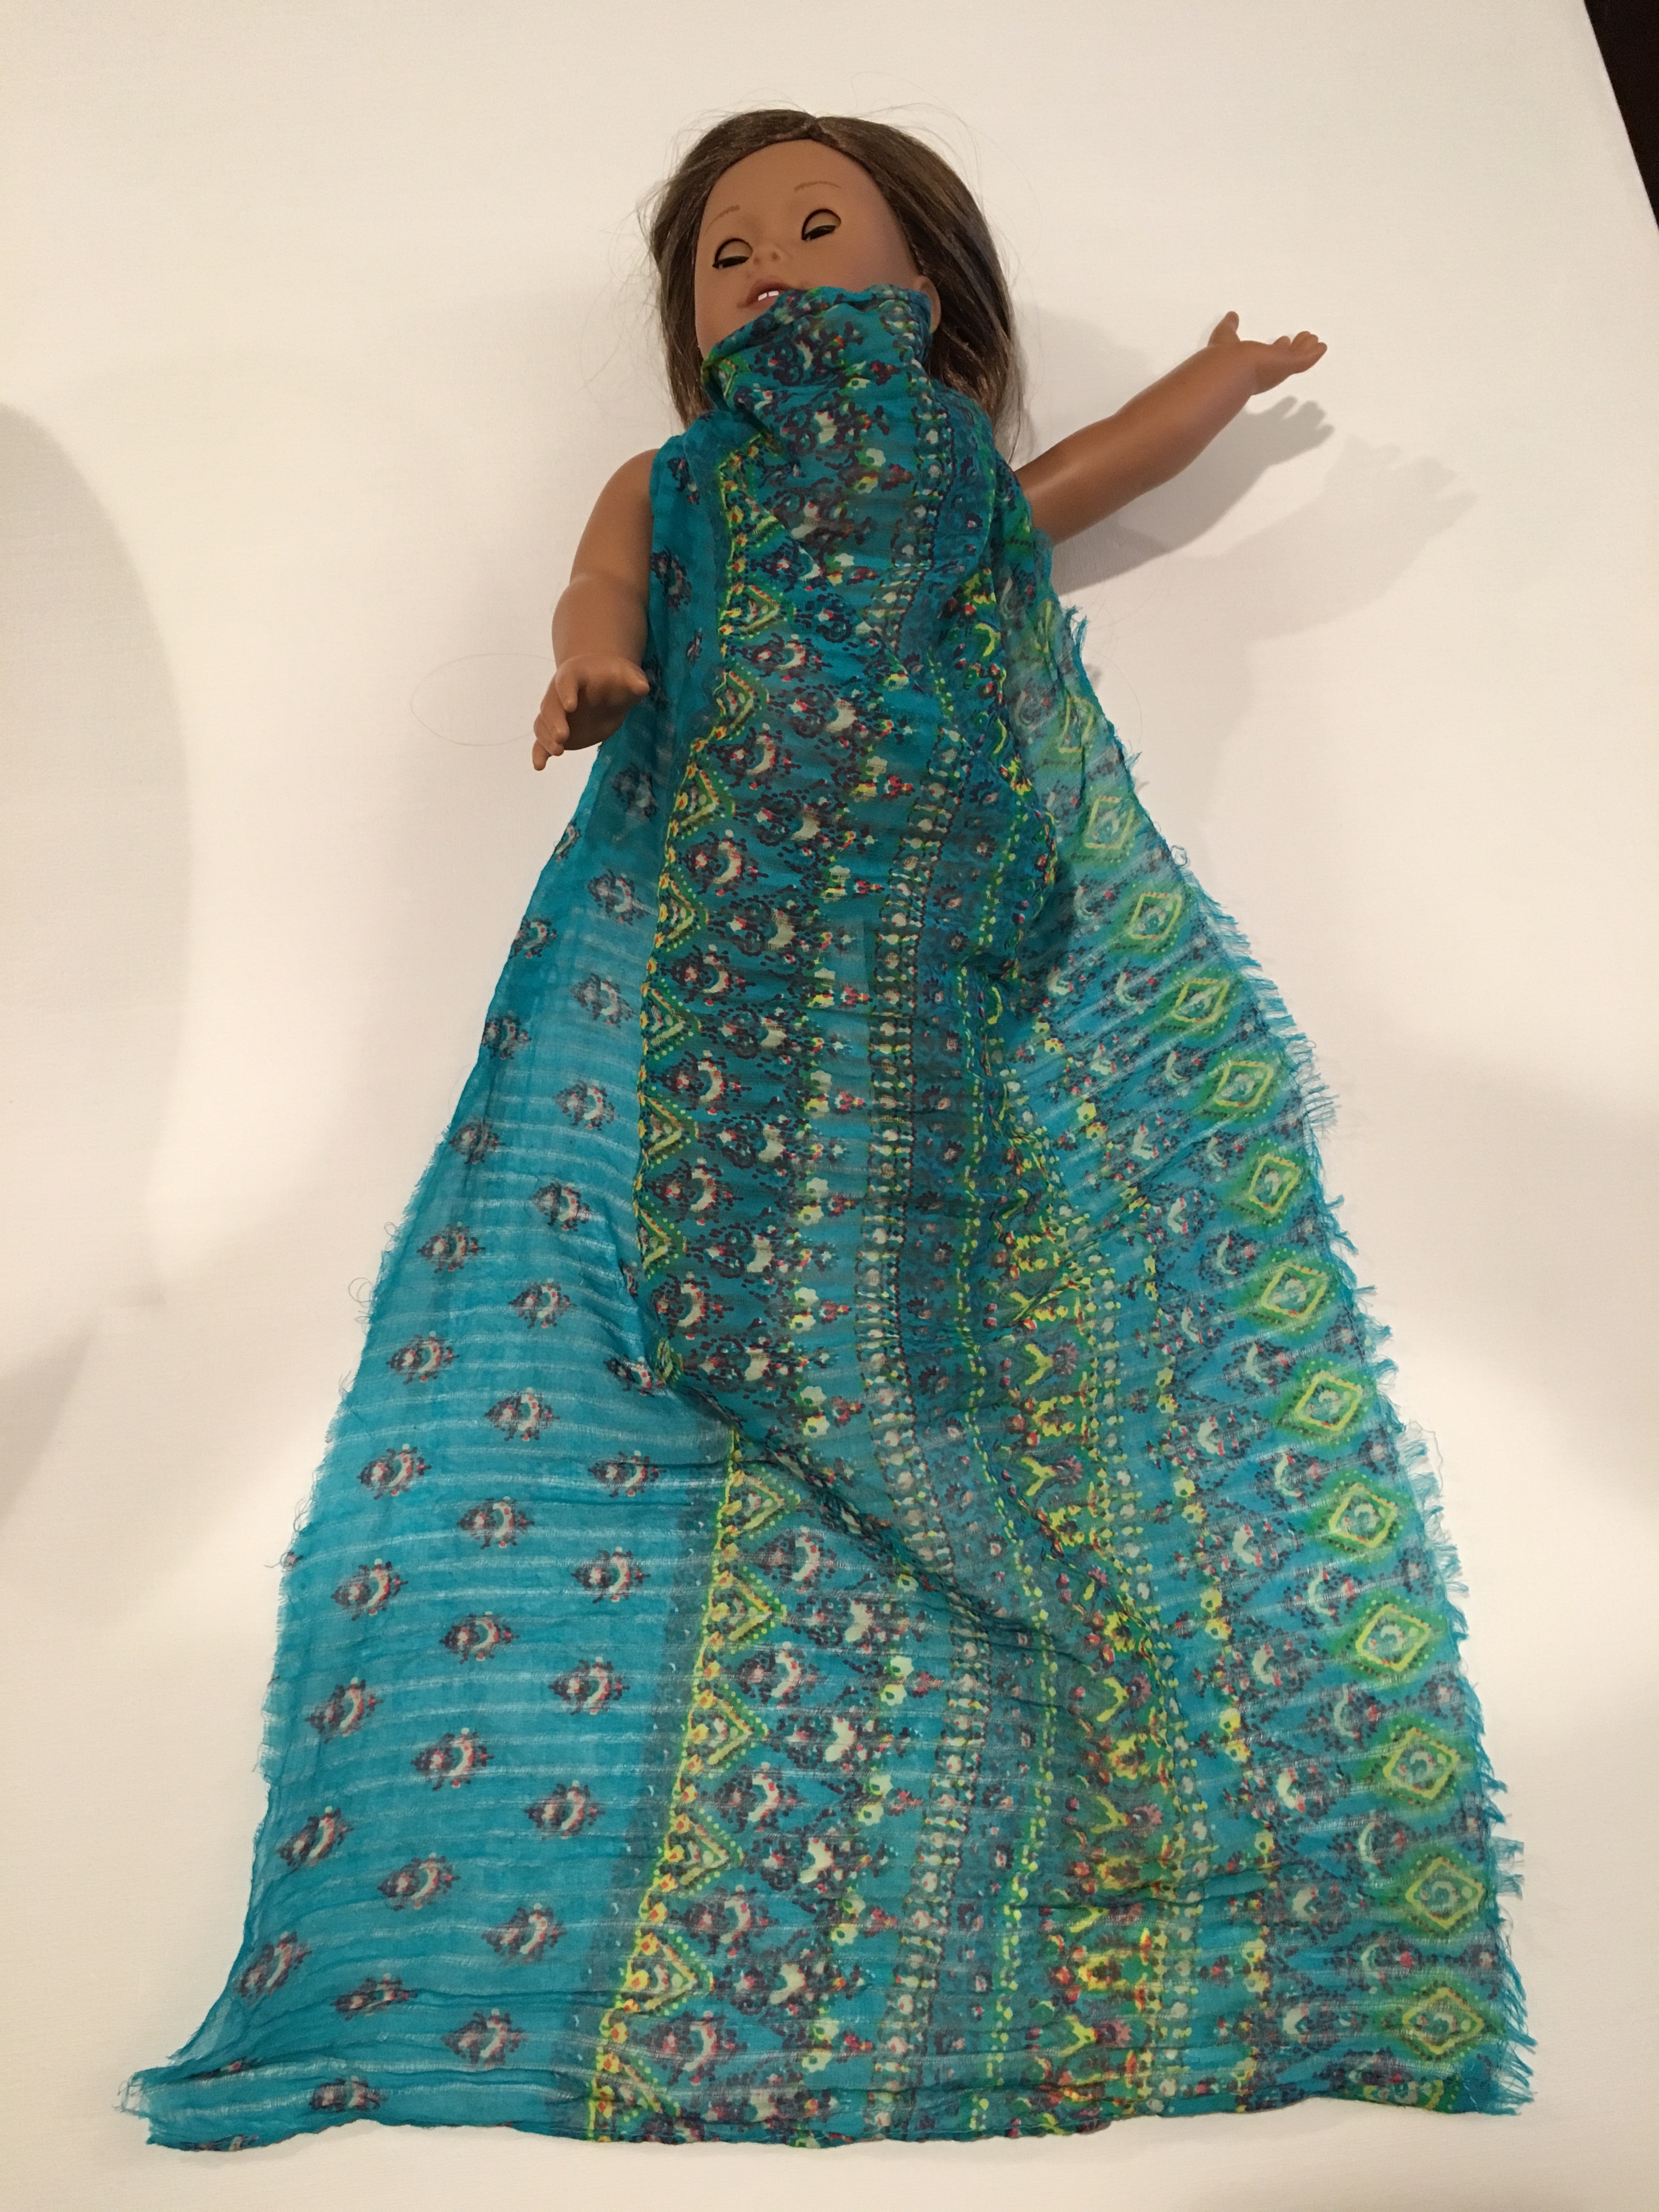
Lay your scarf lengthwise, and tie the top two corners around your doll’s neck.
Fold the bottom up to the dress length desired.
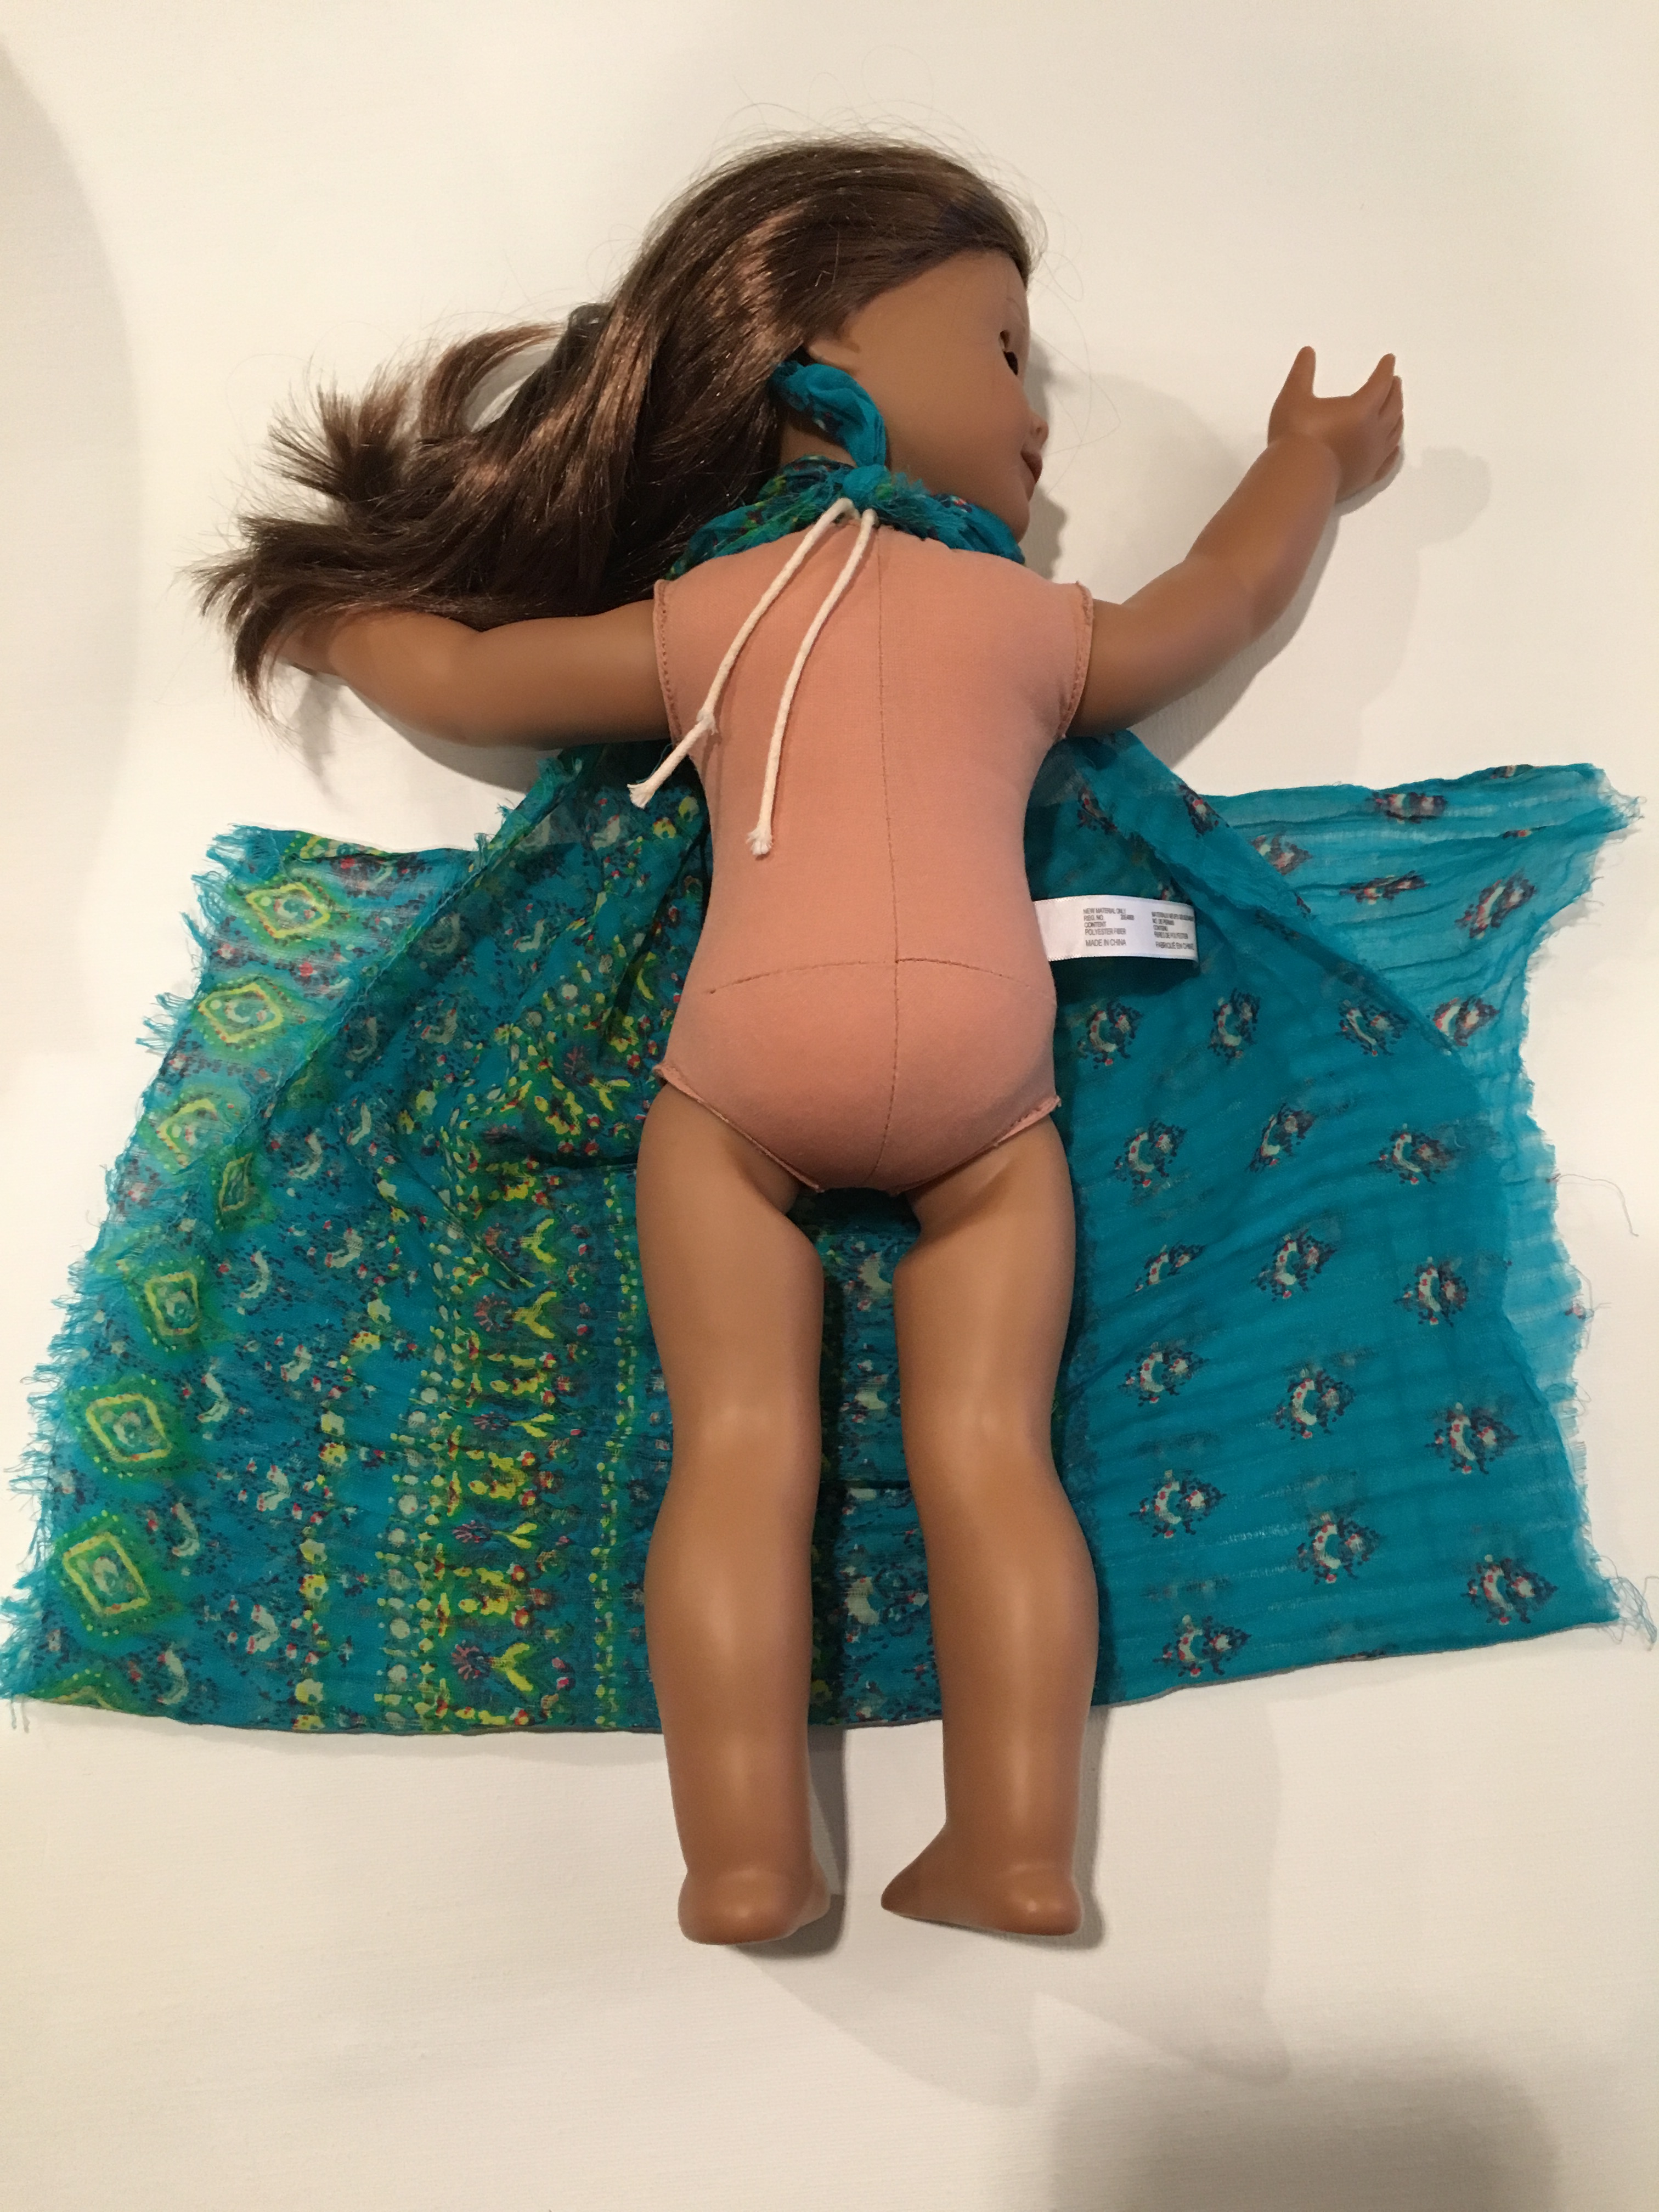
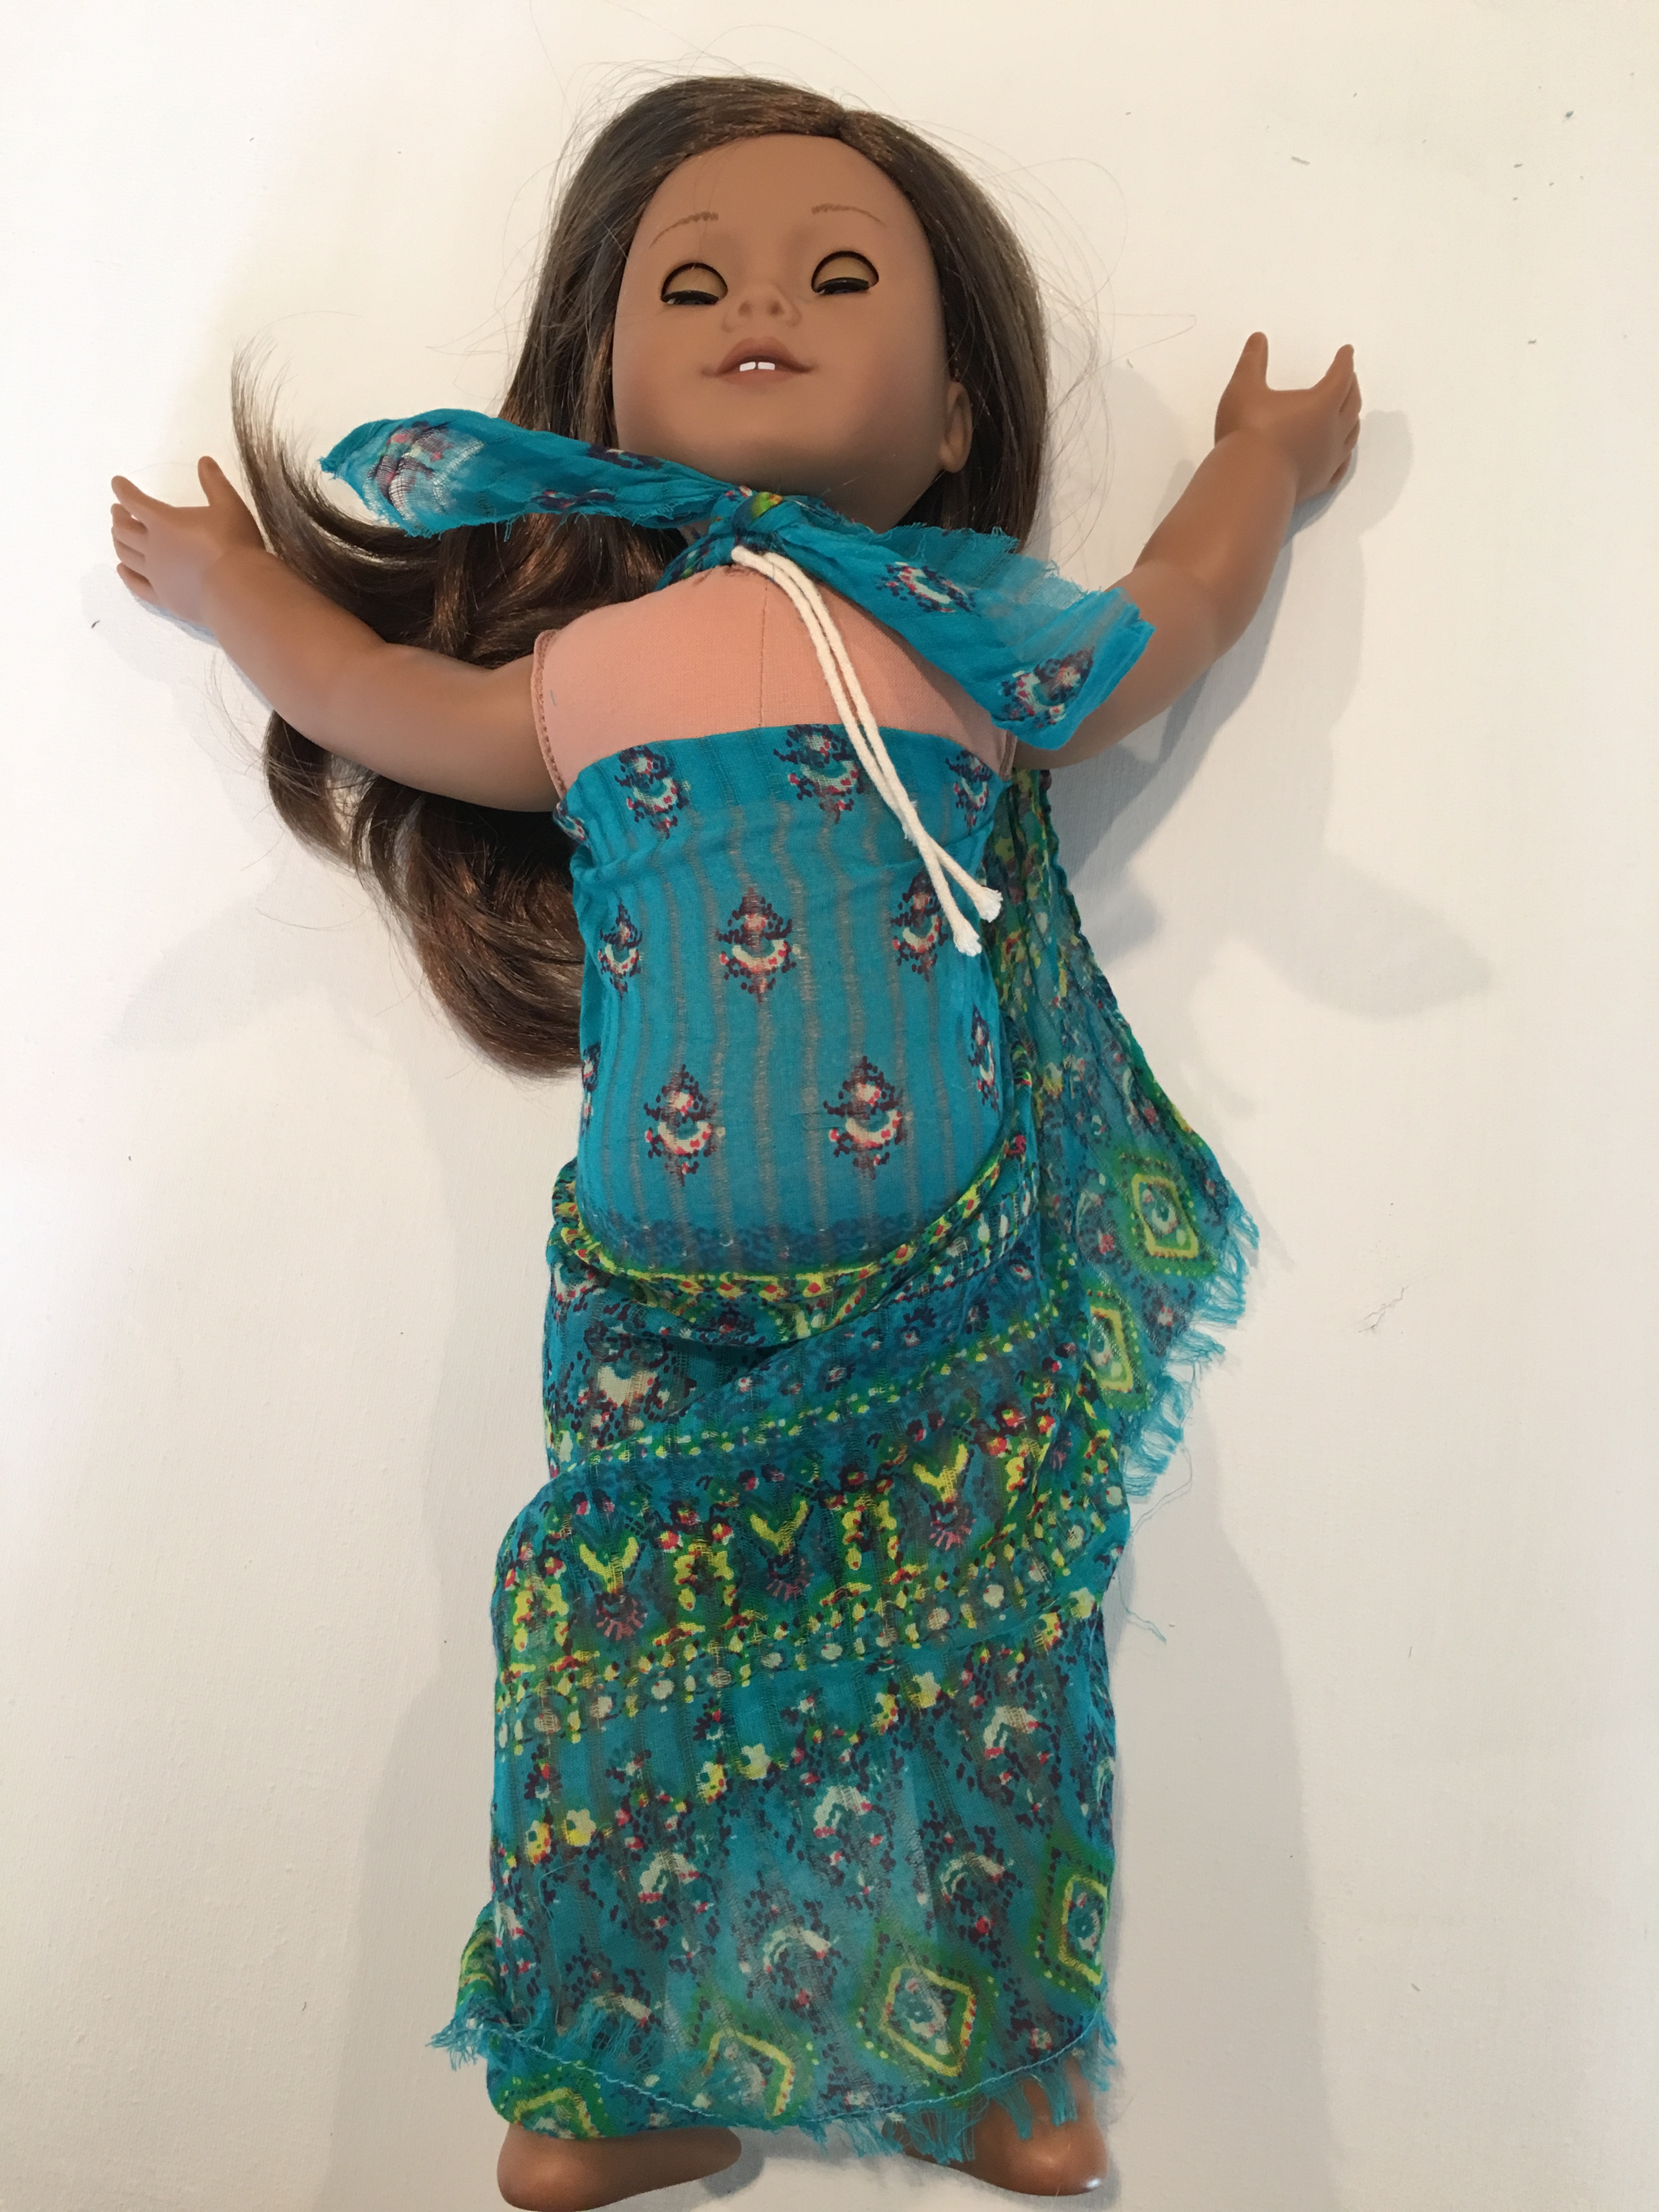
Flip your doll over.

Bring the two corners together and tie in a knot at the back.
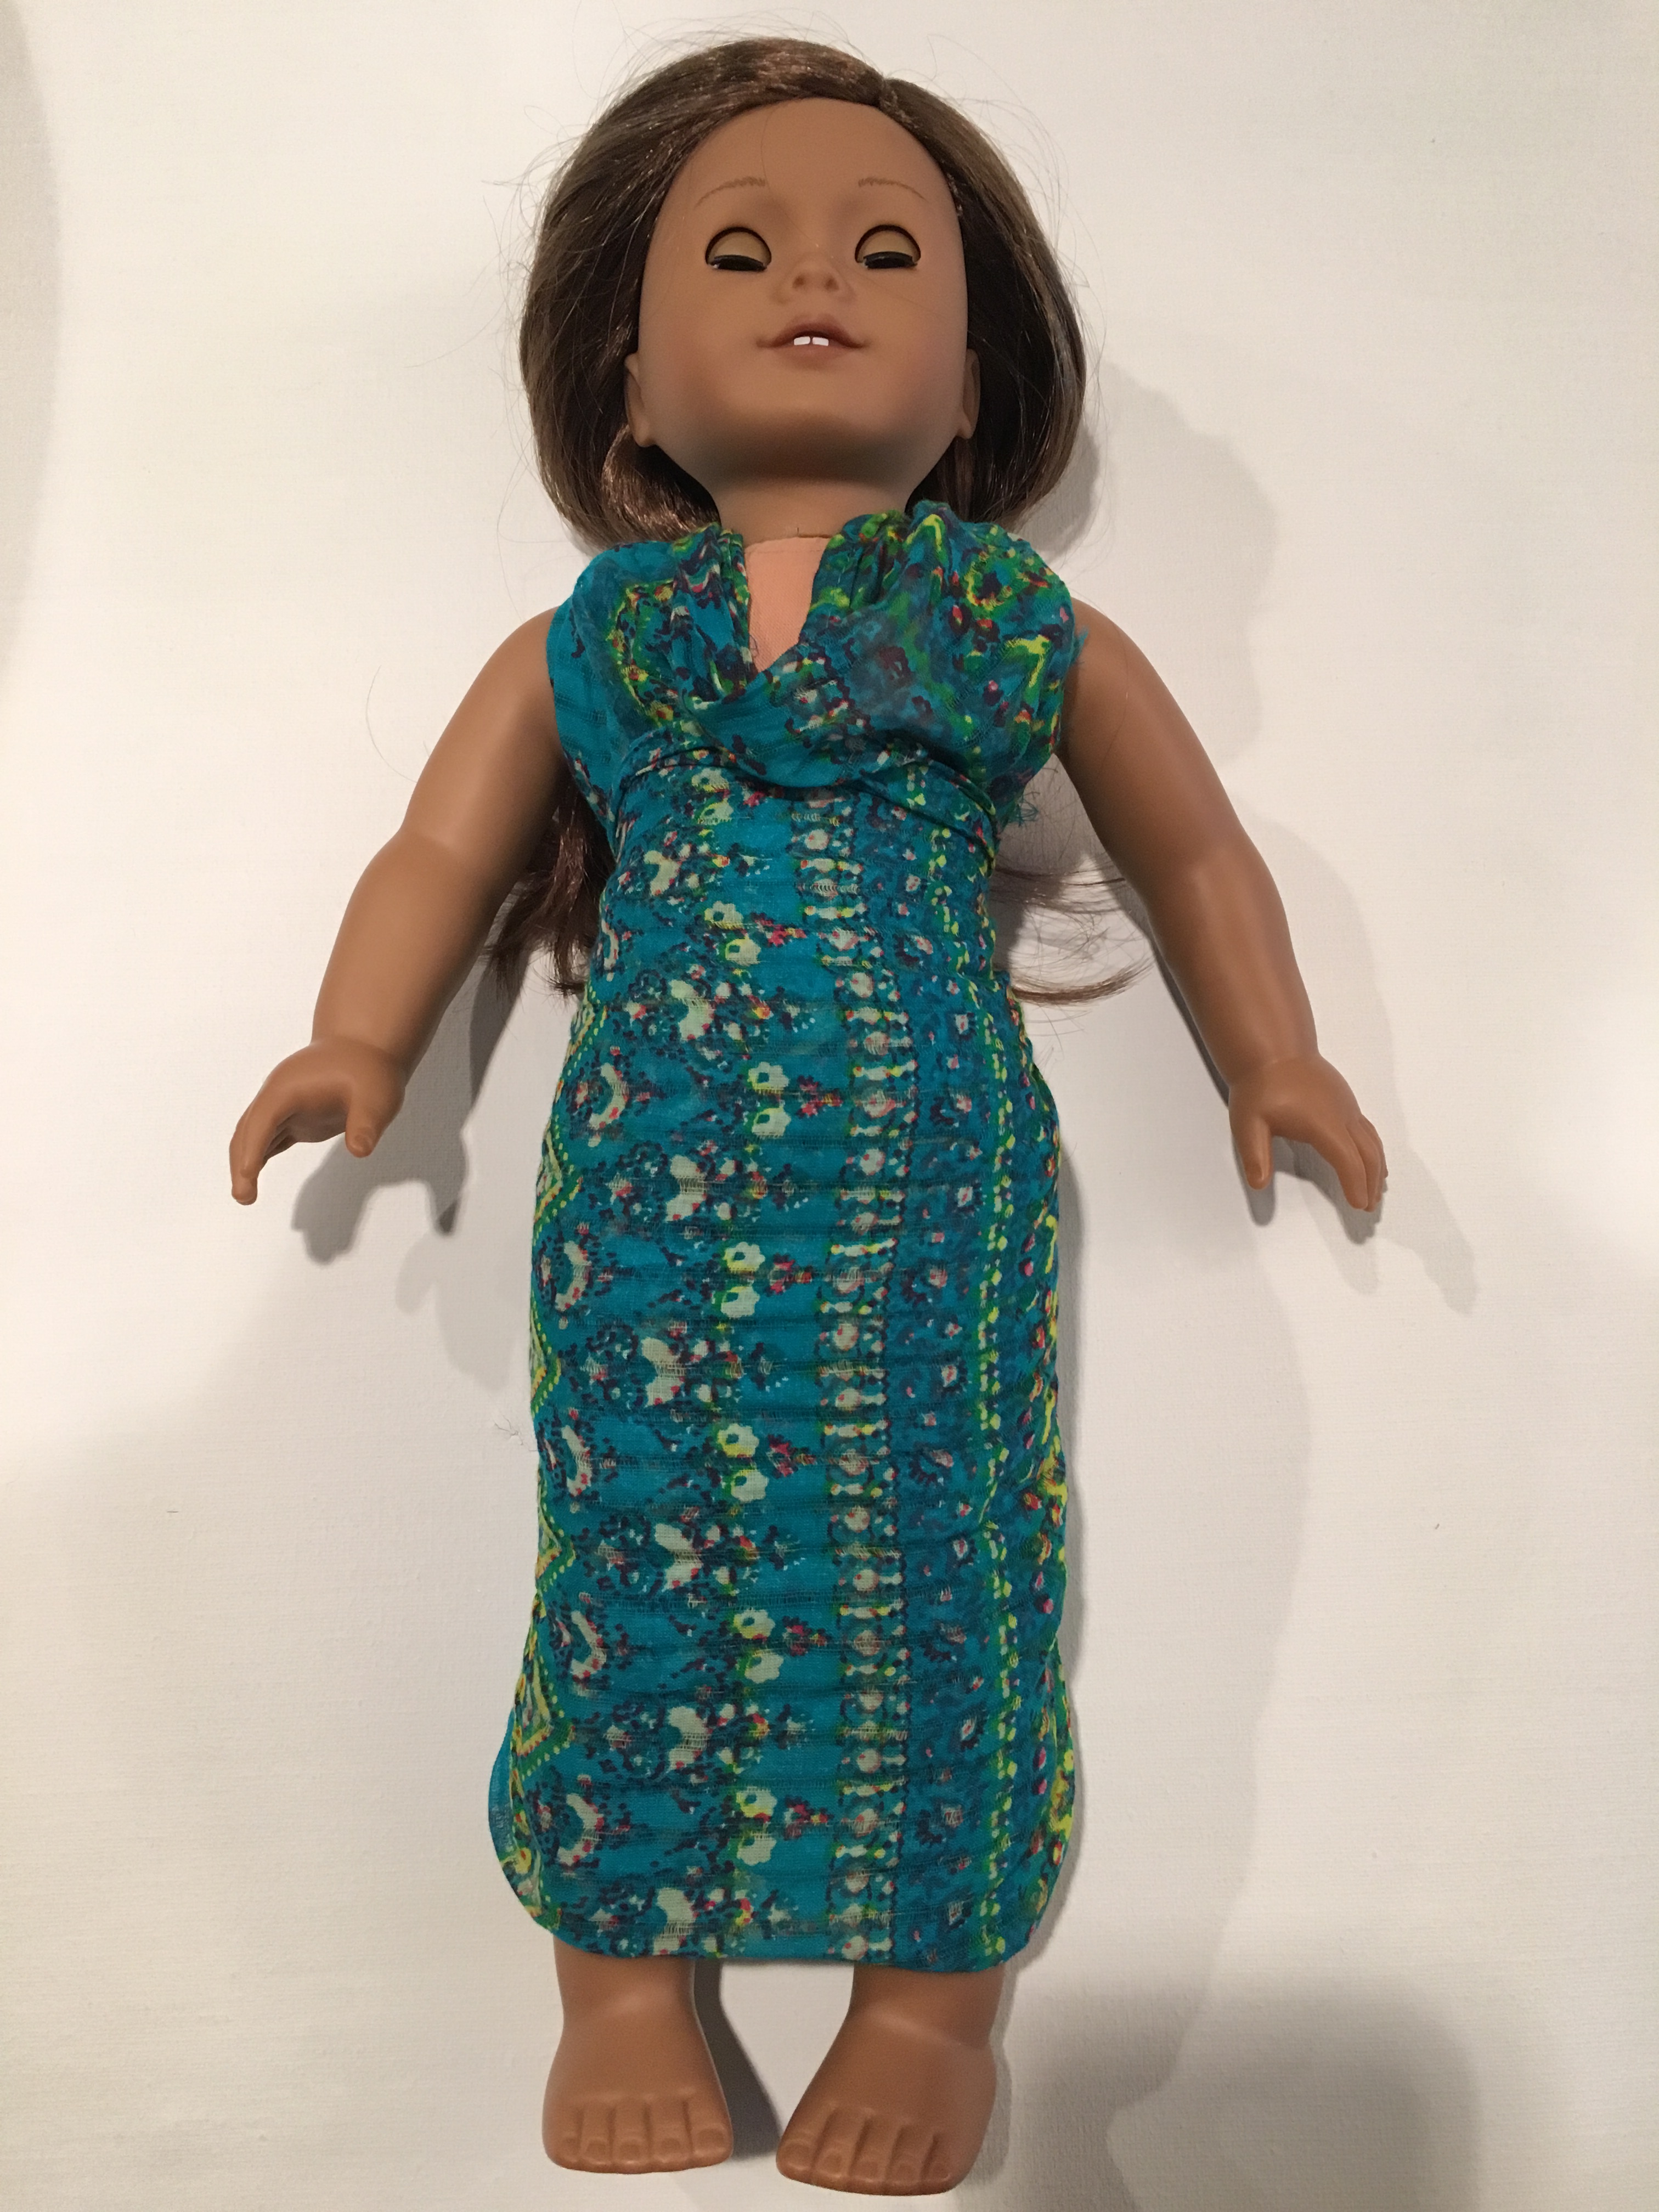
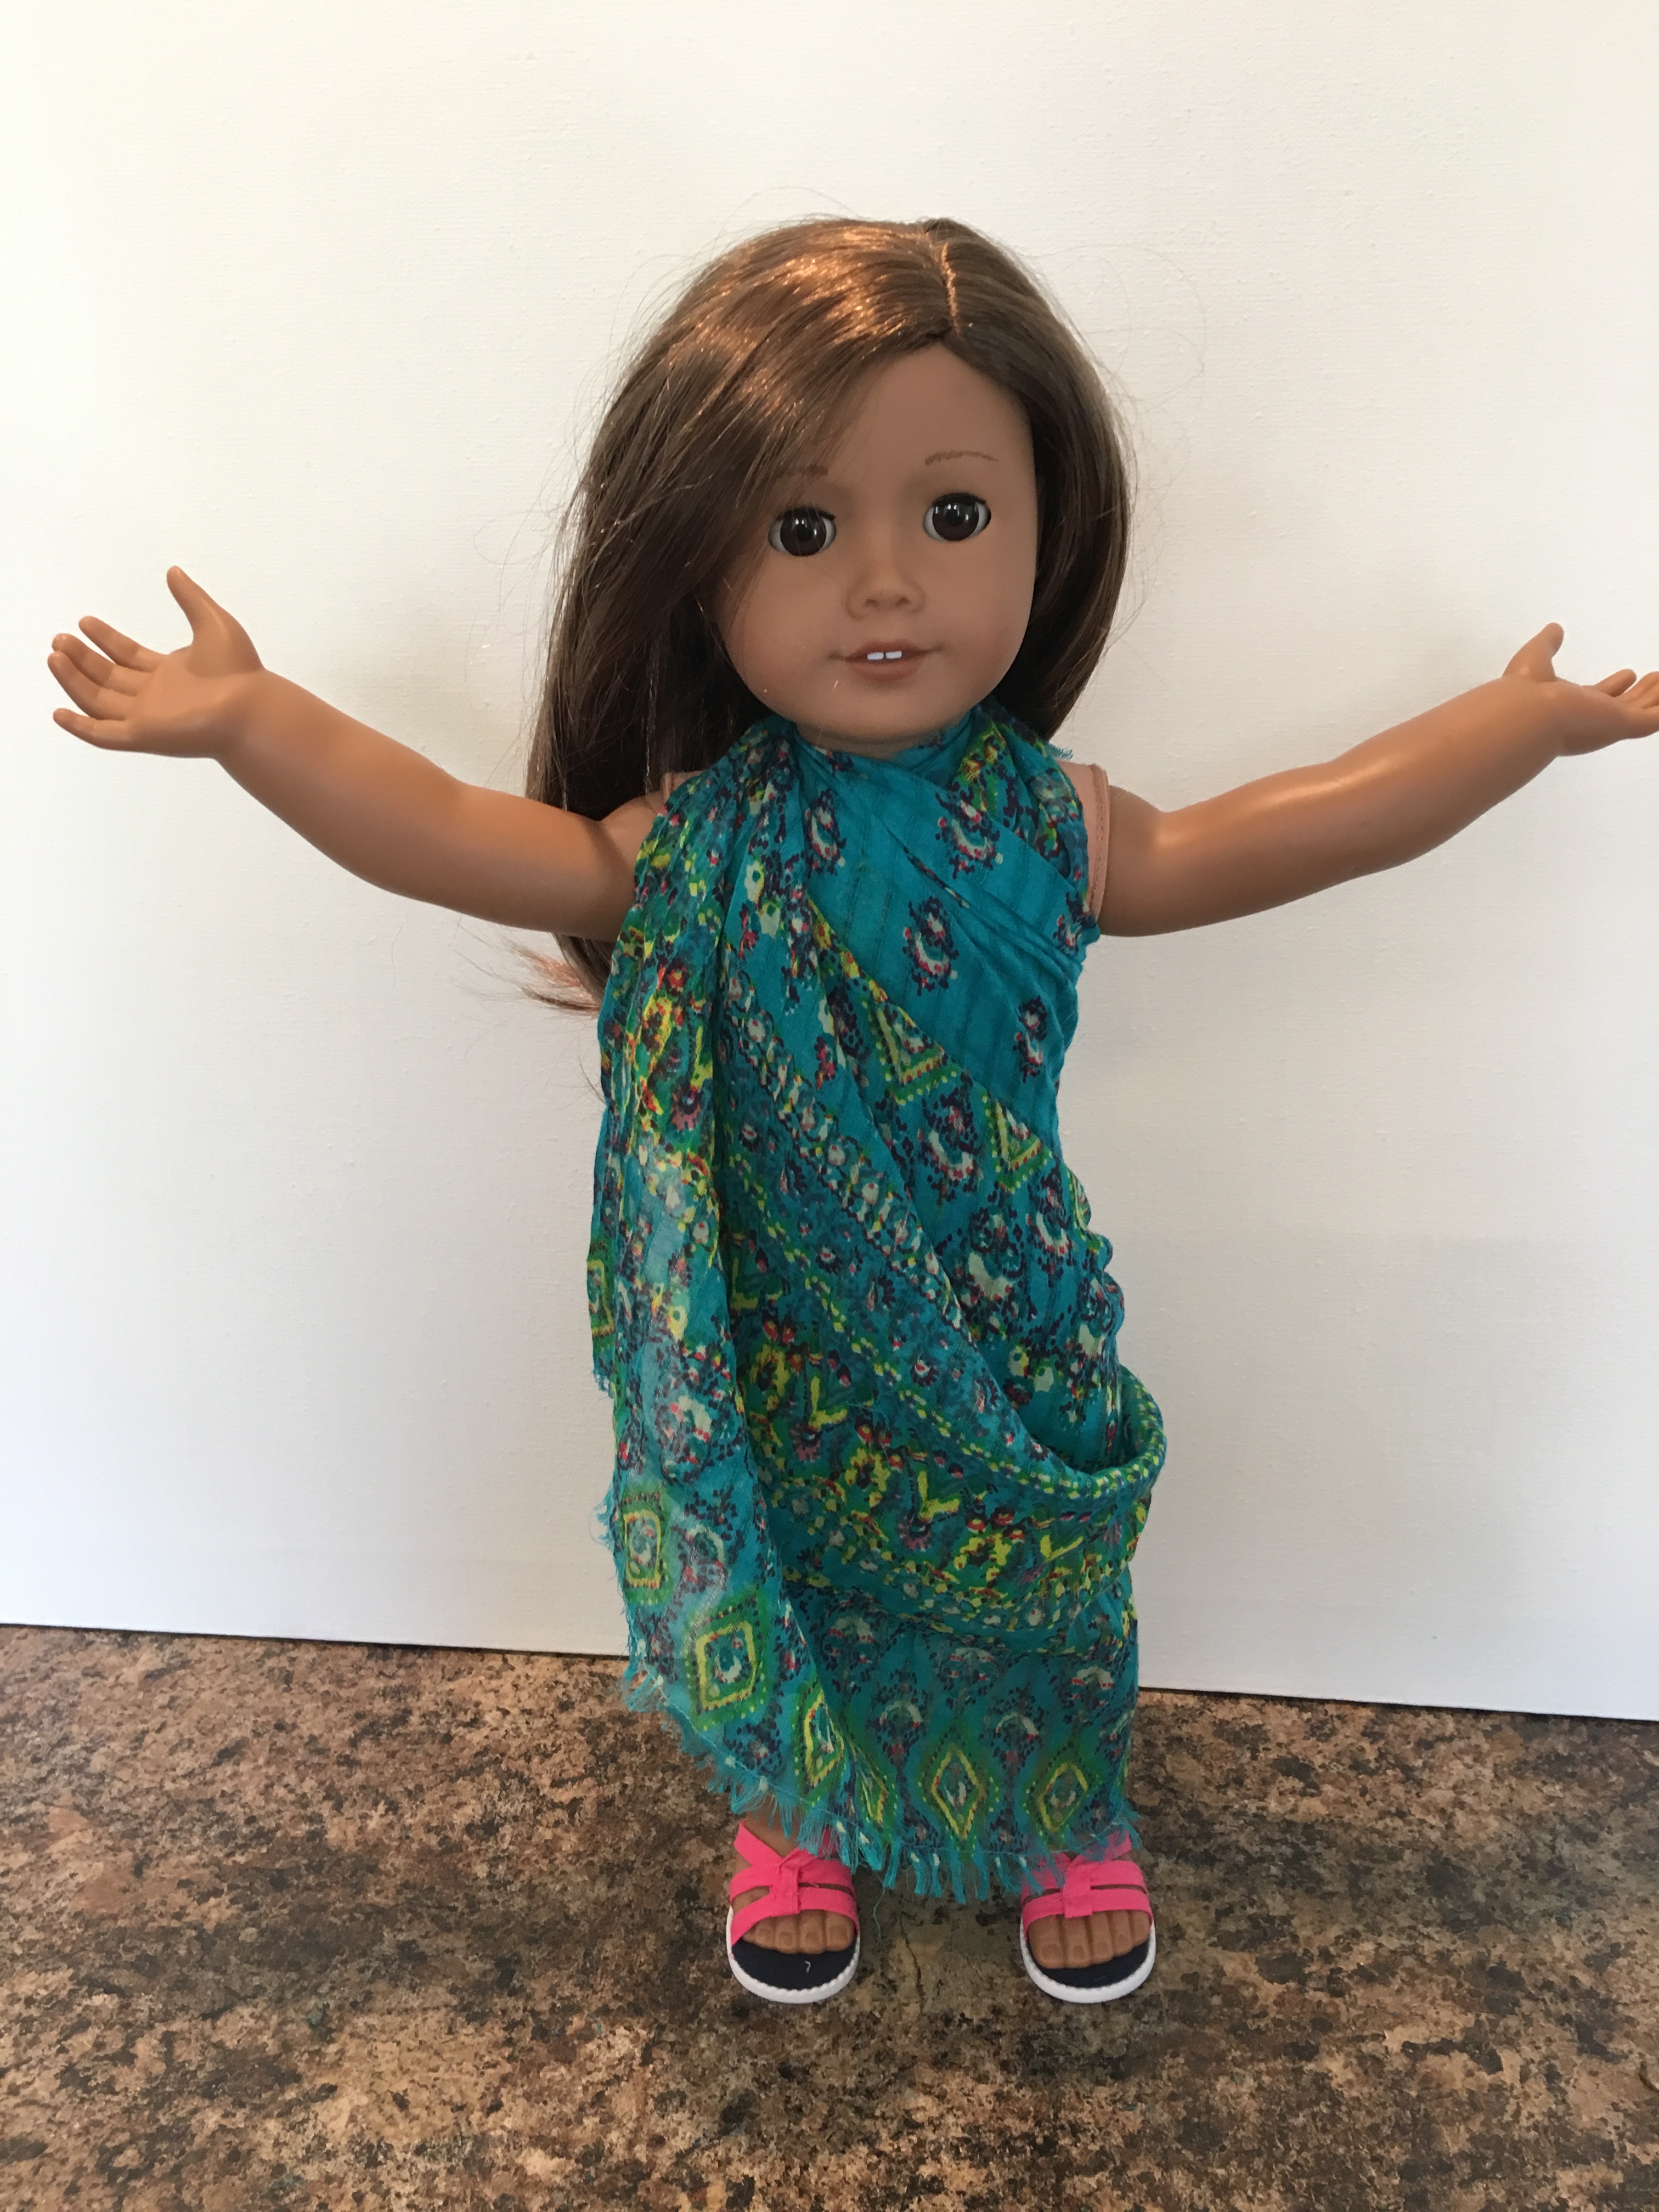
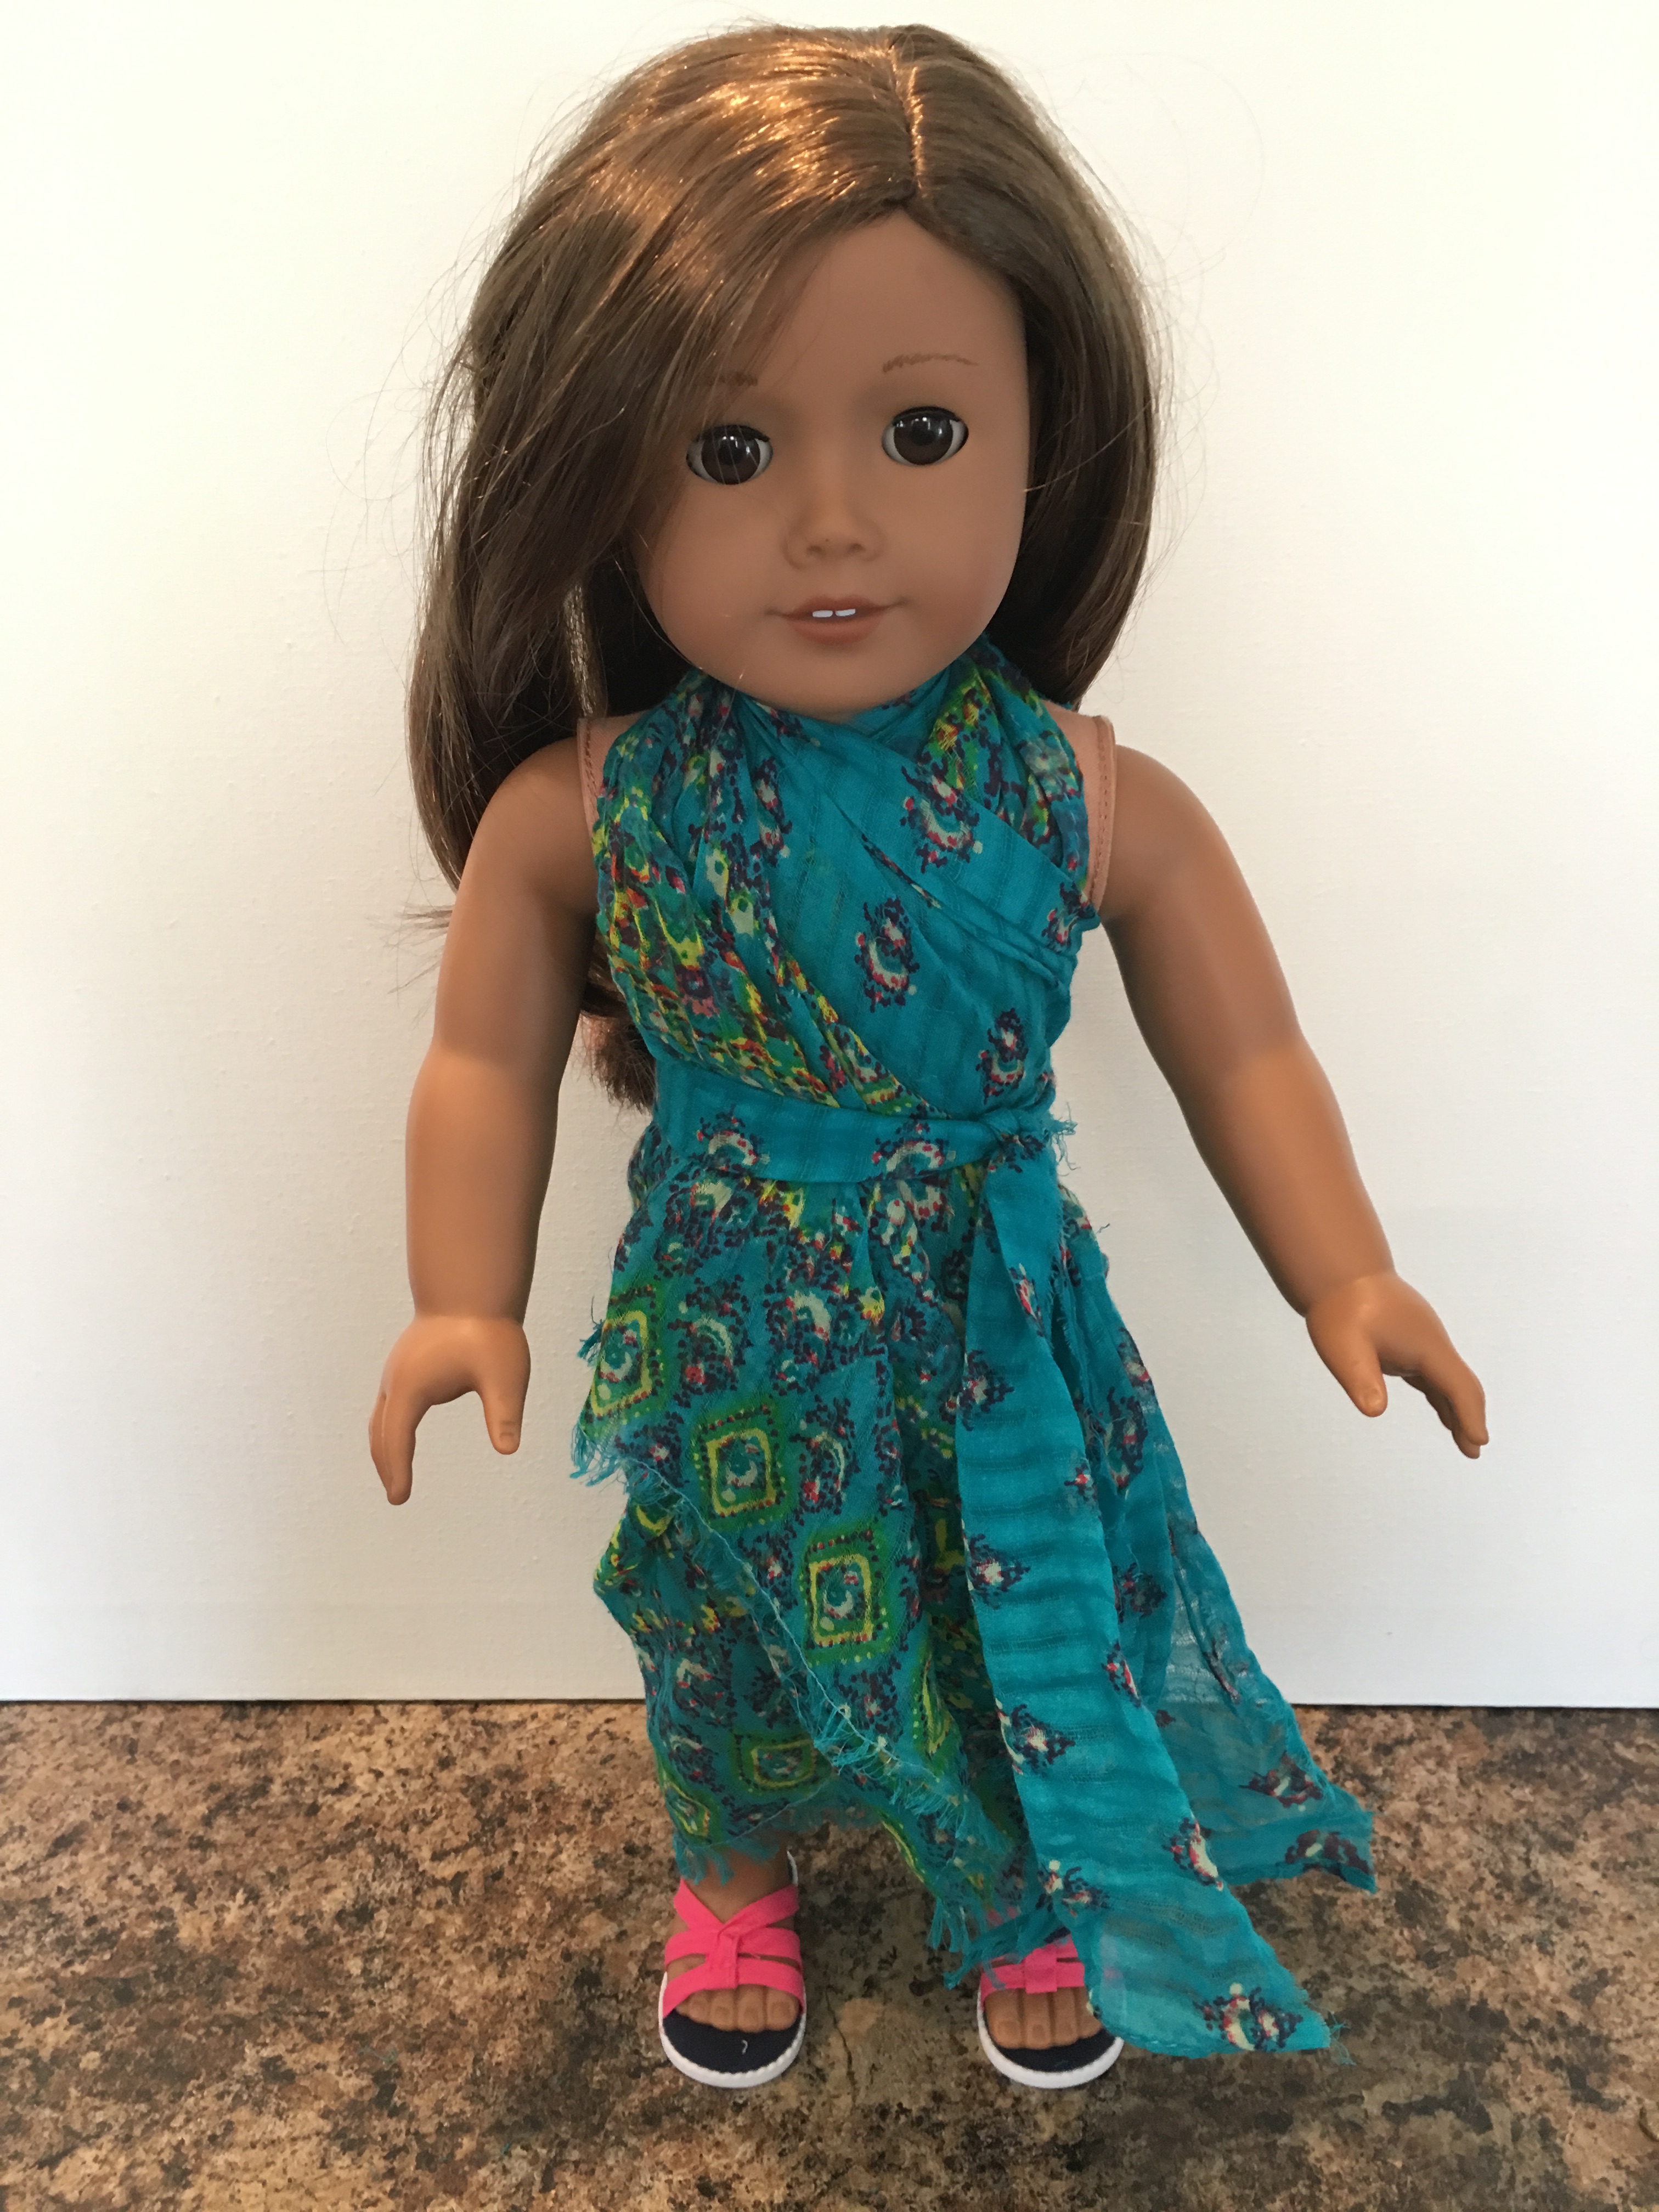
Turn your doll back over. Adjust her cowl neck, and you’re done!!
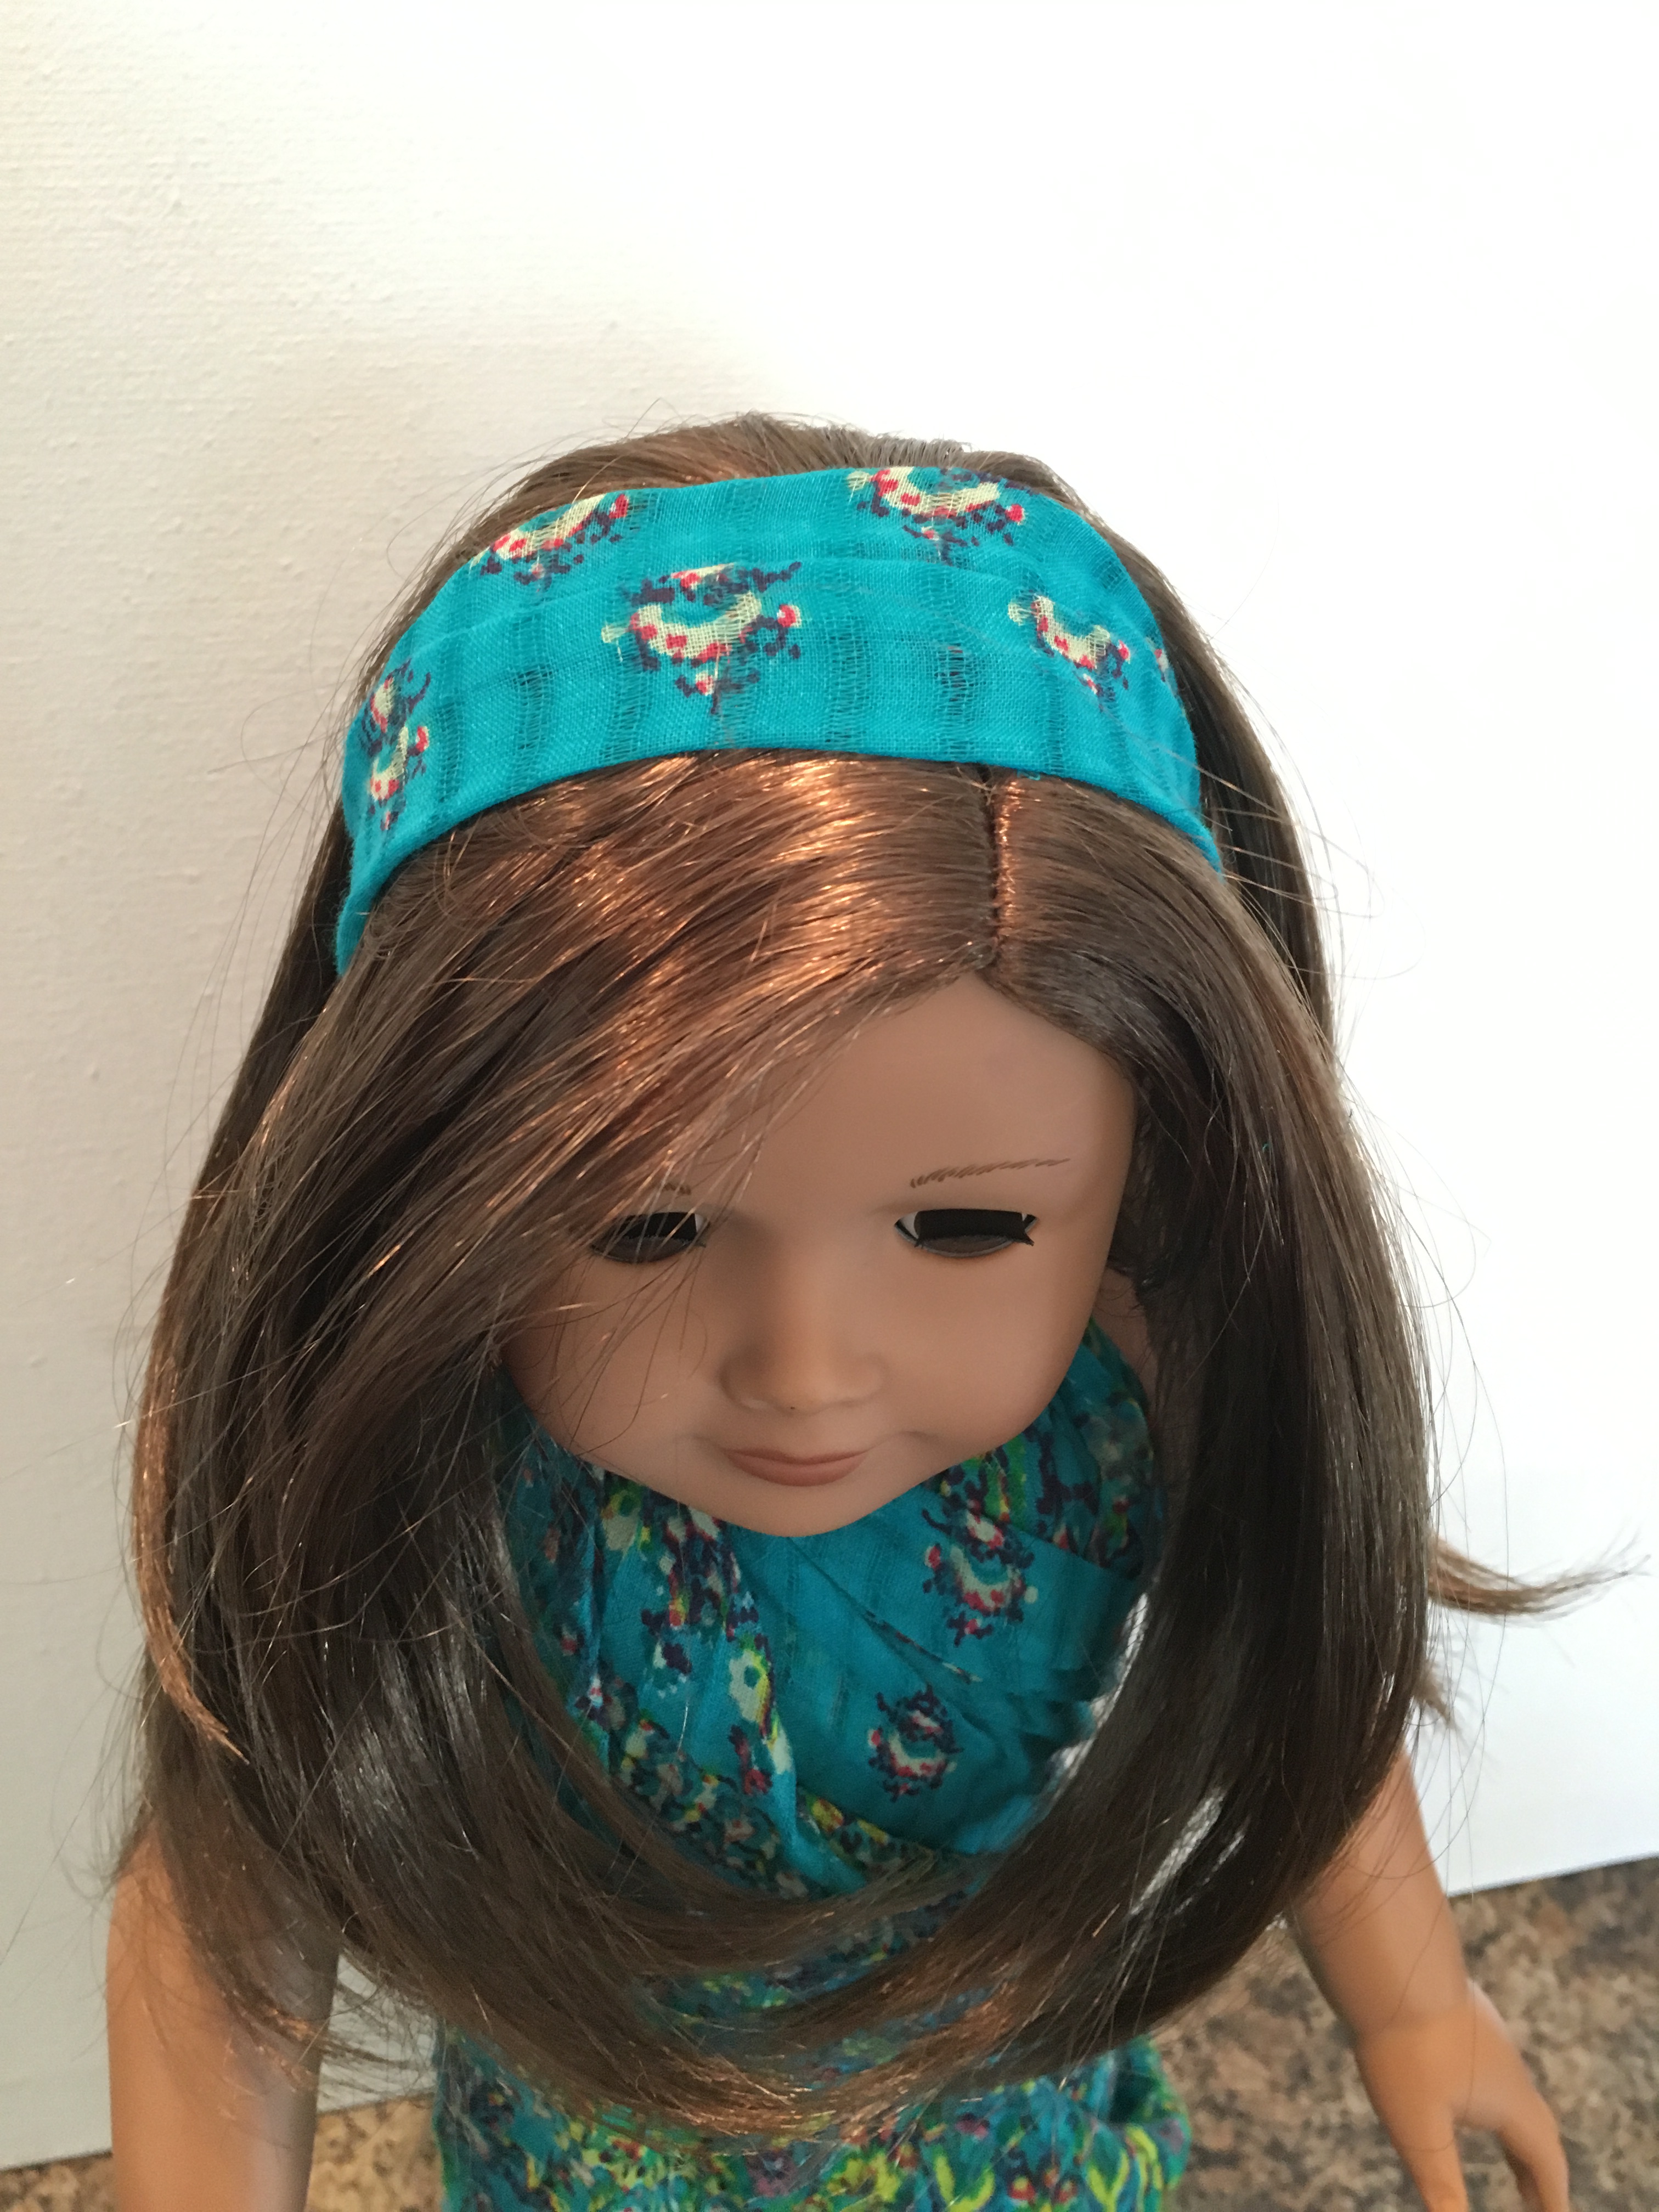
A scrap of fabric makes a nice headband!

I just love the cowl!!
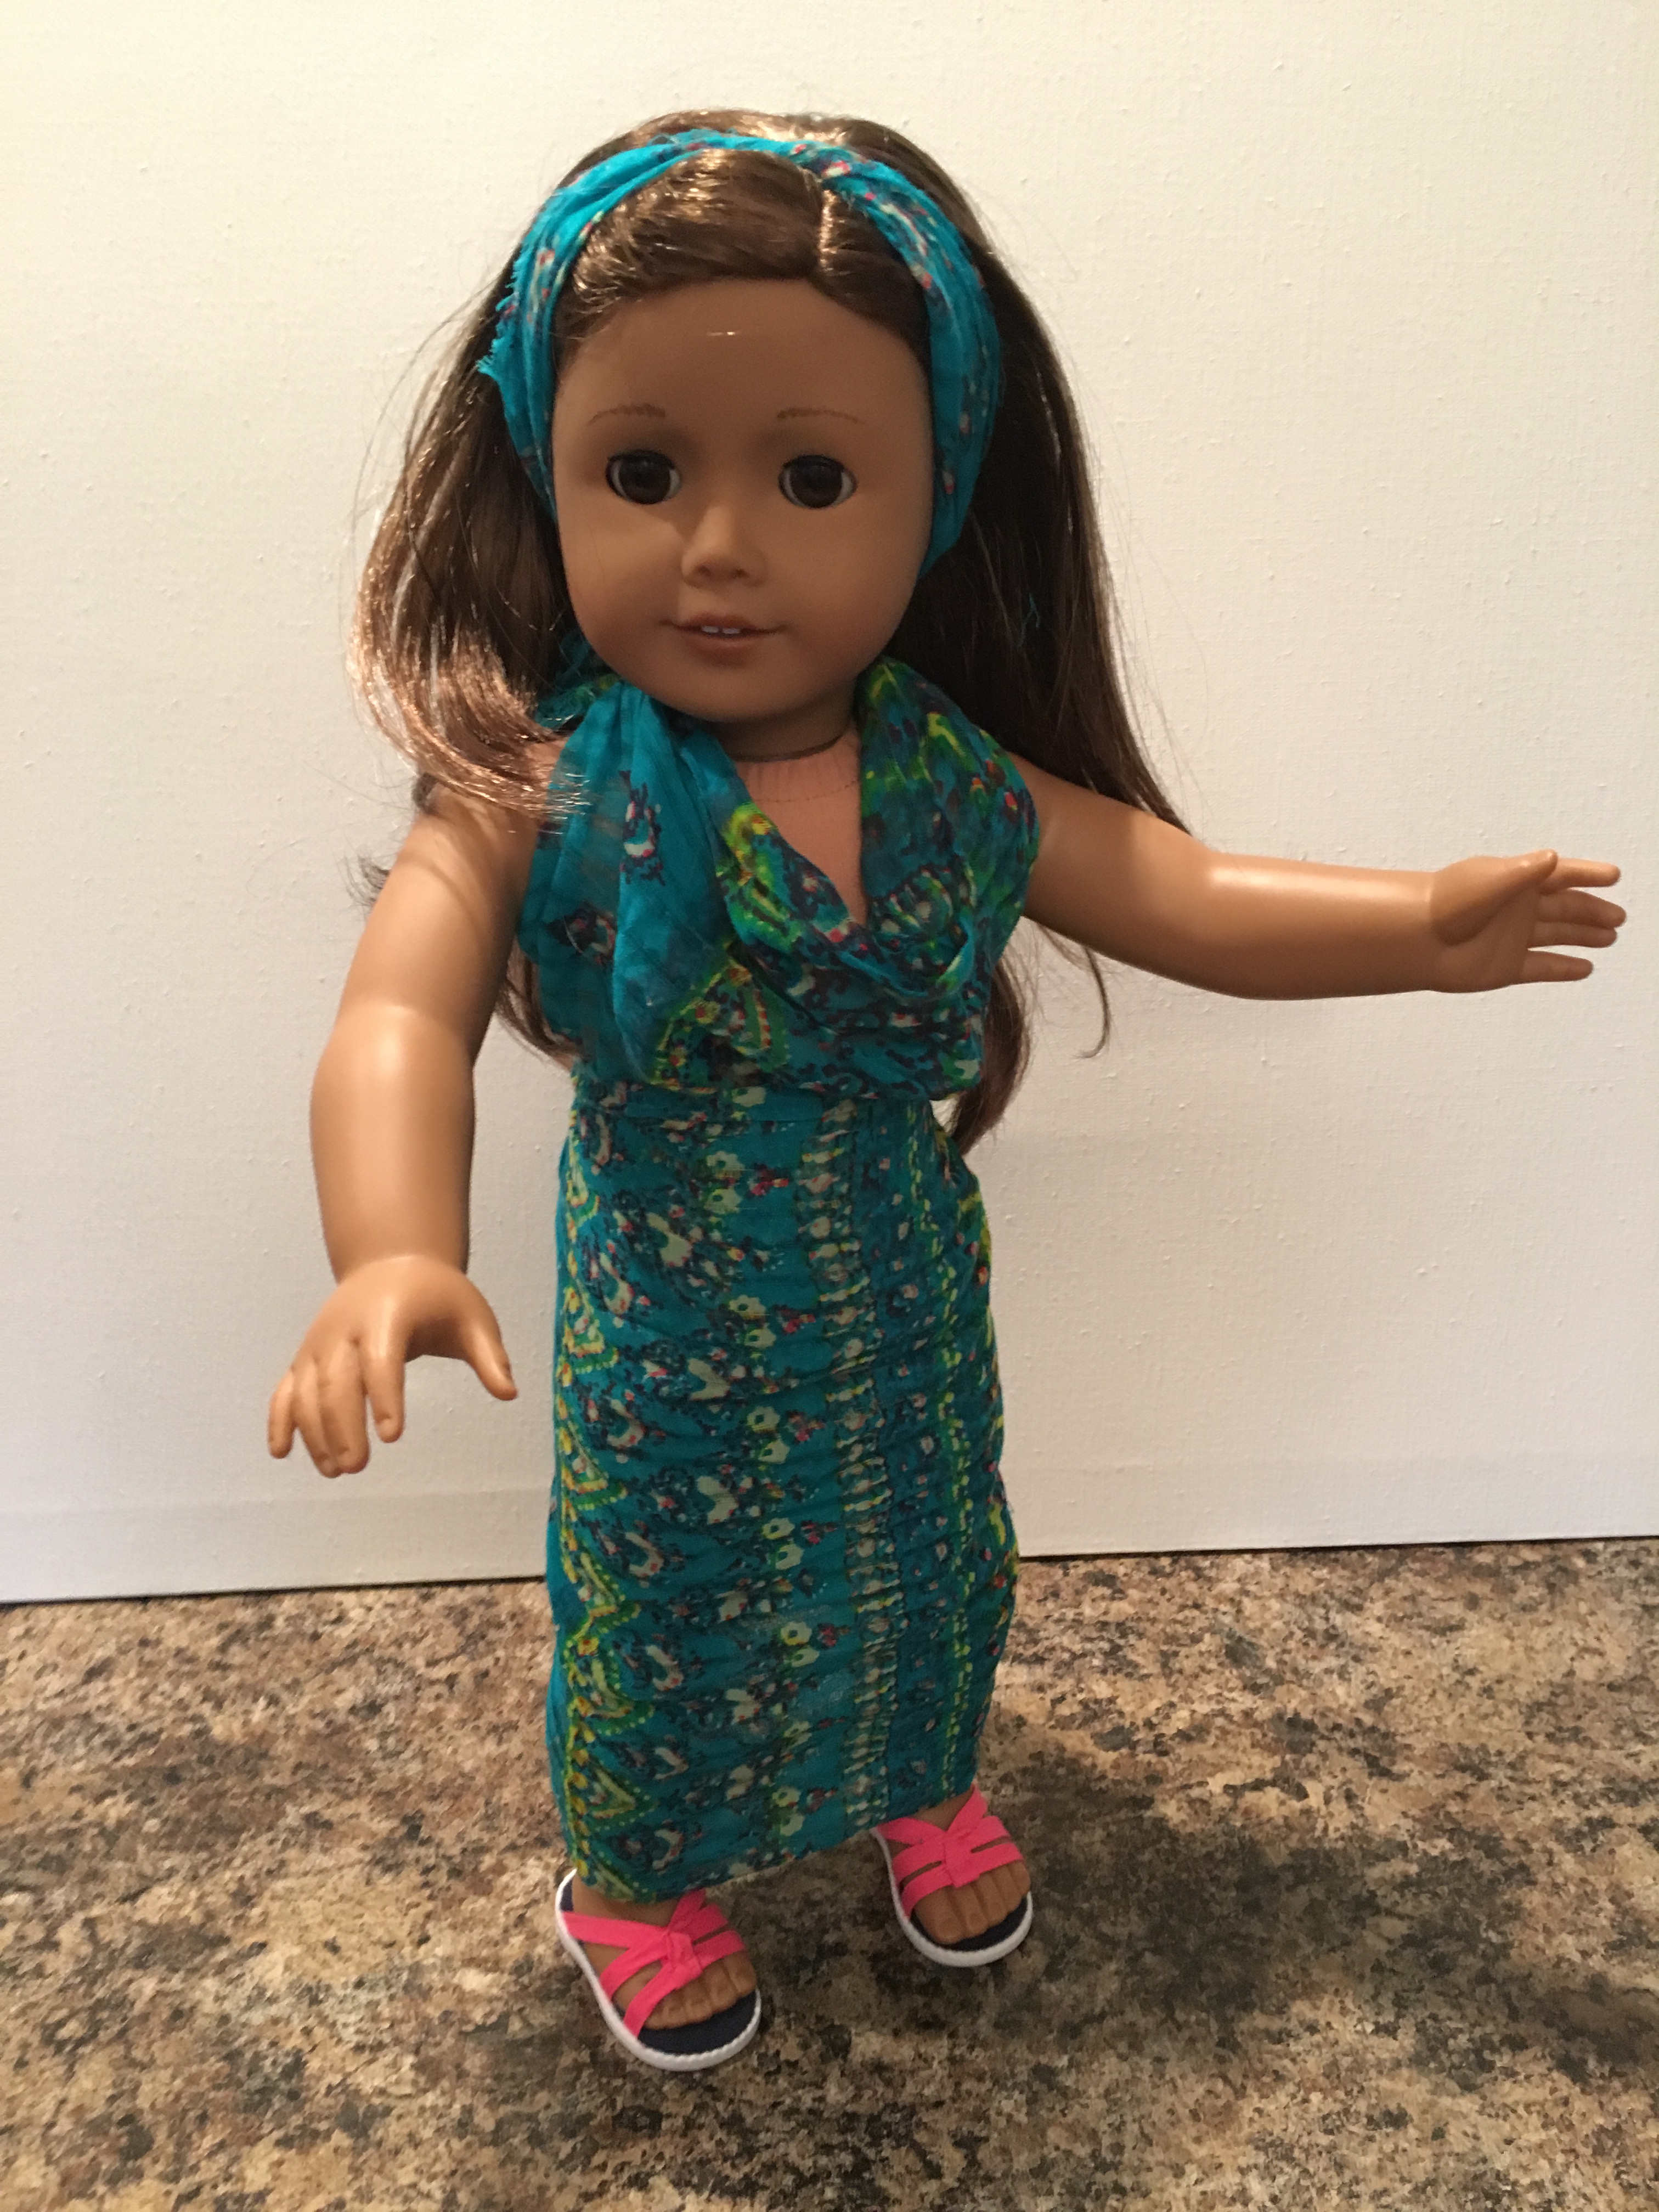
I love how slimming this dress is!
Okay everybody, maybe I got a bit carried away for this next part, but here’s a bonus for you!
I went ahead and compiled some awesome pics of some fun styles that could go nicely with our new sarong techniques. Enjoy!! ❤
Hairbands

I think that this one is very Lea Clark. It simply ties at the top, and then wraps around to knot at the neck! Too cute!
This one just knots in the back and the ties hang down.
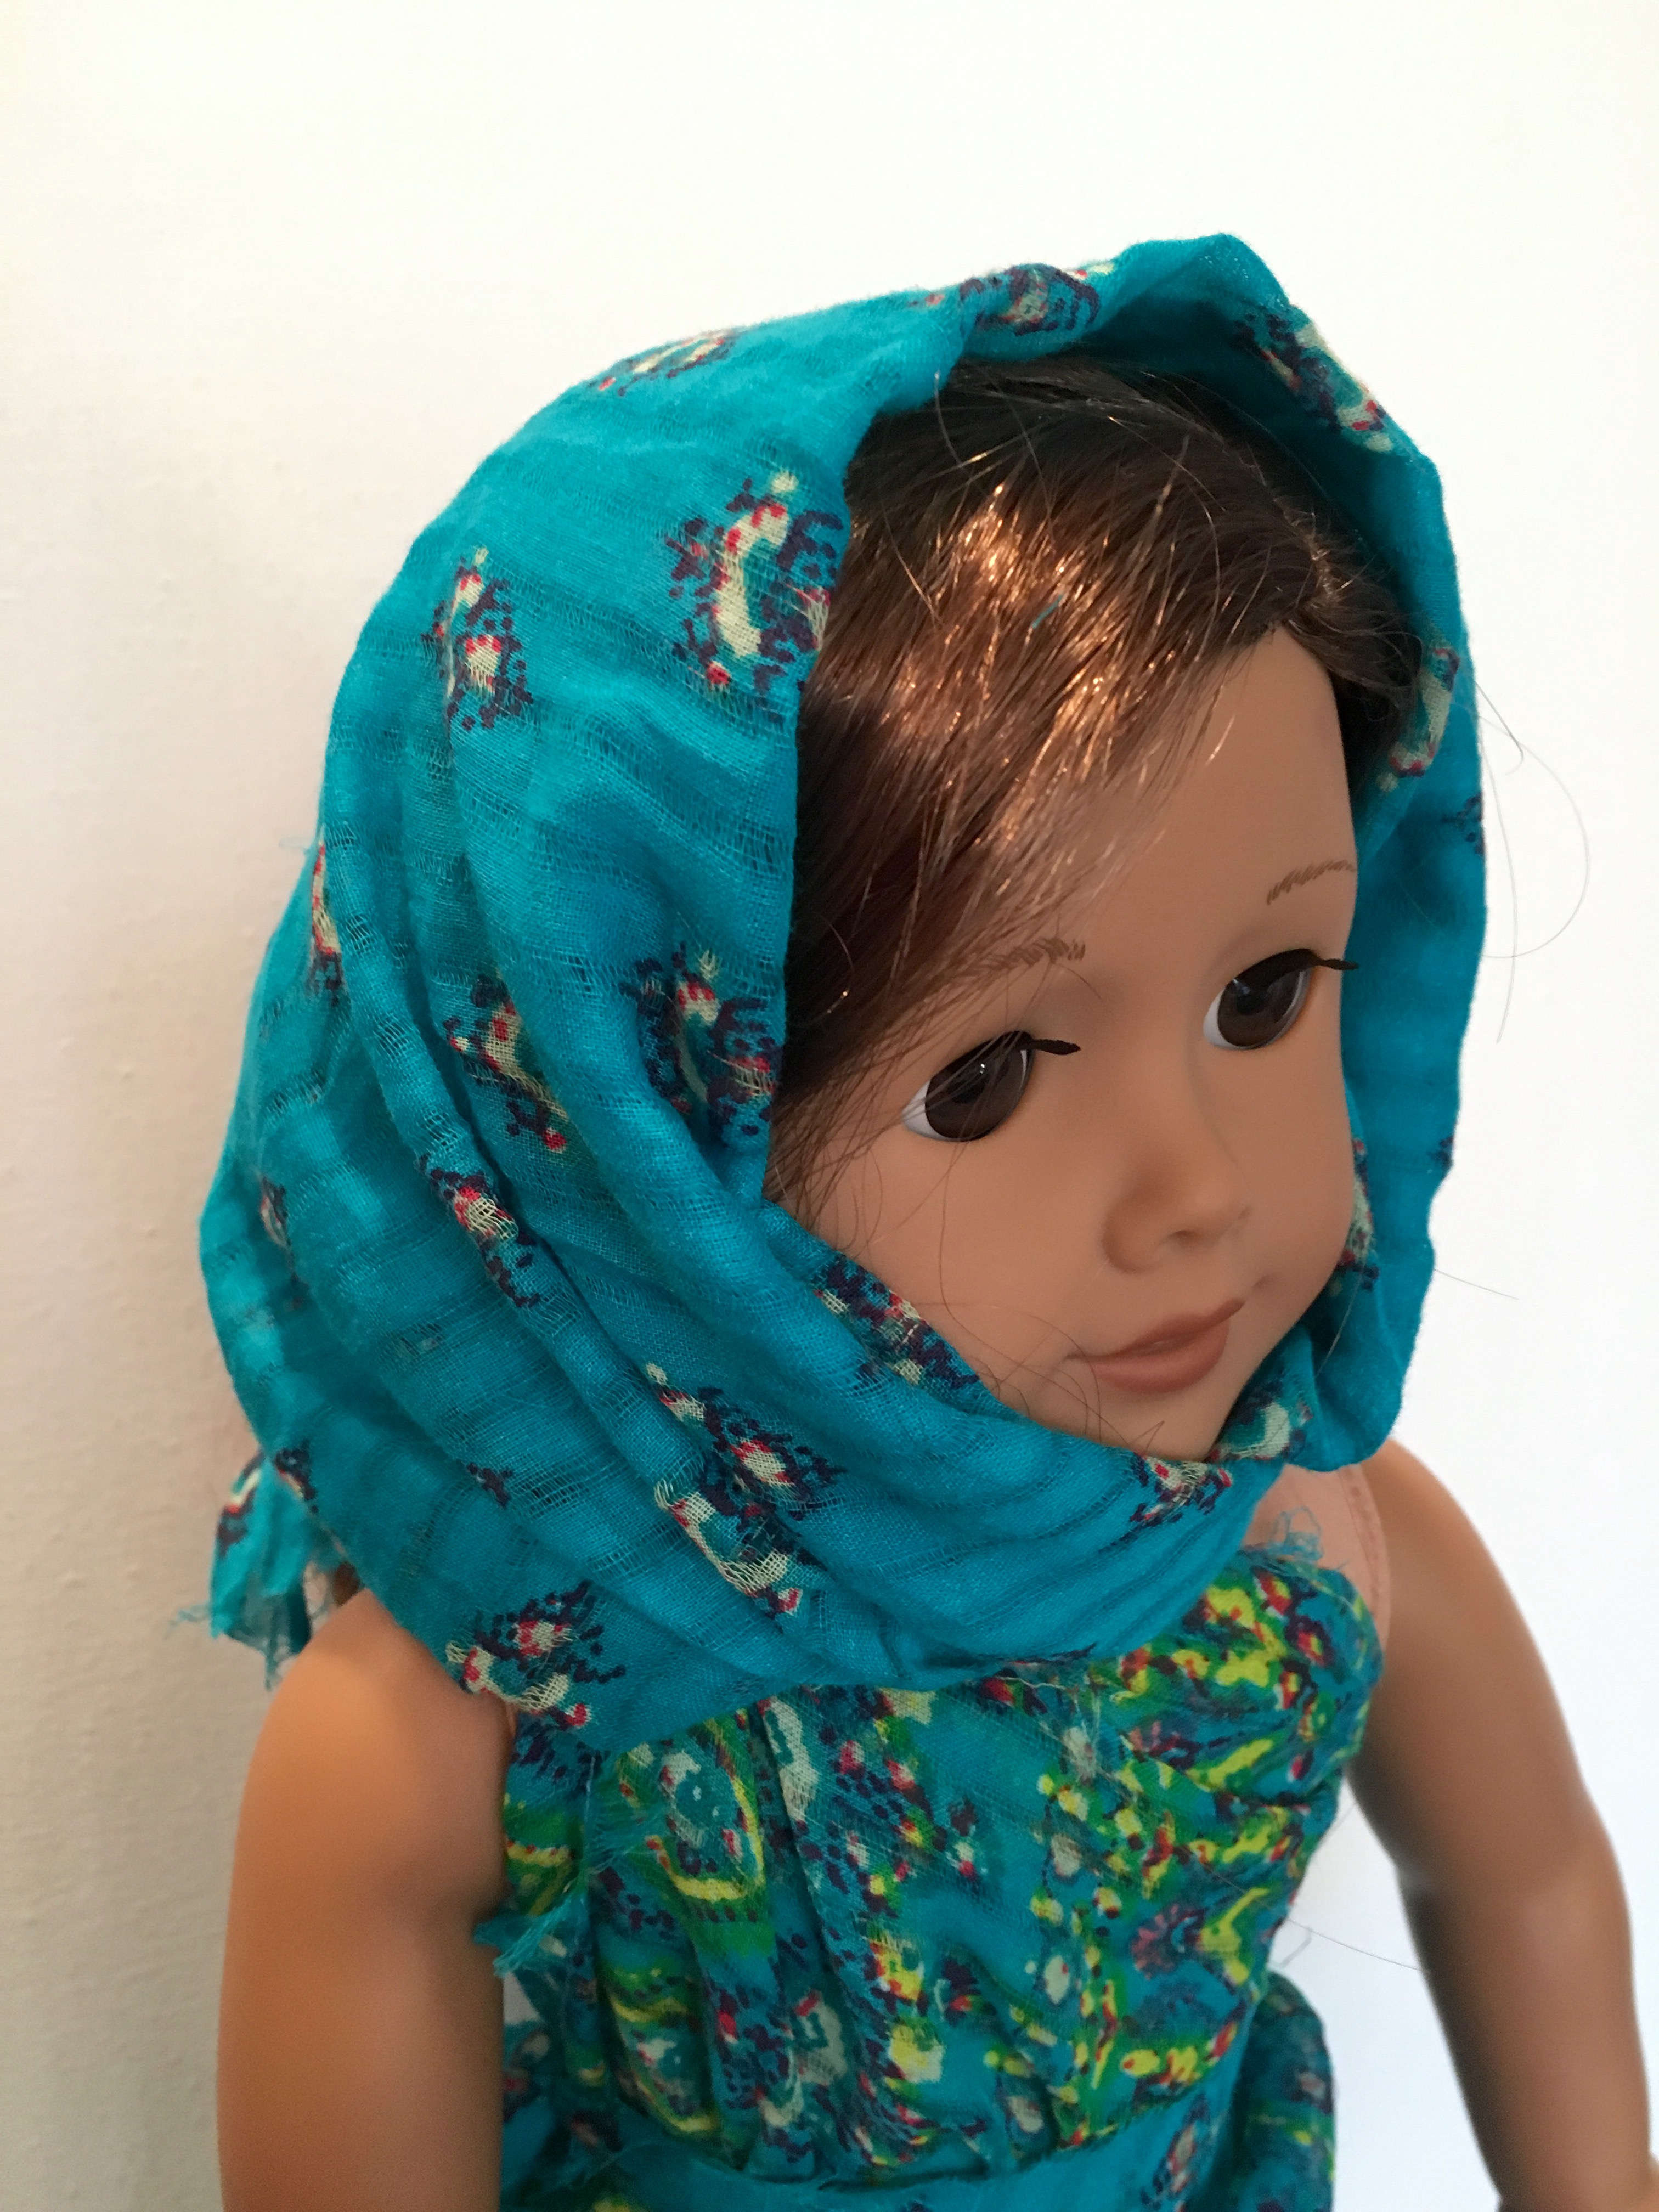
Head Scarves
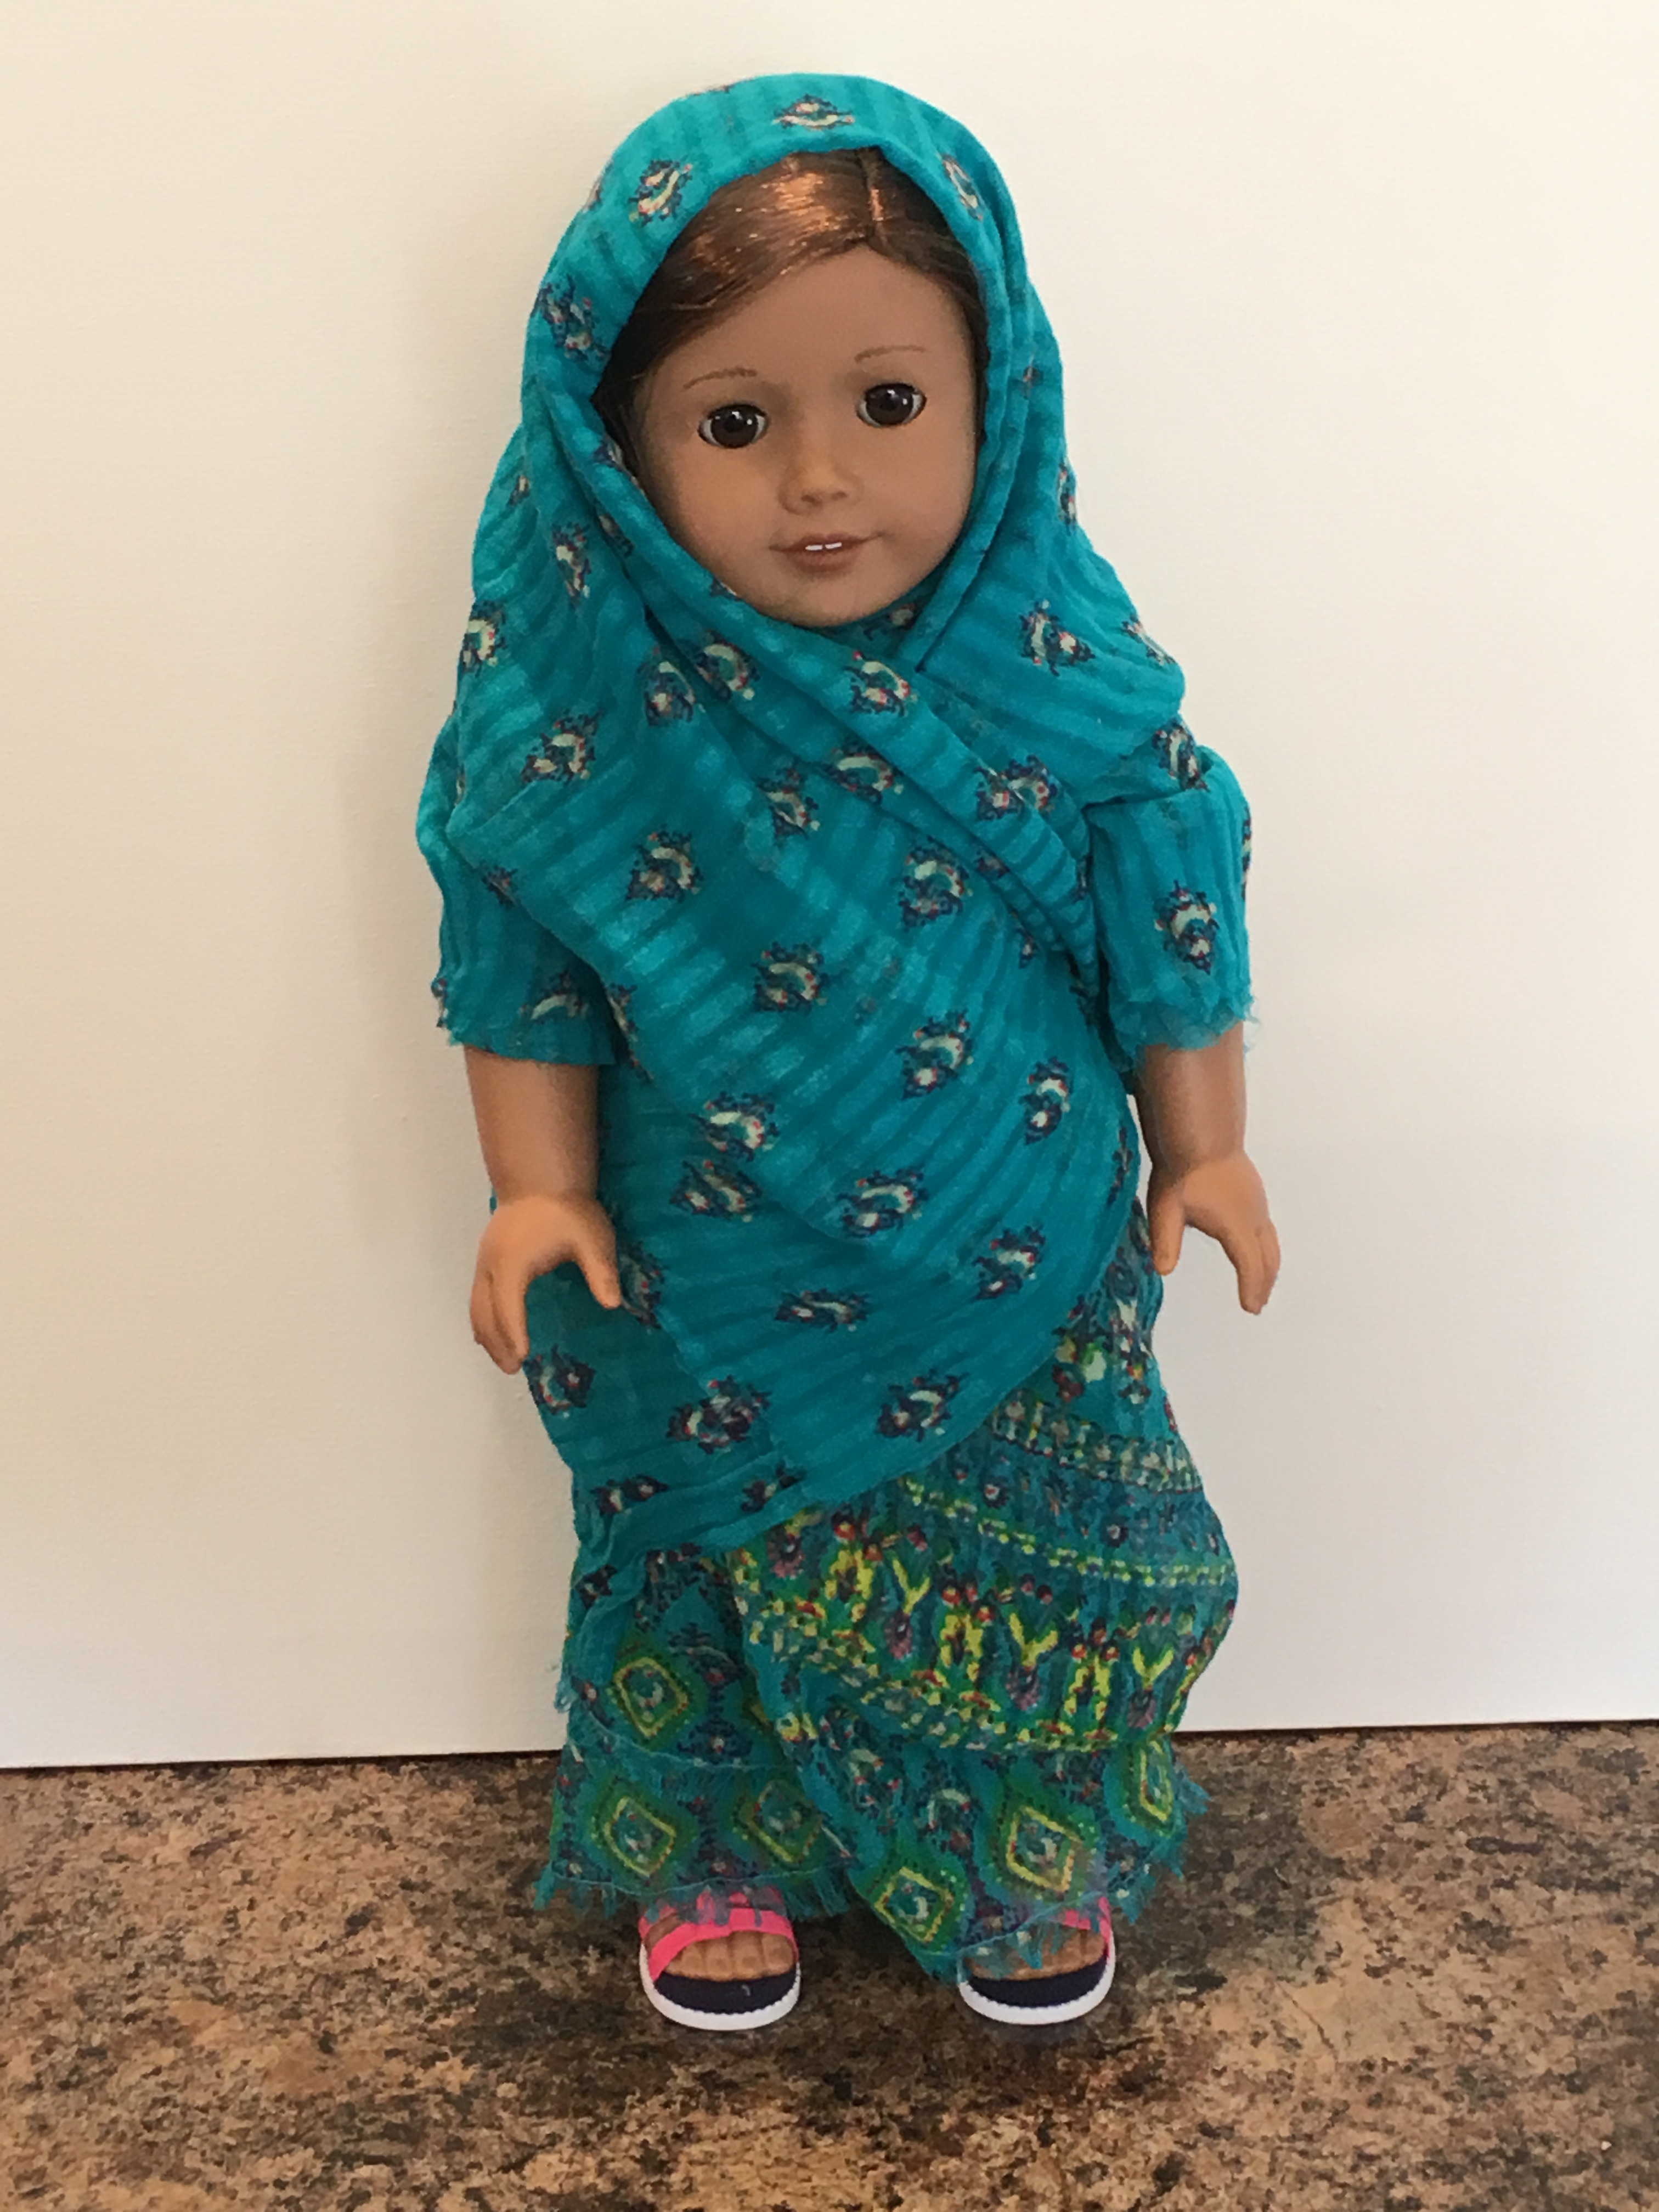
Full head scarf.

Mary Magdalene

Sister Mary Francis’ nun bonnet

Germany on market day.

Hair Wraps
Sweet nappy.


Gypsy fair.
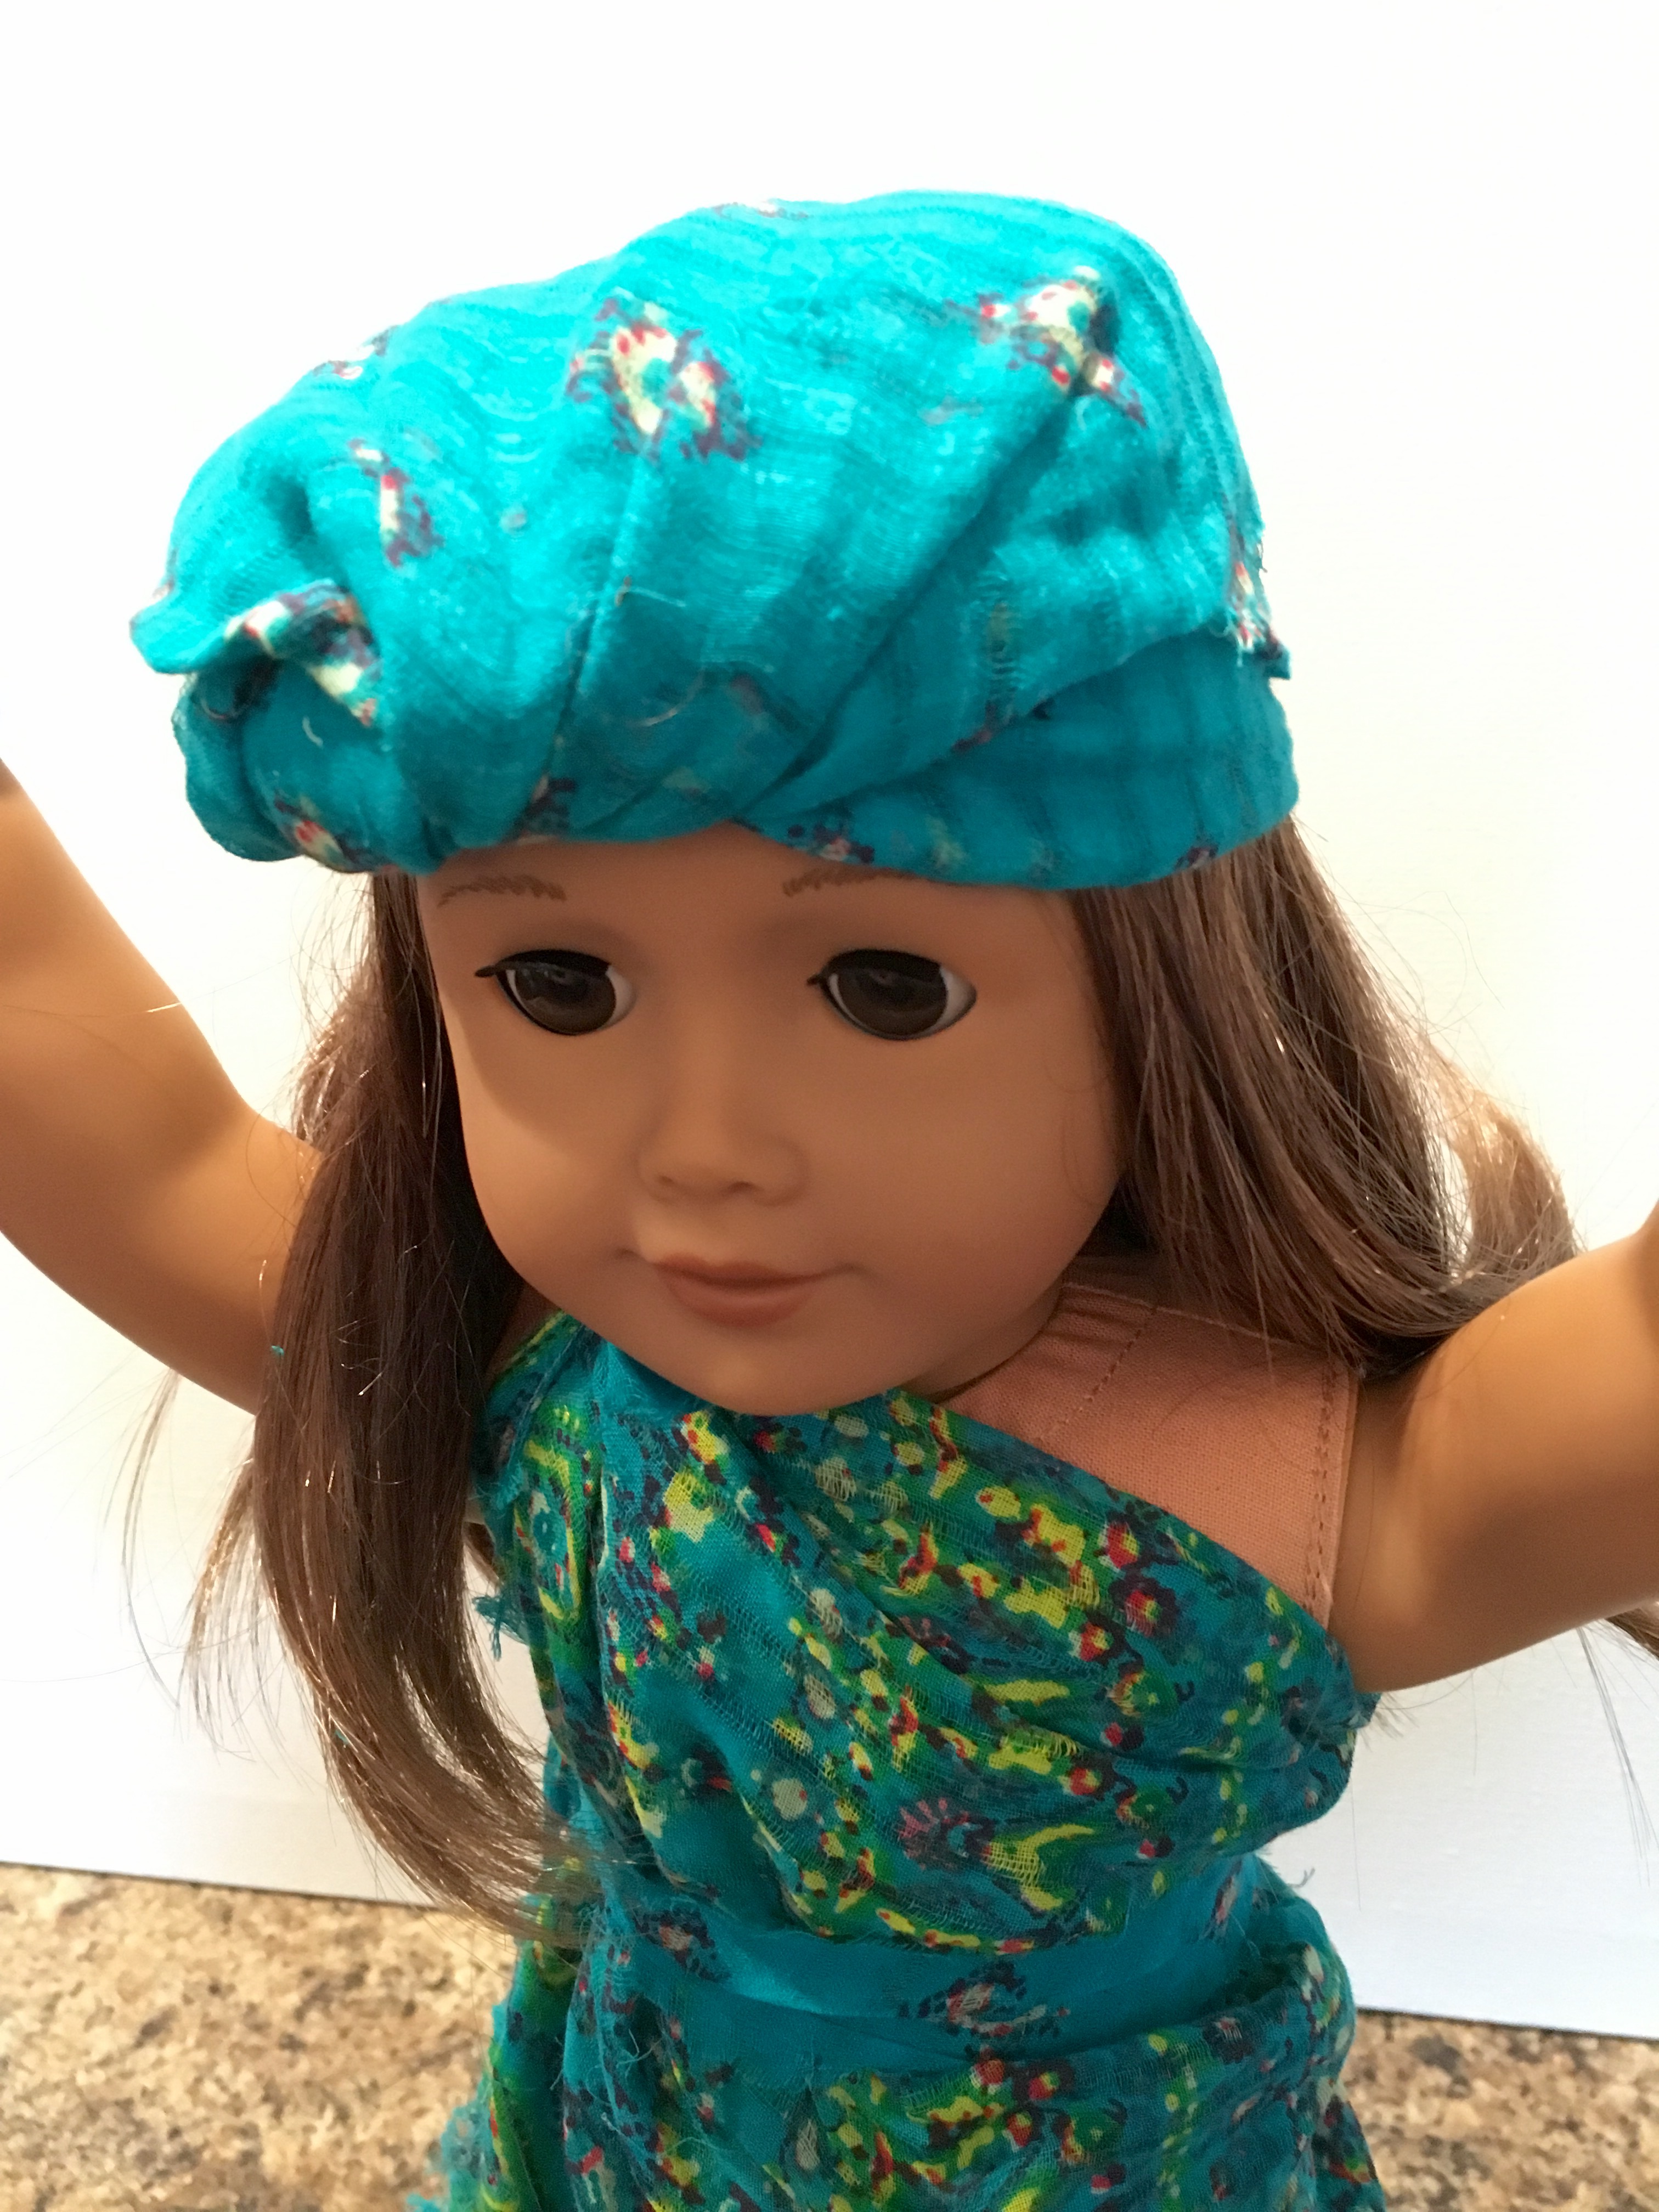
Turban.
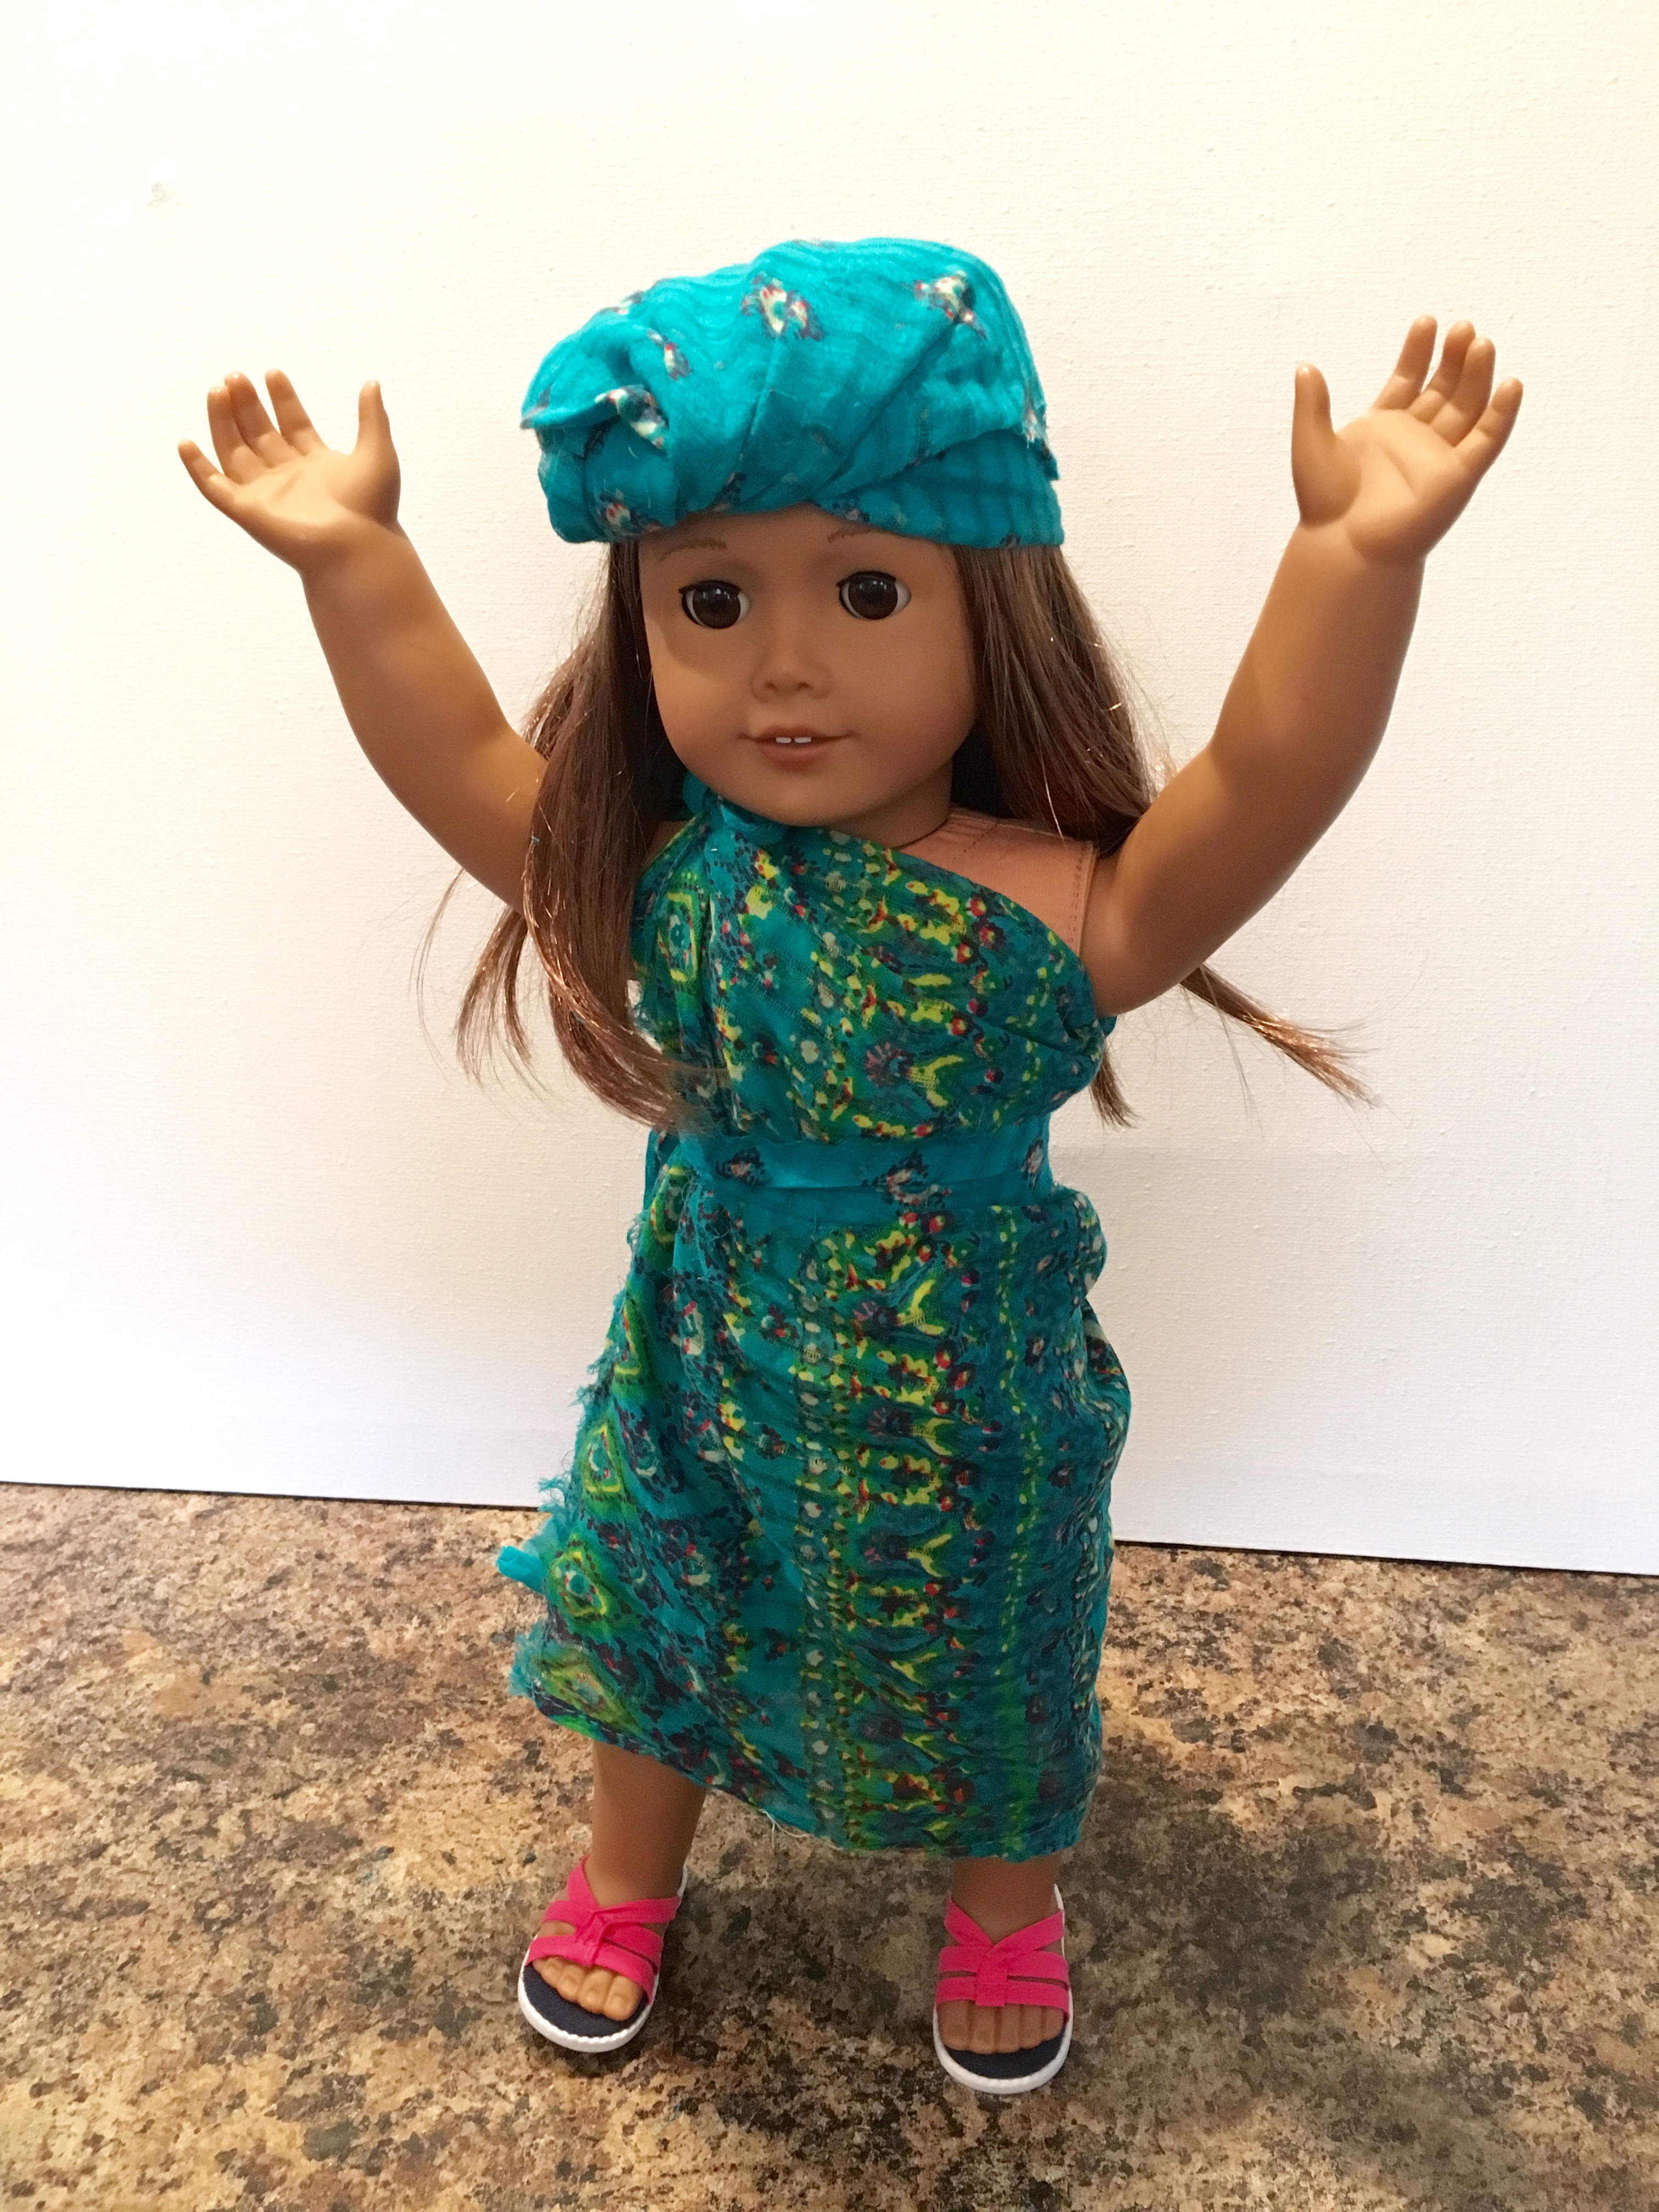
Okay, okay! We get the point already!! LOL! 🙂
I was having way too much fun with this. As you can see, there are plenty of cool ways to use your doll sarong!
Which one is your favourite sarong technique? Leave a comment below!
❤

These are awesome! Thank you for the instructions! I’m bookmarking this post for future use!
LikeLiked by 1 person
Thanks so much! I love the look of a beautiful sarong! 🙂
LikeLike