

Hi guys! Today I wanted to share a dollar store tutorial with you that I found useful in creating doll room backdrops.
Awhile back, I made a 3-in-1 doll room play background that had 4 different play options. Don’t get me wrong, these doll rooms see a lot of play, but it is nice to have even more options, especially for photo shoots. We created a classroom backdrop for our doll school in much the same way.
There is an amazing tutorial over at Green&Gorgeous if you would like to make a collapsible doll room, and I’ll tell ya, we will probably be making some of these in the future, but for now all I really wanted were some suitable backdrops at a reasonable price.
And what’s more reasonable than the dollar store right? 🙂
Here is what you need:
A tri-fold science project board
Contact paper or drawer liner
Packing tape
Window printouts, wainscoting or other “wall decor”
I found our tri-fold boards at the dollar store. They are smaller than the regular sized project boards needed to make an actual doll room, but for my purposes, they were perfect. At $1.25 a piece, they were a steal. I promptly bought four.


We bought some pretty drawer liner from the dollar store as well. It works very well for wallpaper.

Now, our tri-fold boards were a tad too tall, so I had to trim them down. I was left with a height of 25″ which I find to be the perfect height for a doll space.
Next, I cut off one of the sides and attached it to the other side with packing tape.

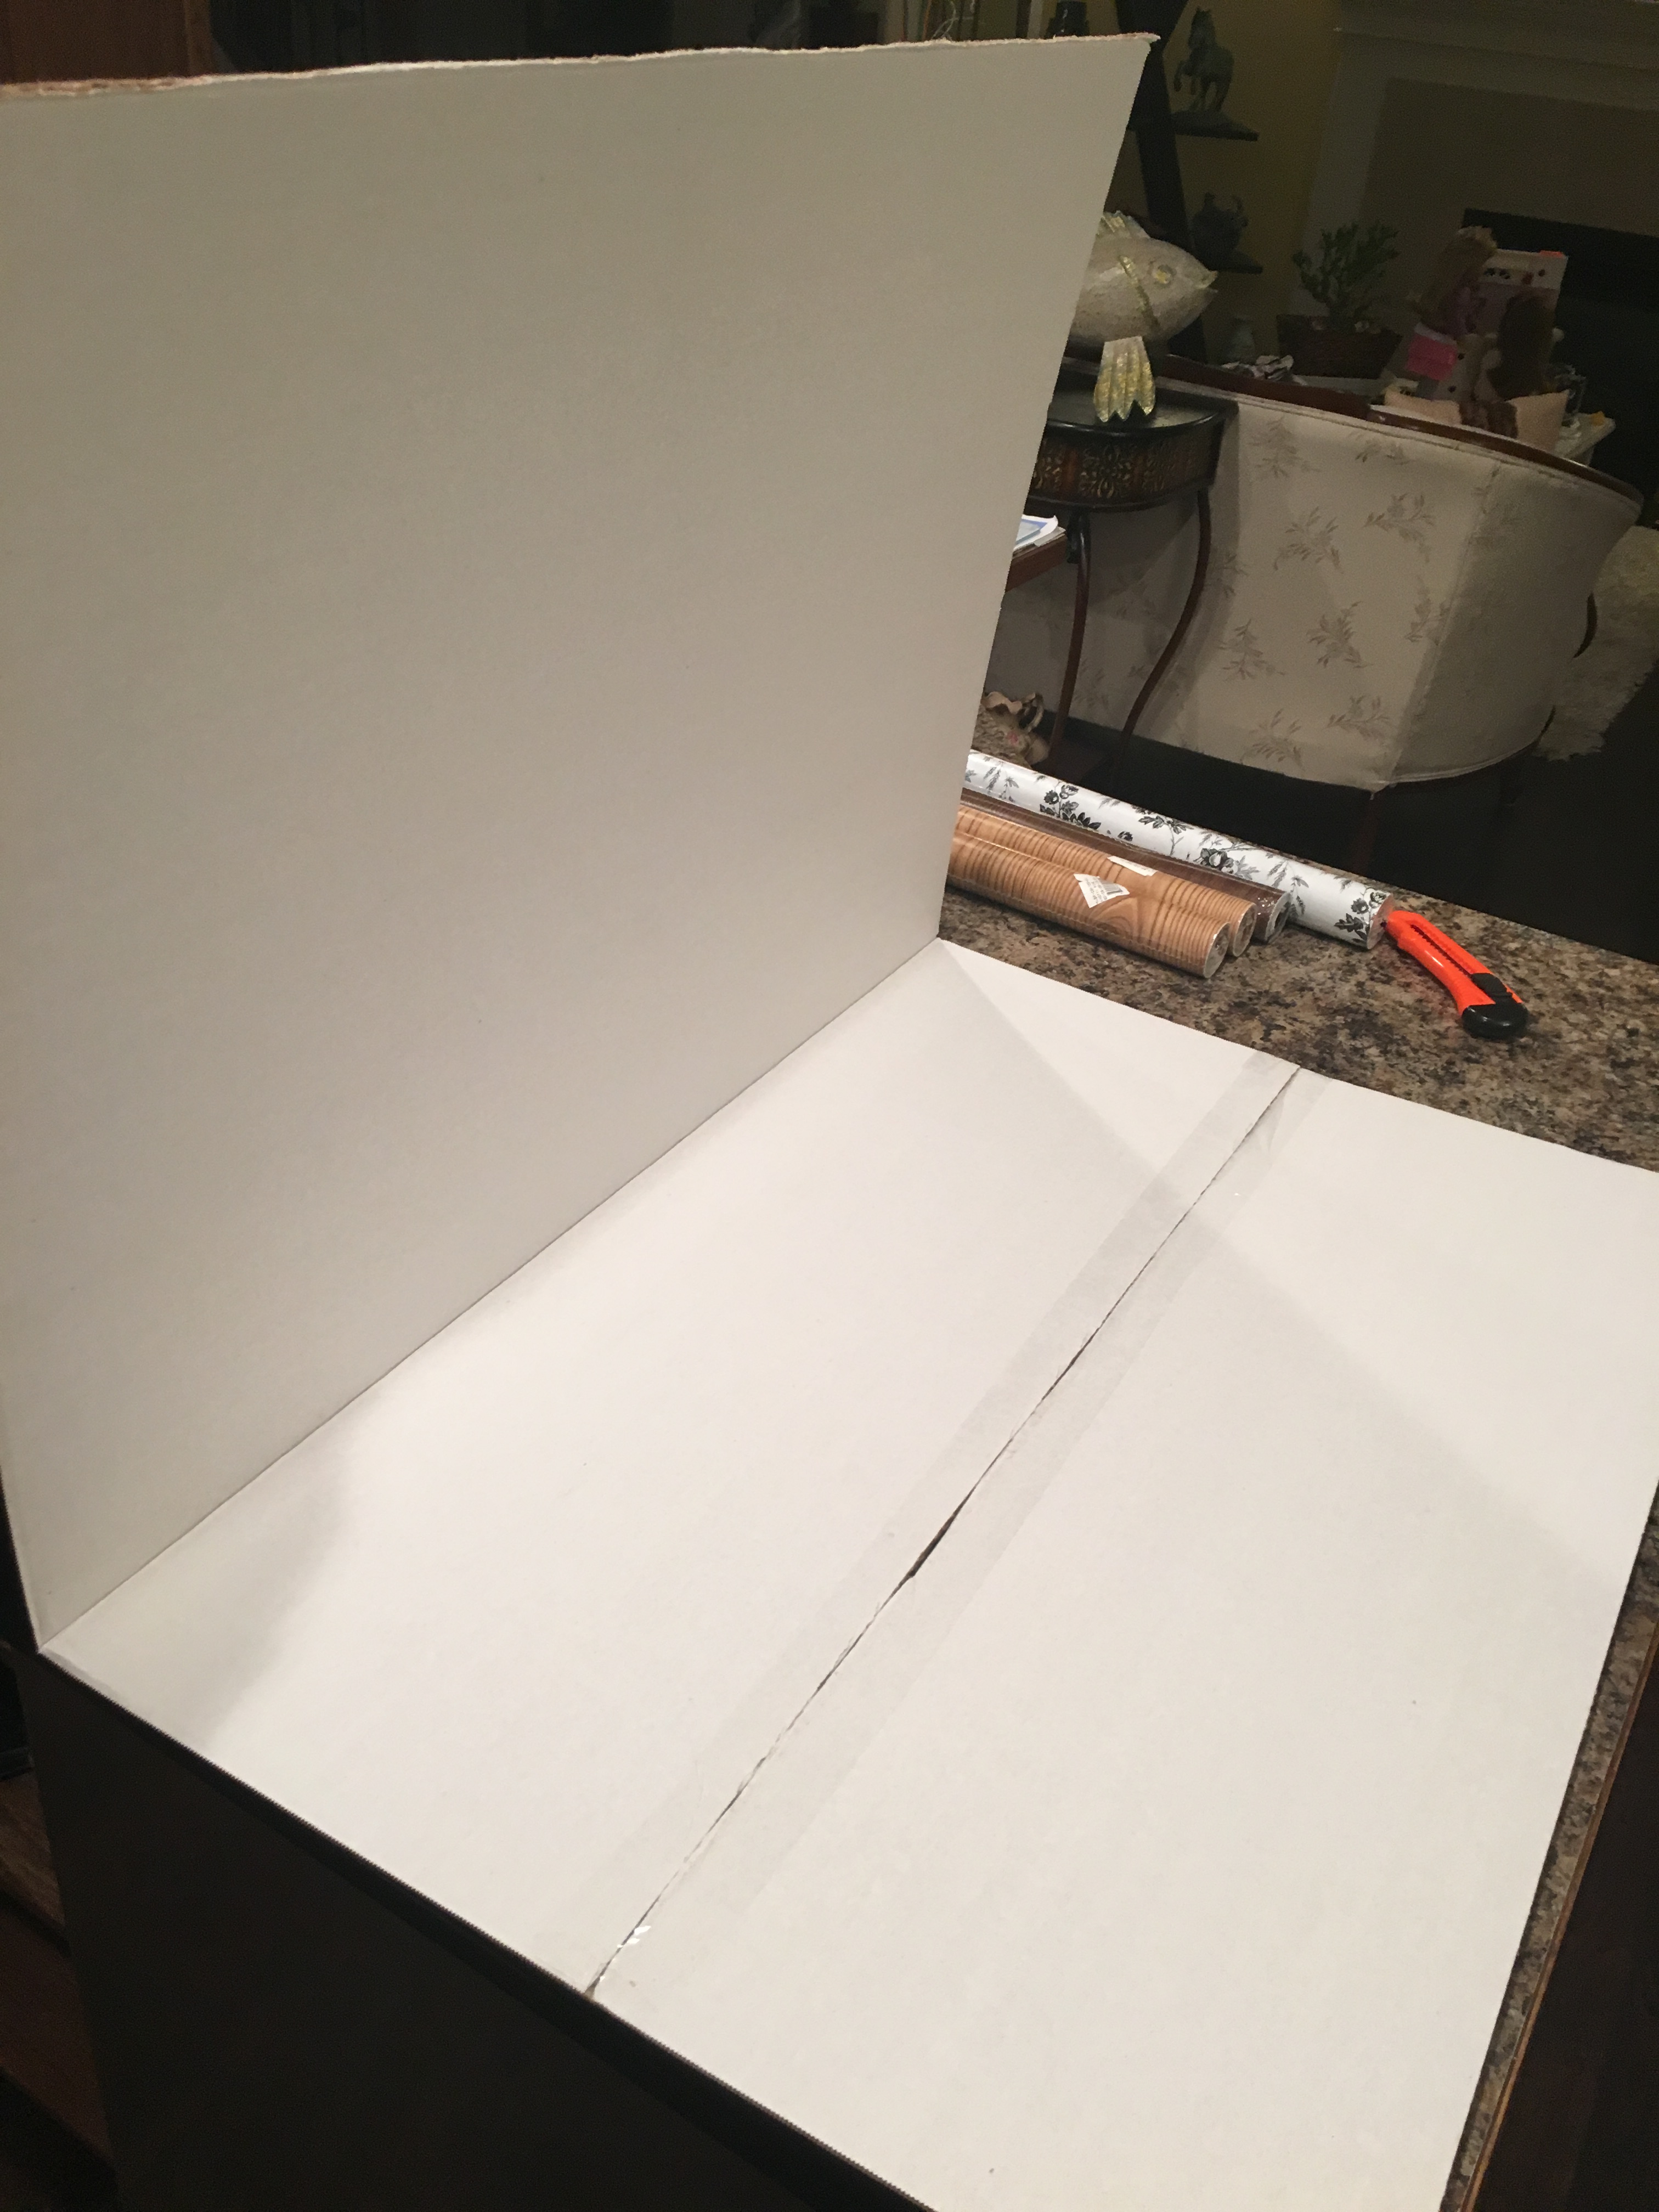
What you should end up with is this:

To put the contact paper on, just remove the backing as you go.

You can cover the entire thing with contact paper or you can create different looks. For this one, I chose to cover part of the board with paper.
Then I found some printable wainscoting online and used that for the bottom half. I printed out five sheets of wainscoting, and stuck them on there with hot glue and tape.
I made two backdrops so far. I didn’t worry about cutting down the black and white one, so it’s taller. If you want, you can make the boards double sided by creating another room on the back. I just used a carpet mat for the bedroom floor.
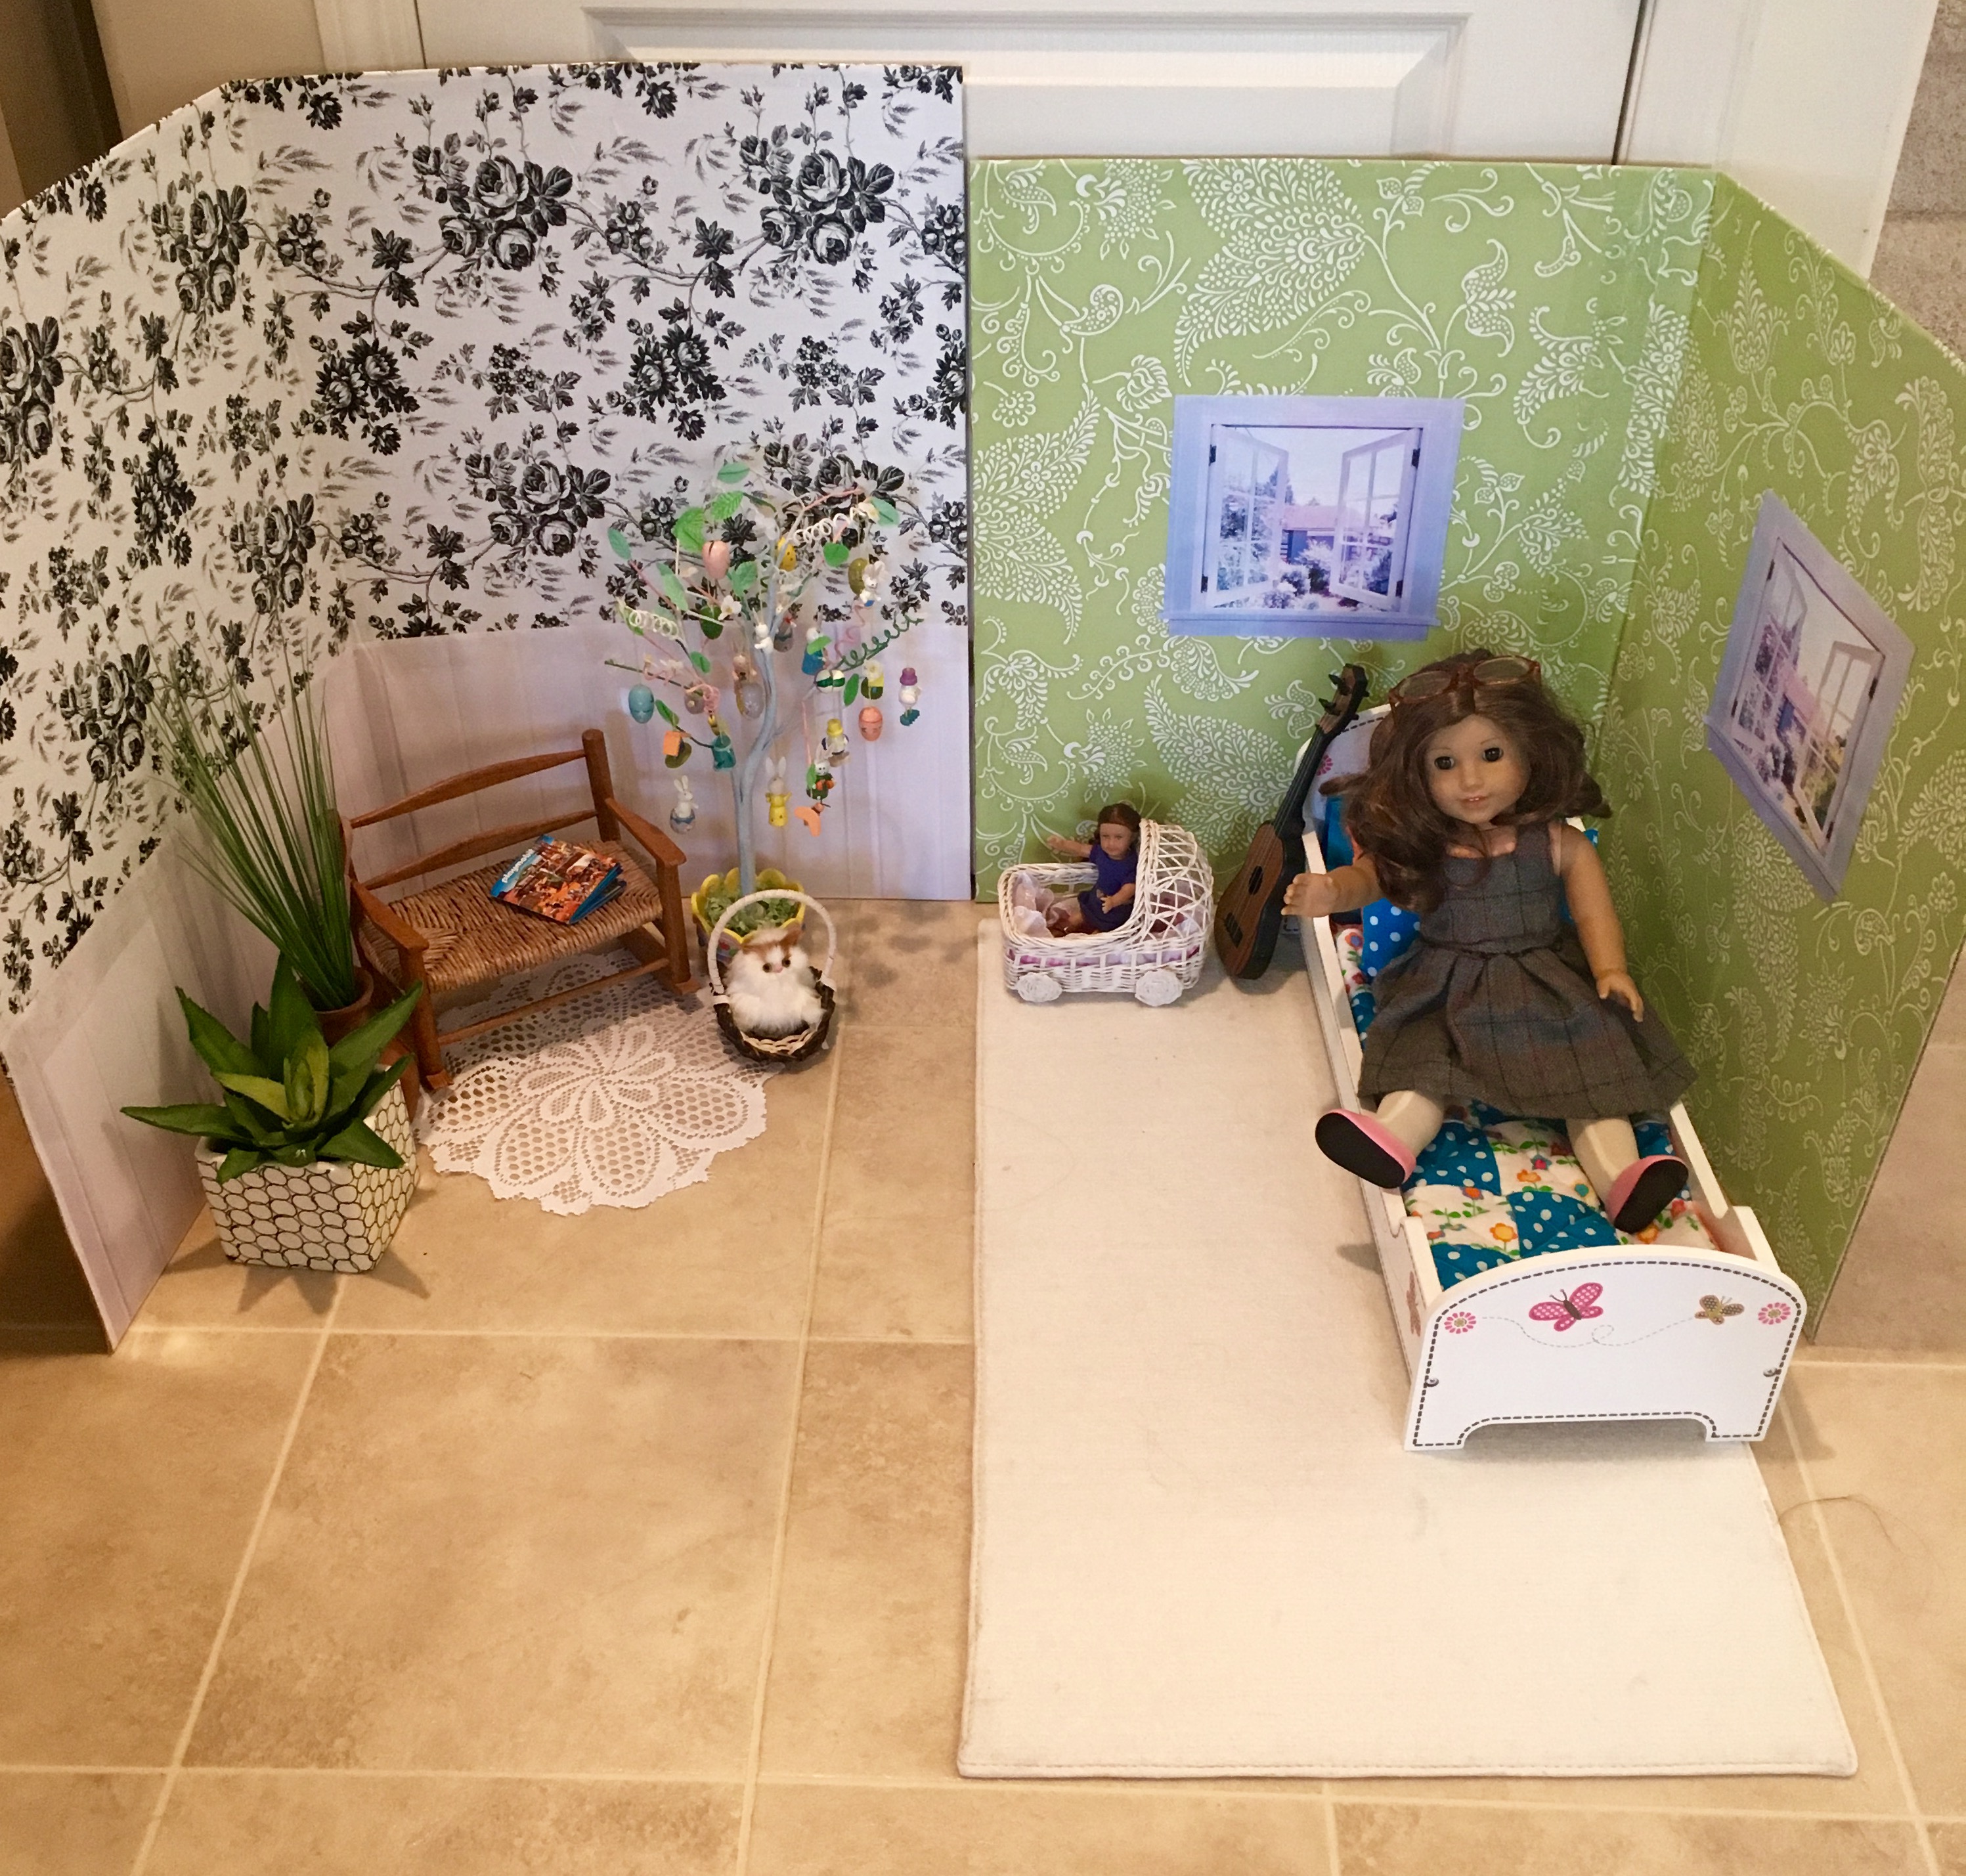
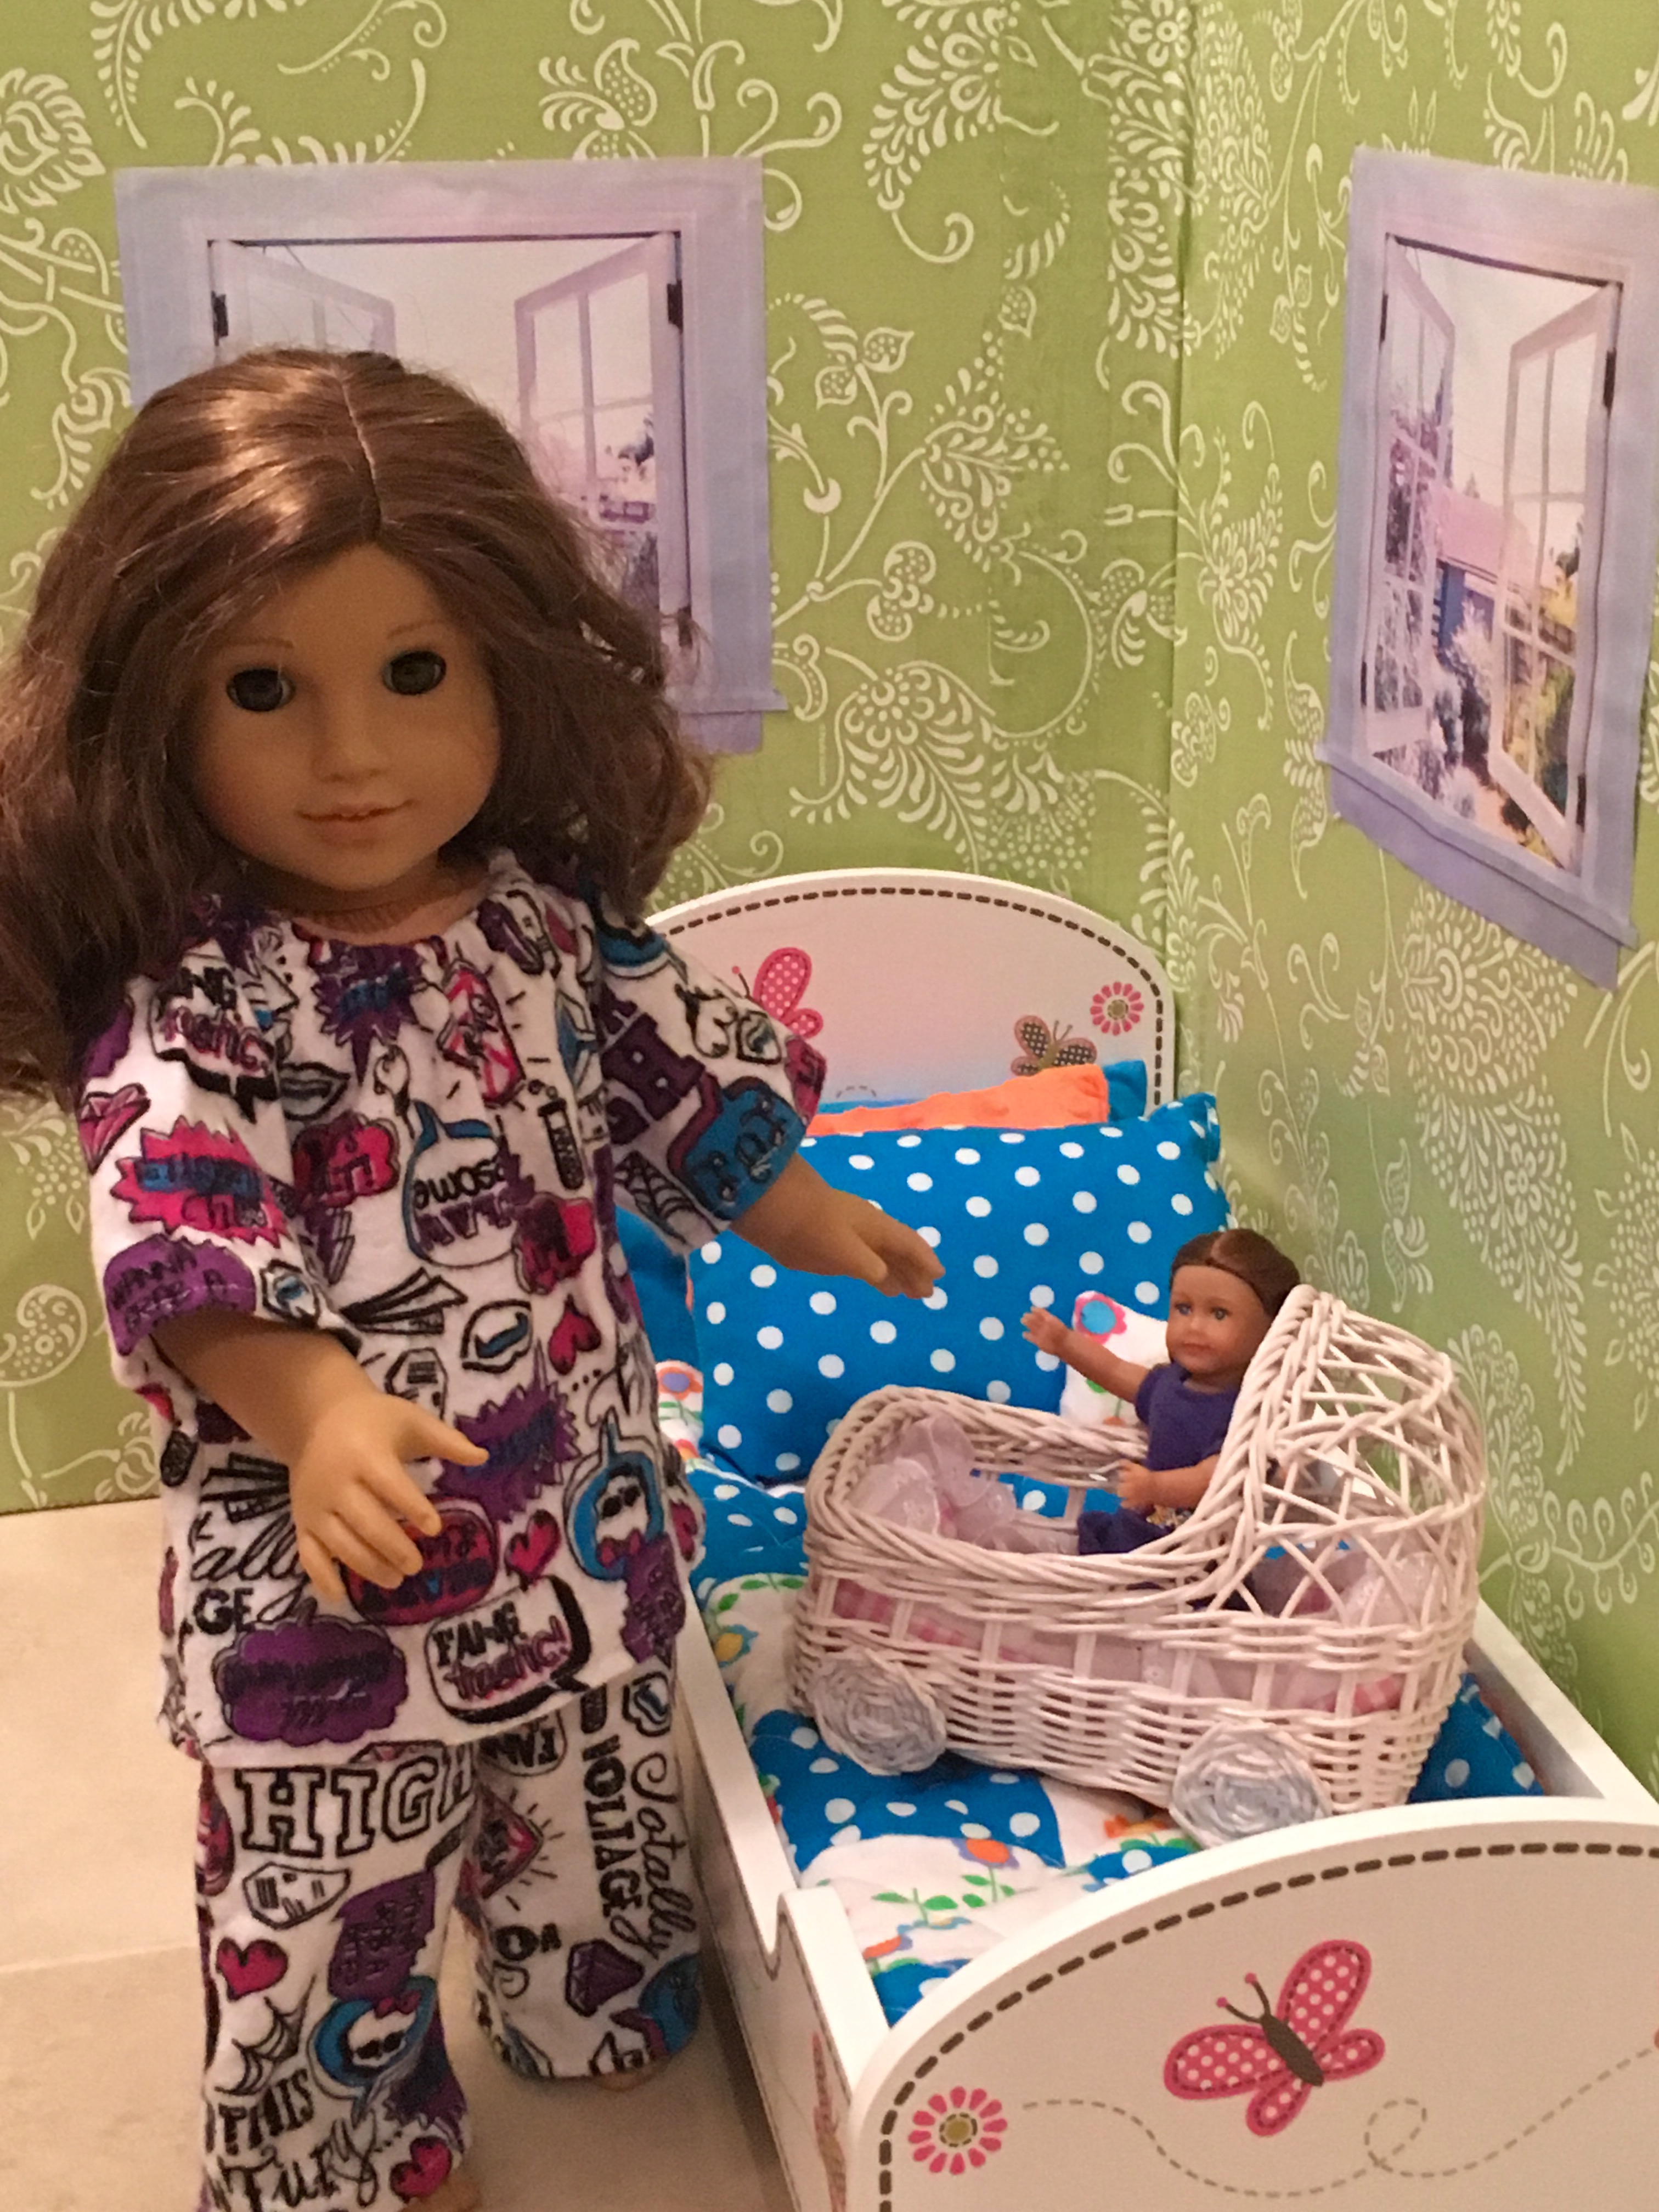
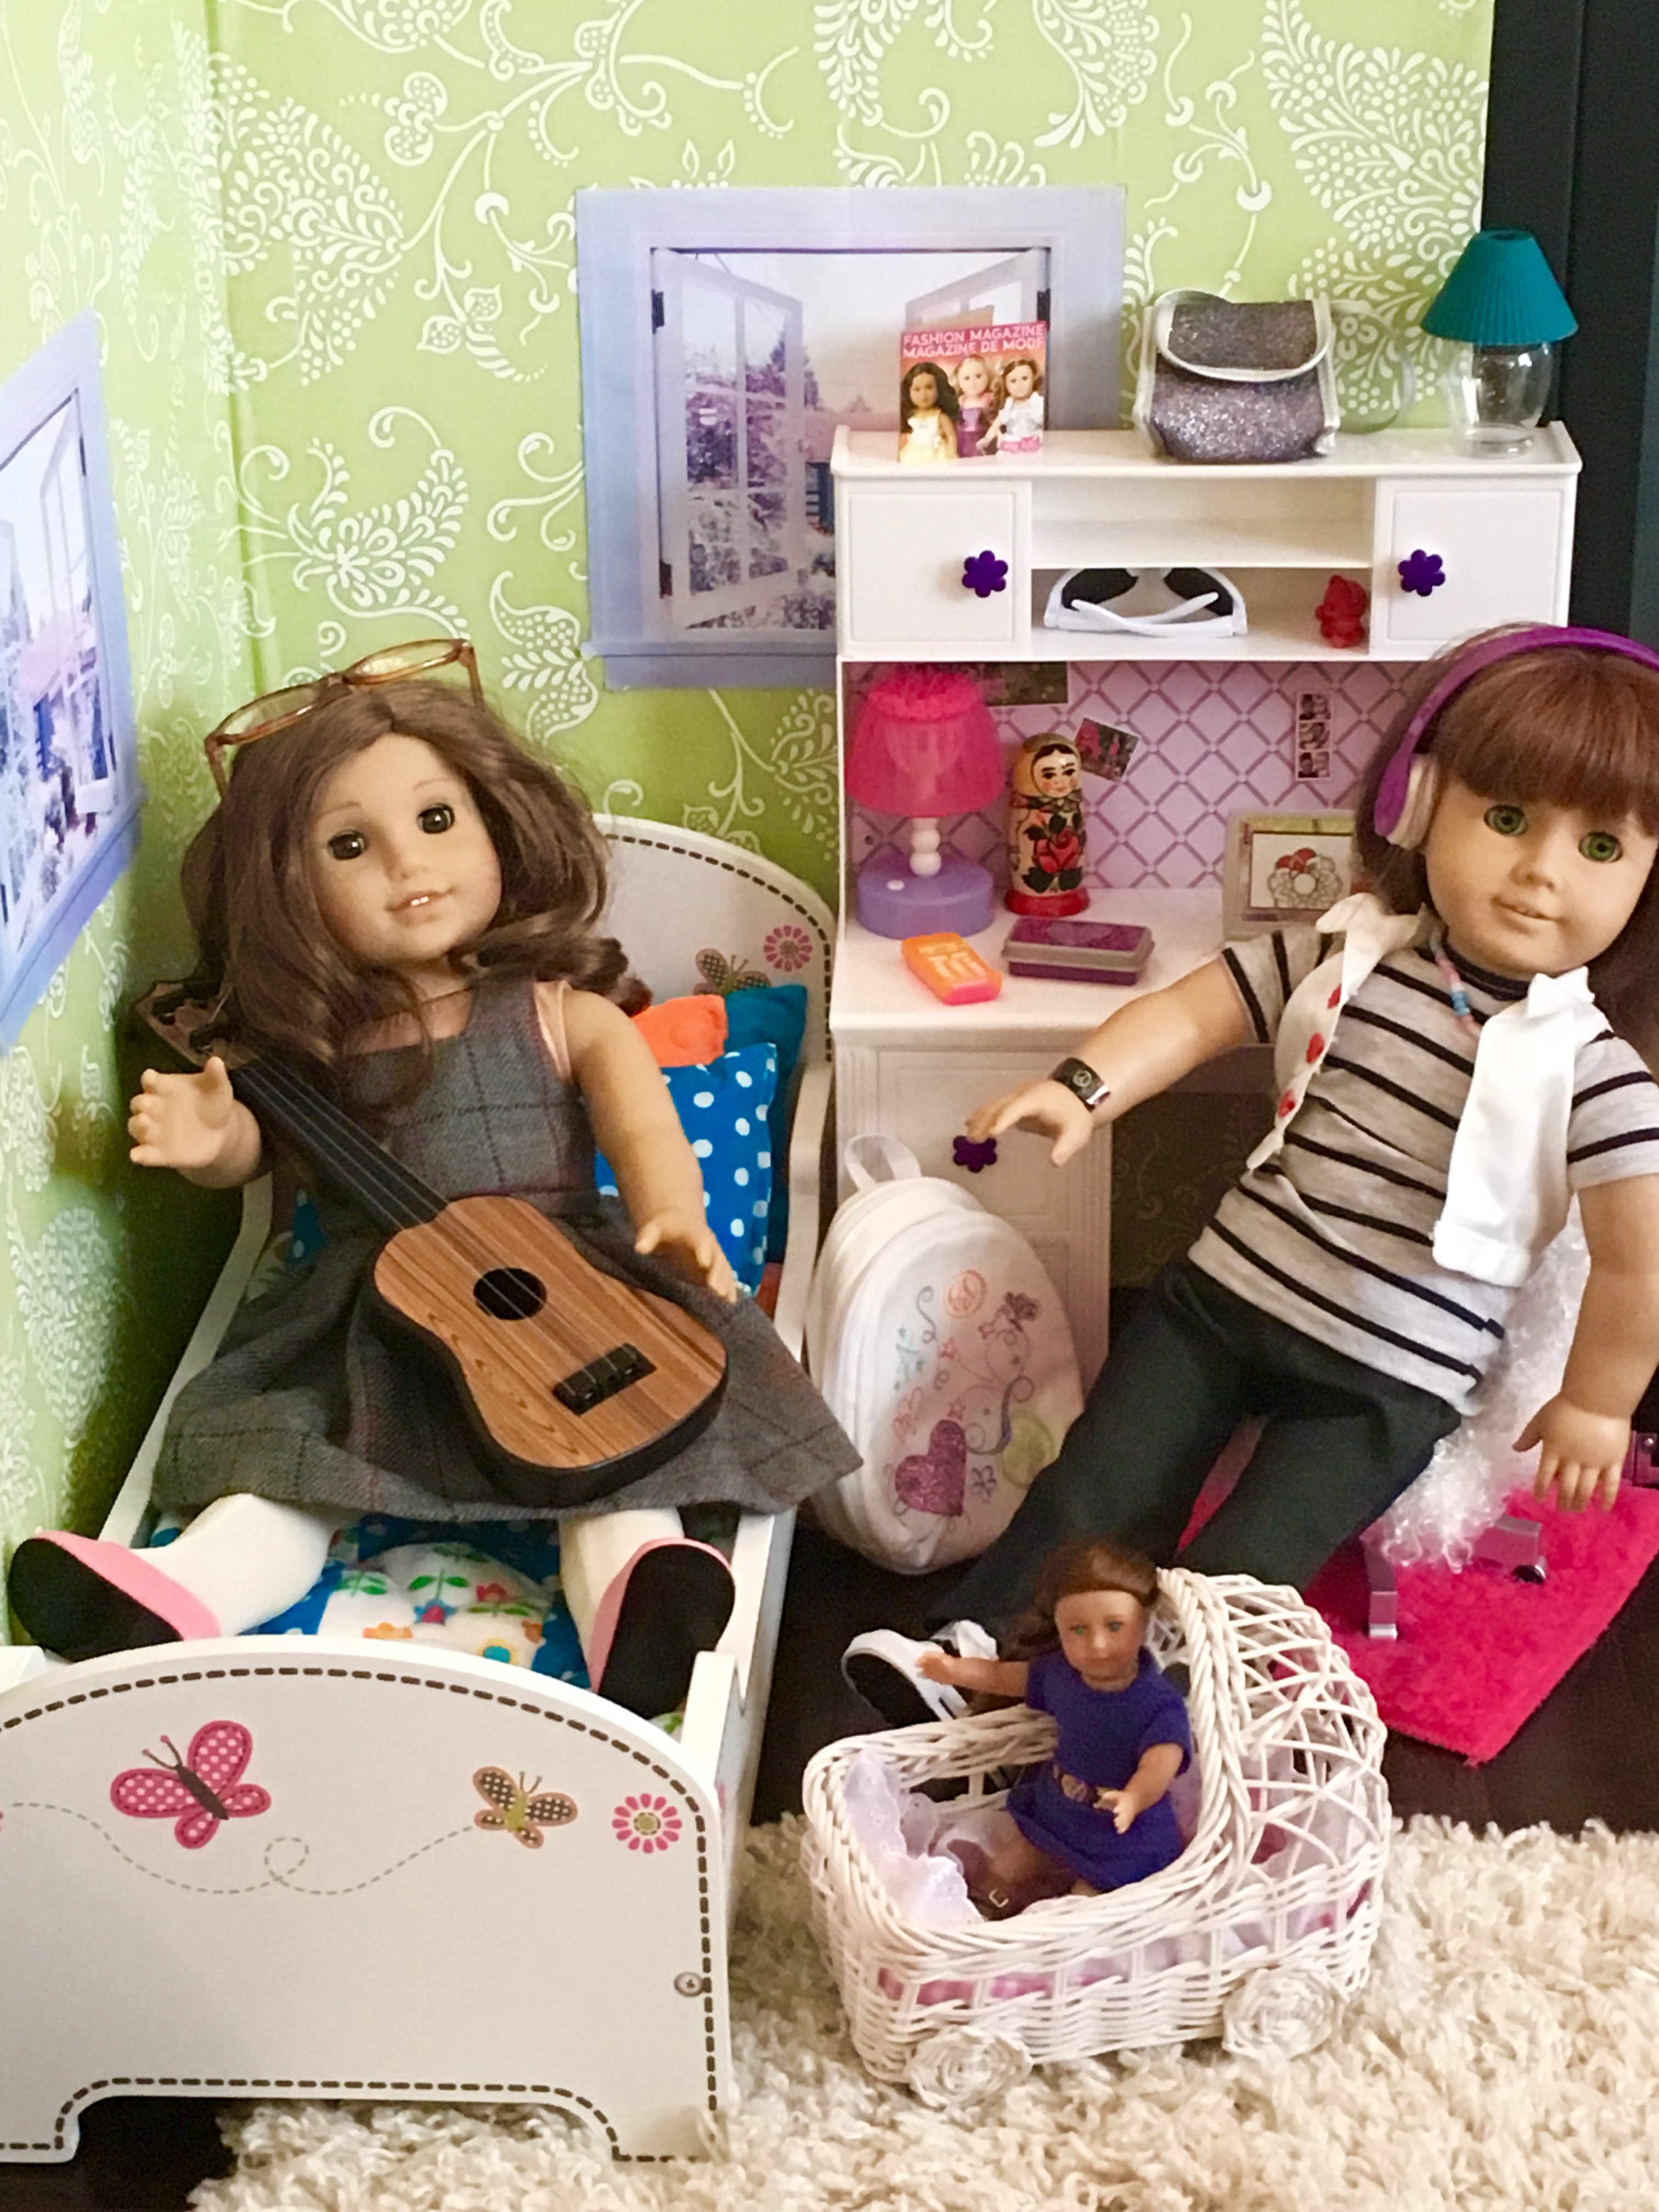
Here are some close up pics of the first room. I decided to feature Rebecca today as her birthday is coming up right away. I found the gorgeous little wicker bassinet for the mini dolls at a thrift store. ❤


I made all the bedding as well as Rebecca’s Monster High pajamas.
The little guitar was a find from the Dollar Tree.

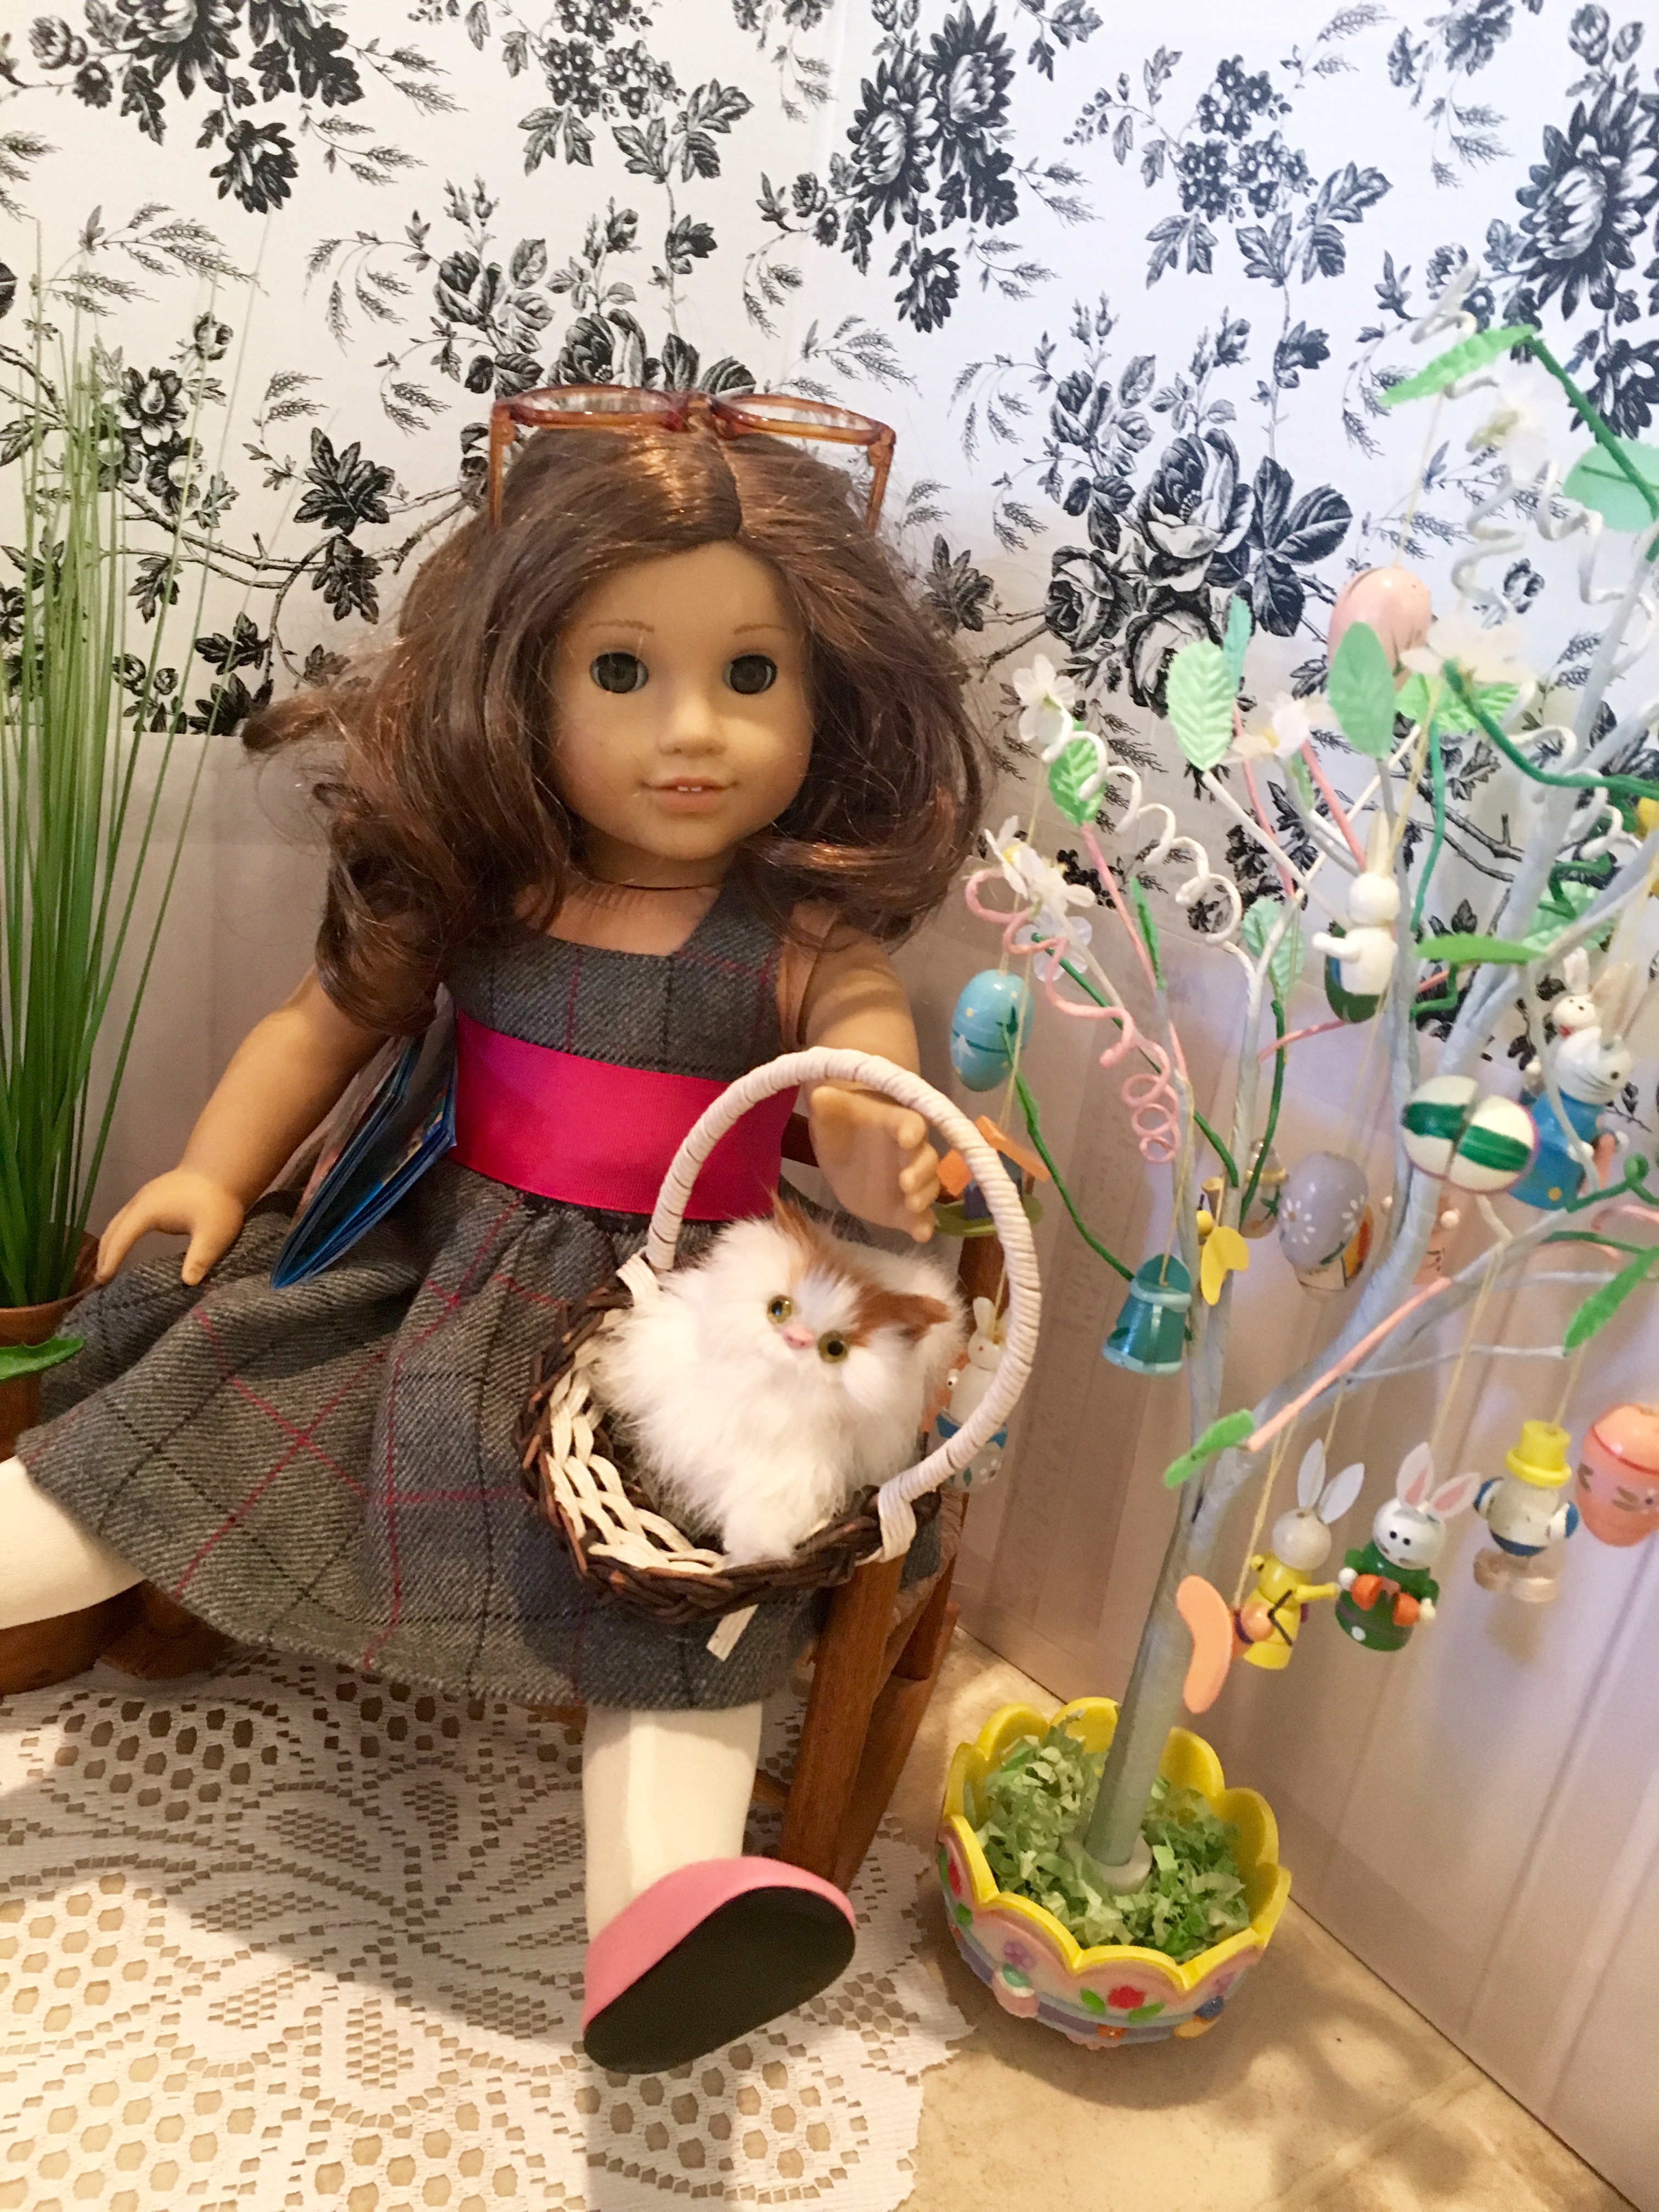
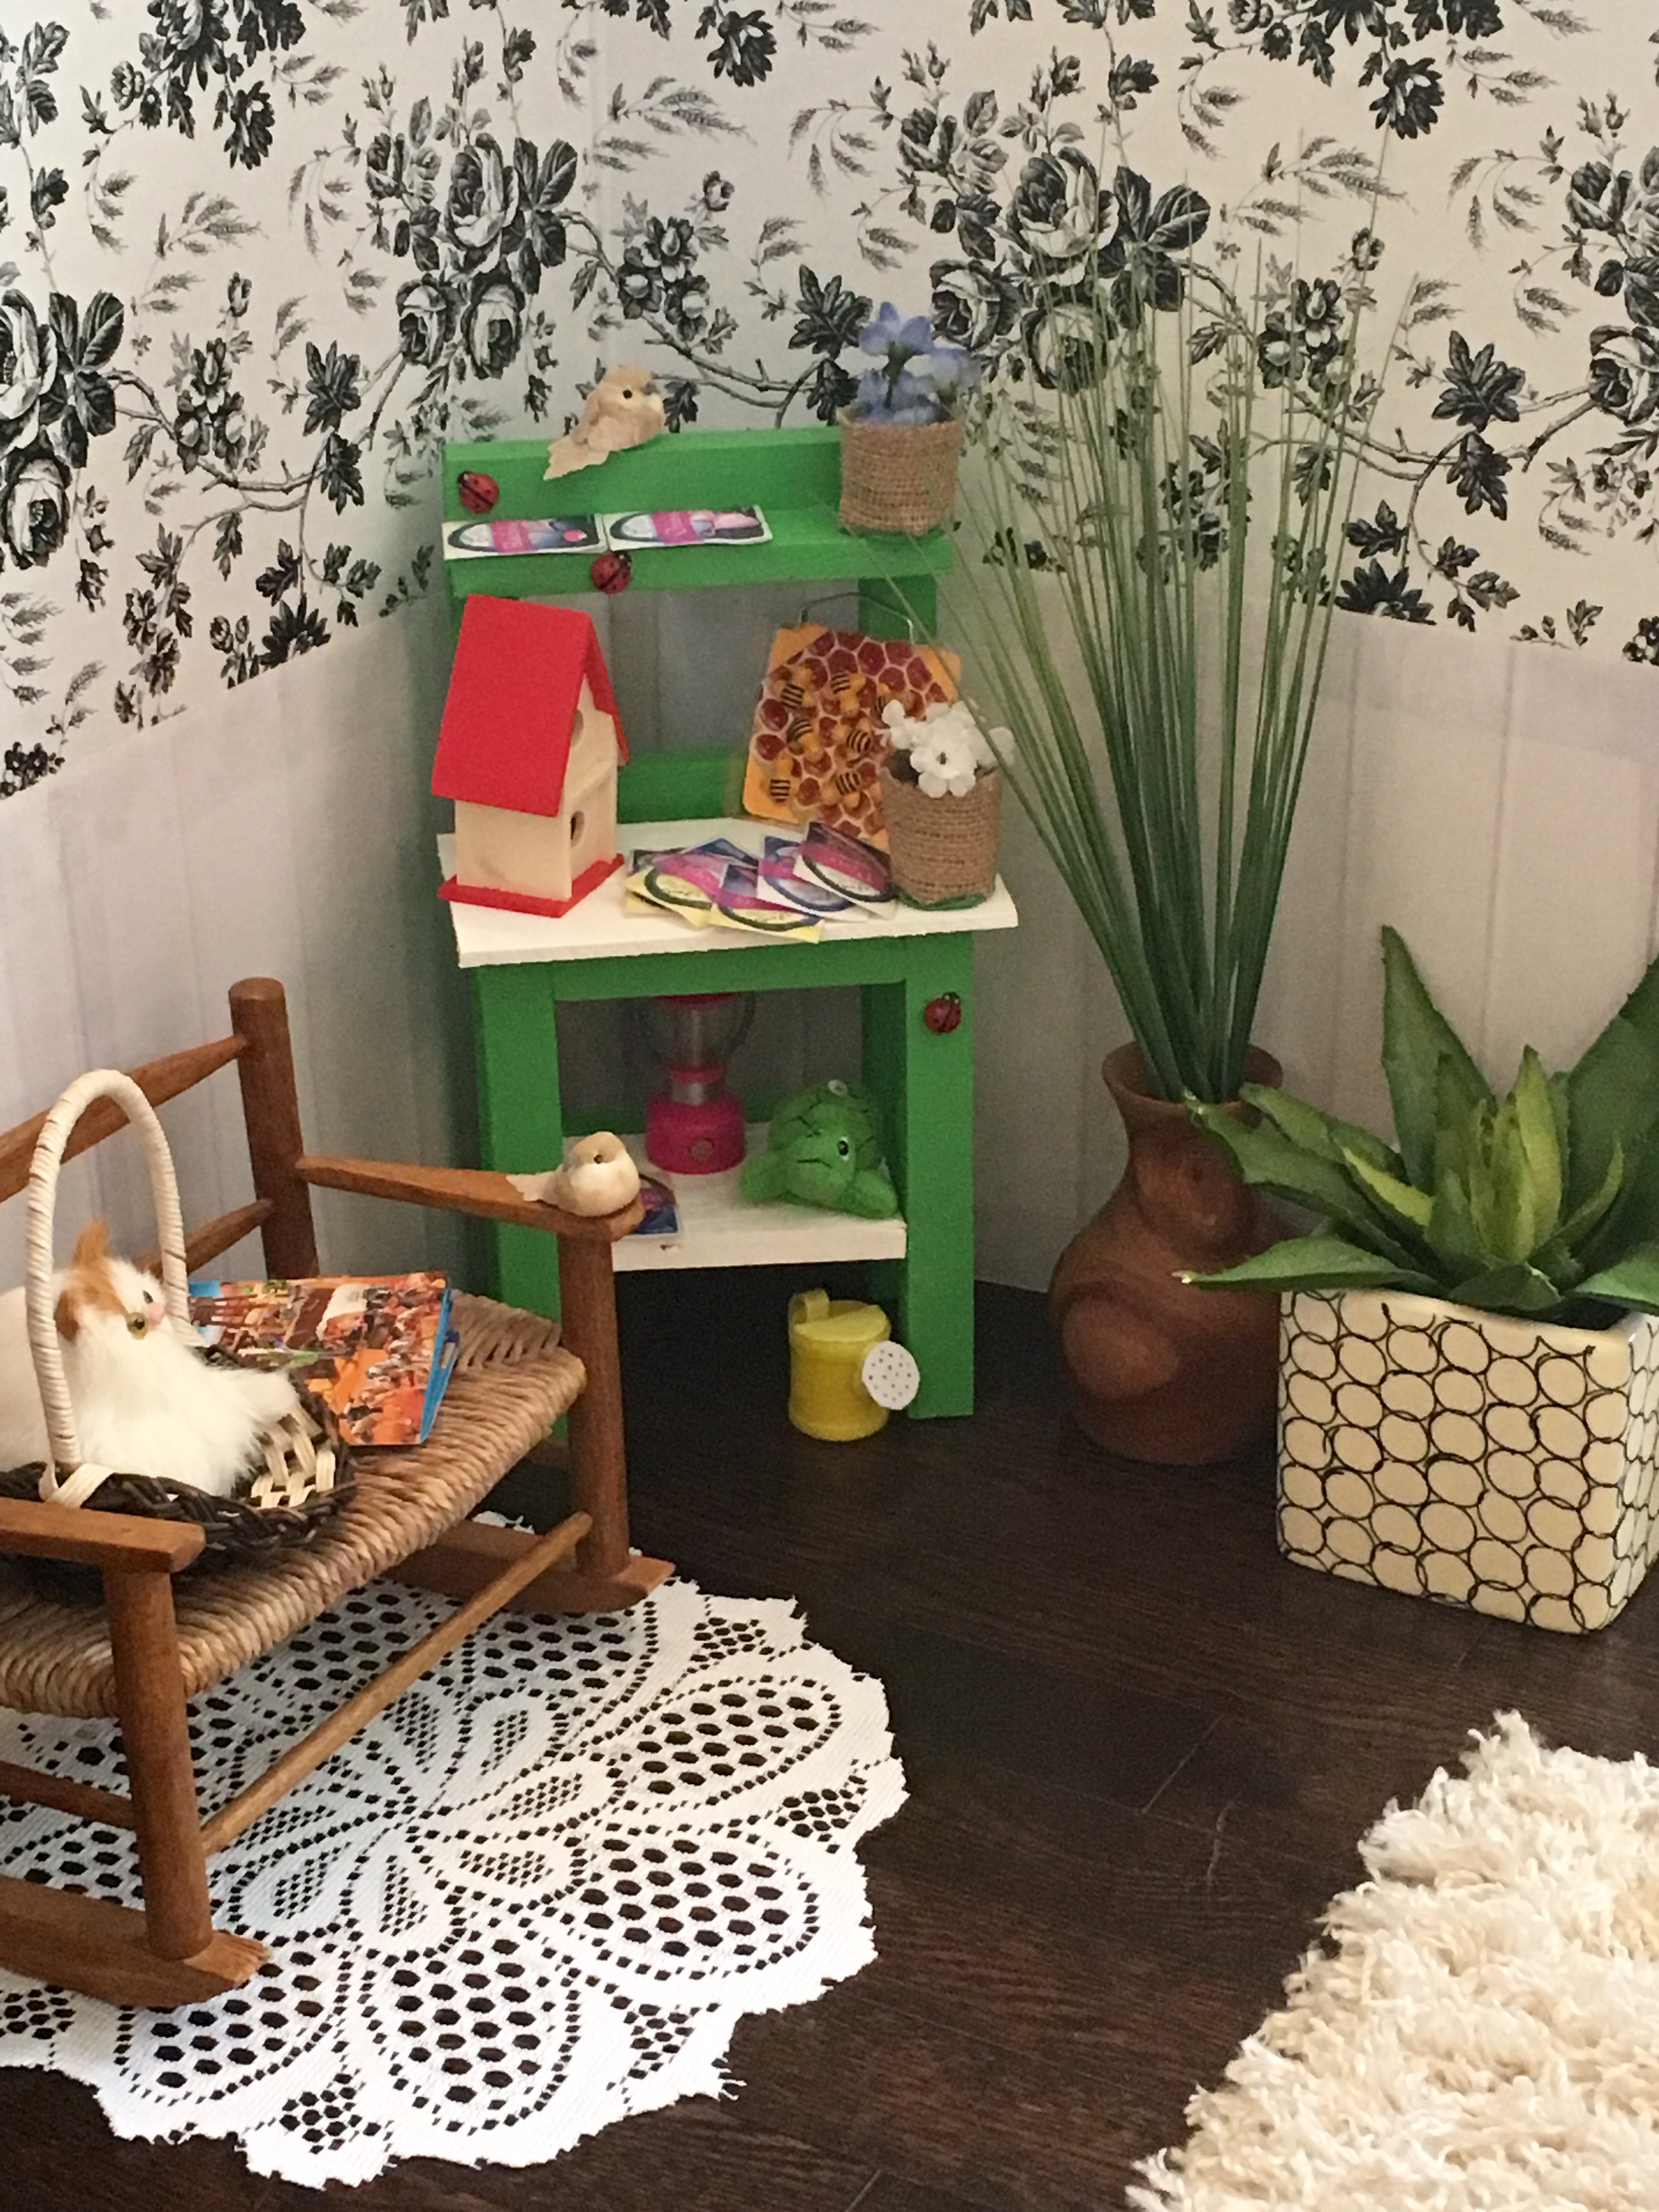
Here are some pics of the second room we made. I was thinking that this one could be used as a dining area, but for now I just used this cute little bench that we found at a thrift store.
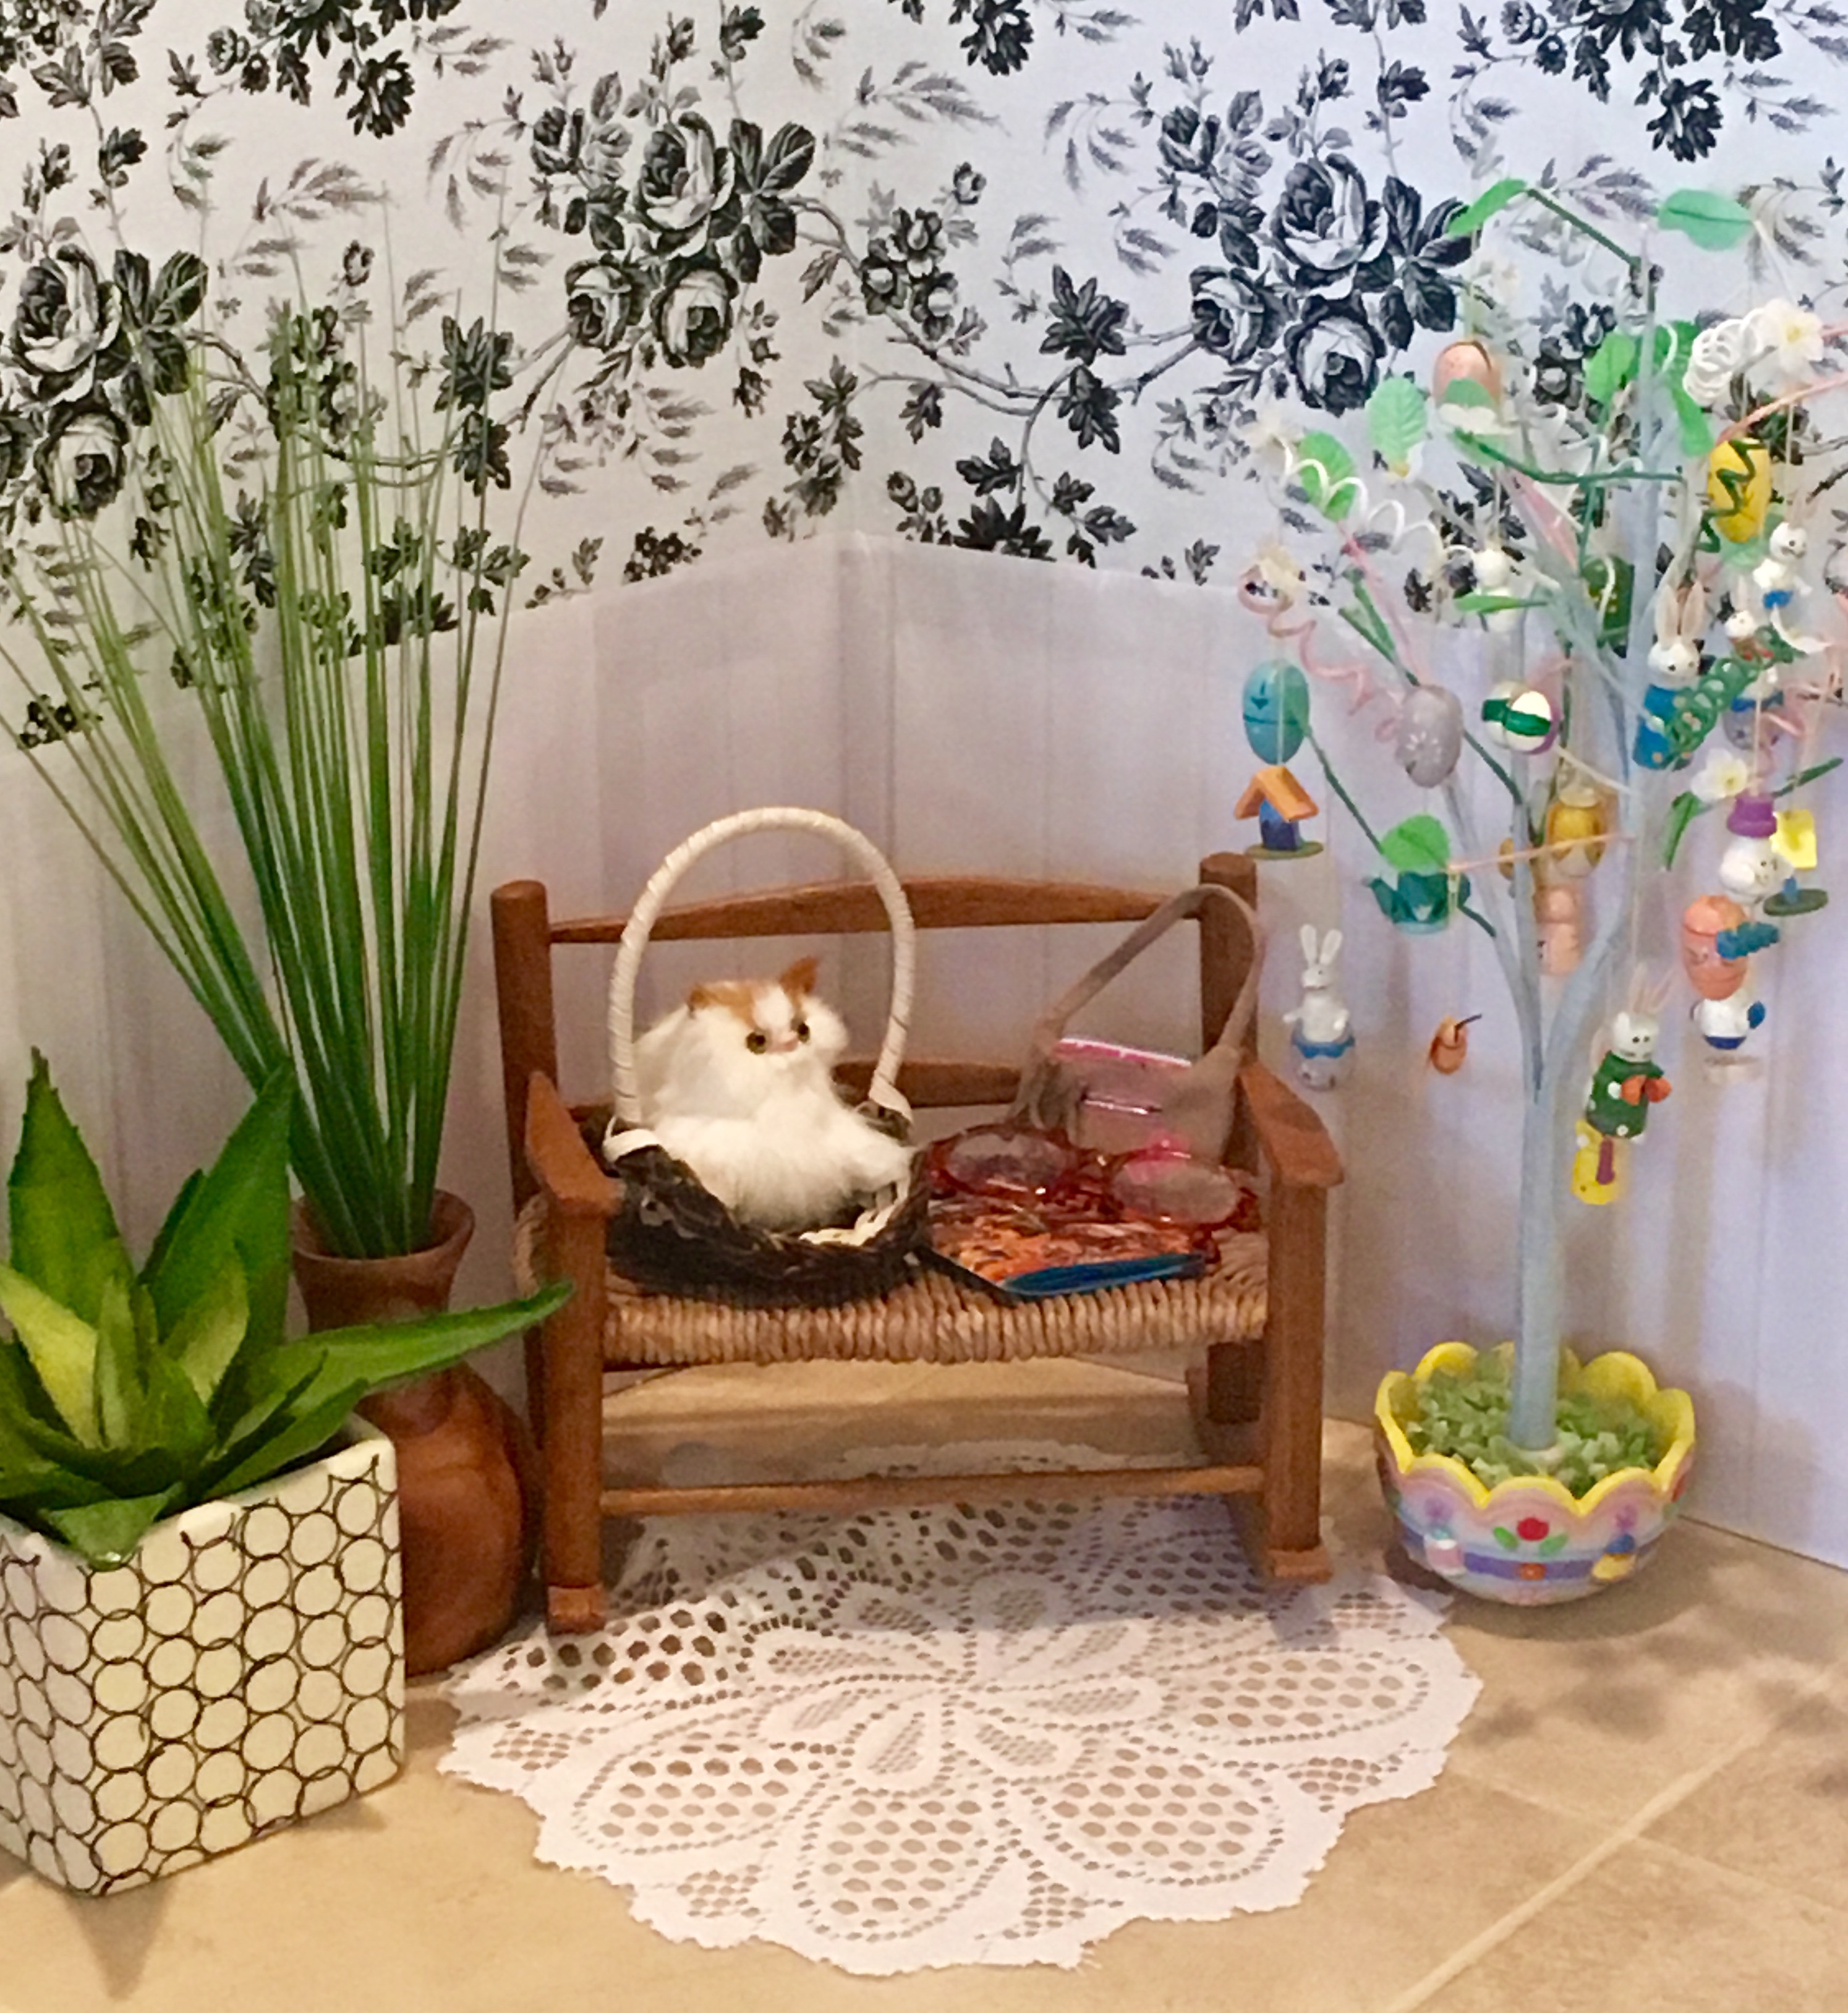
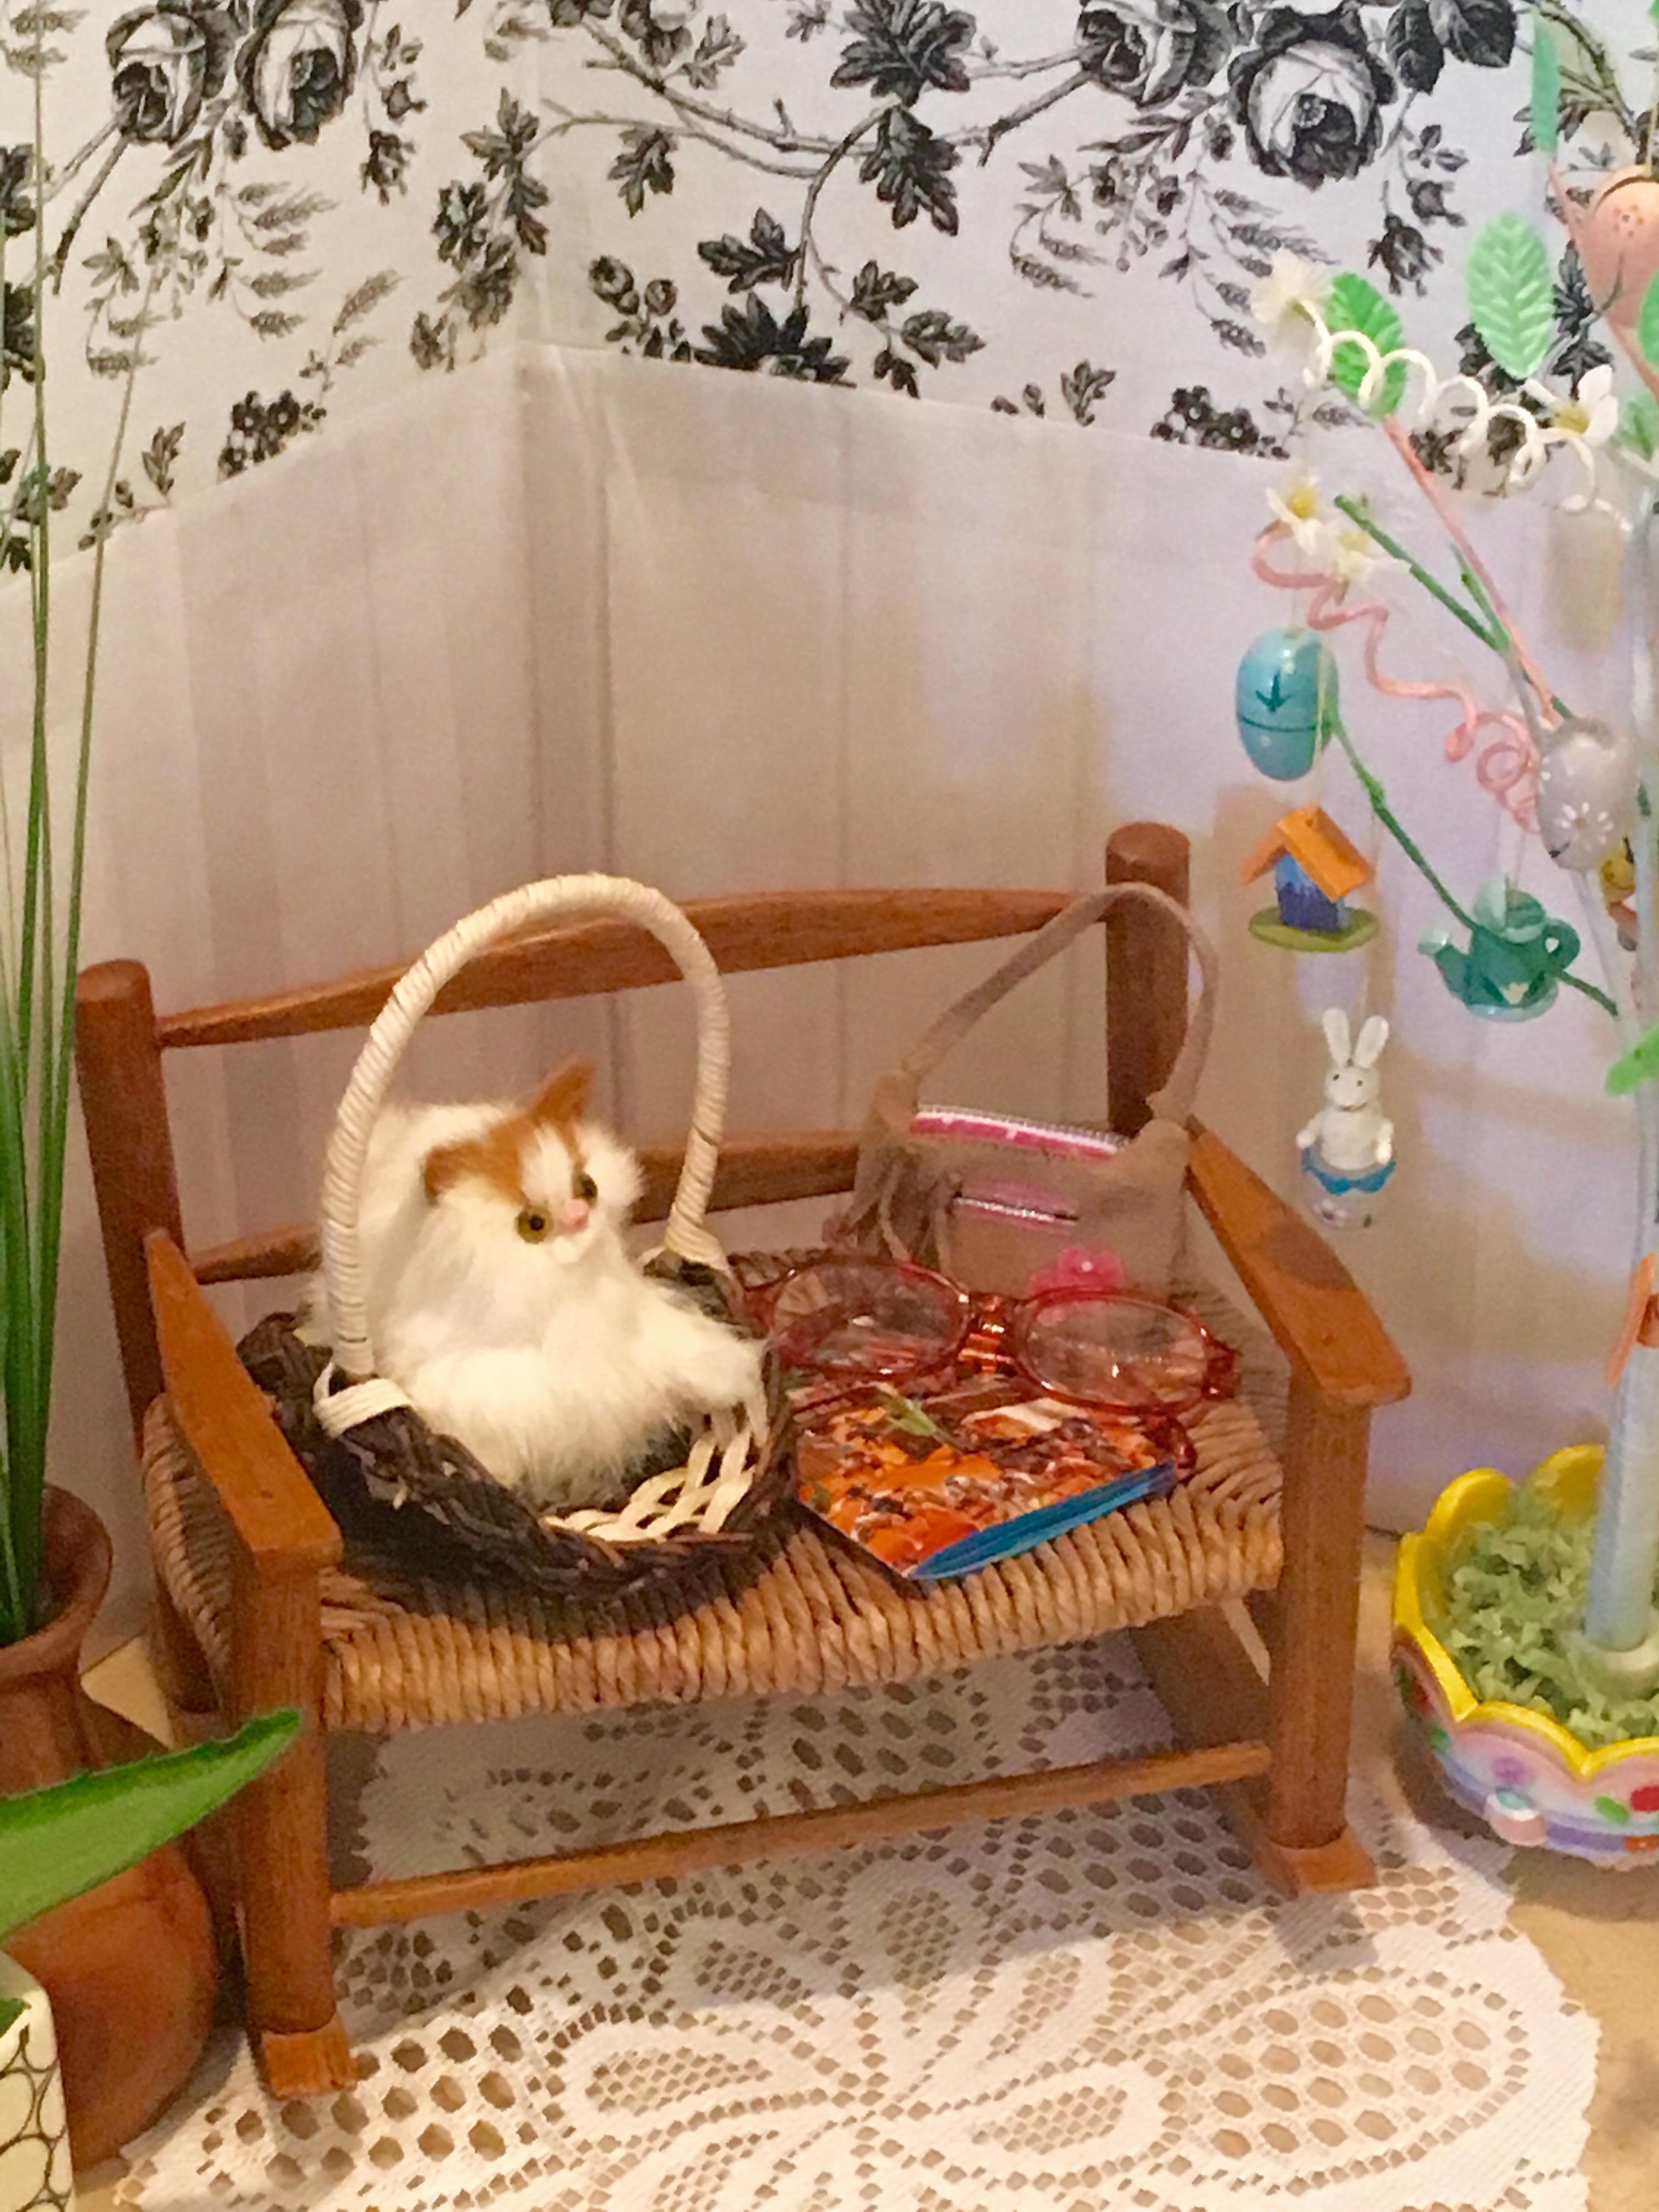
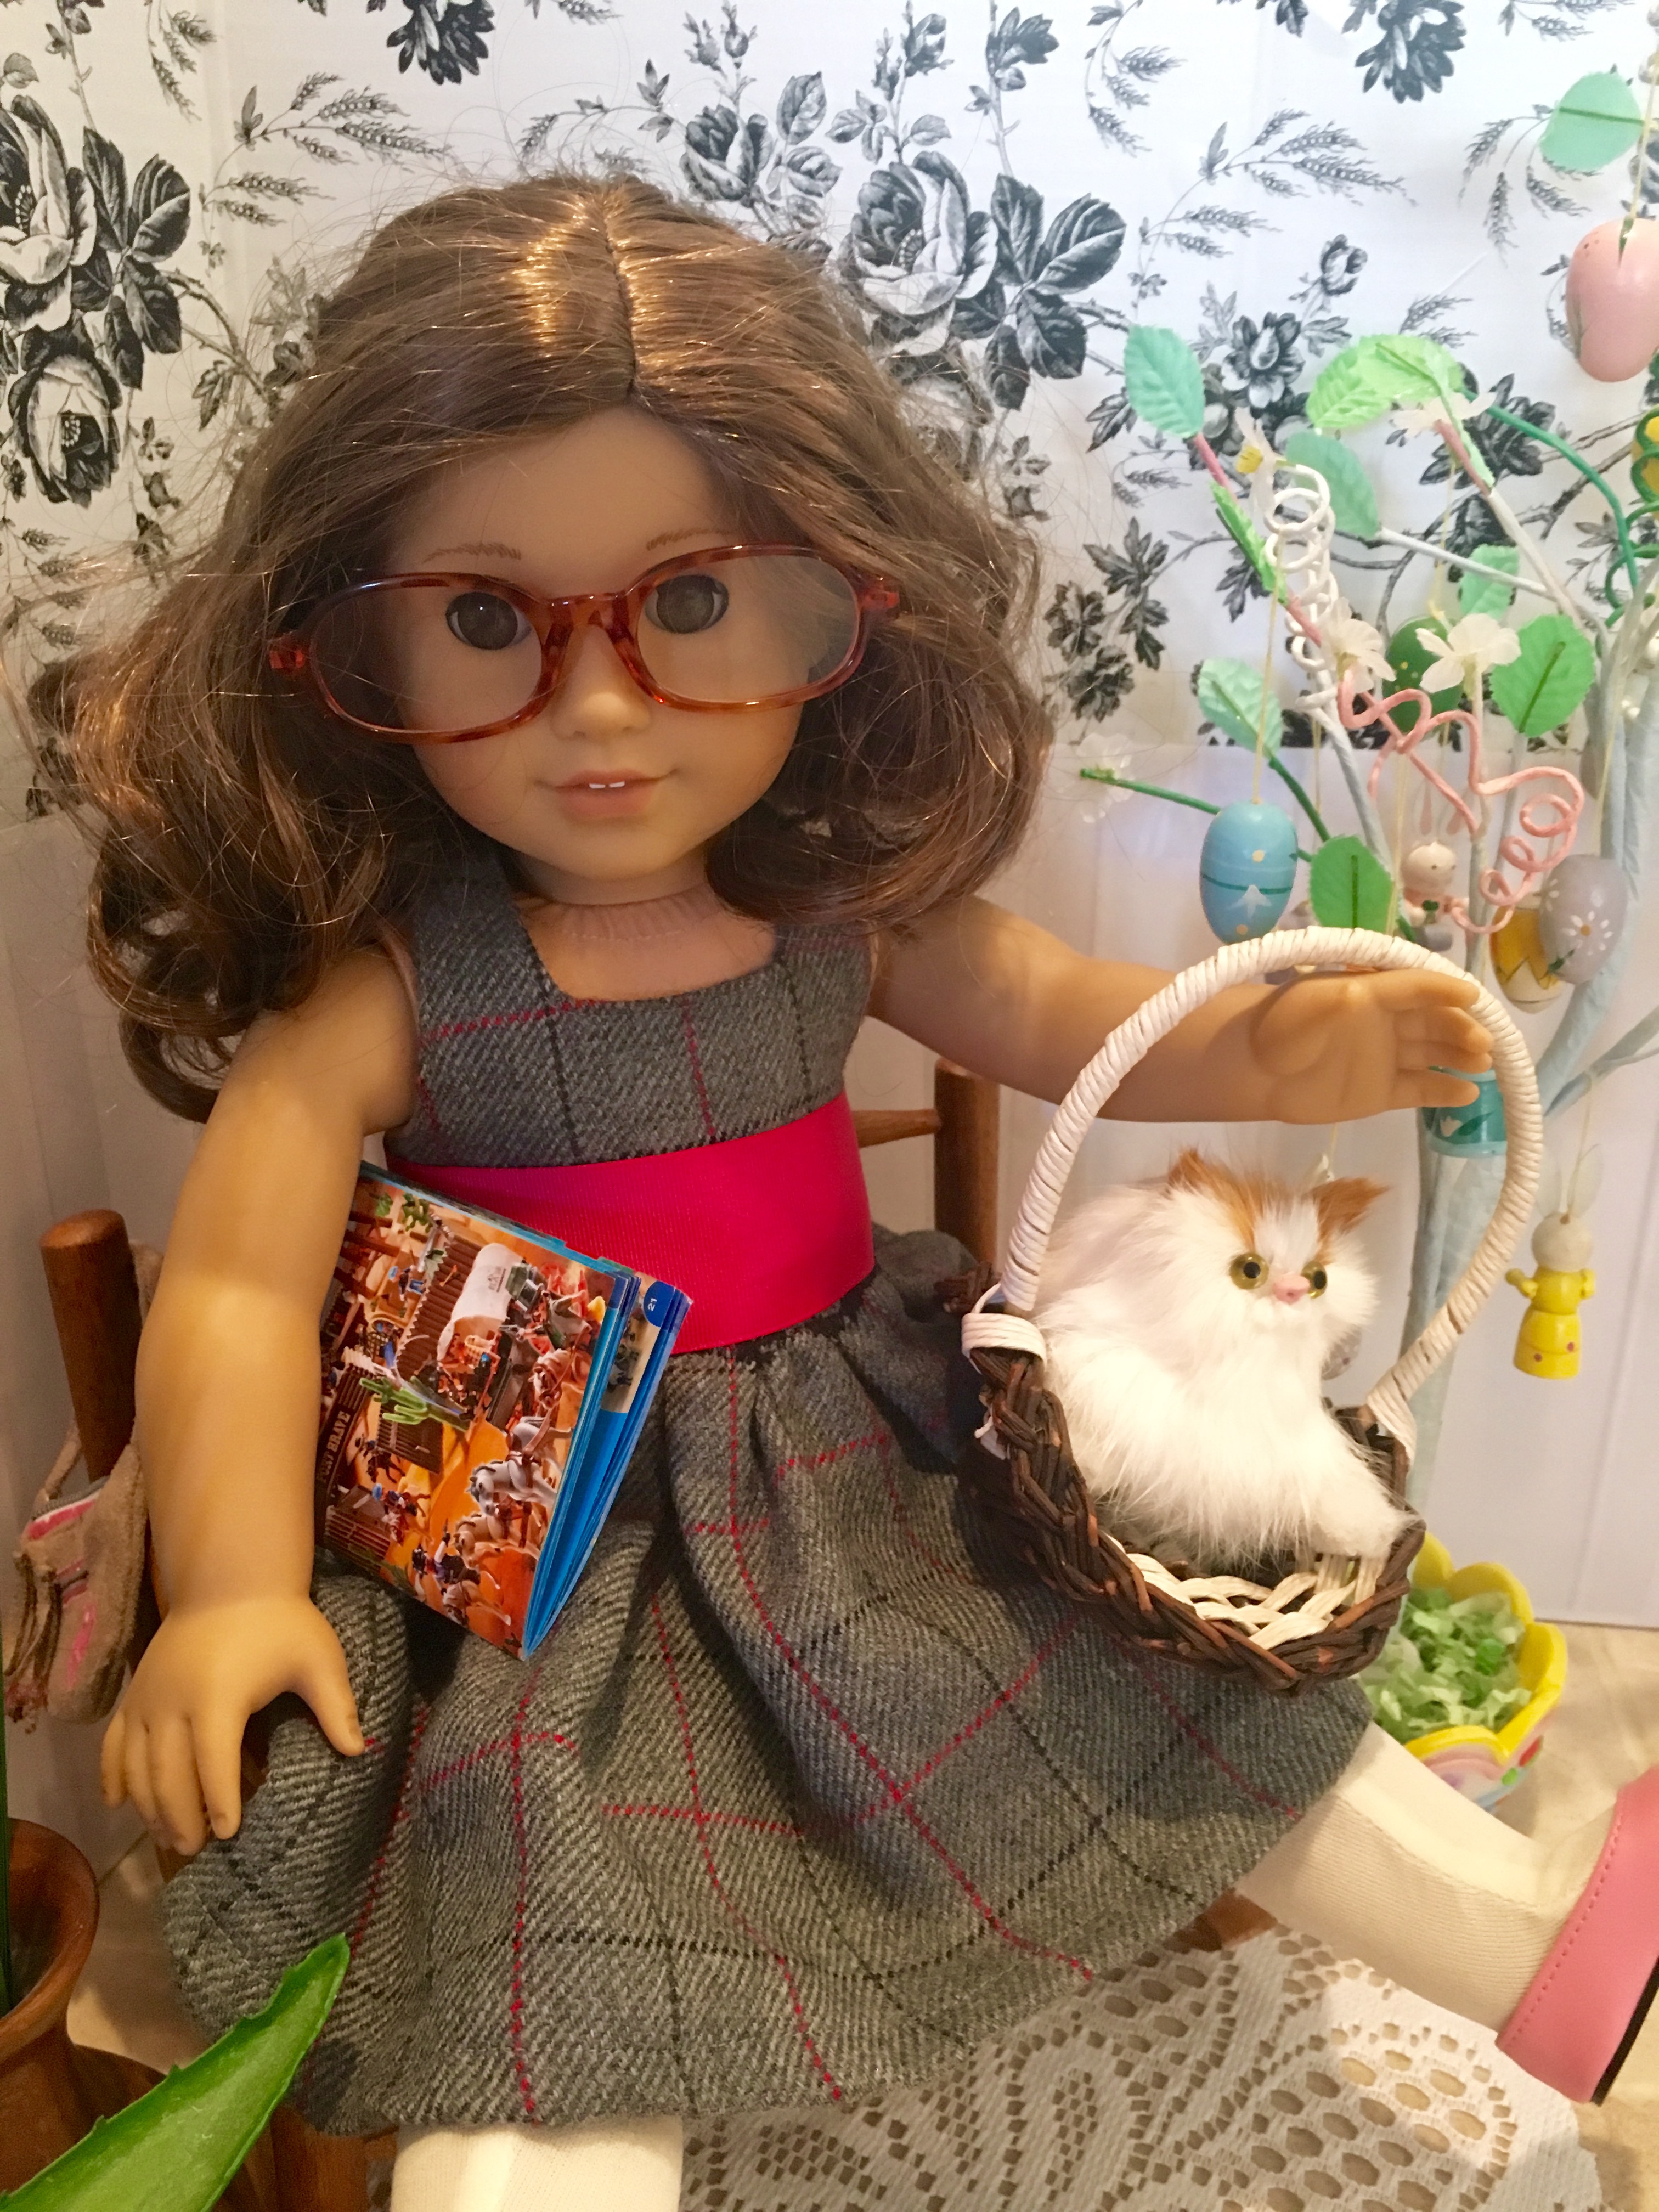
I know that Easter is over, but I just love this little tree. 🙂 ❤

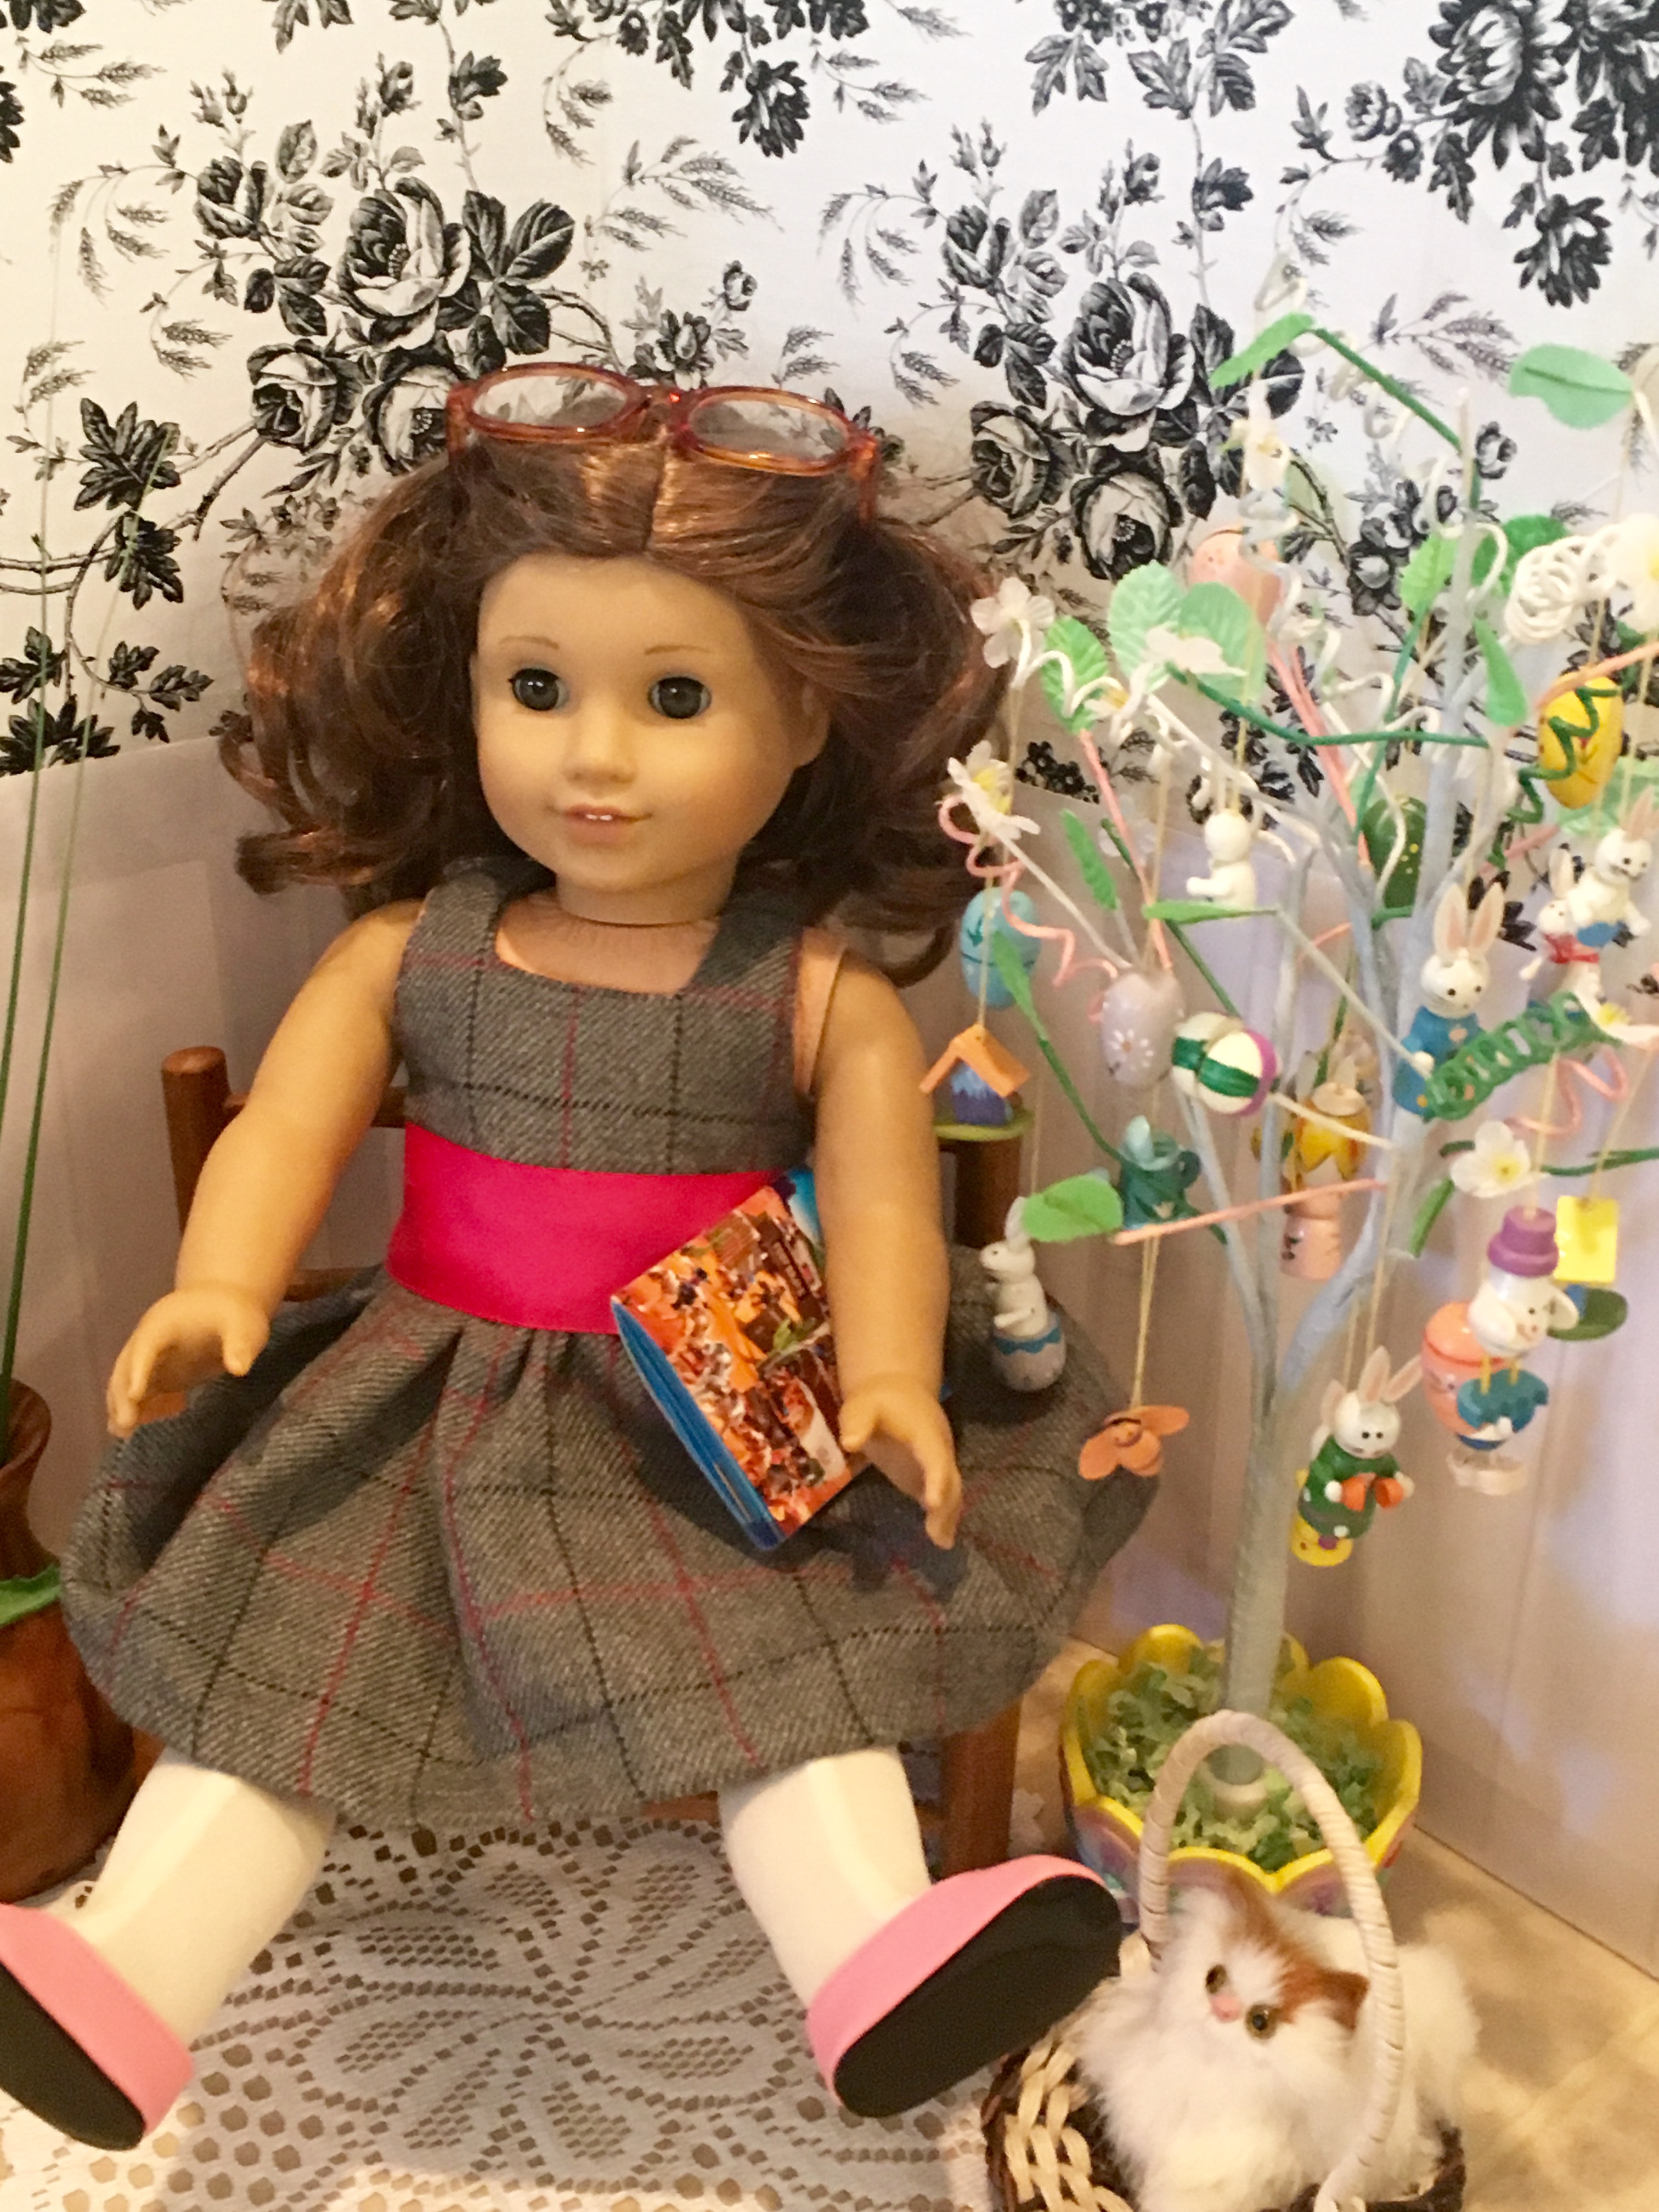

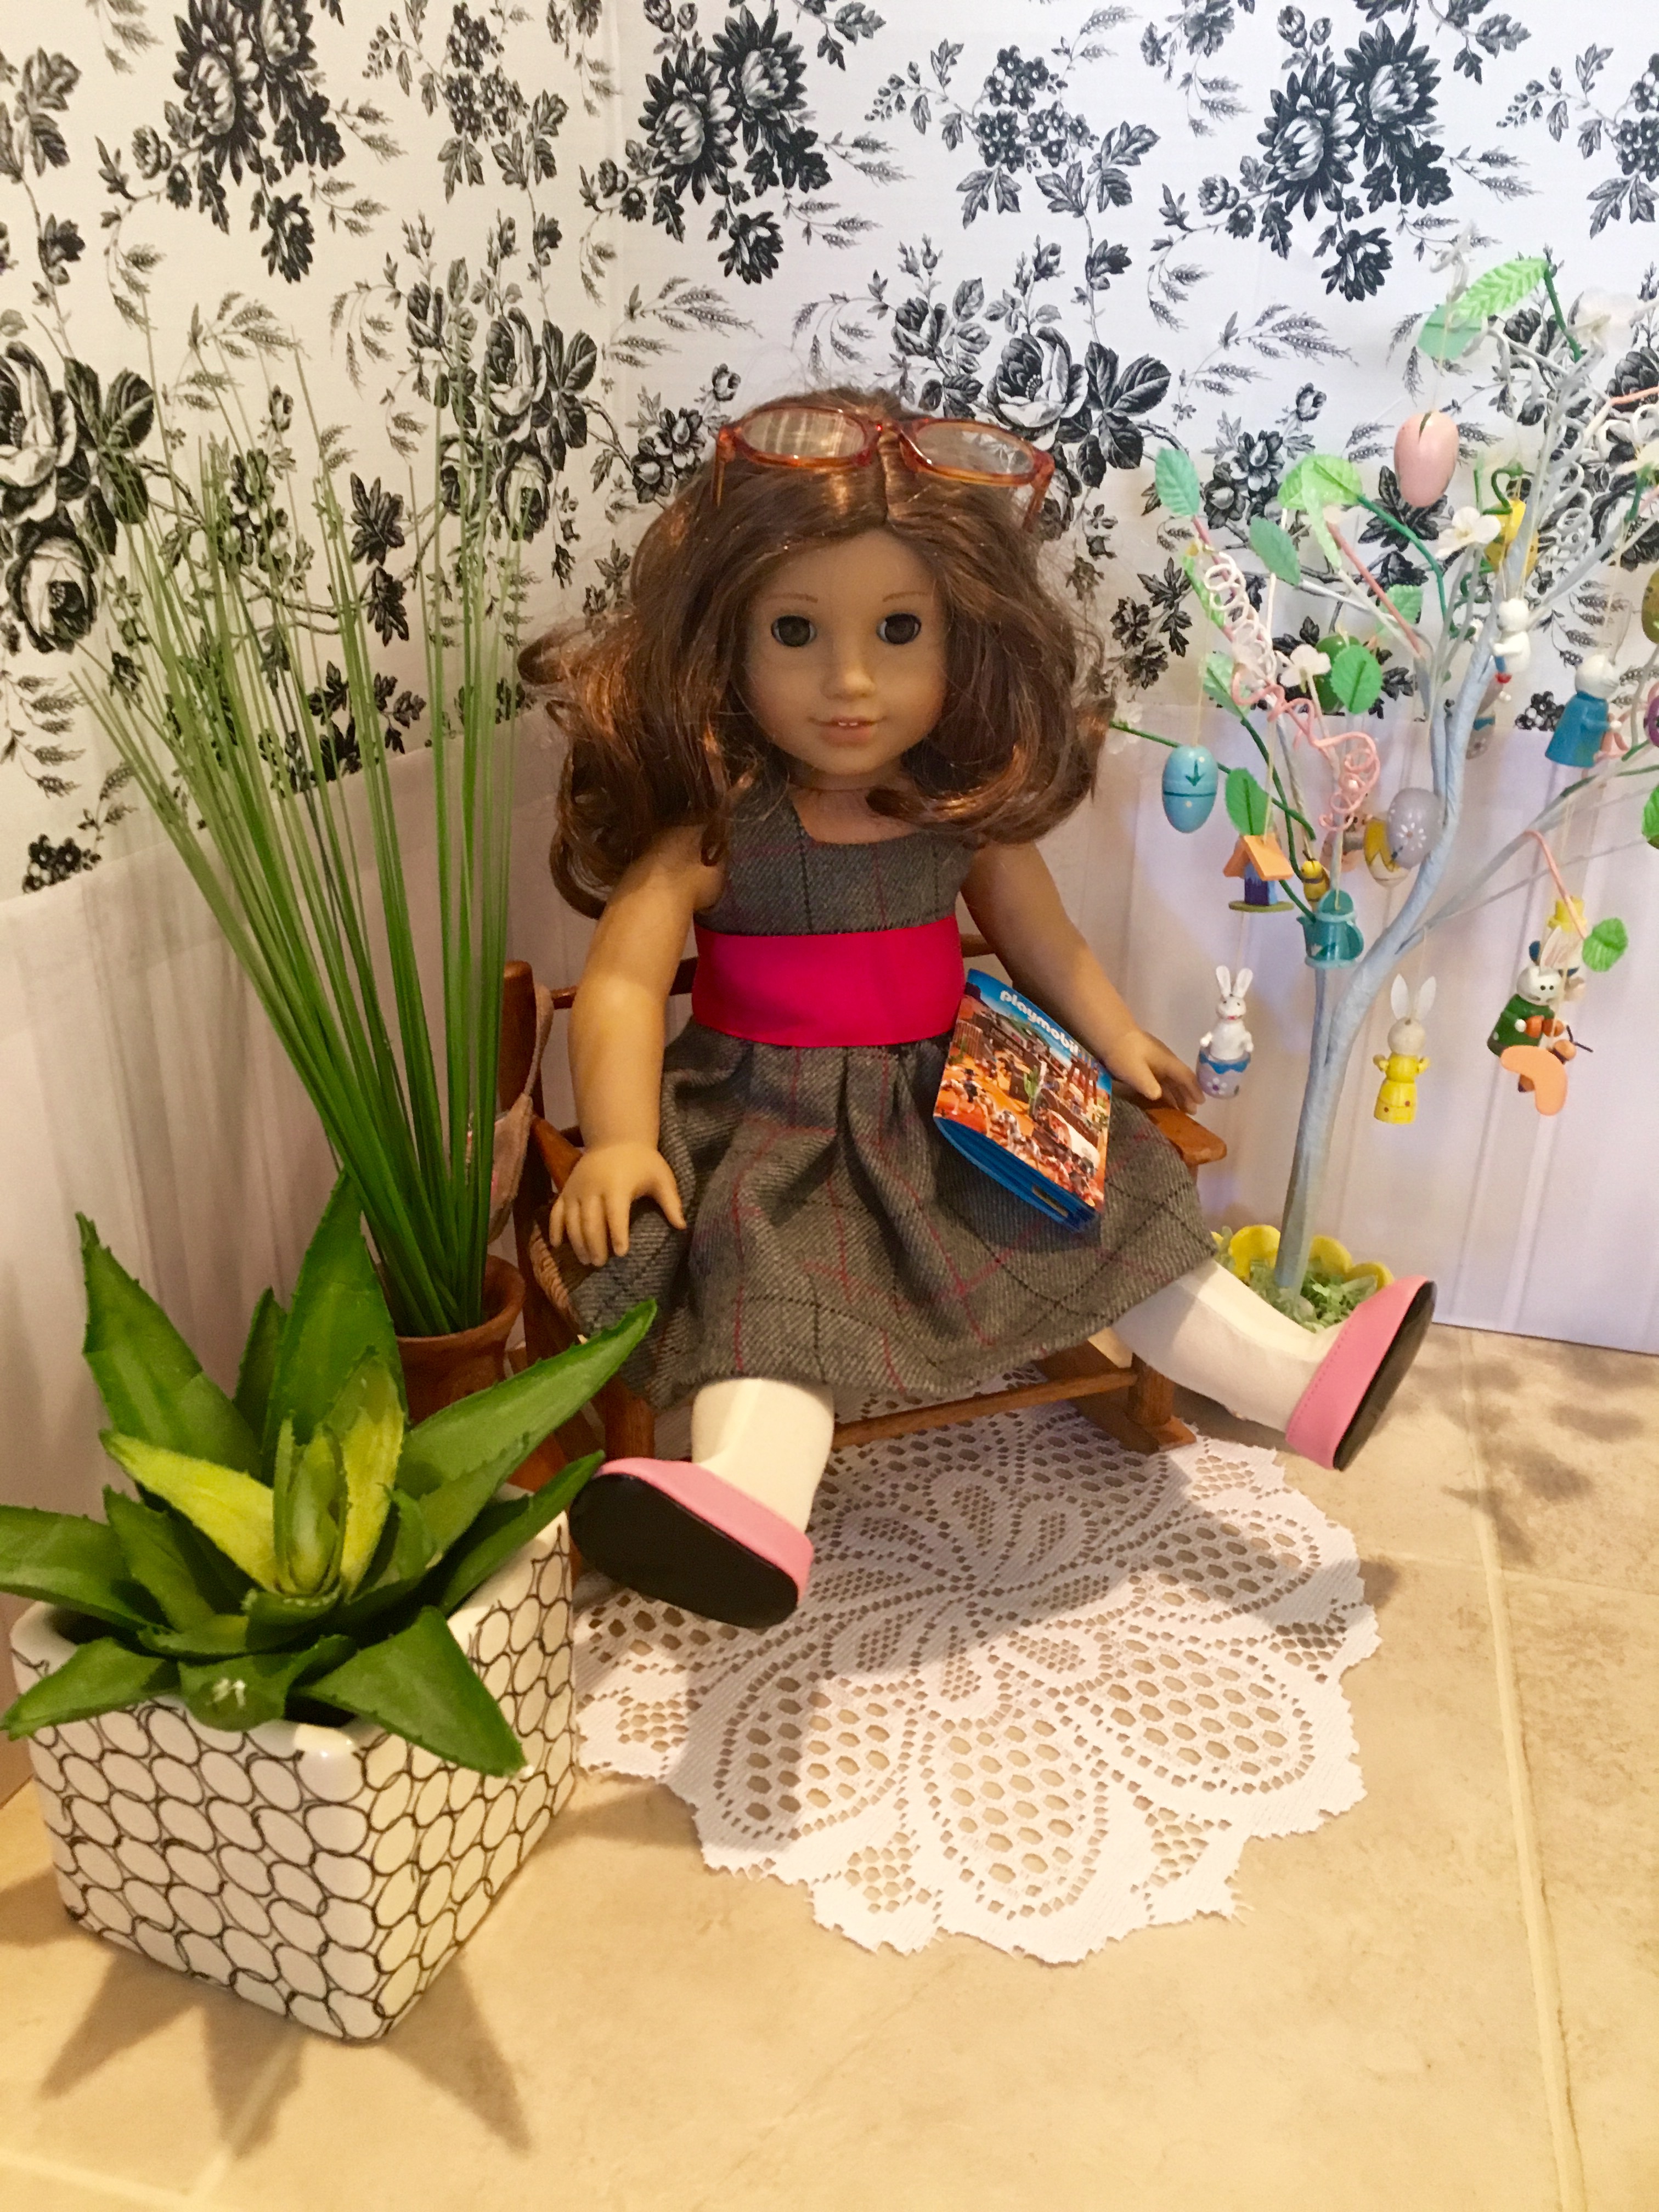
Rebecca is lounging in the sunroom with her kitten named Patch.


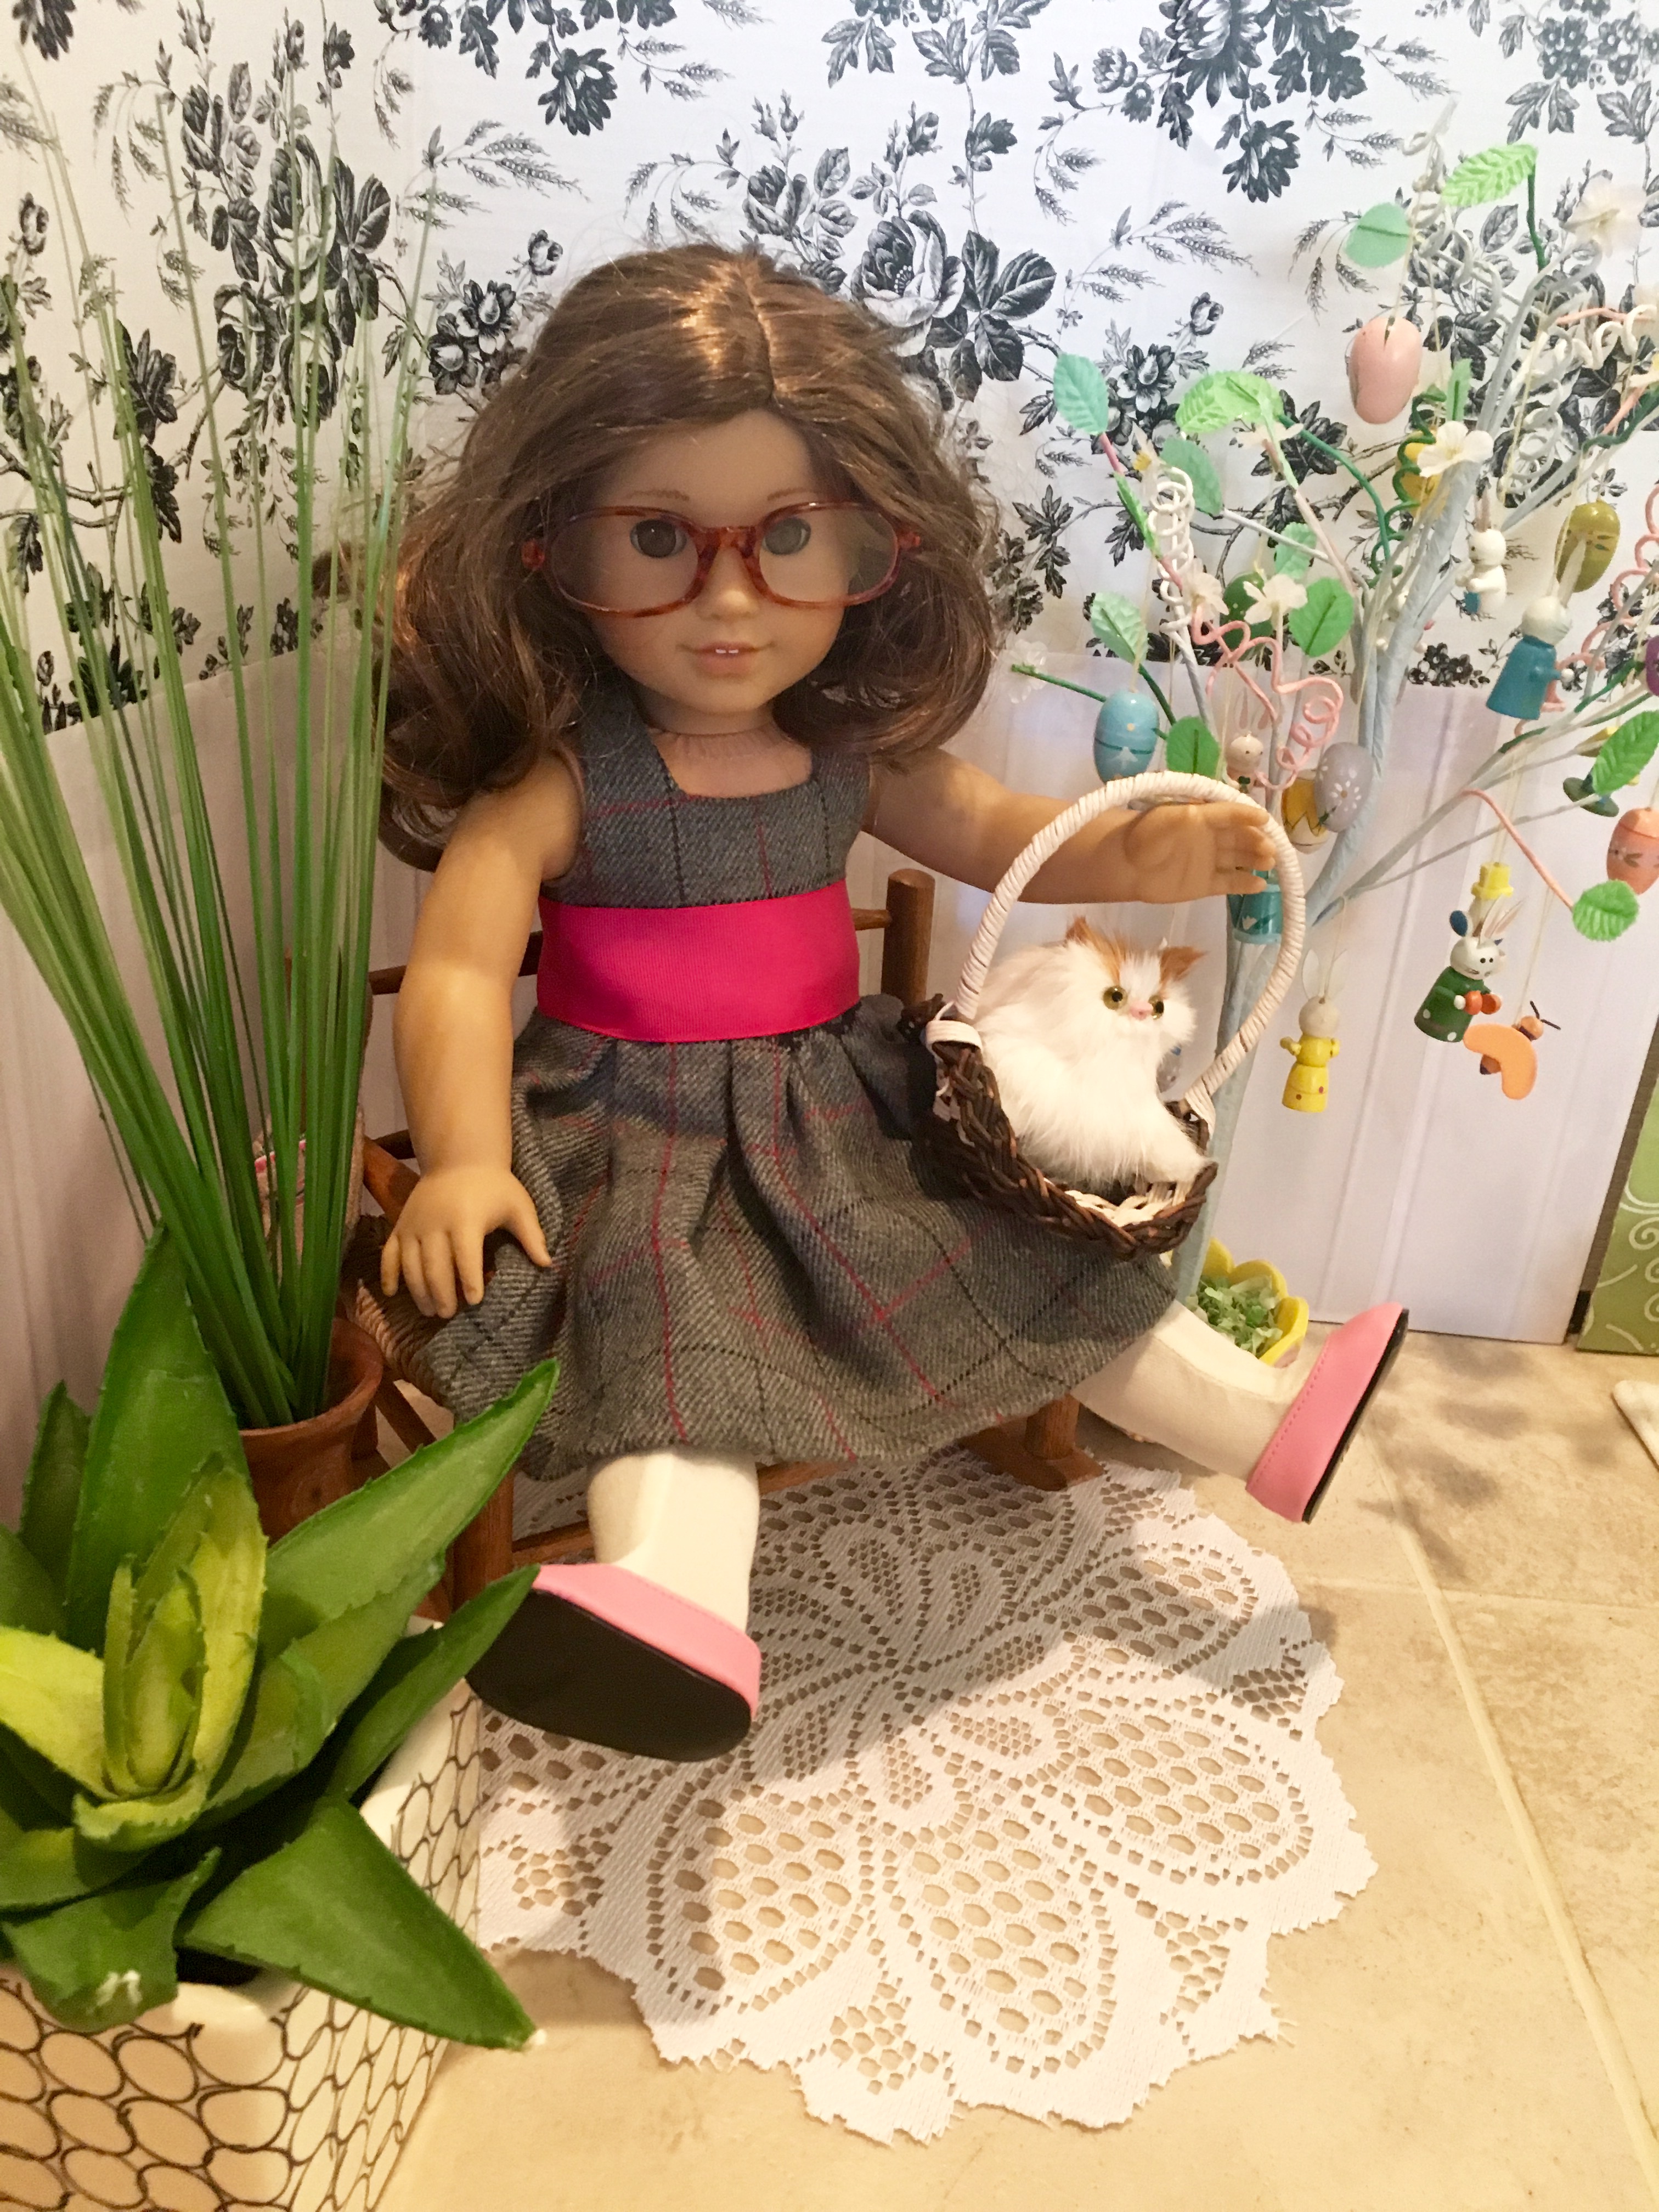
I added a wide ribbon to Rebecca’s dress for a pop of colour. It works nicely as a sash. I just pinned it on there for now.


Now you have some rooms that you can set up however you like! 🙂
Happy Birthday Rebecca!!


These are Great rooms! Could you tell us where you got the print outs for the windows?
LikeLike
Thank you! I definitely get a lot of use out of these backdrops and they are inexpensive to make! The windows were simply sourced from Google images. I just typed in ‘window’ and chose one that I liked. Then I scaled it to size on my printer. The window I used is here.
LikeLike
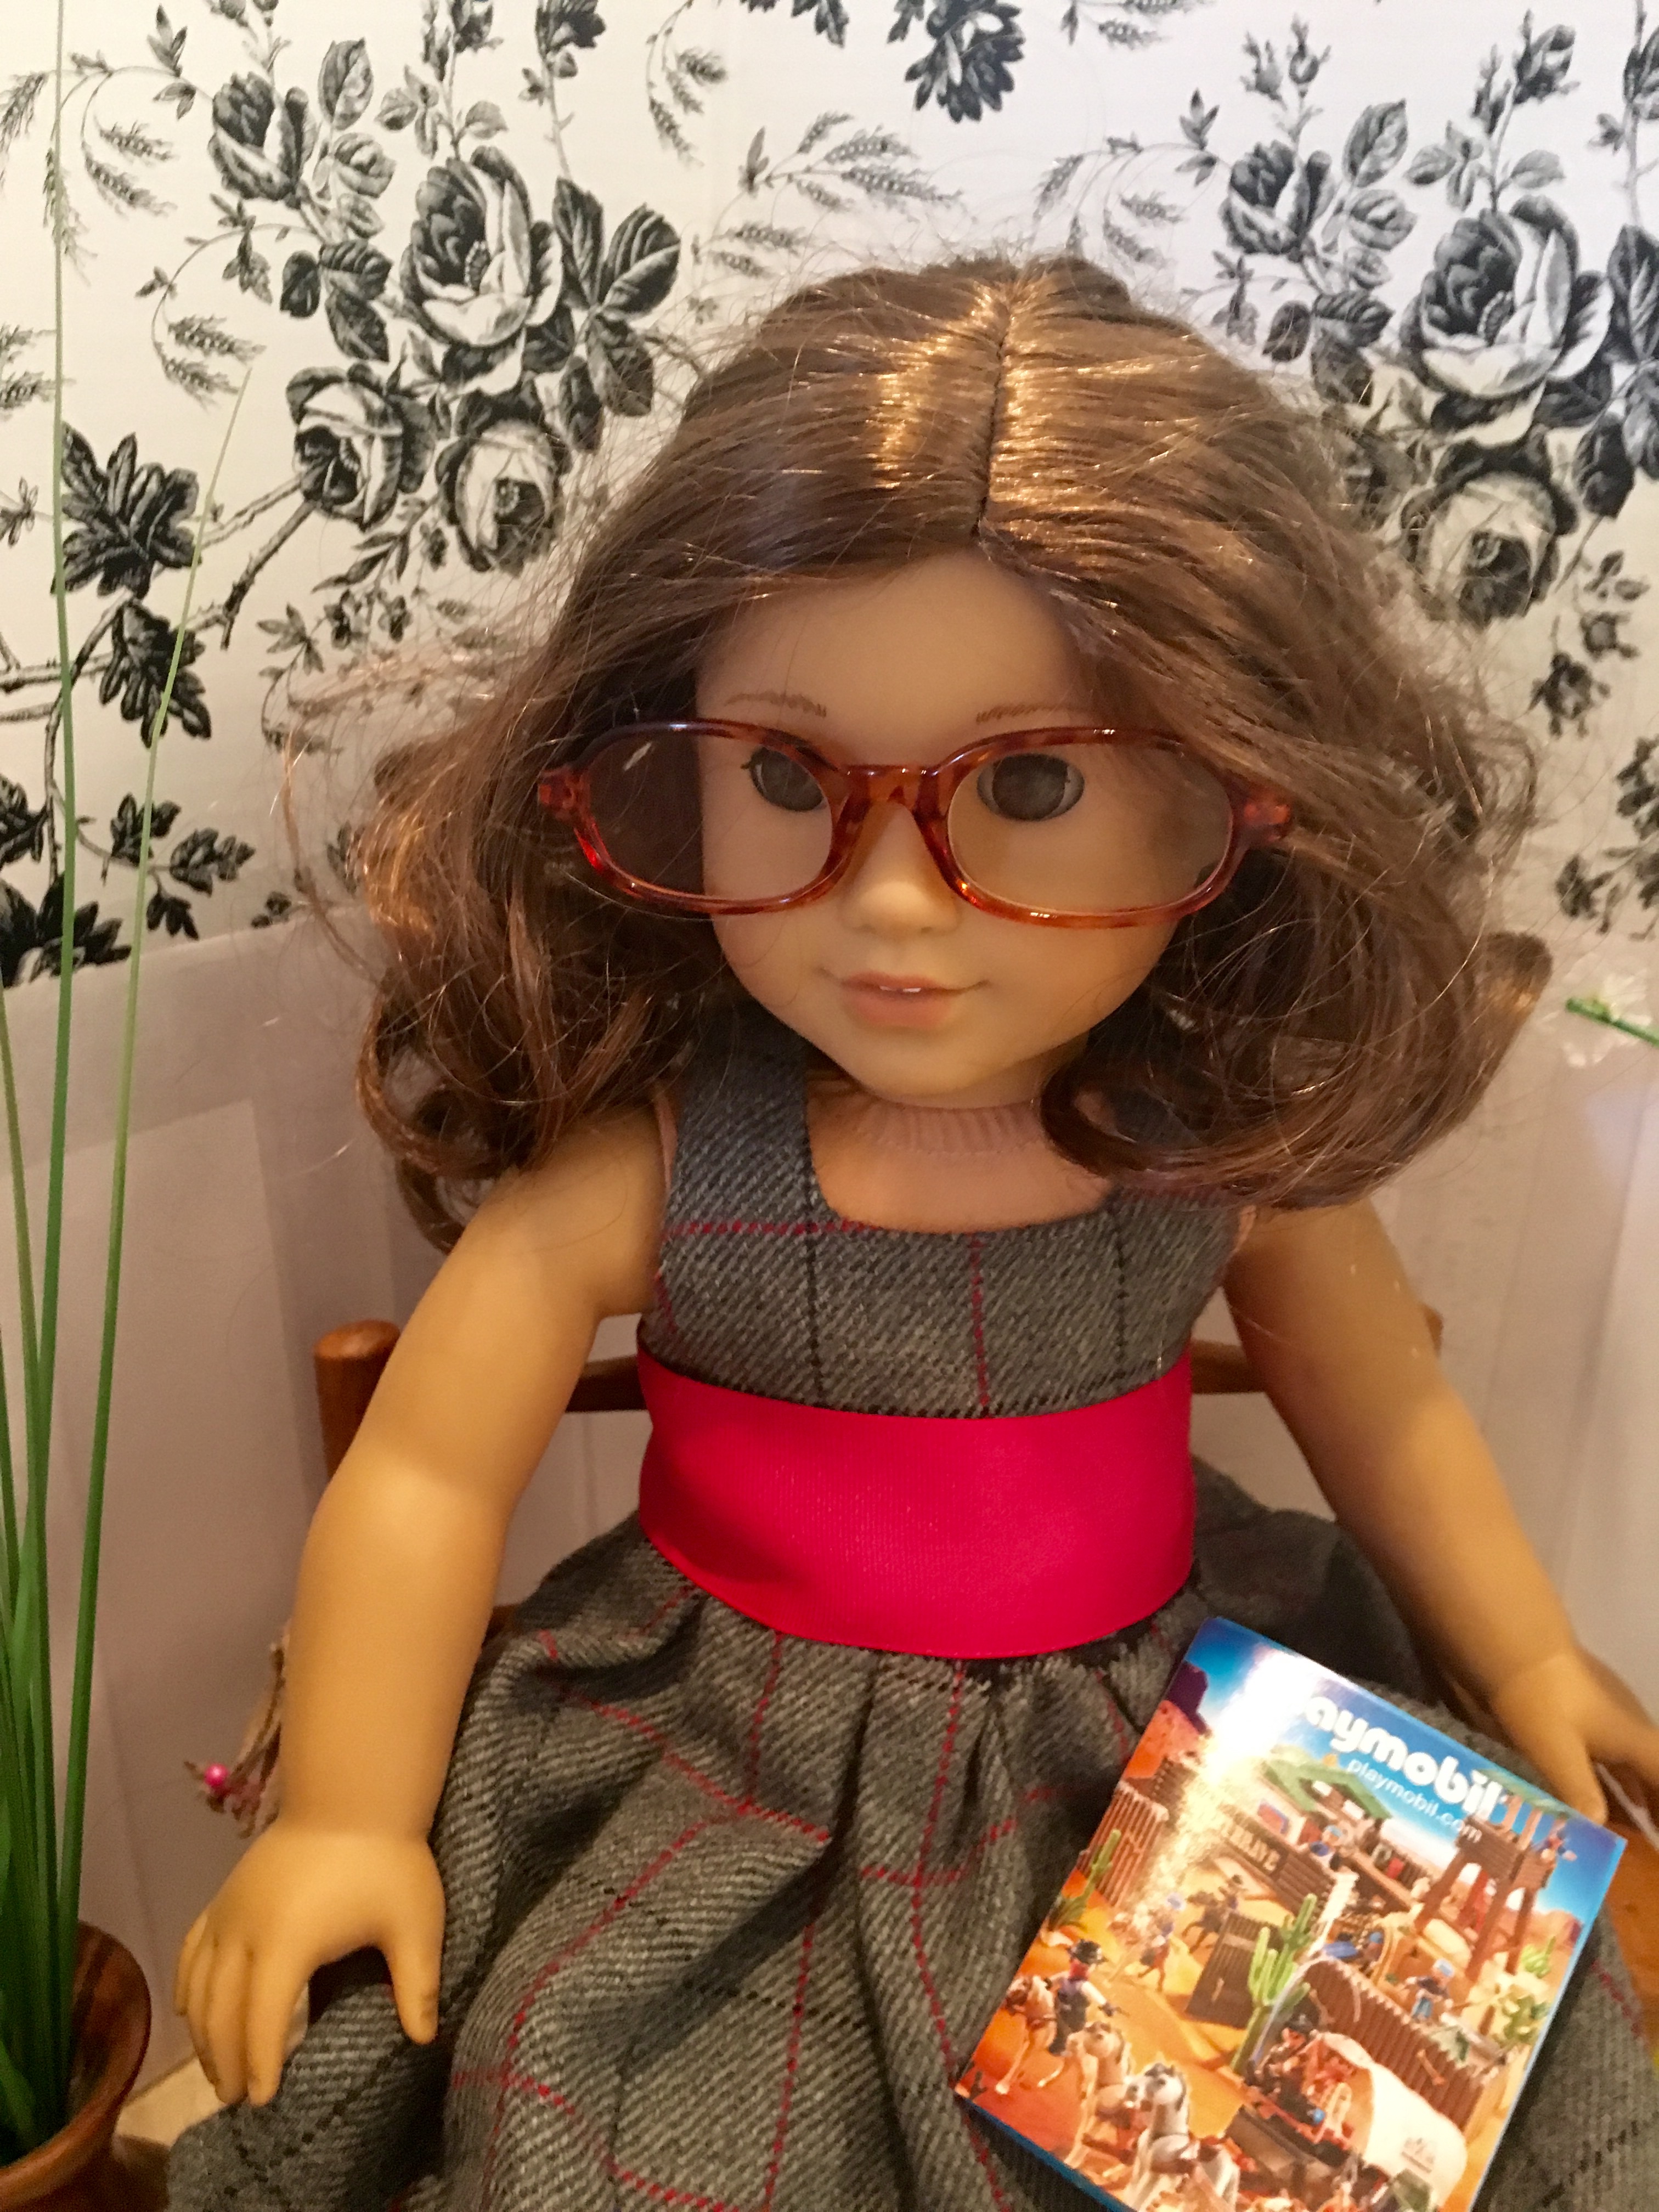
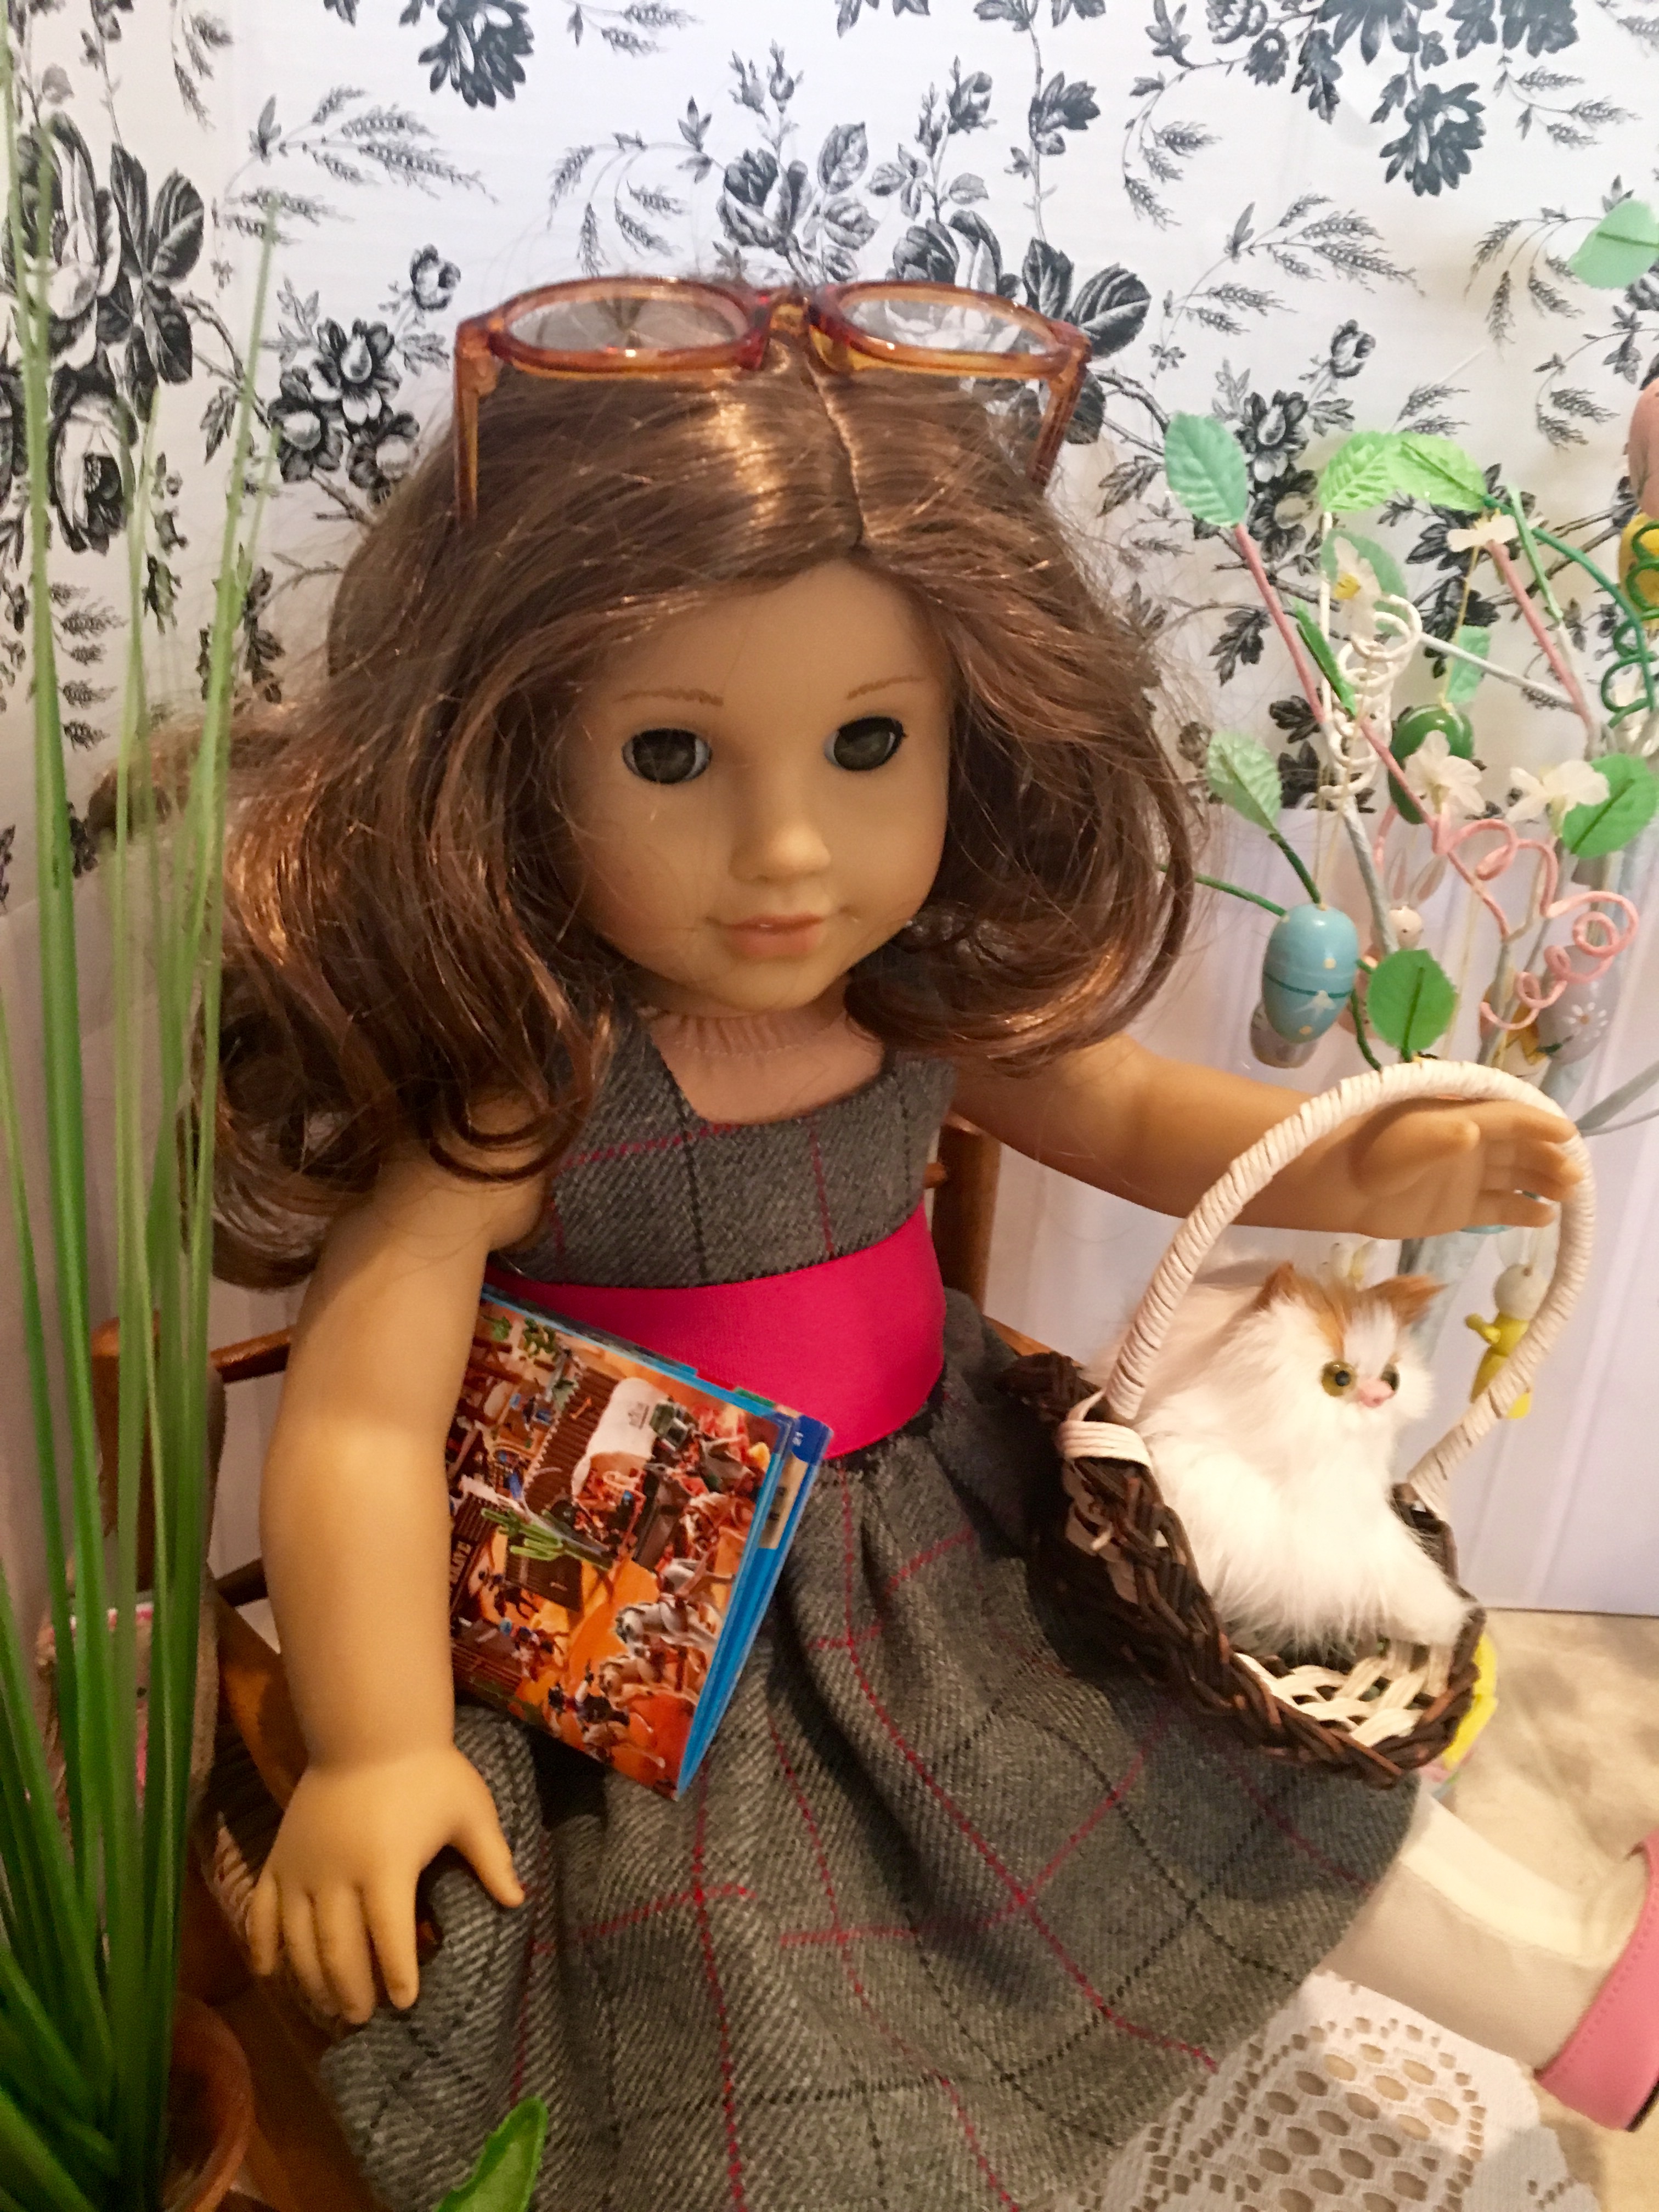
So many great ideas here, but I have to ask: is Rebecca going for the Deidre Barlow look with those glasses? 😉
LikeLike
LOL! We realized that Rebecca needed glasses when we made our seaside diner. Rebecca was hired on as the waitstaff to the place, and she was always wearing the glasses when she was at work. Now she just wears them all the time! Although our girl Lily did borrow them once when she was at her reporter job. 🙂 LOL!
LikeLiked by 1 person