

Another doll pattern freebie! I know that I like to work with knit fabric, and I do work with it an awful lot. It’s just so much fun, but this one is for the wovens! Cotton mostly, (even though I think this pattern would still work with jersey knit fabrics anyway).
I am super excited about this pattern, you guys! I have been wanting to make this skirt pattern for a long, long time!! It’s so simple, I really don’t know why I didn’t do it sooner. Life has just been so incredibly busy, I guess.
(Mostly with craft room organization, be sure to check that out on our Instagram @fim_studios)
In terms of doll skirt patterns, this one is definitely going in my favourites pile. I just love a pattern with only two pieces, and this is so quick you could whip up so many of these in no time.
I also love that there is no elastic needed. I adore the look of a smooth, flat waistband, especially under doll shirts. No bumpy elastic waistband showing through the shirt. It’s just way less bulk altogether.
Okay, let’s get started! First, you need the doll skirt pattern!

This is so simple, just two rectangles with the measurements shown. What??!! 🥰
Skirt: 11 inches by 4.25 inches
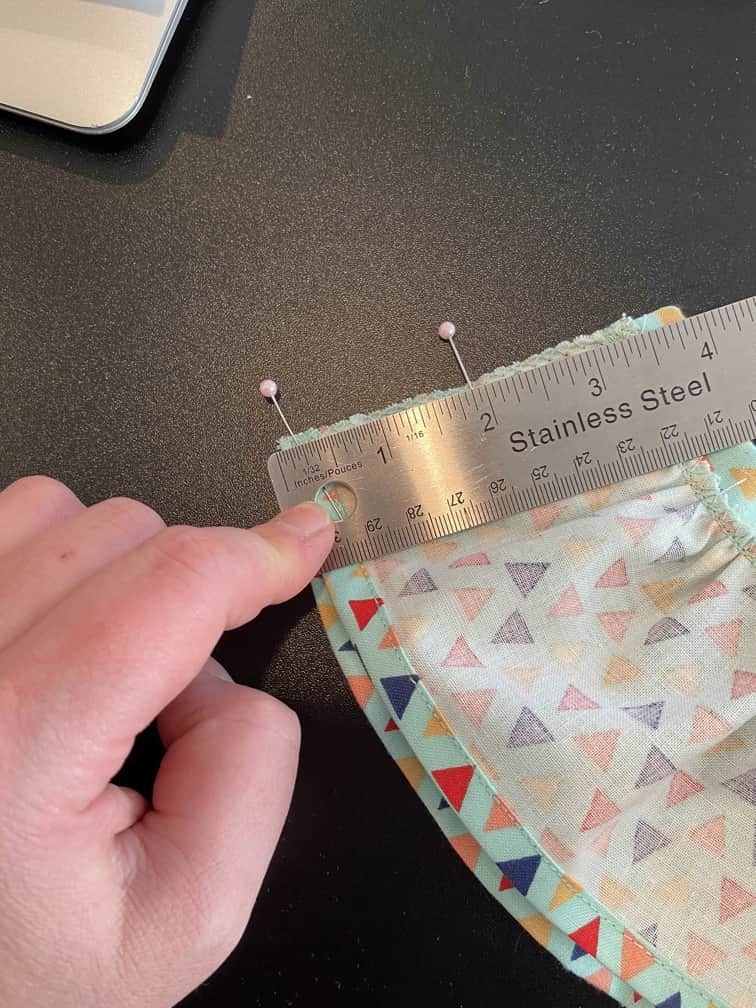
Waistband: 5.25 inches by 2 inches
*Disclaimer: This waist band is quite snug, but the dolls I cut it for are pretty slim, 10 inch waist. This is not so for all dolls. Please measure your doll’s waist accurately and cut your waistband accordingly. Even the slightest quarter to half inch off could cause error in fit. Add half an inch to doll’s waist measurement to accommodate for the two 1/4” seams.*
Be sure to include all markings on your pattern pieces: stretch line, hem line, FOLD line etc.
Anyway, that was easy peasy!
Cut one of each rectangle on the fold of your fabric. Be sure that you check for your fabric’s grainline which is the opposite of your stretch line.
Lay your pattern pieces carefully, making sure that the stretch in the fabric runs parallel to the stretch arrows on the pattern. Pin and cut out your pieces.
(Please excuse my ugly iron board. 😬🤦🏻♀️😅)
Hem your doll skirt first. To do this, fold the bottom edge of the skirt over 1/4 inch. Press. Then fold over 1/4 inch again, and press. Stitch the hem in place.
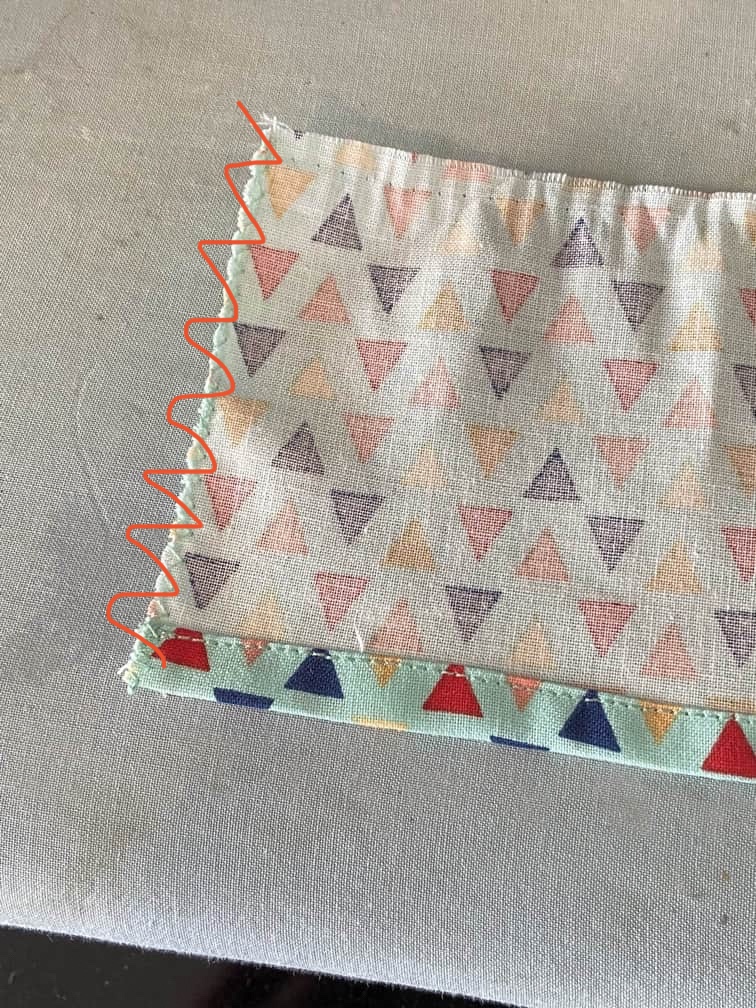
Serge or zigzag stitch both ends of the skirt.
Next, run a gathering stitch along the top edge of the skirt. Set aside.
Preparing the waistband:
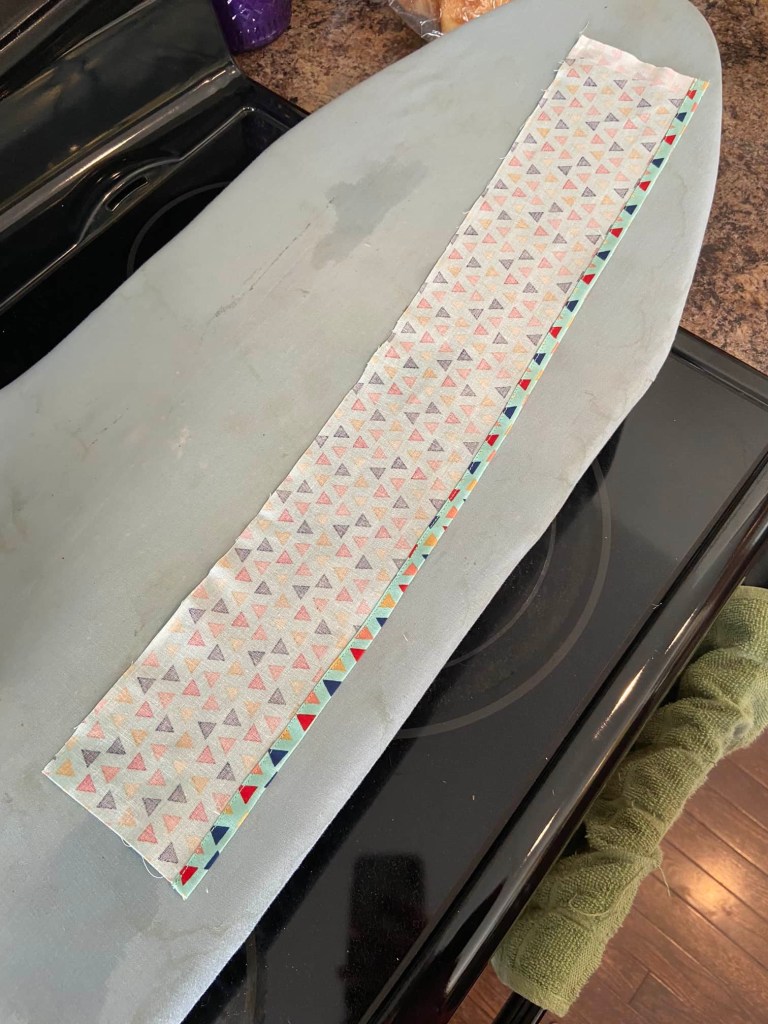
Fold the waistband in half lengthwise with right sides together. Press.
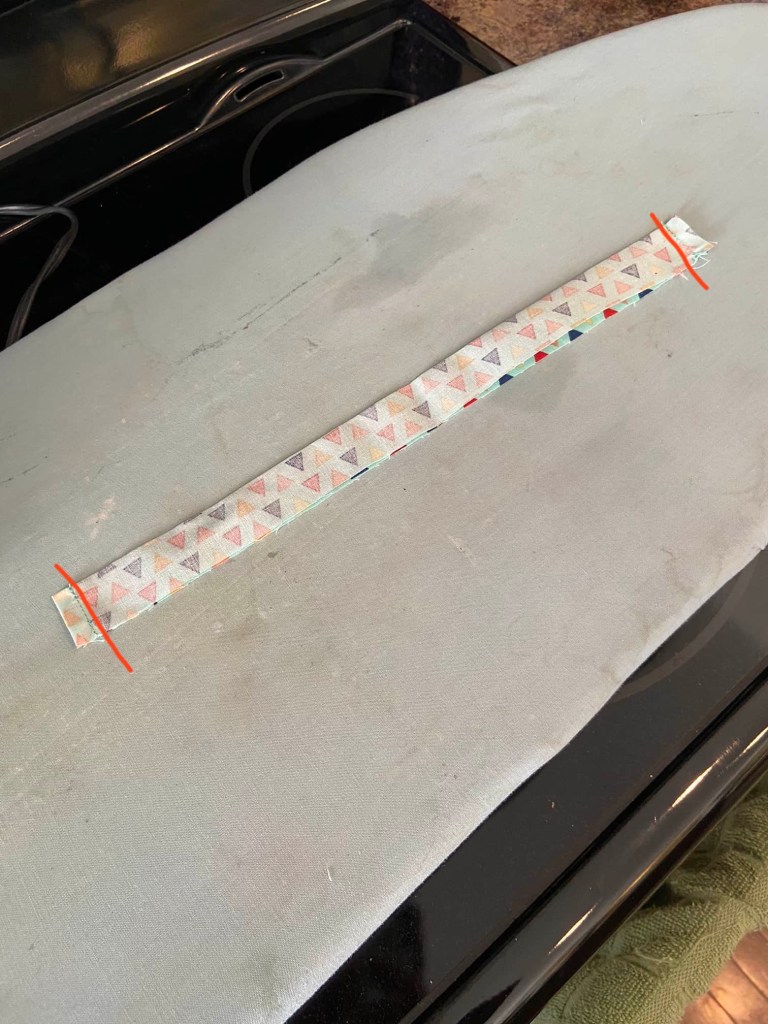
Stitch the ends of the waistband along the red lines as shown. Clip the corners.
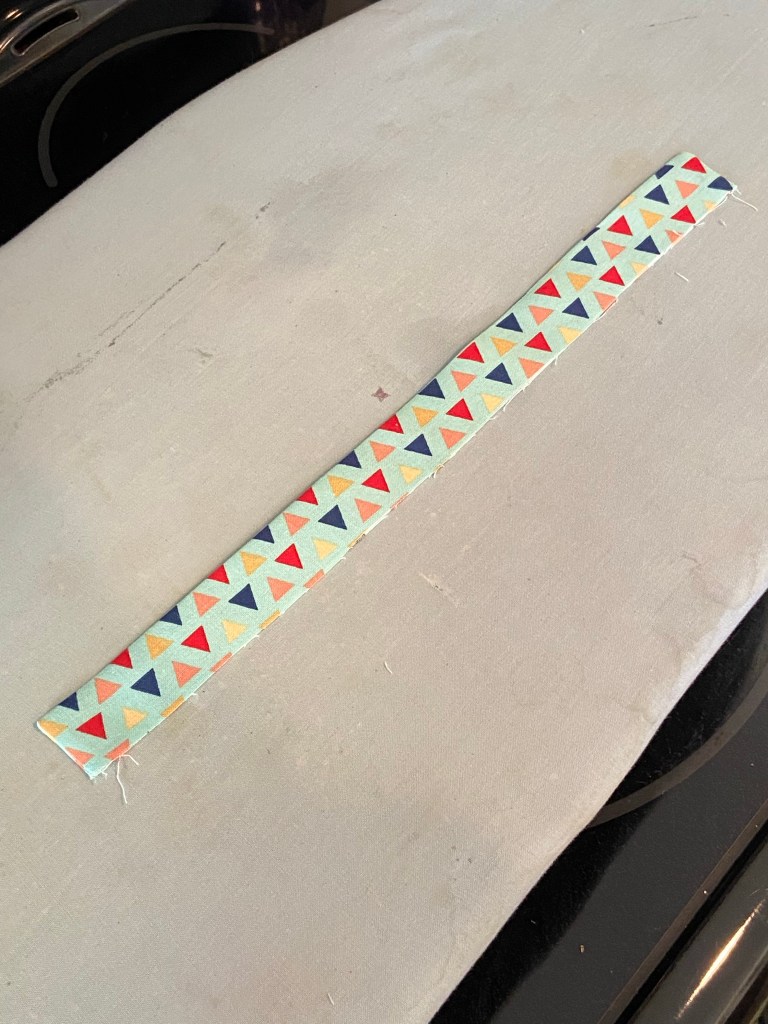
Turn the waistband right side out and press. You can make sharp corners by poking them out with a pencil.
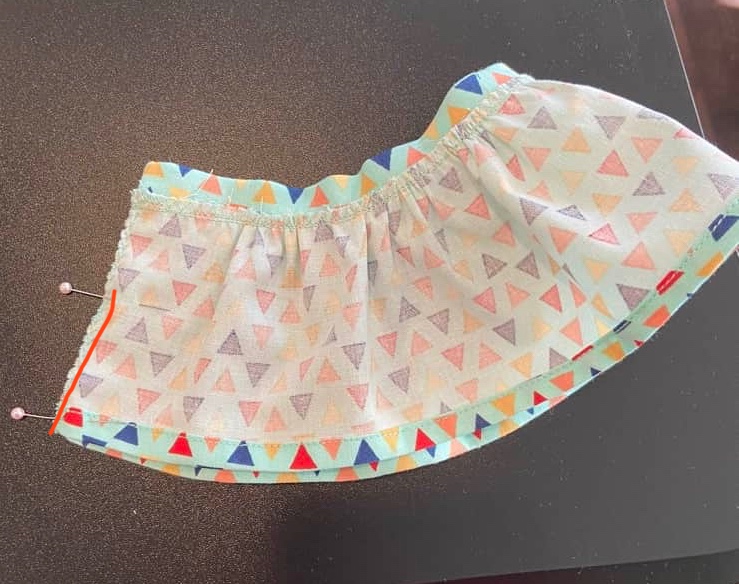
Find the center of your waistband by folding it in half. Mark the center with a pin. Do the same for the skirt.

Line up your two center pins. Now pull your gathering threads to gather first one side of the skirt toward the centre pins and then the other side, until the skirt is even with the waistband. Be sure that your gathers are evenly distributed.
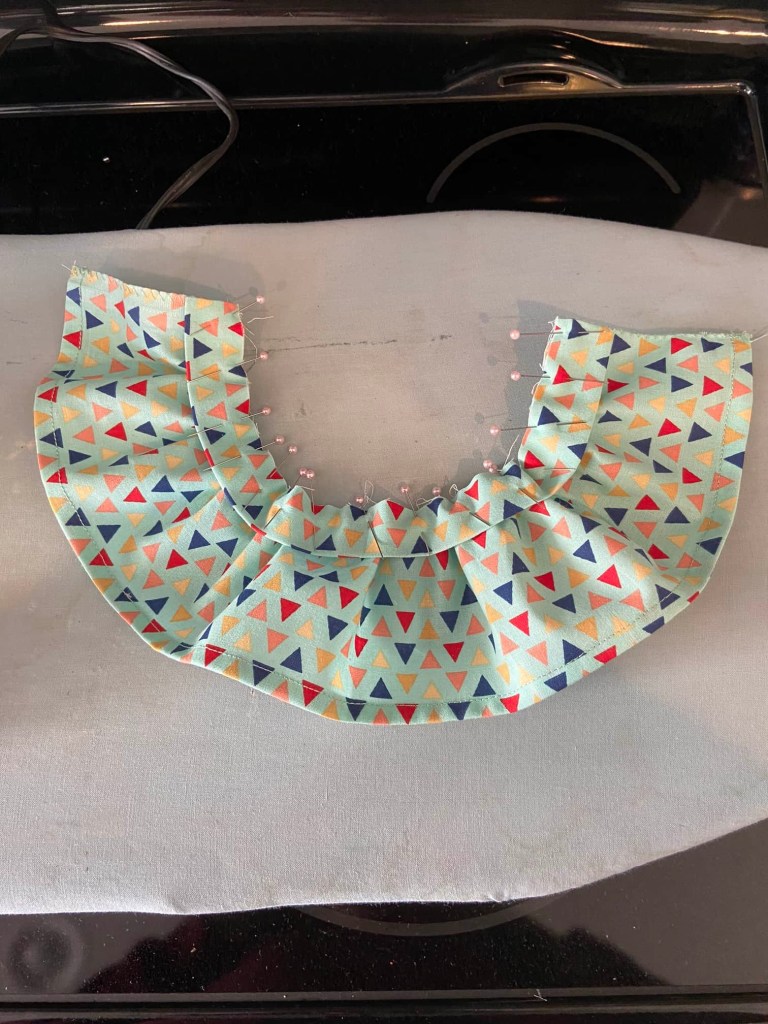
Pin the waistband to the top of the skirt with raw edges together. Stitch the waistband to the skirt using a 1/4” seam.
Serge or zigzag stitch the top seam. I use a zig zag stitch, so I usually trim my seam to make it neat before stitching. A serger will trim as it stitches.
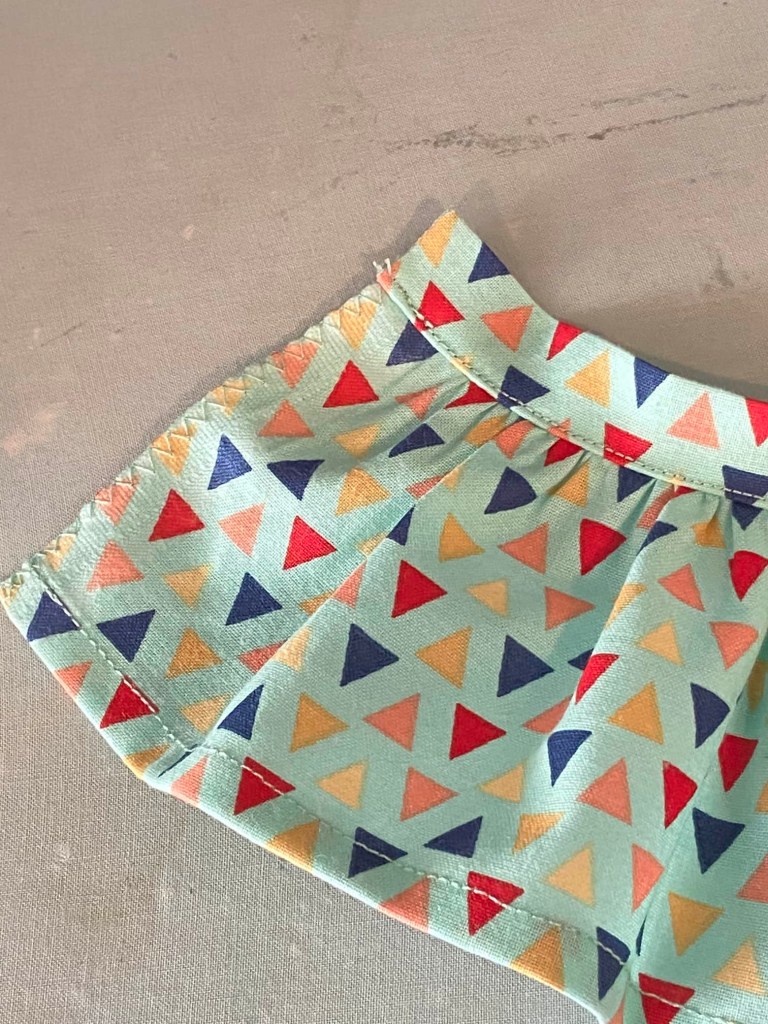
Now press the seam up toward the waistband. Topstitch.
Back closure:
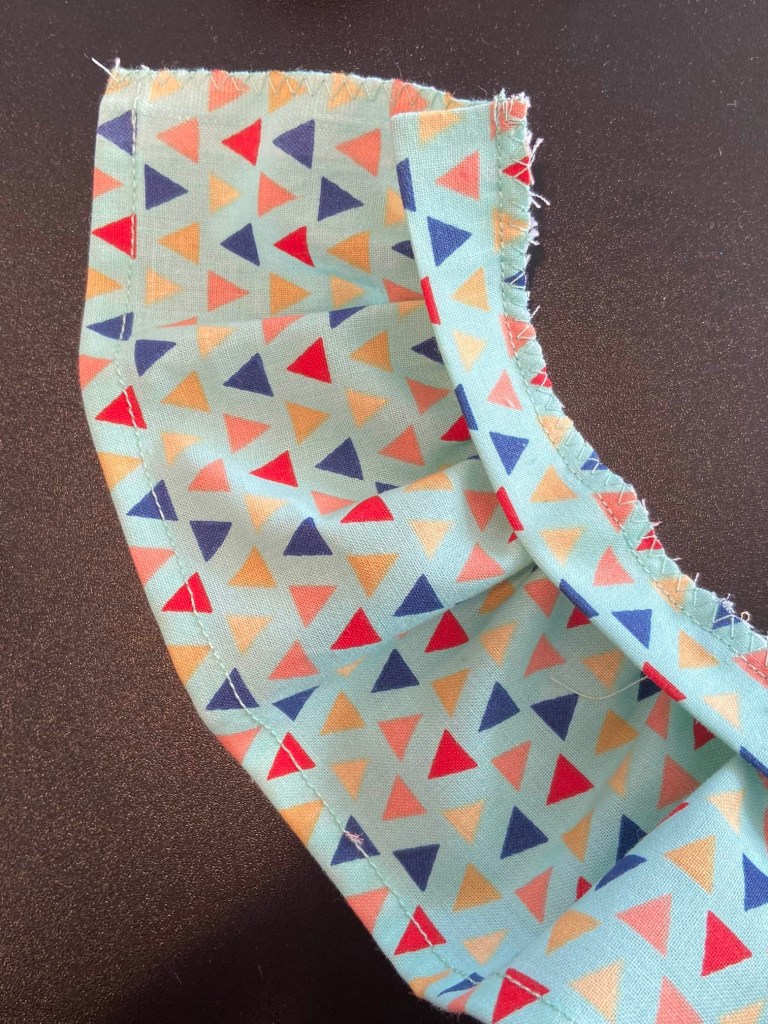
Fold your skirt in half, right sides together. Pin about 2 inches up from the hem.
Stitch along the red line.
Open the back seam and press. Tack your seam down by stitching across it on the red line.
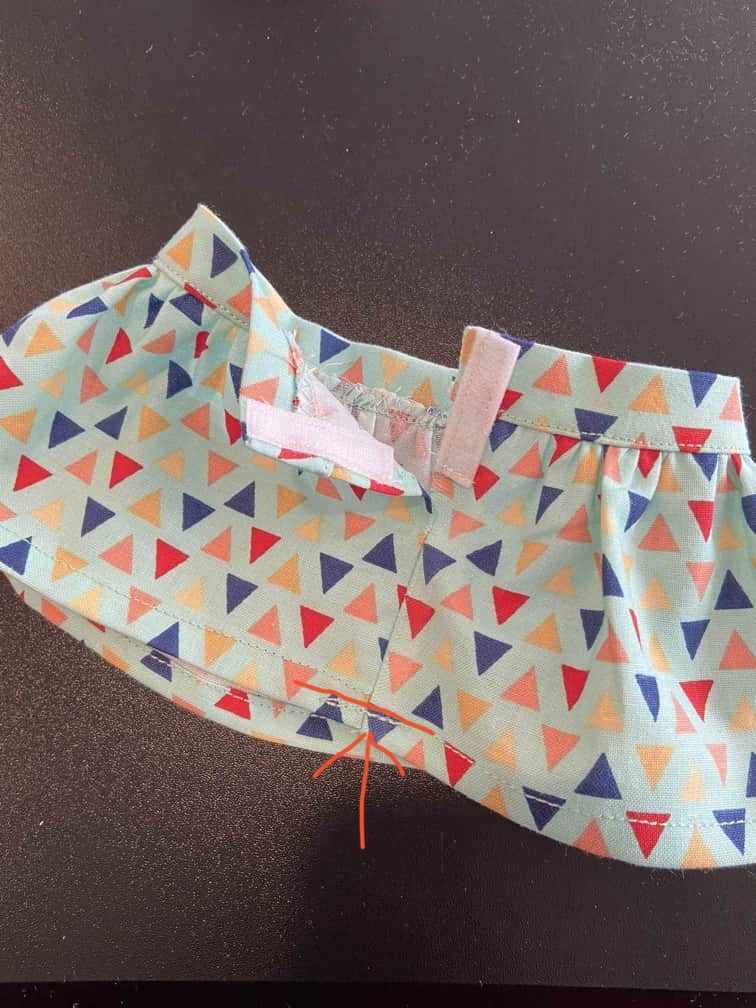
Add velcro or a snap to the back of your skirt. One piece of the velcro goes on the flat side and the other side is folded under and the velcro or snap is stitched on top.
And you’re done!!
Make as many as you want!! 😊
Disclaimer: This pattern is for the newer body type AG dolls, so if your doll is an older Pleasant Company doll you may need to add an inch or so to the waistband.
If you would like a fuller skirt or even a longer skirt, you can add to the skirt piece, accordingly. We tend to go for a shorter length in skirts and dresses.
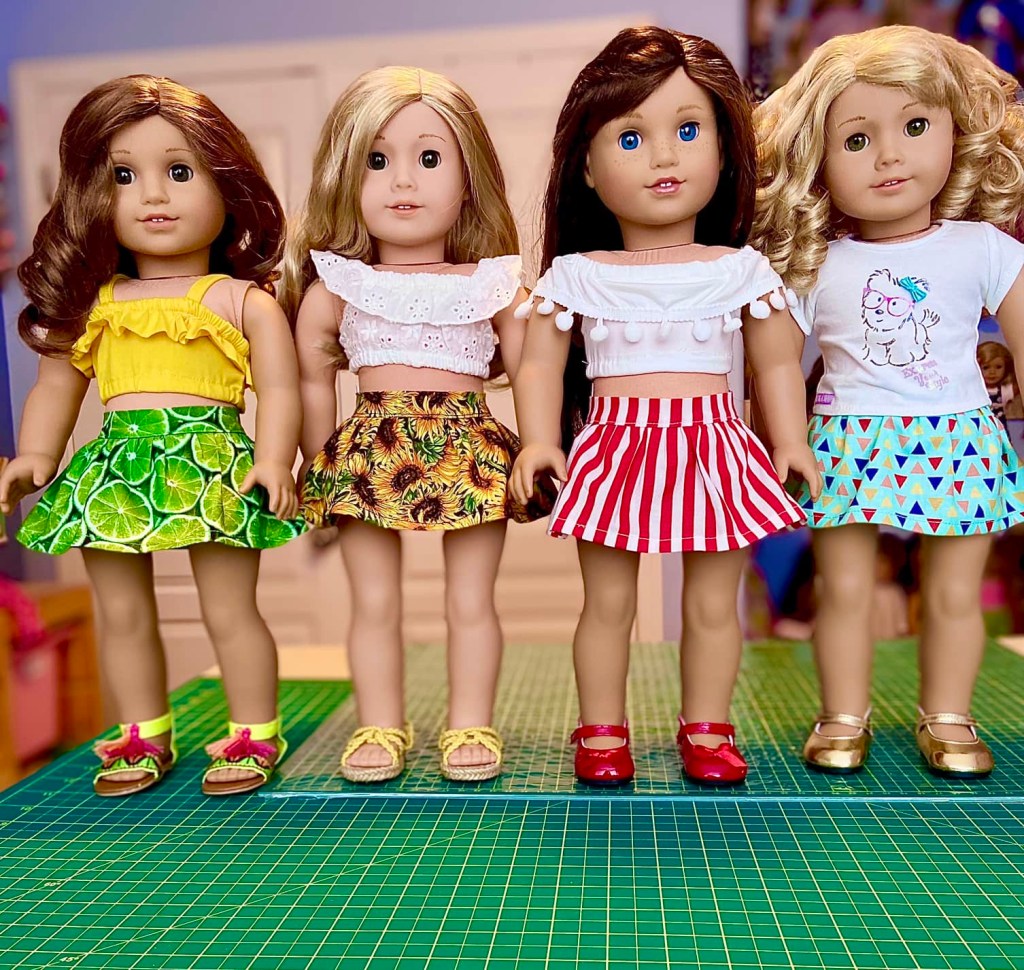
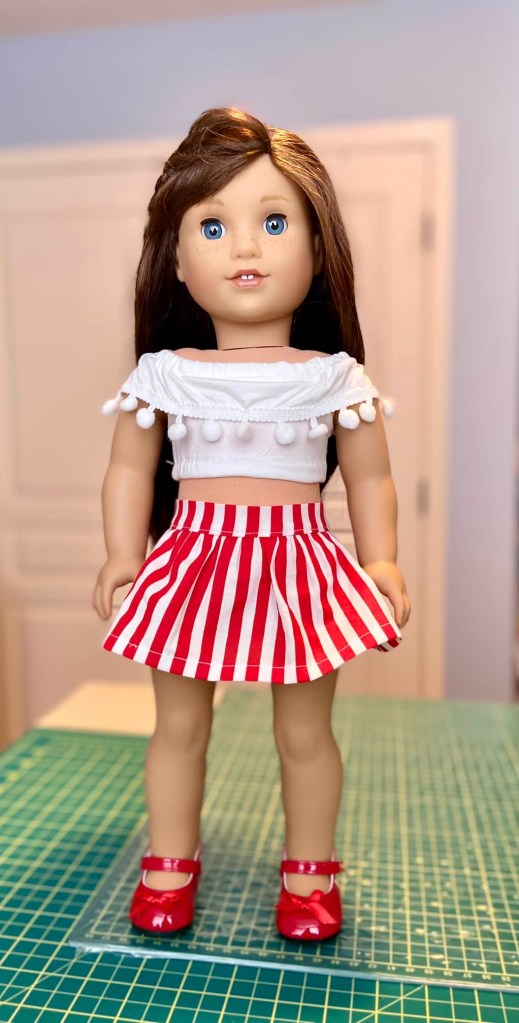
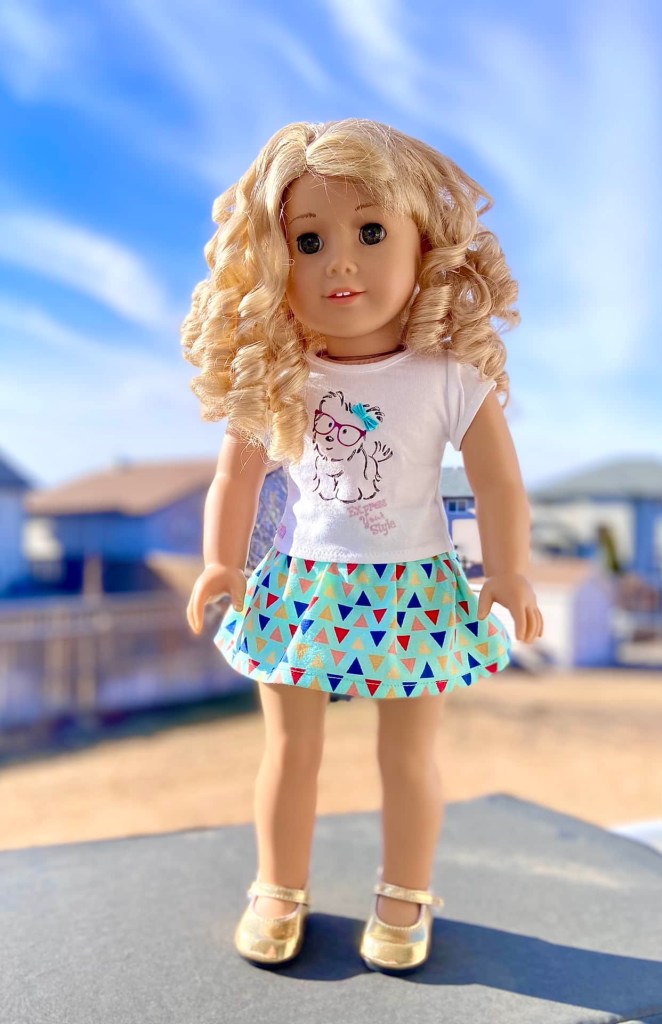
Photo gallery time!! Here are all the tests I did of the pattern. I wanted to get it just right and I’m so glad I did! It turned out so cute!!
❤️❤️❤️

❤️❤️❤️

❤️❤️❤️
I hope you enjoyed, and I hope your dolls get to add a ton of new skirts to their wardrobe!!!
Love you all lots! Have a crafty kind of day!!
Leave a comment below!
❤️❤️❤️

Can you tell me what pattern you used for the darling tops, please?
Thank you,
Phillis Green
LikeLike
Thank you for the pattern. It’s cute and simple. My own preference when sewing skirts, whether for my dolls or myself, is to sew the hem after sewing the back seam. I press the hem in place first but sew last. That way the hem covers that section of the seam allowance making it more finished looking.
LikeLiked by 1 person
That is a great idea! I always sew the hem flat, but that is just easier for me. It would definitely be more finished looking to do it your way!
LikeLike
Looking forward to making these for my granddaughters doll!
LikeLiked by 1 person
Oh I am so glad! They will love them! Just be sure to measure the waistband correctly as some dolls have a wider waist line. Enjoy! 😊
LikeLike
Thank you. It is very cute
LikeLiked by 1 person
You’re welcome!! 😊❤️
LikeLike
Adorable!!
LikeLiked by 1 person
Thank you!
LikeLike