
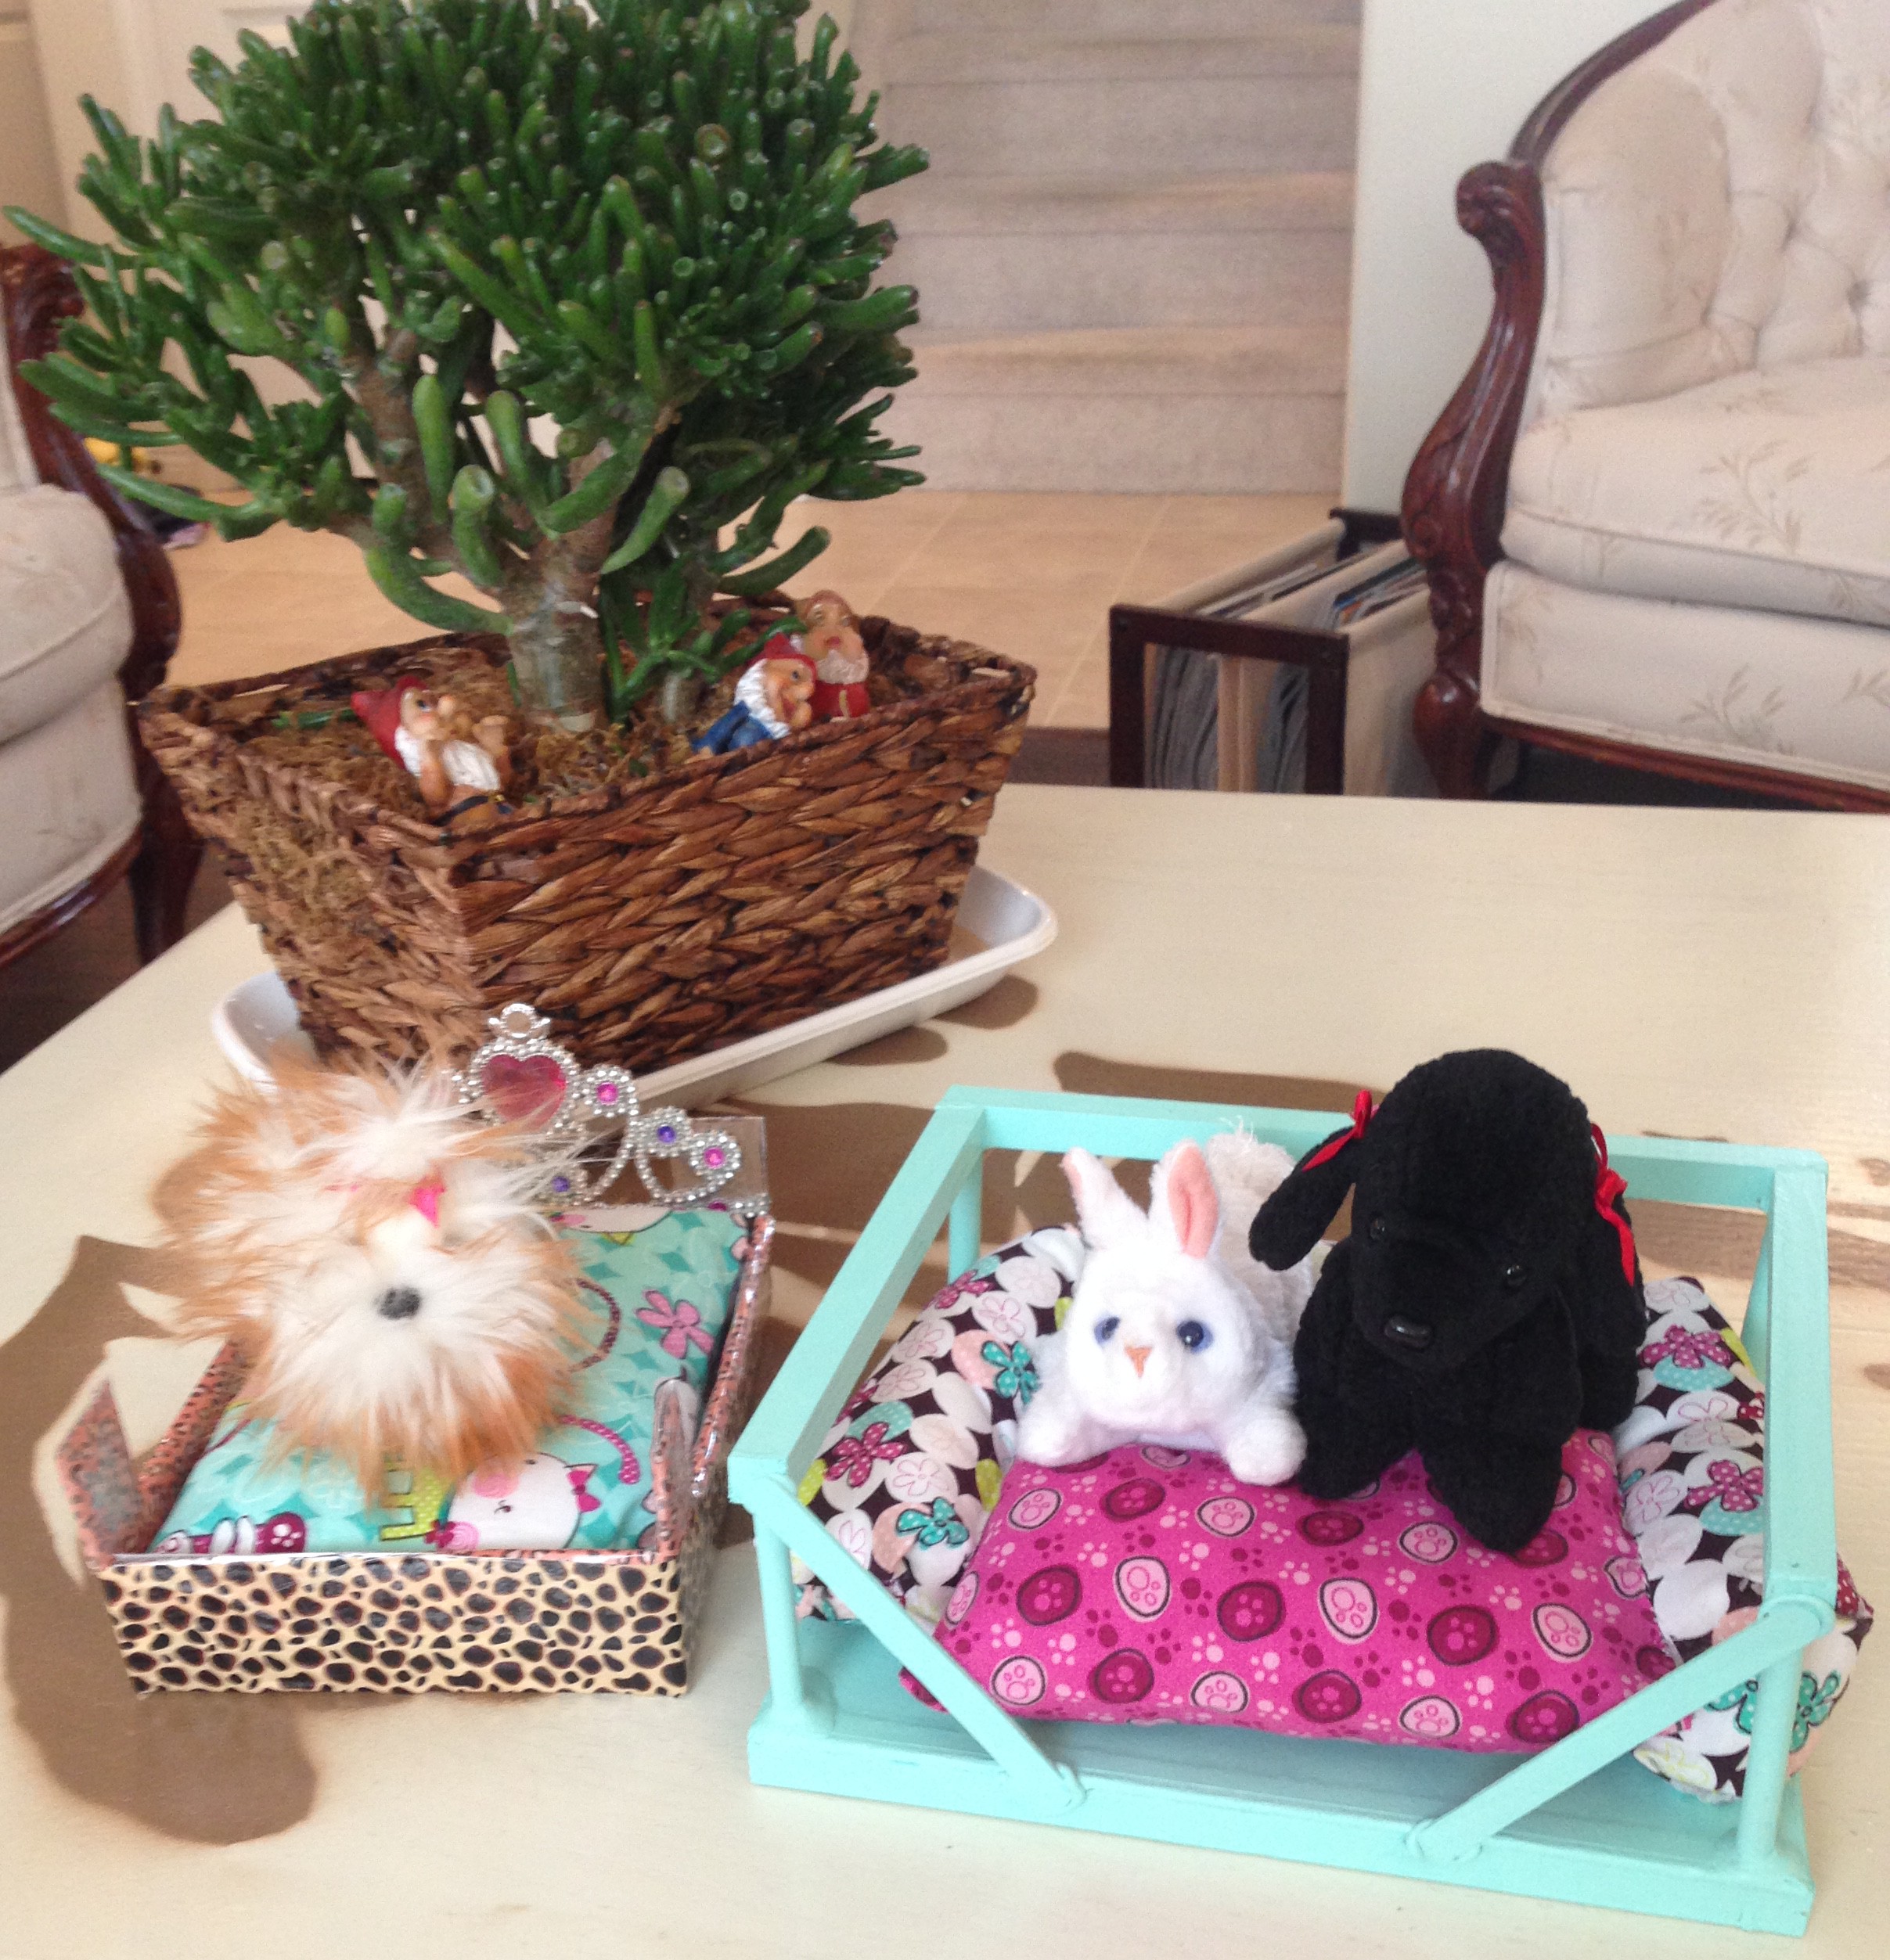
Our dolls have a lot of pets. We ourselves do not have any pets, but the dolls have plenty. You can see some of them here where the dolls brought them to doll camp. There are some caged pets as well.
Plenty of pets means we need plenty of supplies to take care of them. The first thing that your doll pet needs is a place to sleep. You can buy a pet bed, but we prefer to make one because it’s so easy, and it’s so much fun too. It also gives you more variety because you can decorate your pet bed however you like.
What you need:
A box that is approximately the size of your pet
Duct tape of your choice or scrapbook paper/tape
Fabric of your choice
Polyfill or stuffing
Accessories to decorate your bed (we used a broken tiara but you could use anything: gemstones, lace, buttons, beads, whatever you have on hand)
Scissors
The first thing to do is cut your box.

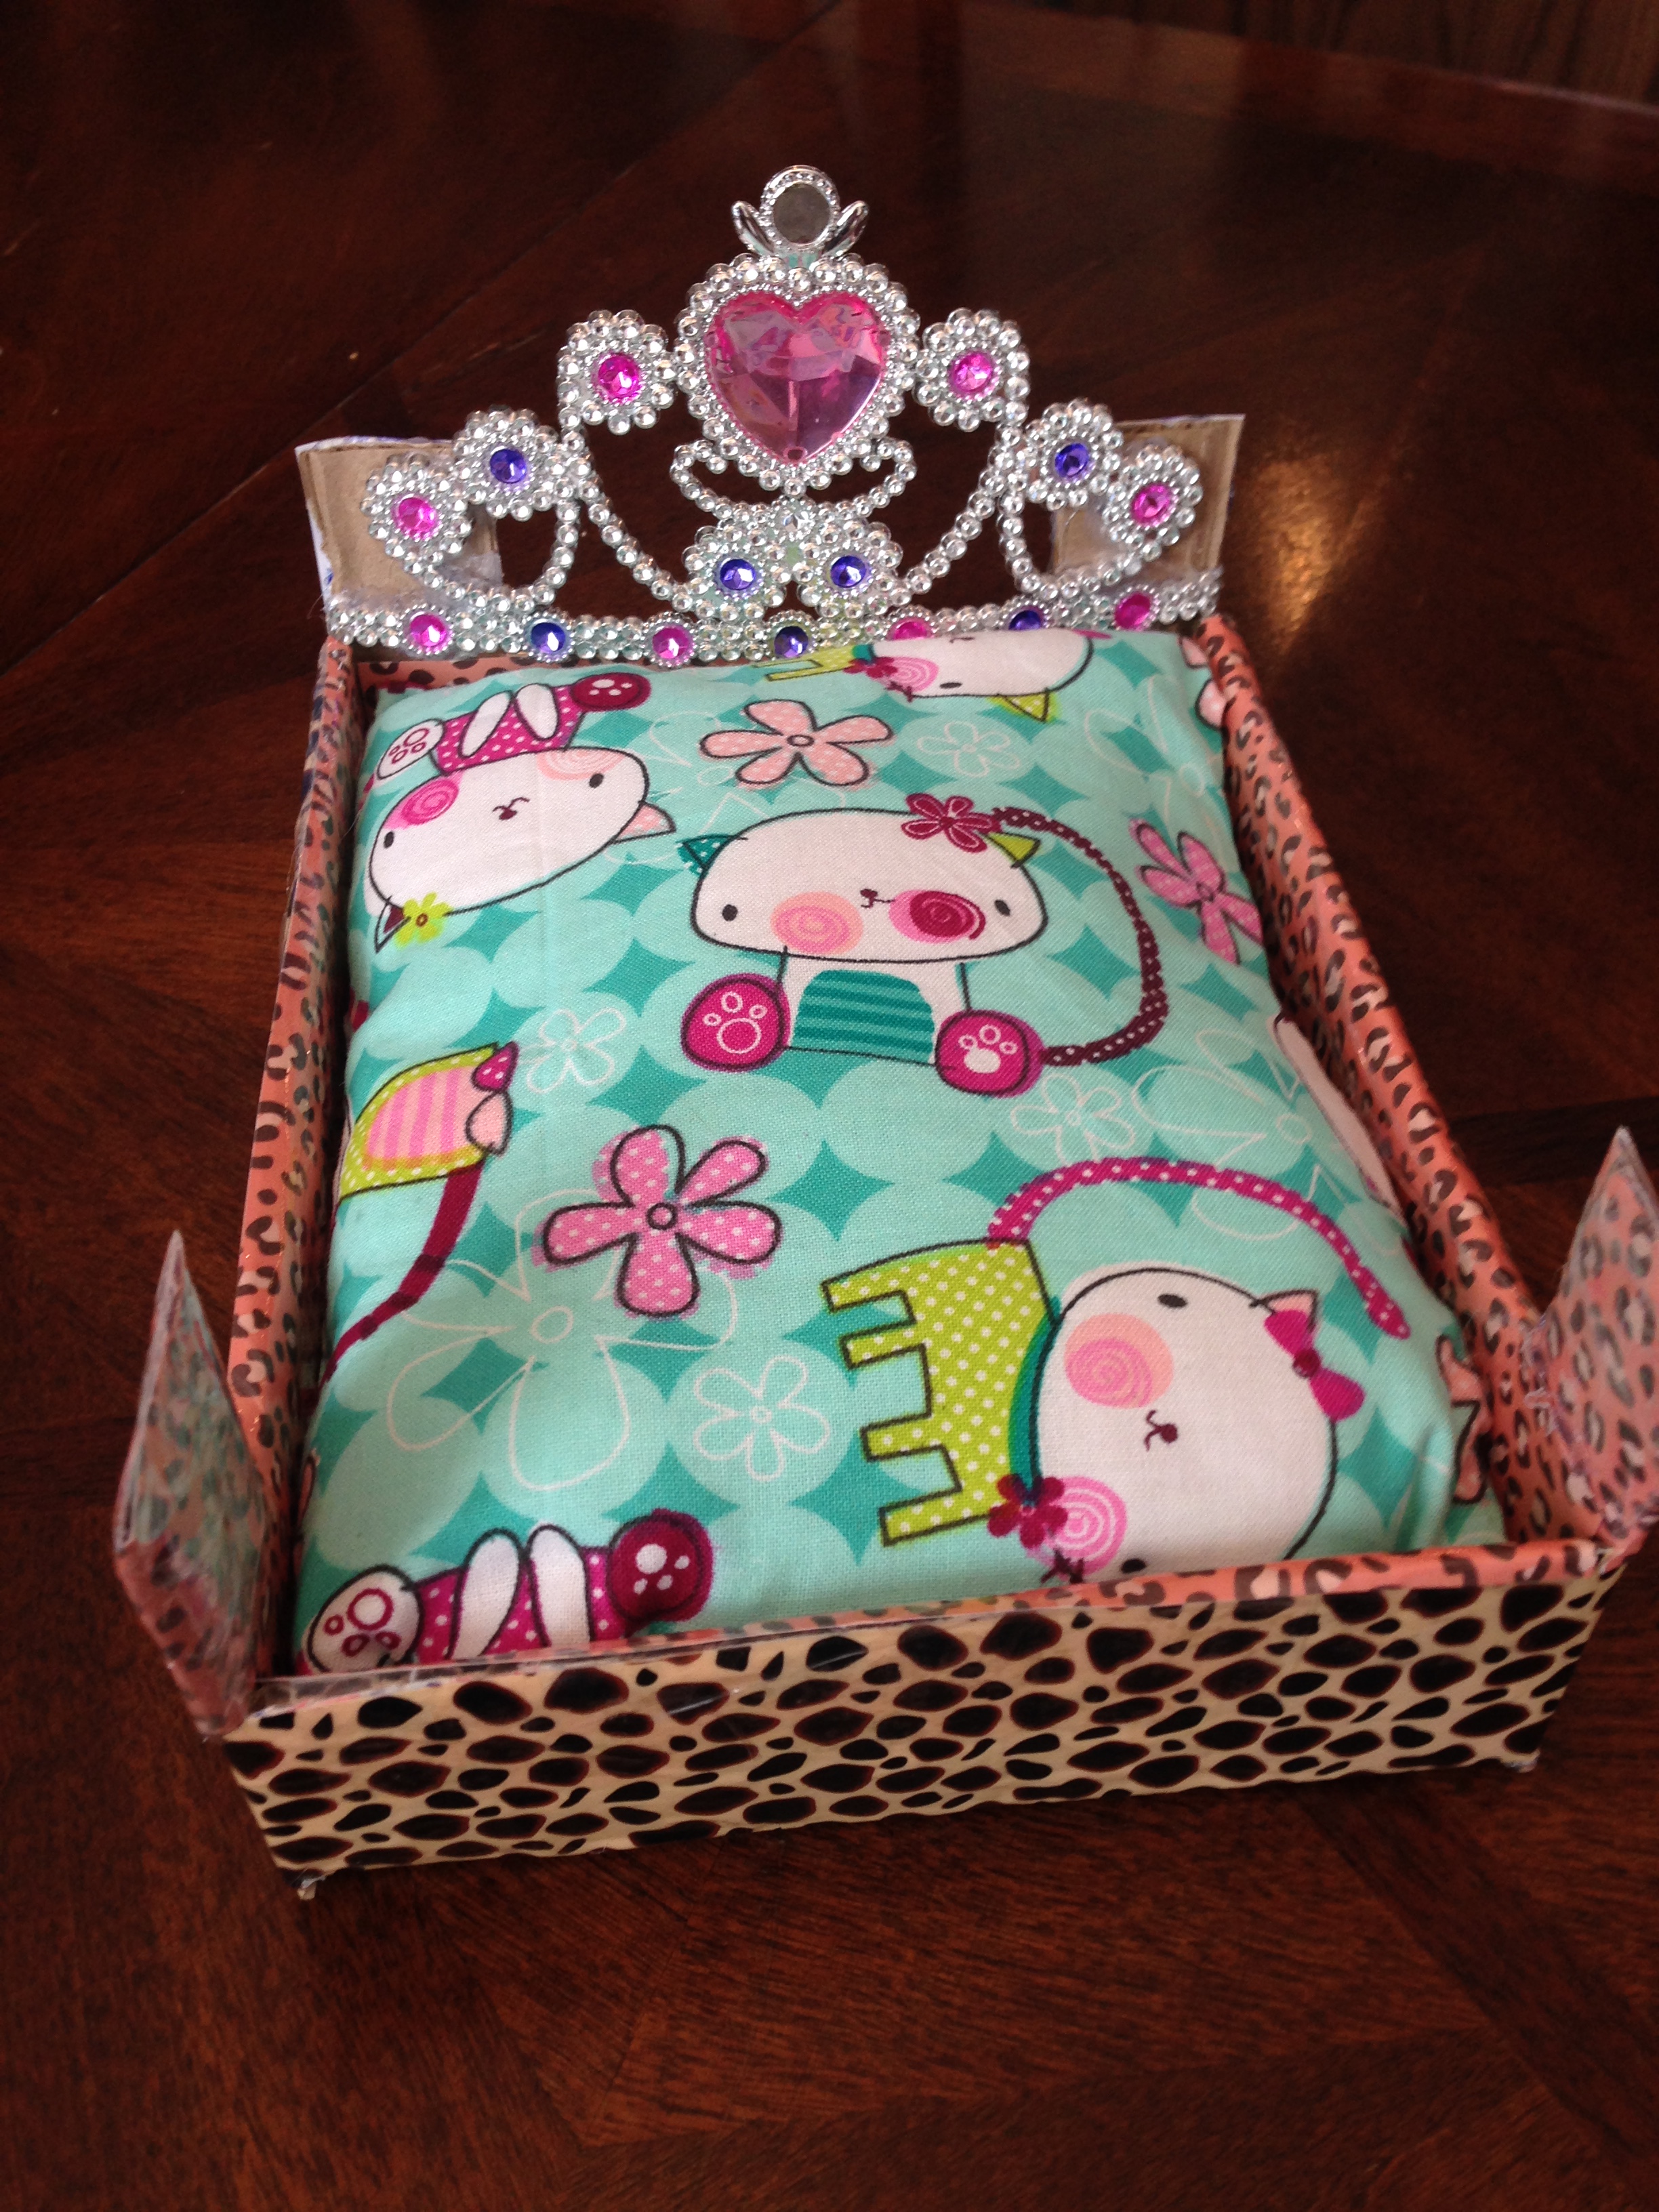
I clearly didn’t get a picture of the box before it was decorated but you can see that I cut it so that it would look like a bed. Then I covered the outside in leopard duct tape and the inside with scrapbook paper. I covered the scrapbook paper in packing tape to make it more durable. You could also duct tape the entire thing, it is up to you. We just were using whatever we had on hand.
Then I hot glued the tiara to the head of the bed. I left two tabs of cardboard so that I would have something to glue it onto, but you could do whatever you want. The possibilities are endless.
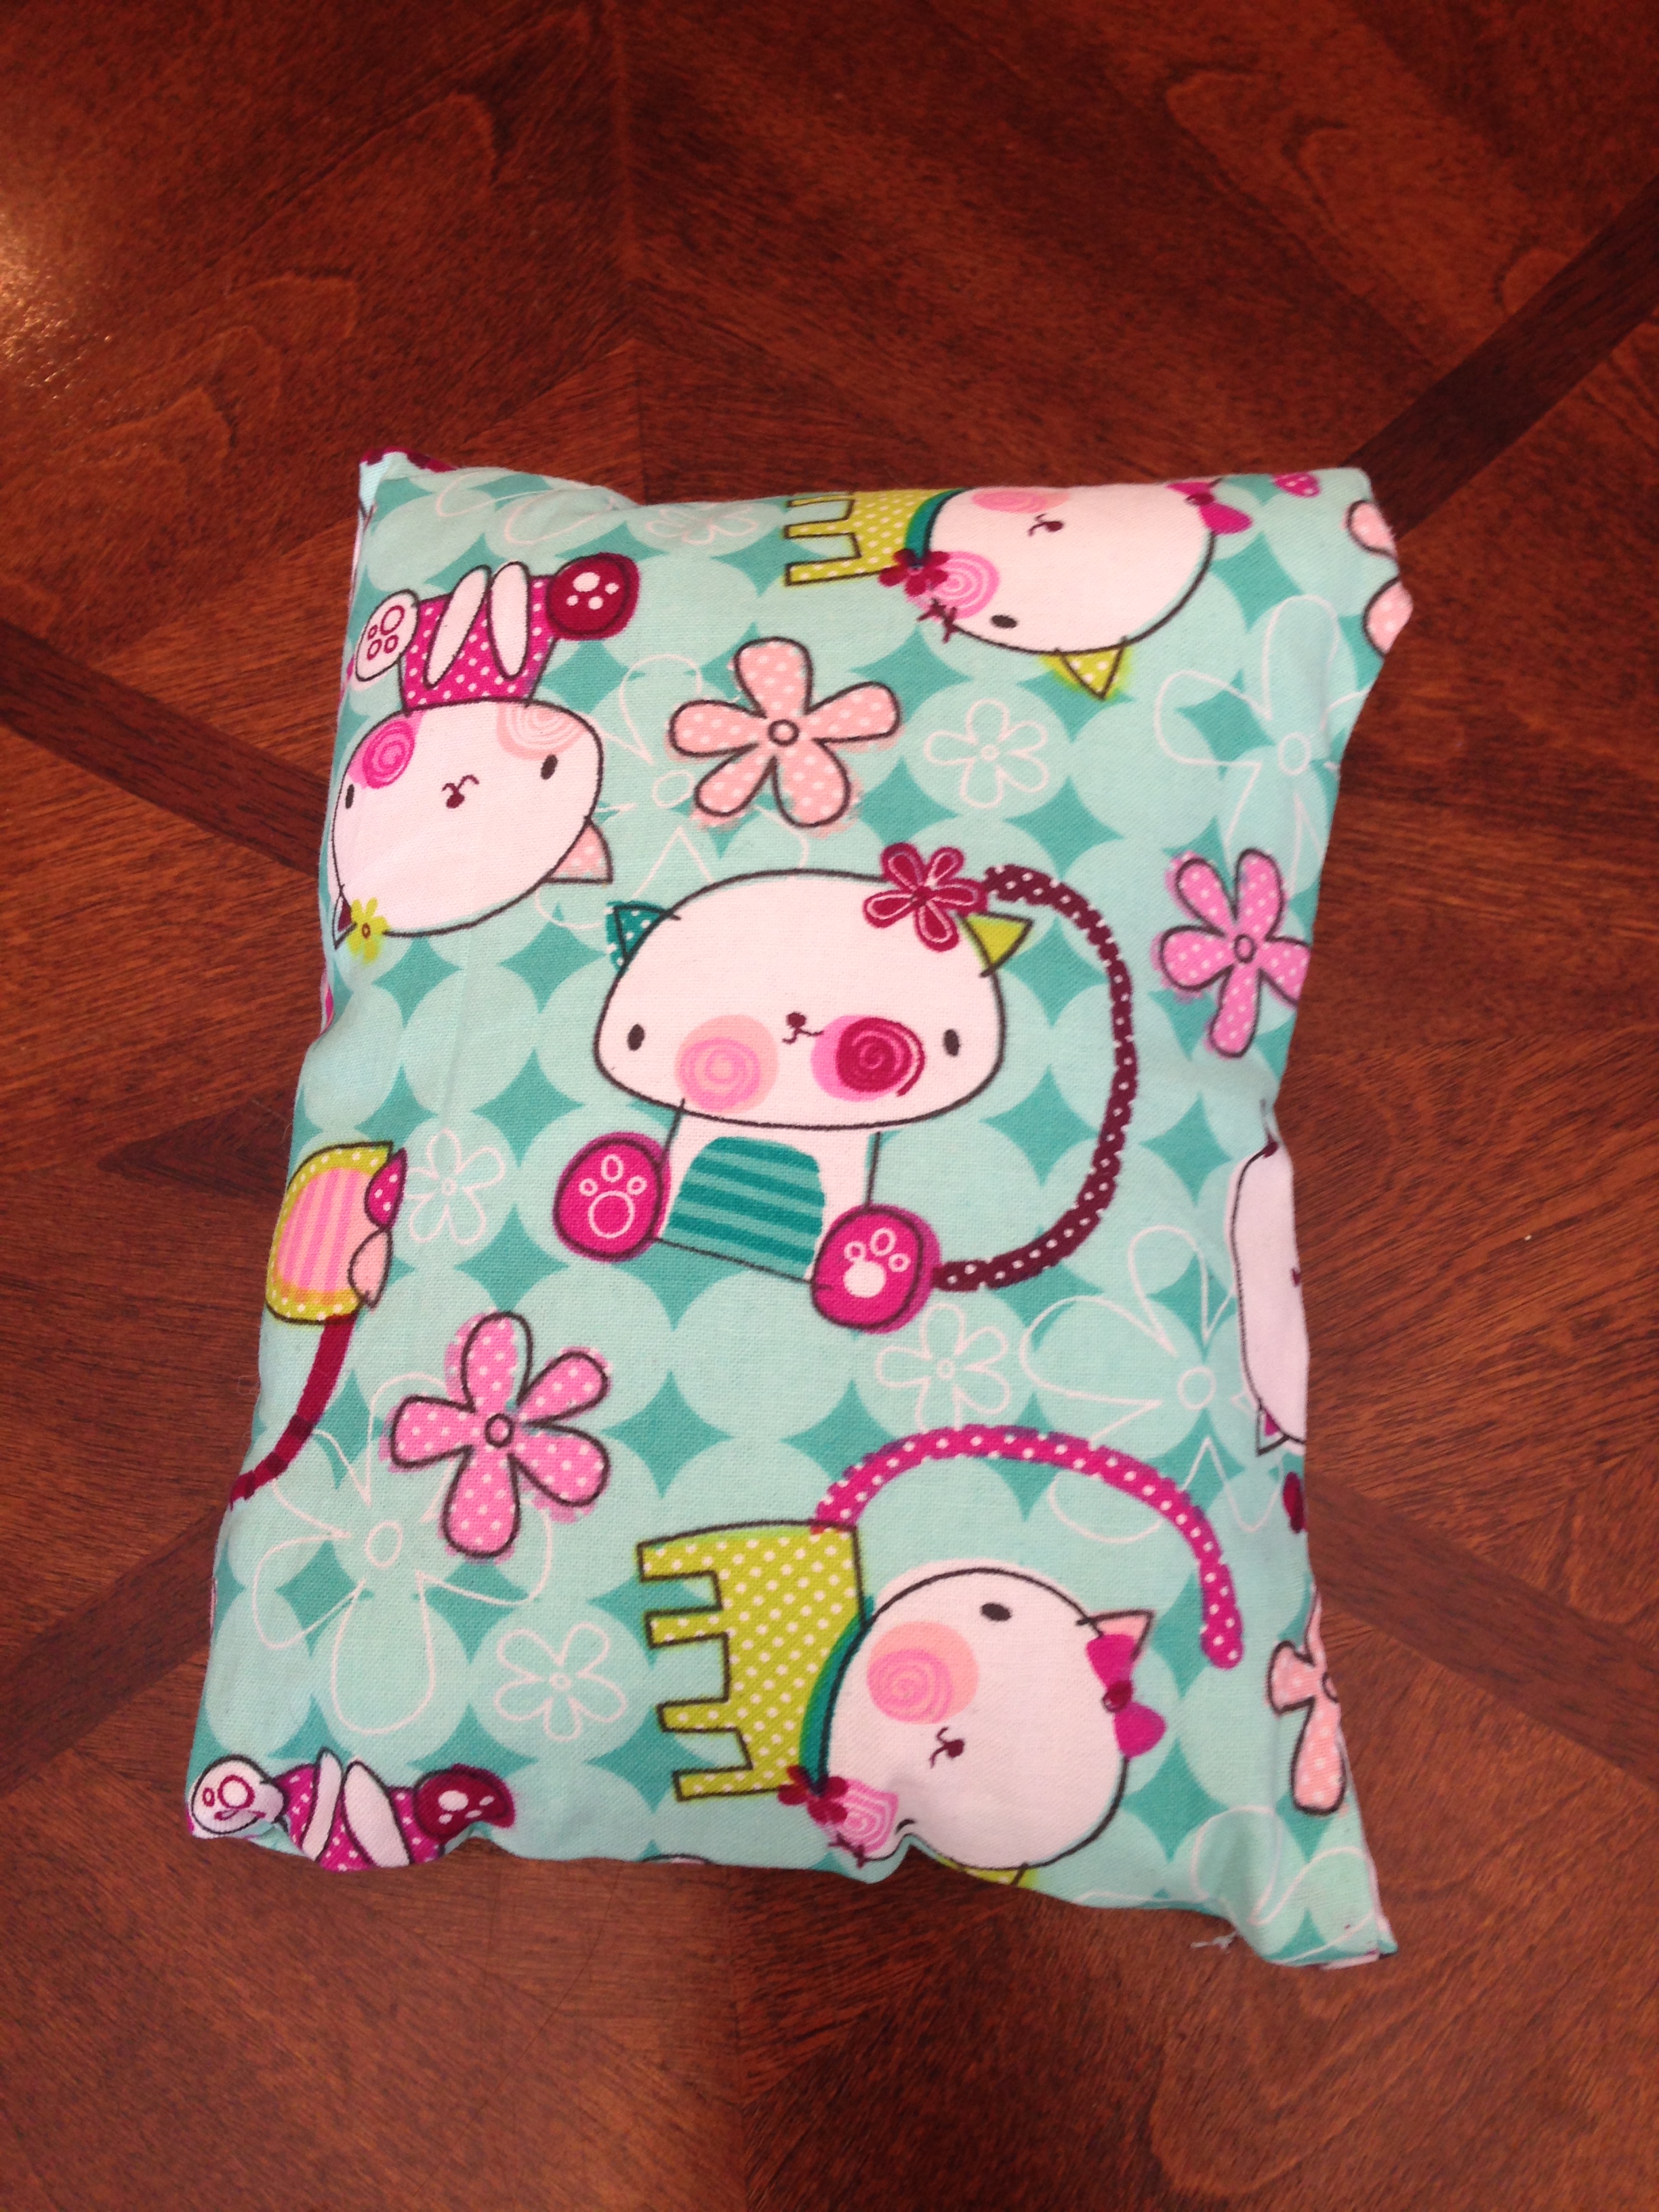
The final thing to do is add the cushion. Measure two fabric squares to fit the inside of your box. Be sure that you make them a bit bigger than your box, leaving some space for a hem. Place the squares right sides together and sew three sides only. Leave one side open to stuff it. Flip it right side out, and stuff. Once it is stuffed, just sew it closed. I just use my sewing machine for projects like these, but you can always hand sew. This project is small enough that it wouldn’t be too tricky.
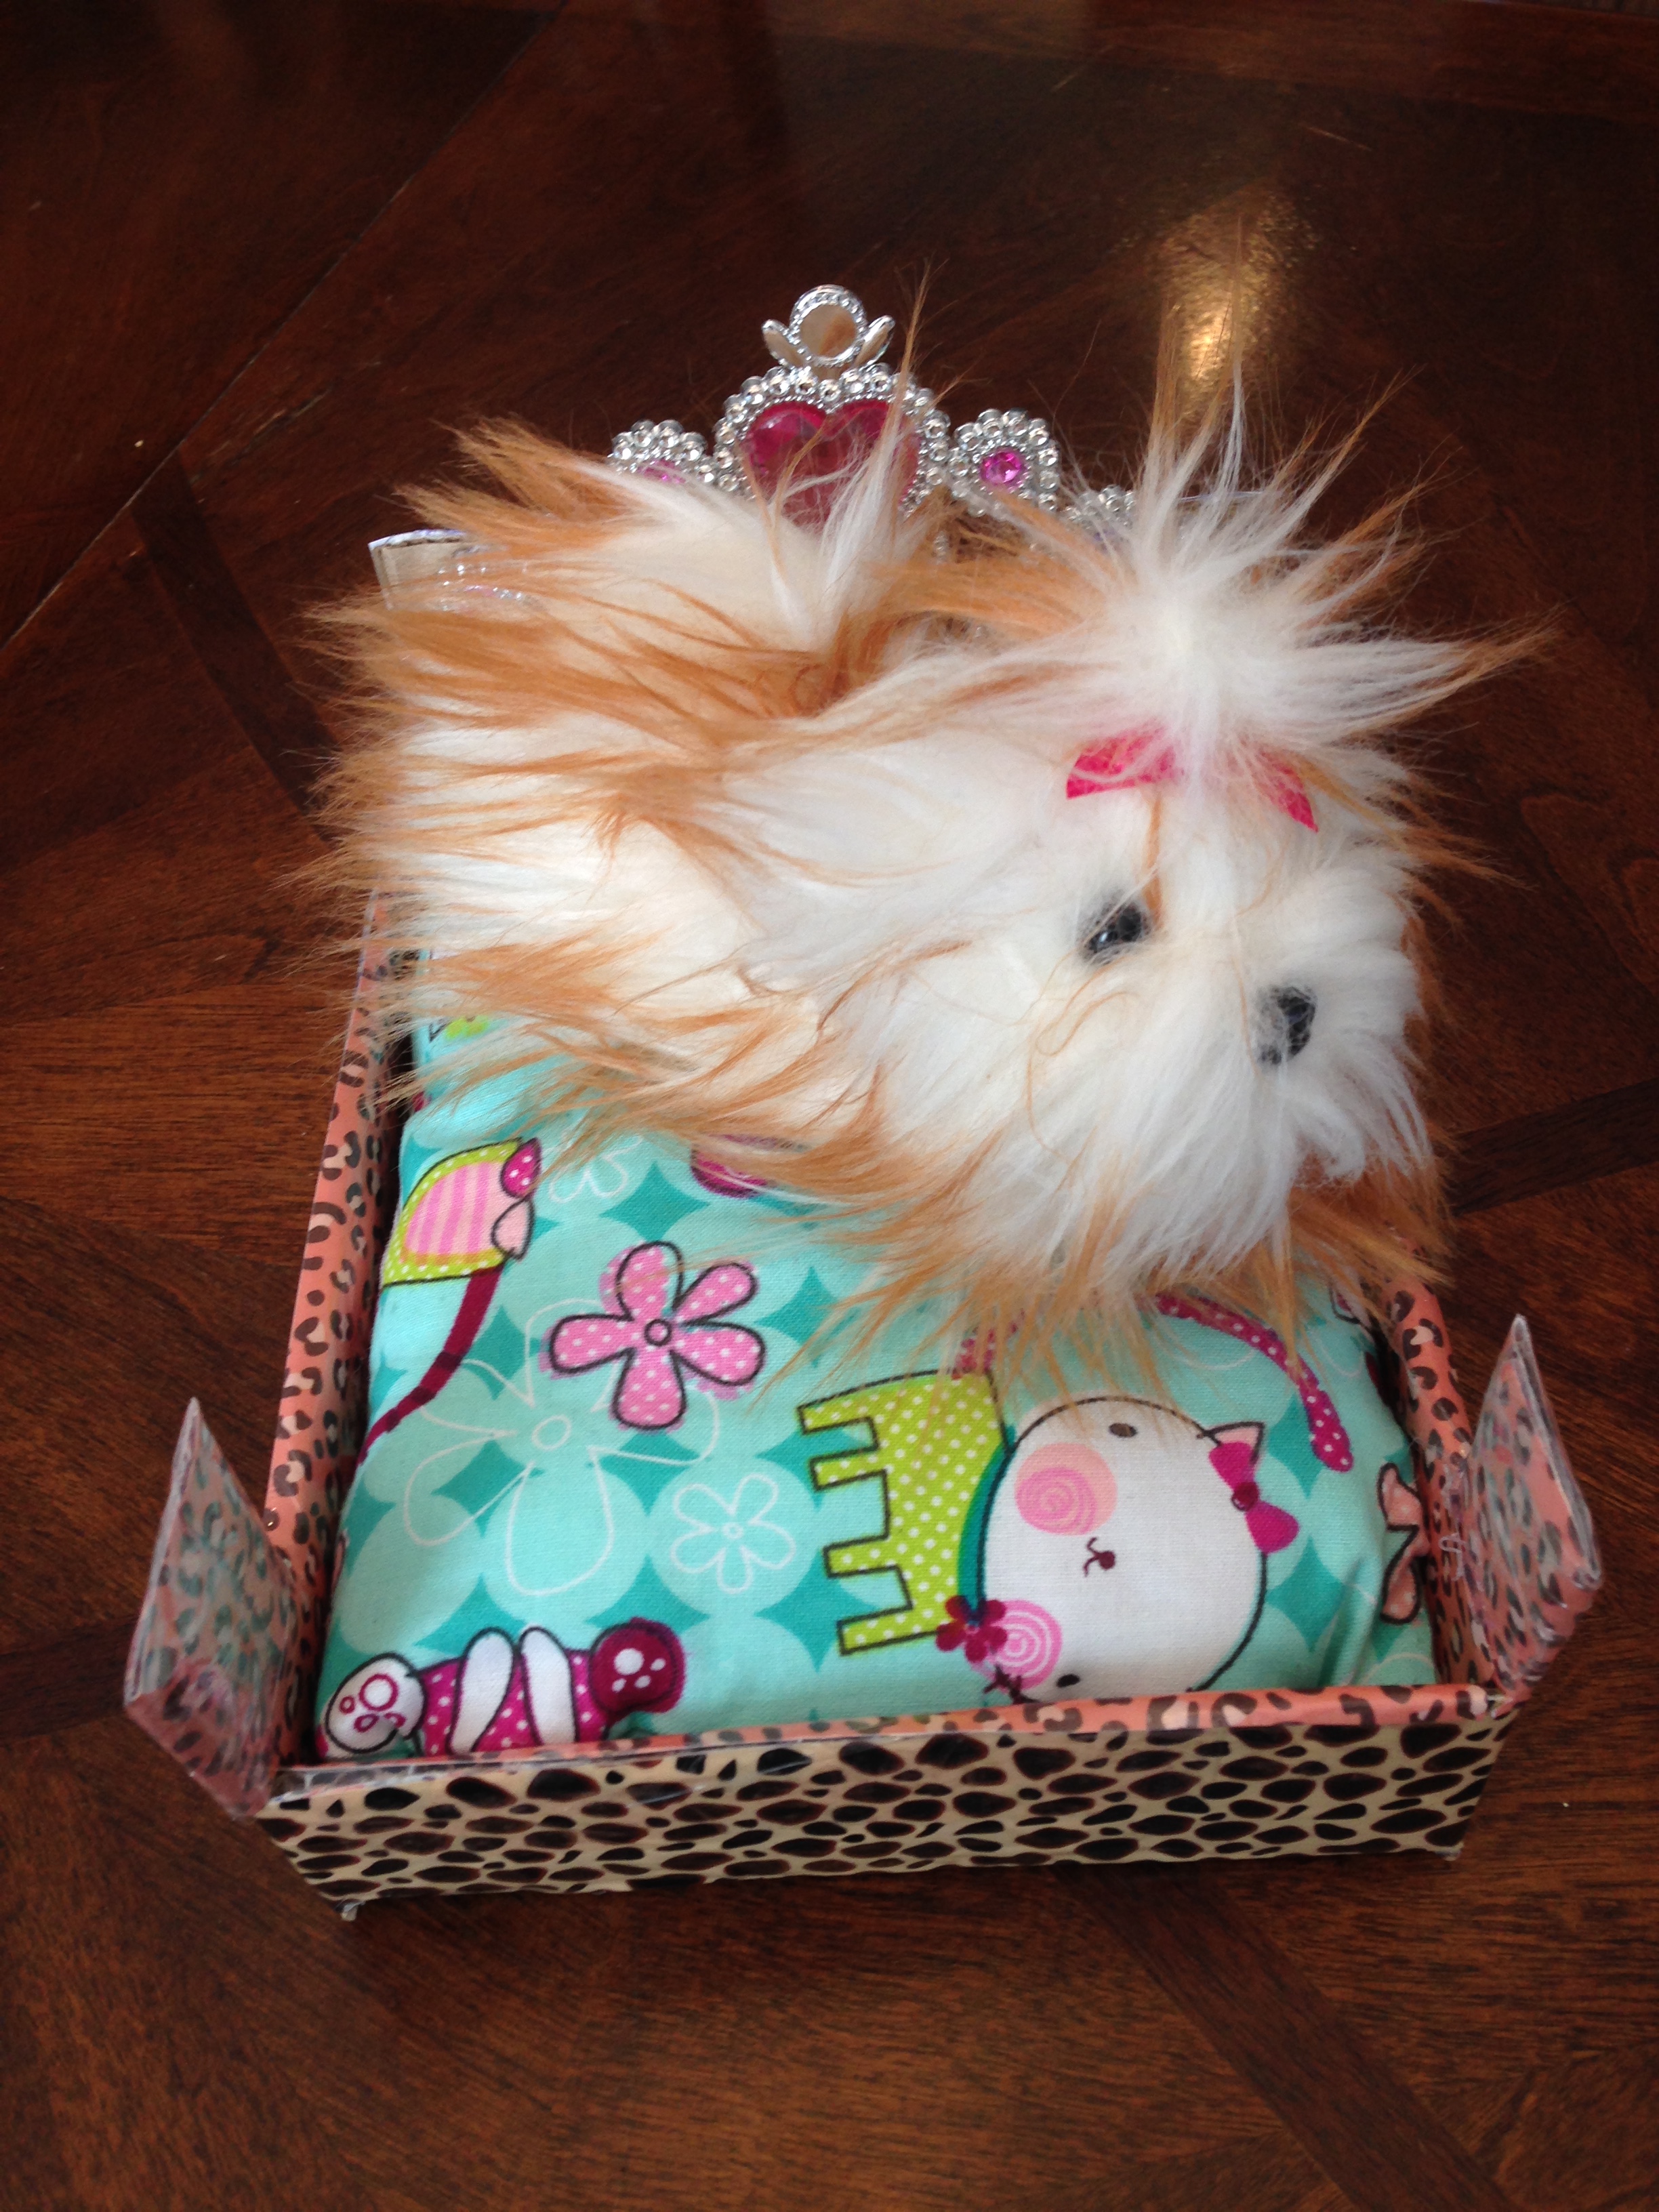
There you have it!
And it’s nice because you can make as many as you like in whatever colours you like. And of course the pillow is removable, but you could glue it in there too if you want.

The next bed that I made is a bit trickier. In hindsight, although I like the finished product, I would probably just stick to making cardboard box type pet beds as they are simple and fun. This project was neither simple, nor fun. Instead, it was a challenge but I persevered, and I do enjoy the end results.
The initial idea came to me when my daughter showed me this pet bed that she wanted, couldn’t live without, just had to have.

I looked at the price tag. No way. (Note that this is how a lot of my projects start, a glance at the price tag, followed by a huge heck no) I sent her away with a pouty lip, but then I got to thinking.
I could make this thing right? I didn’t know, but I wanted to try.
I got out all of my supplies. I used some random wood pieces from a broken kid’s art easel, wooden dowels, a random canvas that I had lying around, two popsicle sticks and some wood glue.
The first thing that I did was cut all of the easel pieces to size. I have a small hand saw that I use for projects like this. Then I glued them all together, and attached them to the canvas with wood glue. Now wood glue takes a bit to dry so this part was quite tricky. Patience is needed.
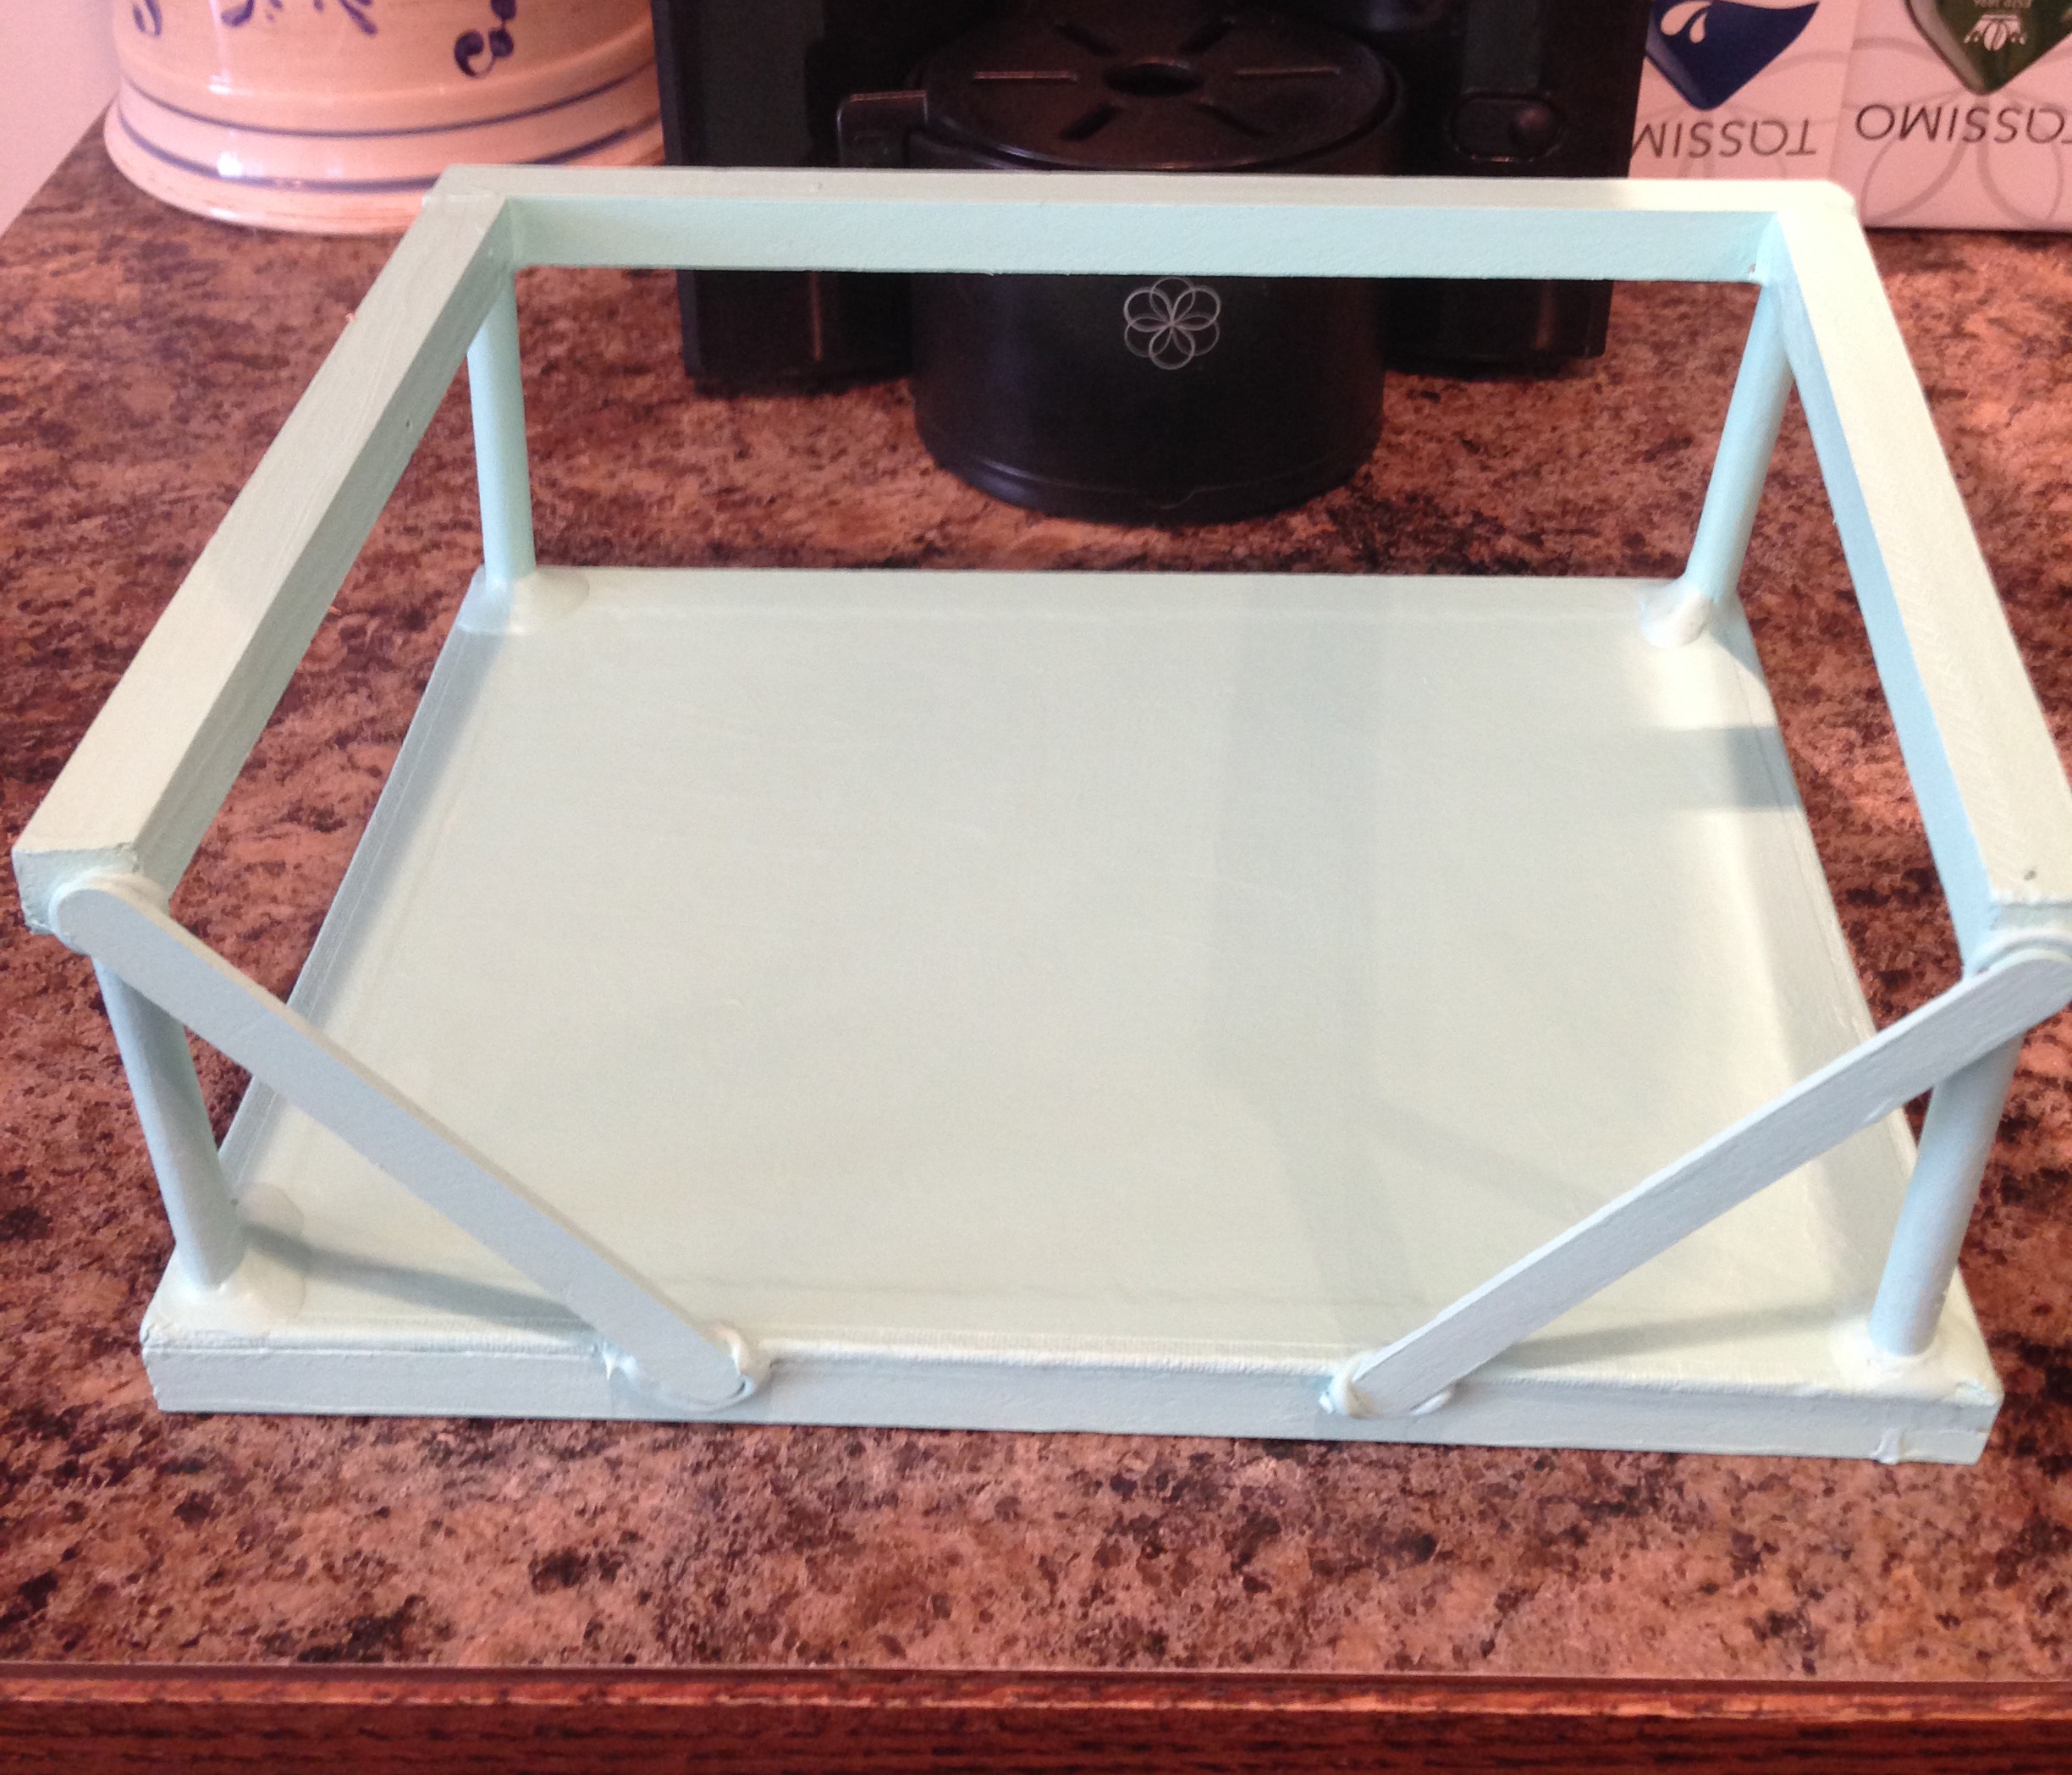
Here is a pic of what I inevitably ended up with. Now that I think about it, you could probably use a picture frame with one side removed for the top bit, but I just had some random wood pieces.
Glue your top frame together at the corners. Then glue your wooden dowels to your frame. Mounting the frame onto the canvas is the hardest part. I suggest using a little bit of glue first, wait for it to dry a little bit so that it holds, and then reinforce it with a lot more glue.
You can see where I used the popsicle sticks at the front of the bed. Then I painted the whole thing. My daughter chose the colour. I would have done the same colour as the real deal, but she wanted green.
The cushion was also tricky. Looking back, I suggest you just make a square cushion, and be done with it. Of course, I had to do it the hard way.


My sewing abilities aren’t 100% so I just fudged it like I always do. I first created a long tube for the back part of the cushion. Then I measured a smaller square to fit in the middle. After it was all stuffed, I just sewed the whole dang thing together. Like I said, there is no method to my madness, so just save yourself some insanity and make it a square.
Tada!

I hope you have fun making all sorts of beds for your doll pets!
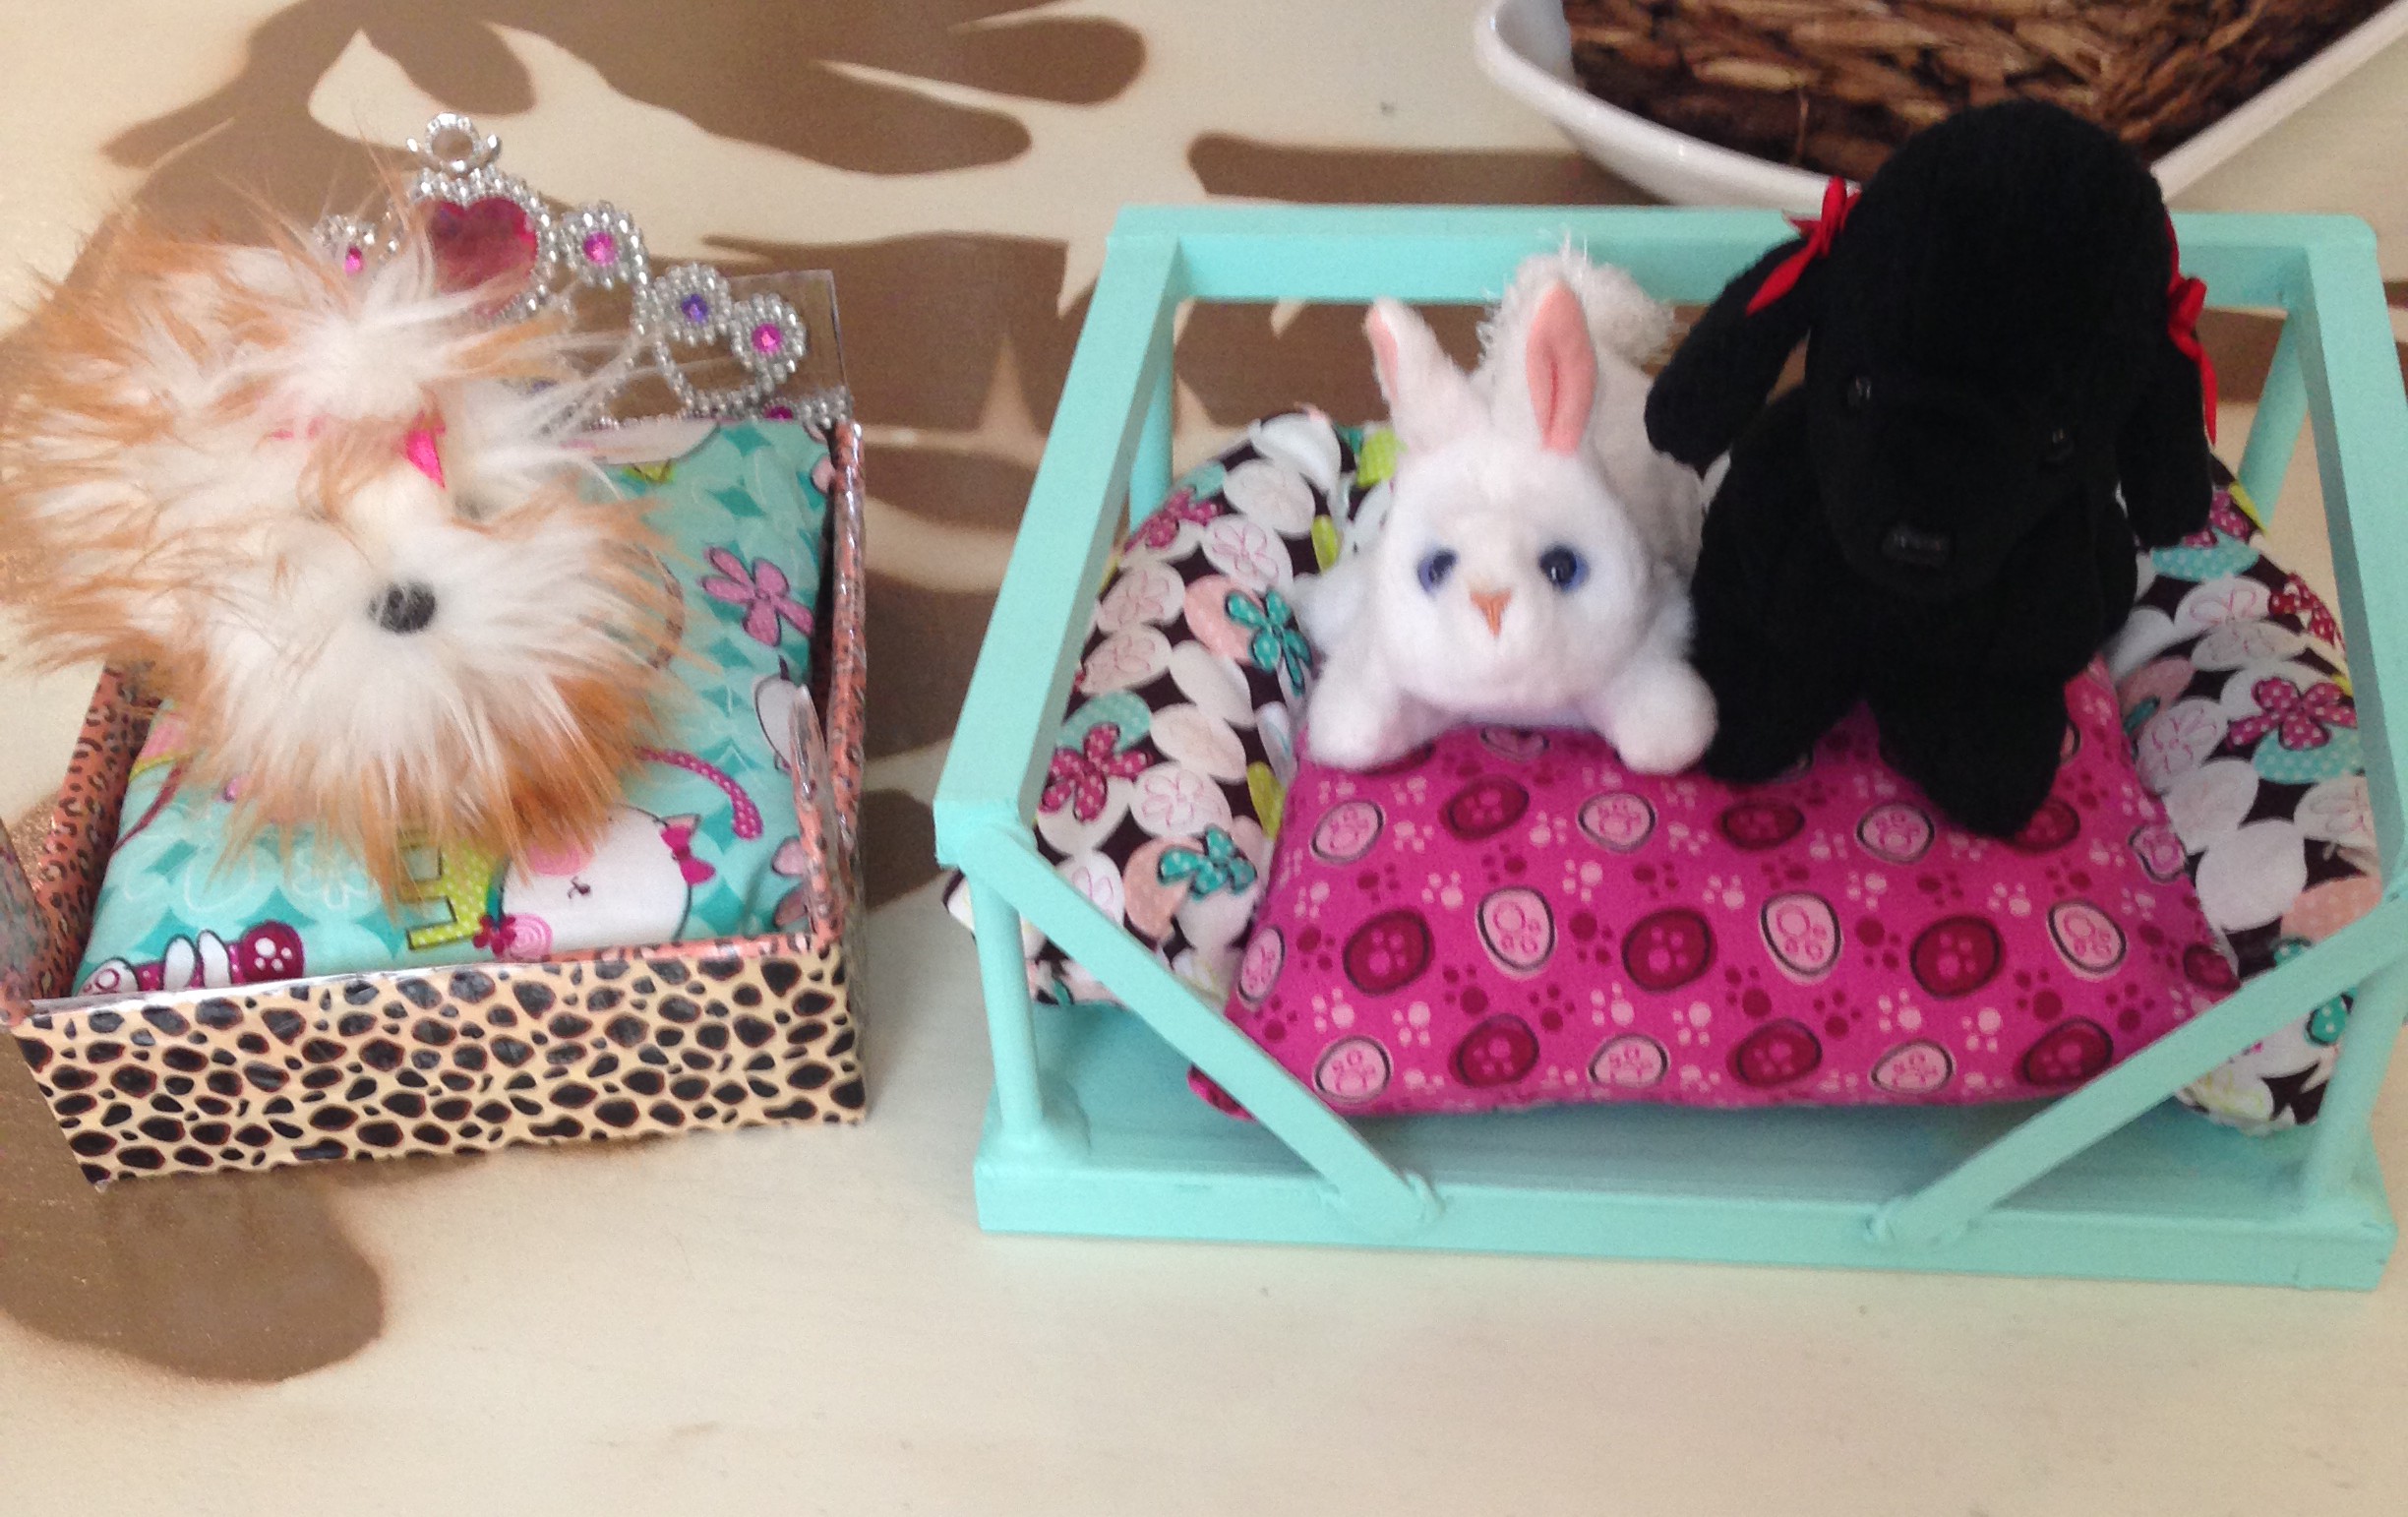
Cute, right?

One thought on “DOLL PET BEDS”