

Hi guys! We are back! It took a while, but we have finally gotten out from under the completion of my new book, our Doll Handmade Christmas Gift exchange, and my niece’s birthday sewing projects, but more on all of that later.
Besides sewing gifts, we also made this cute doll school set for my niece’s birthday. Now most of this set can be created using items that we found at our local dollar store. We found a mini calendar, some mini notepads that we cut to size, and a darling mini clipboard.

We also made some doll folders out of card stock, and decorated them with stickers. The pencils are painted wood skewers cut to size, and our doll binder notebook tutorial can be found HERE.

If you want to make some of the cutest doll lip balm we’ve ever seen, then you can check out AmericanGirlIdeas for an easy tutorial. We used colourful patterned duct tape to decorate ours.

All that aside, today we are here to show you how to make your doll a water thermos!
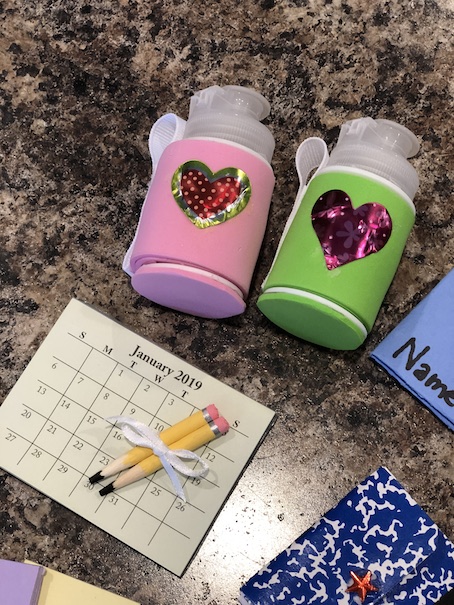 I’m so pleased with the way that these turned out! We love everything doll sized and these are perfect for the dolls!
Okay, let’s begin!
What you need:
Empty thread spool
Hot glue
Craft foam
Lid from dish soap bottle
Ribbon
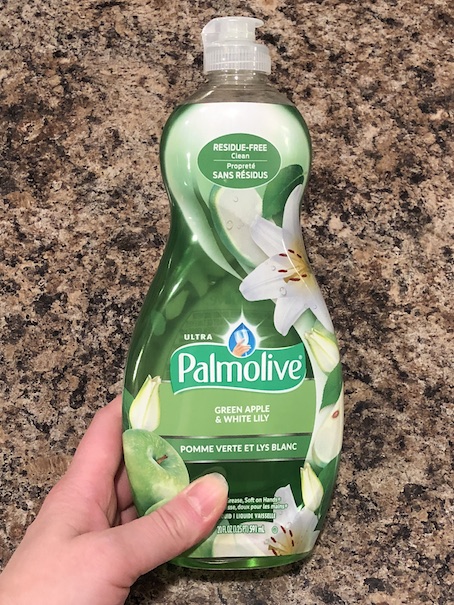 Start by removing lid from the dish soap bottle. Here is the one that we used.
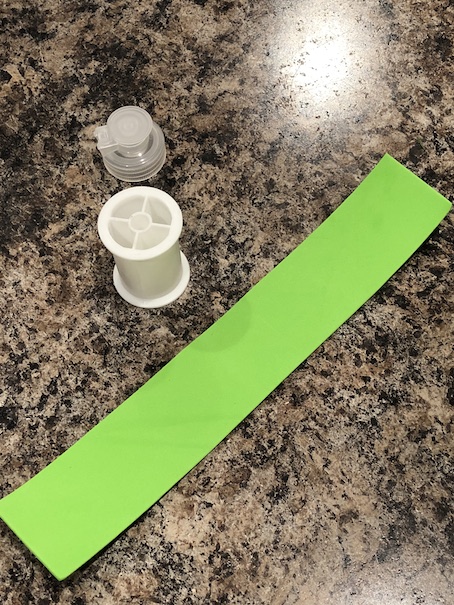 Cut a strip of craft foam to wrap around your thread spool. It needs to be long enough to wrap around the spool twice.
 Begin wrapping your spool making sure to keep it tight. Hot glue it down as you wrap it to keep it from unrolling.
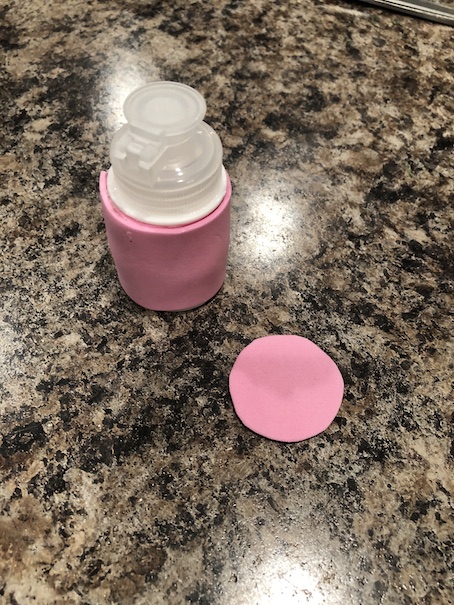 Hot glue the dish soap lid to the top of the spool. Then trace and cut out a circle of craft foam to glue to the bottom of the spool.
 Your water bottle is nearly done! Now it is time to add the ribbon.
 See that seam where the craft foam folds over on itself? We are going to cover that up with ribbon. I used grosgrain ribbon, the kind with the little lines on it.
 Start by hot gluing the ribbon about a half inch from the top of the spool.
 Next, create a loop as shown above hot gluing the ribbon directly to that seam that we want to cover.
  Hot glue the loop down, leaving a small loop at the top.
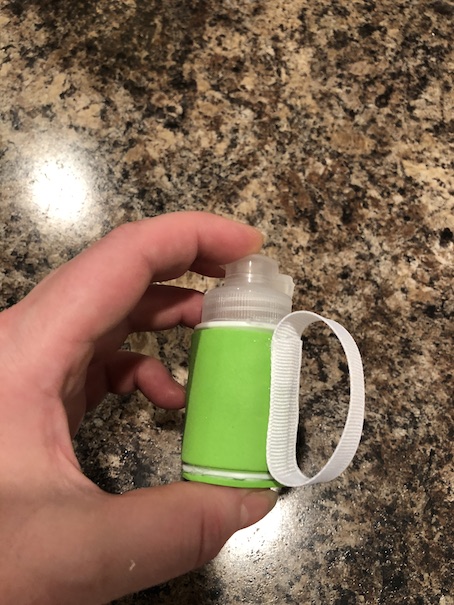
 Here is what your ribbon should look like after it is glued down. That little loop at the top enables the dolls to carry their thermos. Now you can decorate your thermos with stickers or scrapbook paper. We used a cute metallic sticker. Since stickers don’t adhere well to craft foam, we just hot glued it on the front.
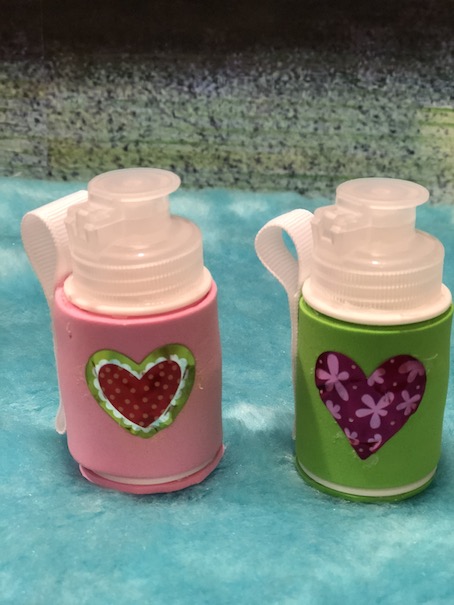 And you’re done! Your doll now has a cute thermos to take to school!
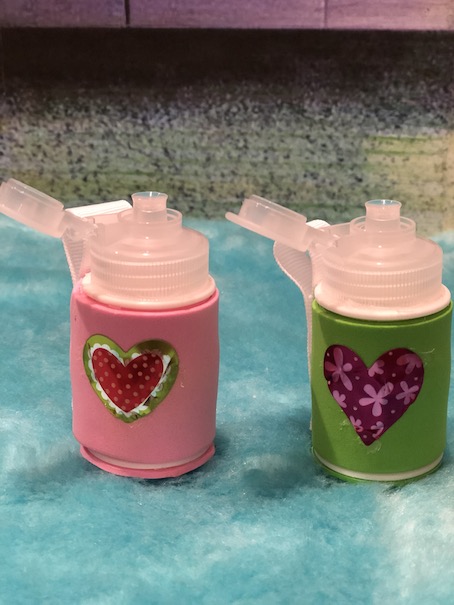 The thermos even opens at the top! Just don’t put water in it! 🙂
 And your doll can carry it herself!

These little thermoses are great for tucking into your doll backpack. 🙂
I hope you enjoyed!
Keep smiling, and have a crafty kind of day! 🙂  Leave a comment below!
❤ ❤ ❤

These are so cute!
LikeLiked by 1 person
Thank you! 🙂
LikeLike
That is so adorable!!!!! It’s so cool and even could open if you wanted, since it’s a cap!!! 😄😄😄😄😄
Jesus loves you!!!!!
-Hope 💕😀
LikeLiked by 1 person
Absolutely! I love that the little top opens! 🙂
LikeLiked by 1 person
Adorable!
LikeLiked by 1 person
Thank you! ❤ 🙂
LikeLike
OMG! How perfectly adorable and so clever!
LikeLiked by 1 person
Thank you so much! 🙂
LikeLiked by 1 person
That’s so cute! Can’t wait to try it!
LikeLiked by 1 person
Definitely! These are so cute! 🙂 ❤
LikeLike
Thank you! 🙂
LikeLike
Love love love!! So talented!!
LikeLiked by 1 person
Aww, thank you so much! ❤ ❤ ❤
LikeLike
Thanks! 🙂
LikeLike