

Hello friends!! I know that we just posted a DIY, but we have been wanting to do this one for such a long time now that we decided to just go ahead with it anyway. 🙂
The Waffle Breakfast Set is a newly released set from AG. From the moment that we first saw it, we knew that we wanted to try to replicate it.
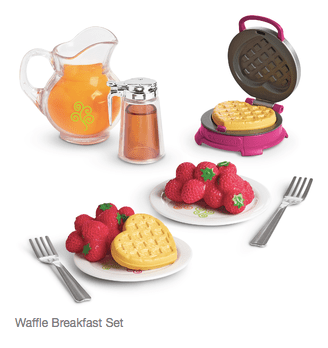
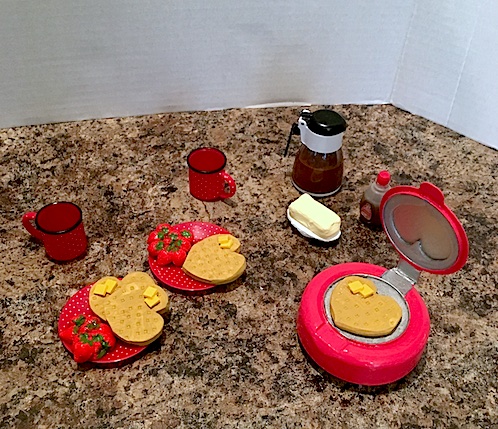
The main thing in the set was the waffle maker. How cute is that?! We just had to recreate it.
For this project you will need:
A lid from a cylindrical wipes container, pink and silver paint, white glue, varnish, thick craft foam, thin craft foam, four pony beads, exacto knife, scissors, hot glue, square head screwdriver
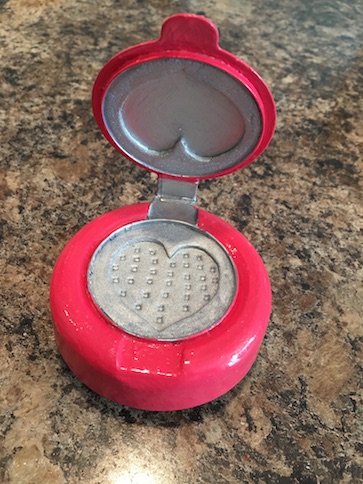
Take the lid from your wipes container (we used a Lysol wipes container lid) and use your exacto knife to remove the insides.

(Parental supervision is required when using an exacto knife.) We added a small piece of duct tape at the hinge to reinforce it.
Using the bottom of the container lid as a guide, trace and cut out two circles of thick craft foam.

Be sure that your circles fit neatly inside your container lid.

You may have to trim them down a little so that they fit.
Next, trace one circle in thick craft foam, and one circle in thin craft foam that are the same size as the opening at the top of the lid. I just pressed the opening of the lid into the foam, and it left a neat little indent.
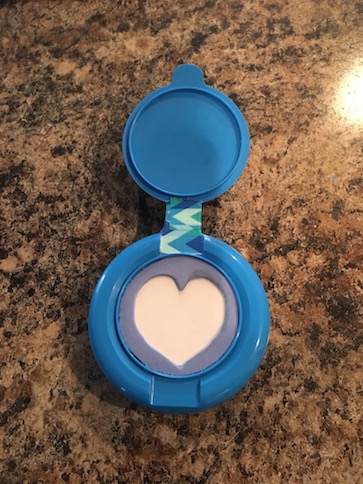
Take the circle that you cut from the thinner craft foam, and fold it in half. Draw half of a heart, and cut it out.

When you unfold the circle, it will have a heart shaped hole in it.
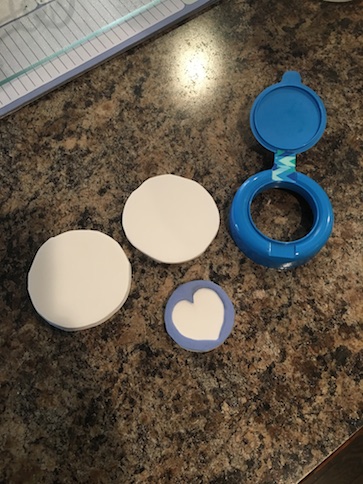
Here are all of the pieces that you should have.
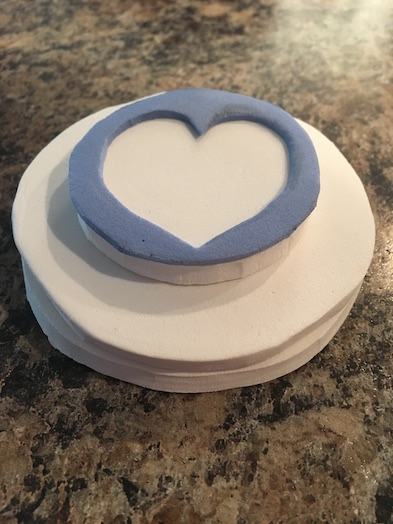
This is how the pieces should stack in order to fit inside the container lid.
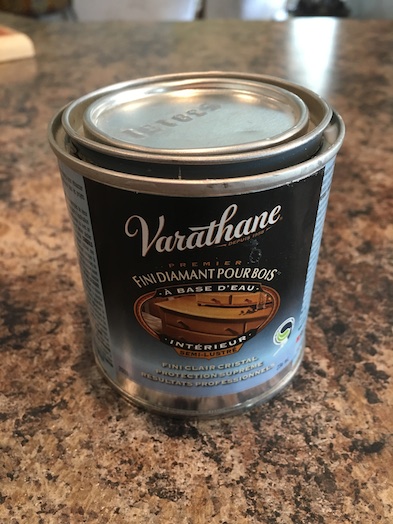
Now paint the entire outside of the container lid in a shade of pink. We did this after we had assembled the thing, but I think that it is best to do it beforehand. I mixed a bit of white glue in with the paint to help it adhere to the plastic better. Also, paint in thin coats, and allow to dry thoroughly between coats for the best results. Once the paint is on there, give the entire thing a good coat of varnish.
Assemble your waffle iron. First, insert the smaller thick craft foam circle into the opening at the top of the lid. Next insert the two larger circles. Each of the circles should snugly fit inside the lid. Hot glue them in place. Do not hot glue the circle with the heart cut out of it yet!
 For the lid of the waffle maker, paint the inside of the container’s top flap silver. This is the piece where the top of the container opens. Using the top as a guide, trace a circle from thin craft foam. Again, I just pressed it down into the foam, and it left a mark.
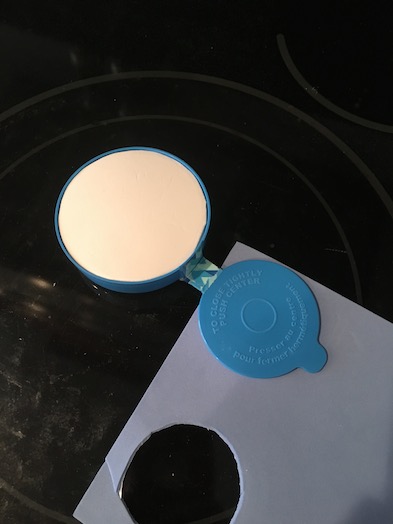
Take the previous circle that you cut a heart shaped hole in, and trace the heart onto the second circle. Cut it out.
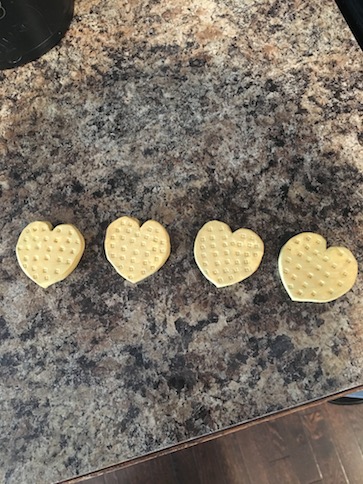
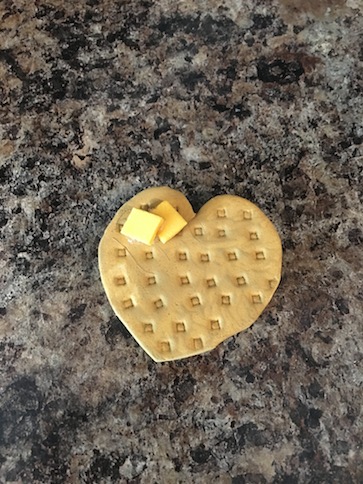
Use your heart shaped stencils to trace your waffles onto thick craft foam. This is very important as you want your waffles to be uniform, and also to look like they have come from your waffle iron. Do not skip this step!! Once you hot glue the stencils in place, you will not be able to use them to make waffles with. We cut four waffles.
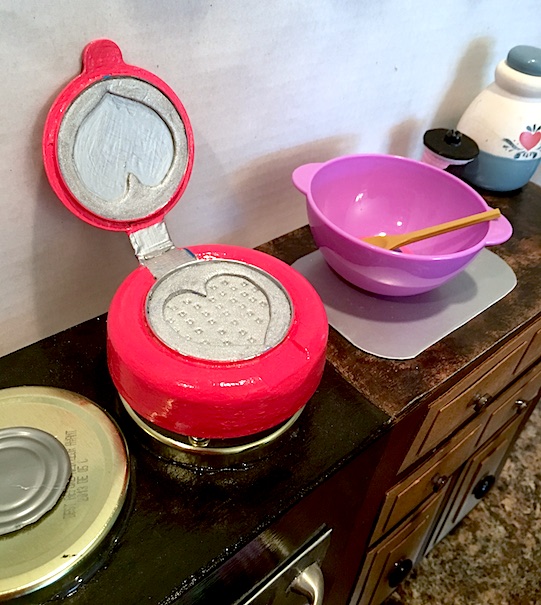
Now you can hot glue your heart shaped stencils onto your waffle iron. One will go on the top flap, and one will go on the bottom. Be sure that the one on the bottom is right side up facing you, and the one on the top flap is upside down. This ensures that when the two come together, they appear to create the top and bottom imprint of the waffle. Paint the heart areas silver.
Using a screwdriver with a square head (I think that there is probably a technical name for this, but no matter. LOL!) you can create your waffle indents in the thick craft foam of your waffle iron as well as on both sides of each of your waffles. The lid of our waffle iron doesn’t have the waffle indents, but we didn’t mind that much about that.

Paint the bottom of the waffle iron silver.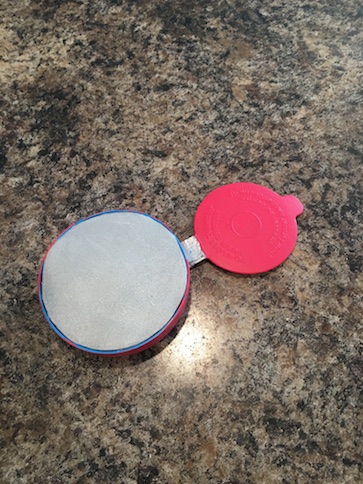
Then hot glue some silver pony beads to the bottom for legs.
 And you’re done!
 ❤
❤
Paint your waffles a shade of yellow. We just mixed some yellow with a tiny bit of brown to get the shade we wanted. Cut some tiny squares out of craft foam for the butter if you like, and hot glue into place.
We already had the strawberries from our model magic Brunch Post
But breakfast can’t be served quite yet! We need syrup! 🙂
To make the syrup you will need:
Empty food colouring bottle, pony bead, brown and red paint, hot glue, syrup label (we just printed out an image from Google)
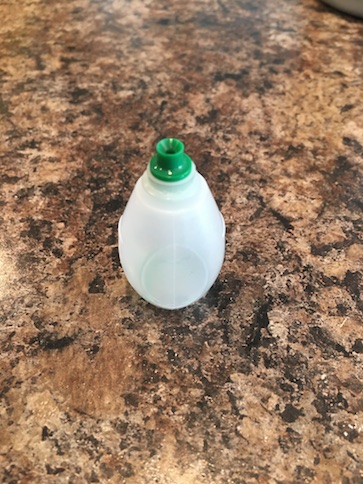
First, remove the small green top from the food colouring bottle, and discard. Clean out the bottle thoroughly. Then mix some brown paint with some water, and fill the food colouring bottle halfway with the mixture. We just squeezed the food colouring bottle, and stuck it in the liquid to fill it.
Hot glue a pony bead to the top, filling the bead with glue to seal off the opening in the bottle. Paint the pony bead, and the hot glue in red. Cut out tiny label images printed from online, and tape or glue them on. And you’re done! 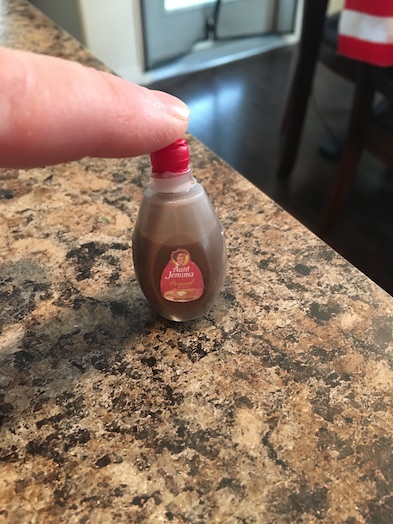
To make a butter block you will need:
Thin craft foam, hot glue, white and yellow paint.
Cut a strip of craft foam the height that you want your butter block to be. Glue the ends of your strip together to form a circle. Place a blob of hot glue on some parchment paper and place the foam strip on it. Shape your butter into a block around the glue blob before it dries.

Once you have the shape that you want, let it dry completely. Peel it from the parchment.
 Next fill up your butter block with hot glue. Do not over flow the top edge, but be sure that it is filled all the way to the very top, and even over the top a little forming a bit of a ridge. Let it dry completely.
Paint your butter block yellow. We used some varnish on ours as well.

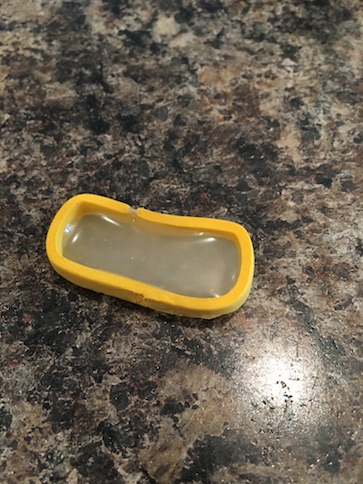
If you have a little plate to place your butter on, you can finish here. We didn’t have a plate, so we decided to make one from hot glue. Pump an oval shape of hot glue onto your parchment paper. We used the end of our glue gun to help shape the glue blob into an oval. Place a round blob of glue, smaller than the oval onto the parchment paper. Let dry completely. Peel from the parchment paper.
Place the round blob onto the bottom of the oval blob and hot glue in place. This is the base of your butter dish.

Paint your dish white. Hot glue your block of butter in place, and you’re done! 🙂

Tip: If you want, you could even wrap your butter block in parchment paper for a packaged look instead, and put it in your doll’s fridge. 🙂
Awhile back while out thrifting we found some adorable salt and pepper shakers that resembled little coffee carafes. We filled the carafe with brown paint mixed with glue. Then we let it dry completely.
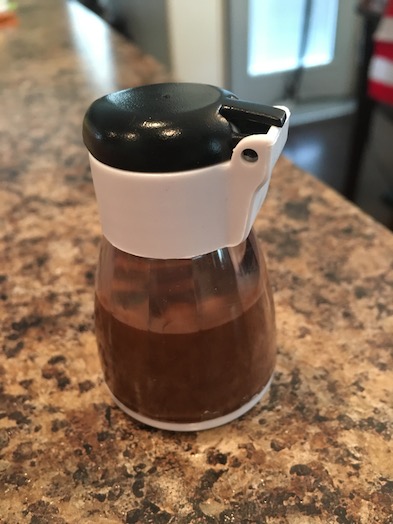 They just needed handles so we hot glued a pony bead on there as well as a piece of a wooden coffee stir stick.
The Little Miss insists that the dolls are too young to drink coffee, so ours is a hot chocolate carafe instead. 😉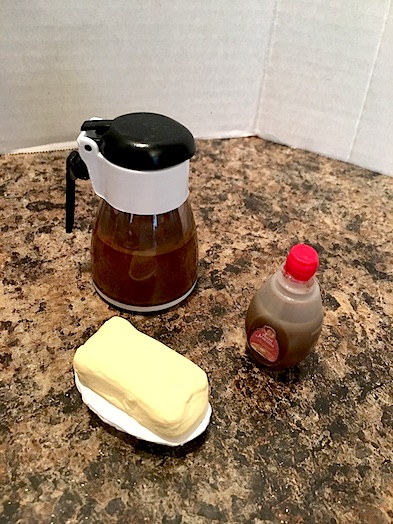
Grace and Samantha have to agree. They both love hot chocolate. ❤
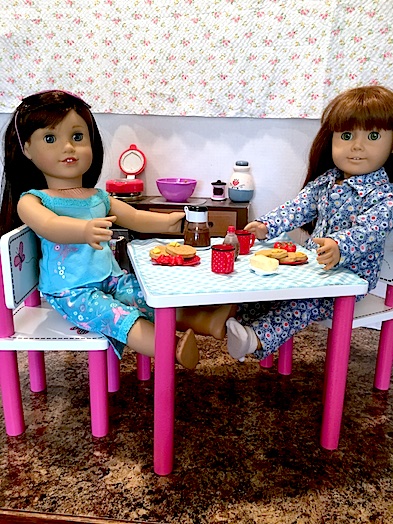
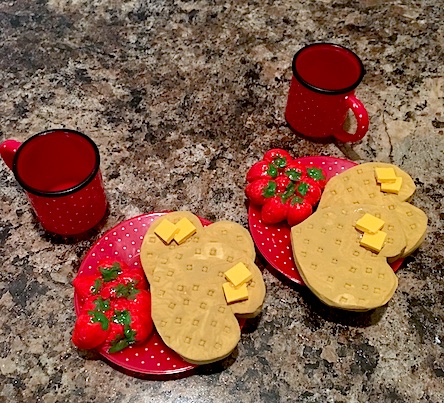
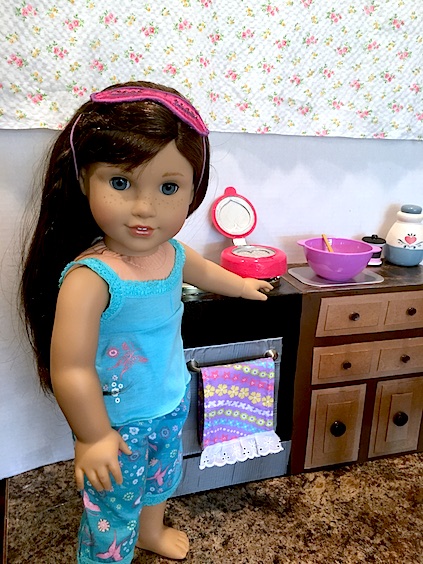
Here is the completed set!
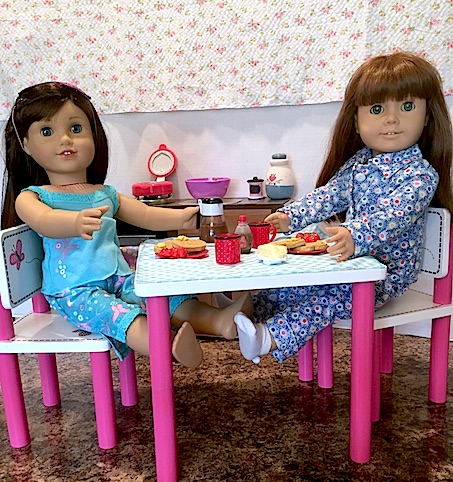
As our resident baker, it goes without saying that Grace is a whiz in the kitchen. Her waffles are to die for, and Samantha is always the first one down in the morning to get her hands on one while they are hot. 🙂
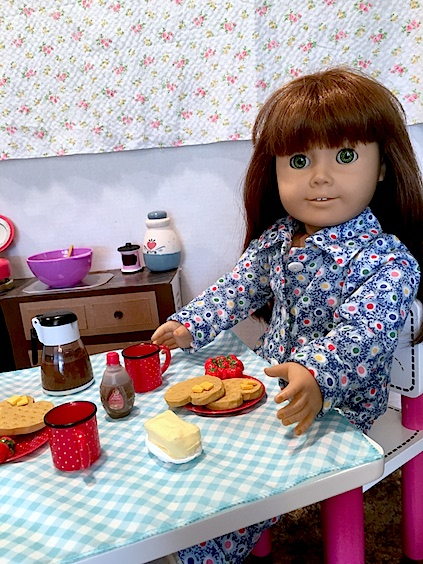 Sam loves putting strawberries on her waffles.
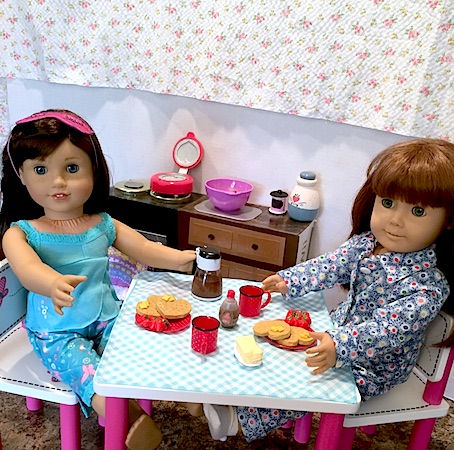
 Grace prefers hers with just regular syrup and butter.
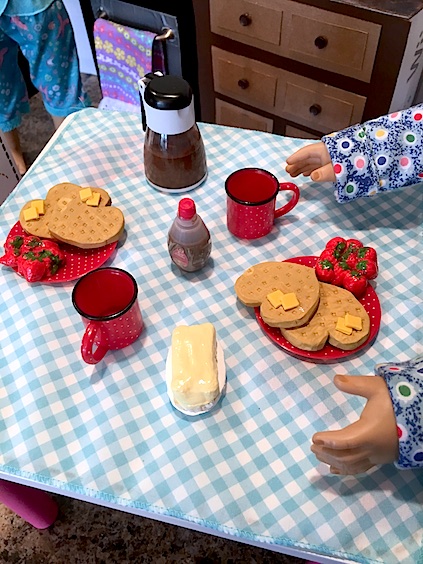
 More waffles anyone?
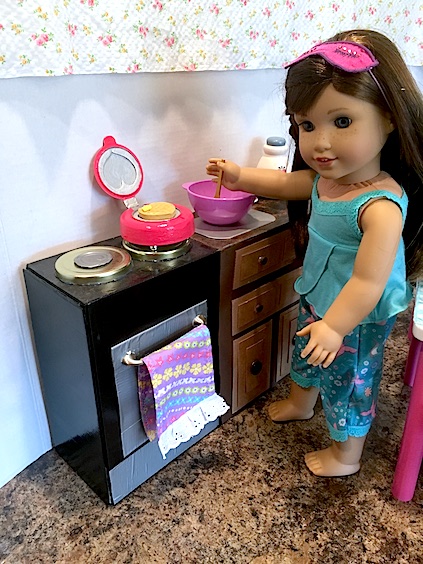 Let me just whip up some more batter.

Mmmm, Grace your waffles are the best!
It’s a secret recipe. 🙂
This is probably one of our favourite little sets. 🙂
 ❤
❤
We had so much fun assembling this set! I hope that you enjoyed, and that you will be inspired to try making one of your own.

Have a crafty kind of day!! 🙂
What do you like on your waffles? Leave us a comment below!
❤ ❤ ❤

hey ginnie,I nominated you for the sunshine blogger award!
https://hiddenhollowagcrafts.blogspot.com/2017/07/the-sunshine-blogger-award.html
Most crazily, ~Olive
LikeLike
Thank you so much! 🙂
LikeLike
What a great idea!!! I’ve been eating waffles lately with clotted cream and strawberry jam.
LikeLike
That sounds delicious! Is clotted cream the same as whipped cream or is it a different consistency? I’ve never had it so I wouldn’t know.
LikeLike
The consistency is like butter, but it’s just a little sweeter. It’s straight cream that instead of being churned to make, it’s just heated at a very low heat for a long time until it “clots” (curdles). You scrape off the top layer of that and discard the liquid that’s left, so it’s very high in butterfat. I’ve never tried making it because it would take forever to use that much and it’s only good for about 5 days. I just buy it in a small jar at a ridiculous price!
LikeLike
I will have to keep an eye out for it! I’m not sure that it would be sold here though, but I will definitely look for it! 🙂
LikeLike
SOOO CUUUTE!!!!!!!!!!!!!!!!!!!!!!!
My favorite way to have waffles is with blueberry pie filling and ice cream on top. That doesn’t happen very often though. 🙂
LikeLike
Oh wow! That sounds delicious! 🙂 I will have to try it!
LikeLike
SO cute! 😀
LikeLike
Thank you! 🙂
LikeLiked by 1 person
What a wonderful job you did on this set!!!! I just love your DIY projects!
LikeLike
I love to DIY! I am so glad that you enjoyed! 🙂
LikeLike
Wow, now that’s a great idea!
LikeLike
Thank you! We adore this little set! 🙂
LikeLike
So adorable! I like my waffles with butter and whipped cream. 🙂
LikeLike
Mmmm, whipped cream! Yummy! 🙂
LikeLike