

We are back you guys! Wow! It’s been too long! Thank you all for your patience. I have been so sick for the past two weeks. It’s been absolutely horrible! 😦
Now that I am back on my feet, it is time for a major doll crafty project!
Flo from Say Hello To My Little Friends is hosting an American Girl book club, (go check it out at the link!!) and the first book on the list is Lanie Holland!
I immediately headed to my local library to find the book.
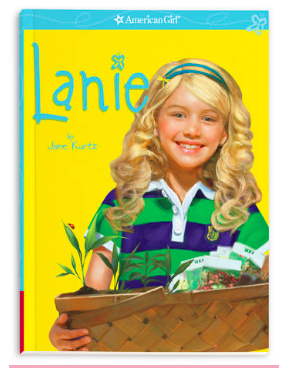
It was a very easy read, not more than a couple of hours at most. I really enjoyed the book, but that’s for later. What I have been oohing and ahhing over for quite some time is Lanie’s camper! In the book, it is actually her Aunt Hannah’s camper. Here is what it looks like. Isn’t it cute?

So after reading the book, and doing some more ogling over the dollicious camper, we decided that we had to have one of our very own. Now AG has also since put out a different camper model. This one has pop out sides.
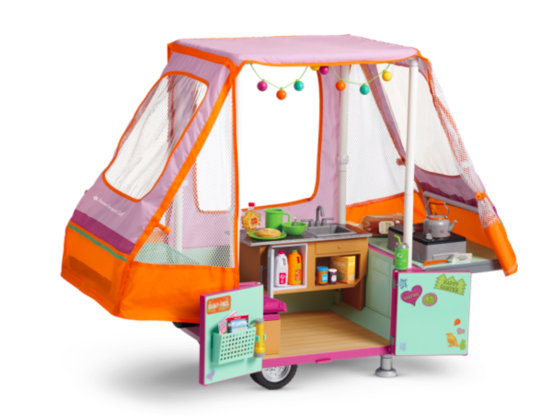
So cute, right? Anyway, we ogled over that one for a bit too. We finally decided that we wanted to combine the two camper ideas, and make something original and uniquely our very own. 🙂
Are you ready? It’s DIY time!
We started with a large box. This is the box that the Our Generation stable came in.
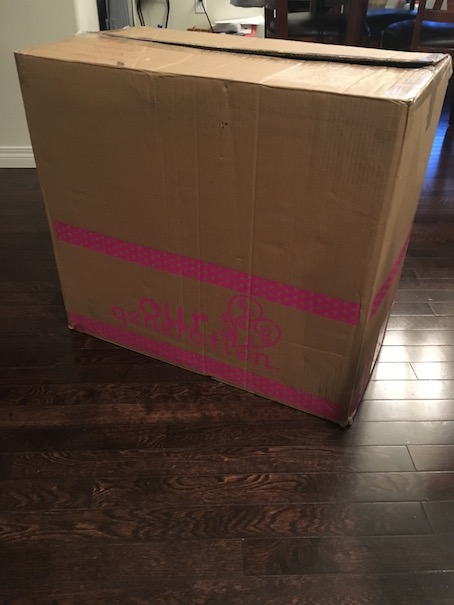
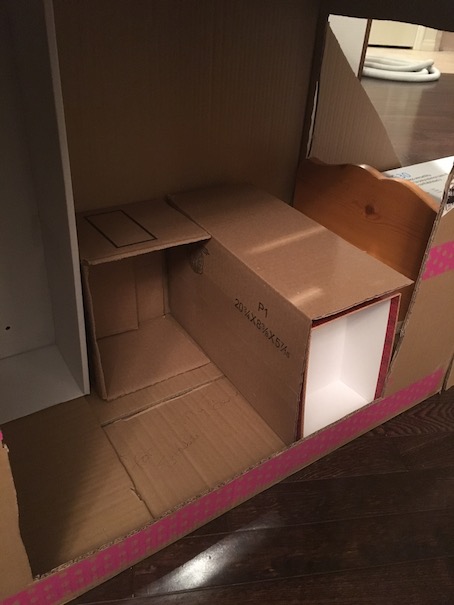
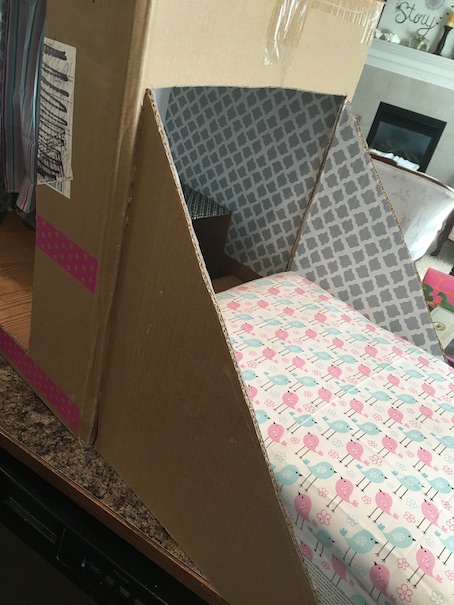
We secured the top of the box closed, and cut a large square out of the front. We cut the leftover piece from the square on the diagonal, and set it aside. Then we collected some other boxes to create the furniture inside–a doll box for a shower, a few small Amazon boxes for the island and the sink/stove.
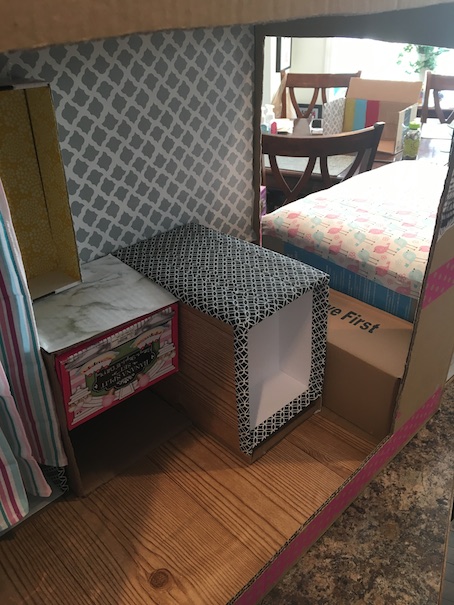
The largest box is for the double bed. It is 19 inches long. We measured the bottom of the bed and cut a similar sized opening in the side of the Our Generation box. We did not cut the cardboard flap off. Instead, we opened it flat, and used hot glue to secure the bottom of the bed box to the flap. We then took the diagonal pieces from what we had cut out from the front of the camper, and placed them along the sides of the bed. This would become our pop out area. We didn’t glue the sides of the bed or the furniture pieces in place just yet.
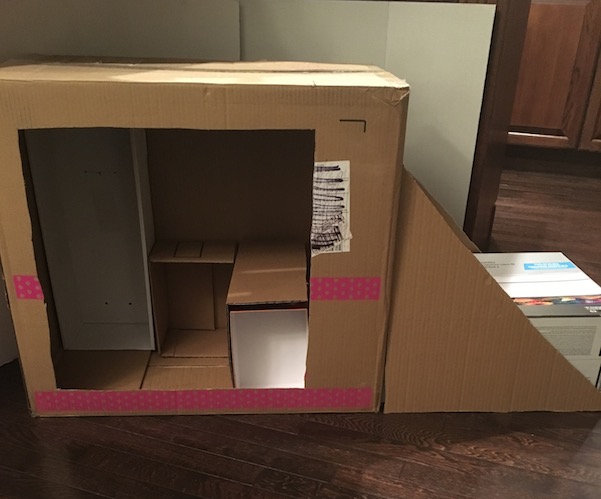
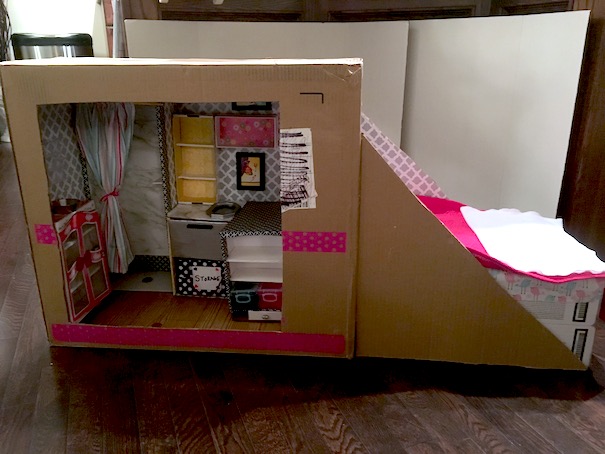
Here is a look at the inside. It’s a bit rough, I know. We had a wooden shelf that would be perfect to double as a bench while it backed onto the bed as a headboard. At the initial set up, we realized that the dolls would not be able to get around the island to sit on the bench. We decided to shorten the island a bit in order to fix the problem.
We wanted to work on the interior first. We had some nice contact paper to use as wallpaper and hardwood flooring. We covered all of the walls as well as the floor. We had to glue the corners and edges of the contact paper down as it doesn’t adhere very well to cardboard.
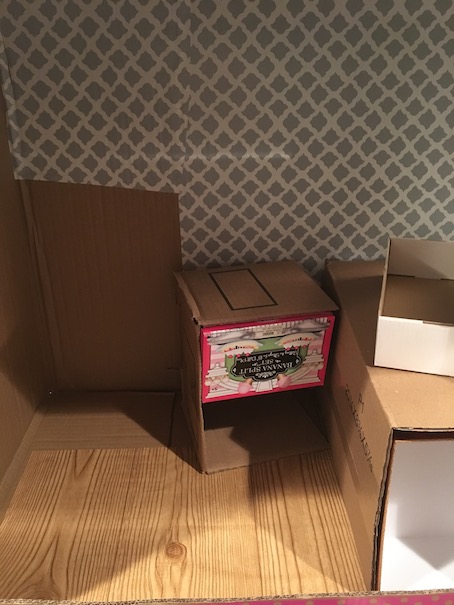
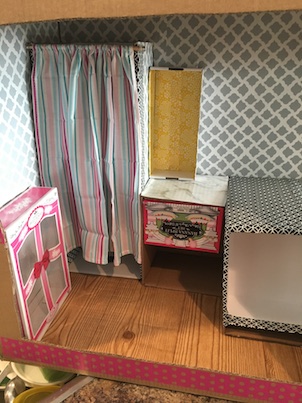
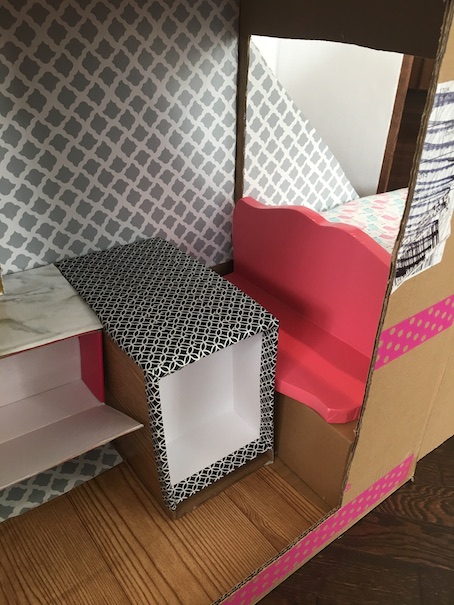
Next, we papered the shower with a marble contact paper. You can see here where we shortened the island considerably, still nothing was glued in place. The box hot glued in the end of the island is a sturdy Christmas card box. The layout of the camper was coming together nicely! 🙂
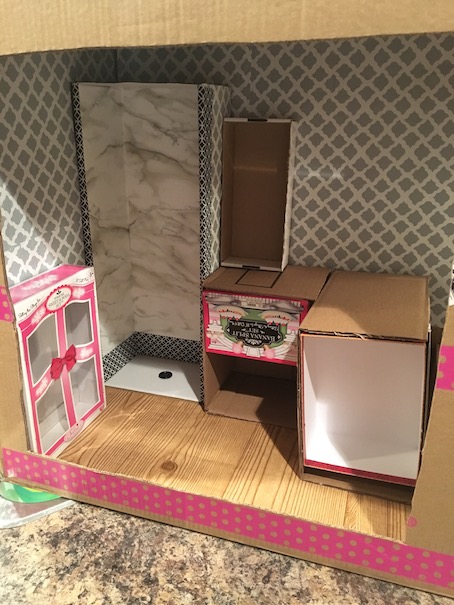
We used patterned duct tape to cover the island, and to line the inside of one of the top shelves. We also used some more marble contact paper for the top of the sink/stove unit. The oven is a small cardboard box with an opening lid. We hot glued it under the cabinet.
Next, we sewed a shower curtain. We threaded the curtain onto a piece of dowel rod and glued the entire thing in place.
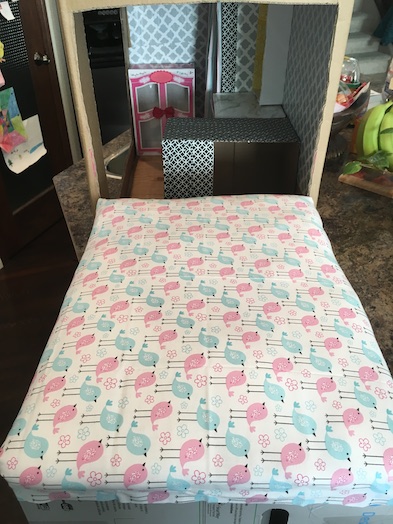
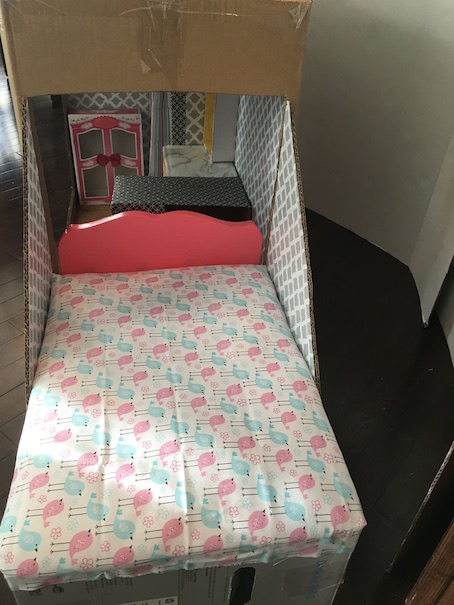
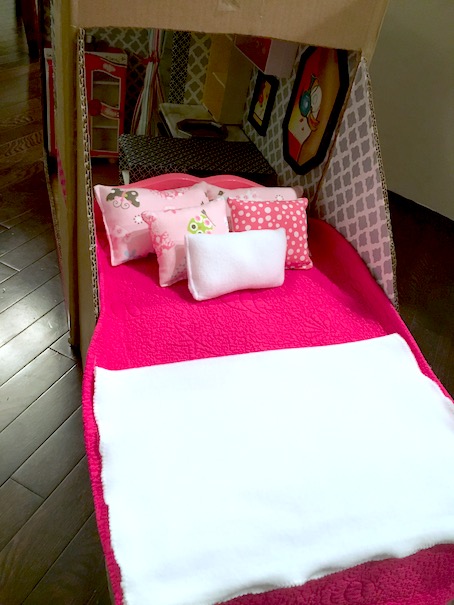
For the bed, we glued some cotton batting flat down on top of the box. Then we covered it with a piece of material. We pulled the material tight over the bed, and glued the raw edges directly to the sides of the box.
By this point we had hot glued everything into place. It was time to add the bench/headboard.
We also had to add the sides of the bed. We covered our diagonal pieces with more of the same contact paper and hot glued them in place.
Then we painted the bench/headboard a pretty pink and used wood glue to glue it in place.
I love the versatility of this design! 🙂
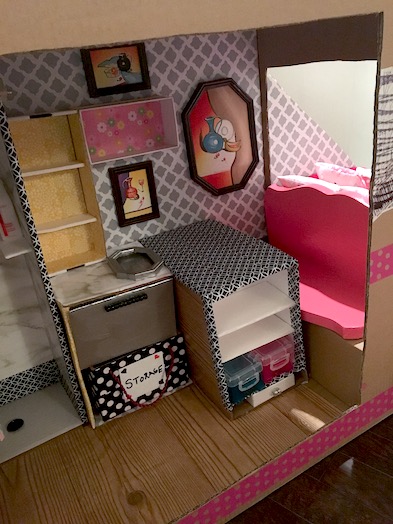
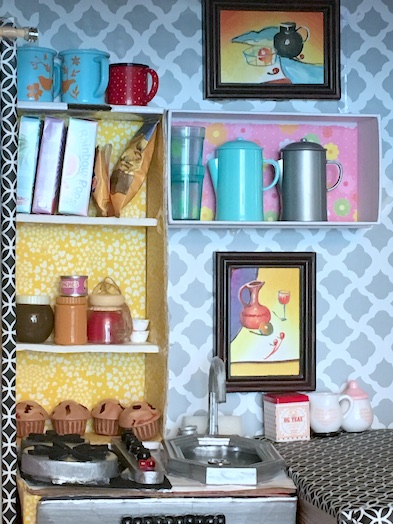
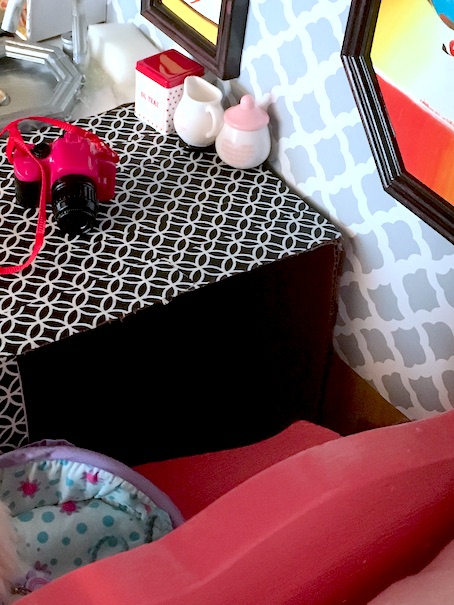
Time to add the details! This was the most fun of all! We cut some foam board shelves and hot glued them into place. We also lined an iPhone box with pretty scrapbook paper to use as a connecting shelf. We hung some pretty pictures too..
Next, we painted the oven door silver, and used a row of black pony beads for the handle. We were lacking a fridge, but we had a small box from our mini mandarin oranges that we wrapped in polka dot duct tape to use as “cold storage”.
We also had to make some bedding and pillows for the bed.
So here is what it looked like. At this point I was having trouble keeping the Little Miss out of it! 🙂 LOL! I wasn’t completely sure on what to do with the outside of the thing, so I just let her have at it.
She immediately grabbed up every doll camping supply item we owned, and went to work. 🙂 Luckily we had received a couple of doll camping sets for Christmas. I will have to do some reviews on those sets later.
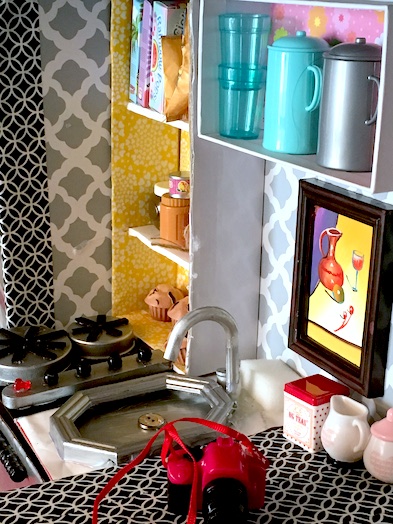
I was tickled pink with the results thus far! I have yet to talk about the stove/sink combo as these pics aren’t in the correct chronological diy order.
For the stove, we just used a piece of black craft foam for the base. The elements are two different sized caps from medicine containers, We used black craft foam to cut small strips, and glued them on top of the medicine caps in a star shaped pattern. The row of knobs and buttons is a piece of wood that I found in my craft cupboard. We just painted it silver. We glued on 4 pony beads with black craft foam hole punches in the middle. Then we glued one red tri bead at the end.
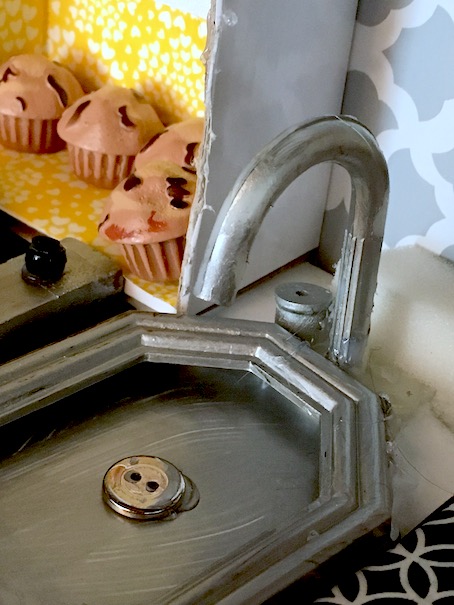
 The sink is actually a mini plastic picture frame painted silver. The frame is empty, so when we glued it onto the counter top, we just painted the inside of the sink silver and glued a silver button for a drain. The faucet is the hook from a plastic clothes hanger also painted silver. The tap is a small wooden spool.
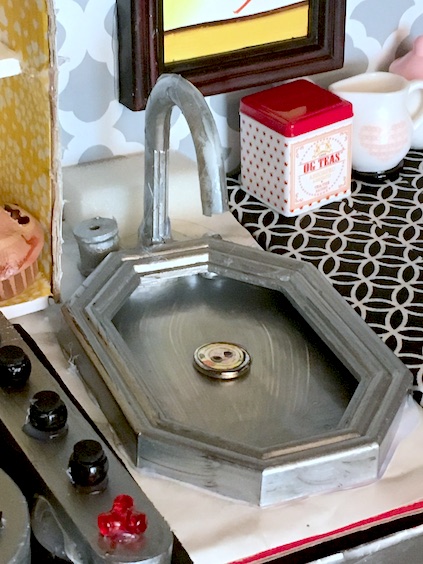
I think it turned out adorable! 🙂
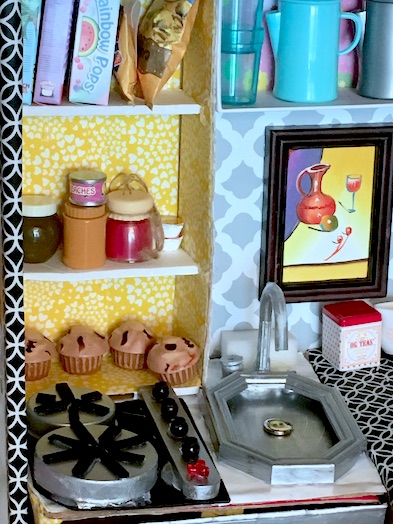
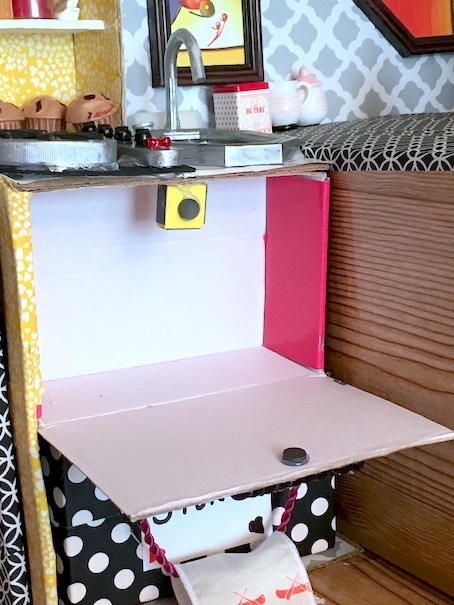
Here is a closer look at the oven and the cold storage.
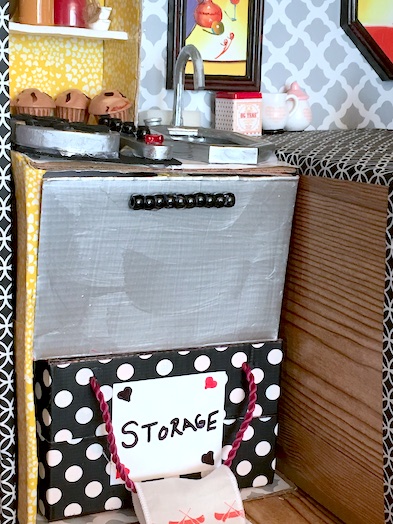
The oven closes with a magnet. I might still add an oven rack inside.
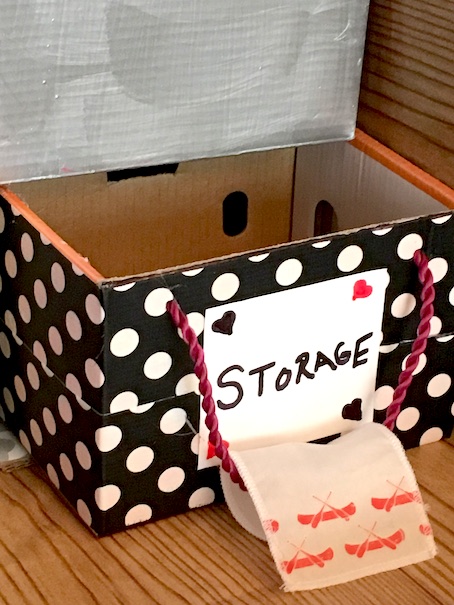
The cold storage is a mini orange box. I just removed the lid, covered it in duct tape, and added a rope handle. The rope is a handle from a gift bag. The cold storage just pulls out easy as pie using the rope. The little towel came with our AG Camp Treats set.
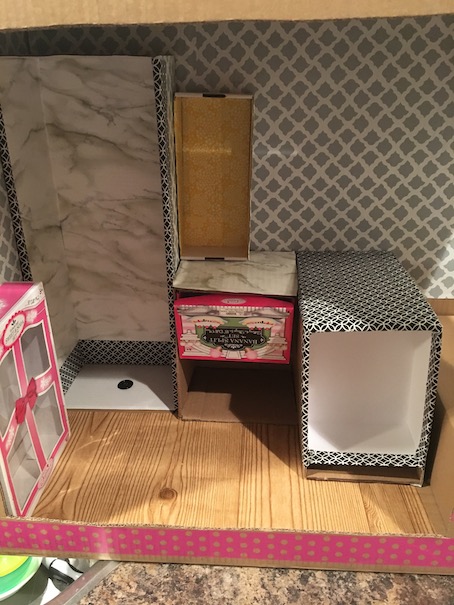
Here is a look at the storage at the end of the island. We added some foam board shelves, and some little dollar store bins. We also added the lid from an iPhone box as a drawer at the bottom.
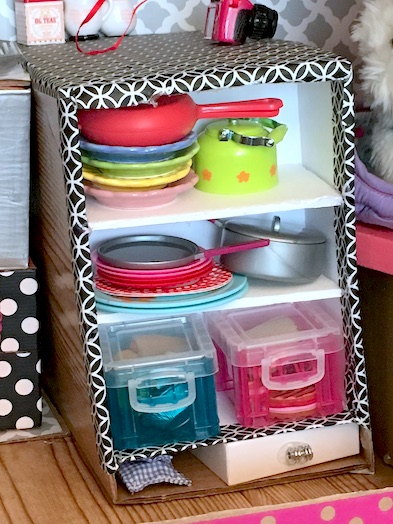
The little drawer is perfect for storing utensils! We used beads as a drawer pull.
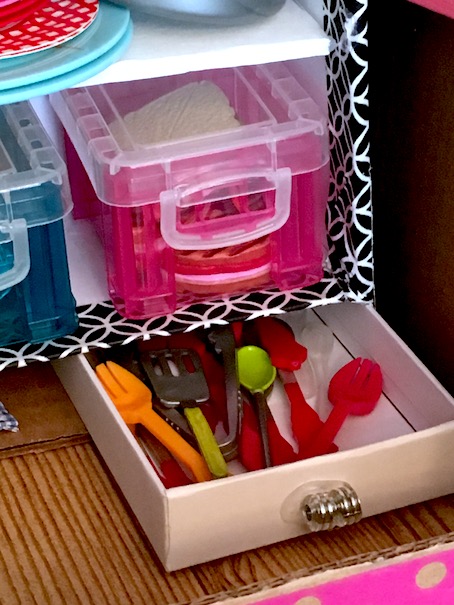
There is also ample storage up top!
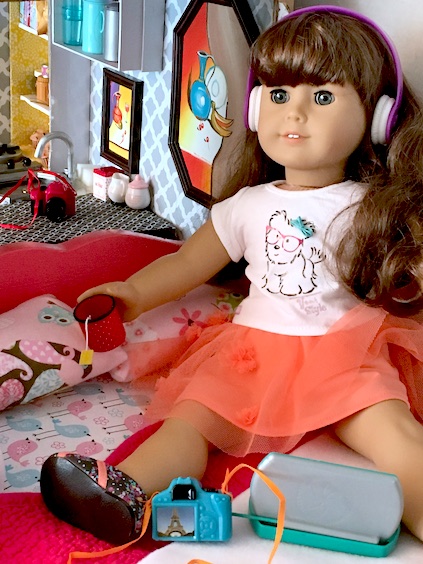
Molly is enjoying the camper. 🙂 I can’t keep the kids or the dolls out of it to take pictures!! LOL!

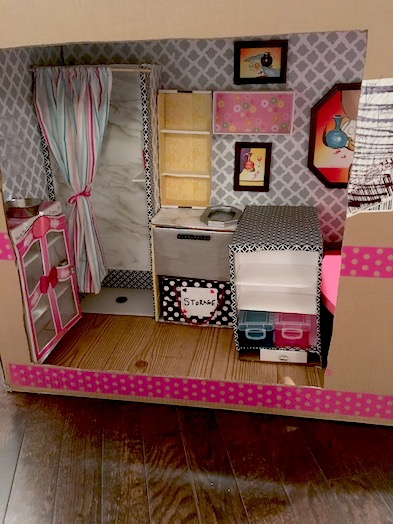
We also like that this camper has a shower/bathroom area.
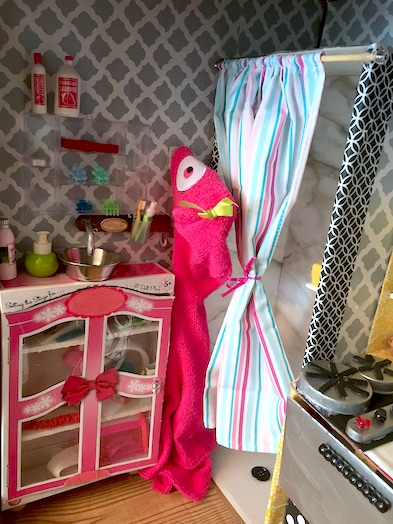
The cabinet is a recycled box. We liked the front of this box, and thought that it would work perfectly as a cabinet. We cut the door out, and glued popsicle sticks inside to stabilize it. Then we added foam board shelves, and used velcro as a closure.
I forgot to paint over the words on the box. LOL! Oops!
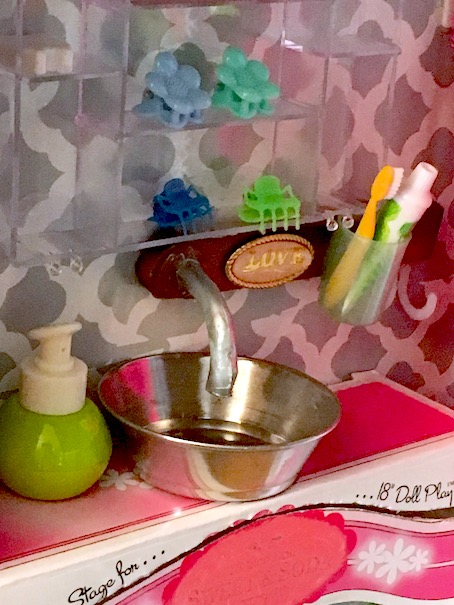
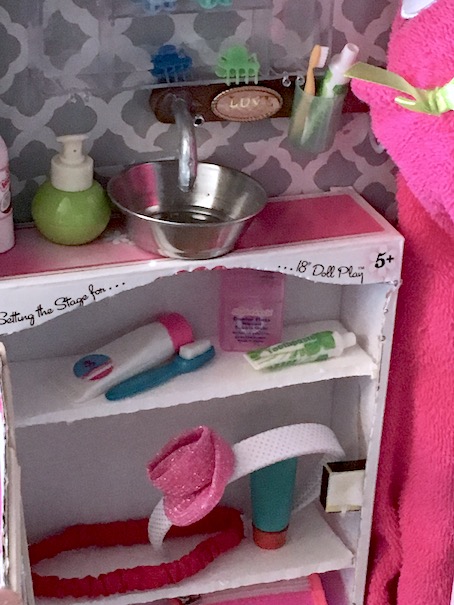
The bathroom sink is a condiment container hot glued to the top of the cabinet. The faucet is a plastic hanger hook glued to another wooden piece that I found in my craft closet. The toothbrush cup/holder is a hairspray cap. I glued it to the wooden piece as well. Then I glued the wooden piece to the wall.
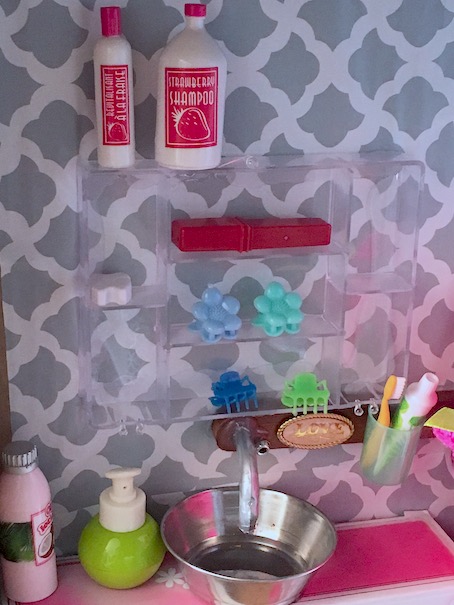
The shelf above the sink is a clear plastic bead tray. I just removed the lid and glued the whole thing to the wall.
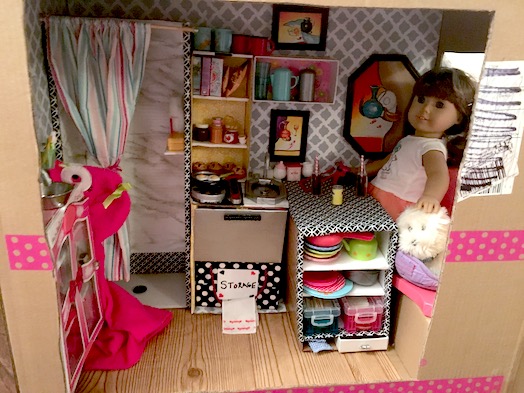
Here’s Molly enjoying a soda pop with Coconut in the camper. The island has a space for the doll to fit so she can sit comfortably.
Unfortunately only one doll can sit at a time.
A doll’s eye view.
This little camper has been a favourite around here for a while. The outside stayed pretty plain for the entire two weeks that I was sick, but be sure to stay tuned as it is well on its way to being finished, and we are so excited to share the end result!
Have a crafty day!
Leave a comment below! 🙂
❤ ❤ ❤
UPDATE: See Part Two of the Camper HERE

I want to make it for my dolls!!!!!!
LikeLike
Outstanding! The metal sinks remind me of my grandparents RV, especially the bathroom!
Regarding wheels, what about getting a cheap wooden crawler from the auto department?
LikeLike
Aw, I’m glad you like it! As for wheels, that’s definitely an idea. I will have to look into that! 🙂
LikeLike
Sometimes you can find the older versions at yard sales. Their beat up, but could still be useful for this project.
LikeLike
Love this!
-Izzy-
sewsweetdollies.wordpress.com
LikeLike
Thank you! I’m glad that you enjoyed! 🙂
LikeLiked by 1 person
Adorable, I love it!!! So many cute details, and I love how you combined the two campers. I did laugh though, I’ve been hanging onto an iPhone box myself, those things are so sturdy and I know I can use it for something. Can’t wait to see when it’s totally finished.
Sorry to hear you’ve been sick, glad to hear you are doing better. And thanks for the shout out!
LikeLiked by 1 person
I totally know what you mean! I’ve been holding onto an iPad mini box too. LOL! I am excited for the finished product too. It is nearly done and it turned out really cute! 🙂
LikeLiked by 1 person
I am so very sorry that you have been sick! I am also so happy that you are feeling better! Your camper is amazing!! I too am reading Laney, but I had forgotten which blog as hosting the book club. Thank you for reminding me which one.😊
LikeLiked by 1 person
You’re welcome! I am glad that you are reading it too! 🙂
LikeLike
Oh my gosh!!! This is like, your best craft project ever! I love it! I can’t wait to see the finished product. Are you going to put it on wheels?
LikeLiked by 1 person
Aw thank you! 🙂 I’m not sure about wheels. It might compromise the integrity of the entire project. It might cause the balance of the camper to be unstable. That’s a tricky one. I am very excited to post about the finished product! If I can ever get it away from my daughter long enough to take some pictures. Haha! It is definitely a favourite among all of the little girlies in the neighbourhood.
LikeLiked by 1 person
Hmm or maybe you could attach pretend wheels to the sides.
LikeLike
That’s definitely an option that I’ve been considering. 🙂
LikeLiked by 1 person