

Hello all! This year for my niece’s birthday, my sister decided that it was high time to build her a dollhouse to wrangle all of her doll things. I already had some experience building the mega dollhouse, so I offered to help.
We used similar measurements to the plywood boxes that I used to build our dollhouse, but my sister wanted it to be all one unit, so we decided to build it sort of like a bookshelf.
Also, instead of plywood, she wanted to use MDF board 1/2 inch thick. This turned out to be a bit tricky because MDF does not like screws. It tends to split in half if you put screws into it.
After a bit of finagling, we discovered that the best way to build with MDF is to use wood glue and brad nails.
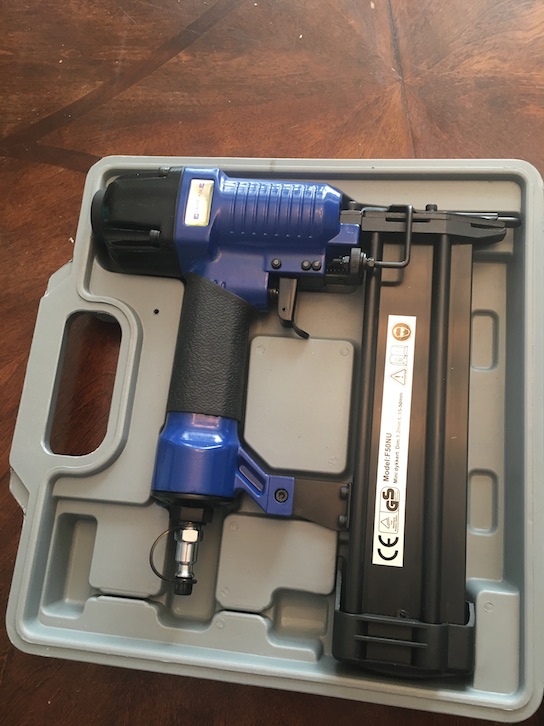
We broke out my nail gun and some gorilla wood glue, and went to work. Here is the technical data.

😛 I know, it’s all Greek to me too.
Anyway, we had two side pieces at 2ft. x 5ft. and a top and bottom piece at 4ft. x 2ft. We also had a large back piece at 4ft. x 5ft. & 1 in.
(The extra inch on the back piece was simply to make up for the edge of the MDF which was 1/2inch thick. If we didn’t add an extra inch then there would have been gaps when we tried to add the back piece. It wouldn’t be flush with the edge of the MDF.)
My sister cut some windows in the two side pieces with her jigsaw. Then she trimmed them with some scrap wood trim.
Working together we managed to glue and nail the top and bottom pieces to the side pieces. Then we nailed the back piece on. I don’t have pictures of this process since I was too busy holding pieces in place.
After the box was assembled, my sister went to work on the paint. I didn’t do the painting, or the detail work, but here are some pics.

She painted the back wall teal. The two side walls are divided by the shelf bracket. She painted the top of the sides pink, and the bottom teal. Then she added some white beadboard to the back wall.

Here is a close up of the beadboard.

She painted the outside of the house yellow. These are the same colours as my niece’s bedroom so it matches.
I think the window trimming is so cute! My 13 year old nephew cut the trim pieces for his sister’s dollhouse windows all by himself! He was so proud. He was a big help on this project. 🙂
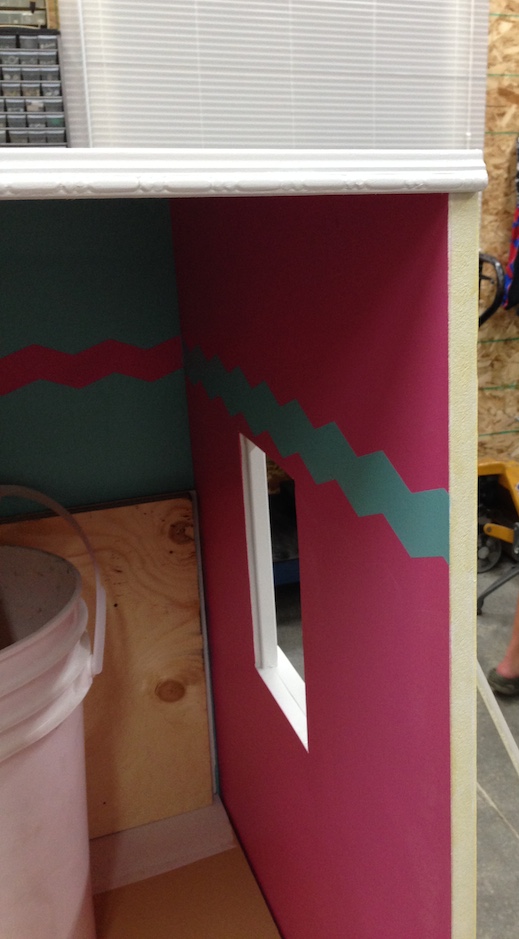
Using chevron Frog Tape, she painted a coordinating stripe along the walls of the top floor room. I think it looks adorable! That tape is seriously cool!

She added some white bead board wainscoting to the top room too. She also trimmed the front of the dollhouse with white moulding to finish off the edge.

The shelf in the middle rests on the brackets. It is very sturdy. She carpeted the shelf with a piece of leftover carpet. Too cute!
She bought these utility lights for the dollhouse at Home Depot. I want some of these! They are very bright!

She found this little shelf at a thrift store. She spray painted it white. She wanted to hang it in the kitchen of the dollhouse, but she had to have a kitchen first in order to decide where it might go.

It fits perfectly above the wainscoting. 🙂

The final touch was to add flooring to the bottom floor of the dollhouse. She used some wood grain contact paper for the living room area, and some peel and stick tile for the kitchen.
Now for the birthday girl to fill it all up with her birthday presents! 🙂
What do you think? Best birthday ever! 😛
Leave a comment below!
❤ ❤ ❤

Hi I’m the girl who got it i love in soon much and for my birthday i also got a couch and a kitchen and a bunkbed to i love my house so much.
LikeLike
Aww, I am glad that you loved it, girl! 🙂 ❤
LikeLike
Awesome house!!
LikeLike
Thanks! 🙂 She was pretty thrilled!
LikeLiked by 1 person
You and your sister did a great job. HAPPY BIRTHDAY to your niece.
Marion
LikeLike
Thank you! 🙂
LikeLike
Very nice results. HAPPY BIRTHDAY to your niece.
Marilyn
LikeLike
Thanks! 🙂
LikeLike
Very cute! I think any little girl would be thrilled to get that as a gift. Even some big girls 😉
LikeLike
She was definitely thrilled! It was quite the haul to get it into the house, and down the stairs to her room! 🙂
LikeLiked by 1 person
I want one too! XD
LikeLike
🙂 Me too! Oh wait, we have the mega dollhouse. No more space. LOL! Oh well at least we can always go play at my sister’s if we want.
LikeLike
LOL! I don’t even have a dollhouse and my space is limited…
LikeLike
It’s definitely a space taker. I’ve found that we are slowly running out of space too. Time to revamp the doll space. 🙂
LikeLike
How thrilled your niece must be! Happy Birthday!
LikeLike
She was definitely a happy girl! 🙂
LikeLike