
Hi guys!
So awhile back when I was out thrifting, I found this:
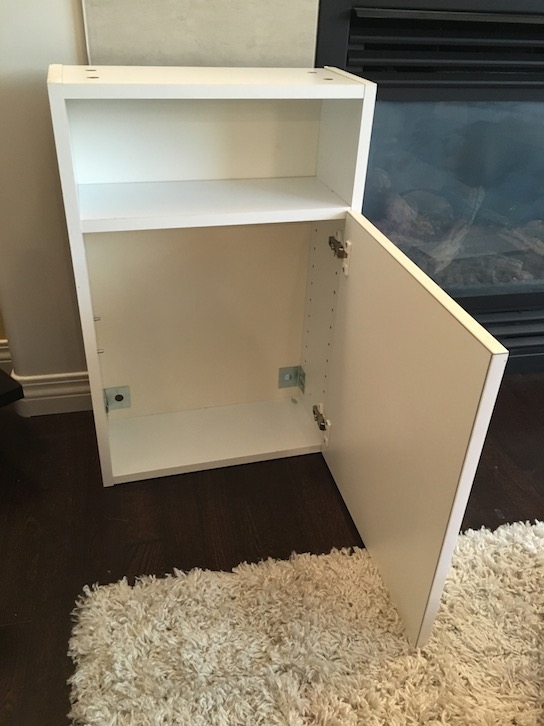
My first thoughts went to doll storage. Hooray! I mean, you can never have enough doll storage right?
However, I soon realized a major design flaw to my original plan. The door to this little wardrobe cabinet weighs about a hundred pounds, and it rests on the floor. That means, forget trying to open it when it is on a carpeted area, the door just drags along the carpet. And forget putting legs on it and raising it up a little, because said door that weighs a hundred pounds just tips the whole thing over. 😦
Don’t get me wrong, I could have easily removed the door, but then it just becomes a shelf, and I don’t need another random shelf.
So I went back to the drawing board. This took a while, a month or two actually.
Then one day I found this:

This is not my image, but I knew right then that I wanted to make something similar.

Haha! No more heavy door problems! No more tipping over!
And so the new loft bed project began. 🙂
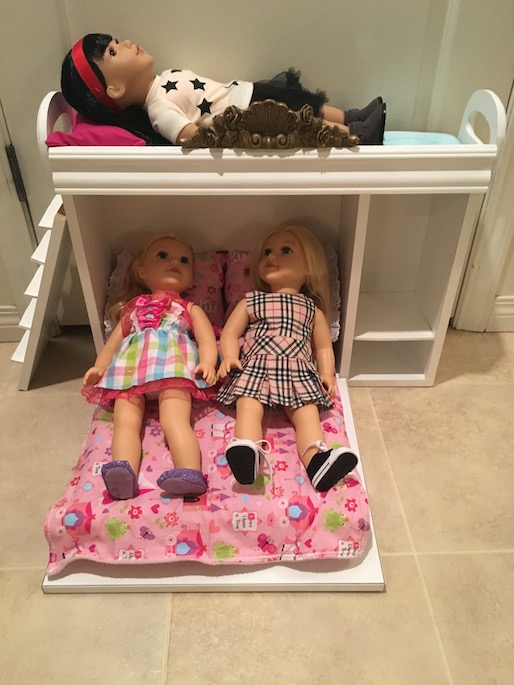
The first thing I did was steal the bed from the old dollhouse to use for the bottom bunk.

It fit in there perfectly. I made this little bed out of a Wii Box a long time ago. I made the bedding and pillows as well. I’ve never really been happy with it because it just resembled a mattress on the floor. Now it has an actual bed frame so it was perfect! 🙂
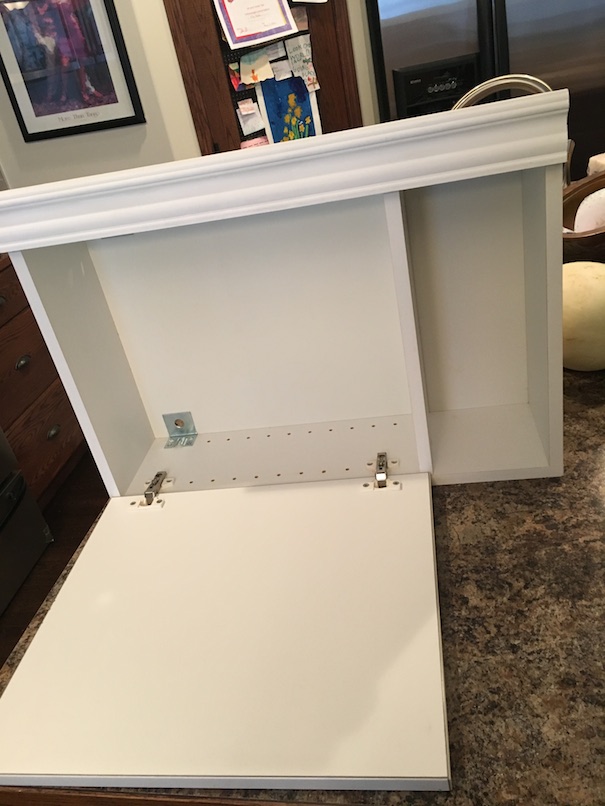
I had a piece of crown moulding that my sister gave me that was leftover from her new house build (bless her), so I cut a piece to size and used some wood glue to secure it along the top.

I started thinking that a bed that sleeps two is great, but wouldn’t it be even better if it slept three? My thinking cap was probably twirling around by this time. 🙂

So I made a mattress to go on the top. Then I bought two letter D’s from Michaels.

And secured one to each end.
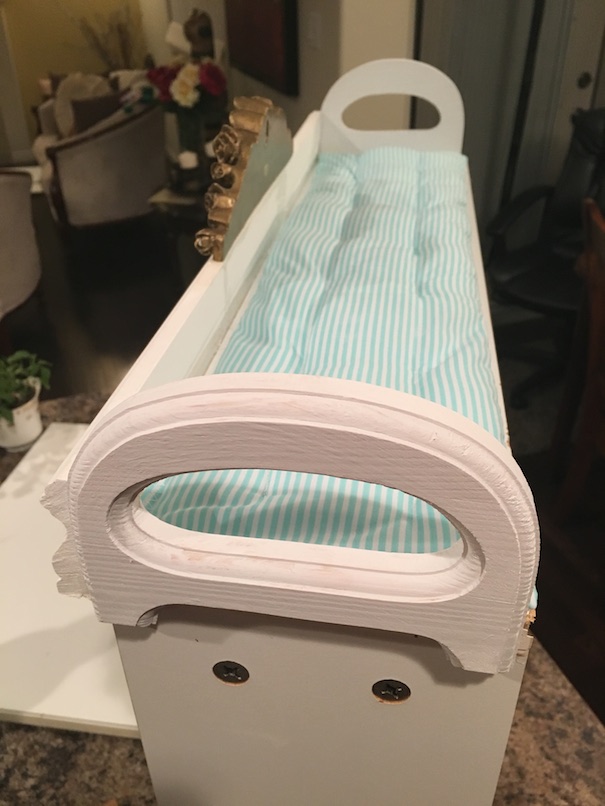
By now my madness was starting to make some sense. 🙂

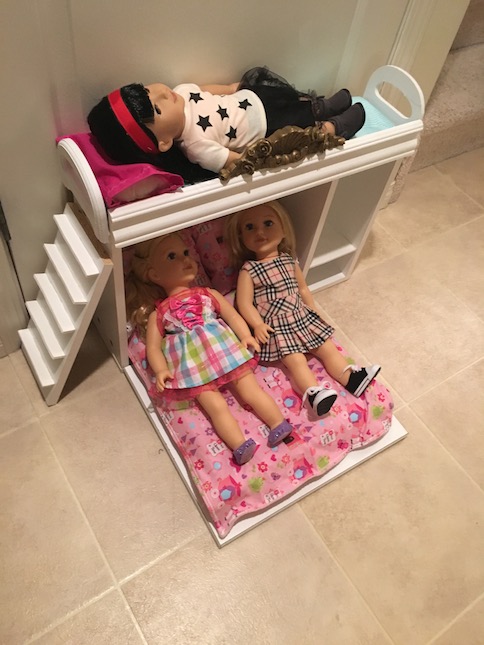
The cabinet came with an extra shelf so using some hot glue and some thick craft foam pieces, I created a ladder. My daughter insisted that the dolls needed a way to get up to the top bunk.
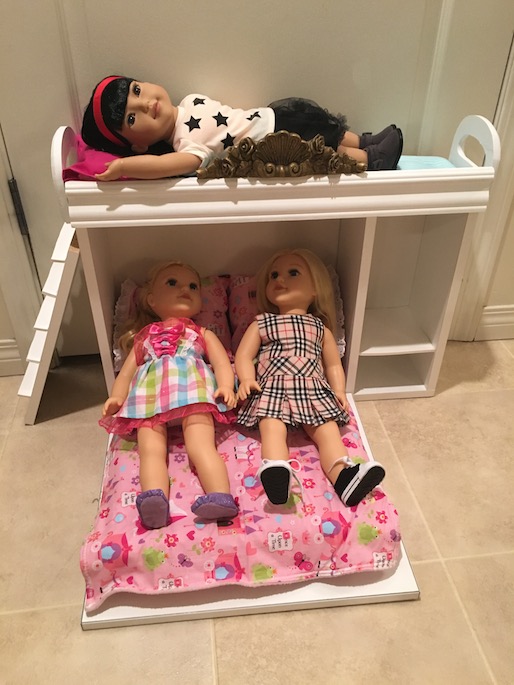
I also found a pretty piece of bronze wall decor to glue on as an embellishment on top. I might still paint it white, but I haven’t decided yet.
I added a little shelf in the side compartment as well. I might still add a wooden dowel in there to hang some clothing on because, well doll storage, but I haven’t fully decided yet. I also haven’t made any blankets for the top bunk yet.
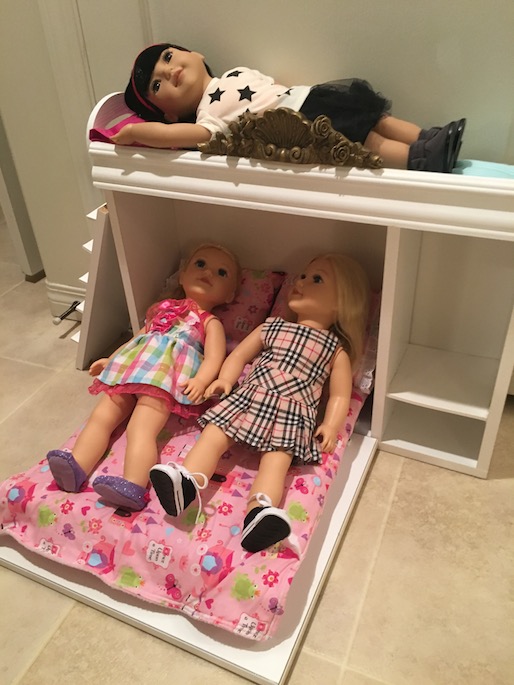
I have to say, I am pretty thrilled with how this little bed has turned out. And I am happy that it sleeps three! We needed a place for our Newberry dolls to sleep so this is perfect.
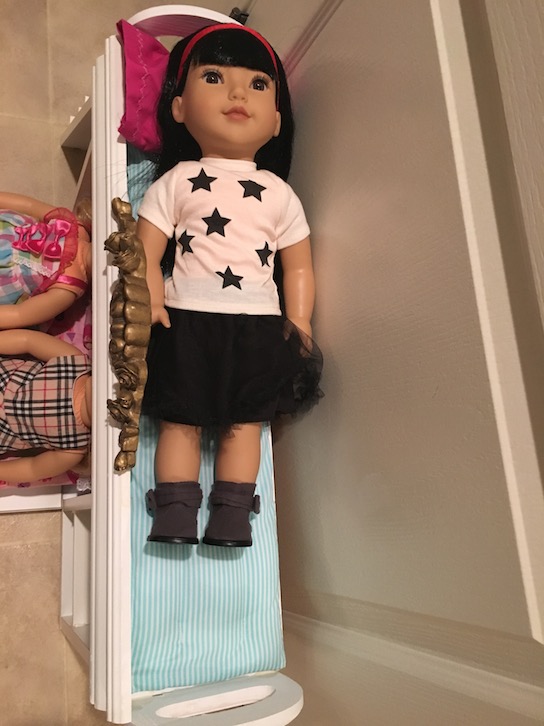
The top bunk is a bit narrow, but I’m told that the dolls don’t mind. 🙂
I love that we were able to take a piece that just wasn’t working out for us, and repurpose it into something great. 🙂 I also love how sturdy it turned out to be. ❤
I think that the girls like their new bed! ❤
Now to decorate it!
Let us know what you think!
Leave a comment below!
❤ ❤ ❤

That is such a cute idea!
LikeLike
Thanks! 🙂
LikeLike
Oh my stars! That’s EPIC!
LikeLike
Thank you! 🙂 I’m glad that you enjoyed it!
LikeLike
Omg!This is amazing!
LikeLiked by 1 person
Thank you! I’m glad that you like it! 🙂
LikeLike
Very clever idea! Just goes to show that if you stare at something long enough an idea will surface. I think I would just add another shelf or two to the side to store cute little things like a lamp, decorative knick-knacks, toys, etc.
LikeLiked by 1 person
I know! I had to stare at it for a couple of months first! LOL! I think a couple more shelves would be perfect too. 🙂
LikeLiked by 1 person