

Hello all!
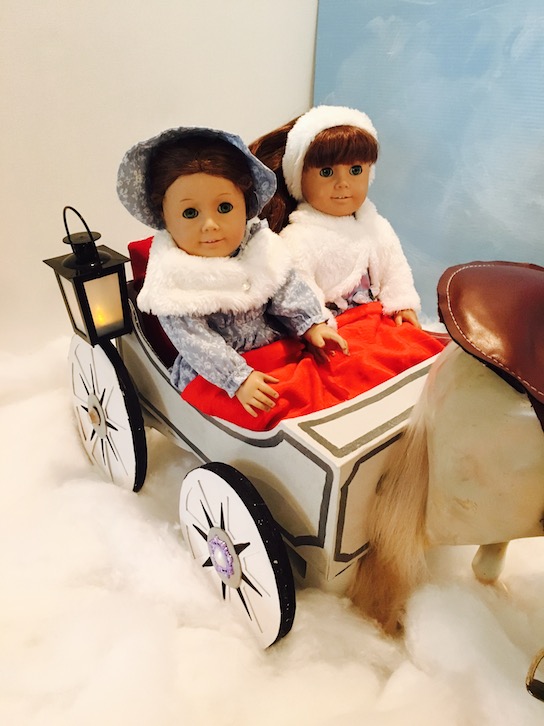
Today, Samantha and Felicity are going for a carriage ride!
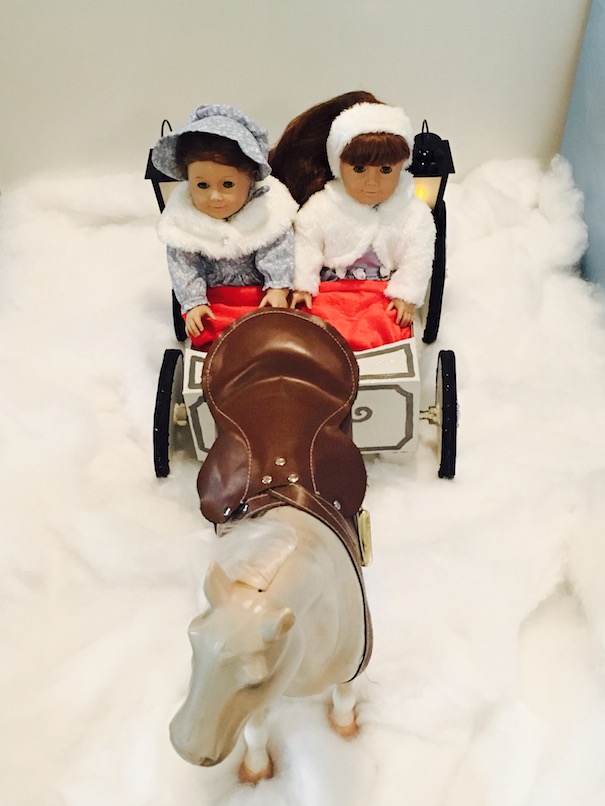
Dashing through the snow!
Wait, isn’t it summer? Oh well, we had fun making it snow today so that our dolls could go for a ride!! 🙂

I was going to add a canopy to the carriage, but then my daughter told me that she didn’t want a canopy, that it would just get in the way. That’s the beauty of DIY. We can just do whatever we want like that. LOL!

Even Chestnut was having fun in the snow! 🙂

Felicity arrived at our house just recently. She is a gently used doll, but we love her anyway! She is in very good shape. She is wearing a handmade dress and bonnet.

She is very pretty. I am going to be doing a feature on her soon. ❤ We think that Felicity and our Samantha could be sisters since they look so much alike. 🙂
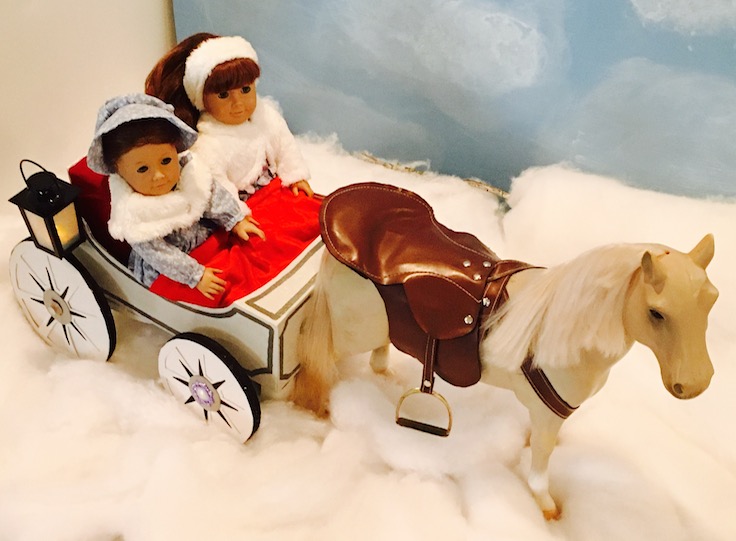
Chestnut’s saddle was a lucky thrift store find! It fits him perfectly! 🙂

The carriage wheels actually roll!

The little lanterns light up too! We got these lanterns from the dollar store. We hot glued them in place. 🙂
❤ ❤ ❤
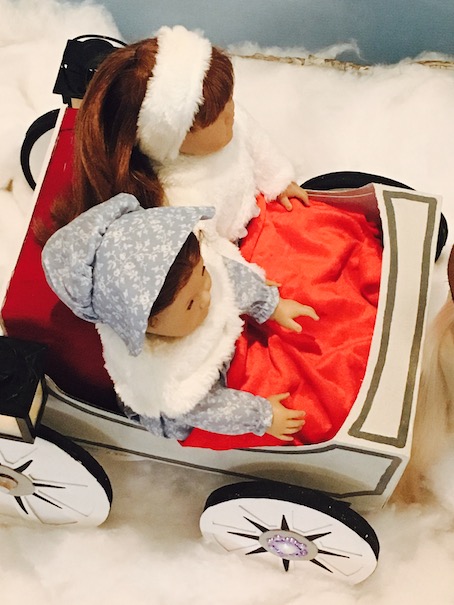
The girls are snug and warm!!
Ok get ready for the DIY!
Here’s how we made it:
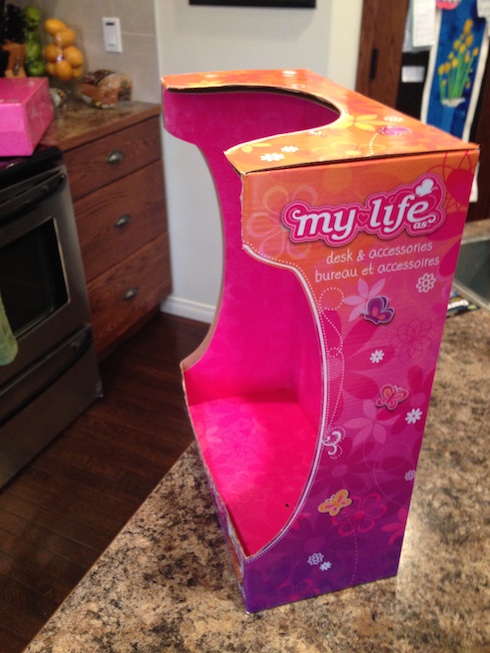
First you will need a box. We had the MyLifeAs desk box. I liked it for its shape.
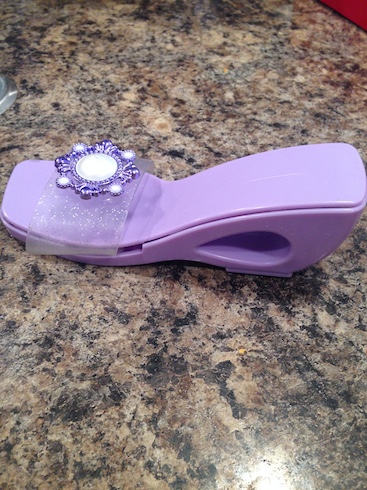
Then get yourself four of these. We found ours at a thrift store. 🙂

Glue the shoes on the back of the box. I used original Gorilla Glue for this. These are your wheel axles. Next, paint the entire thing with white acrylic paint.
I think this looks so funny. LOL! I promise there is a method to my madness. 🙂

To make wheels, cut out three pieces of foam core board for each. We wanted our wheels to be sturdy.
To make two small wheels and two large ones like we did, you should have six large circles and six small circles.

Next, I drew a wagon wheel. I cut it out and traced it onto some white craft foam. I just drew mine, but there are a lot of wagon wheel images online that would probably work.
For each wheel, I glued together three foam core circles and hot glued a craft foam wagon wheel on top. I also cut a grey craft foam circle for the centre.
Be sure to cut a hole at the centre of all of your pieces so that you can fit the dowel through. Your holes should line up evenly.

I took a black sharpie to add spokes to the wheels. Then I took some black sporting tape, and wrapped it all the way around for the ‘tires’. This also finishes the wheel edge.

Now you can put the dowel through the wheel. I hot glued it into place. Do one wheel, then be sure to thread the dowel through the shoe axels on the carriage before gluing the second wheel on the other side.

Here you can see where the dowel goes through. 🙂
Now you can embellish if you like. We took the pretty pearl jewels from the dress up shoes and glued them to the centre of the front wheels. ❤

To make a seat, find some boxes that fit in your carriage.
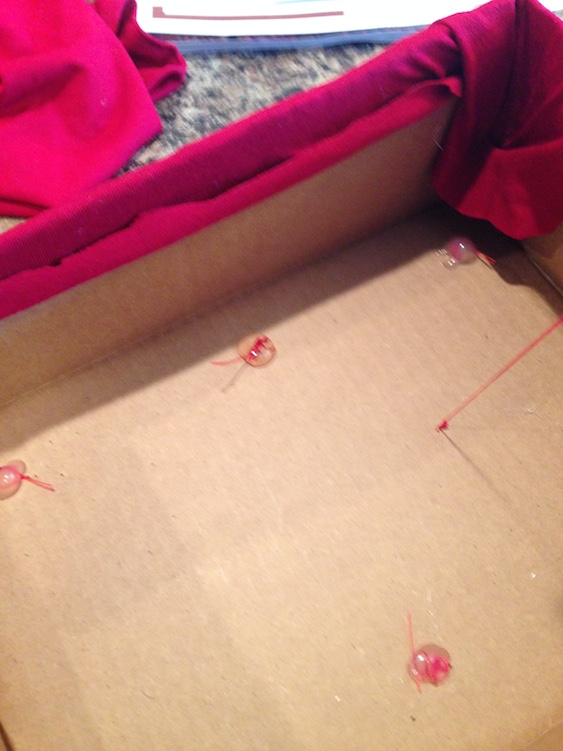
We upholstered the boxes with a pretty red fabric and some cotton batting that I had on hand. Then I sewed buttons to the top of the box. I put a dab of hot glue on each knot so that it wouldn’t come undone or pull through the box.

This adds some dimension to the seat.

Here you can see that both boxes fit inside one another.

And here is the finished seat. I sewed the back cushion, but in the end I decided to flip it around because the back of the chair was too high. It works way better that way.
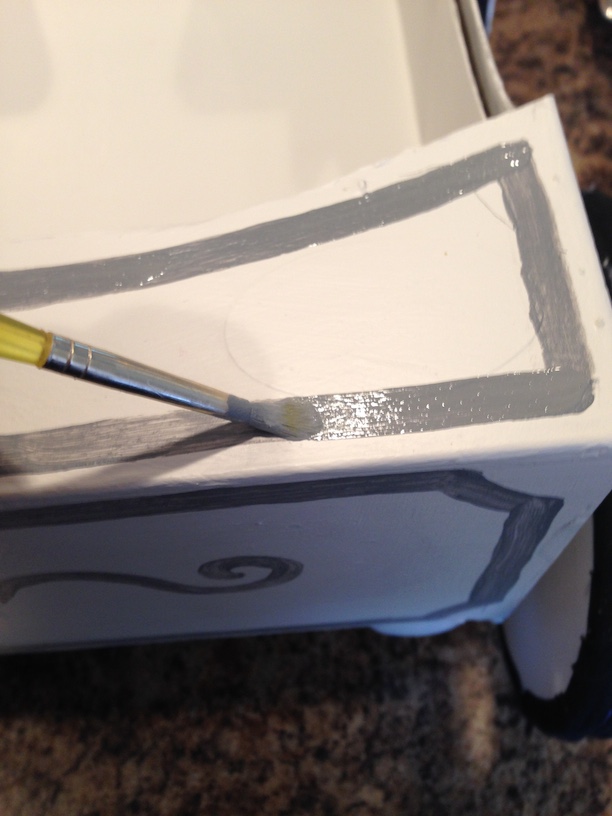
I painted on the detailing with acrylic paint. Then I added a bit of glitter paint to make it more shimmery.
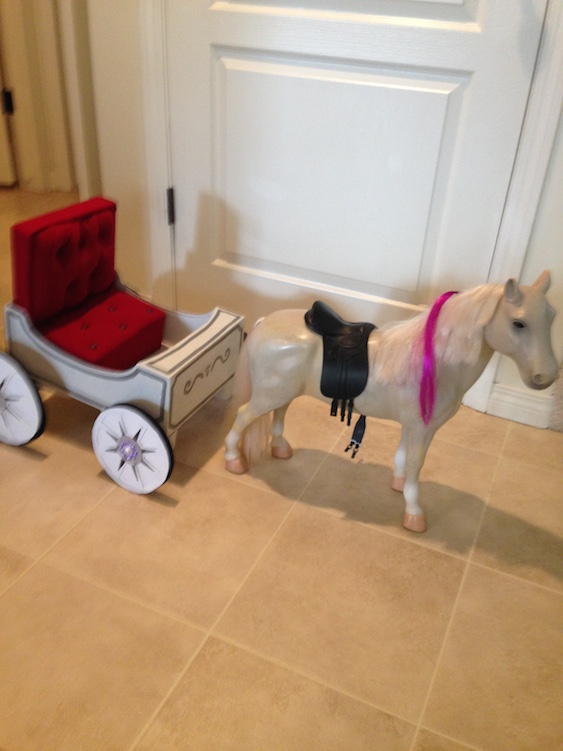
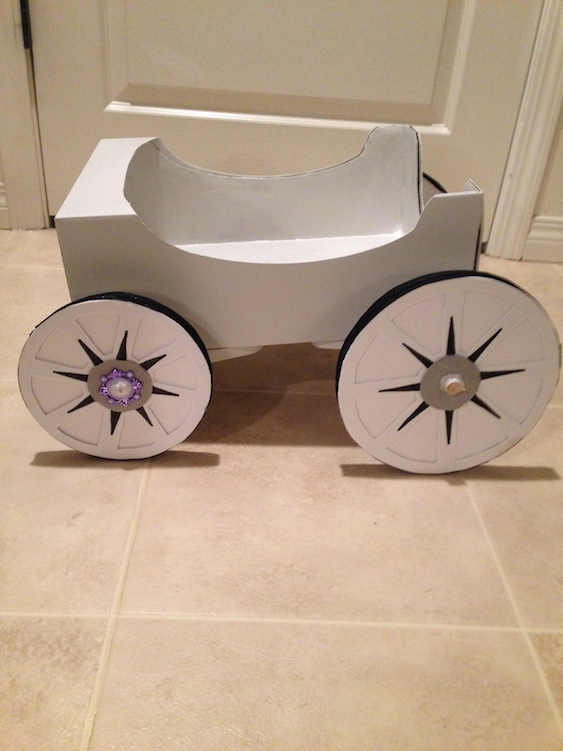
Here is a pic of the finished product!
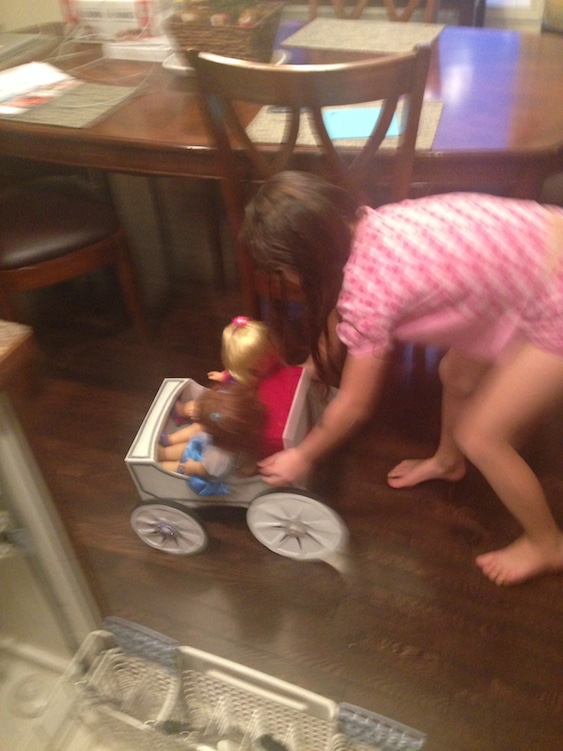
And here is a very blurry pic of my daughter as she races by pretending that it is a race car. Why can’t they just look at the projects mom makes? Look but don’t touch!! LOL!
Actually this little carriage is pretty sturdy. Luckily. 🙂
So pretty!
❤ ❤ ❤
I hope you enjoyed!!

Even the Littlest Pet Shop had to come along for a ride. 🙂
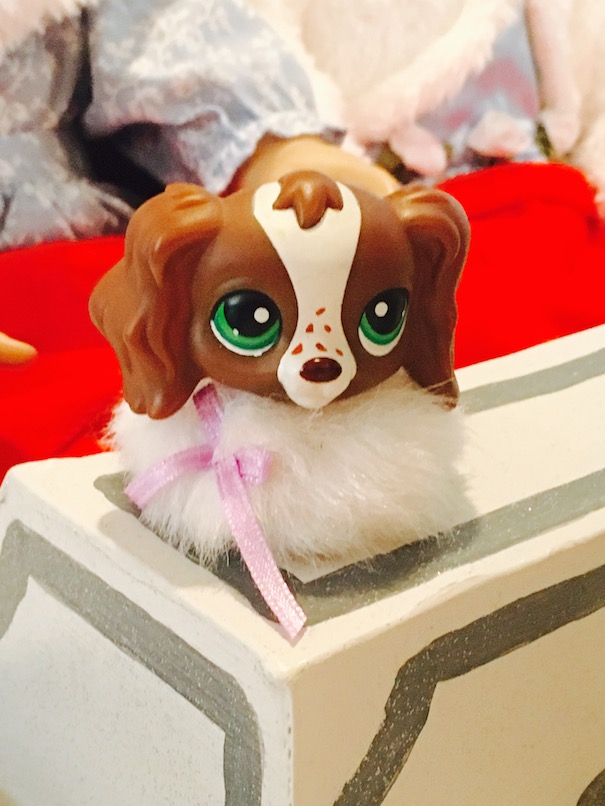
LOL!
Leave a comment below!
❤

You’re a genius! Amazing!
LikeLike
Aw thank you! I’m glad you enjoyed my post!
LikeLike
wow, wow, wow!
LikeLike
Oh my gosh! That is so incredible! The finished product looks so beautiful, you did an amazing job. It’s simply stunning!
•Madi•
LikeLike
Thank you! We had fun making it! 🙂
LikeLiked by 1 person
❤ the craft! I will have to make it one day! 😛
LikeLike
Thanks! There is so much you can do with just a box and some paint! 🙂
LikeLiked by 1 person
I know right! 🙂
LikeLike
Great job! I am definitely going to try this!
LikeLiked by 1 person
That’s awesome! You should definitely make one! 🙂
LikeLiked by 1 person
You are so skilled with doll DIYs! I’m in love with the little carriage. ❤
LikeLiked by 1 person
Aww thanks! When we saw the original carriage we just knew that we had to recreate it! 🙂
LikeLiked by 2 people
What a fantastic idea, especially what you used for holding the wheels in place! I have one of those lanterns, this is the perfect use for them. Bravo!!
LikeLiked by 1 person
It was funny. When I started gluing shoes all over a box my husband was like, “She’s lost it for good this time.” LOL!
LikeLiked by 2 people