

Hi all!
My sister gave me some bead board, and as soon as I saw it, I knew that I wanted to use it for this project. The bead board is leftover from her recent home build, which let me tell you is not for the faint of heart. Dollhouses I can do, but real houses? I’m afraid I would be in WAY over my head on that one. haha!
So we shall stick to making dollhouses. Yes, I think that’s way more fun. 🙂
I didn’t create any actual building plans for this project, but if you like, there is an absolutely amazing tutorial over at AmericanGirlIdeas. Her entire site is incredible, so go check it out!
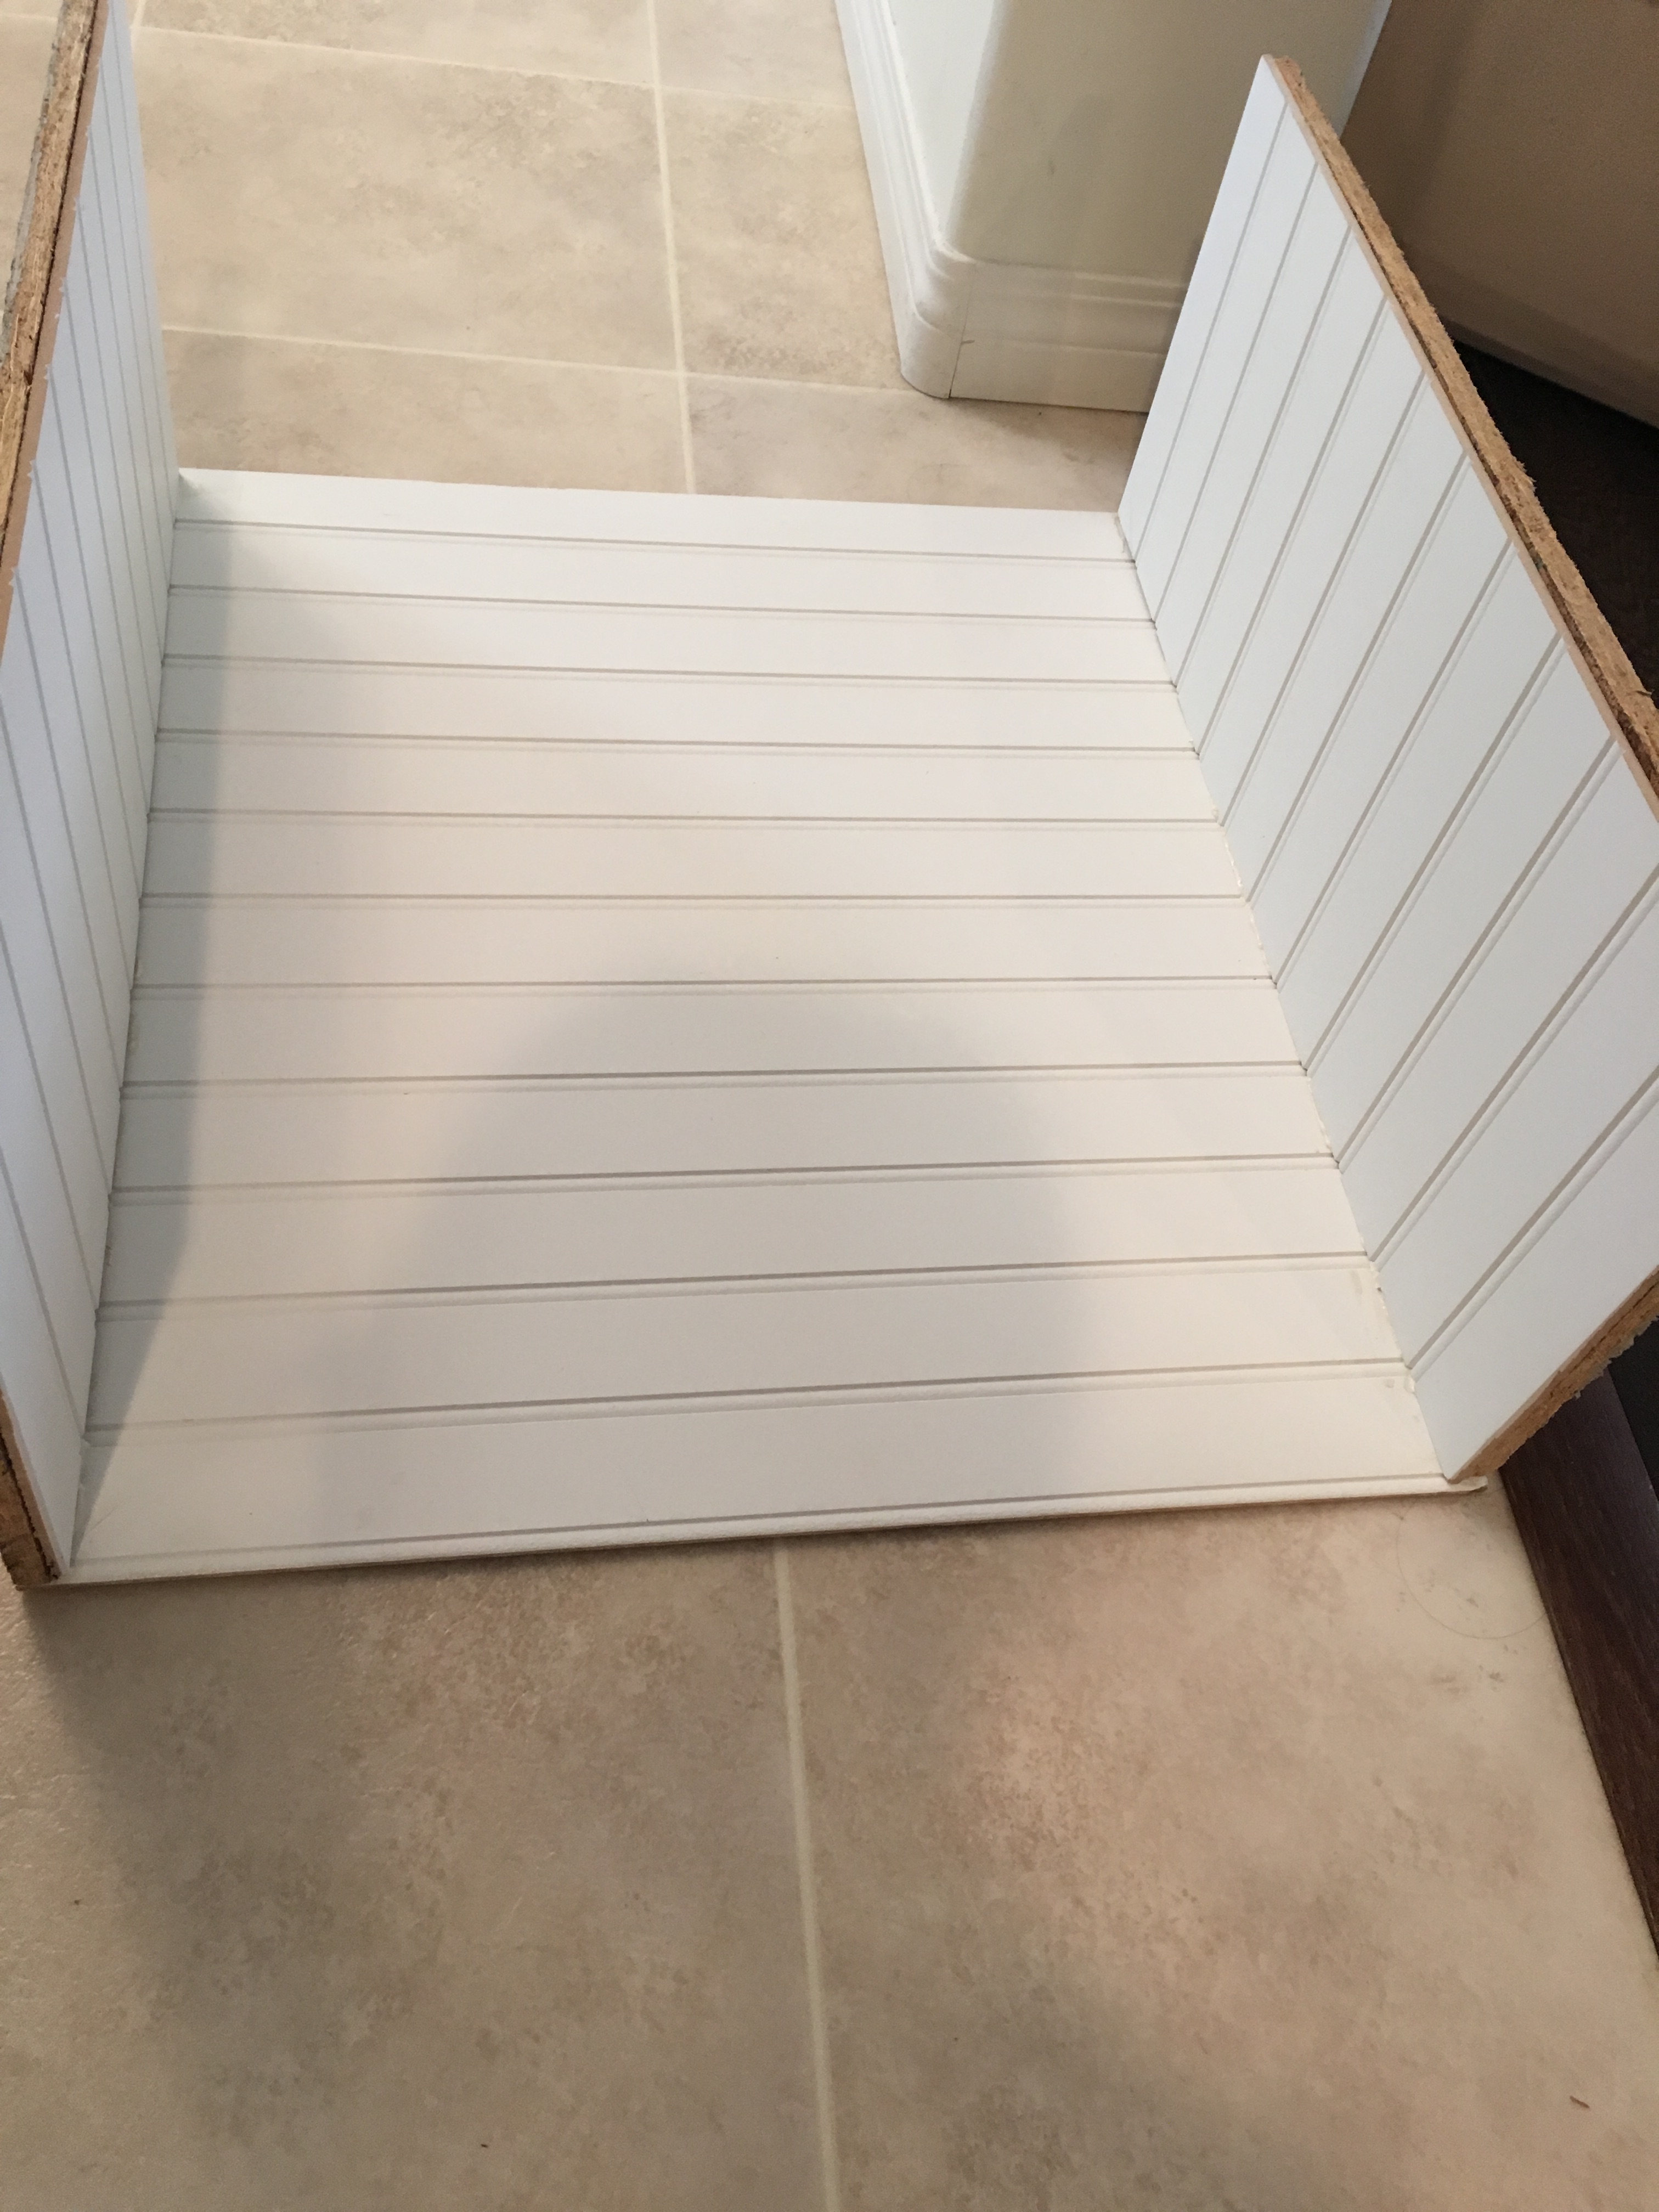
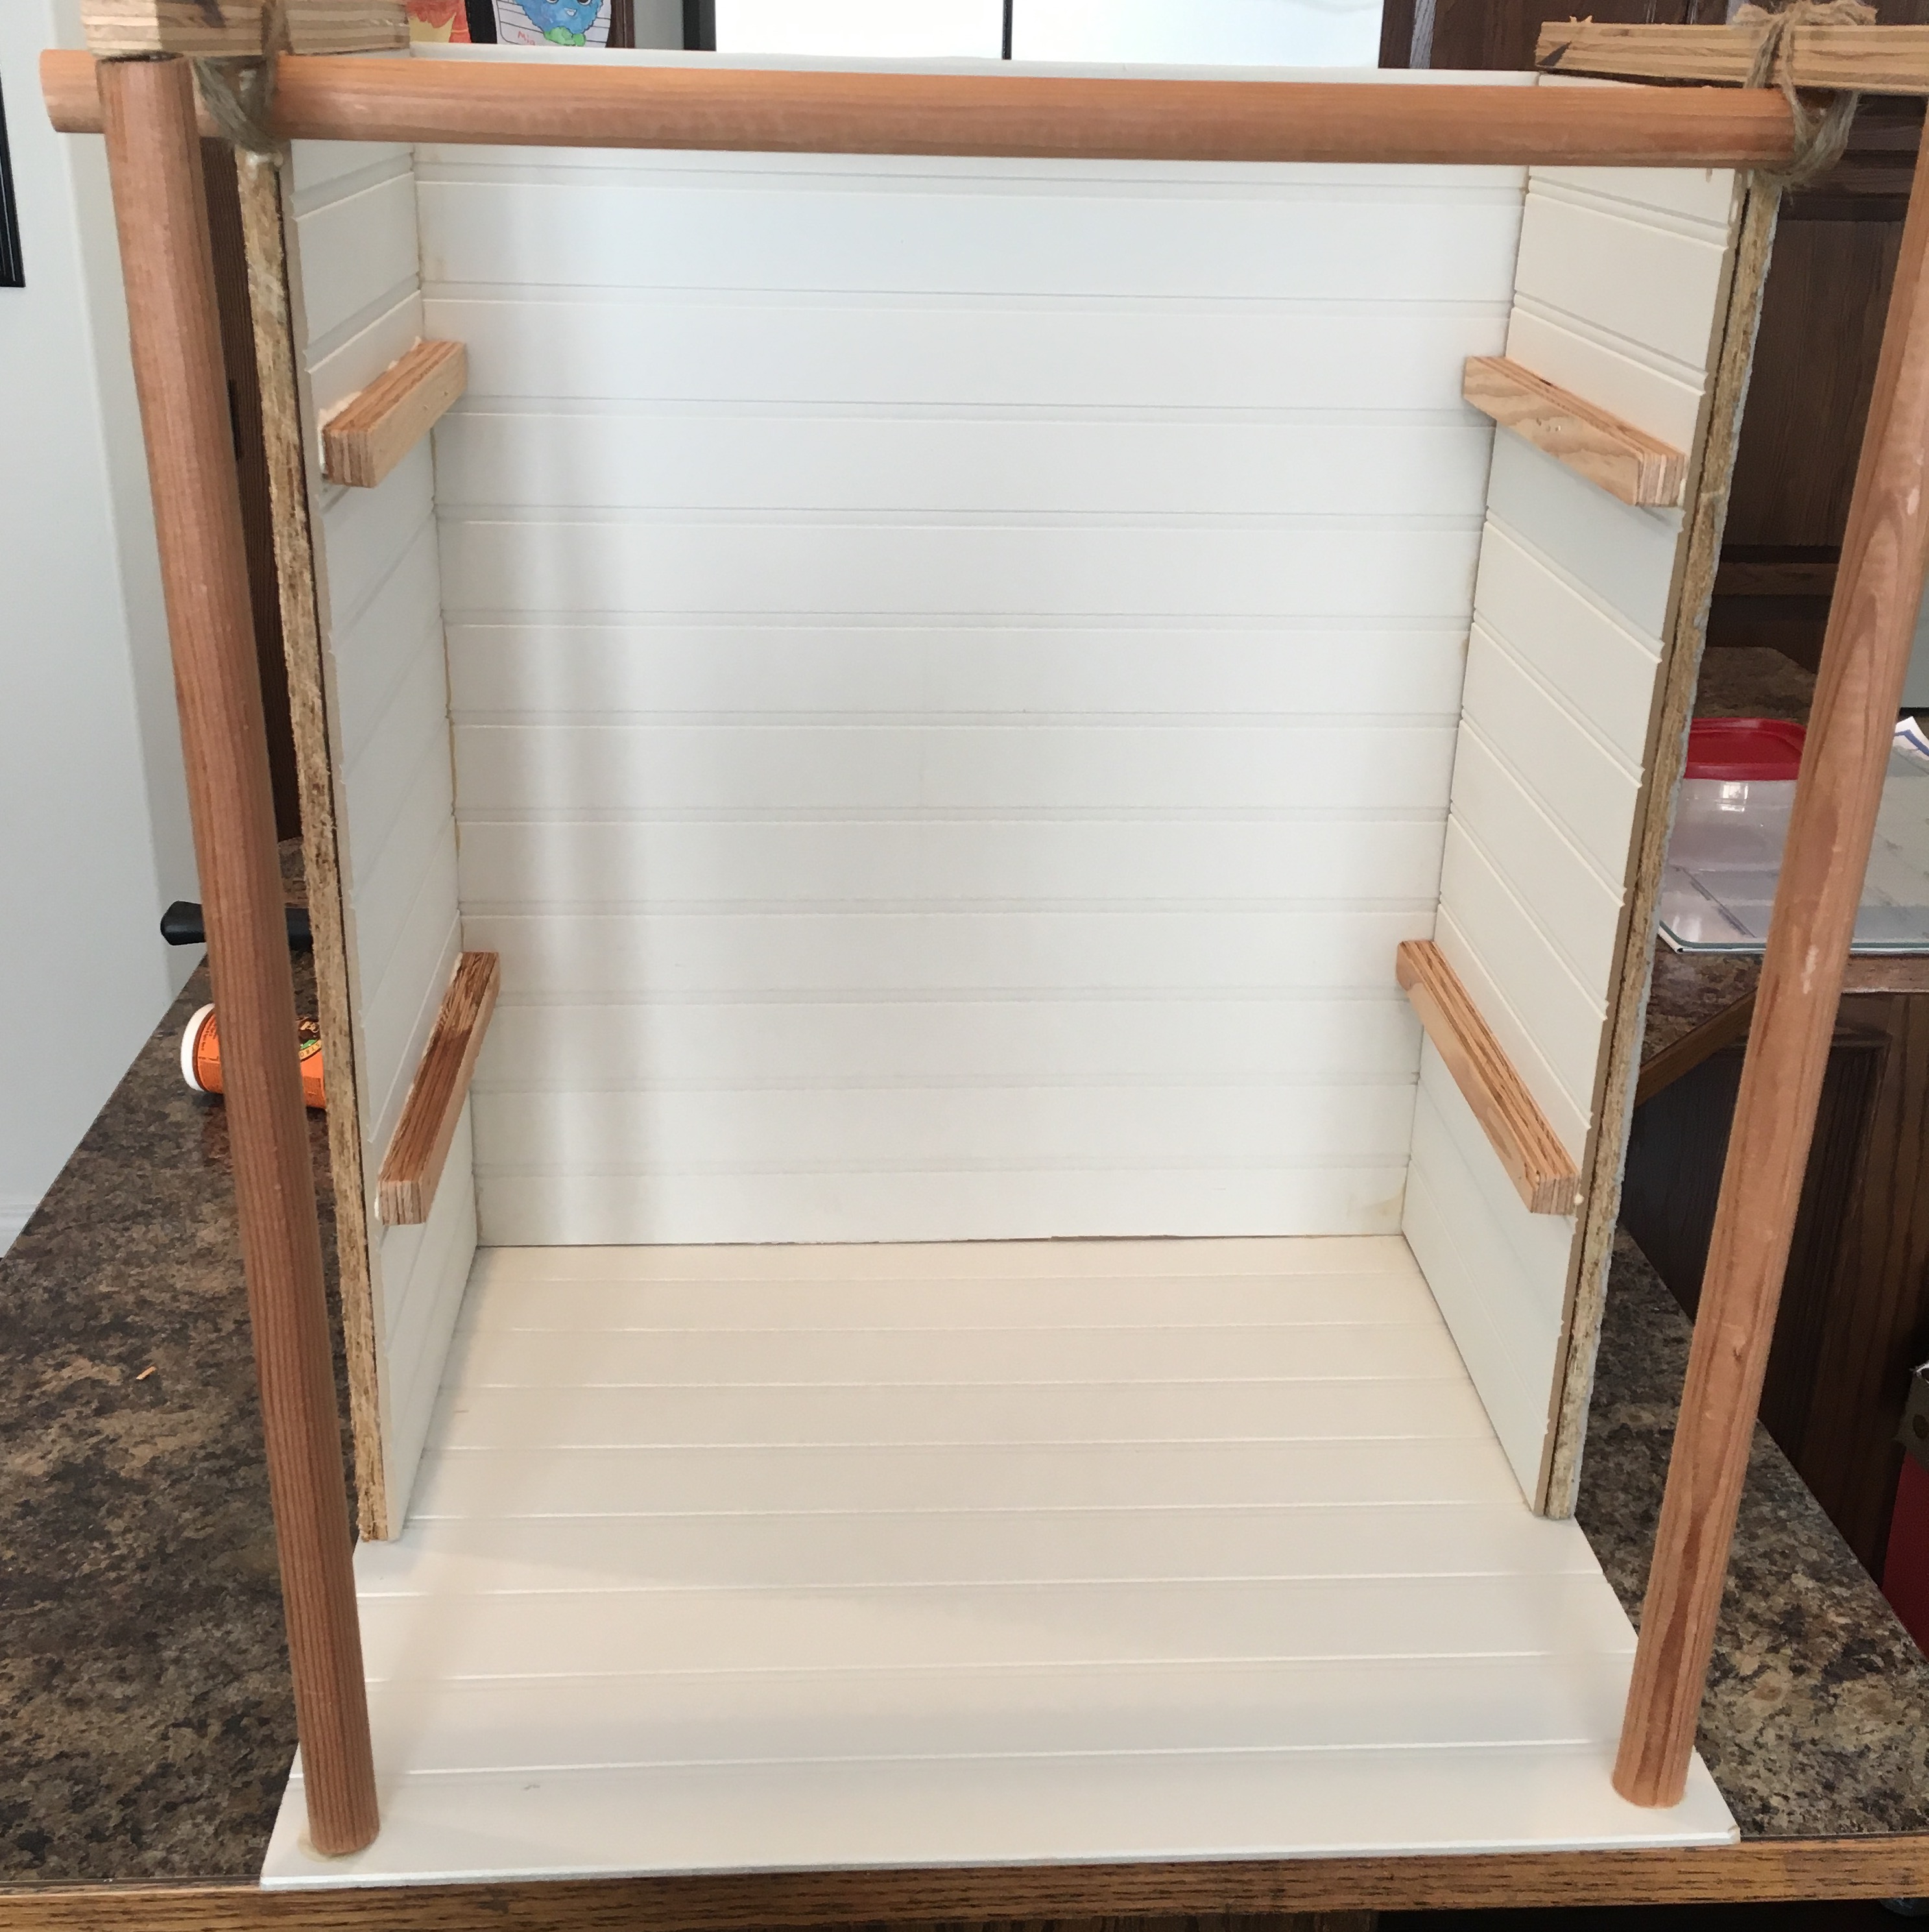
Lea’s Rainforest House has three walls and a floor. The front is open for play. Bead board is great for this project because it has a finished surface. It is also quite lightweight. I didn’t want to create something that was too heavy to move. However, bead board is thin, so you can’t realistically attach it to itself.
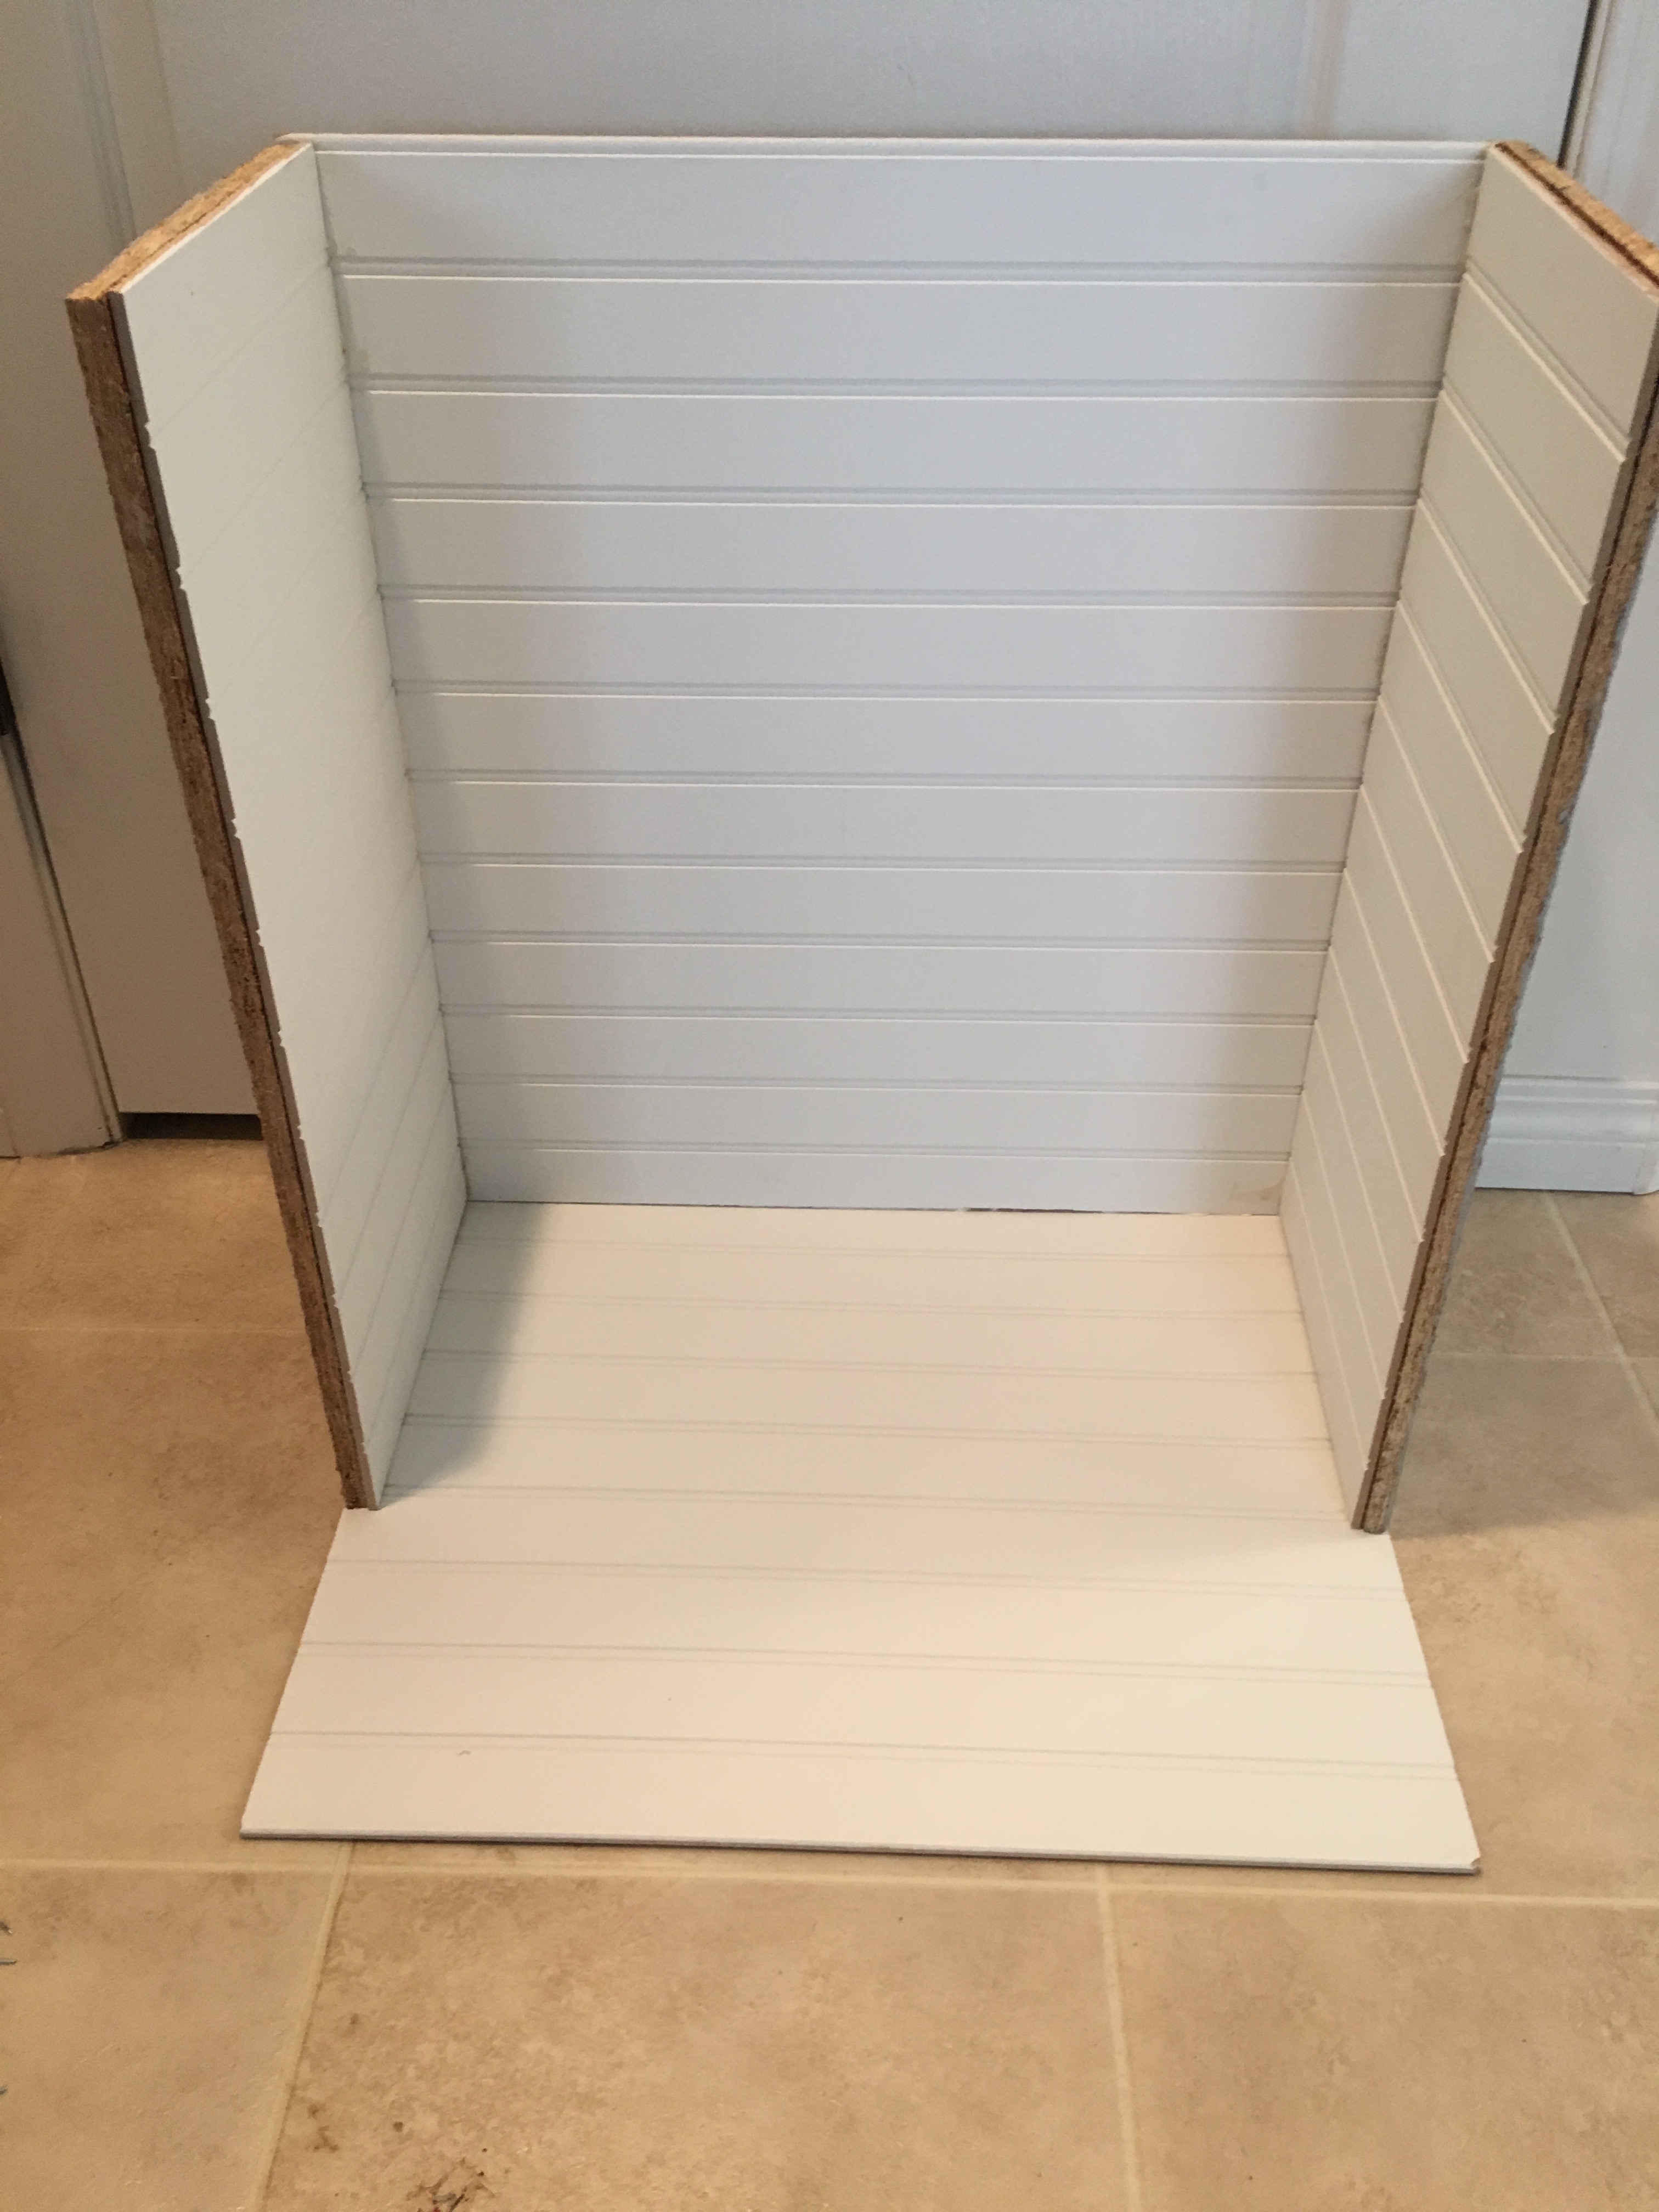
In order to make the side walls thicker, I had to reinforce them with some 1/2 inch scrap wood. I just used Gorilla wood glue to fix the bead board to the wood. The back wall was fine as is. Using finishing nails and more wood glue, I then attached the back wall to the now reinforced side walls.
Next attach the floor. The overhang is the porch.
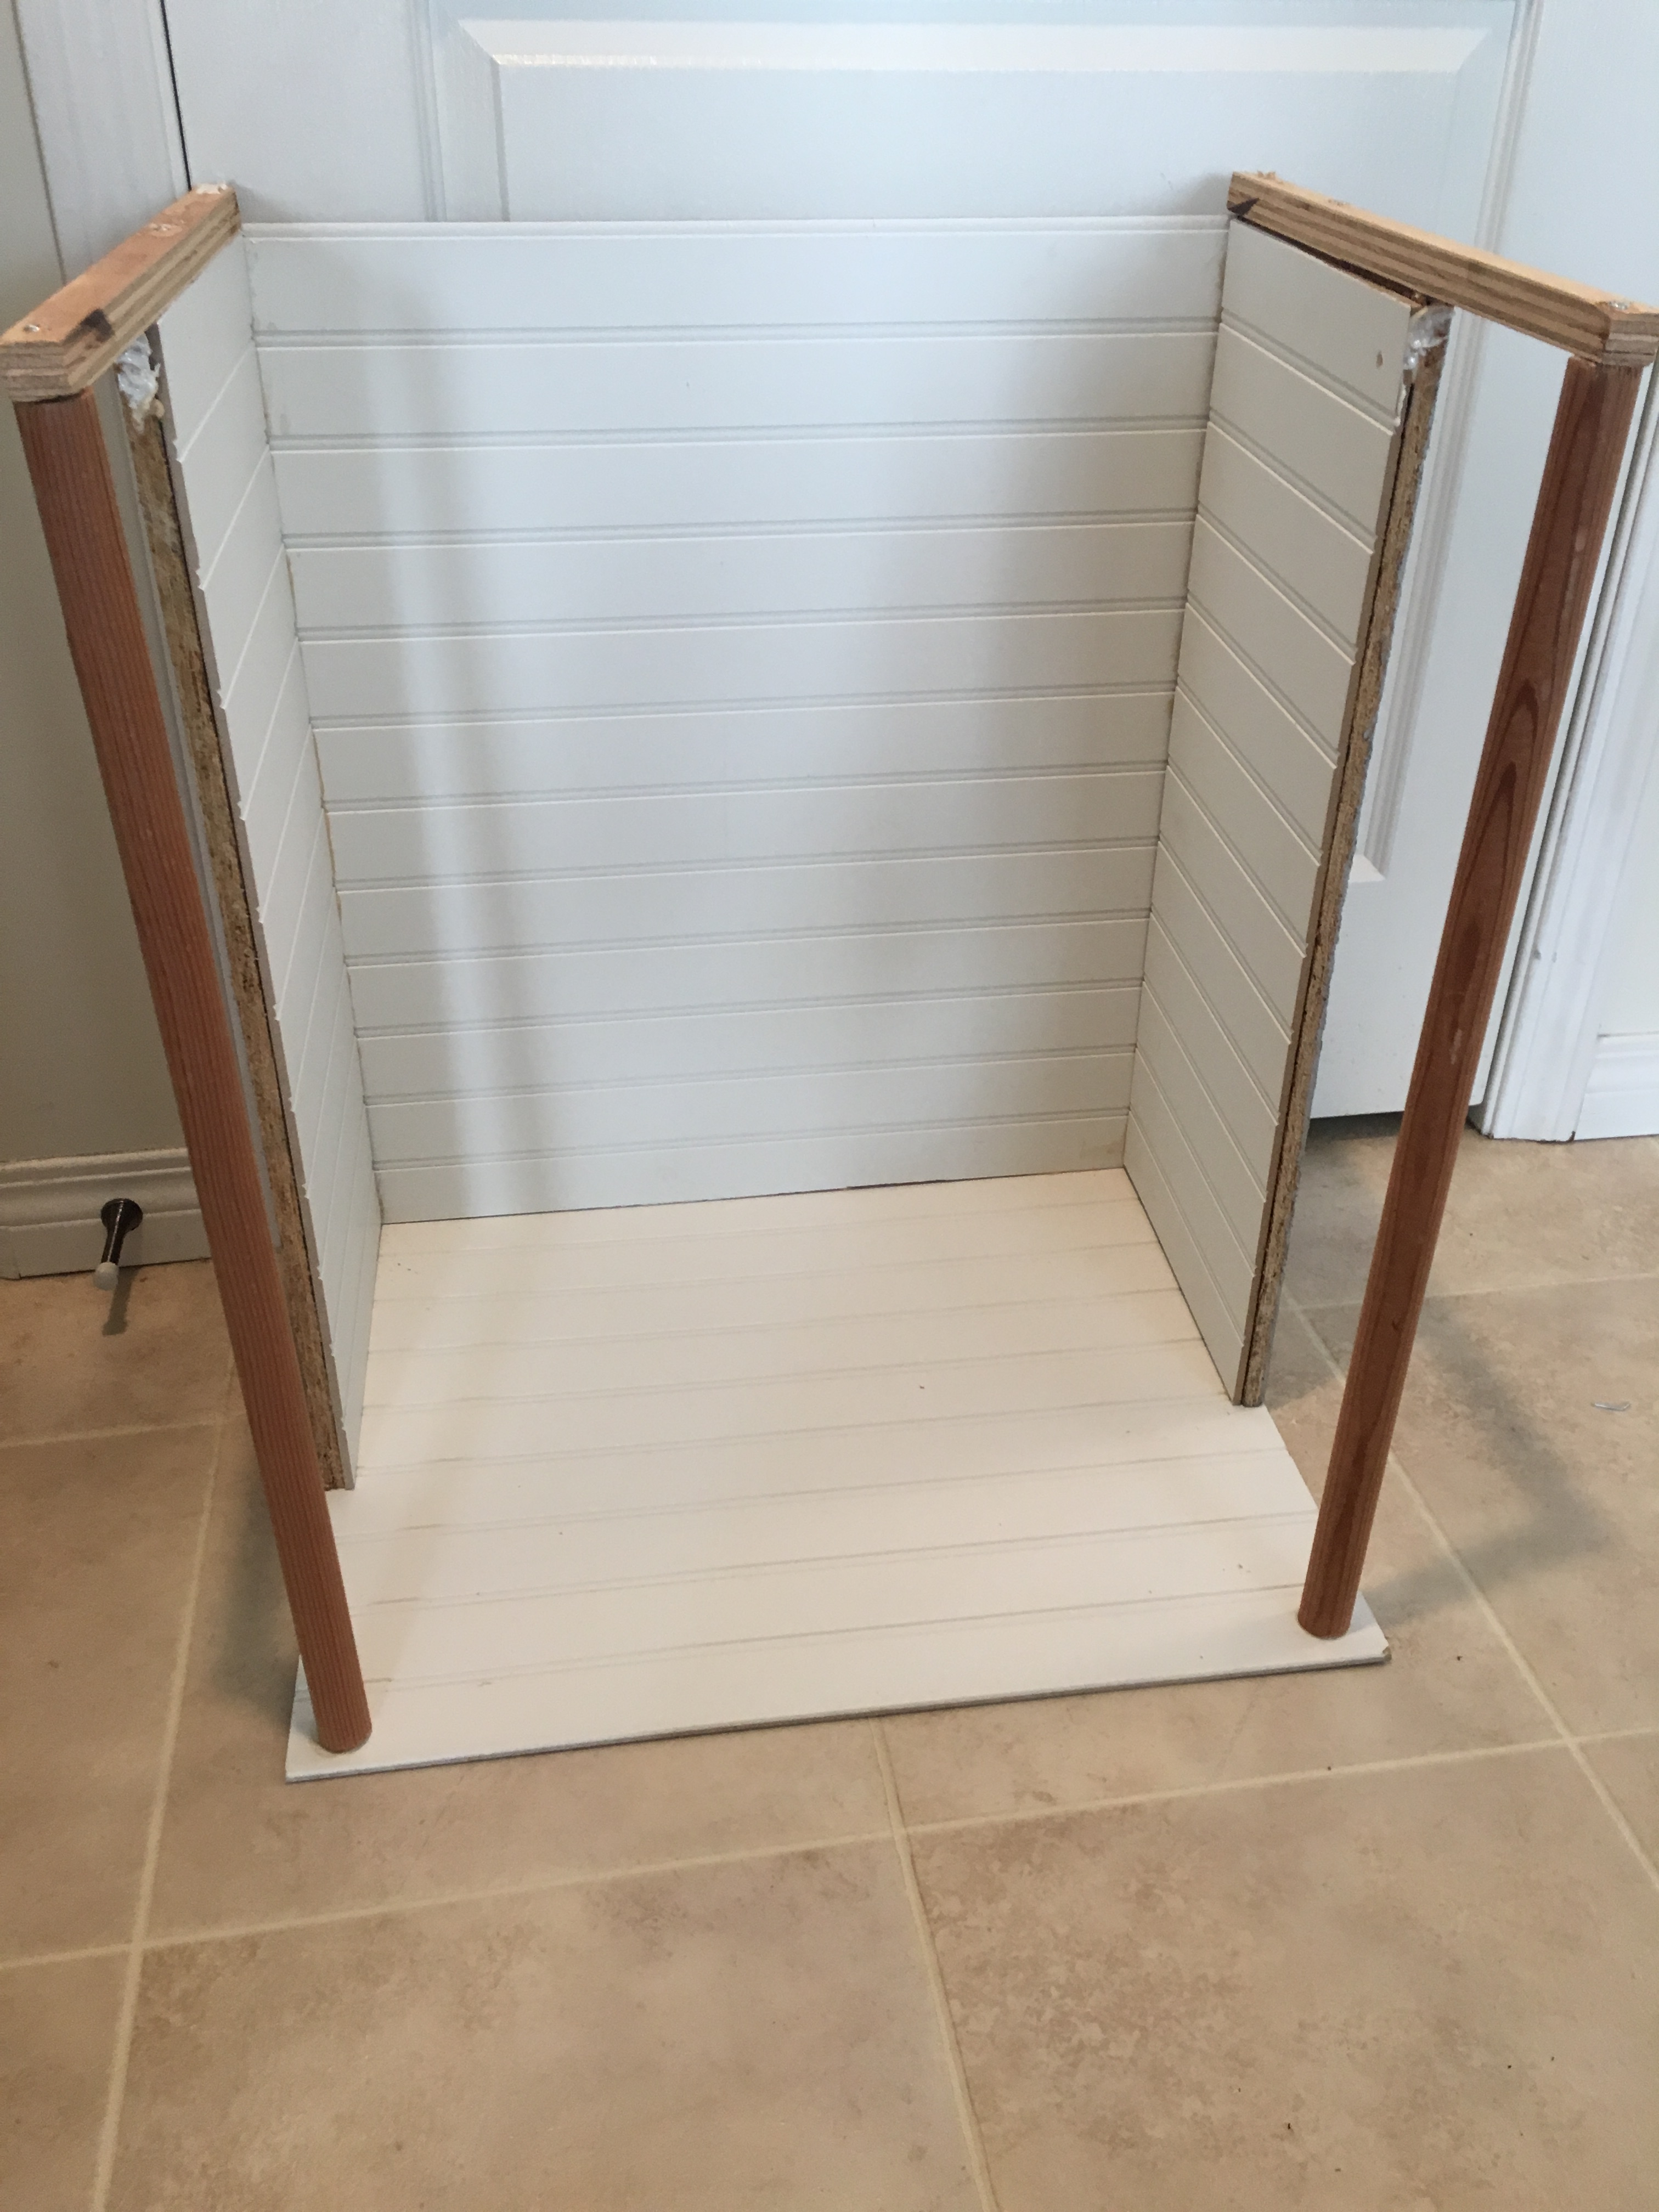
Progress! Now it’s time to add the front porch supports. I used some scrap wooden dowel that I had lying around. I didn’t have any bamboo, but the wood worked just fine. I just used wood glue and screws, and that was plenty sturdy.
I didn’t trust myself to drill holes in the bead board, so our rainforest house doesn’t have any legs, but my girl doesn’t care. We just had to add some protective furniture pads to the bottom so that it wouldn’t scratch up the floor.
Next, I added the middle support. I used more wood dowel for this. It is a bit longer on the one side because I wanted somewhere to hang things from. I had to glue it on there with wood glue, and also tie it tightly with twine to get it nice and secure. It’s not going anywhere.
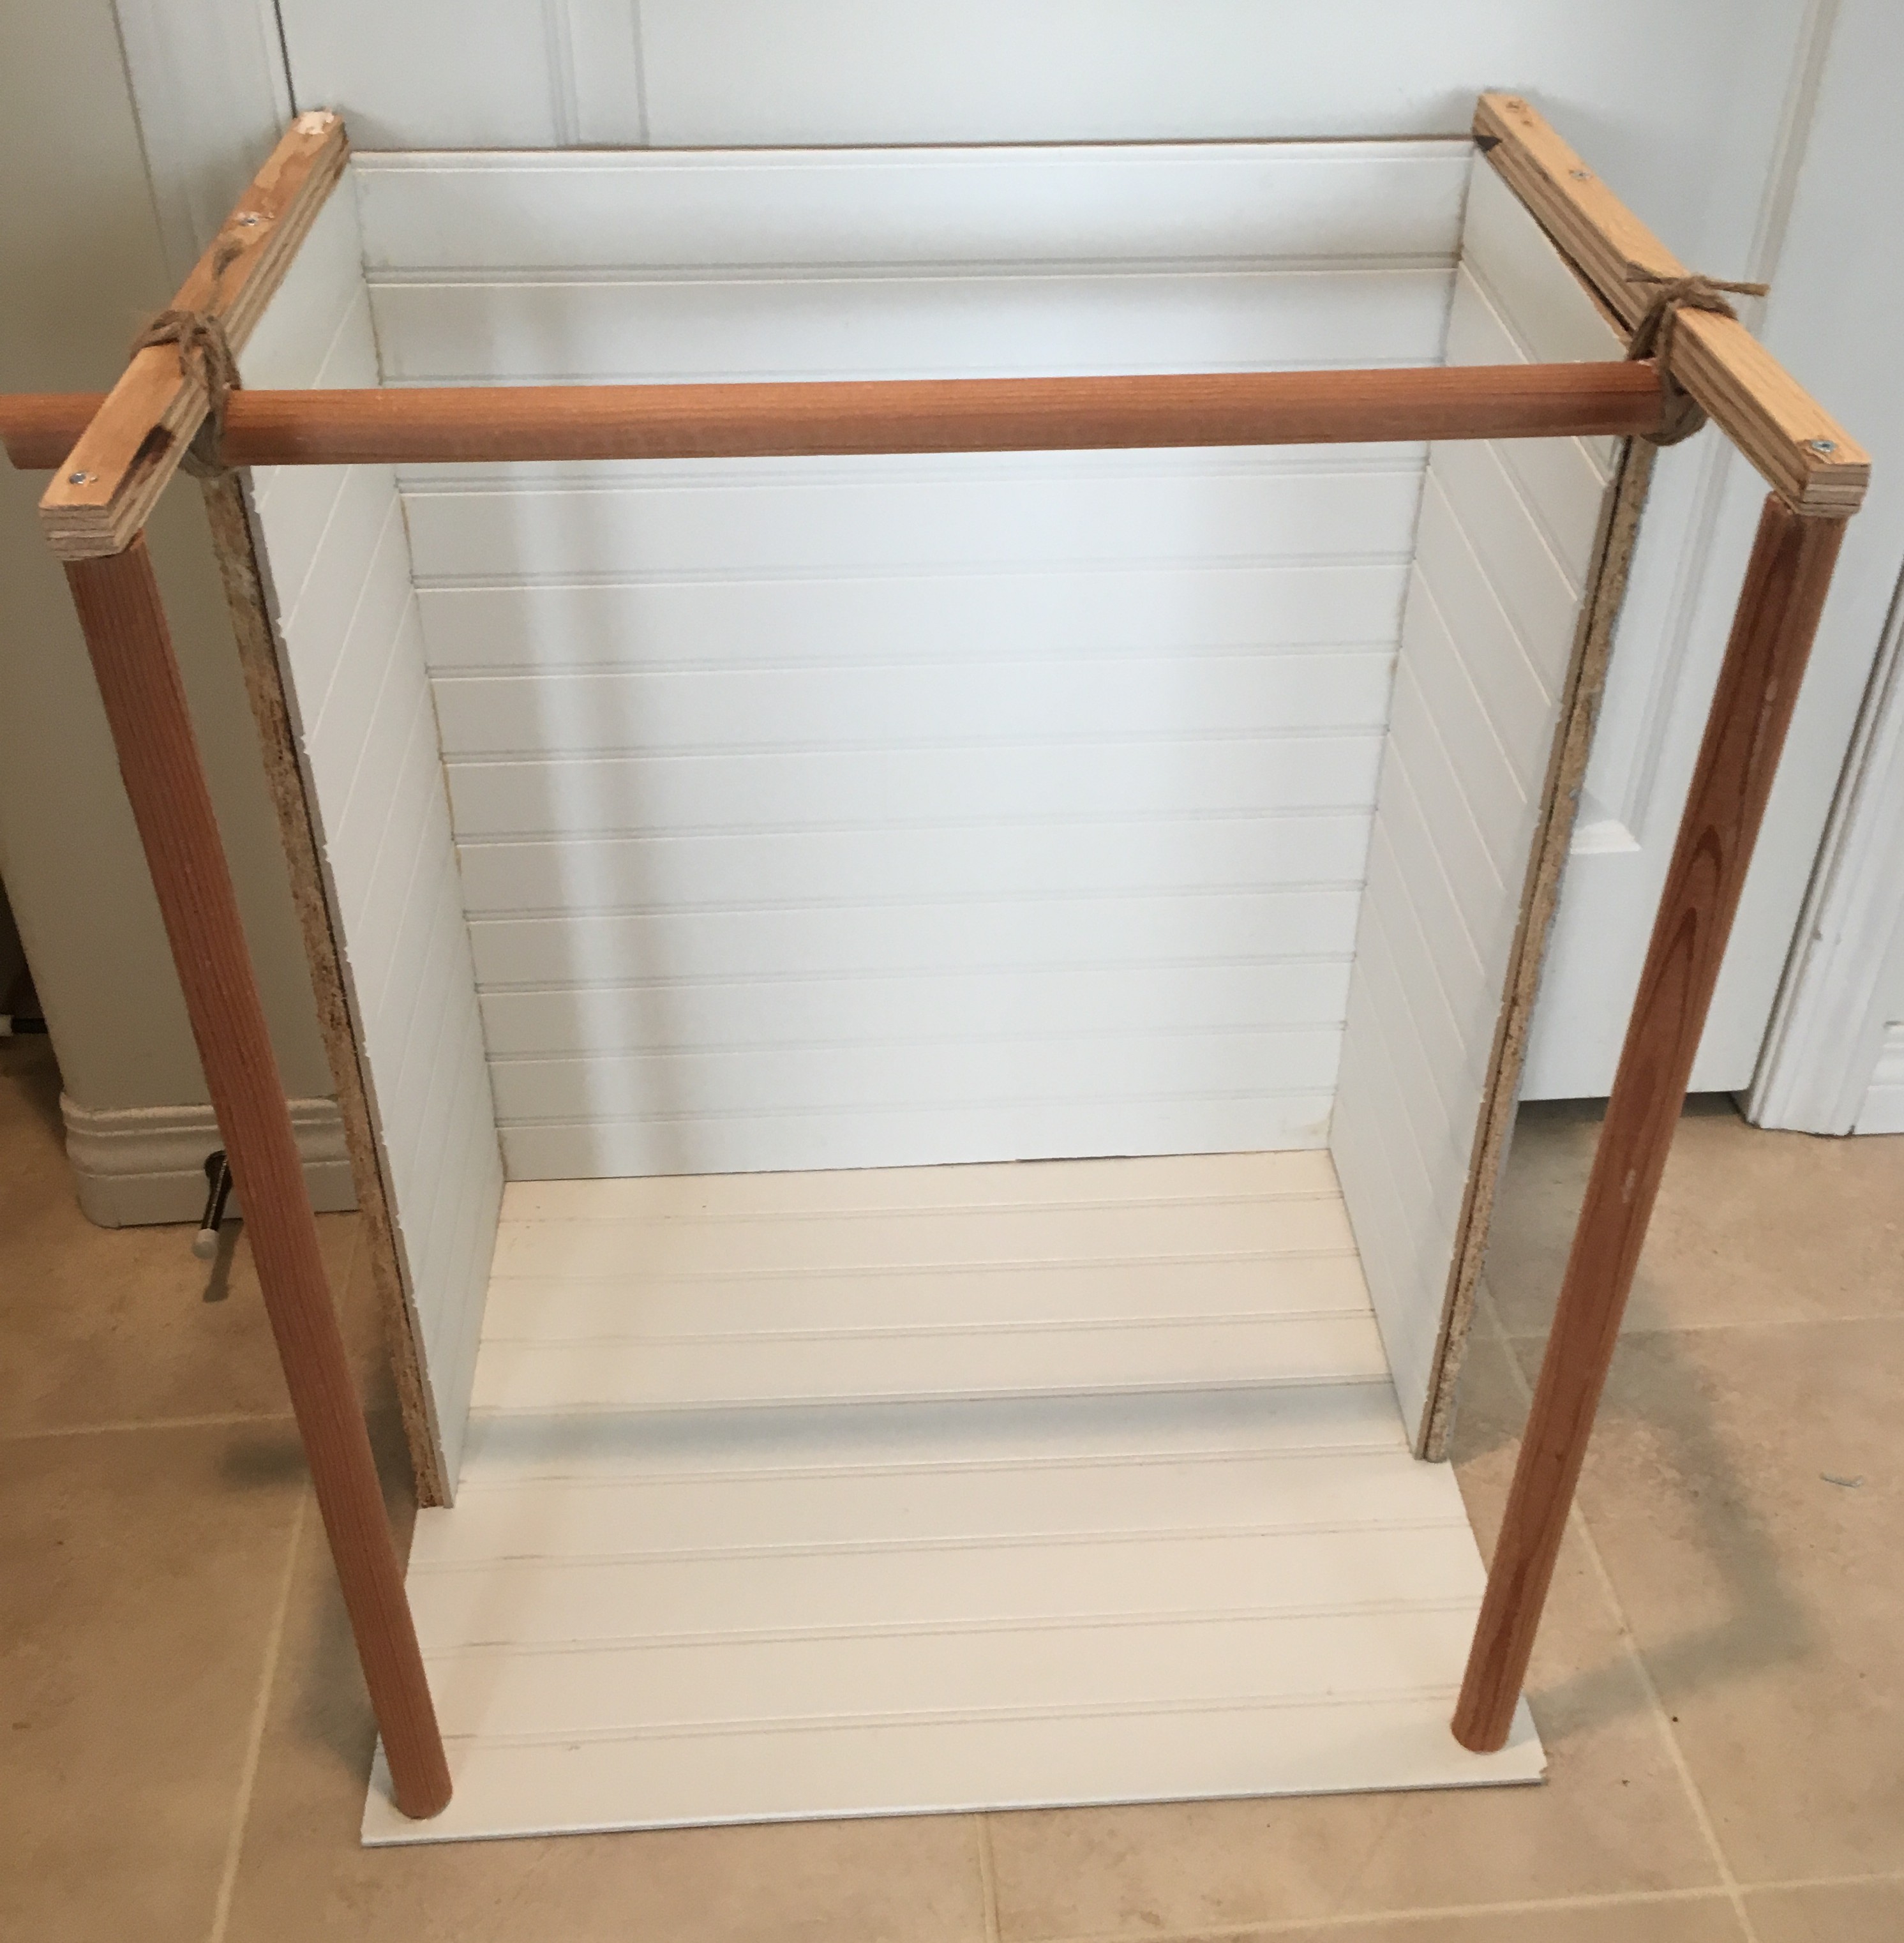
At this point I was considering what to use for the front porch railing, but then my daughter said that she didn’t want railing because it would just get in the way, and besides, the house has no legs, so why put a safety rail in? She had a point.
Onto the bed! Cut four pieces of wood. Then use wood glue and nails to attach them to the side walls.
I used another piece of bead board for the bed. It worked perfectly!
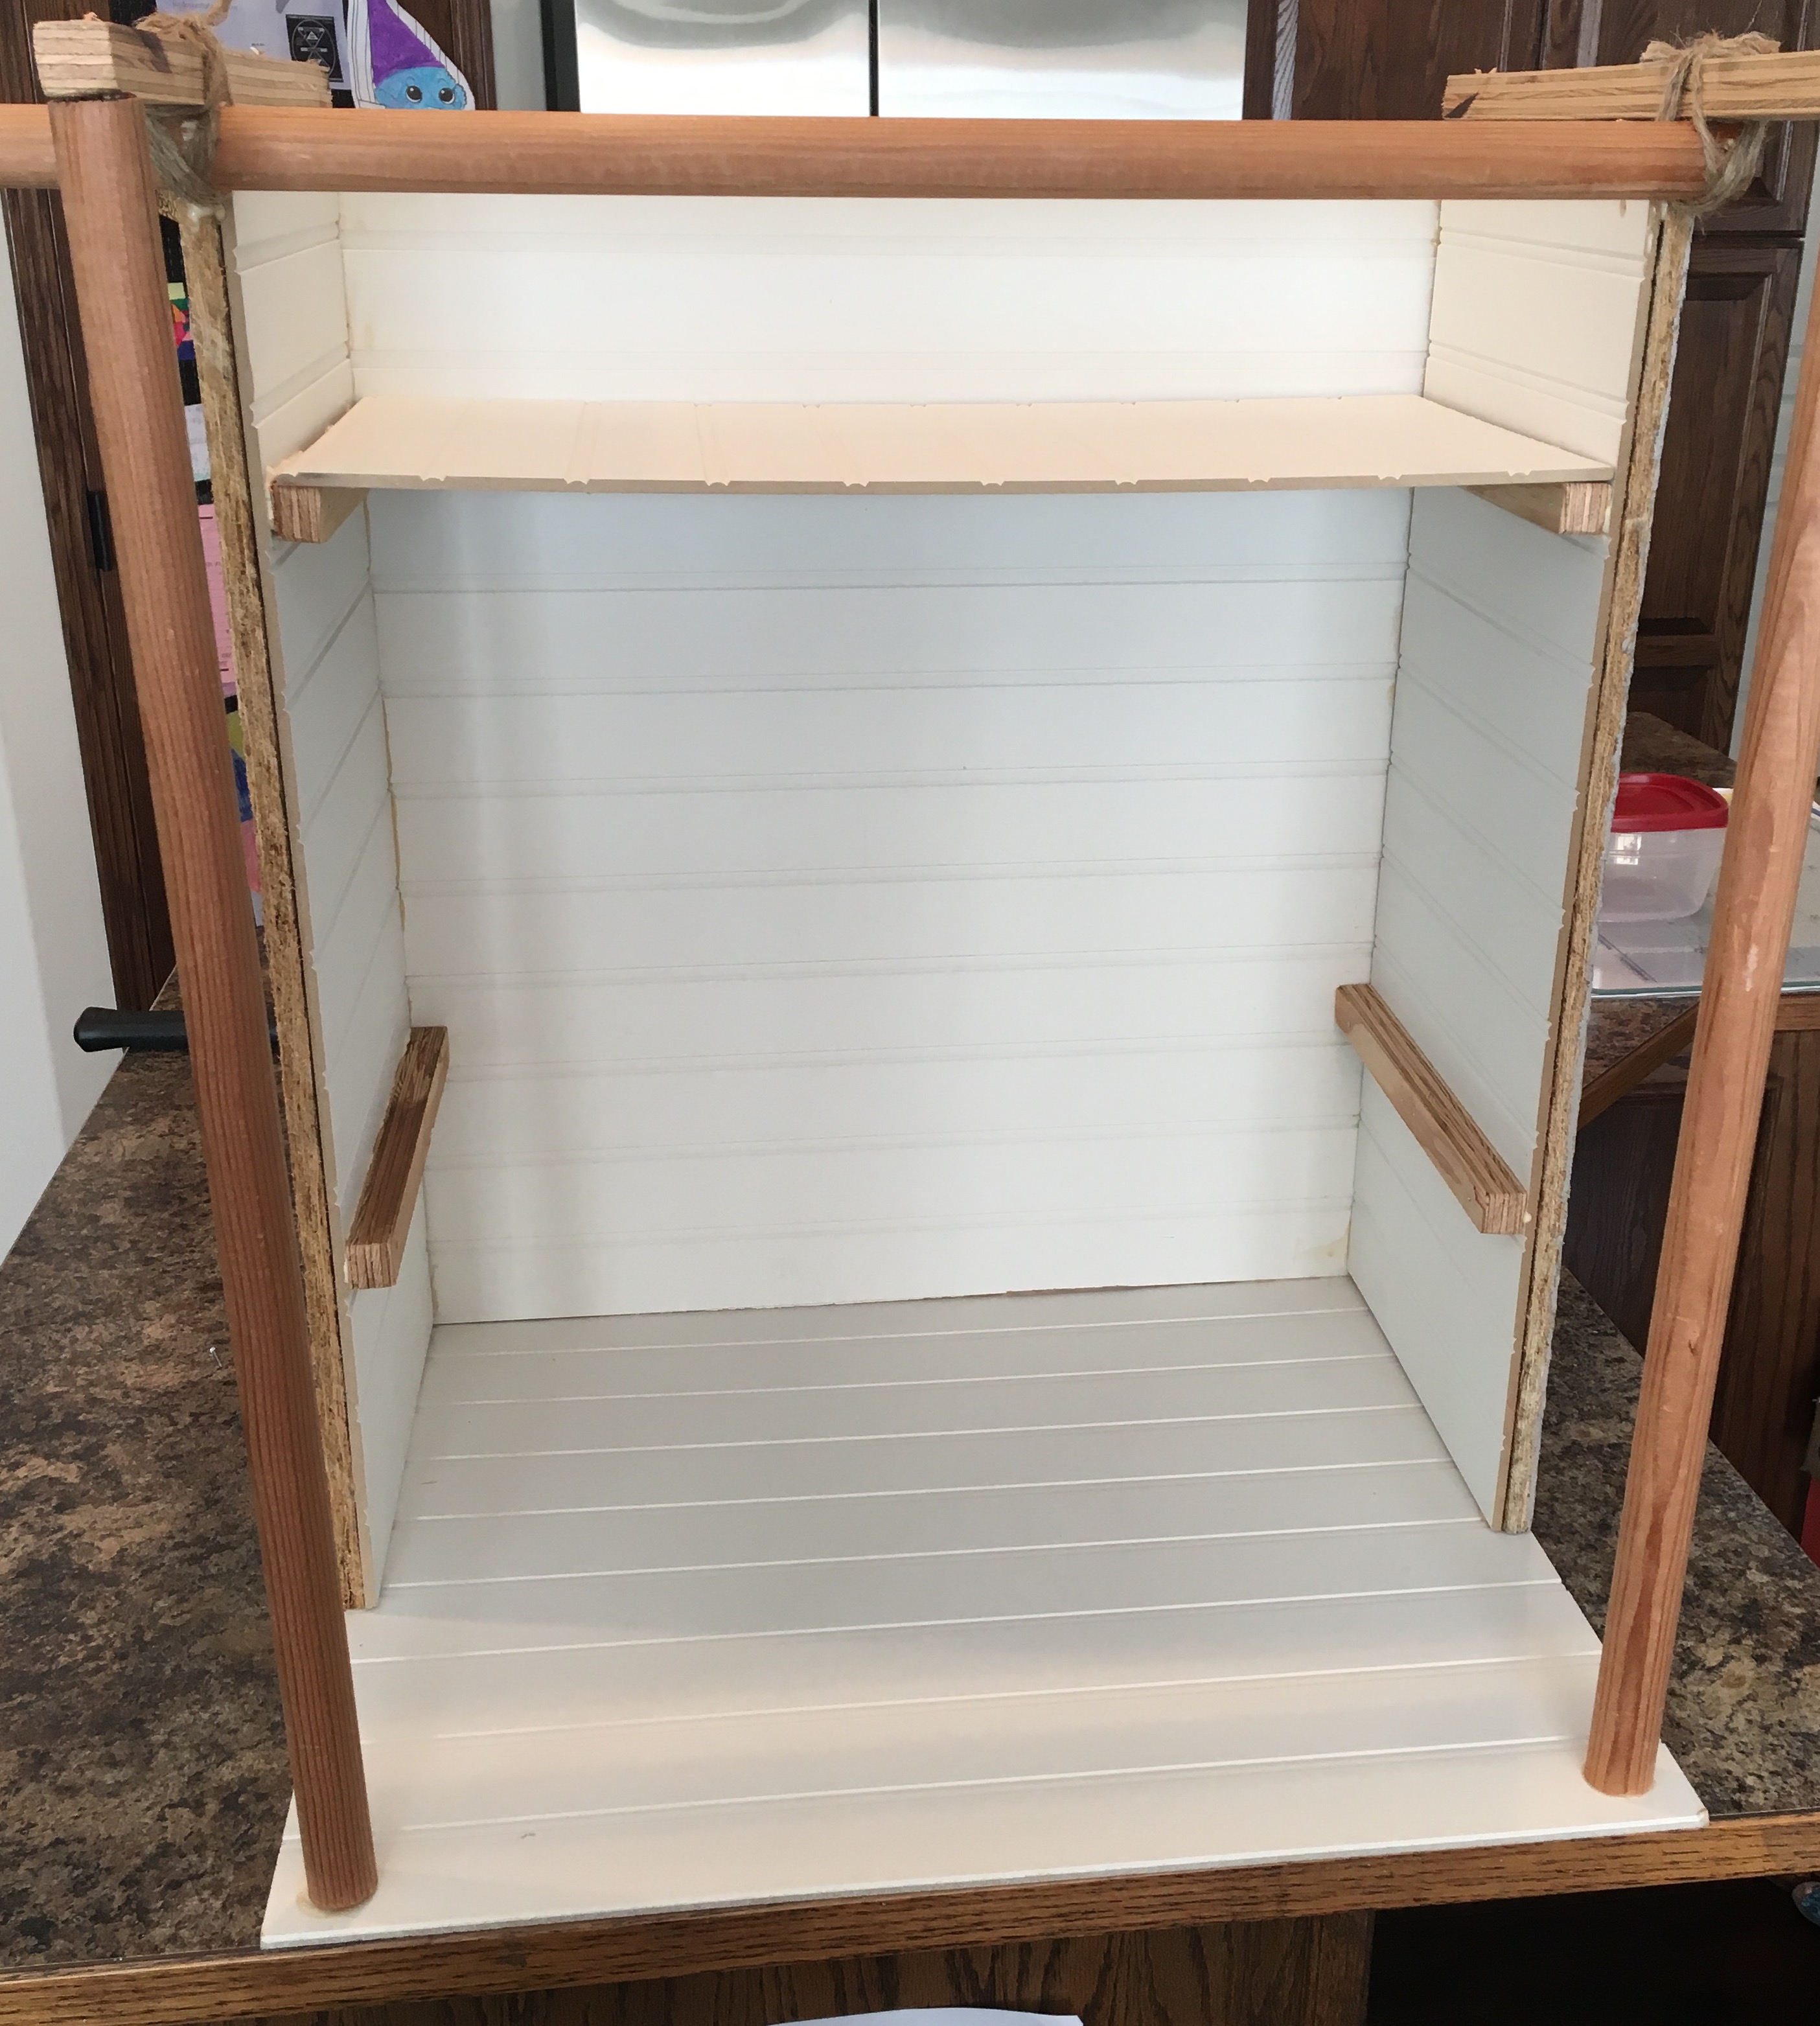
Now the bed can switch from a loft bed to a regular bed with ease!
The only thing left to do is decorate! Oh, and get a roof on there, which was still nagging at me, whereas my daughter couldn’t be bothered. She just wanted to play and decorate to her heart’s content.
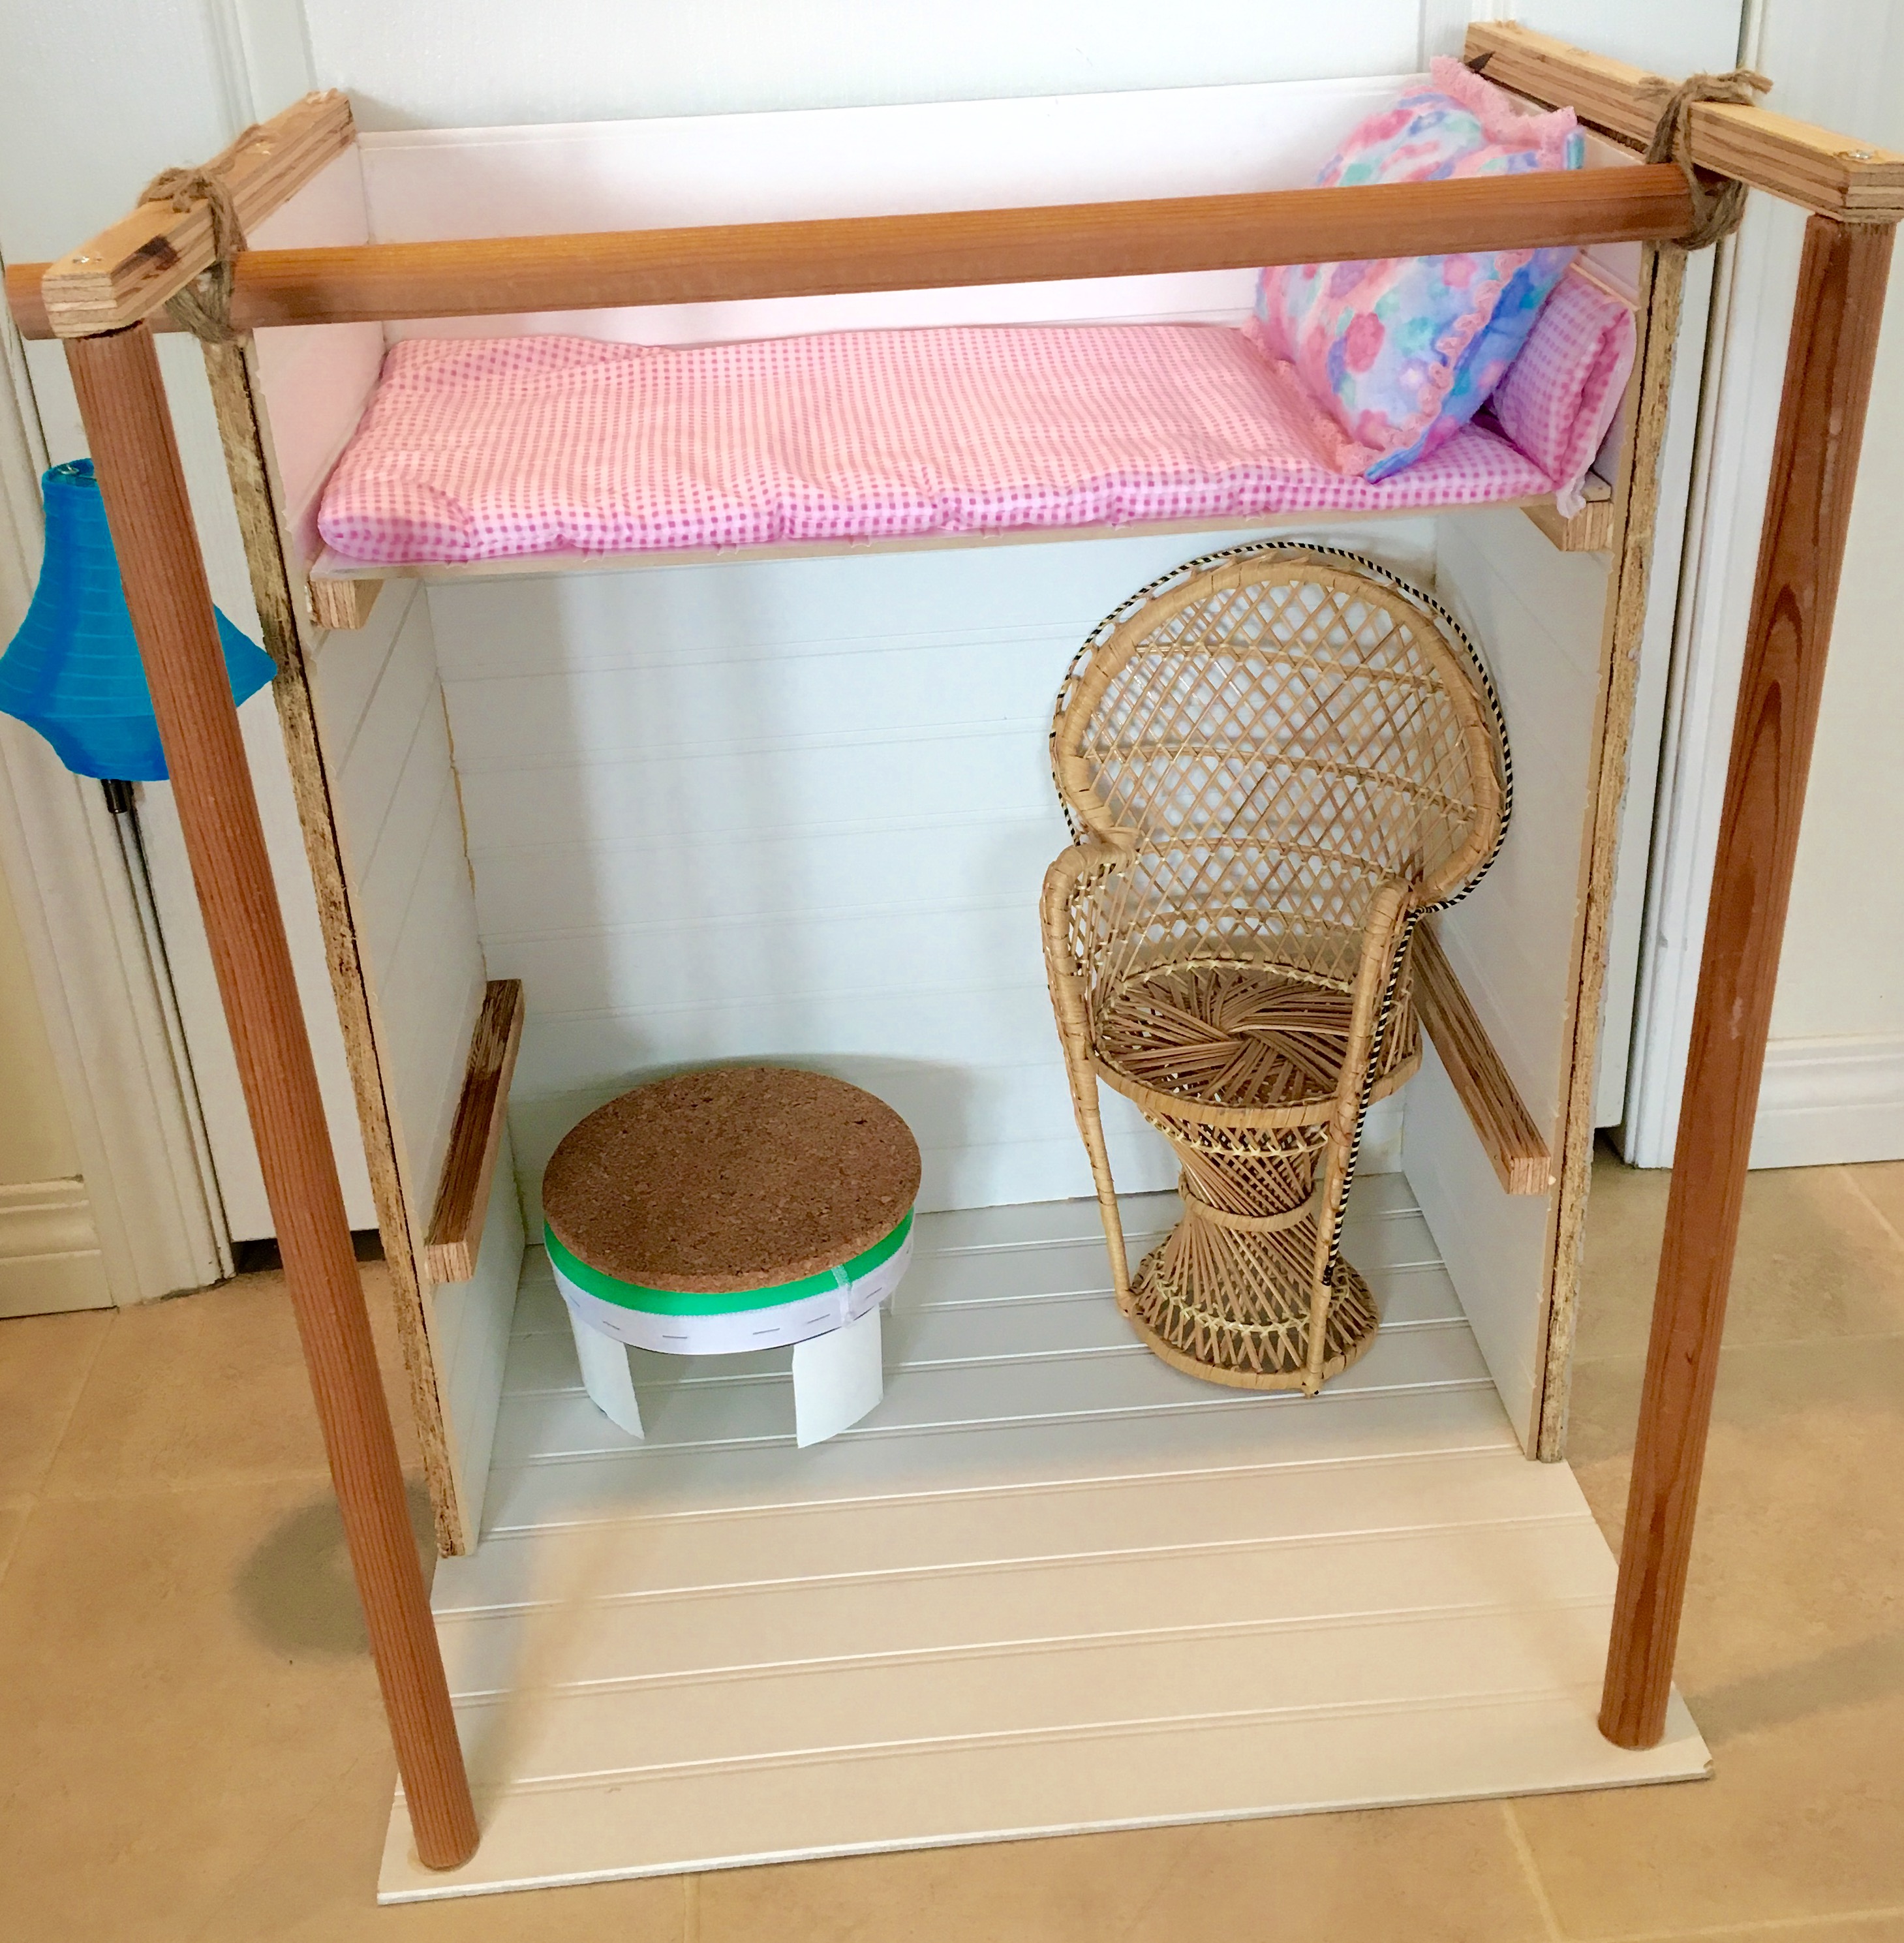
Okay, so that’s not very pretty. LOL
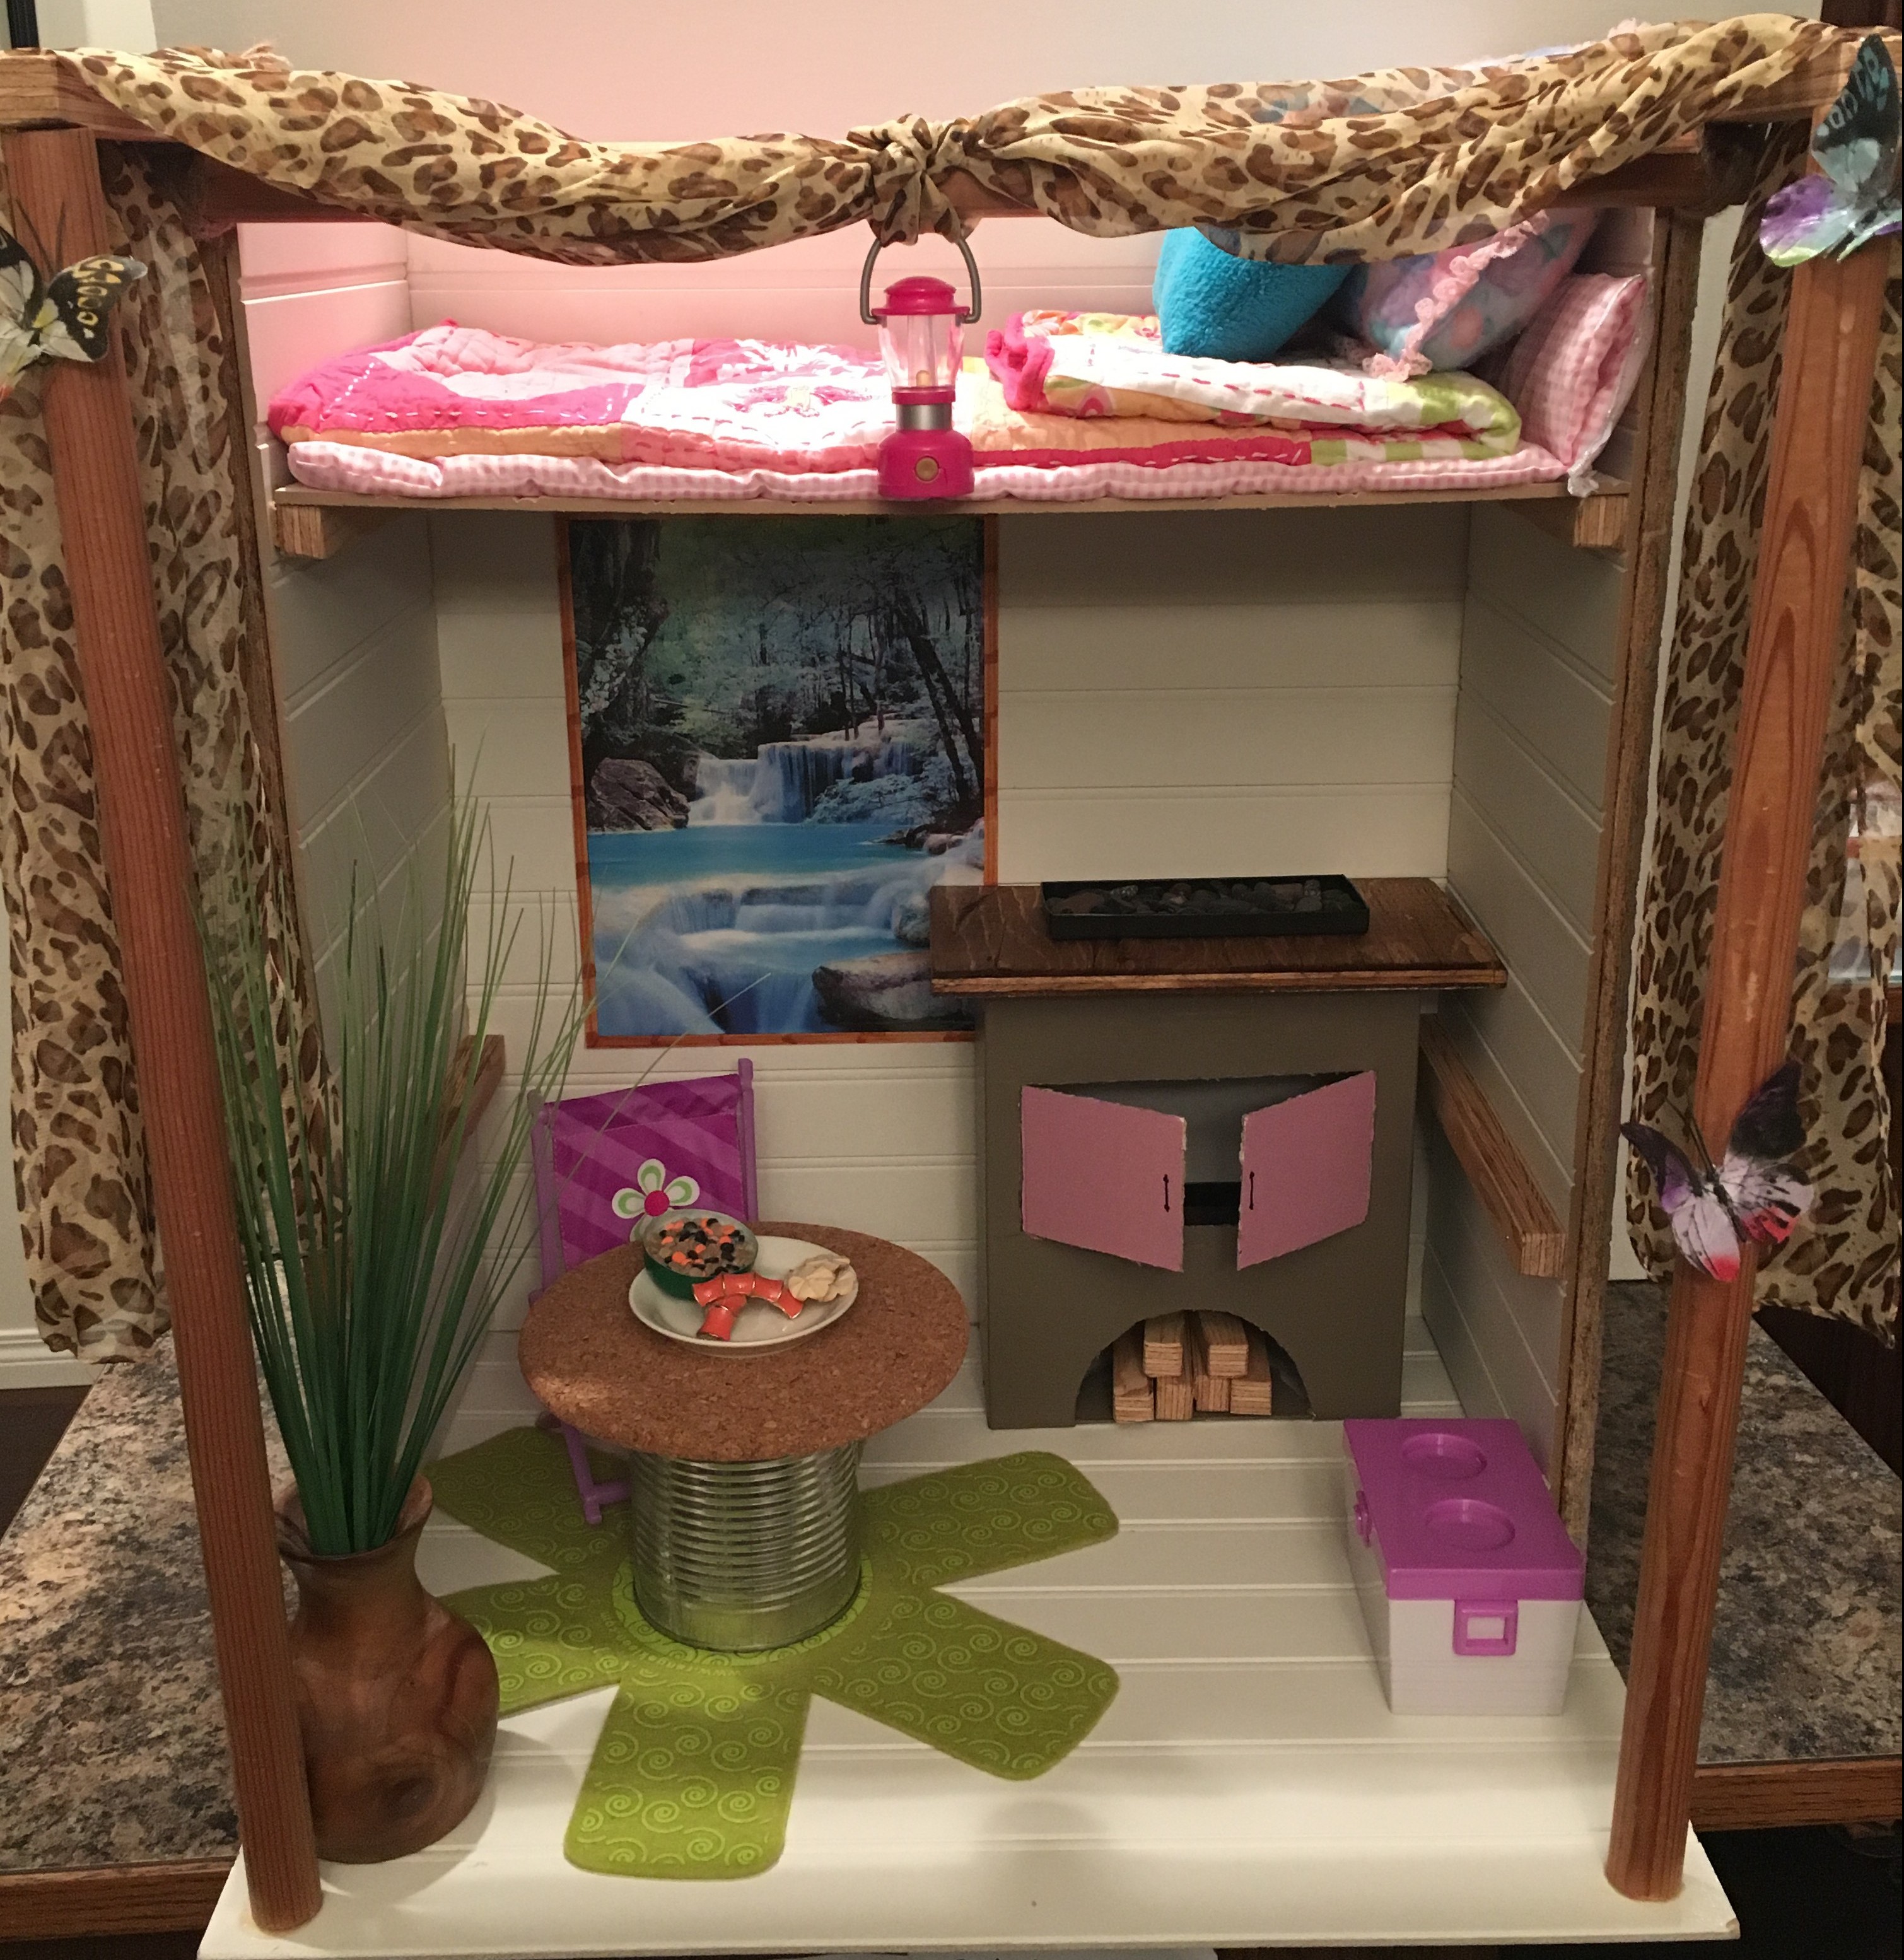
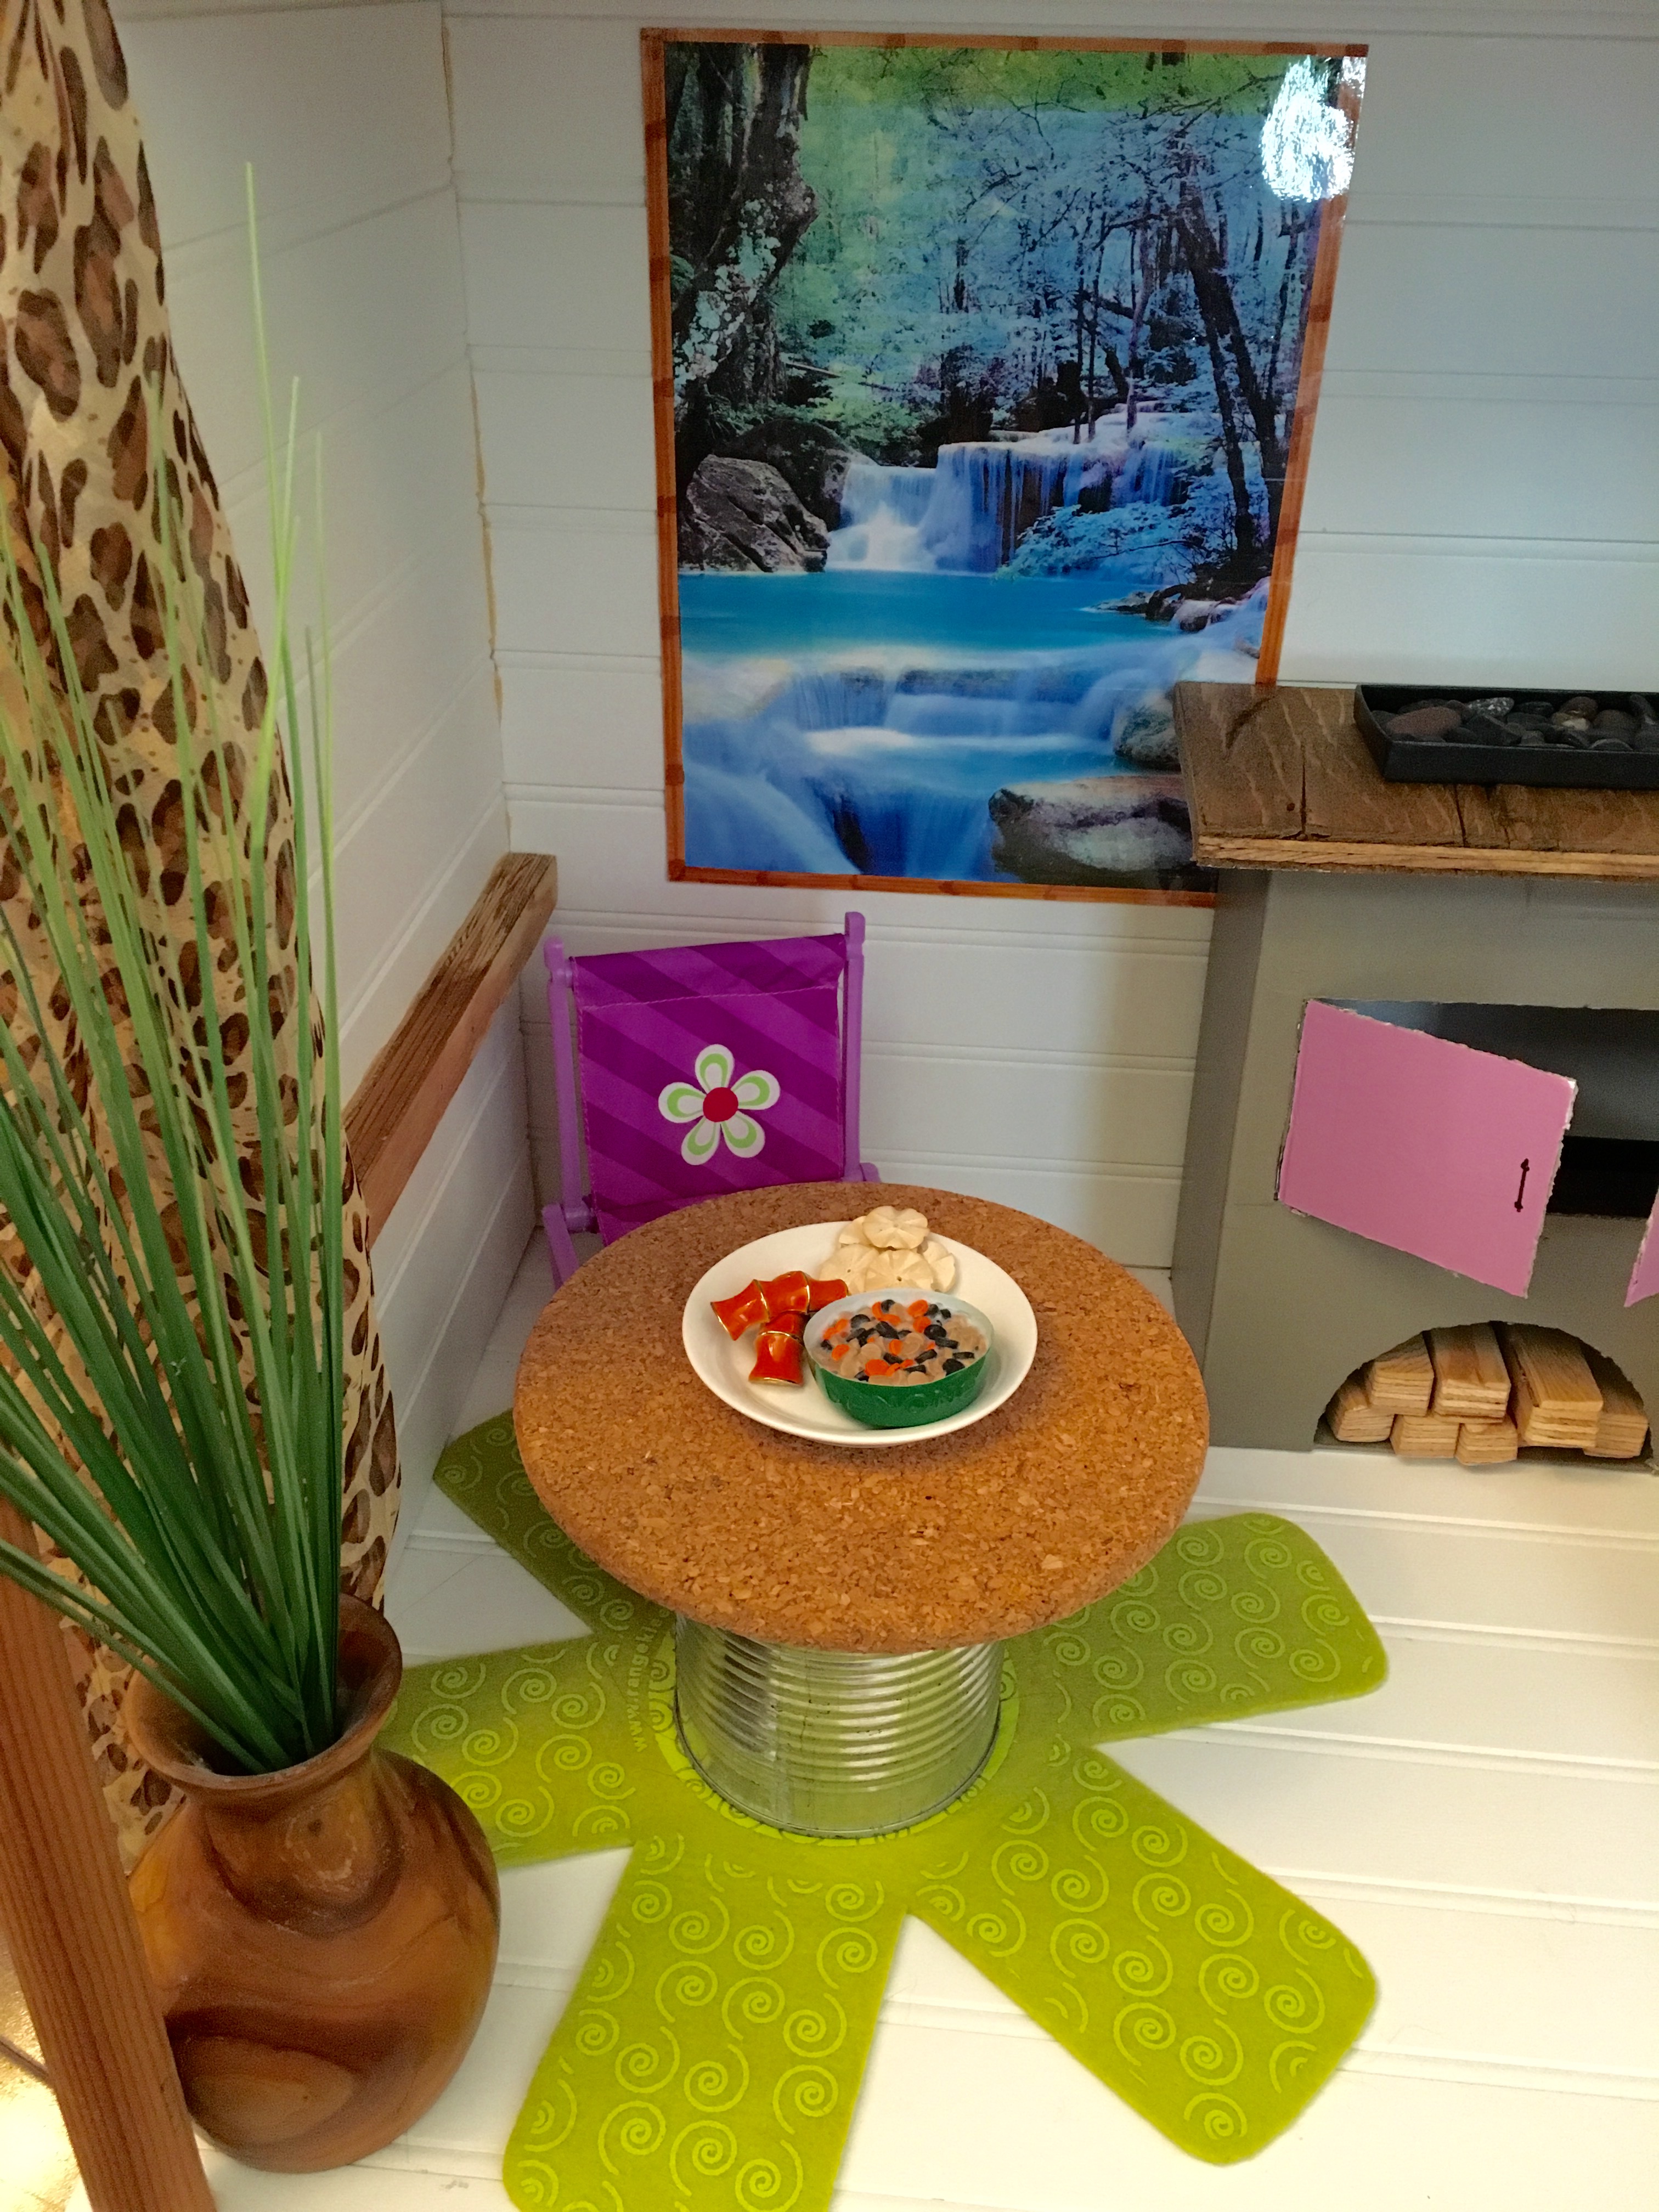
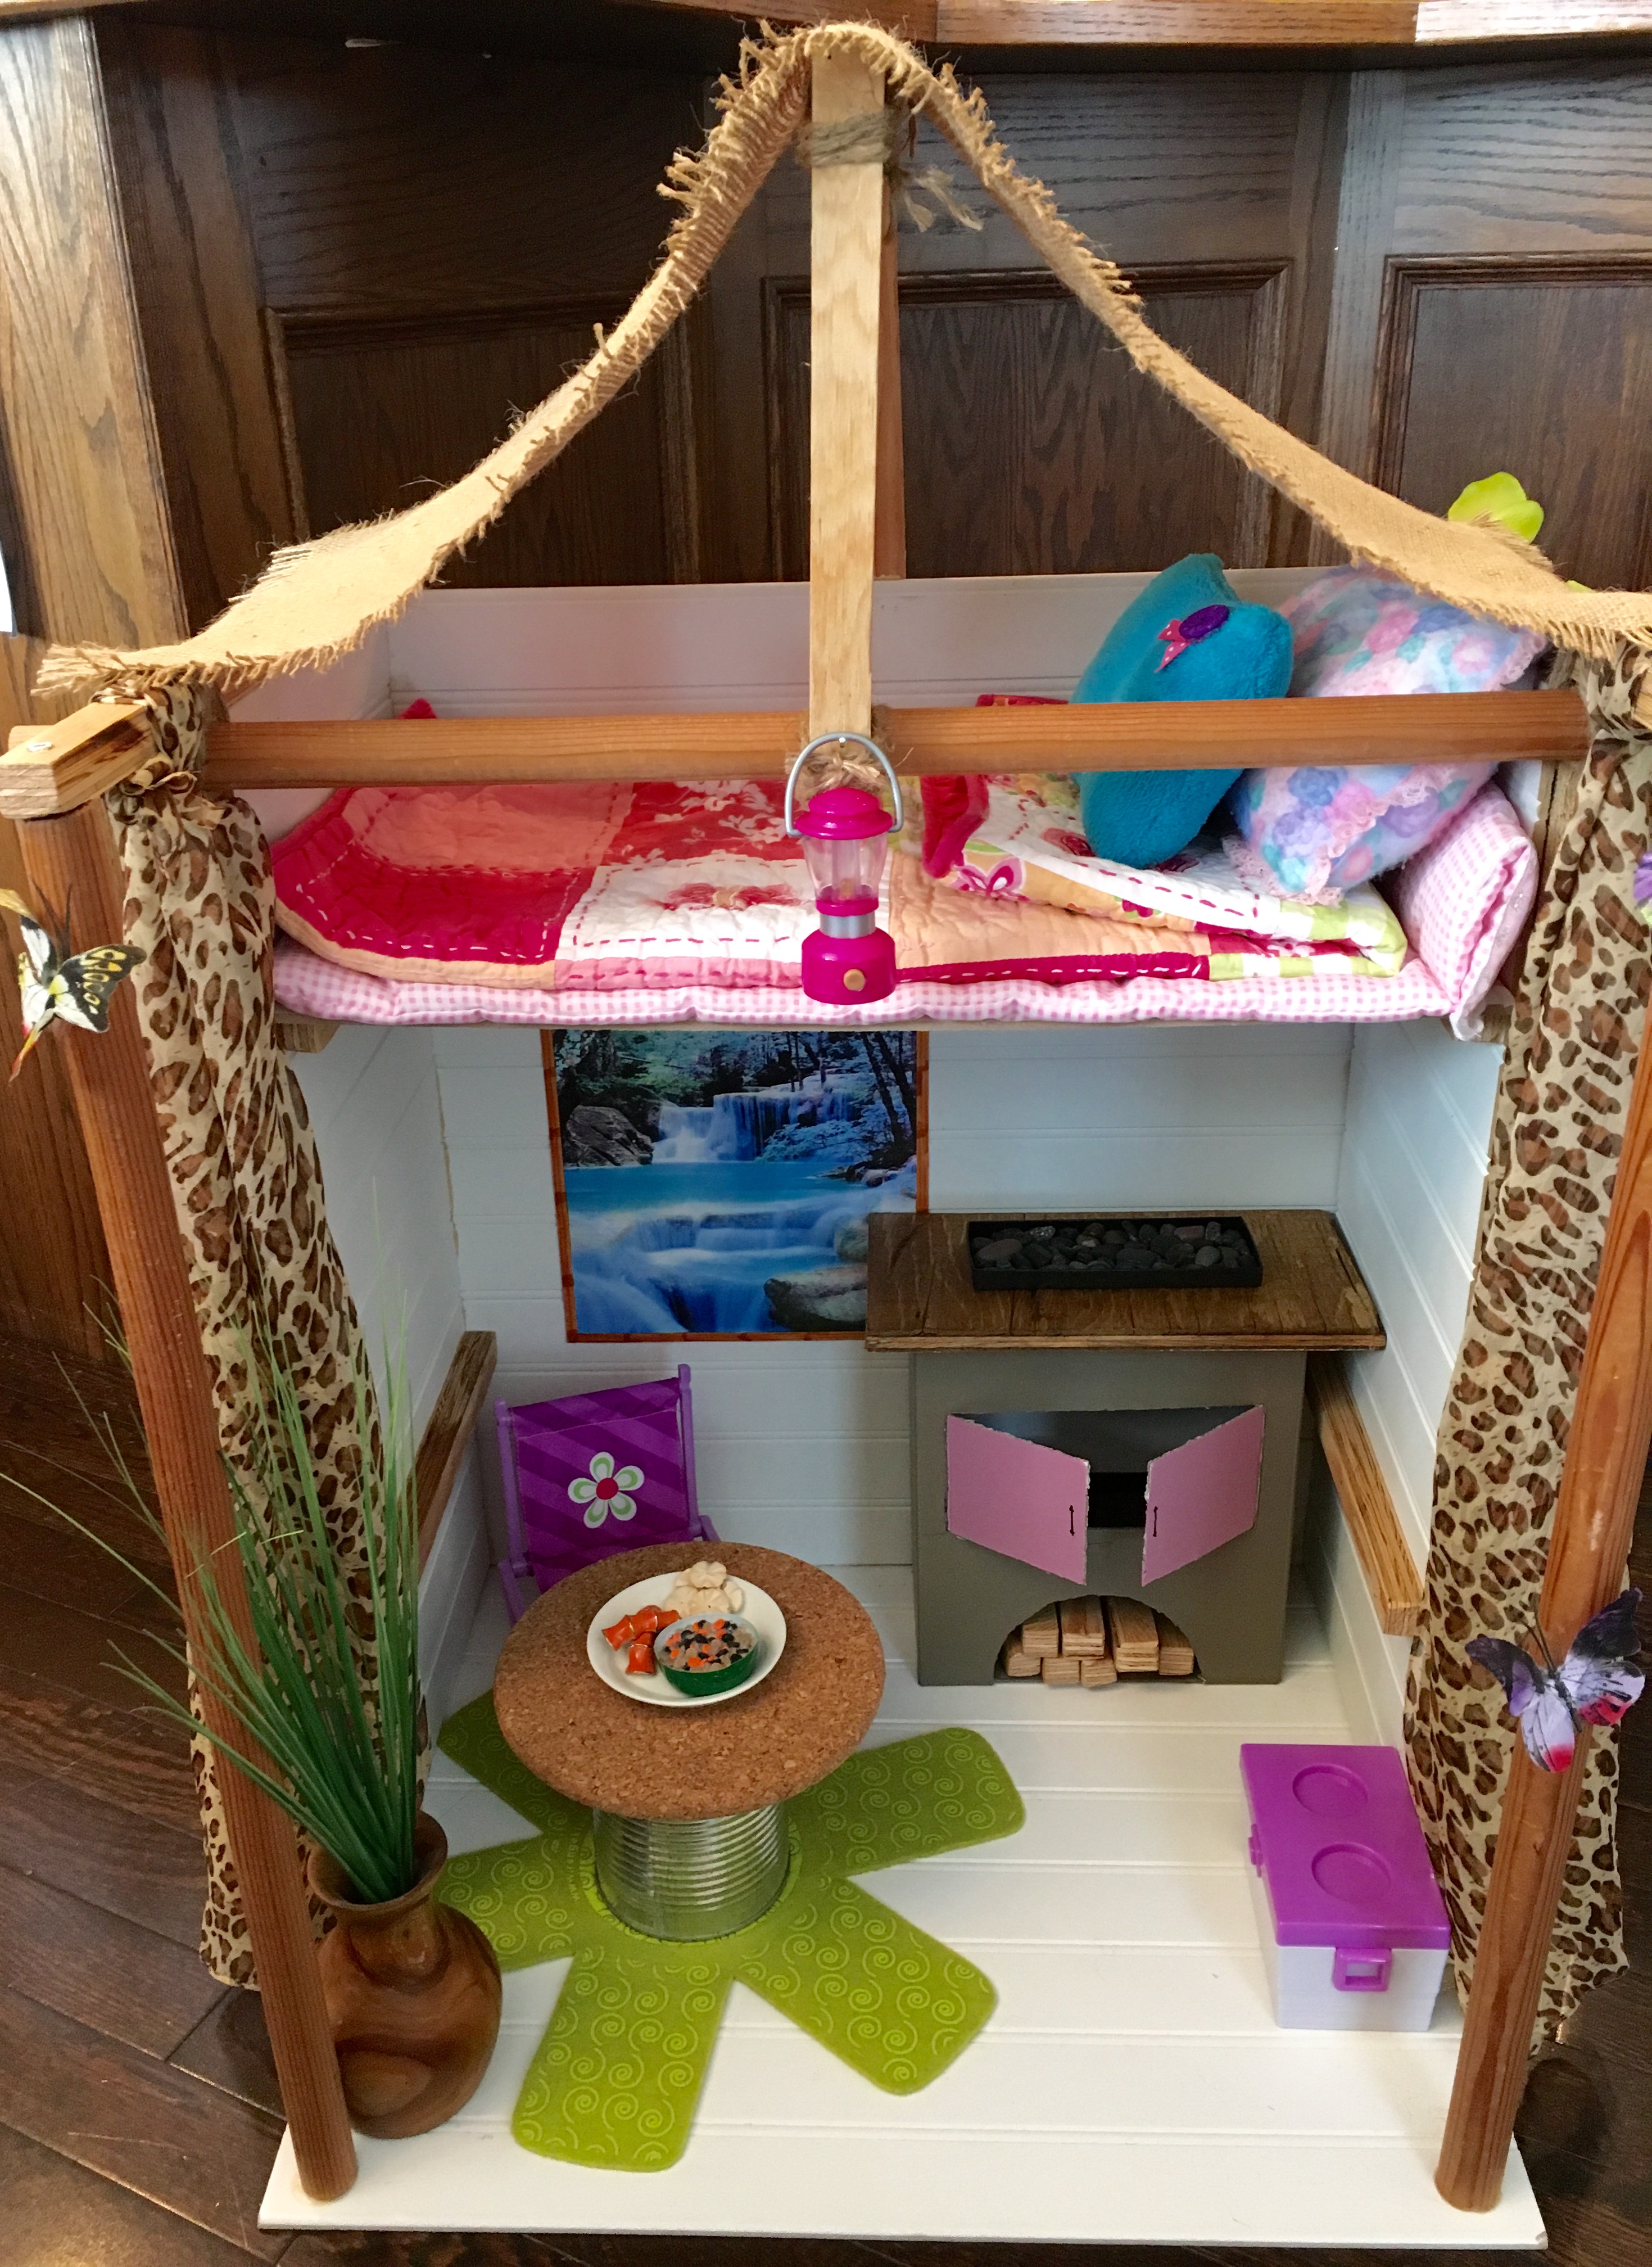
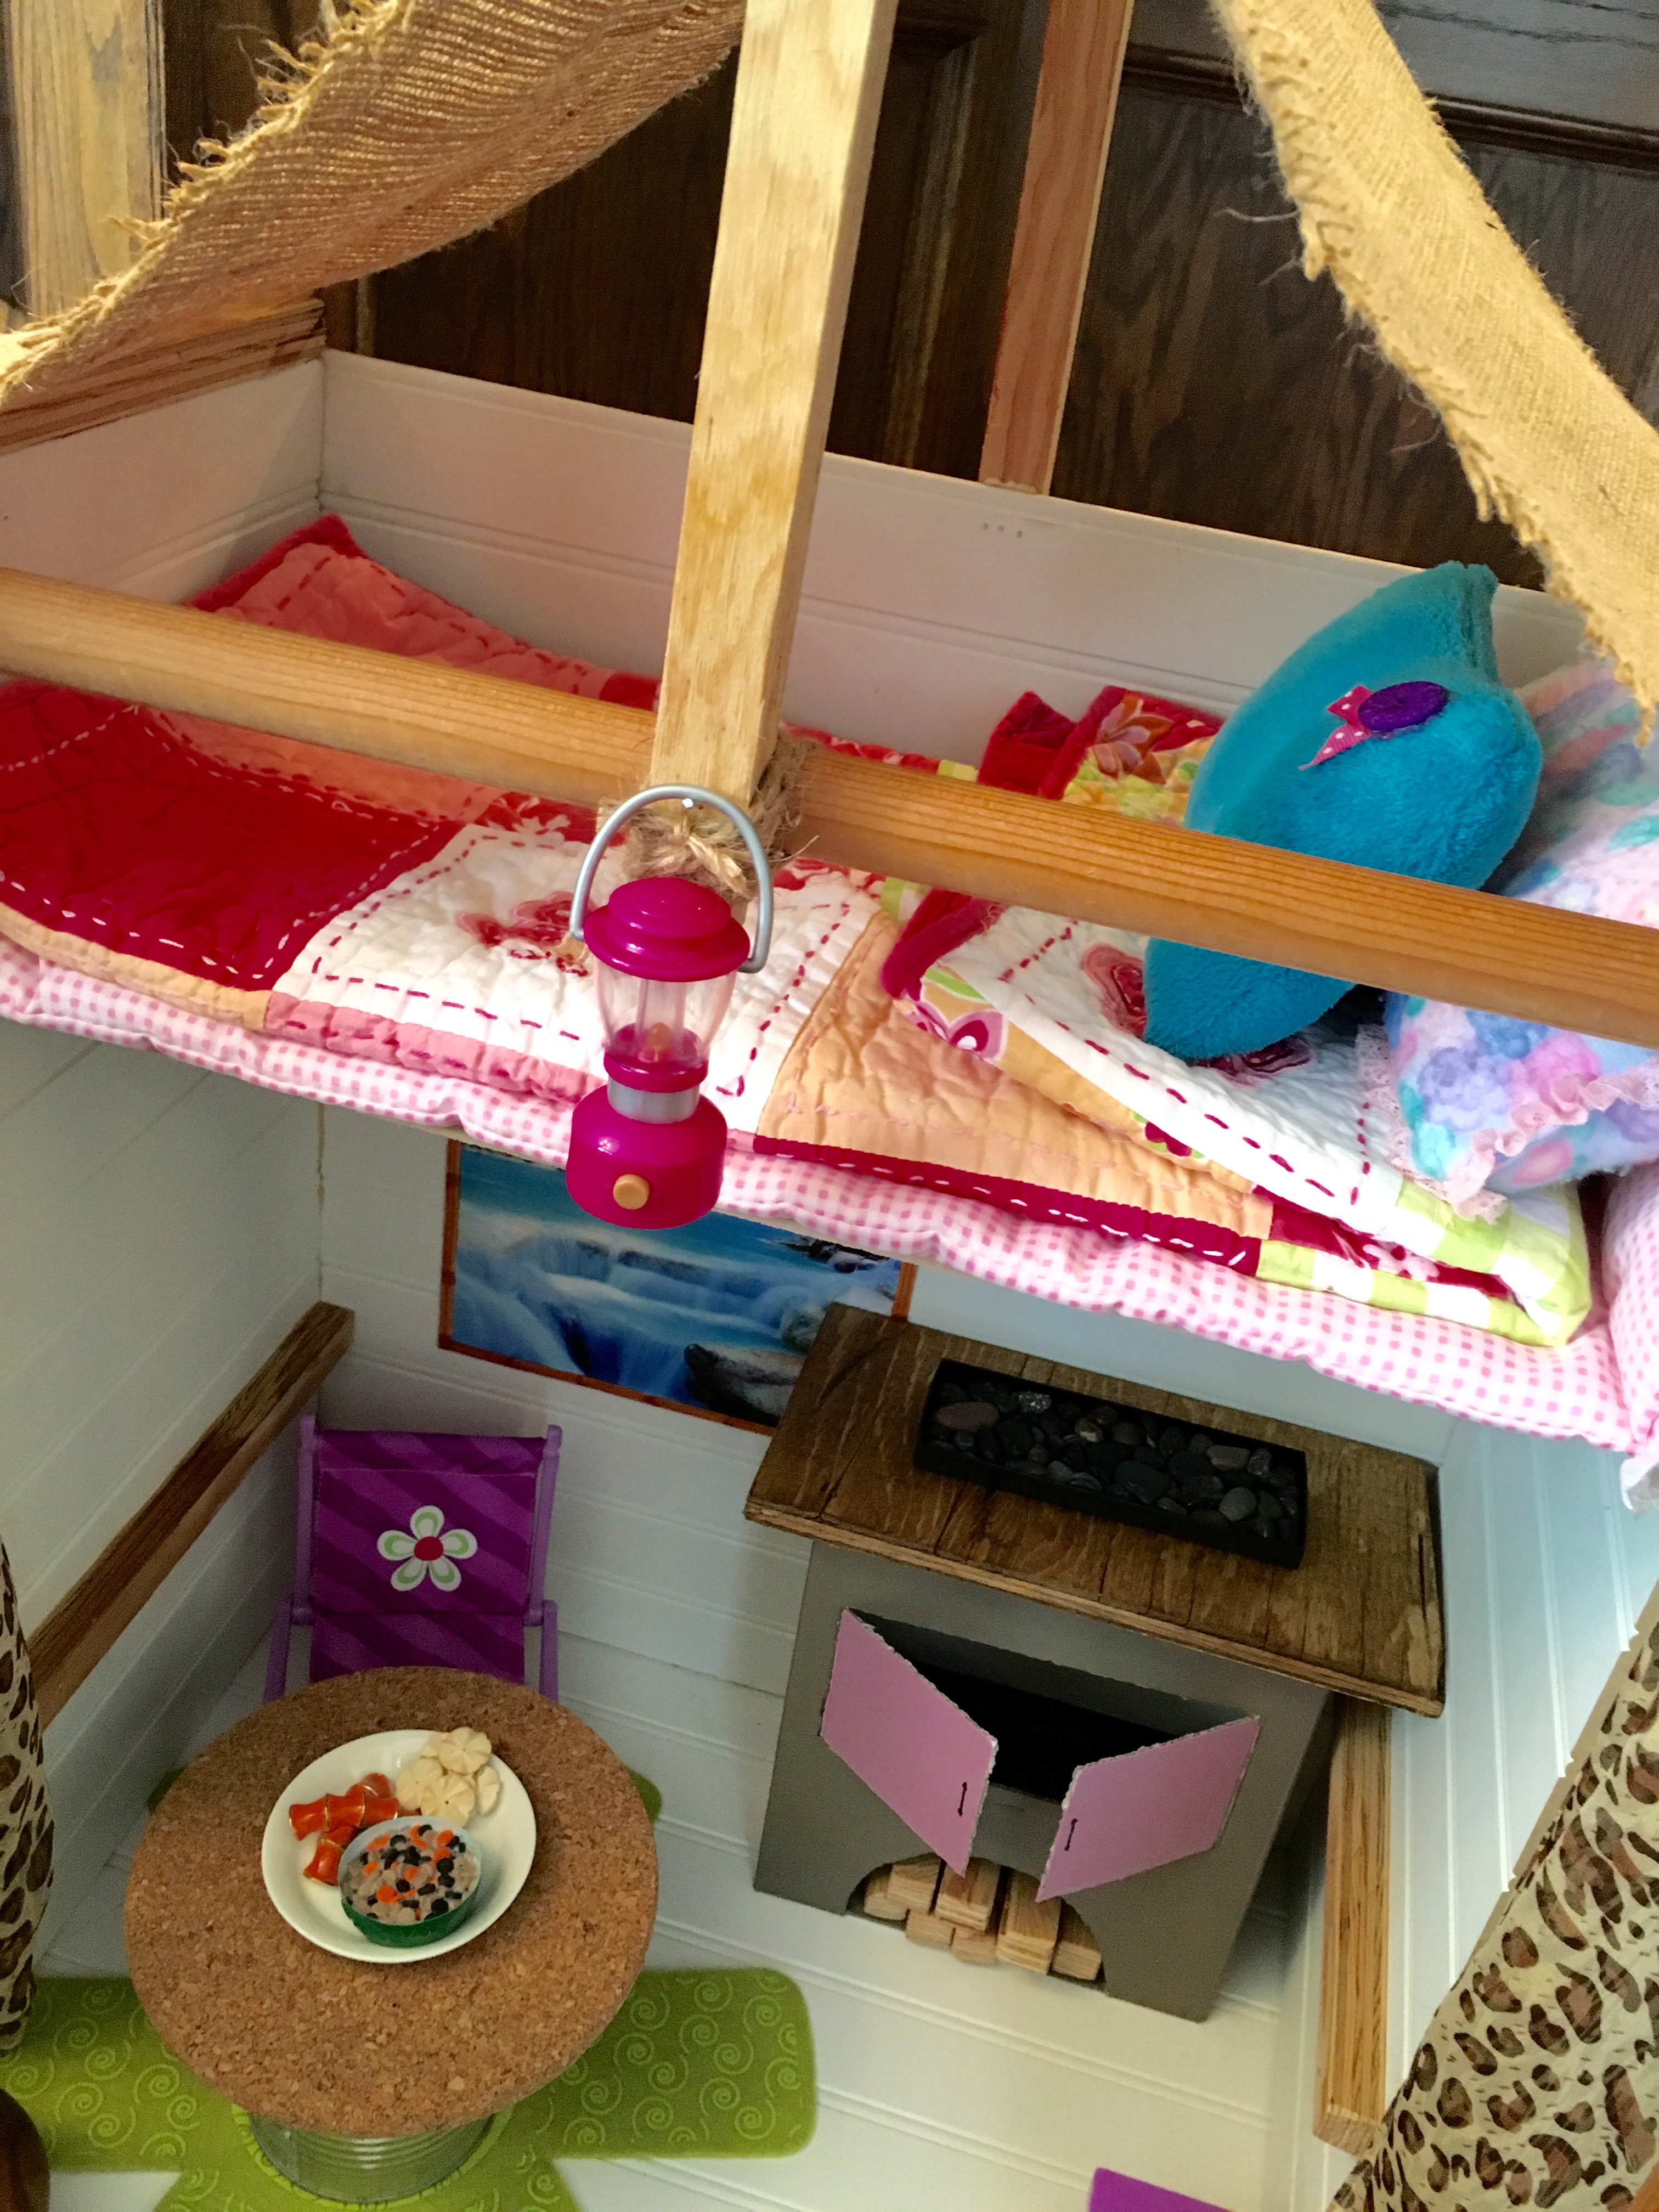
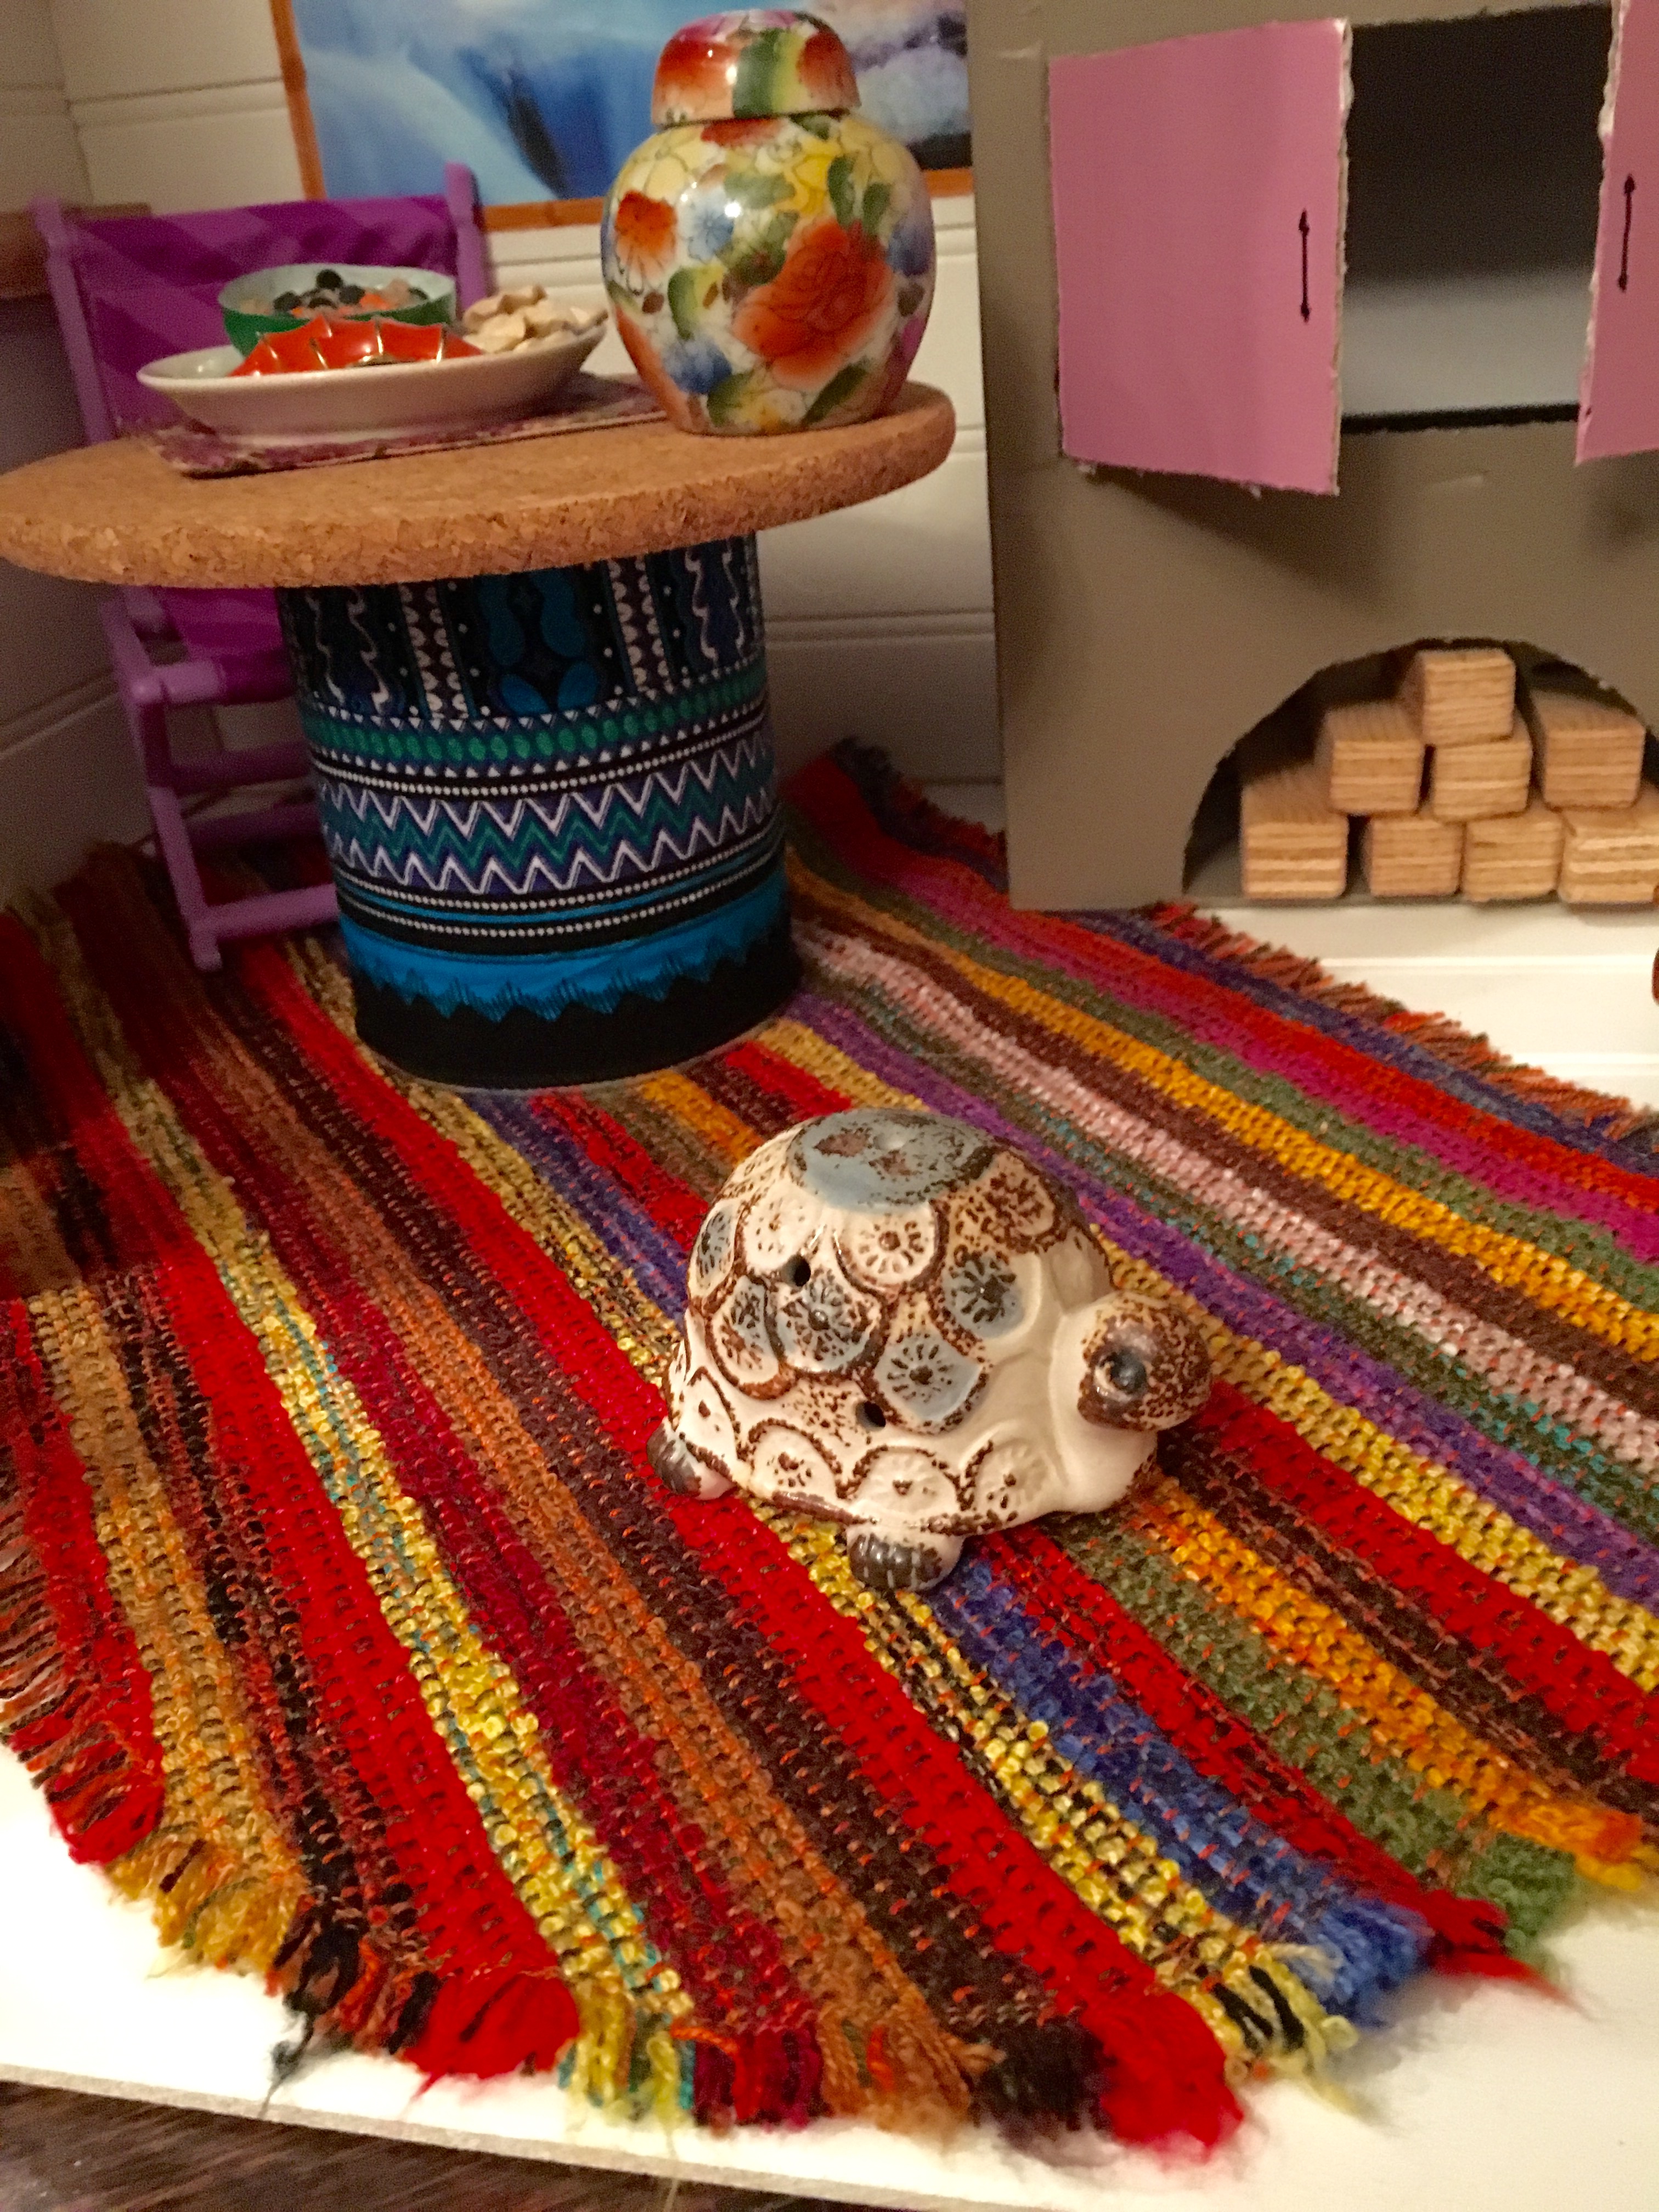
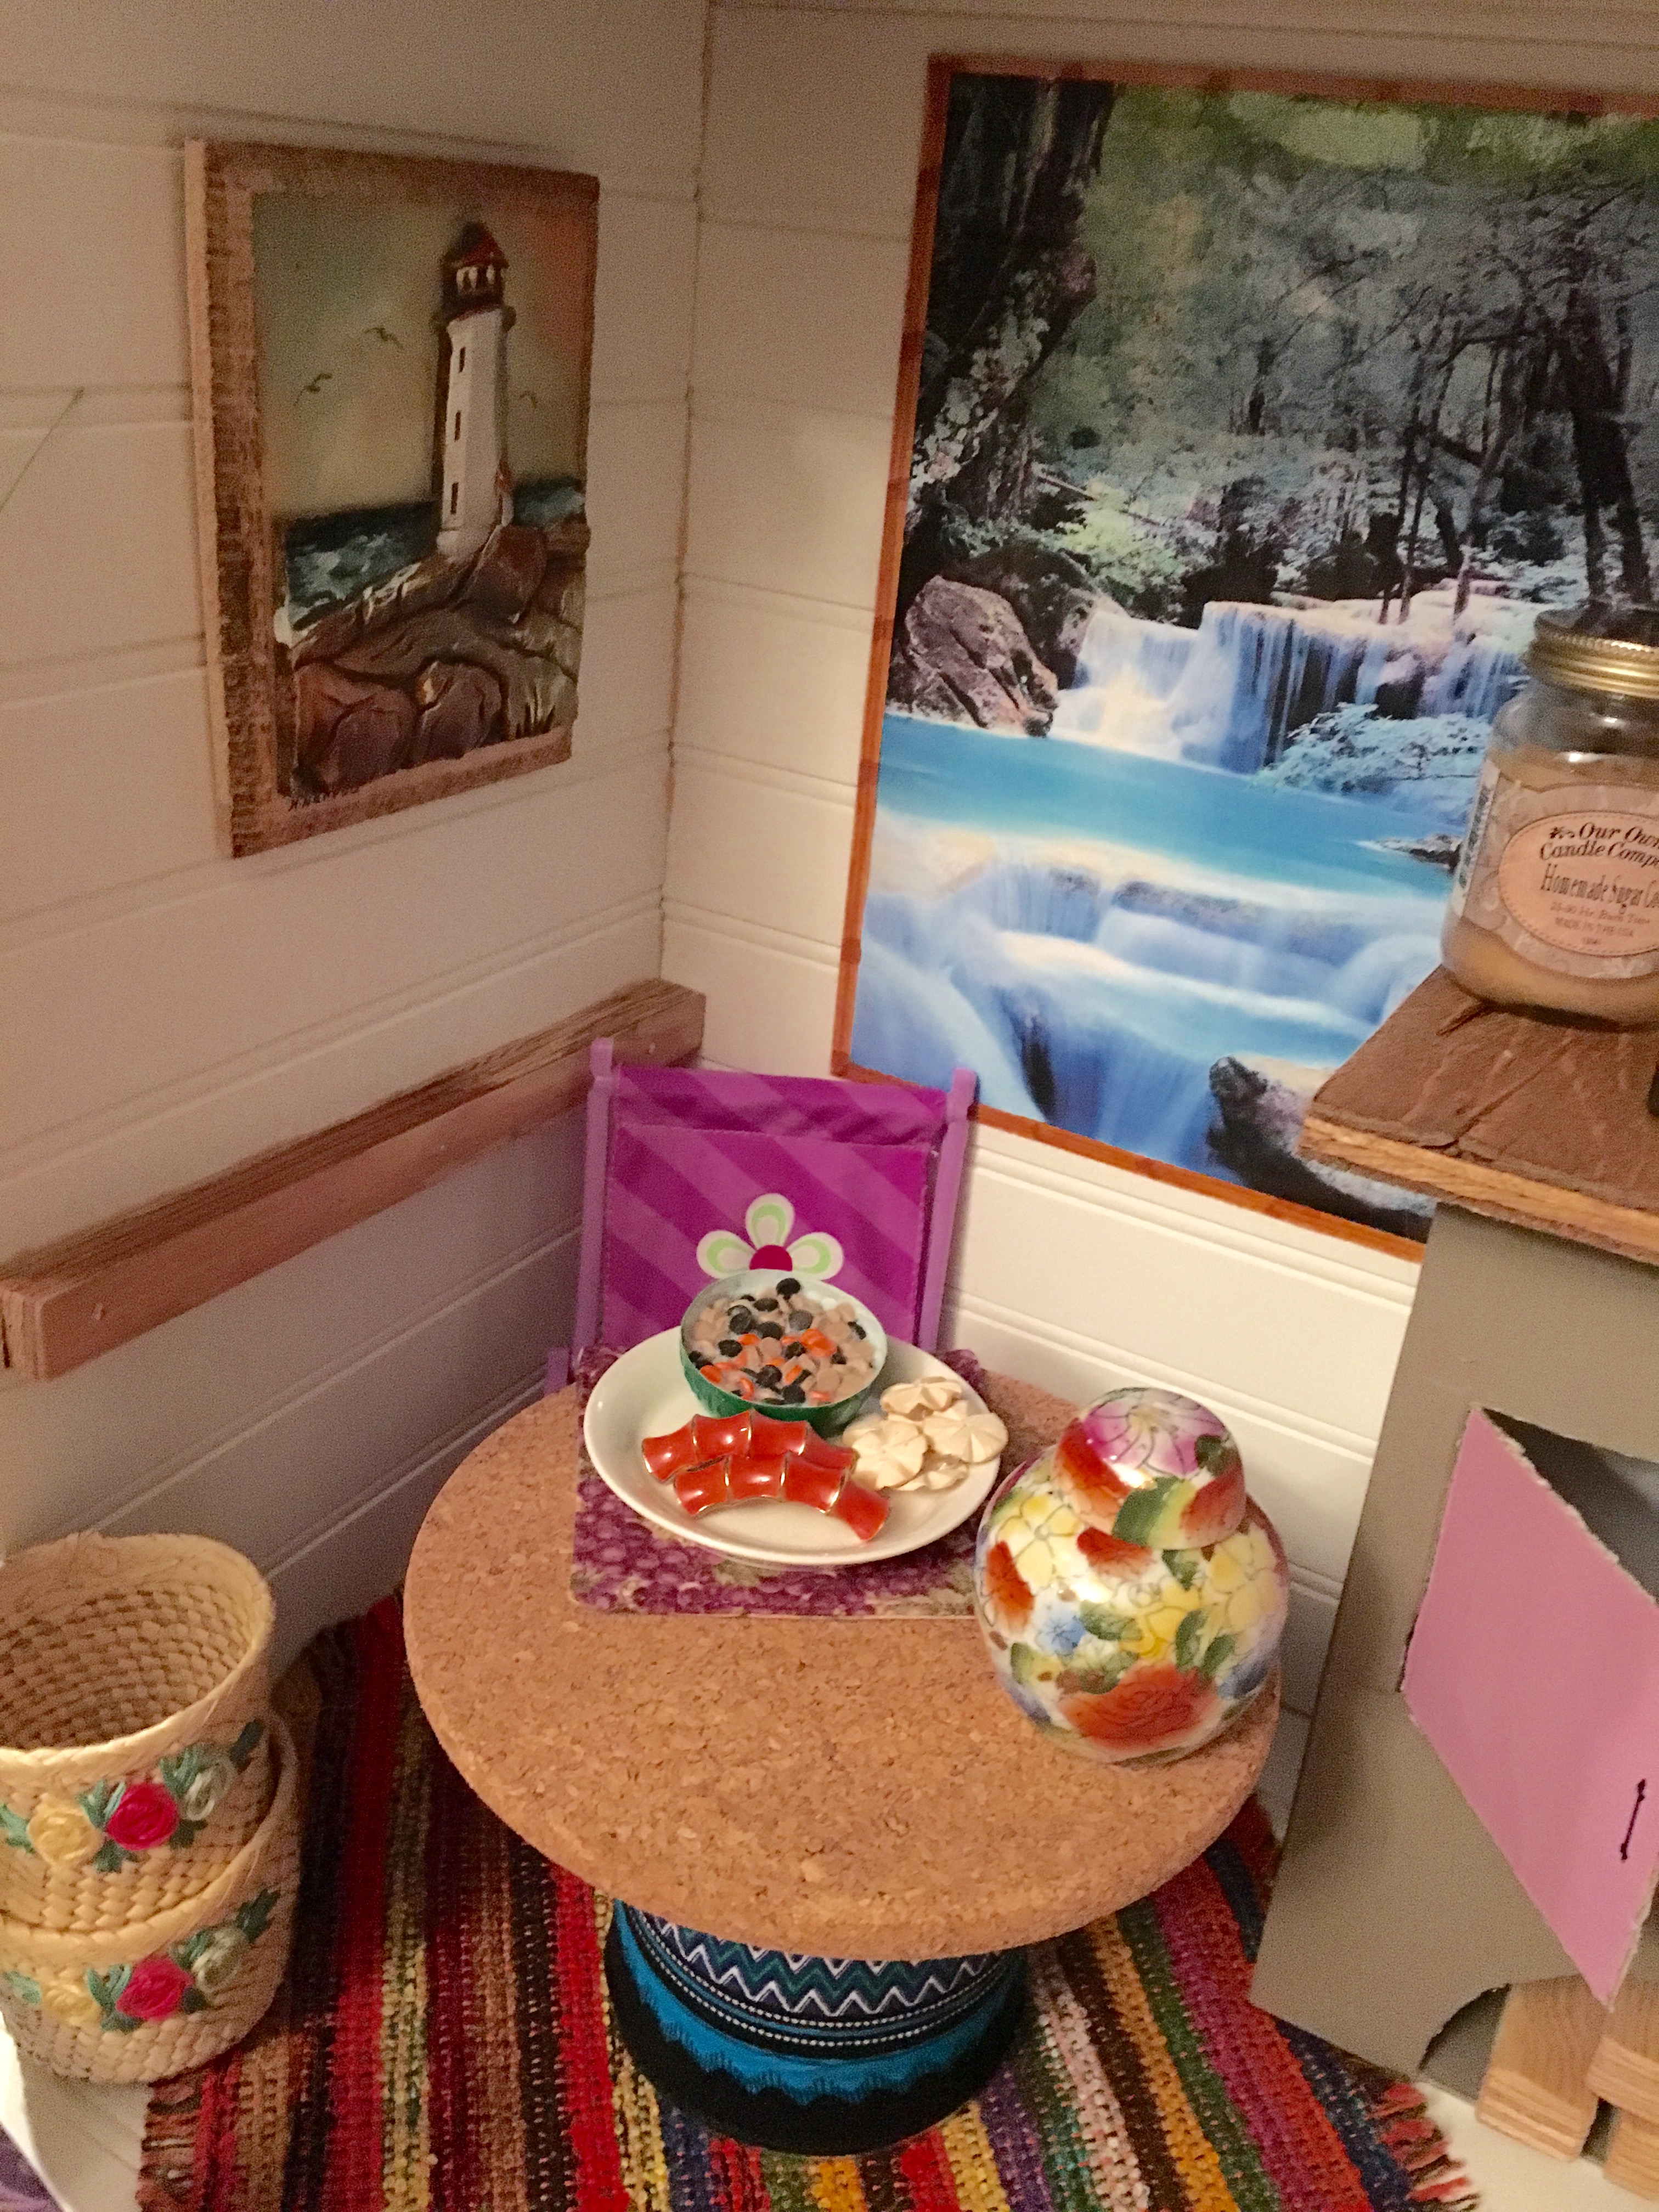
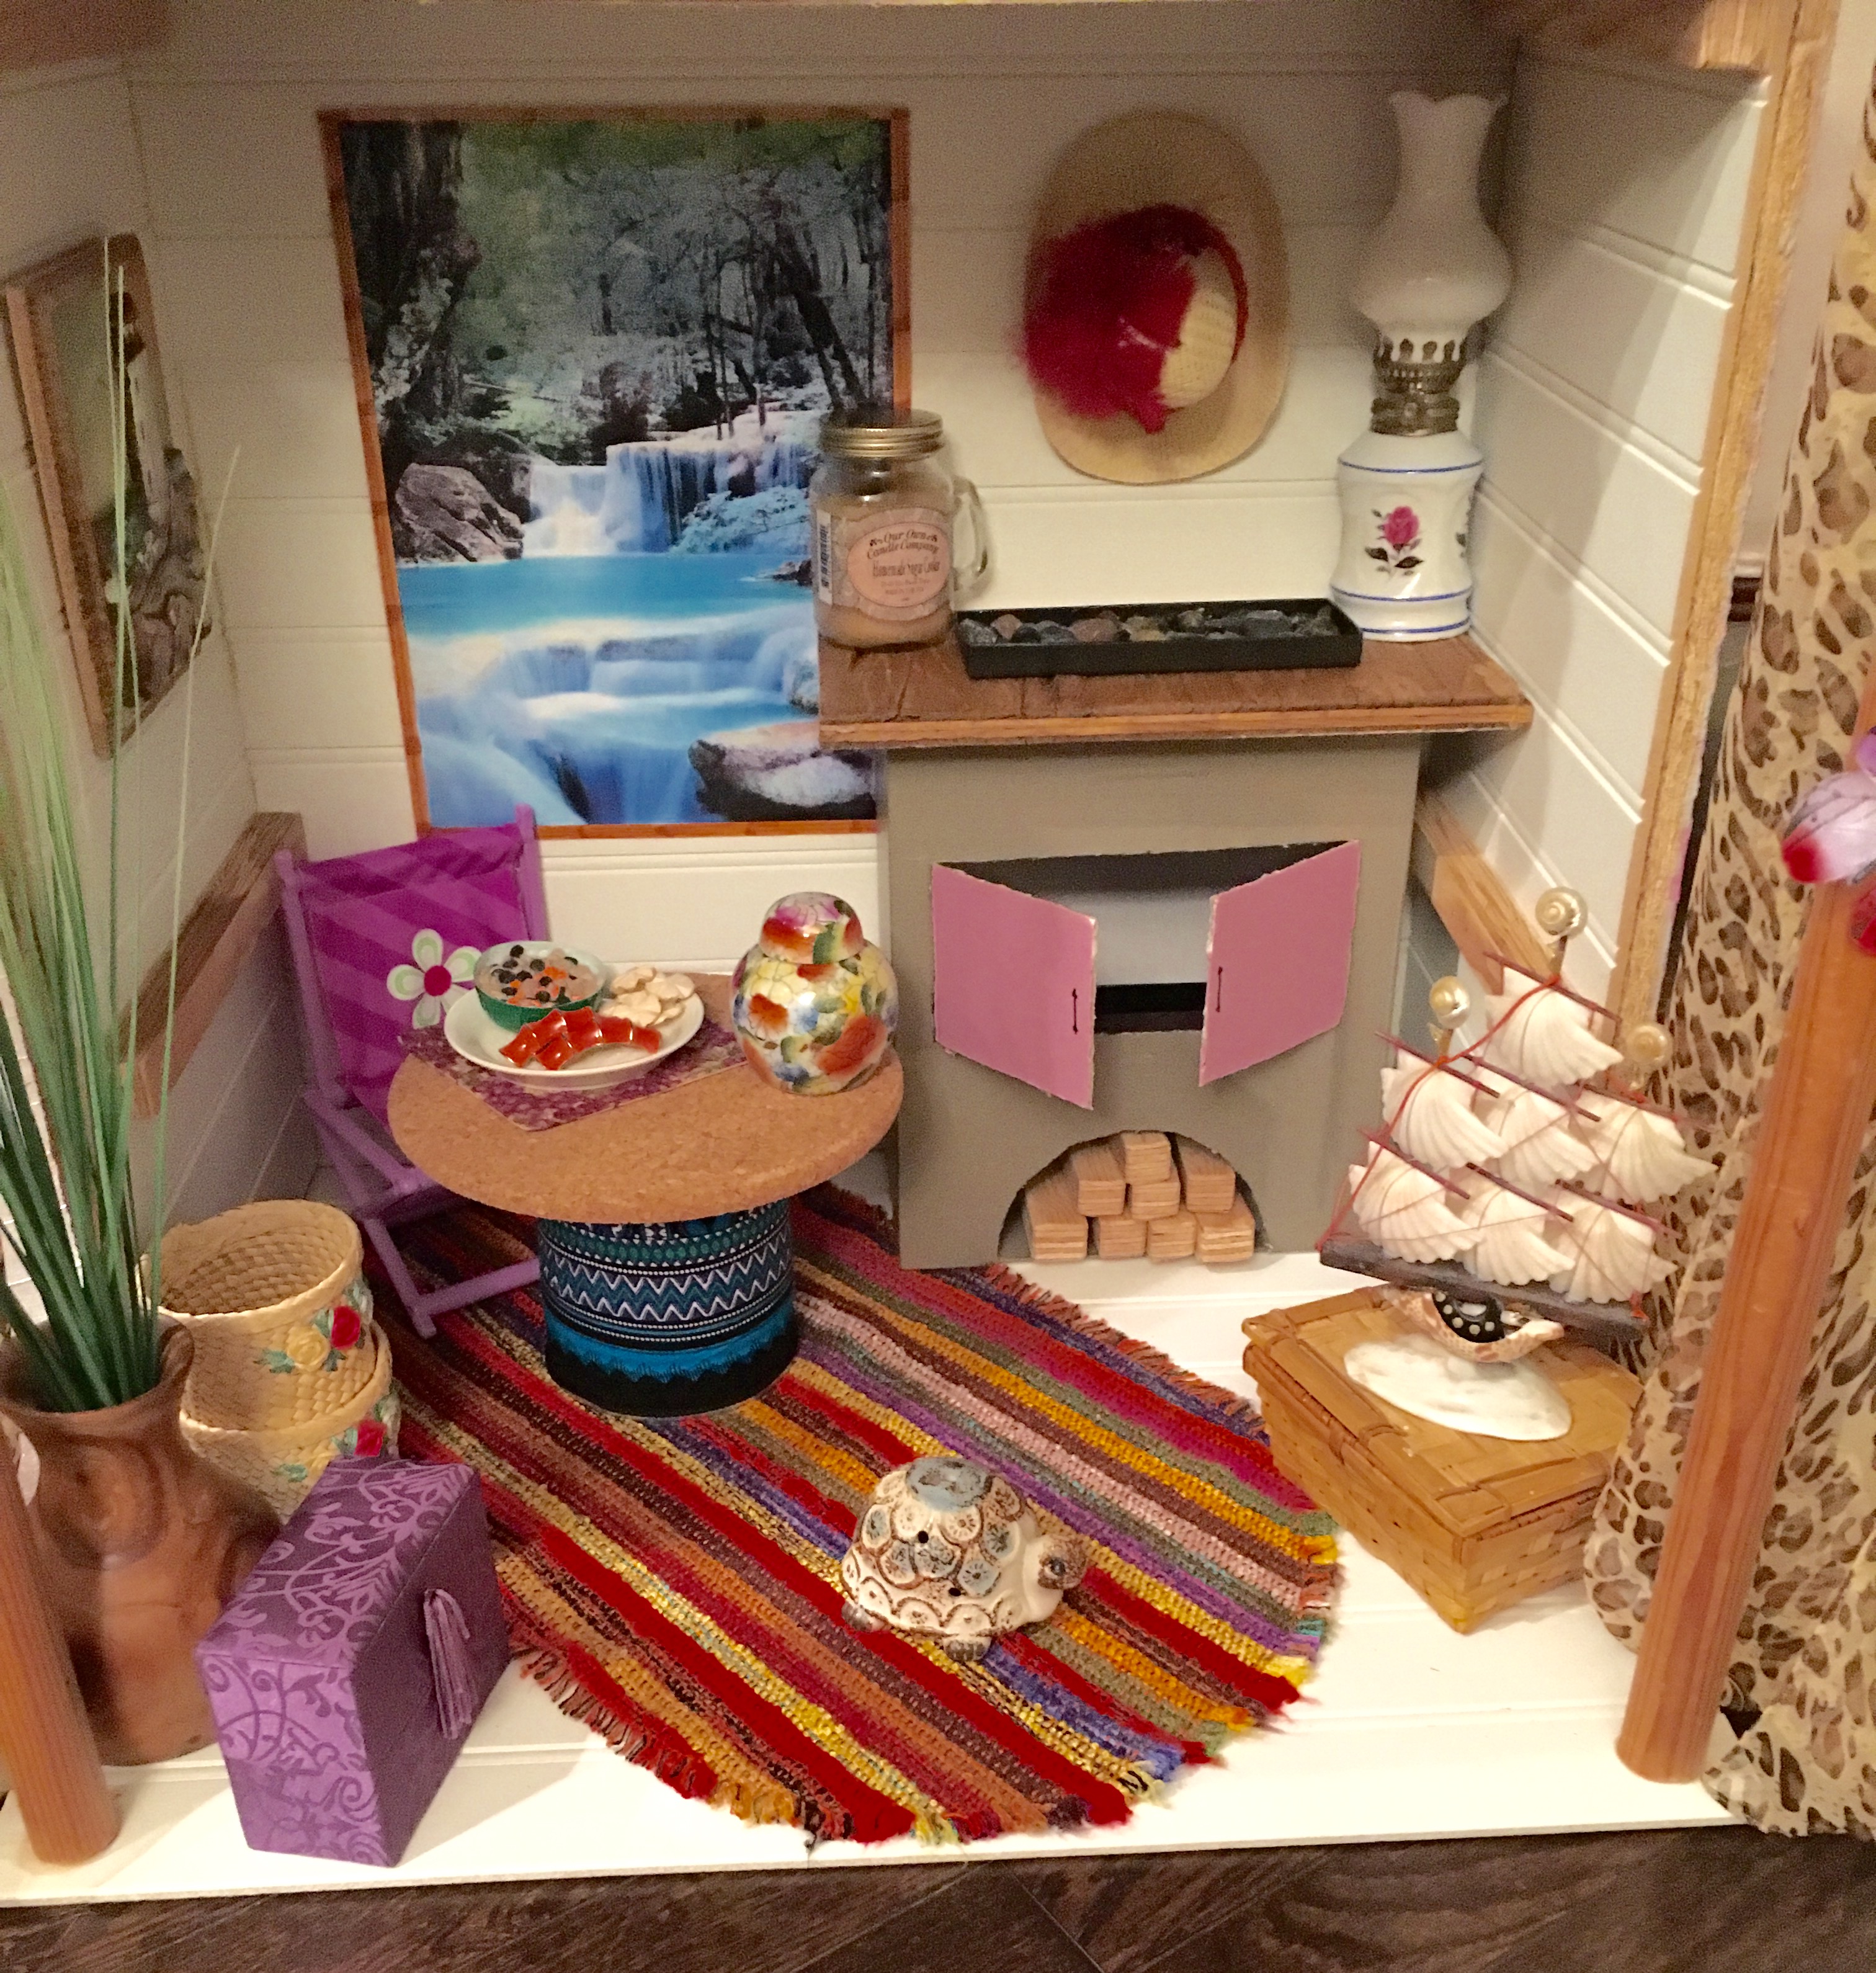
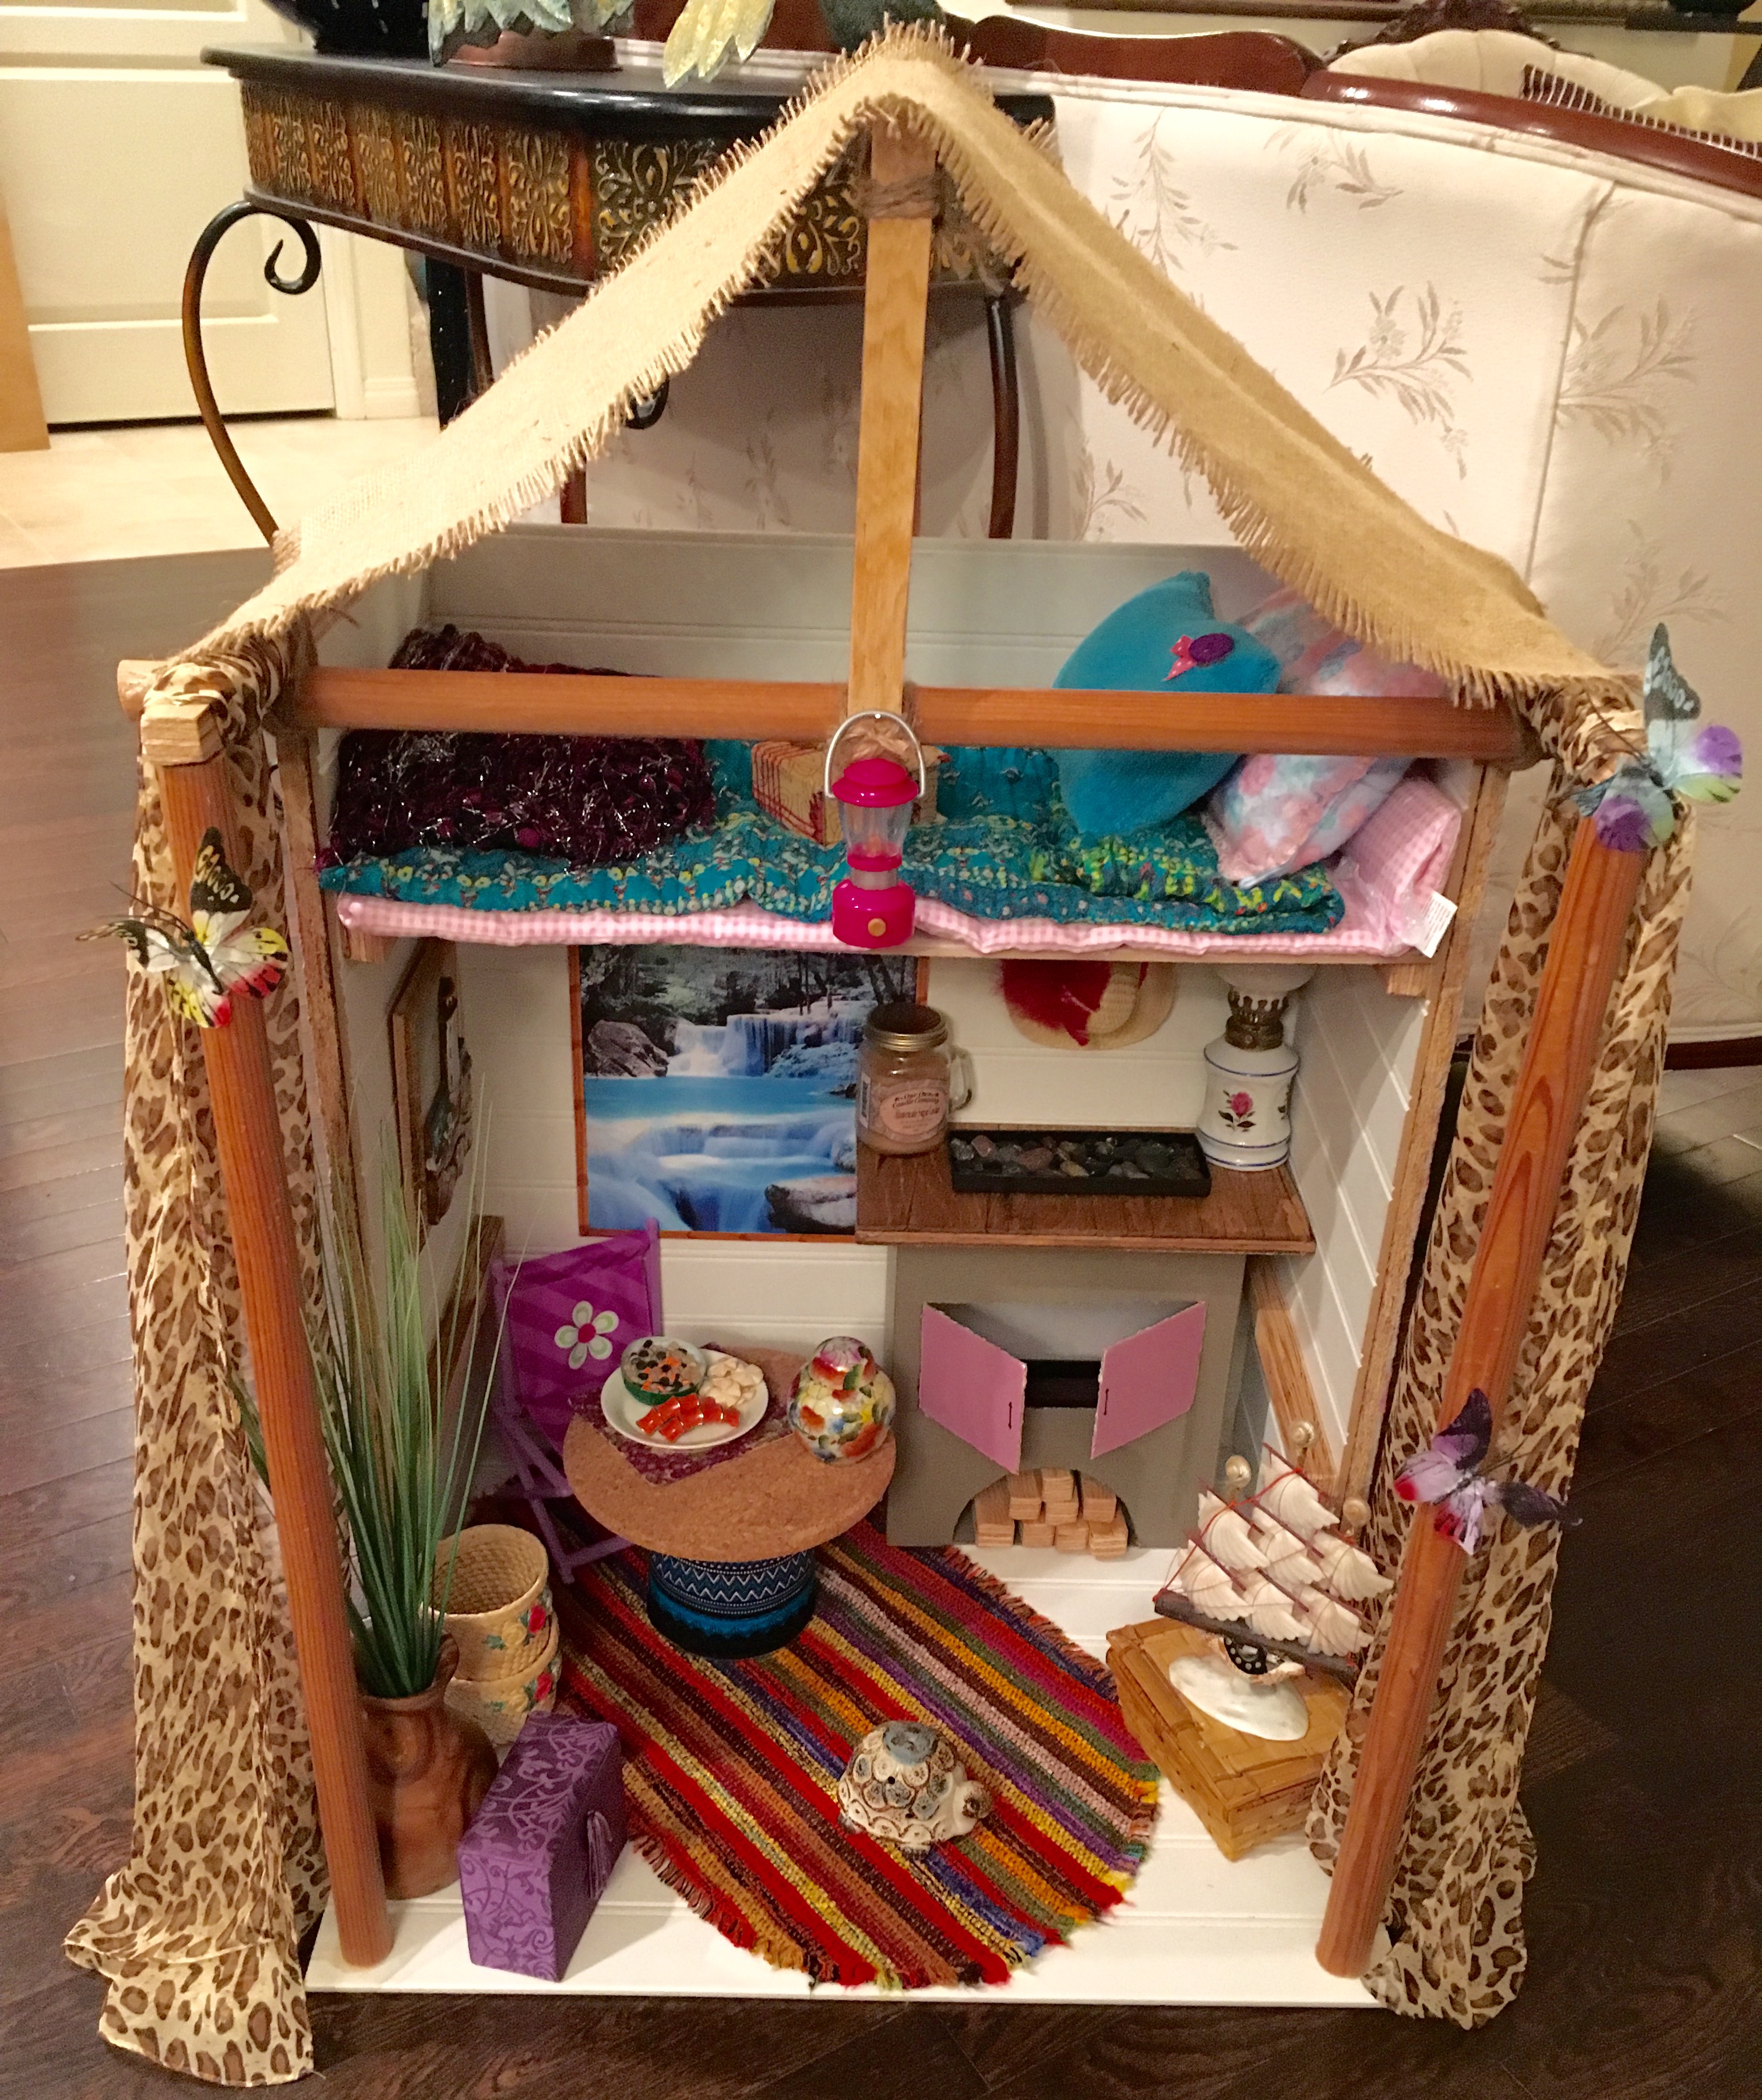
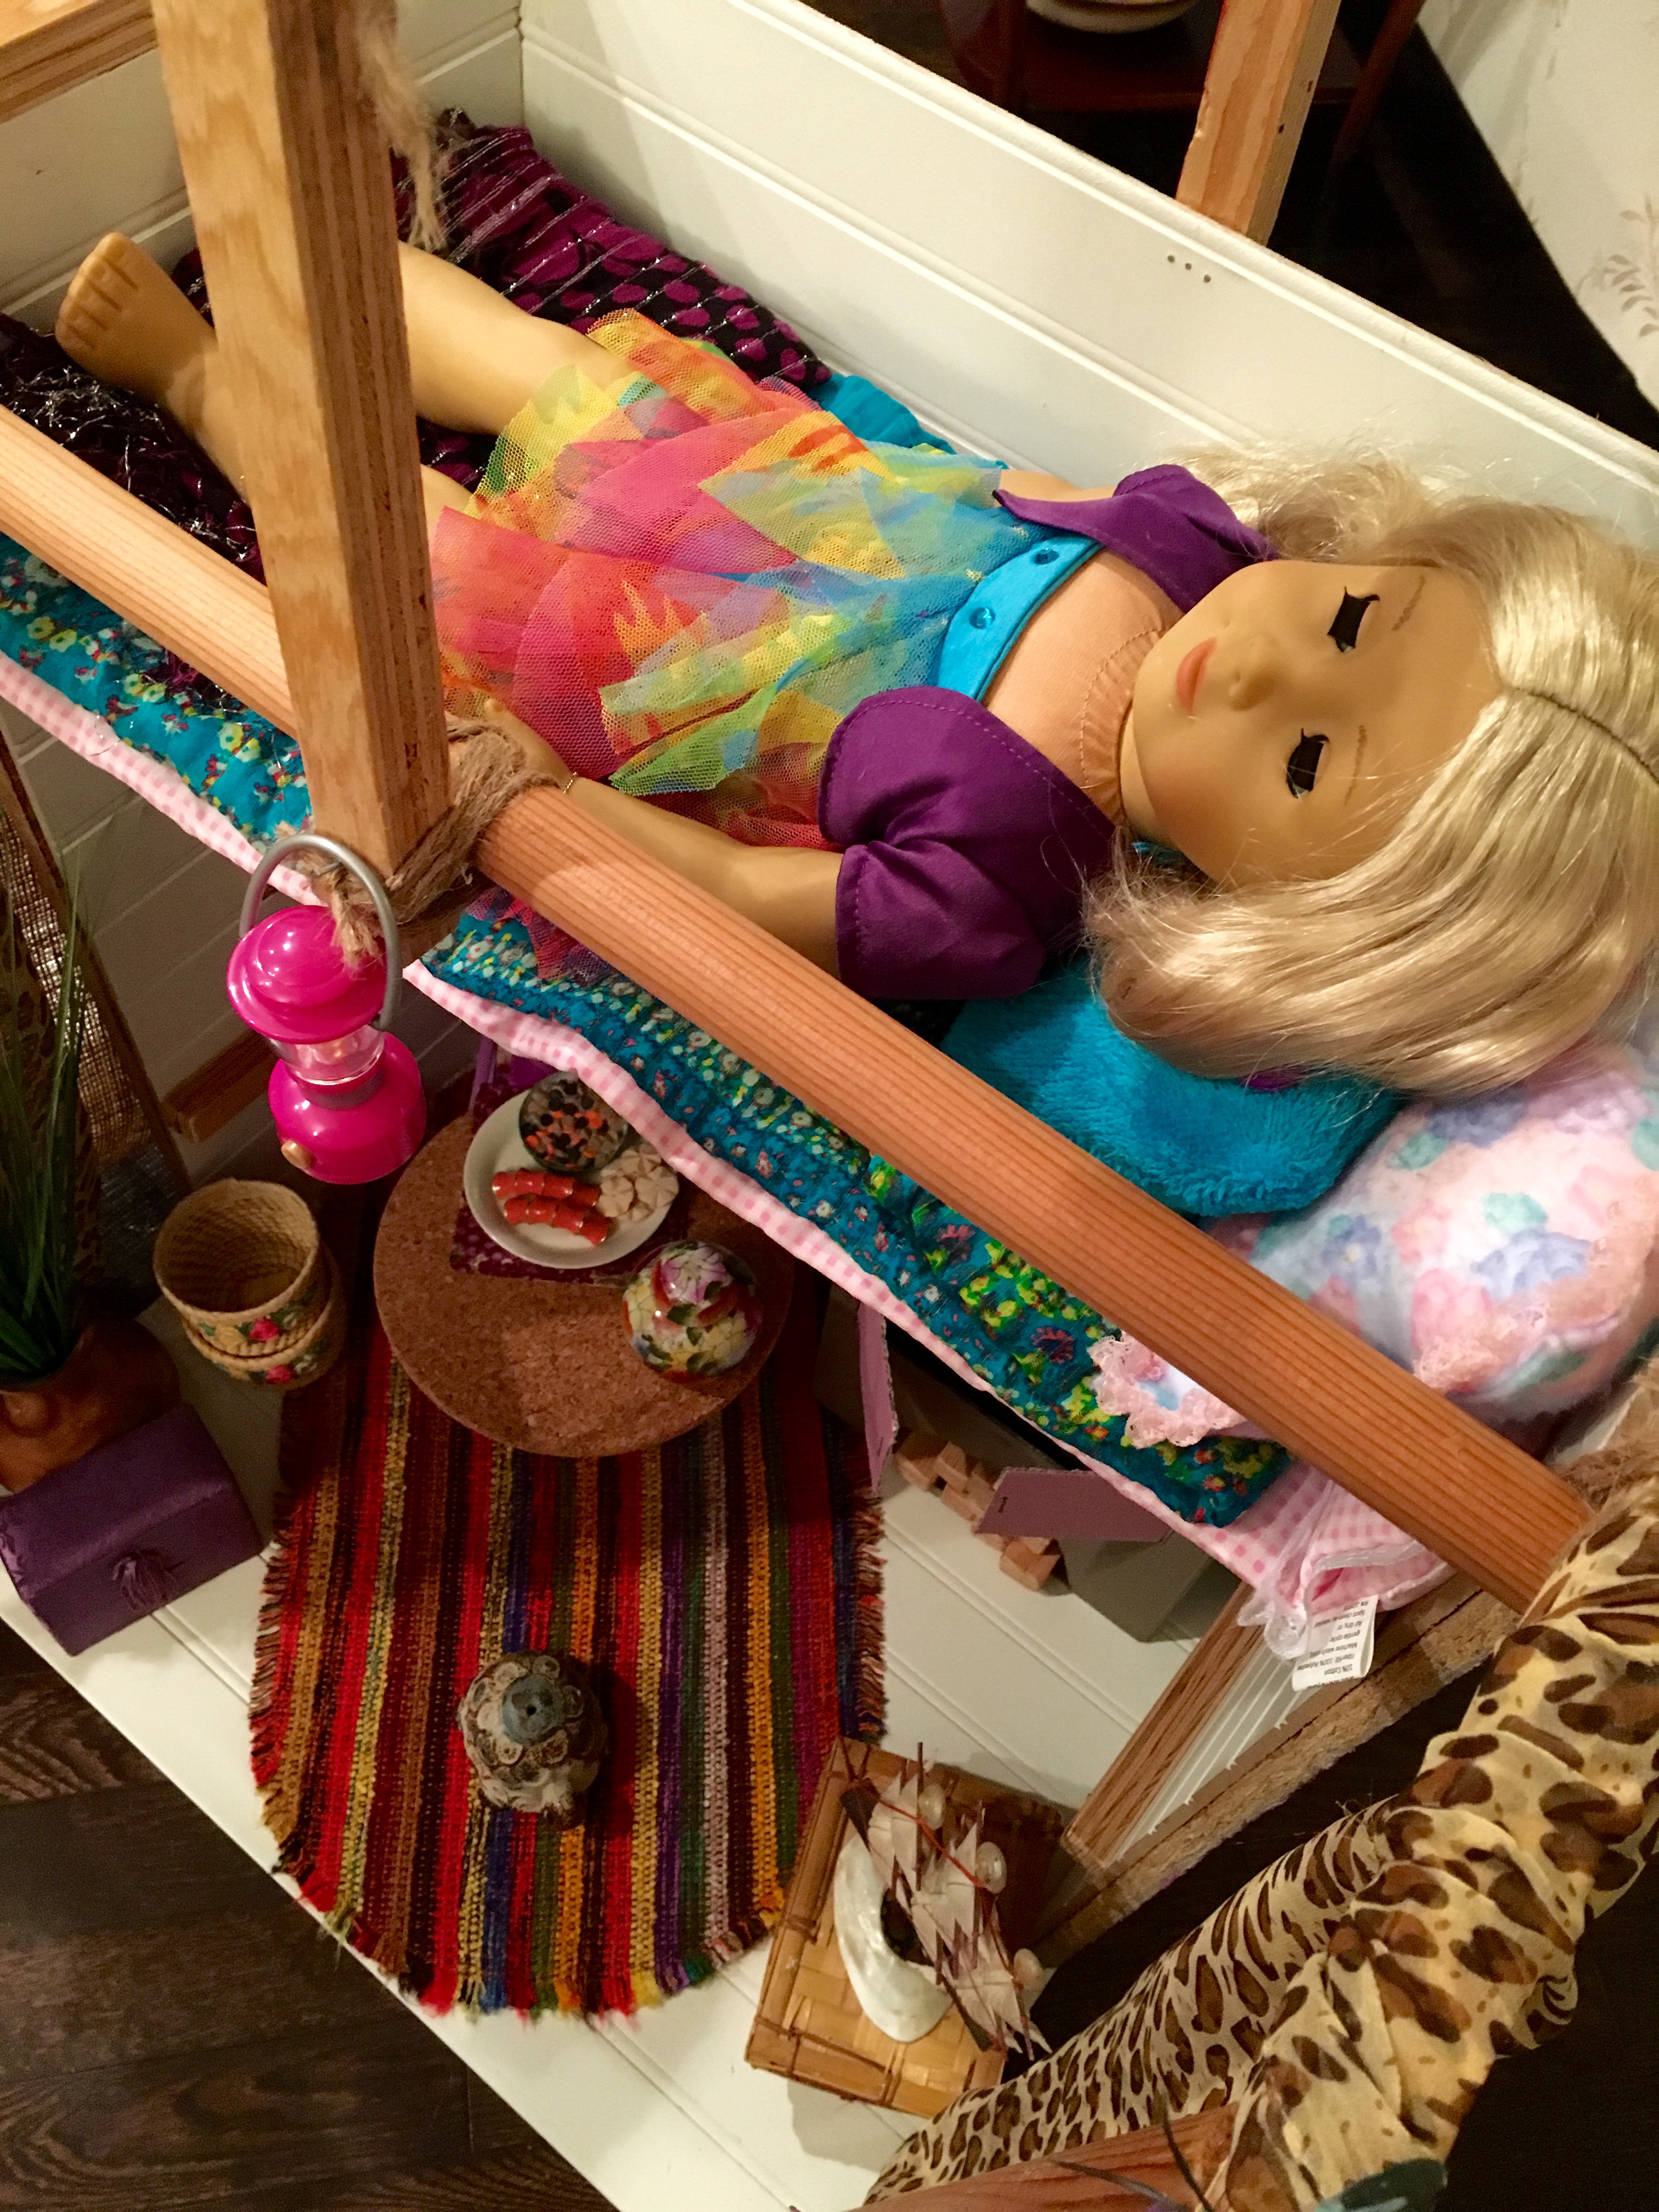
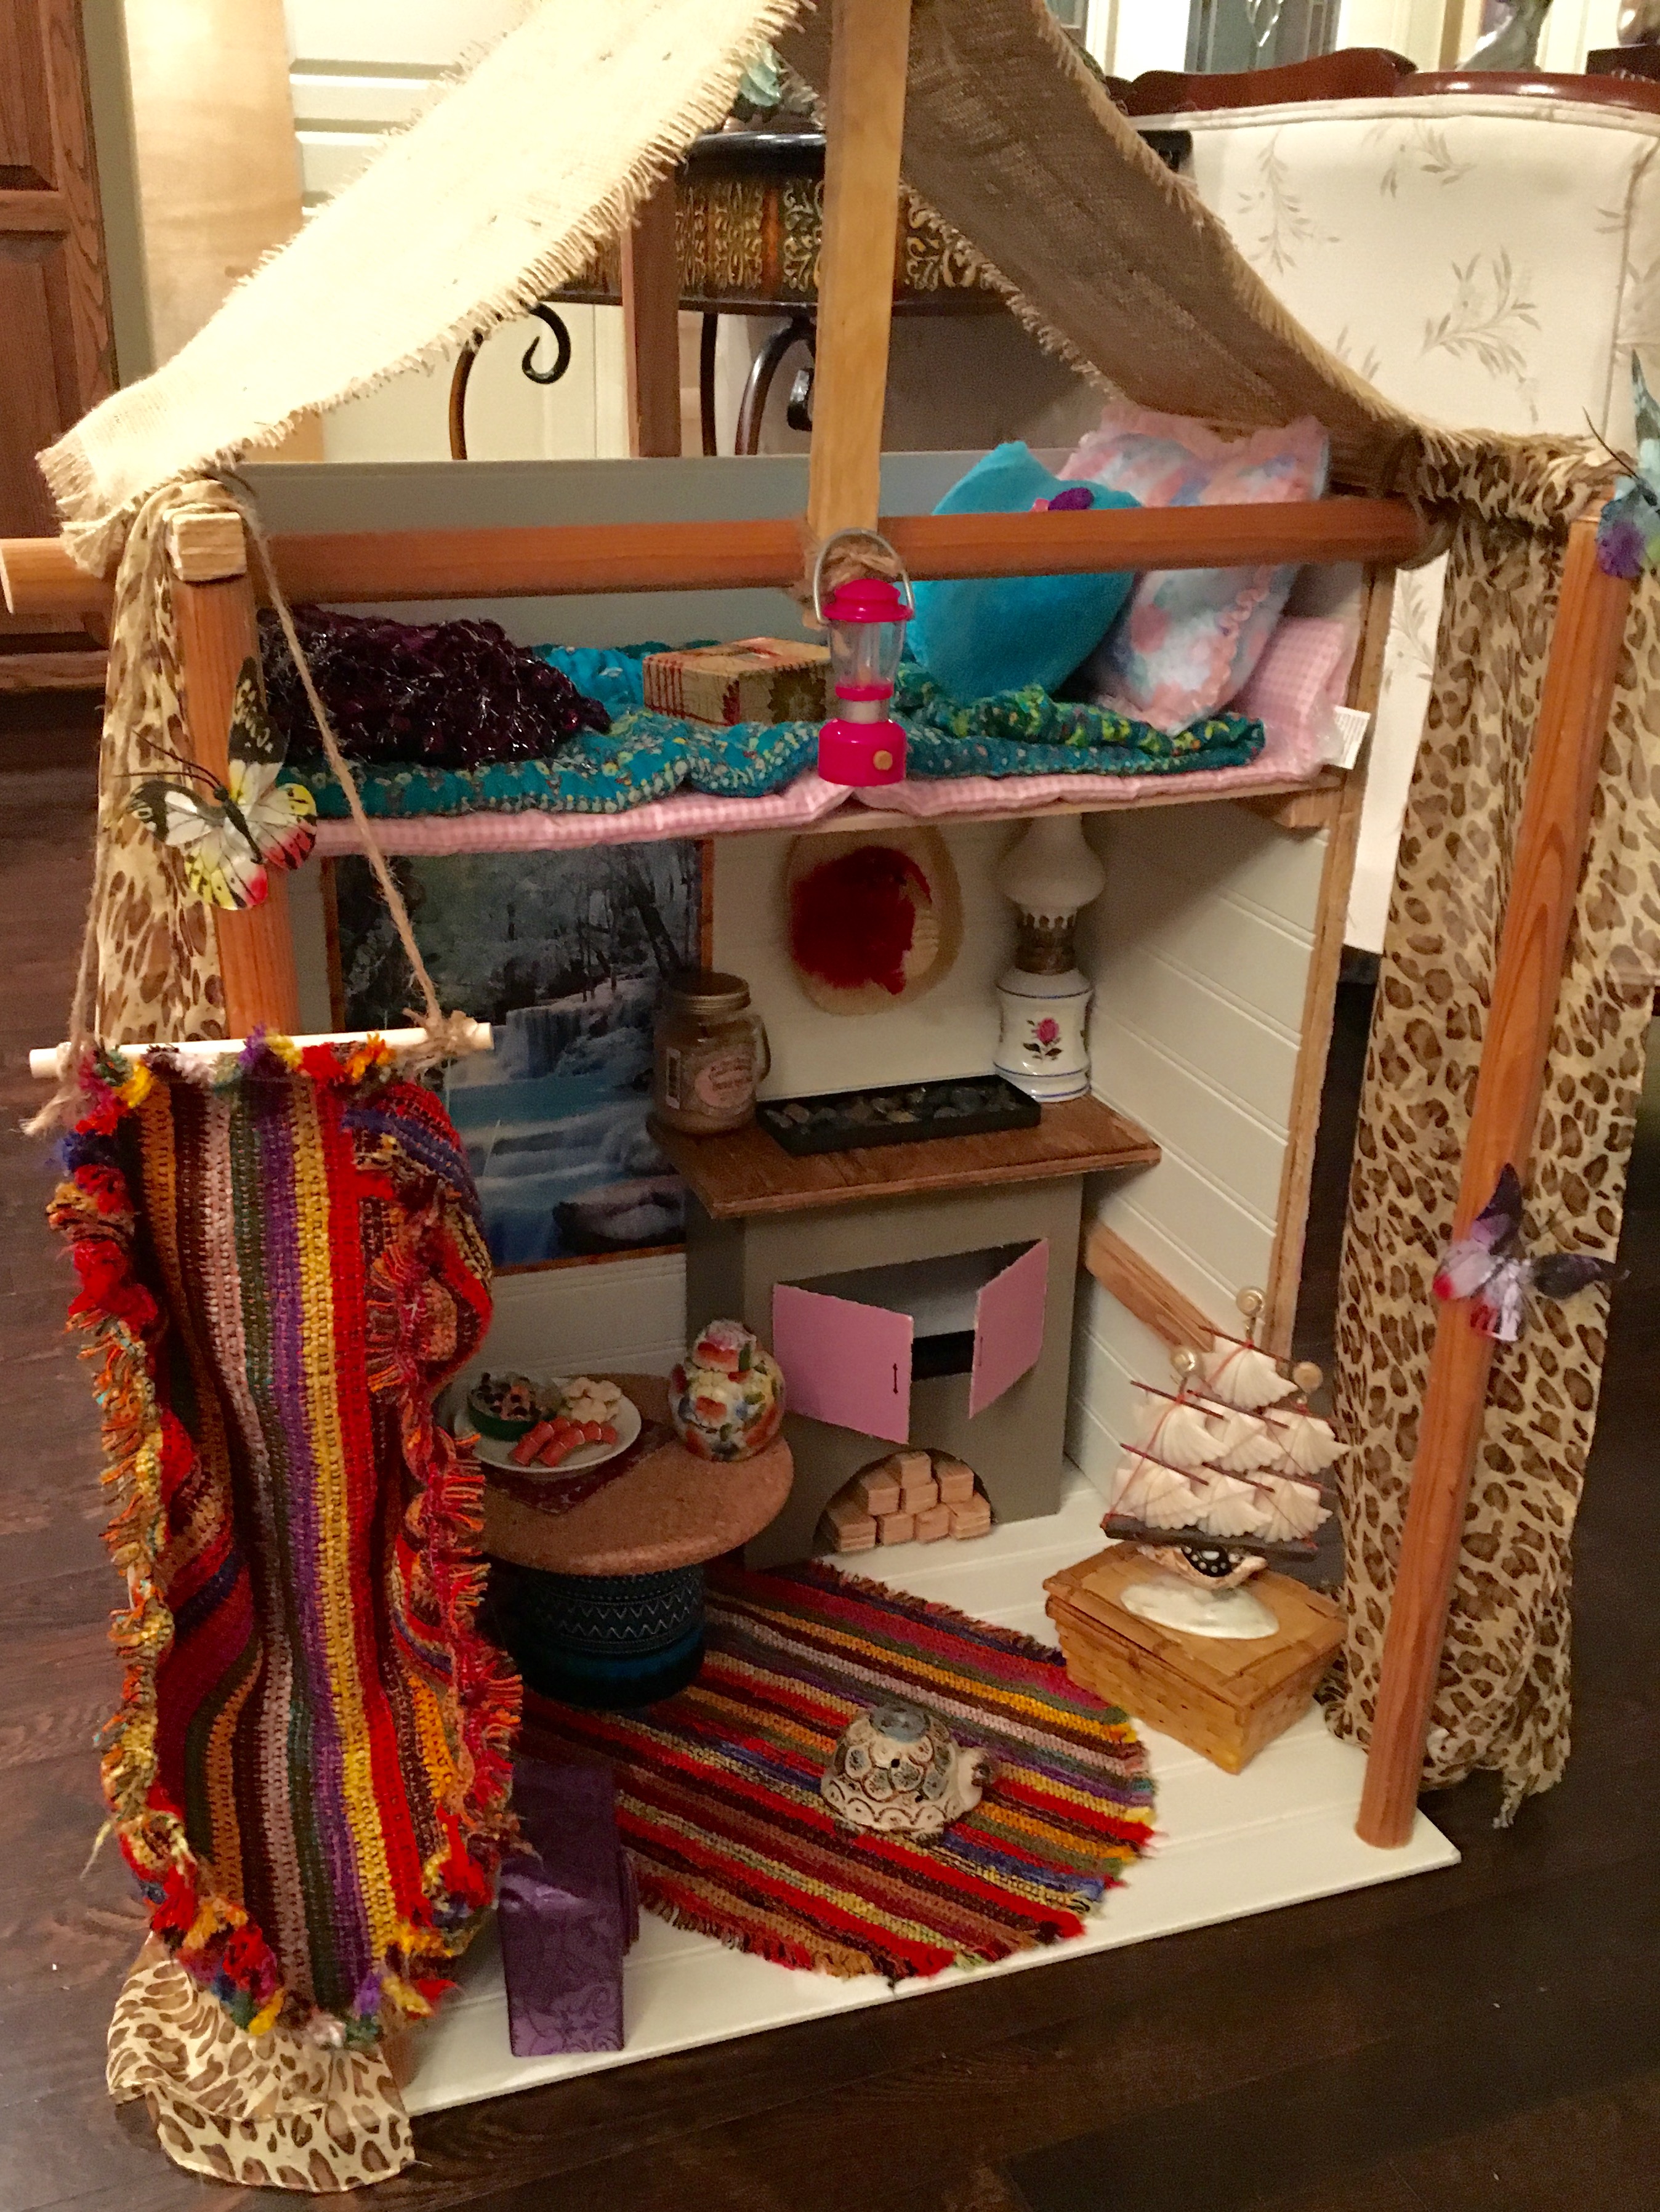
That’s a bit better. We added a plant in a pot, a tin can table, a rug, the chair, the cooler and the lantern from the Our Generation camping set, and some bedding for the bed. I also glued on some butterflies and draped a leopard print scarf over the top.
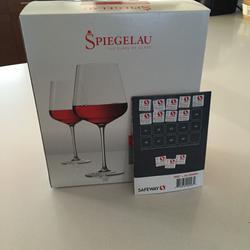
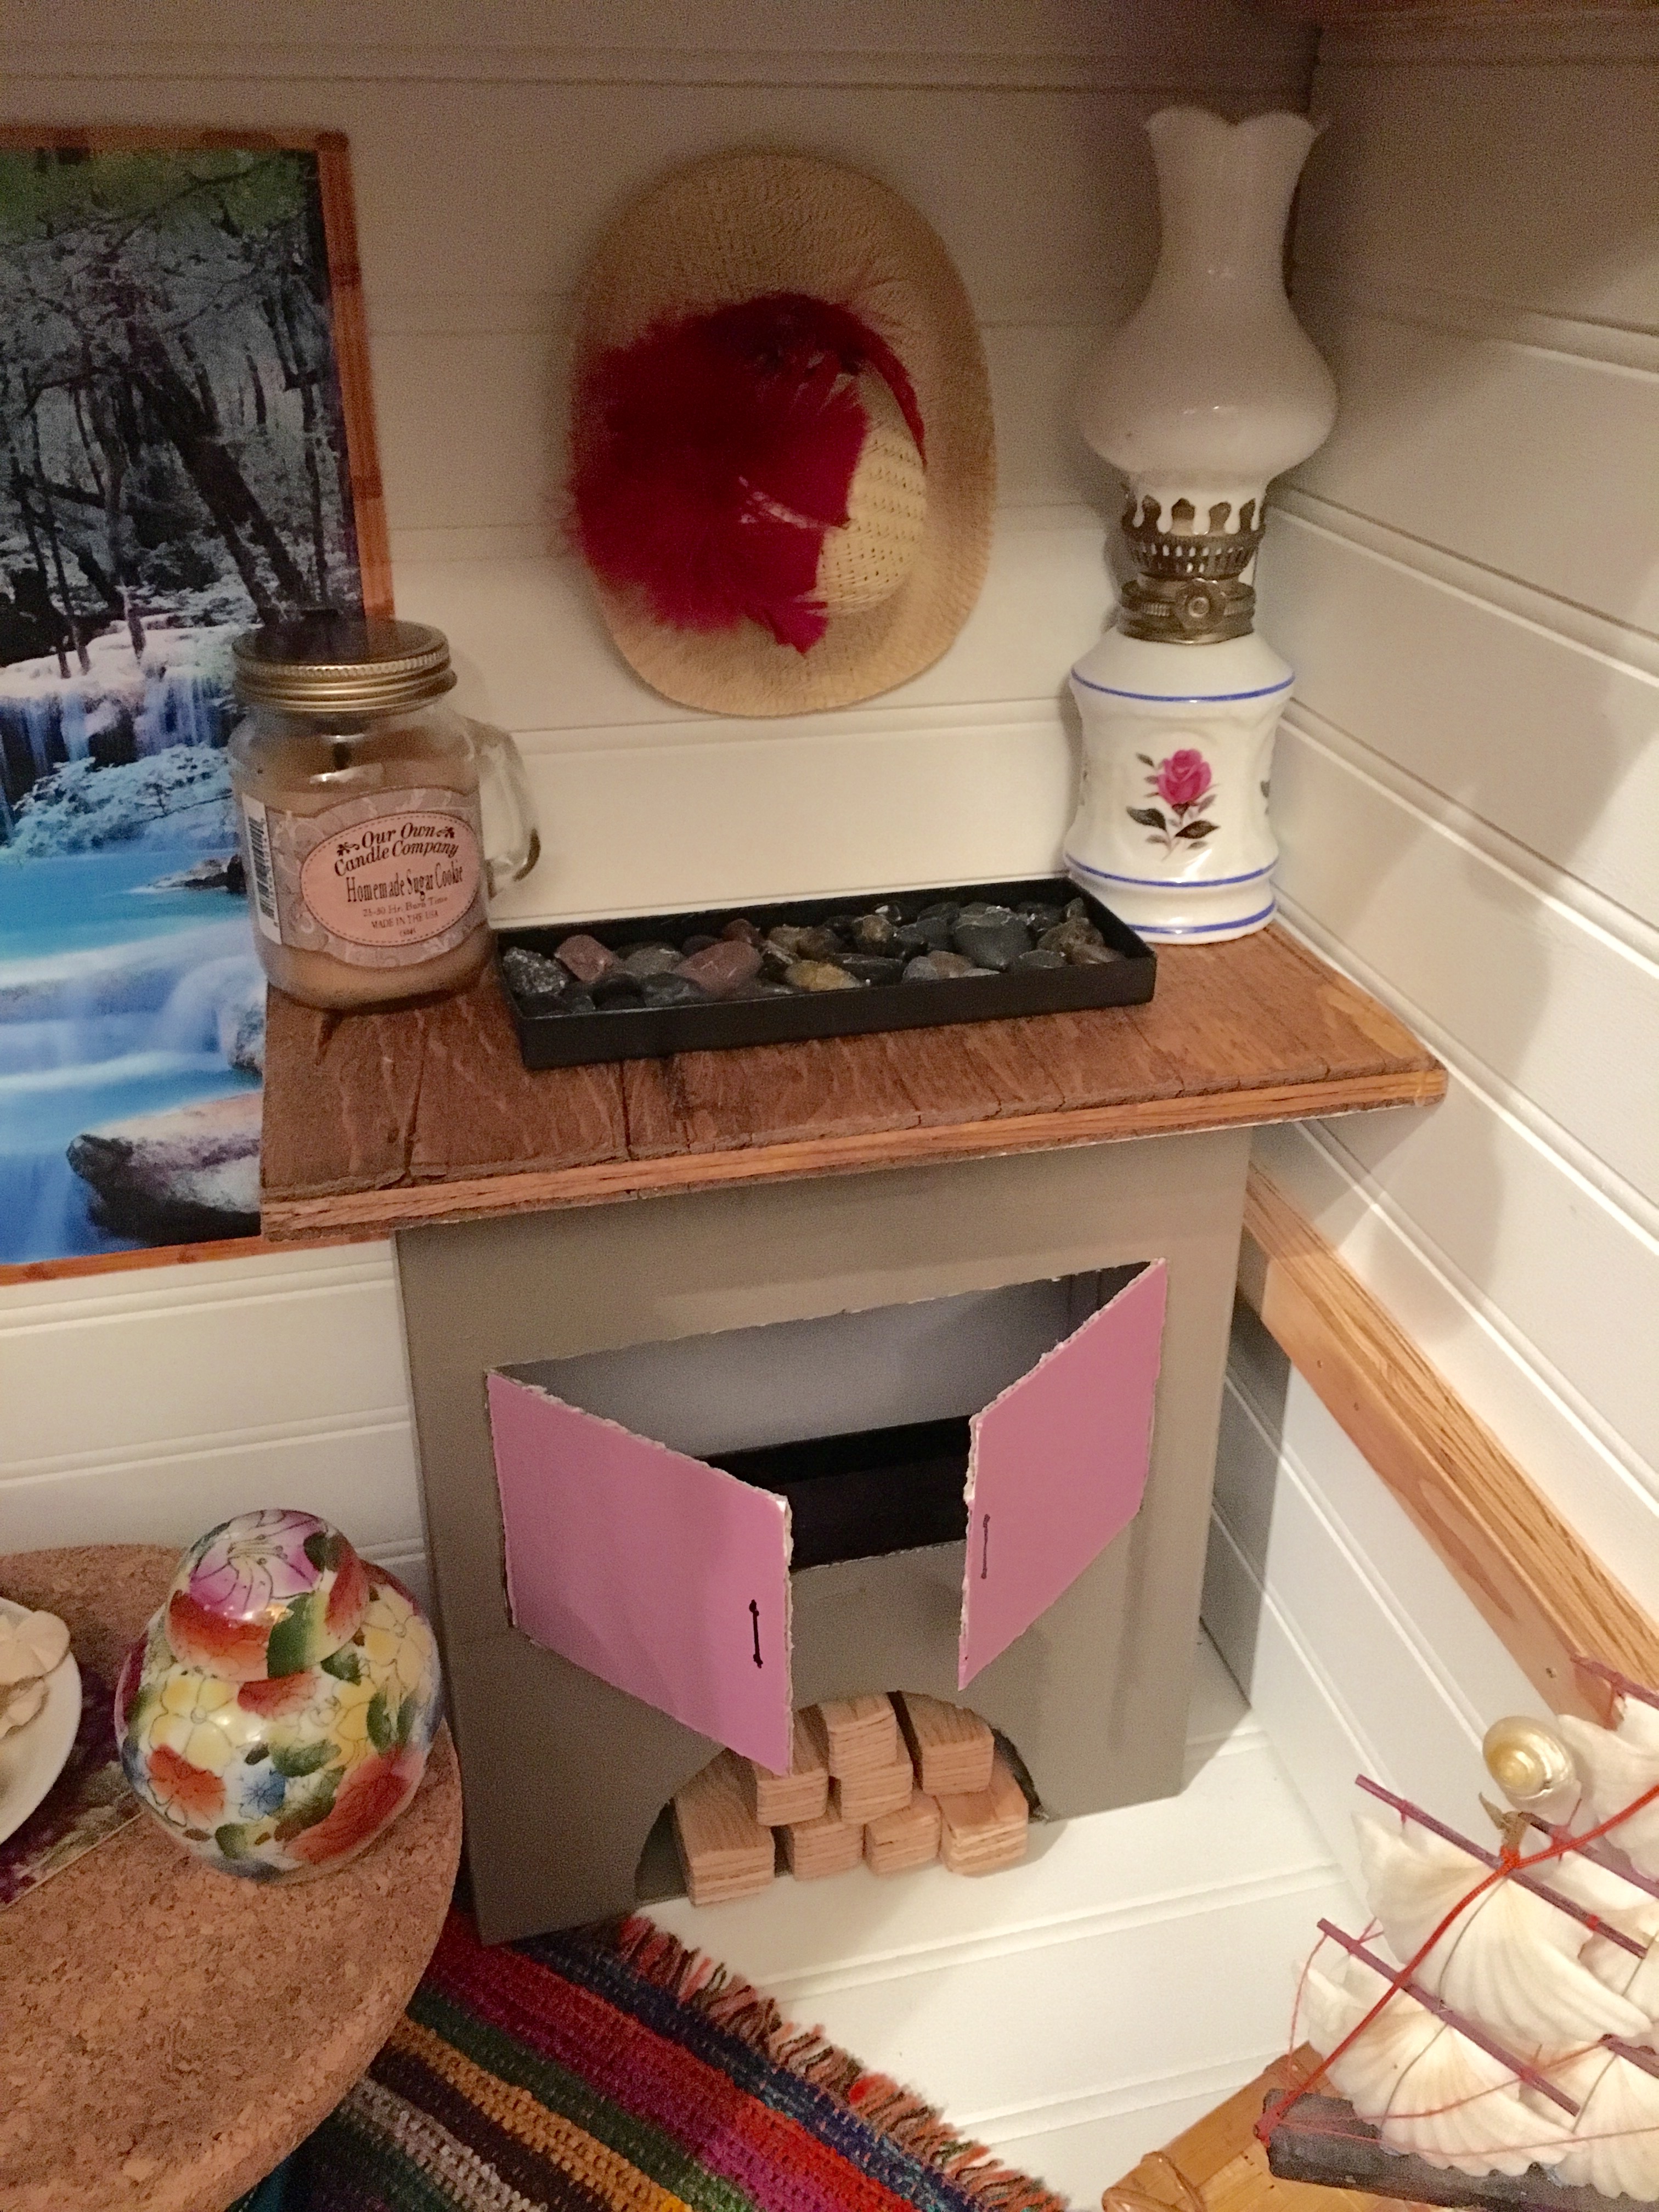
I made the cute little grill out of a wineglass box (have you collected your Safeway stamps for these?), along with a piece of scrap wood. I painted the box, and stained the wood top in oak.
I cut doors and a wood storage cubby. Then I hot glued the lid from a fancy pen box on top, filling it with rocks for coals. I added a ‘wire’ grill that can be used to either cook on top, or inside the oven.
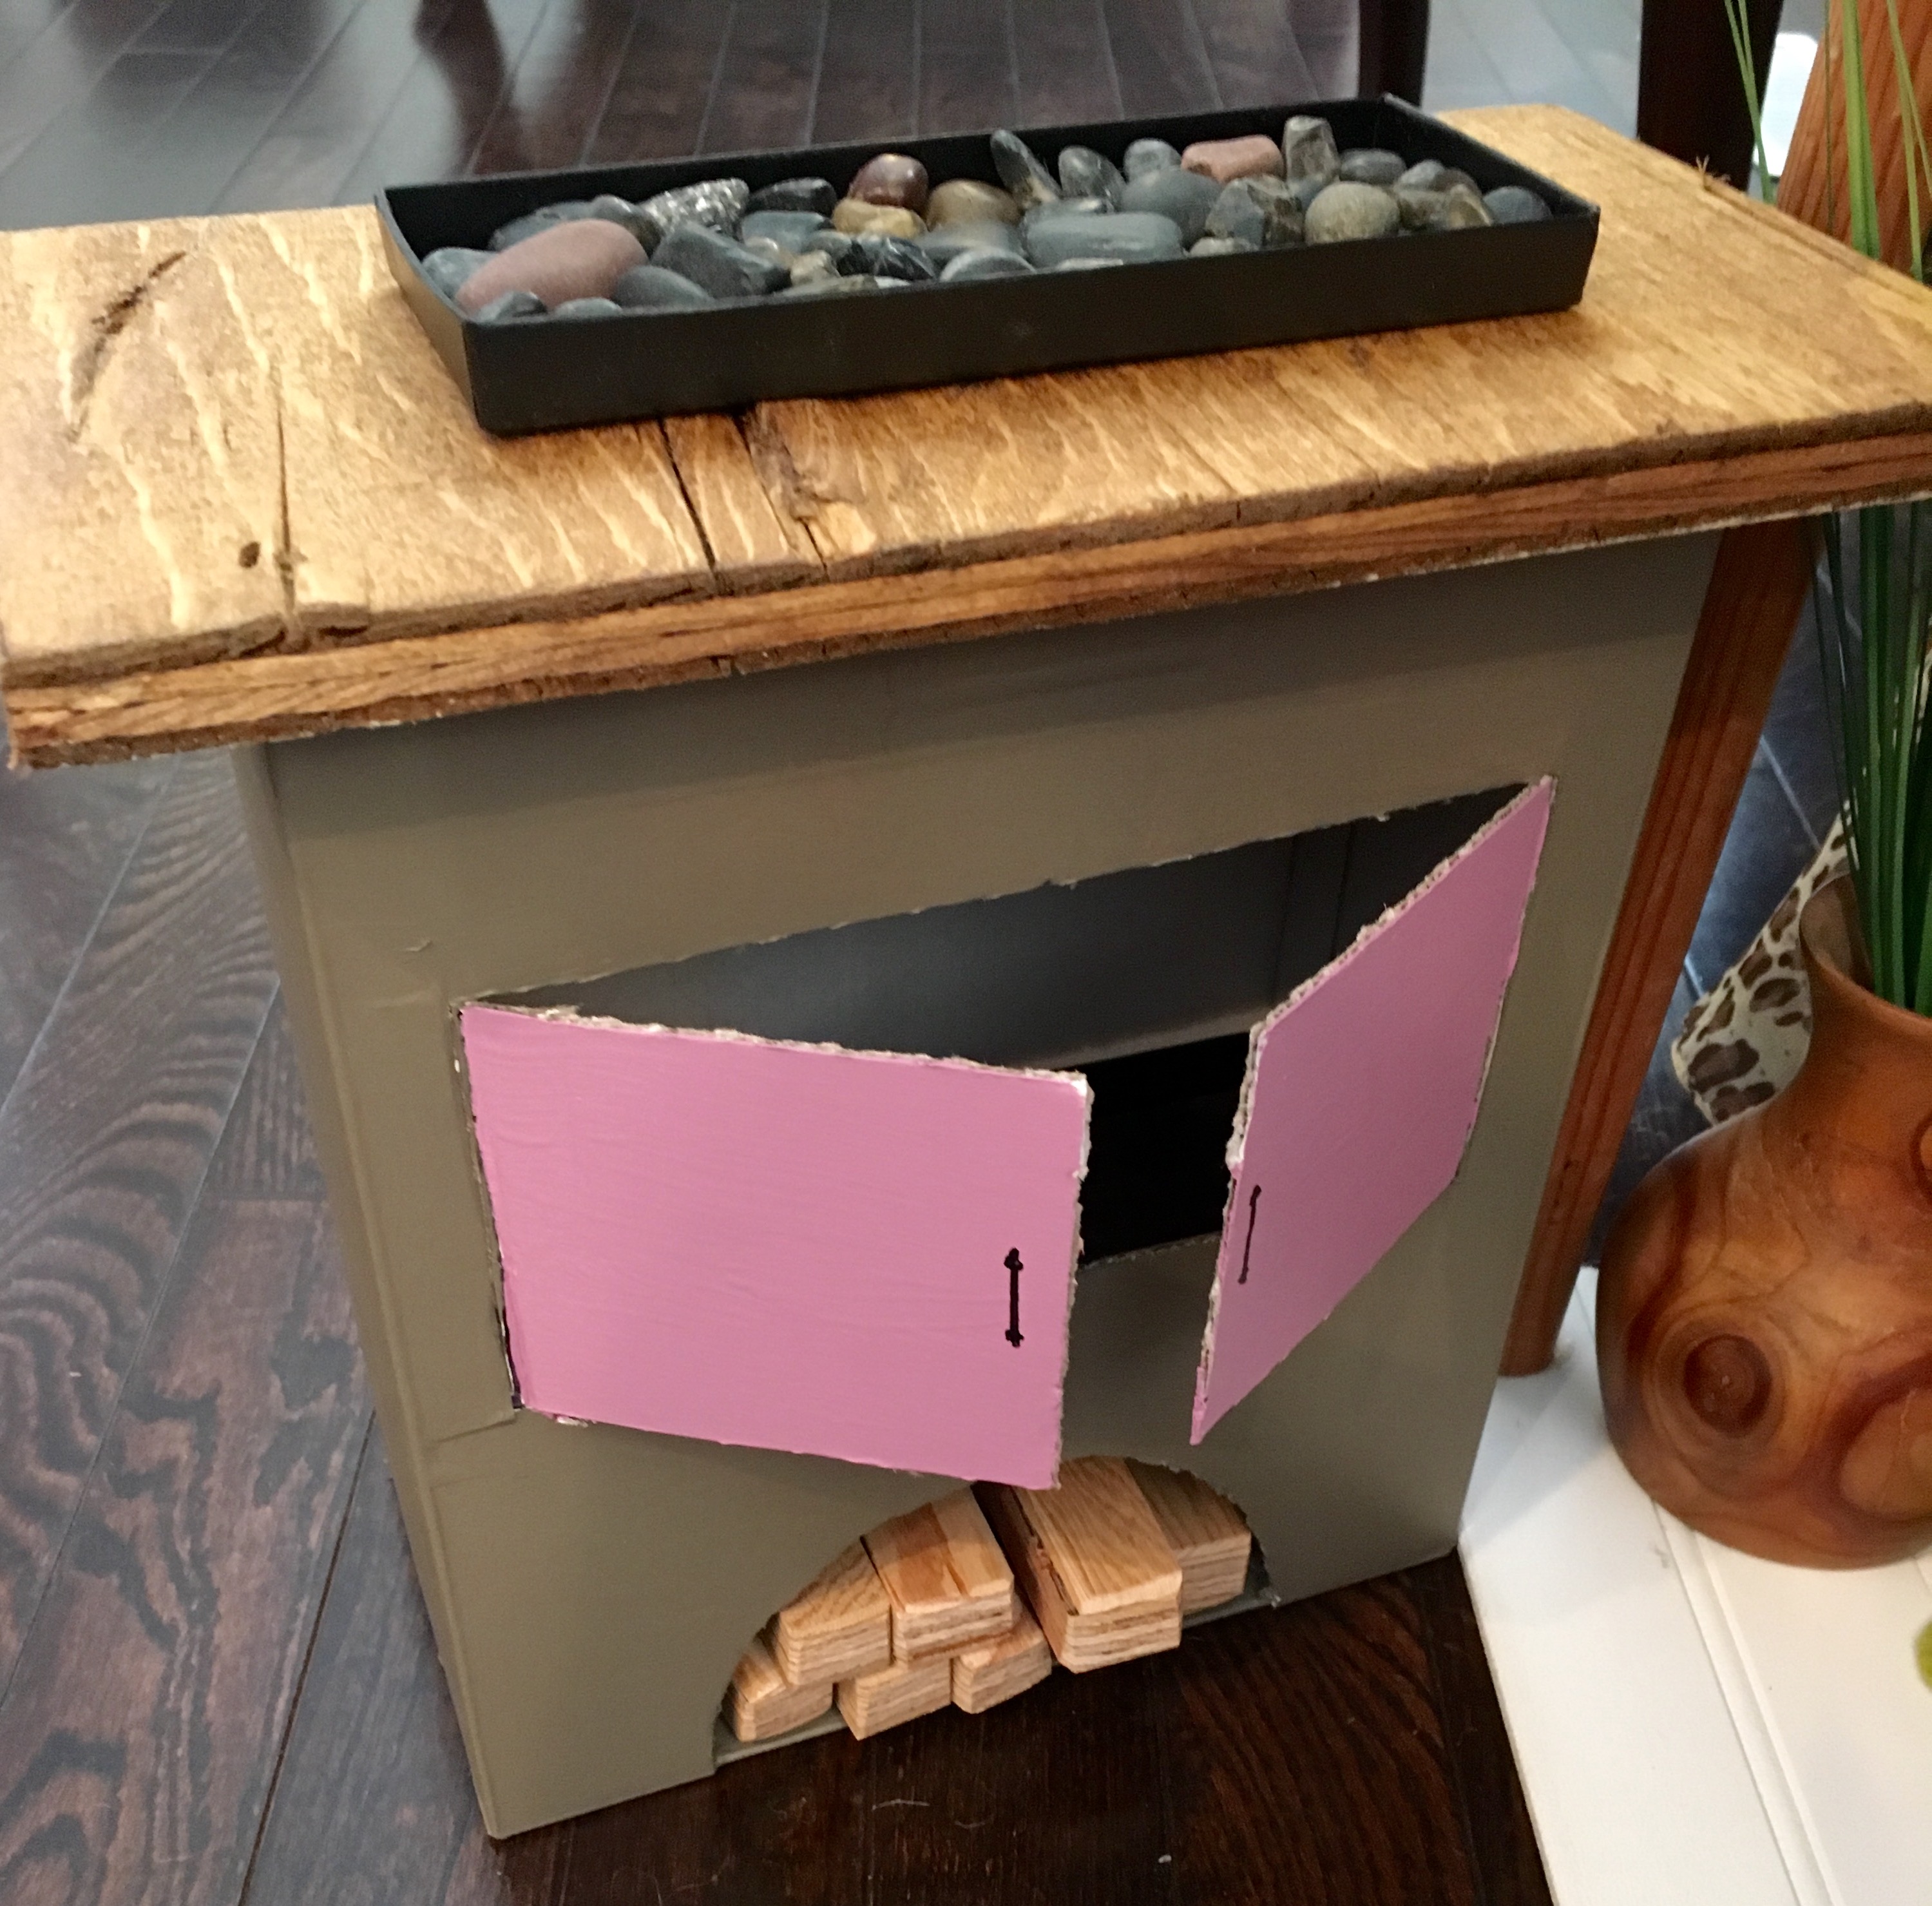

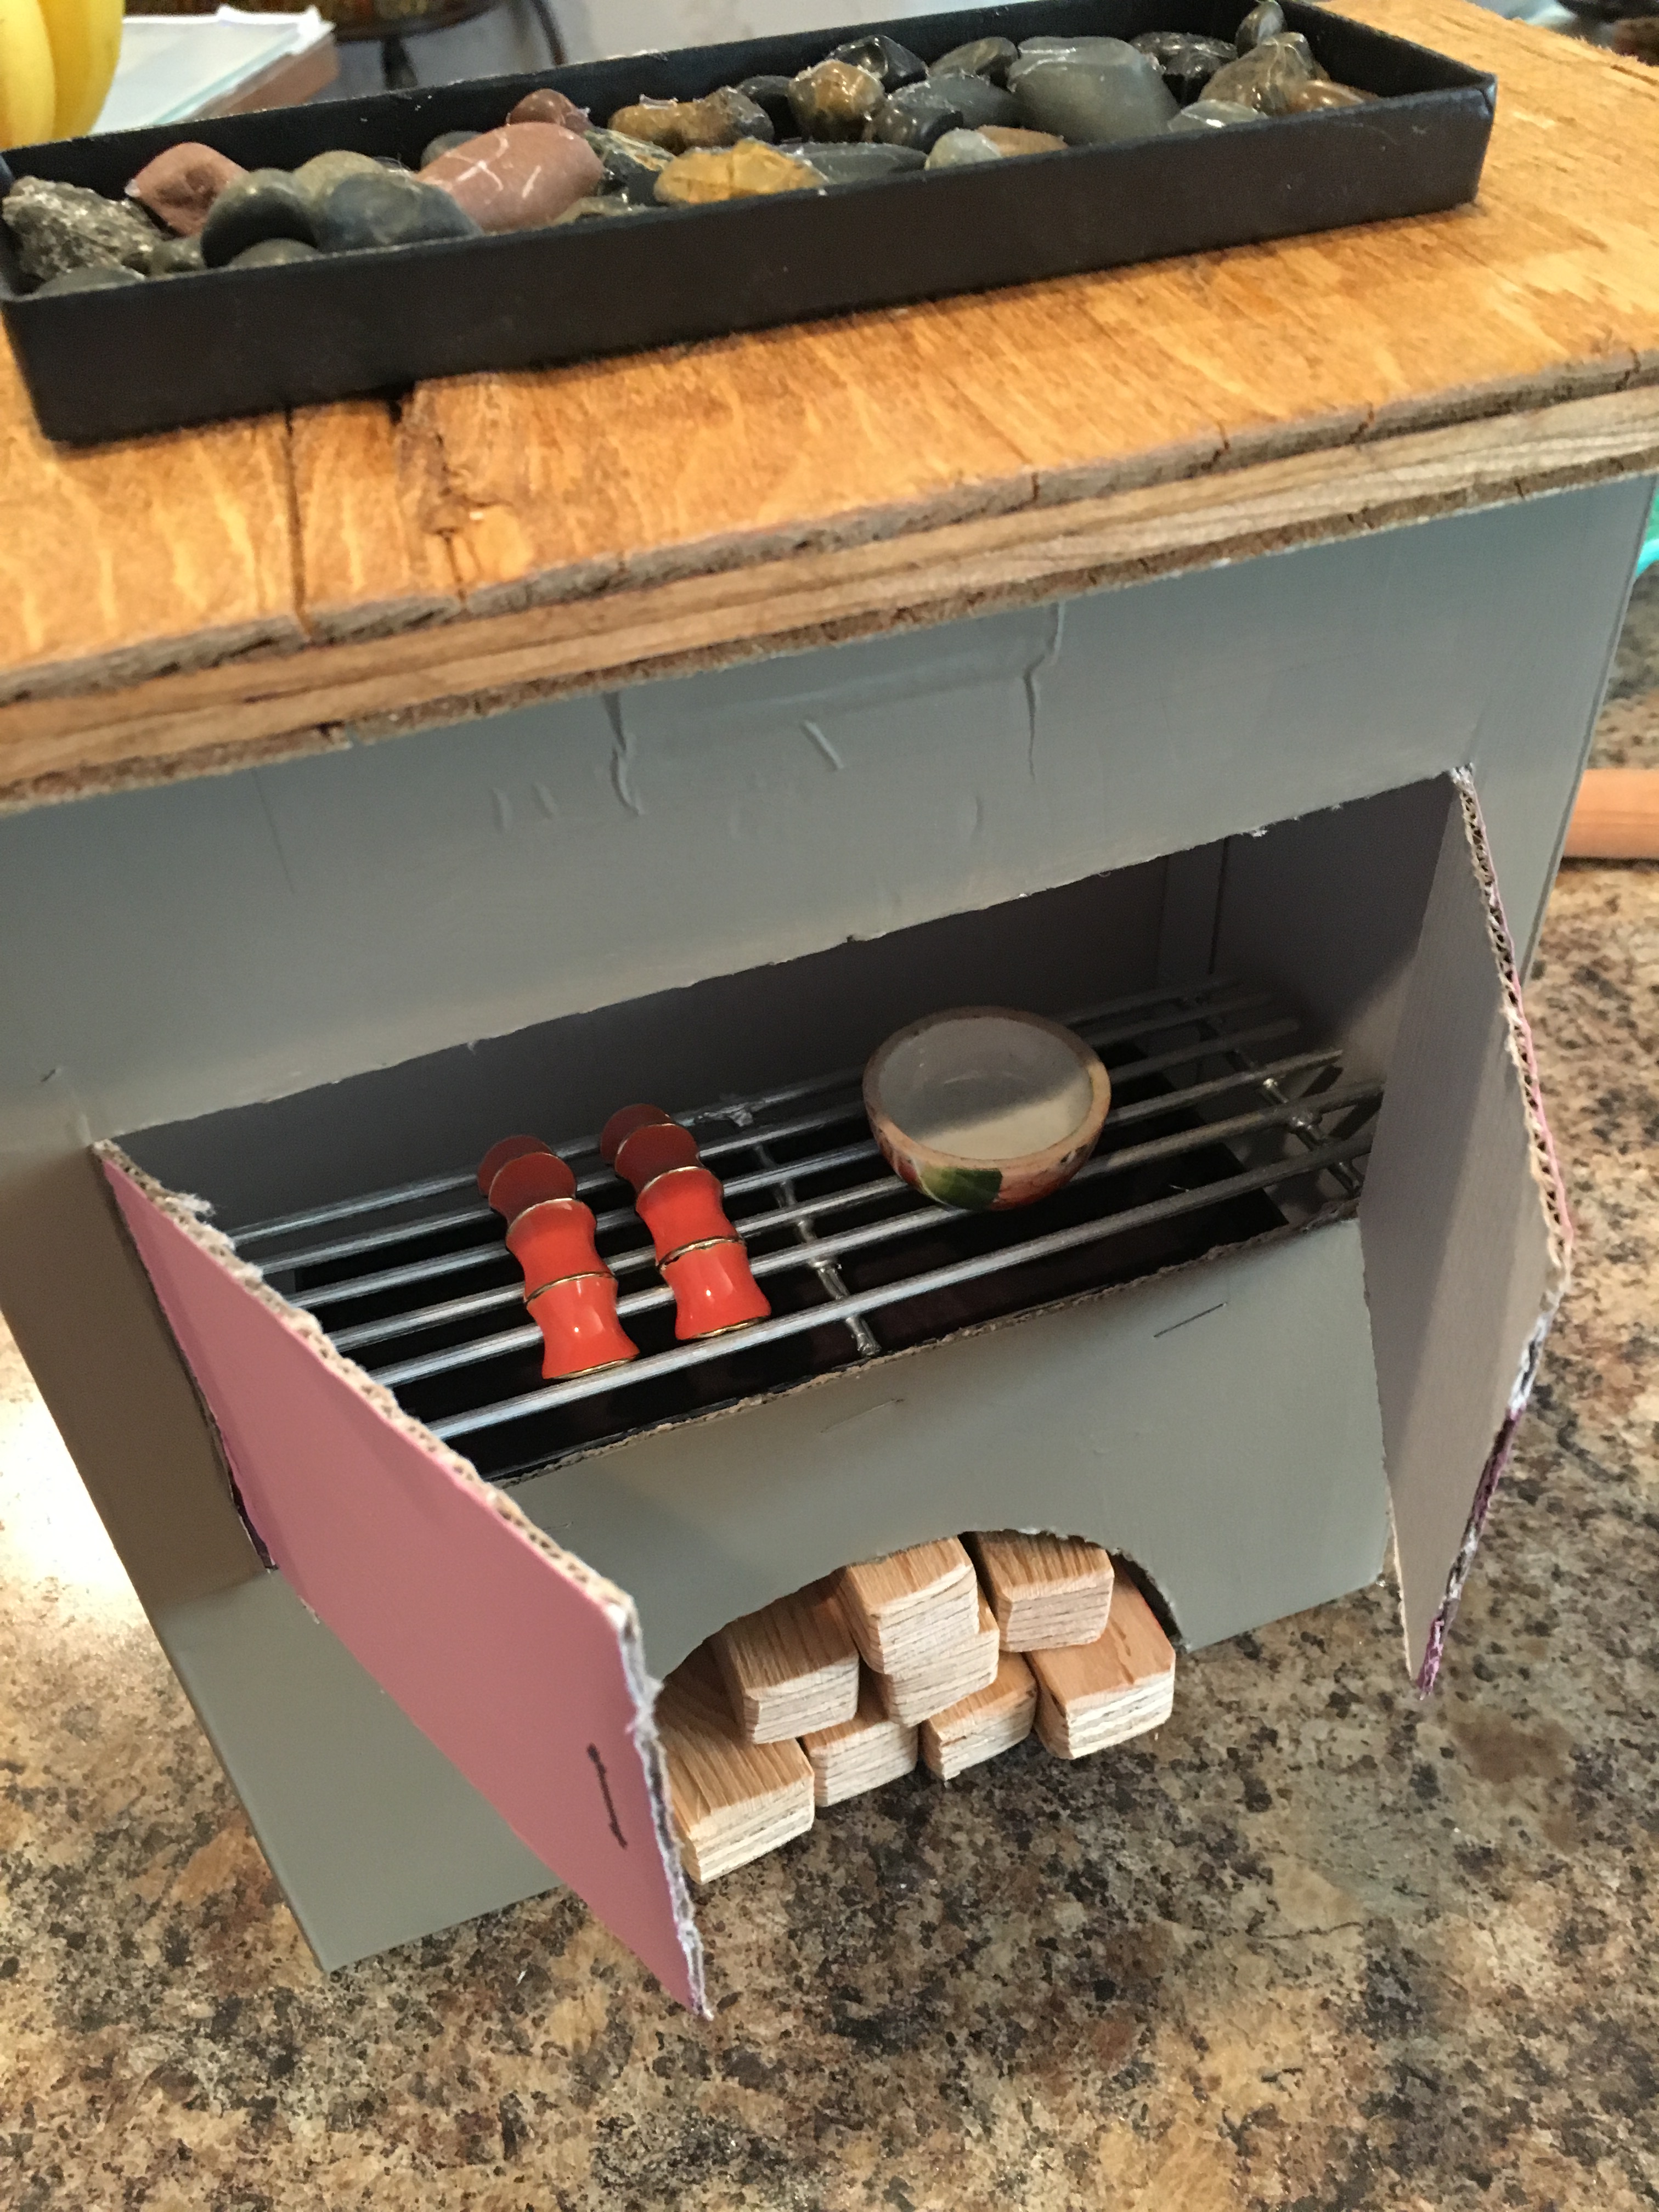
It is seriously adorable. The bonus is that there is real ‘firewood’. That was a huge selling feature for my daughter. She loves stacking it up, and restacking it. She really doesn’t know how easy she has it if that is her idea of fun. LOL! Cutting and stacking firewood used to be a huge chore for people!

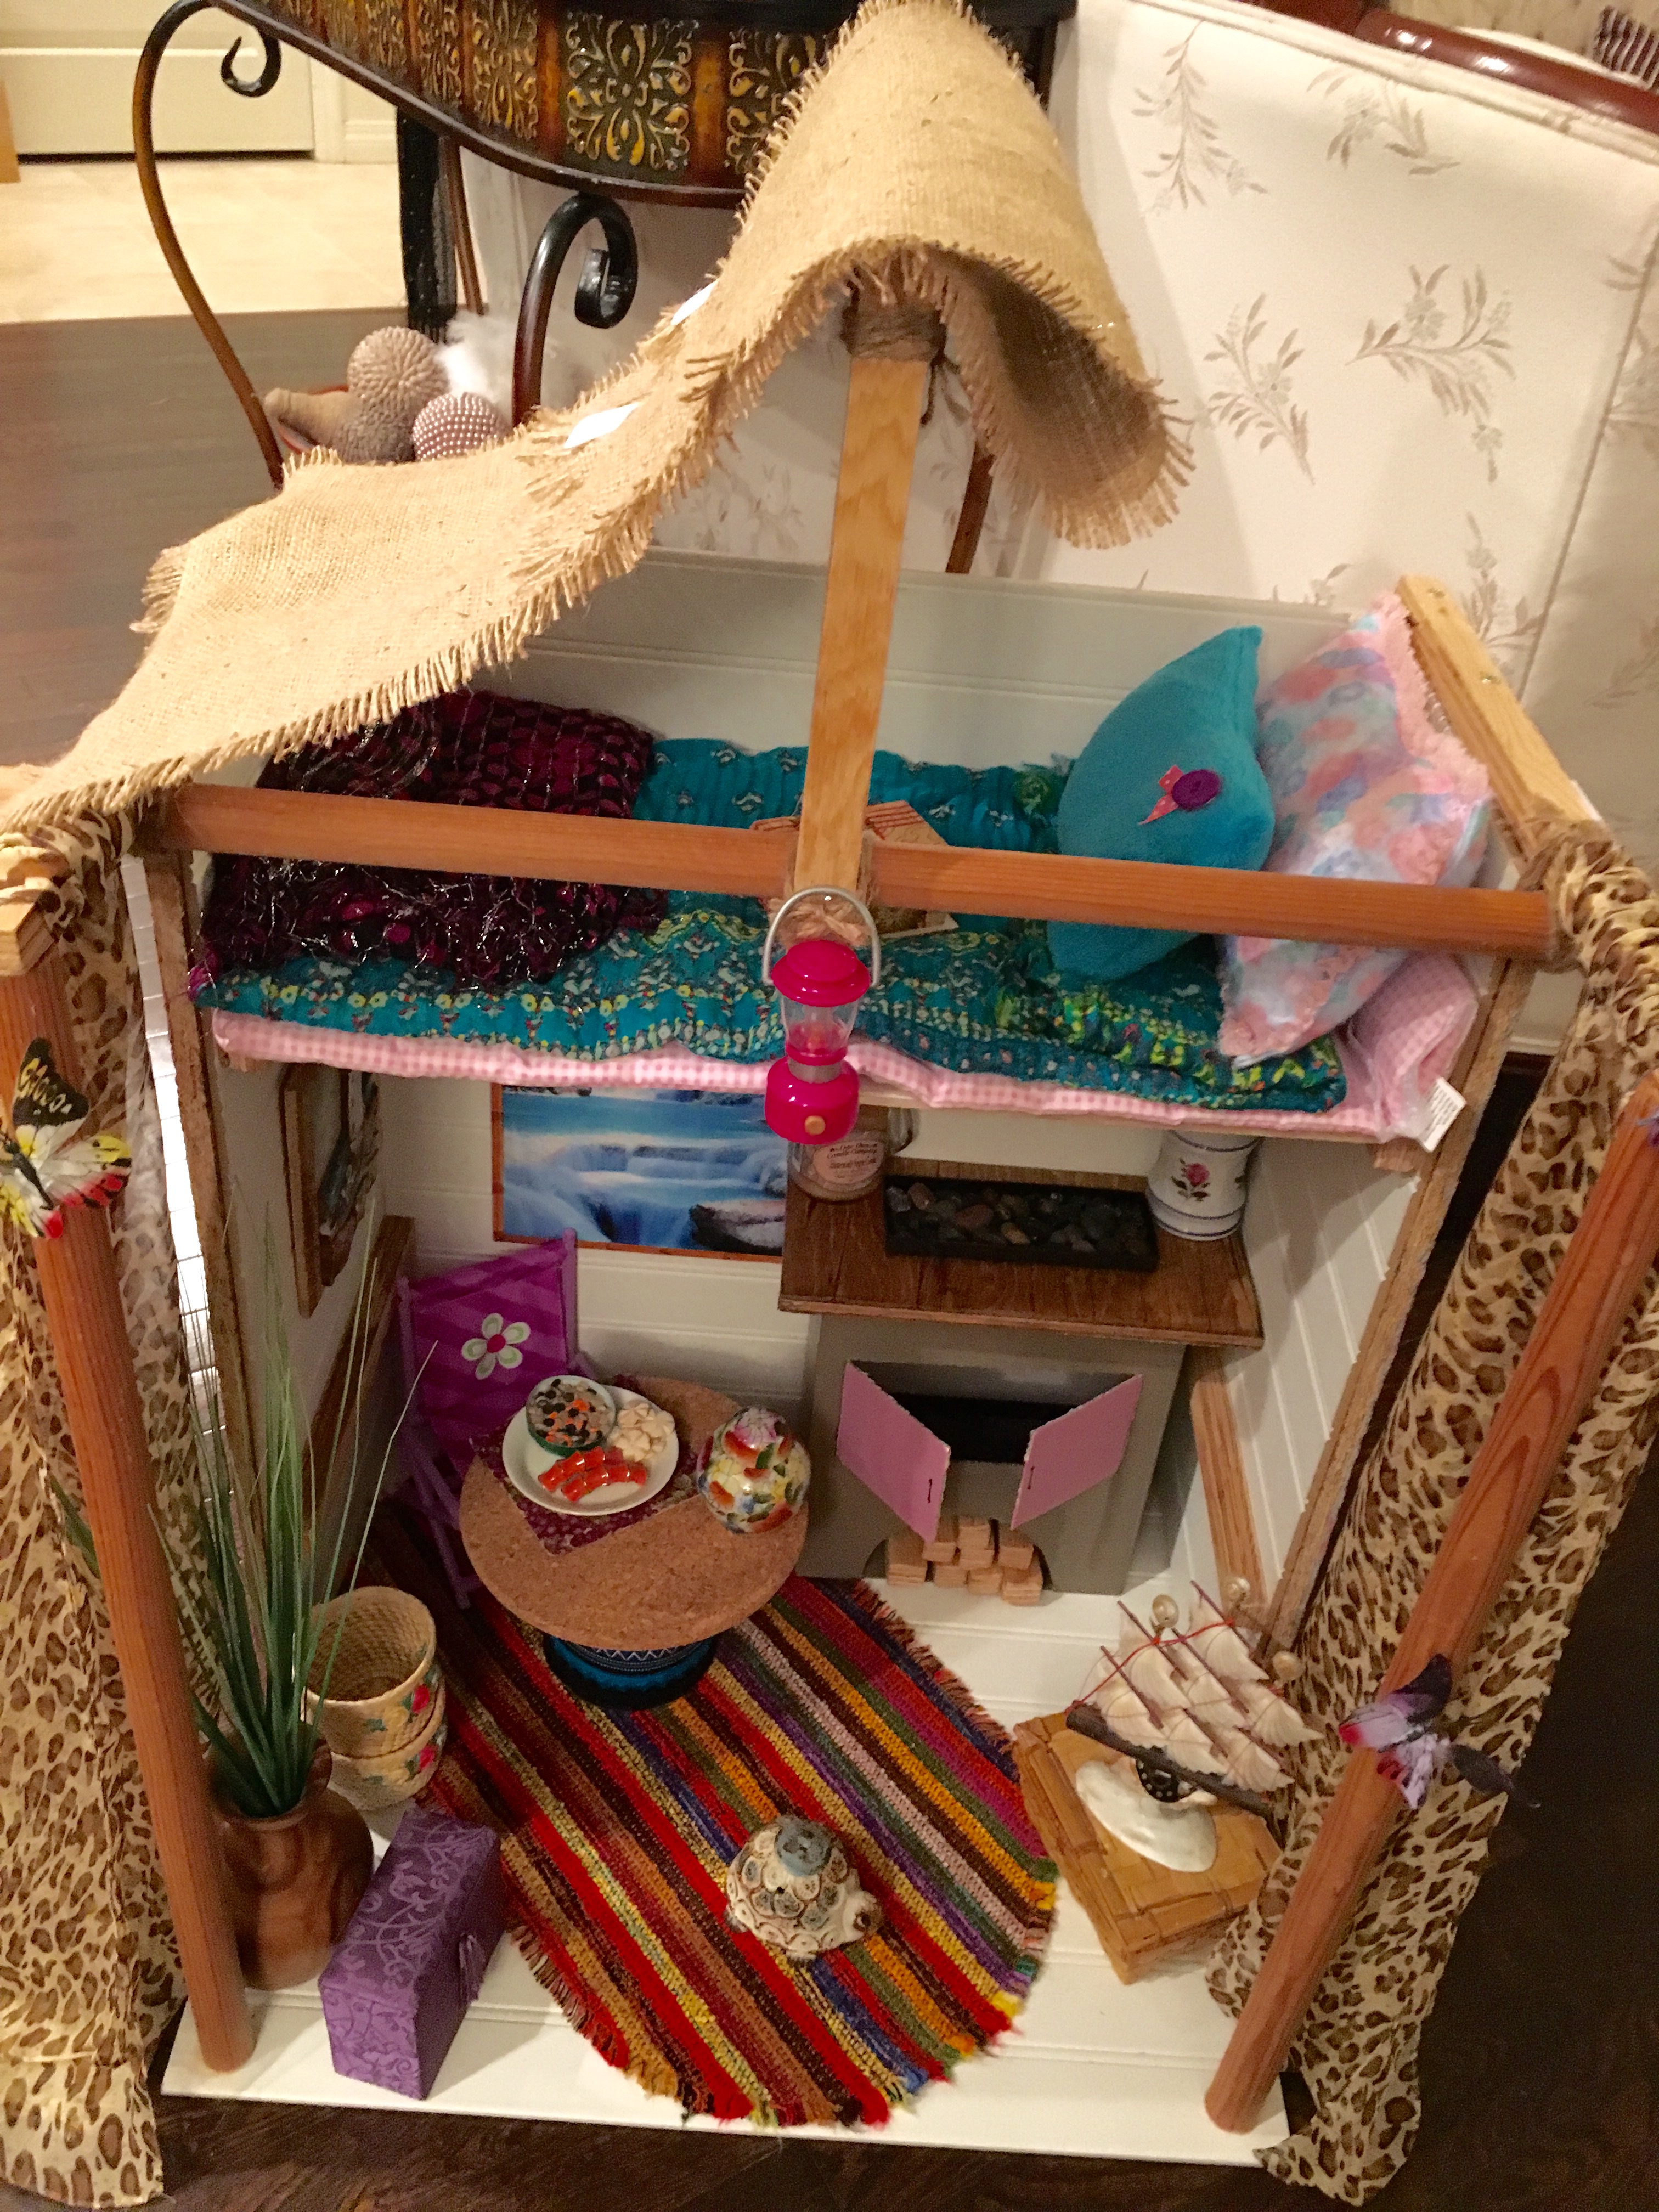
Here is the bed on the lower level. The window is an image from online printed onto cardstock. I printed it on both sides so it would be reversible, daytime to night time. Then I laminated it.
Now to add a roof. I had some burlap that I wanted to use. I didn’t want something heavy that might come toppling down since the roof is meant to be removable. I finally came up with this.
As you can see, I used pieces of wood as a support in the centre. I lashed the front piece to the central dowel with twine. Then I used wood glue and nailed the back piece to the back wall. The piece on top is also glued and nailed in place. It is quite sturdy.
Now the burlap can rest on top. I stapled and hot glued some velcro to each side to keep it in place. This way, the roof is removable, but it won’t fall off during play. I have to admit, I am loving this feature. The roof is lightweight, and it stays put. Perfect.

After staring at this bare bones DIY for a long time, I realized that if I wanted to get really funky, then I was going to have to go to the store. I don’t usually purchase items for my crafts, we try to recycle whatever we can, but after going to all the trouble to build something cool, I wanted something really cool to go in it. That’s the great thing about DIY. The sky is the limit.
So off we went to the local thrift store. 🙂
Let the magic begin!

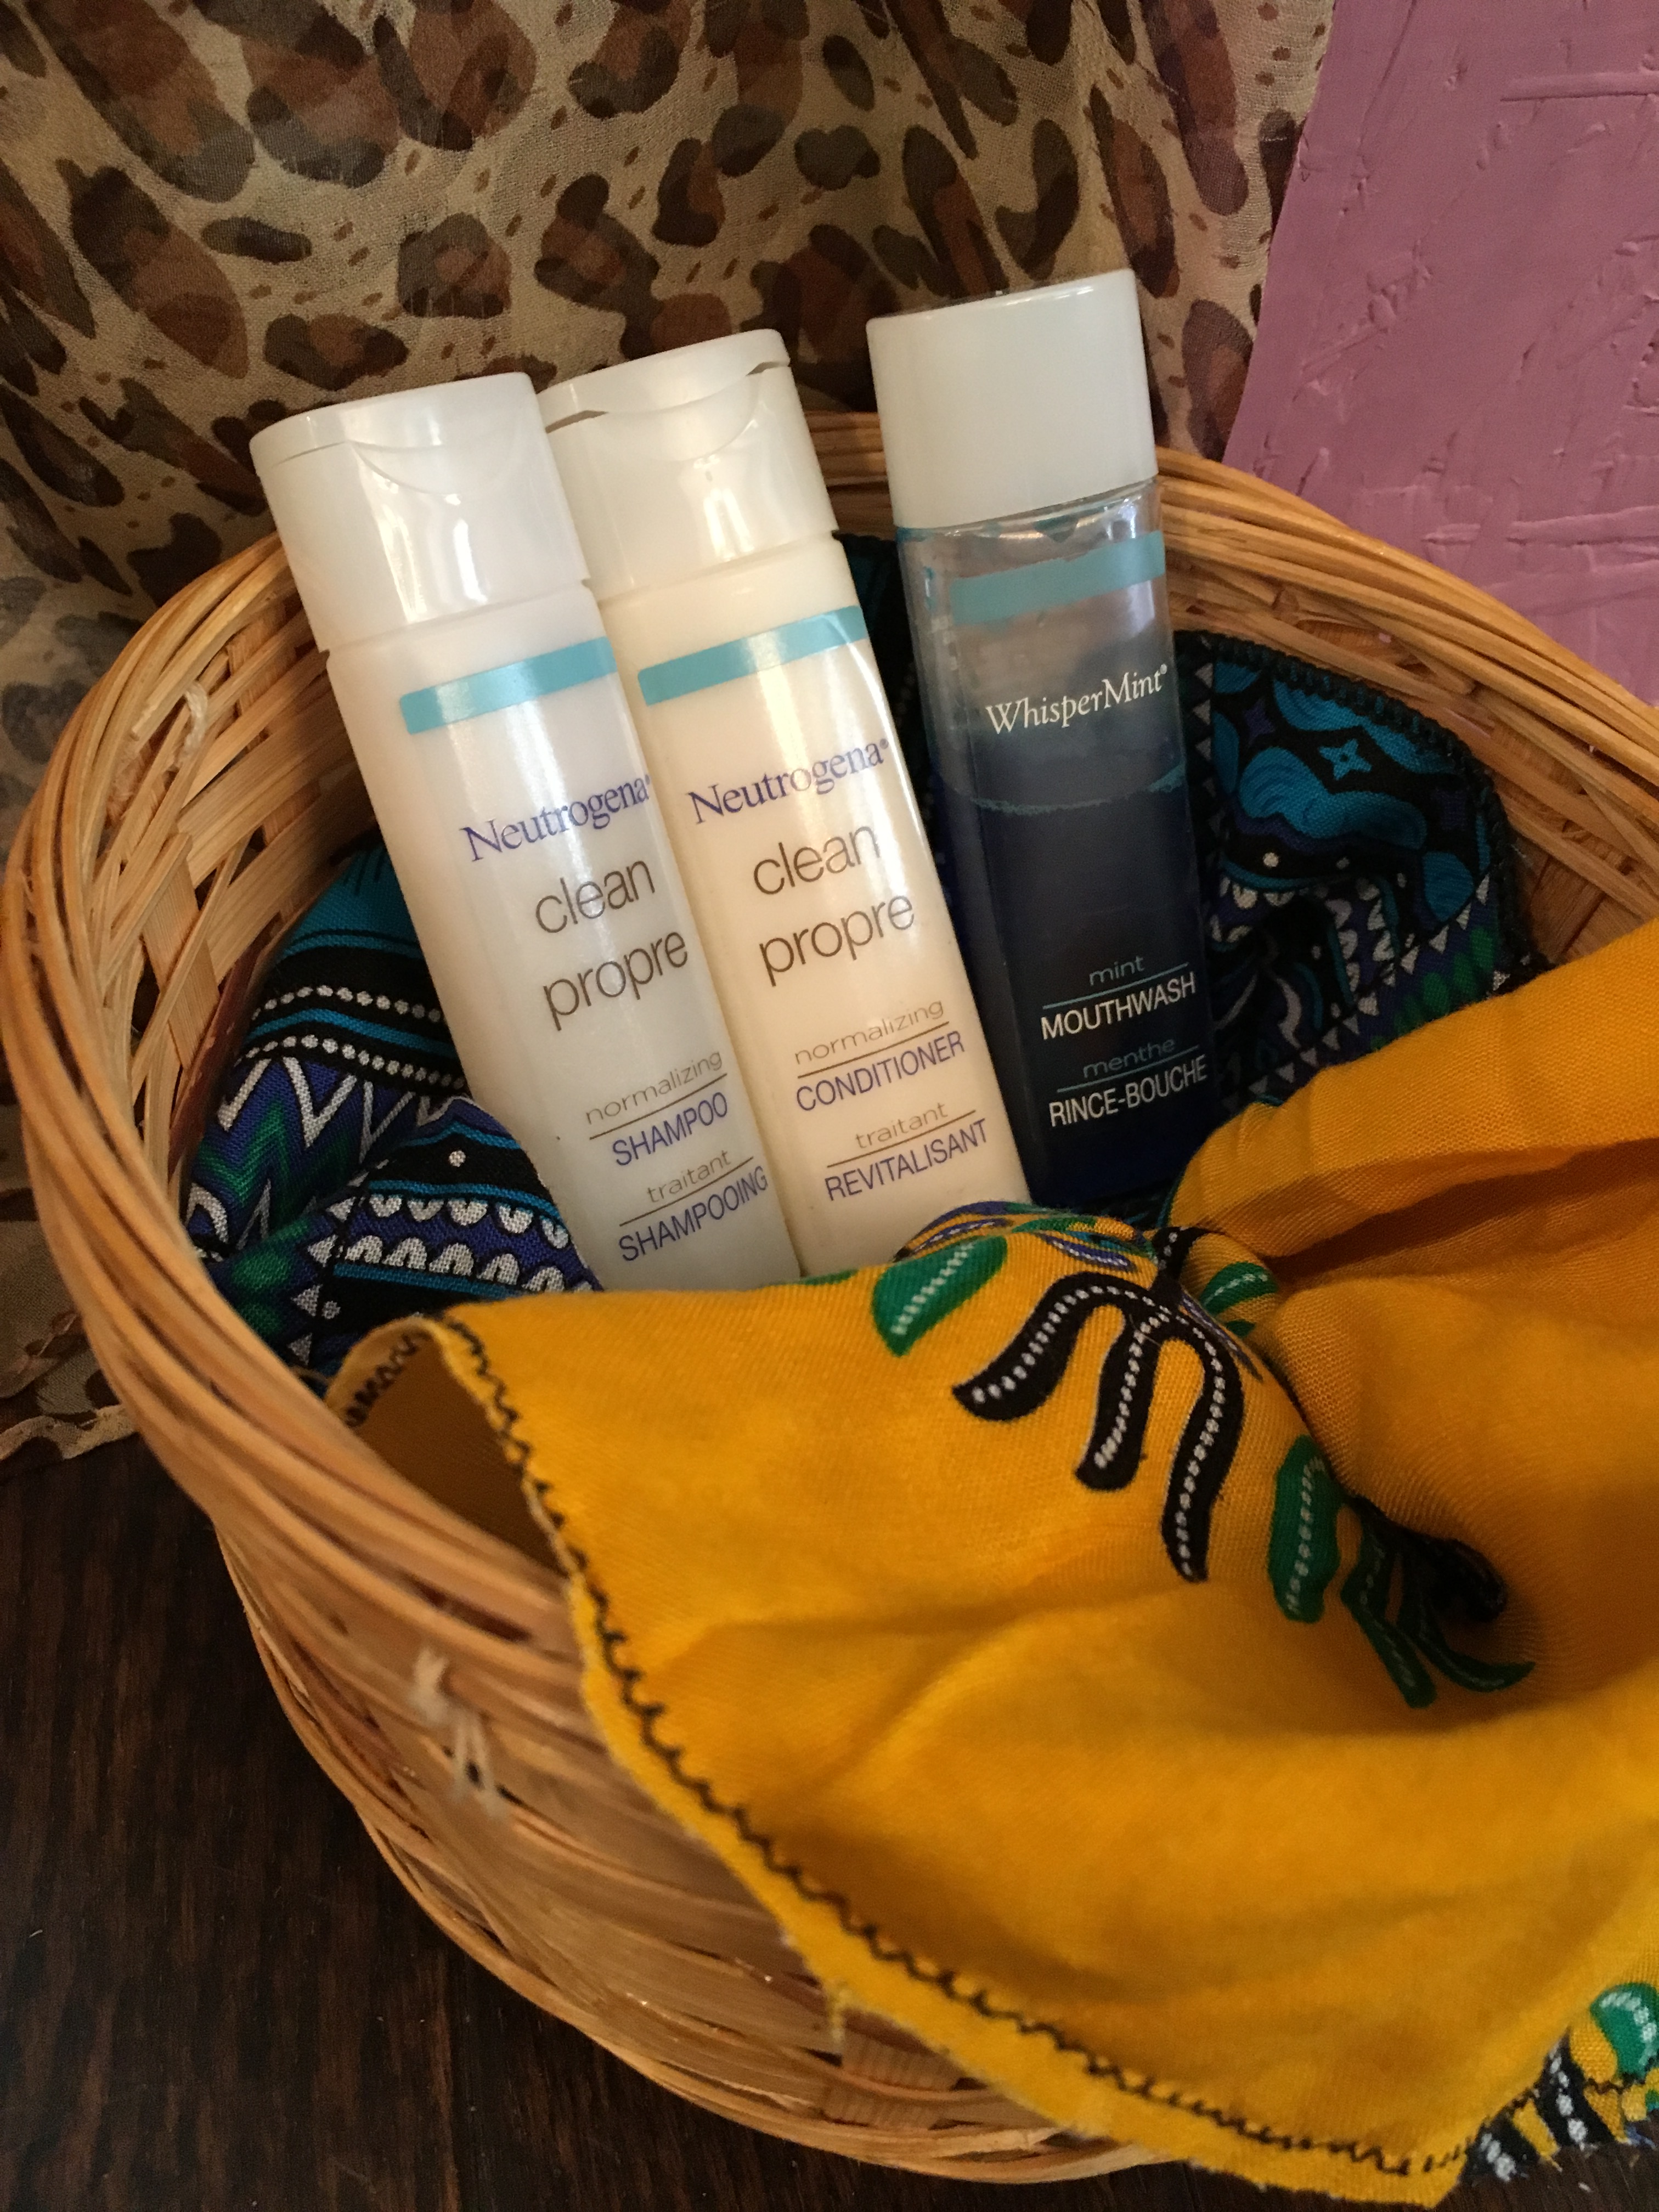
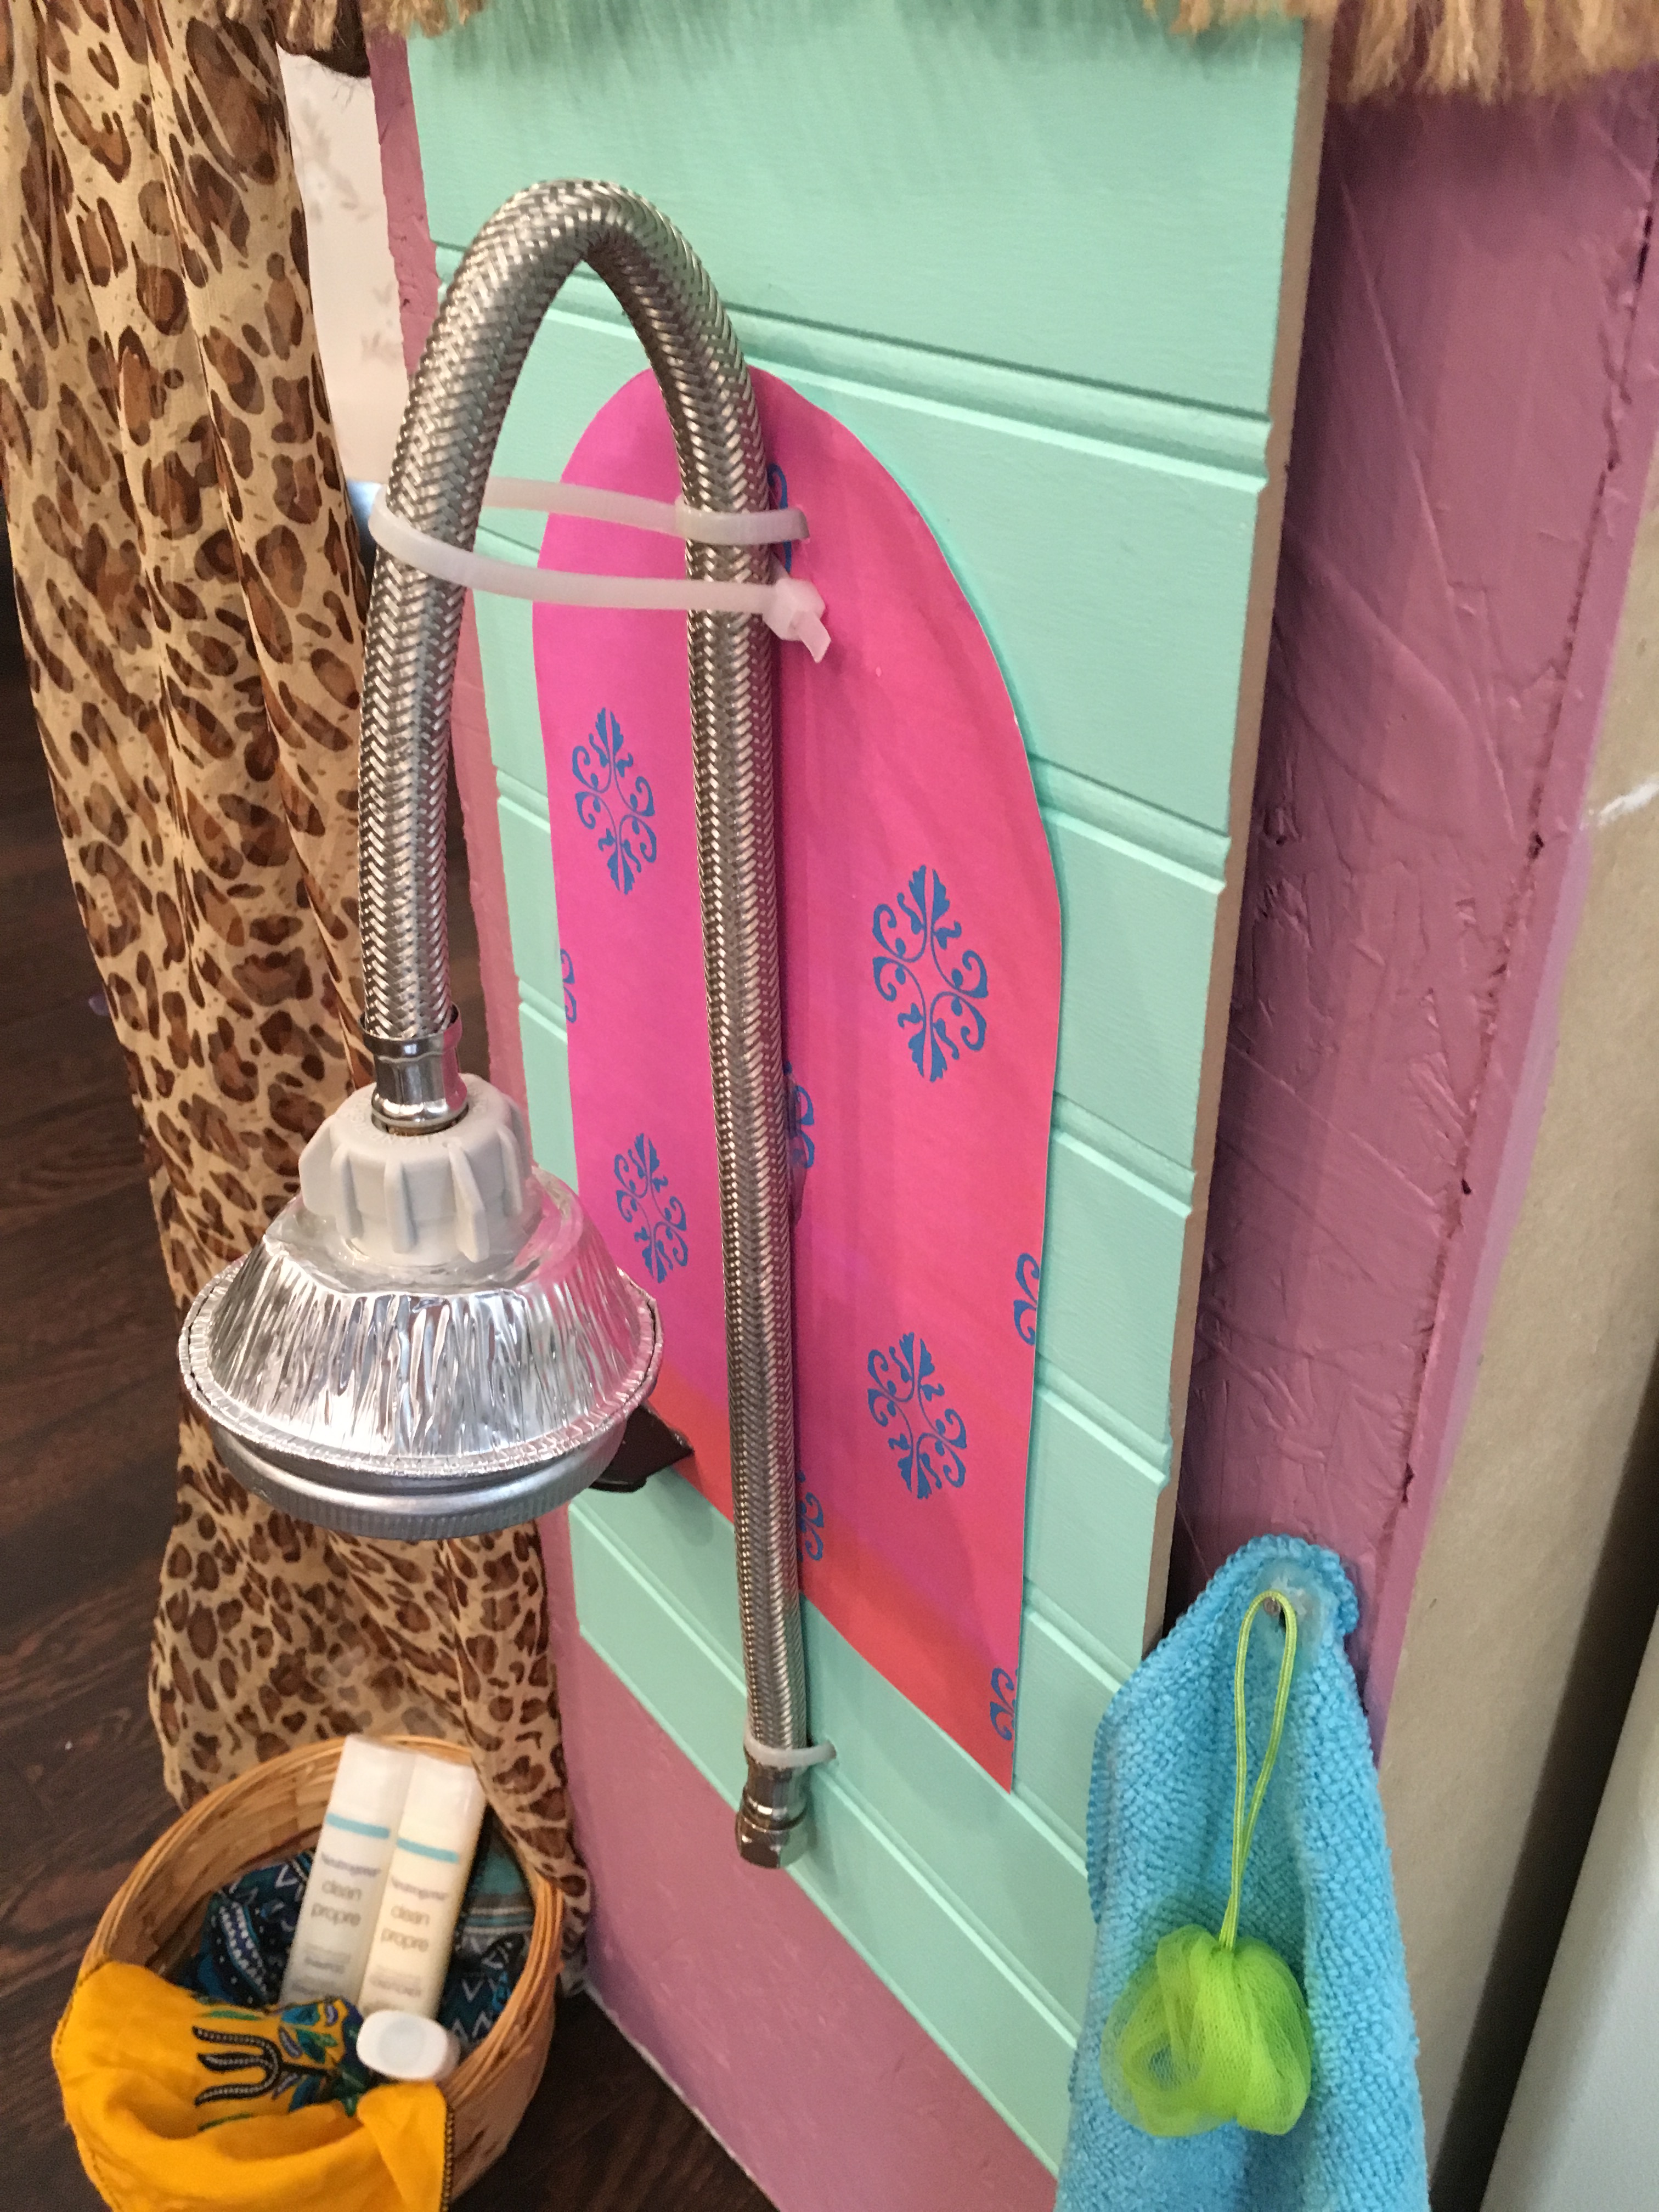
Next we added the shower. This one took some finagling, but I think it turned out pretty great! I just love the mini travel bottles. 🙂
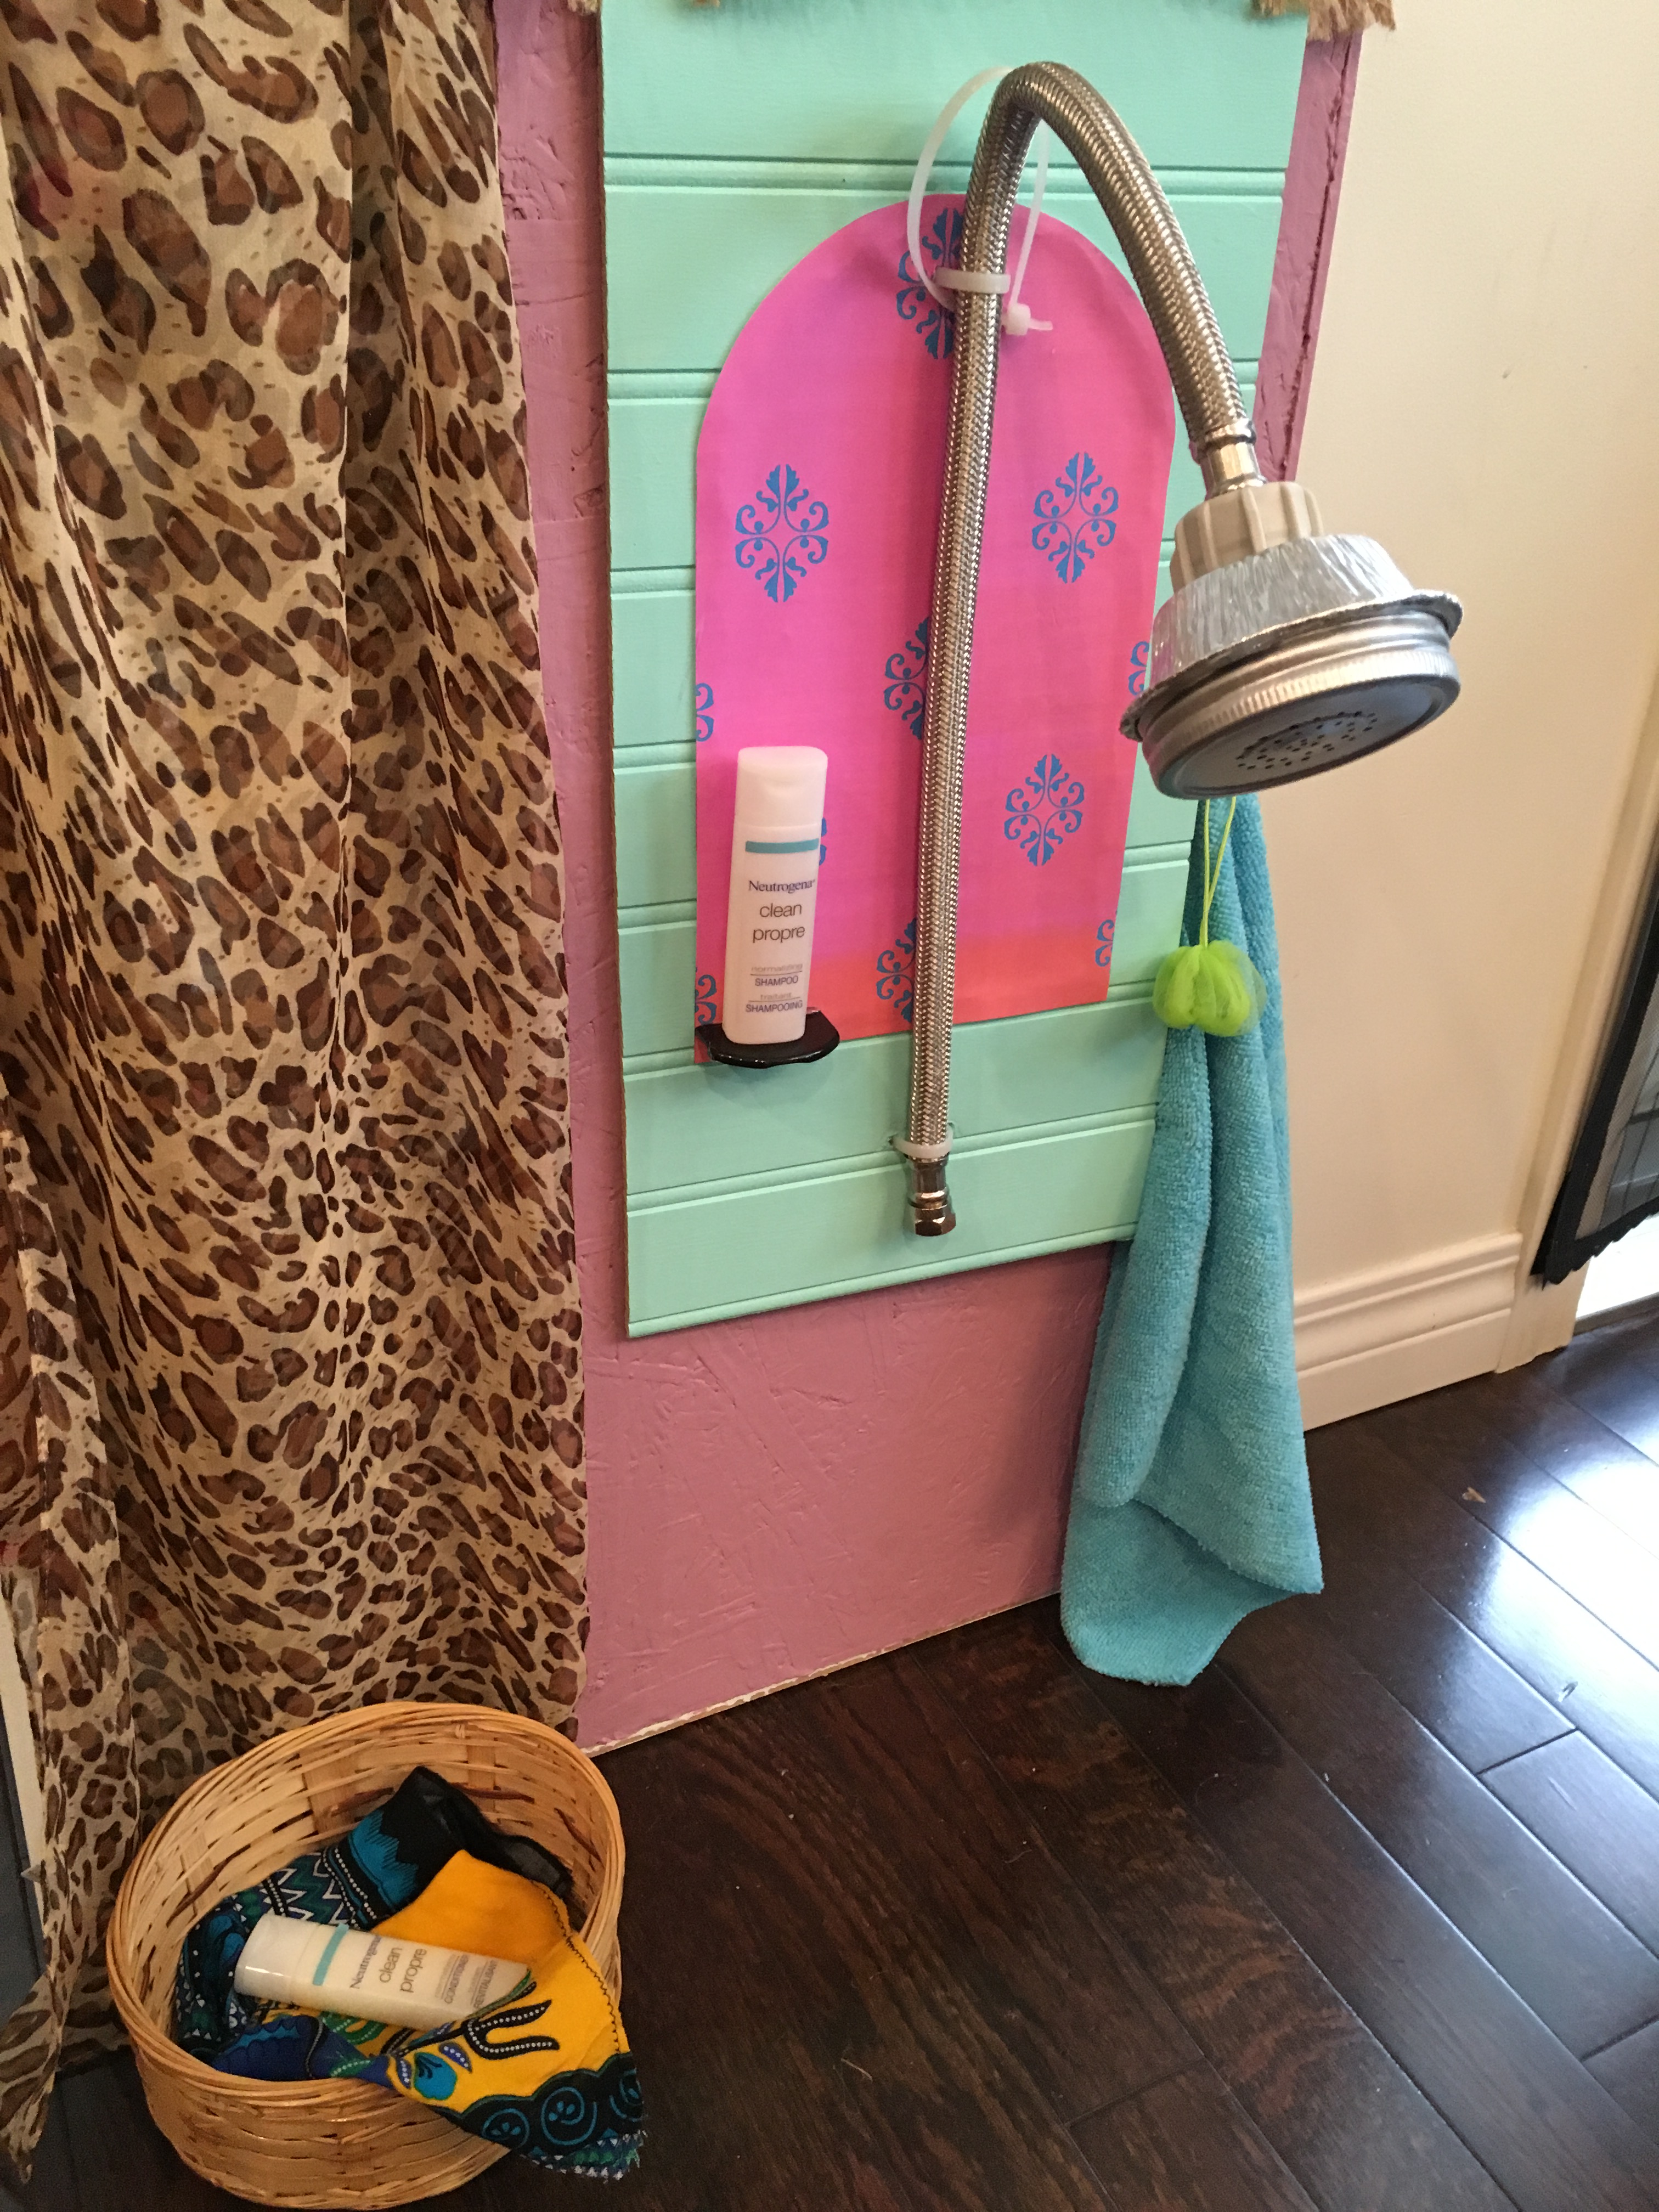
I just painted some leftover bead board and attached a printable from LivingADoll’sLife to it. The shower hose, which is actually a toilet connector hose, (I have no idea why I had that lying around) is connected to the board using zip ties. I used an aluminum tartlet cup and a jar lid for the shower head.
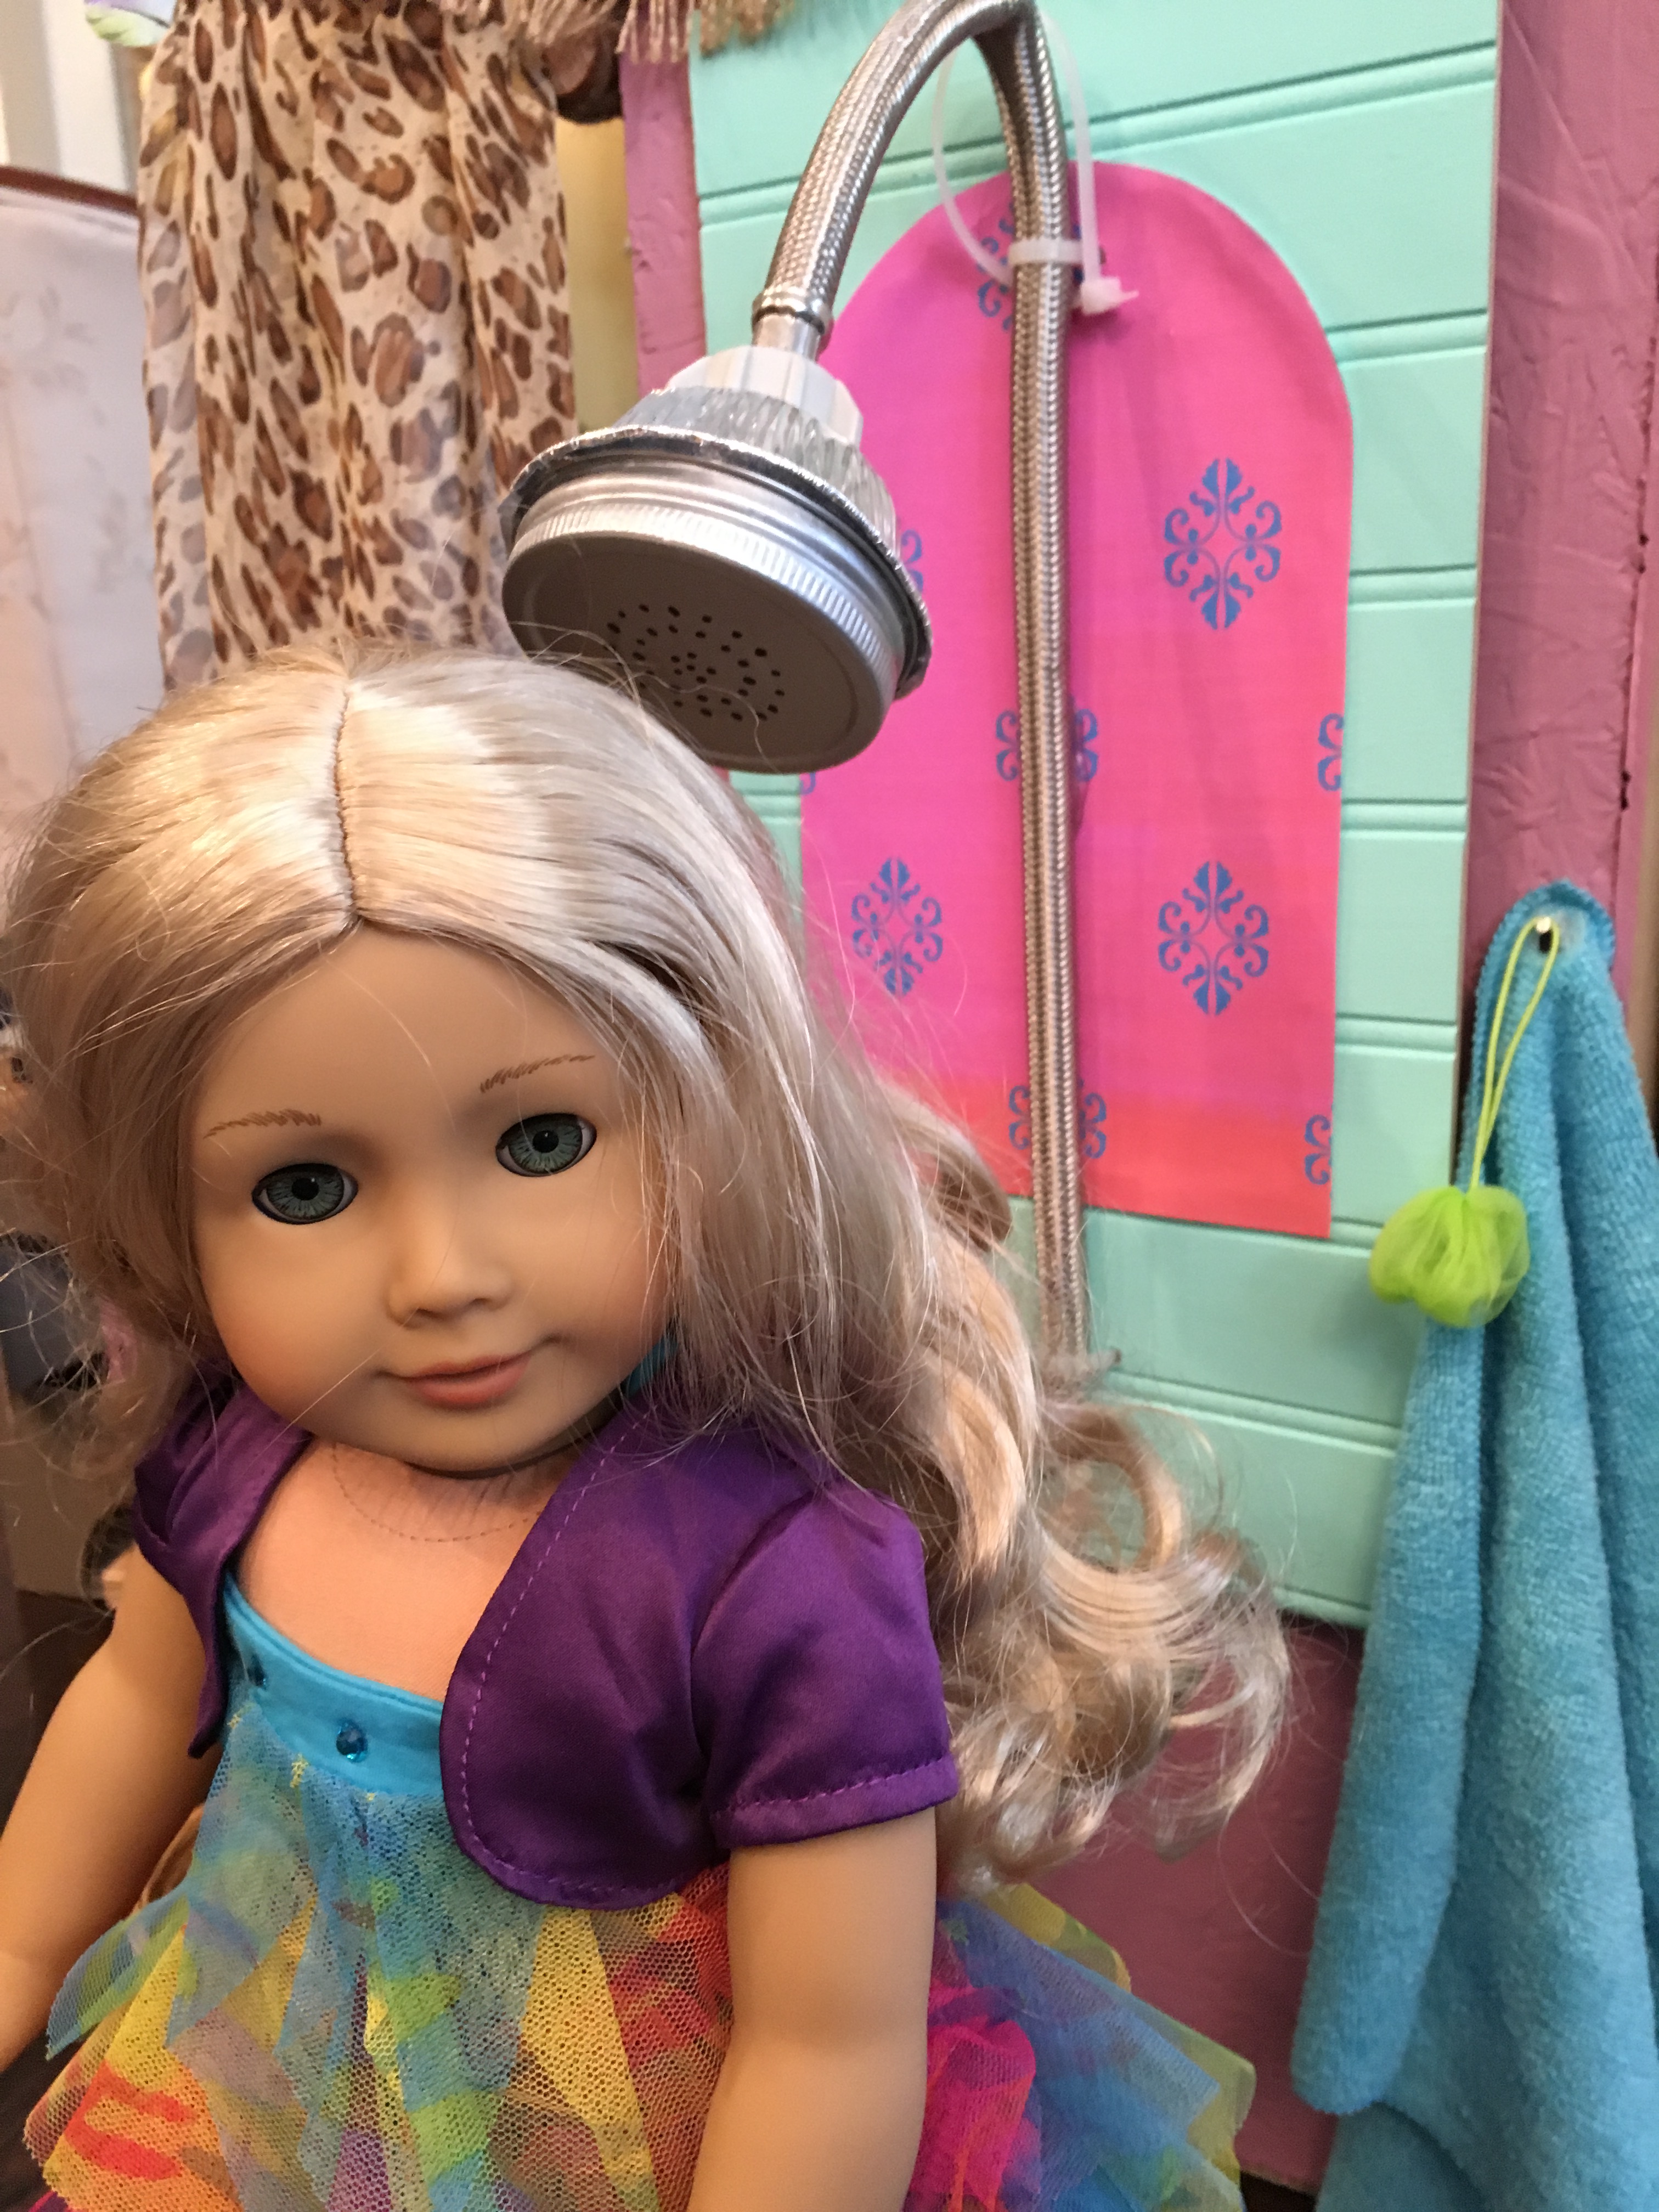
When the dolls are all done in the shower, the shower head gets tucked out of the way using another zip tie.
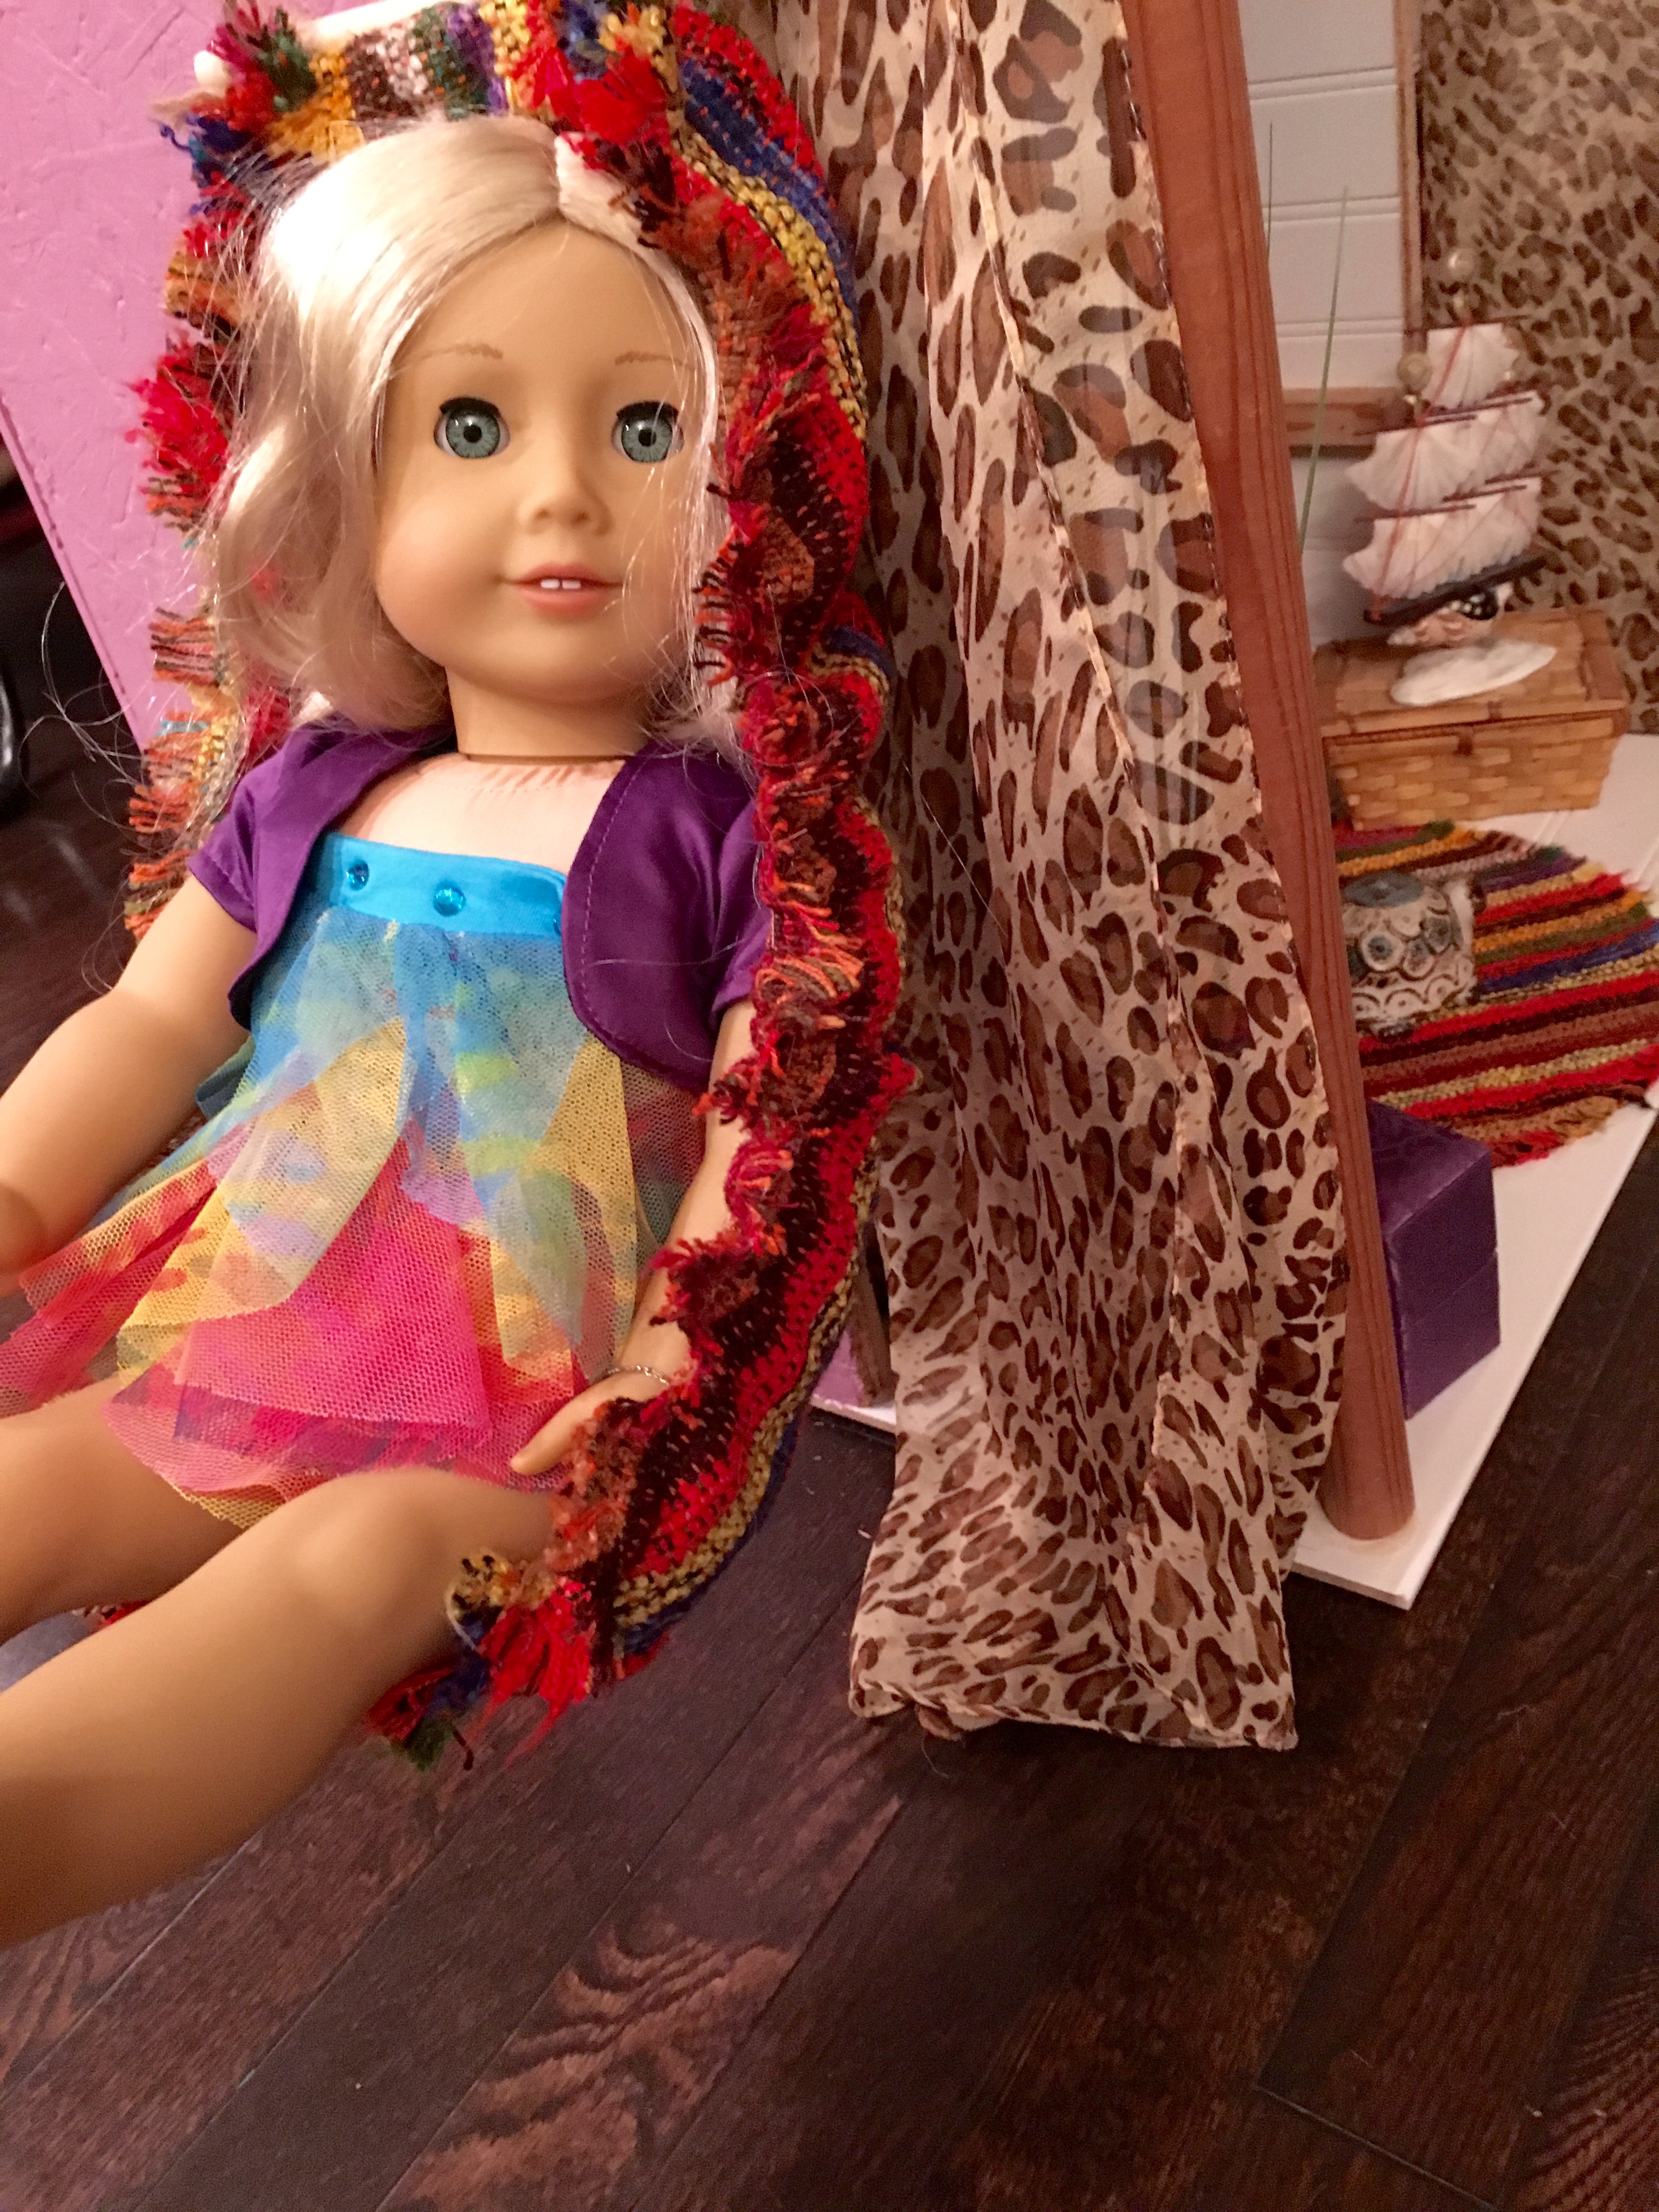
 We also created this hammock chair. I would have made an actual hammock, but my girl told me that the house already had a bed, so why would we make another one? True that.
We haven’t yet decided if we will purchase the Lea Clark doll. We are waiting because my girl has her heart set on another doll that might be coming out soon. ❤
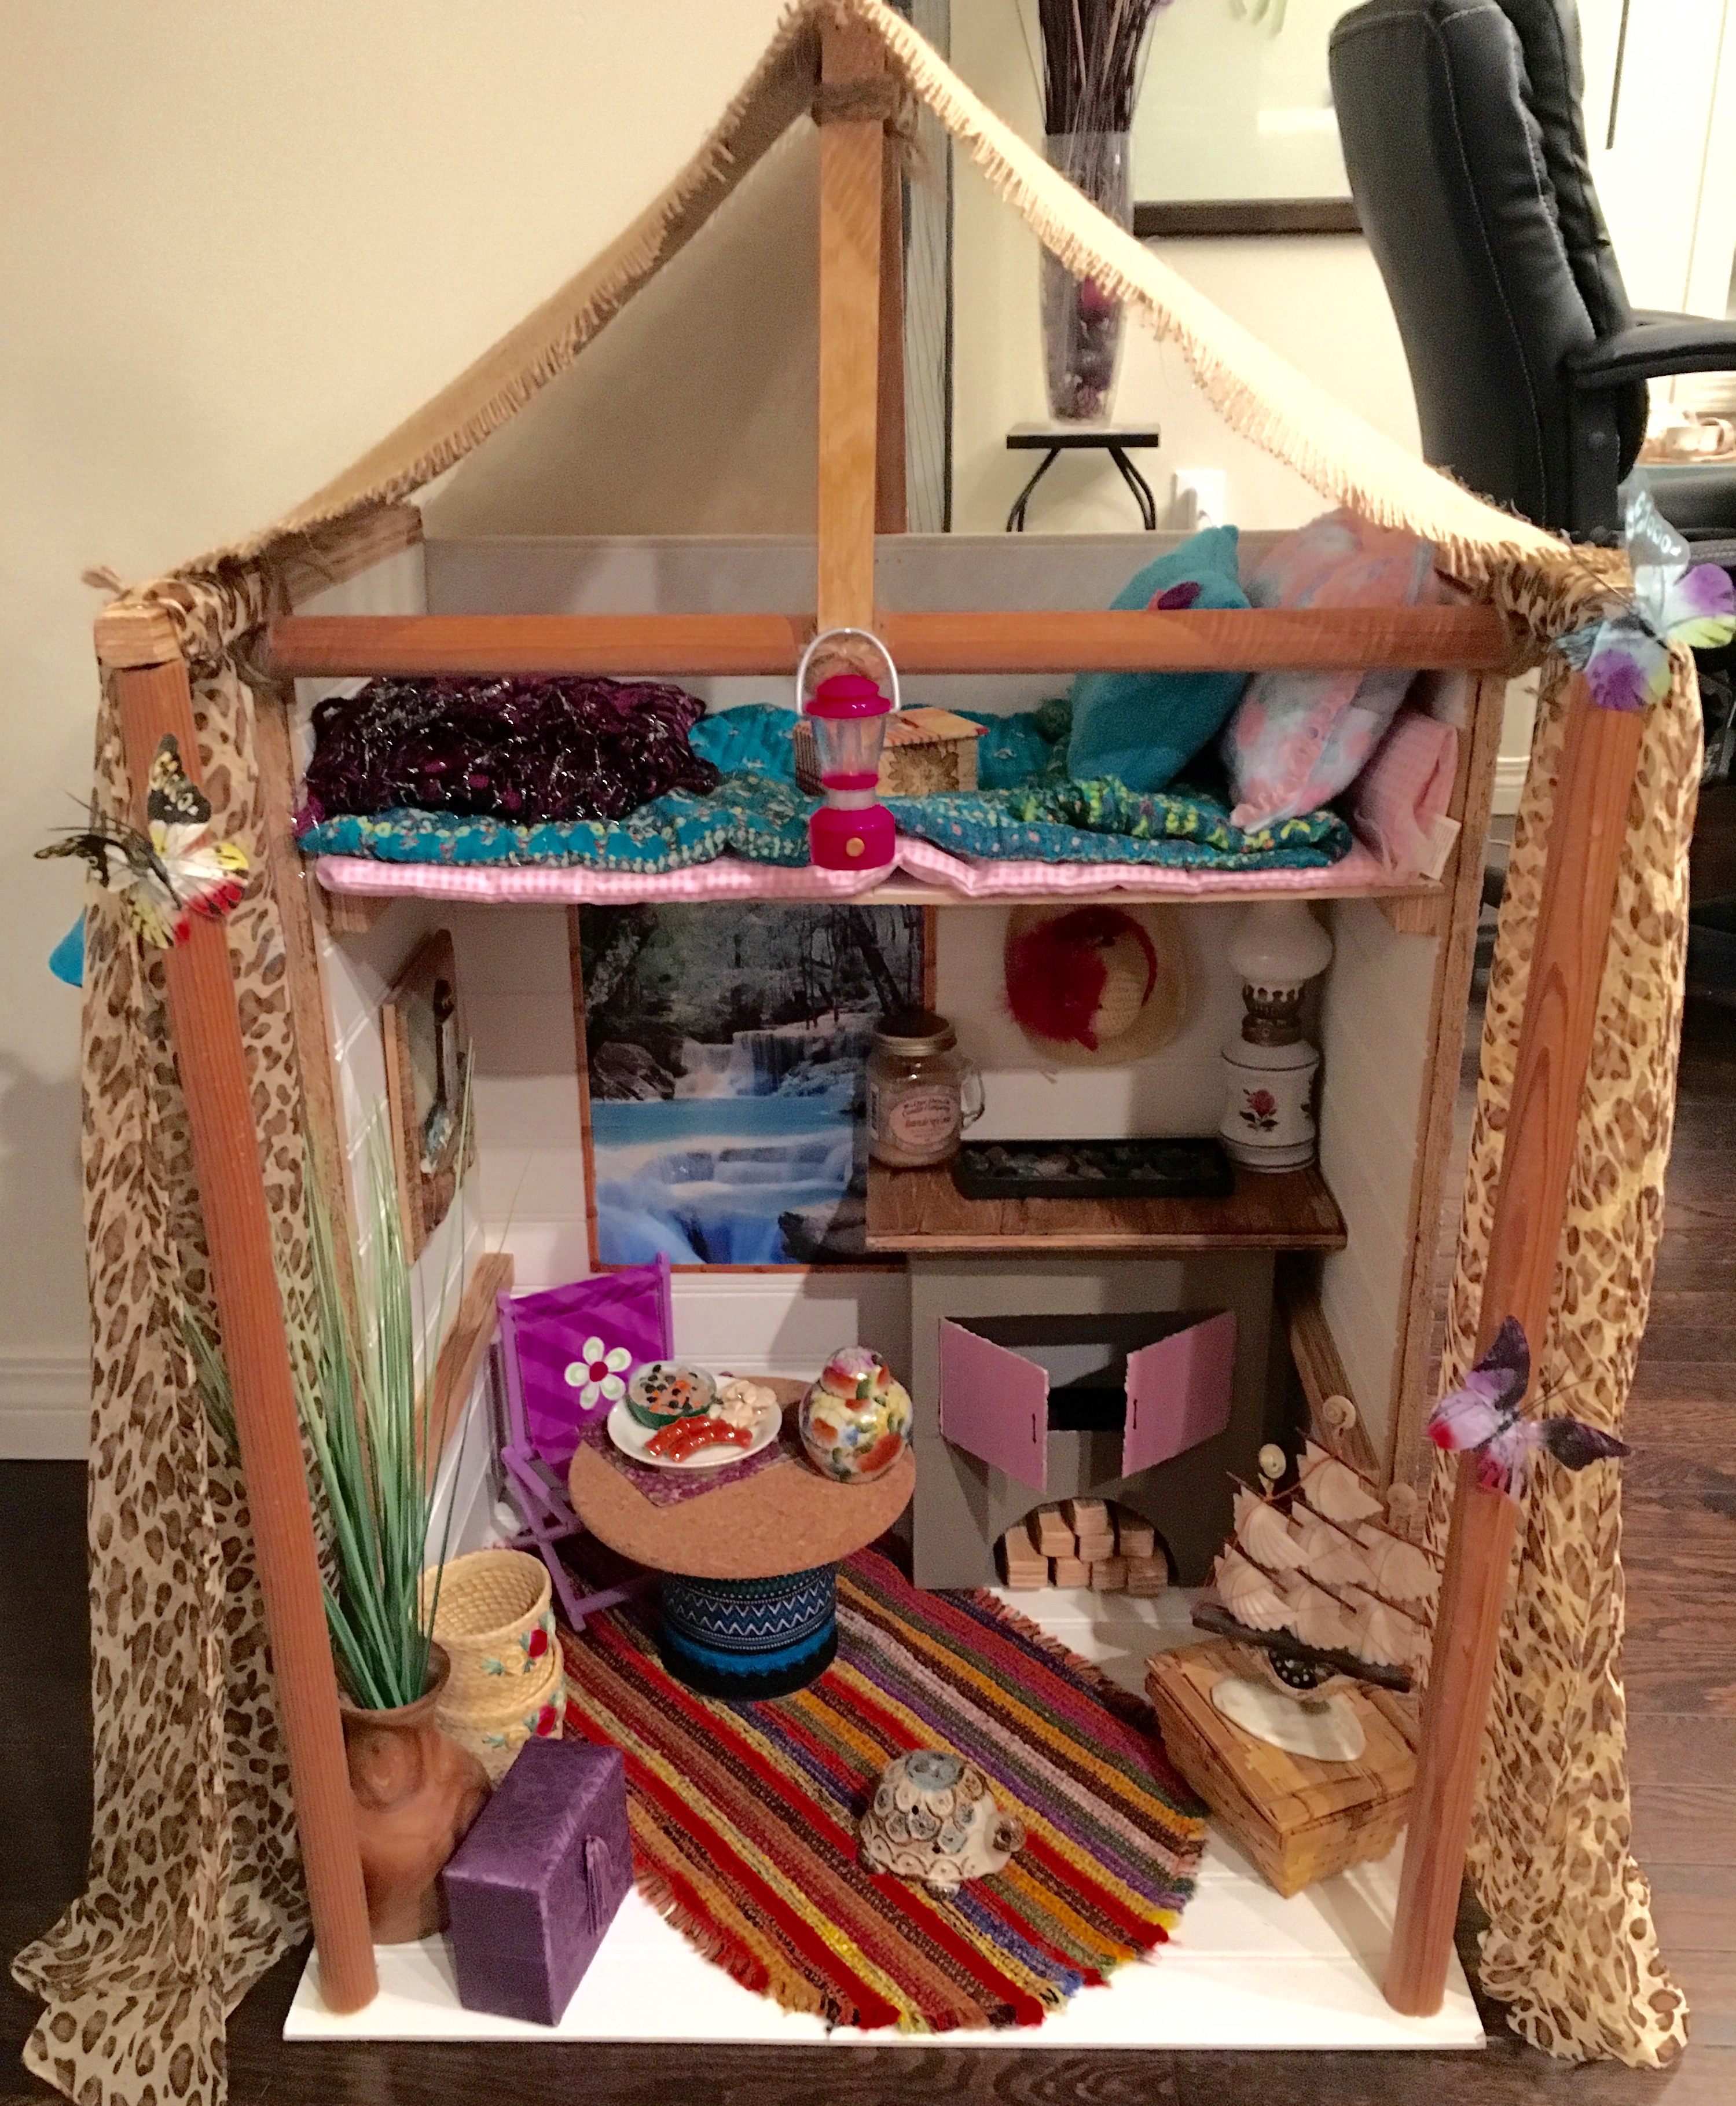
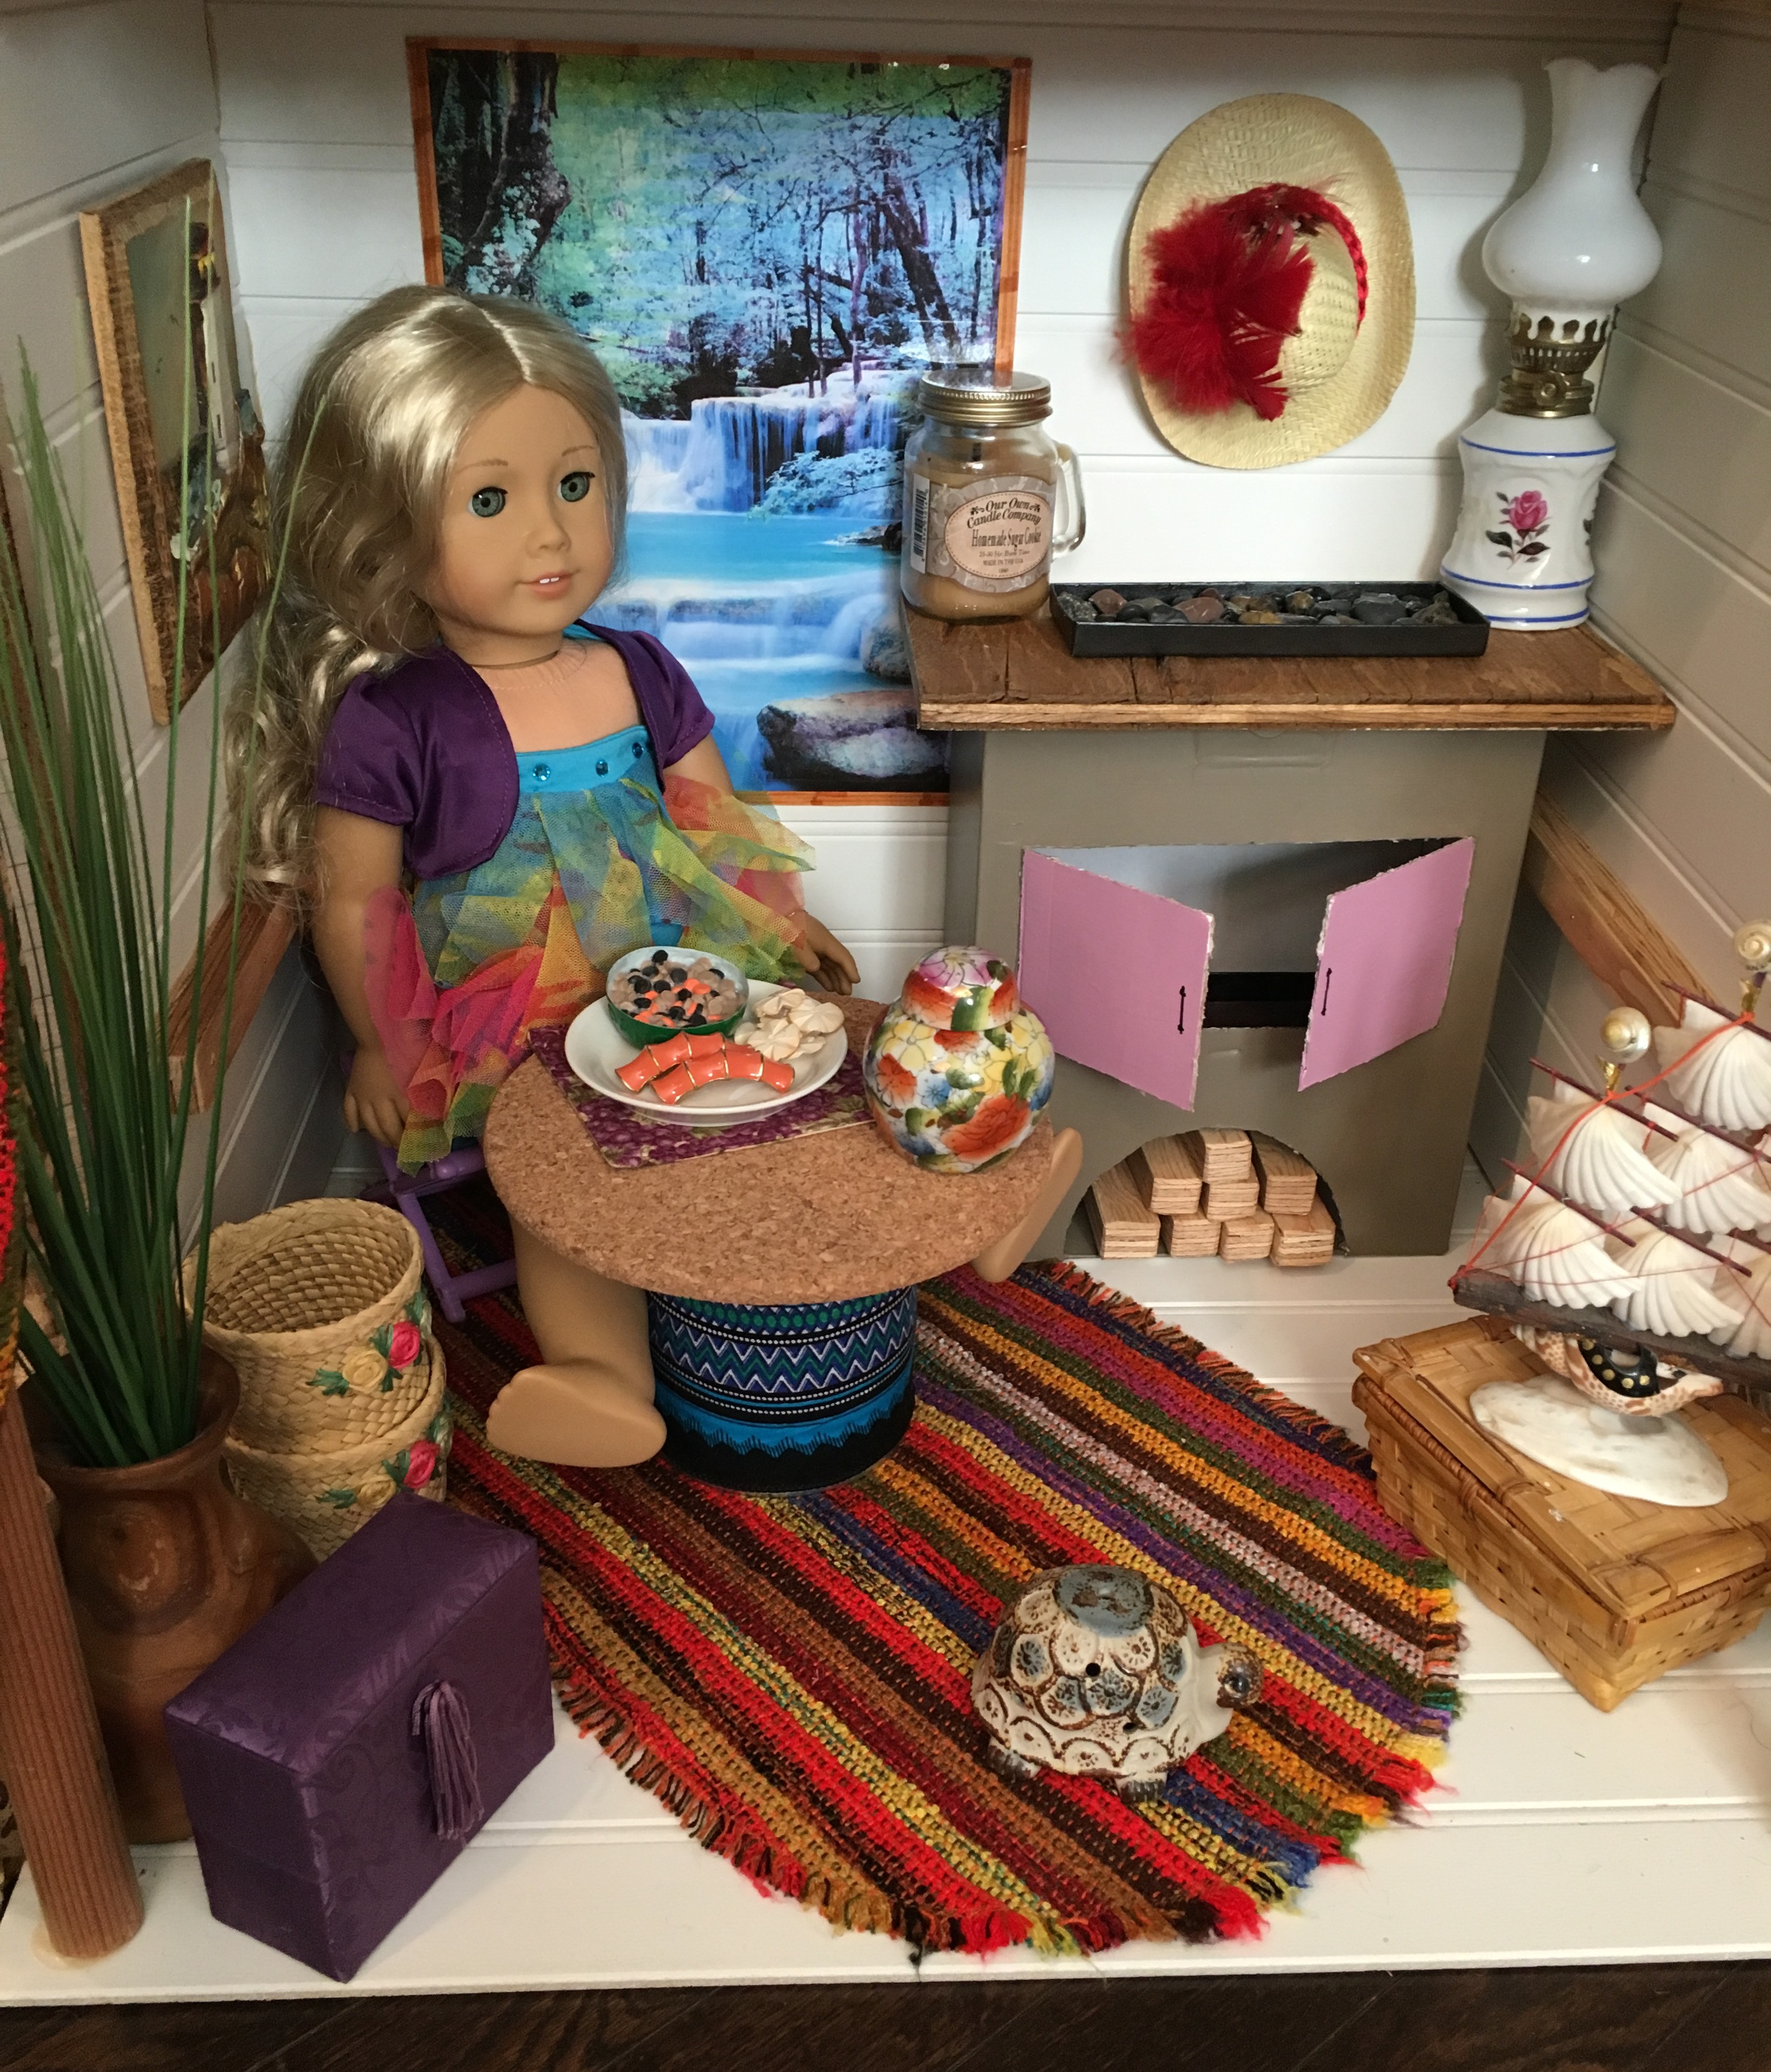
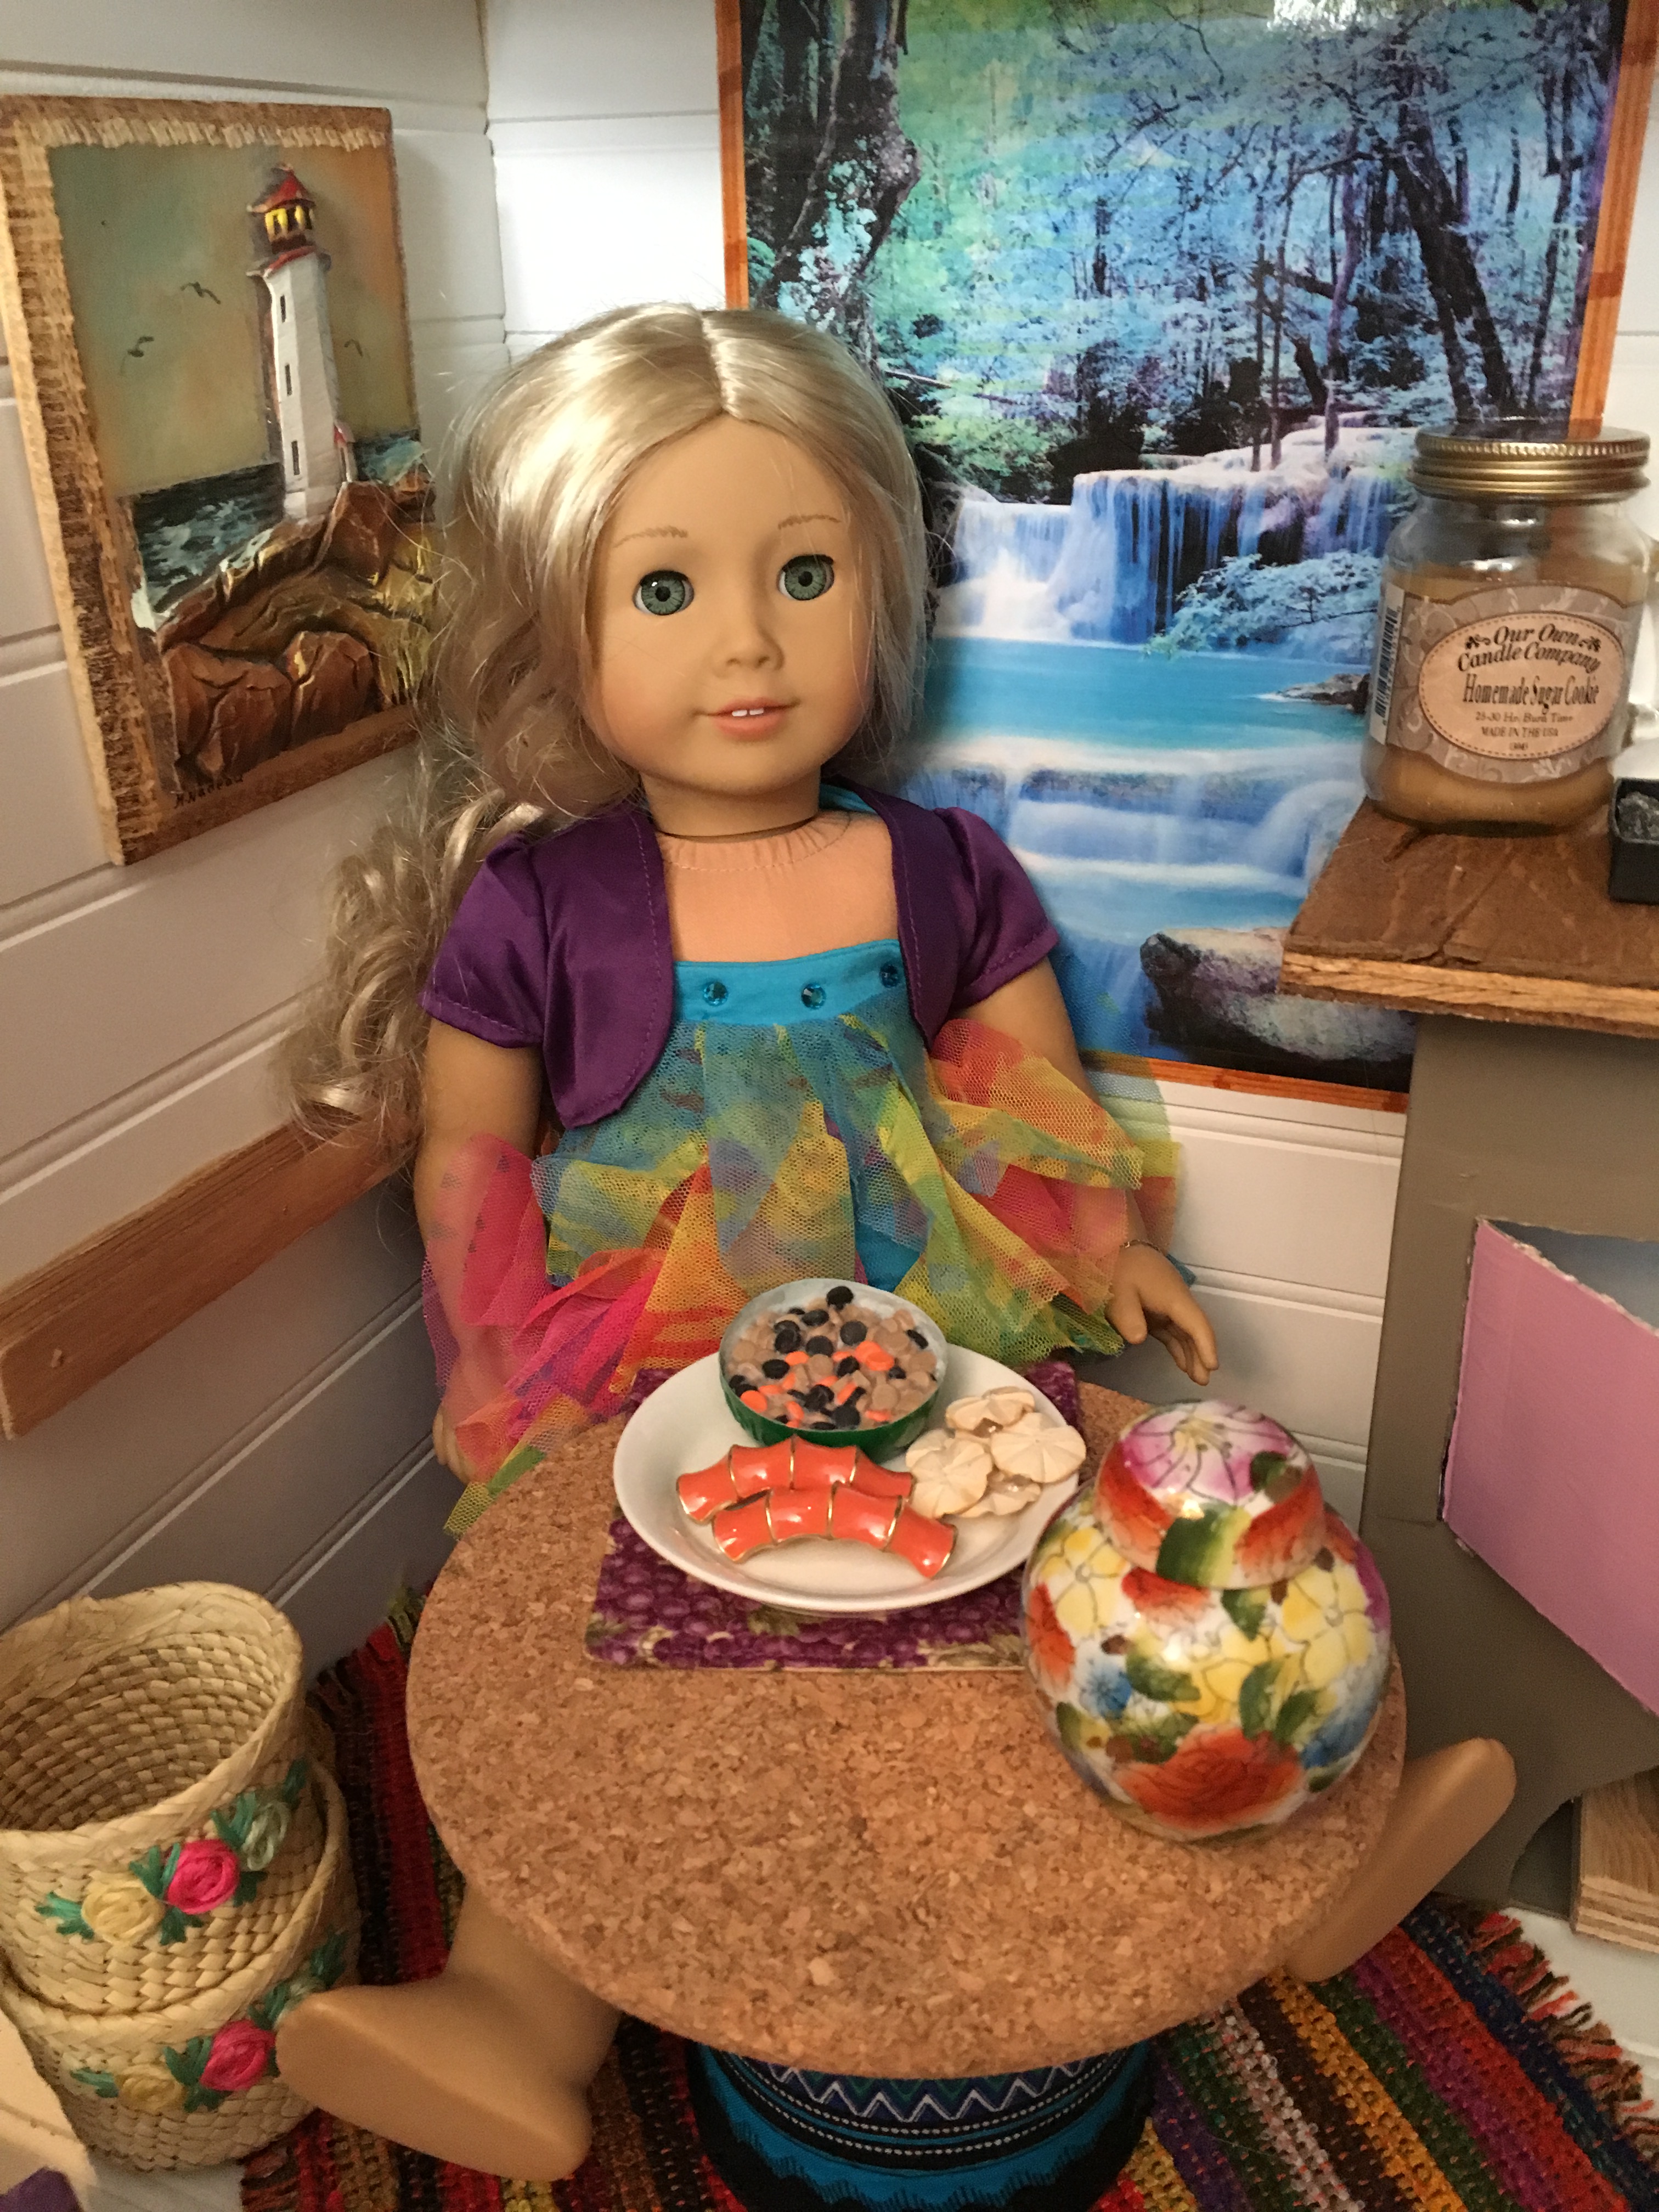
For now, our Caroline looks so relaxed and happy in her new rainforest home! 🙂


She’s been having a great time living here and working at the fruit stand.

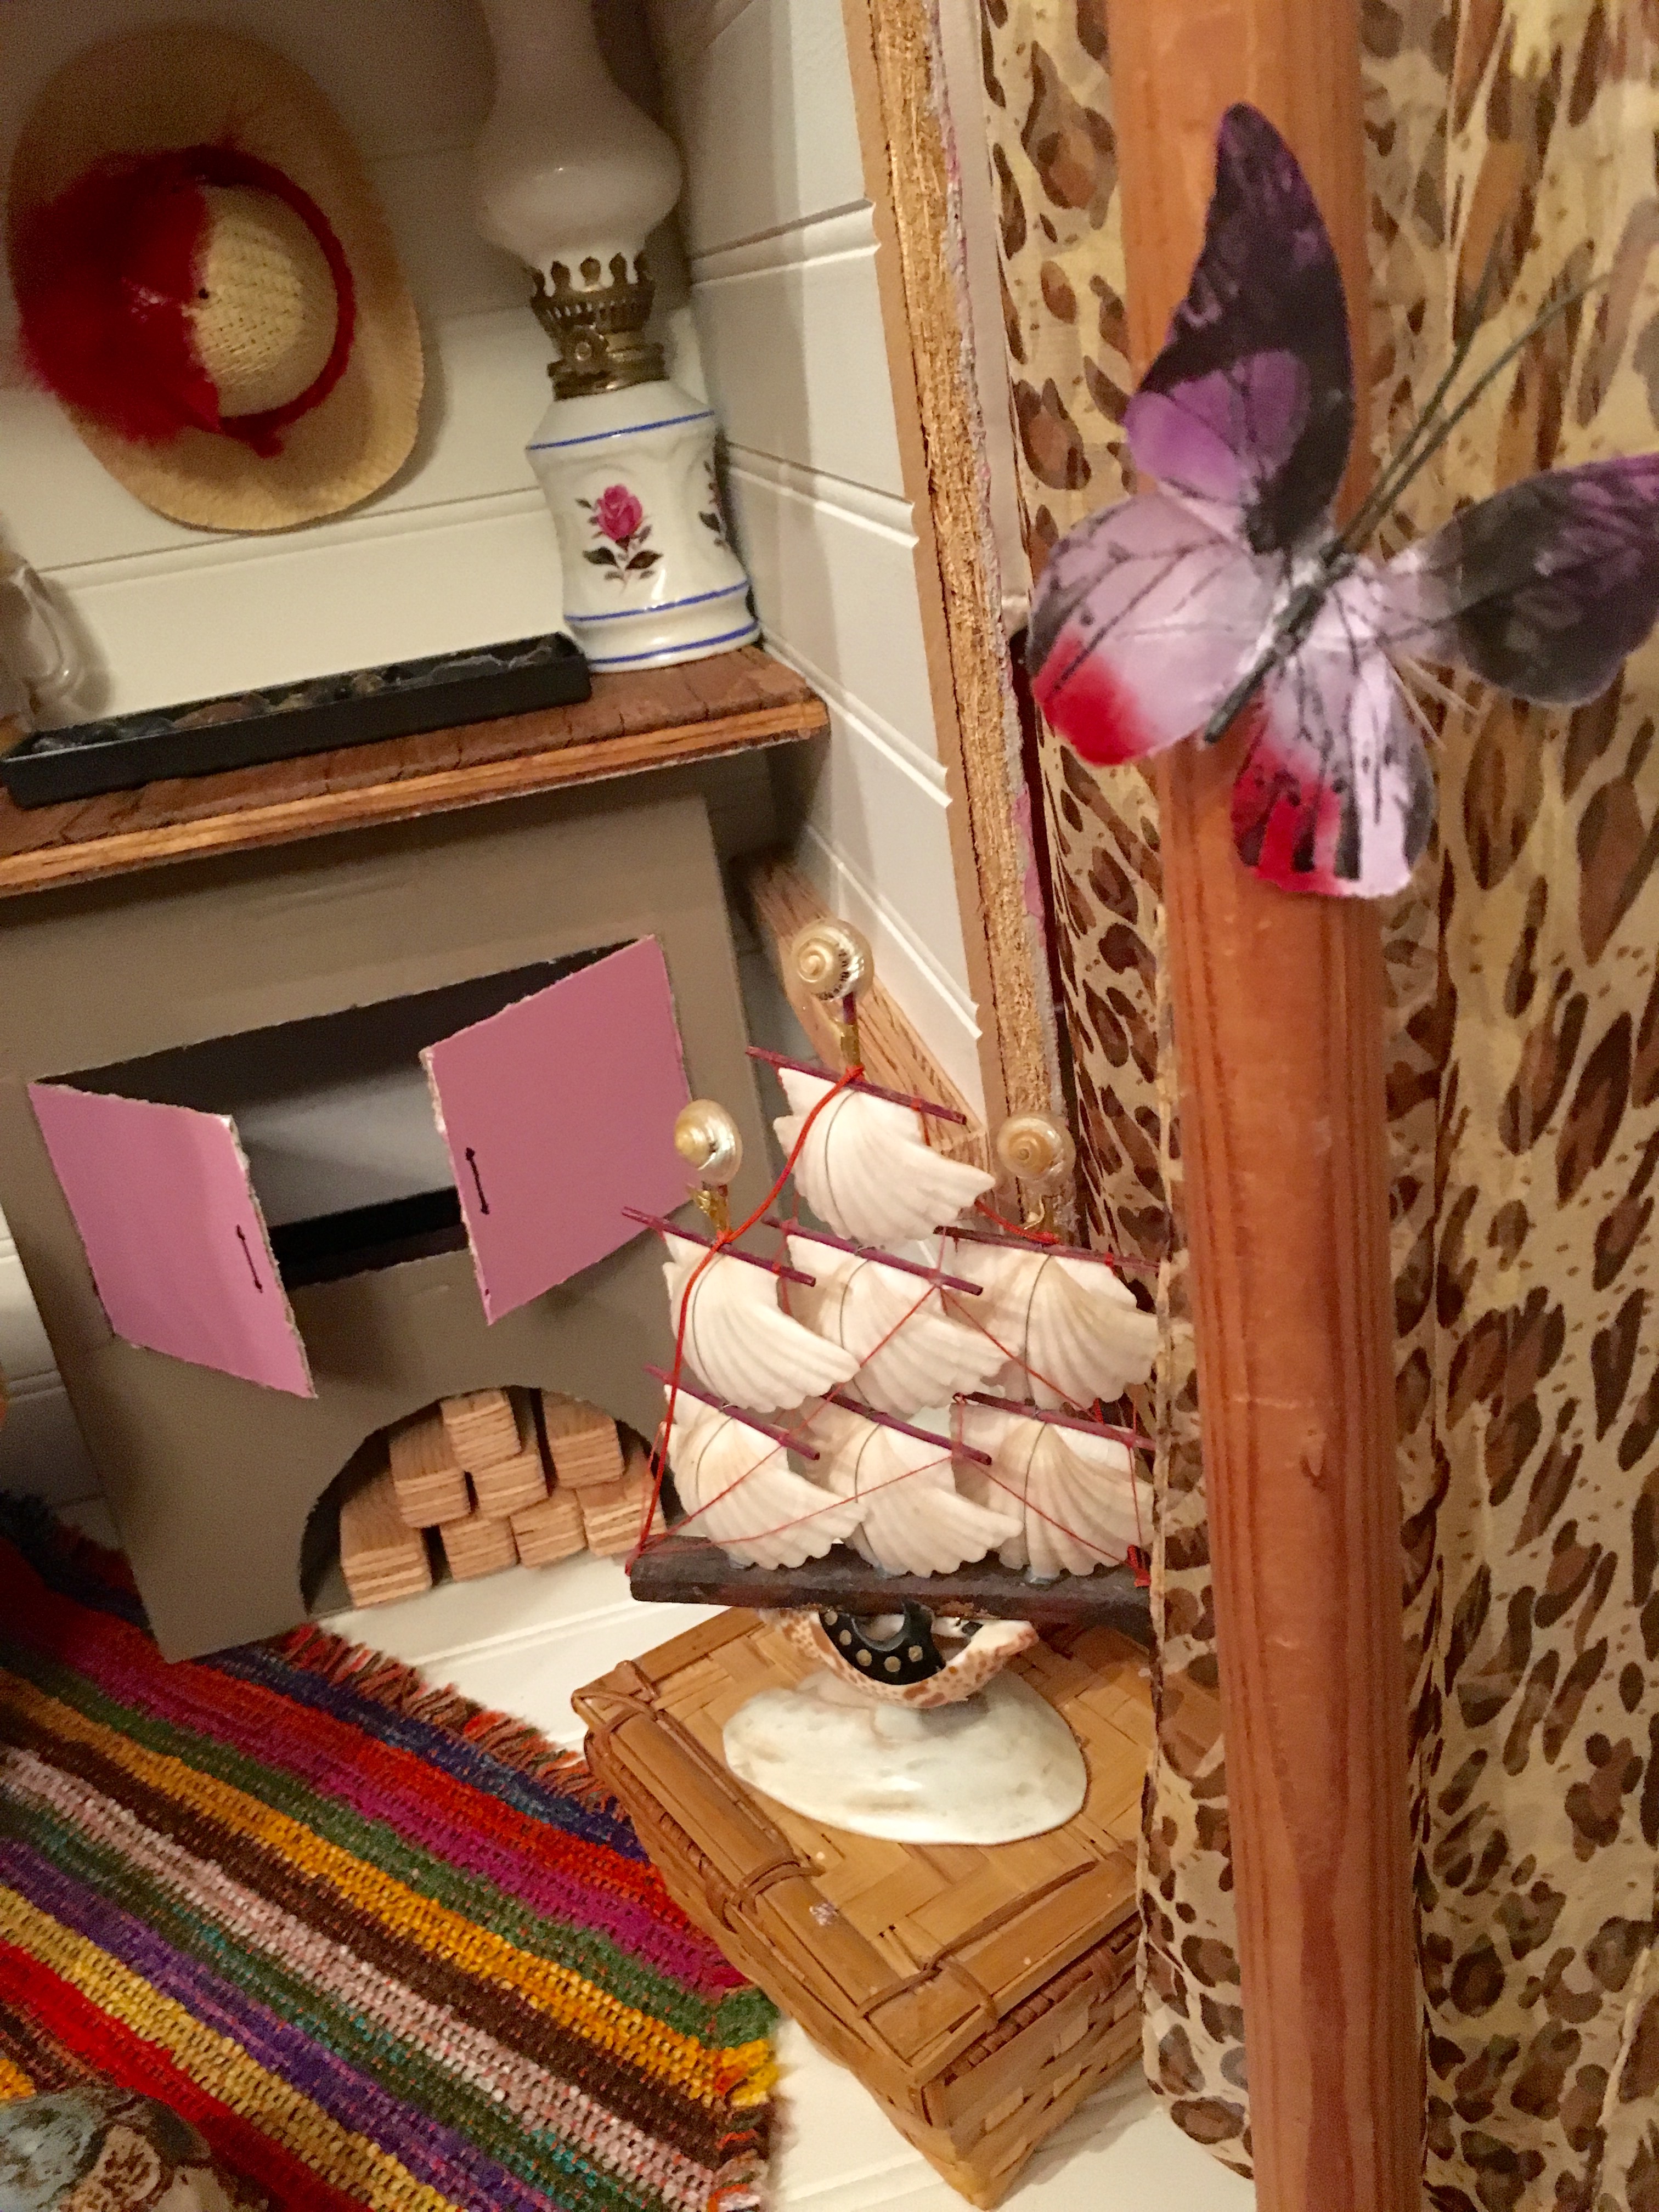
I just love that little seashell sailing ship! It is adorable!
Enjoy!

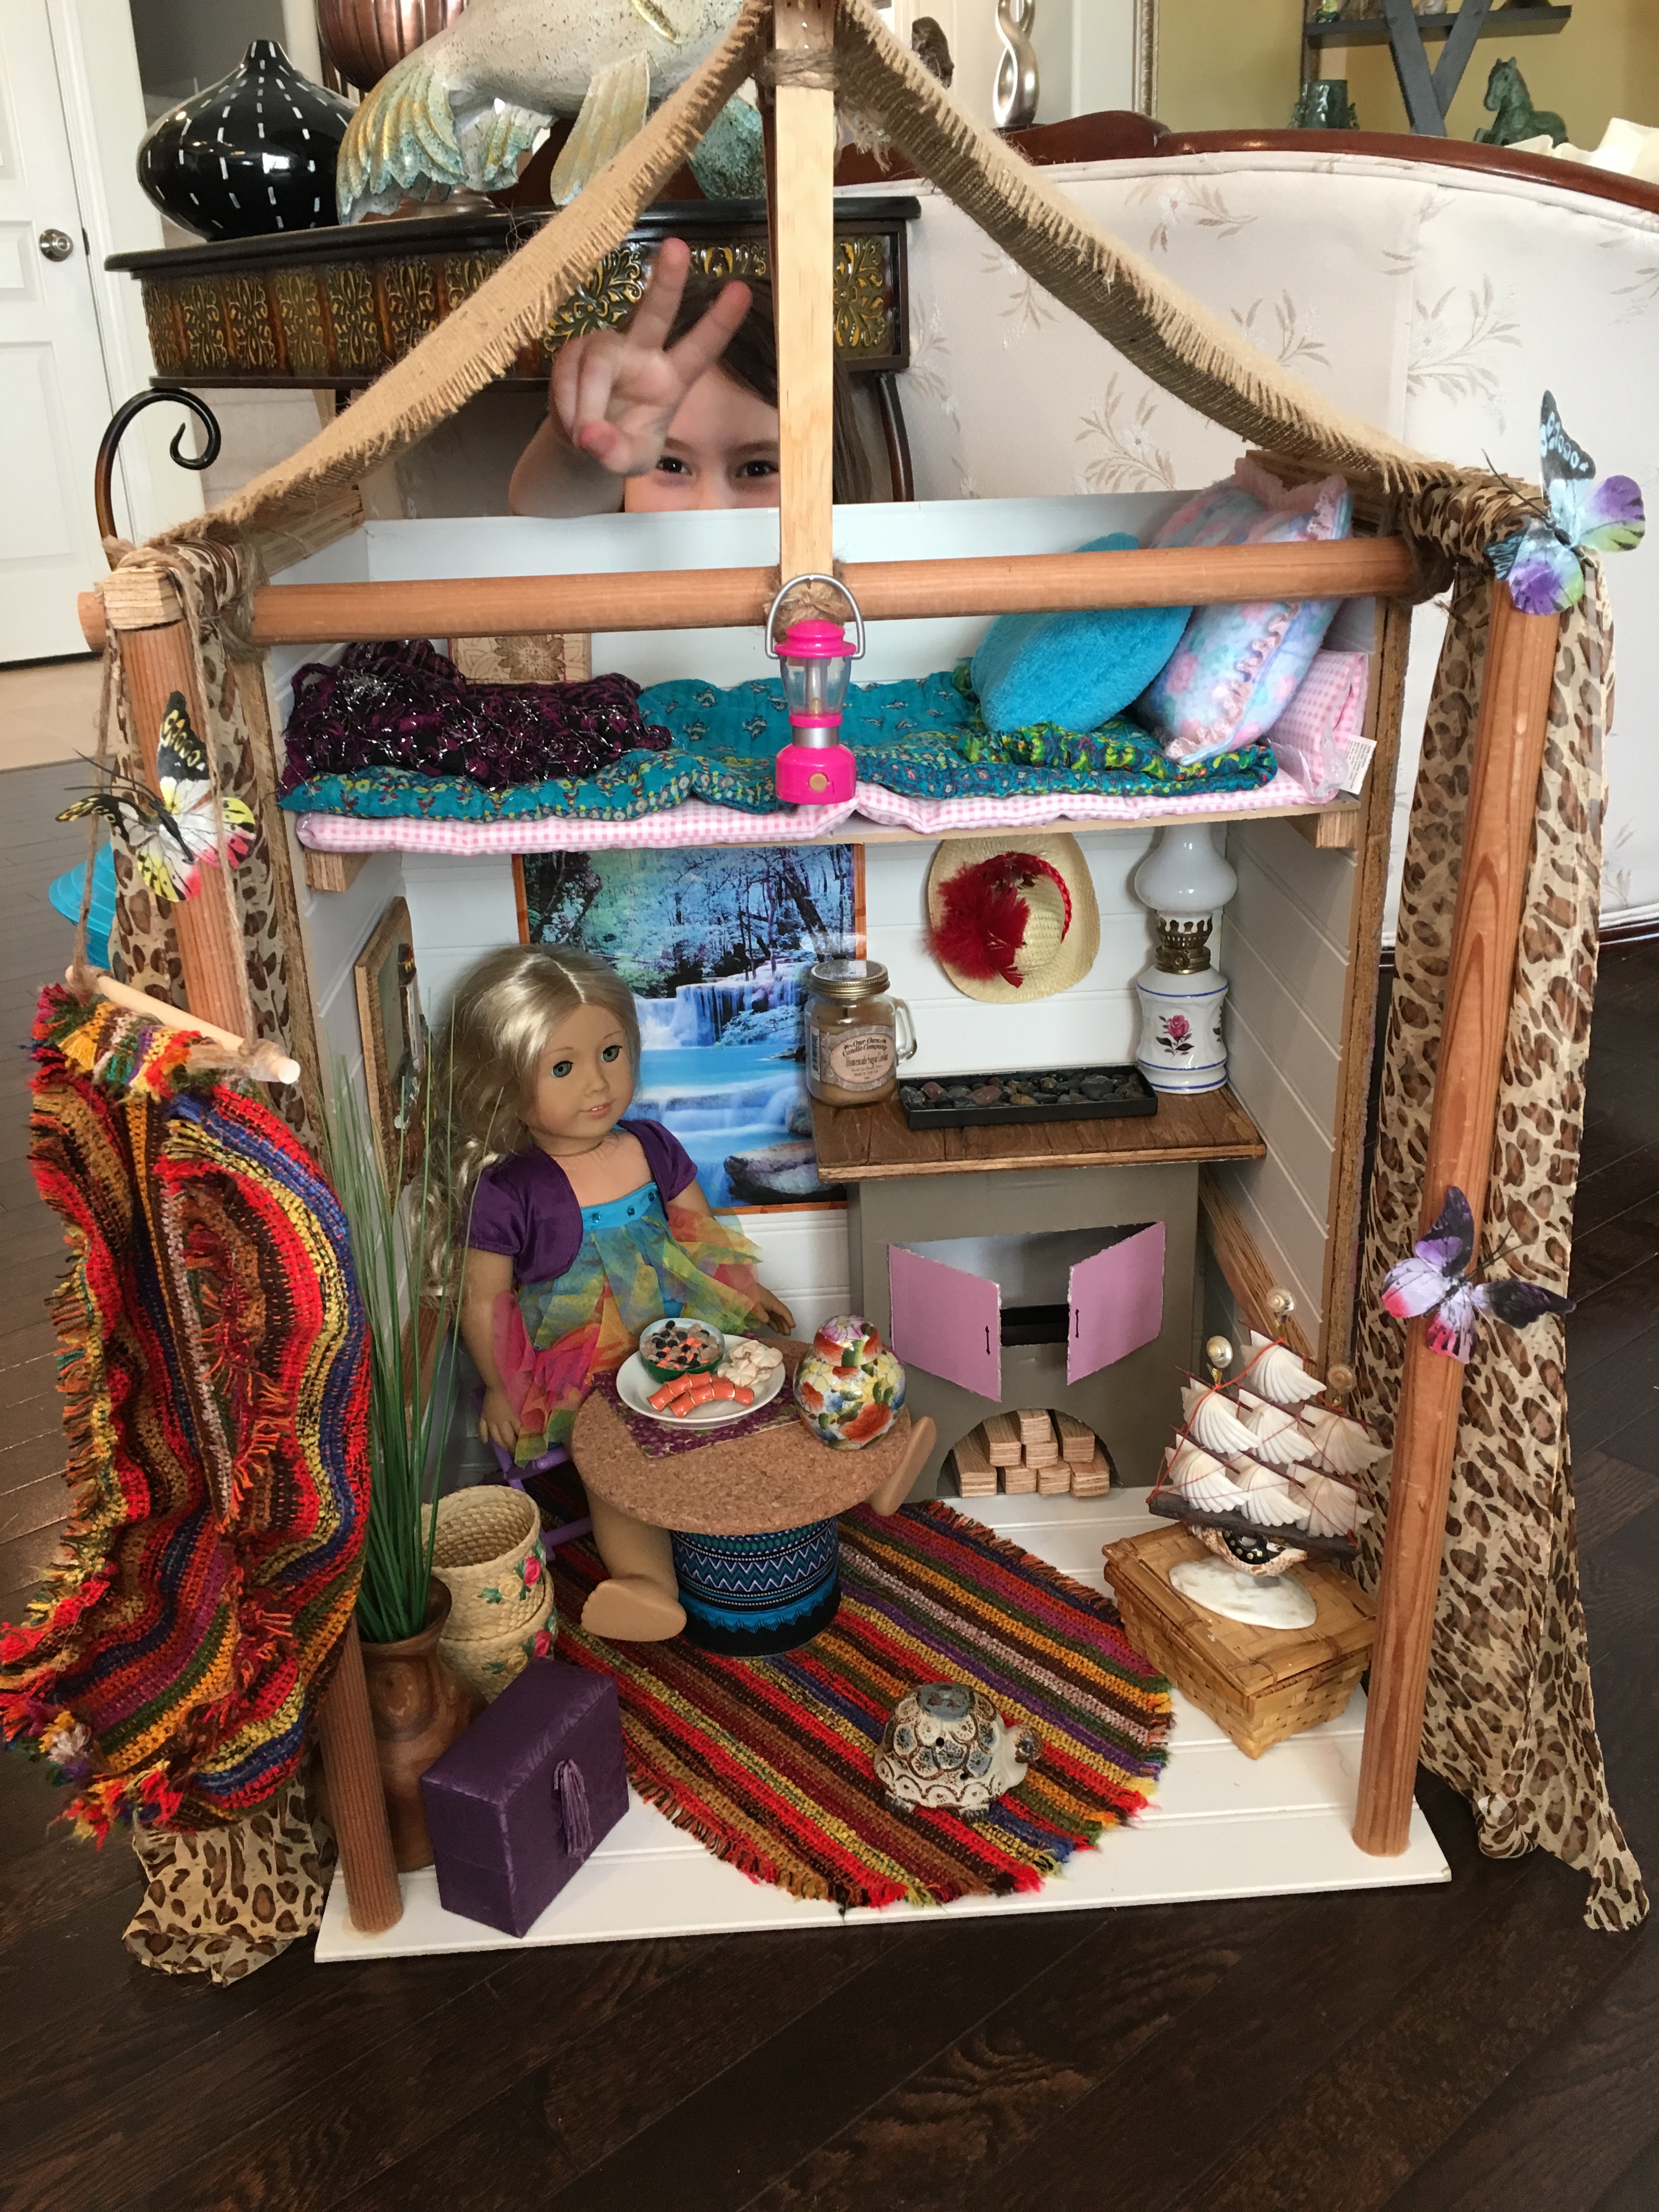
Can you spot my little photo bomber? LOL!
**Update: Here are some measurements for anyone who would like to make their own rainforest house. Enjoy! 🙂
21.5″ X 18″ FLOOR
10″ X 24″ SIDE WALL
21.5″ X 24″ BACK WALL
21.5″ X 10″ BED
Now go make something crafty!! ❤

Great blogg you have
LikeLike
Just came across this today….absolutely love it! I wish I could live there myself….
LikeLiked by 1 person
This is one of our favourites! ❤ It is still going strong today! I would totally live there, too! It looks so cozy, and eclectic!
LikeLiked by 1 person
I love this! I really love how you use things you already have around the house! Great job, it turned out really cute.
LikeLike
Thank you! We love how it turned out too! 🙂
LikeLike
Love this!!!
LikeLike
Aww, thank you! 🙂
LikeLiked by 1 person
Very cute! Your version has a much homier and cozy feel to it.
LikeLike
We loved making the Rainforest house! It’s one of our favourites by far. I love that it is so rustic and cozy inside too. It has a very quaint and eclectic vibe to it. I think that’s my favourite part of DIY. You can never truly know what the end result will be. My daughter always tells me that handmade is so much better than store bought because then you can decorate and make it whatever you want it to be. True that! 🙂
LikeLiked by 1 person
It looks great!
Thanks for linking up @ Spreading My Joy!
Allie D.
http://www.spreadingmyjoy.blogspot.com
LikeLike
You’re very welcome! 🙂 I like your blog!
LikeLike