

Hi there! We have been crafting up a storm for our new seaside diner! If you missed it, you can find a tutorial to make one here.
Now onto Part Two.
To make a grill for your diner you will need:
Silver scrapbooking paper
Black cardboard paper
Small photo/keepsake box
Plastic bucket to fit inside photo box (We use these dollar store containers for hair elastics.)
Paint (I used the same pink as I used for the diner)
Hot glue gun
Scissors

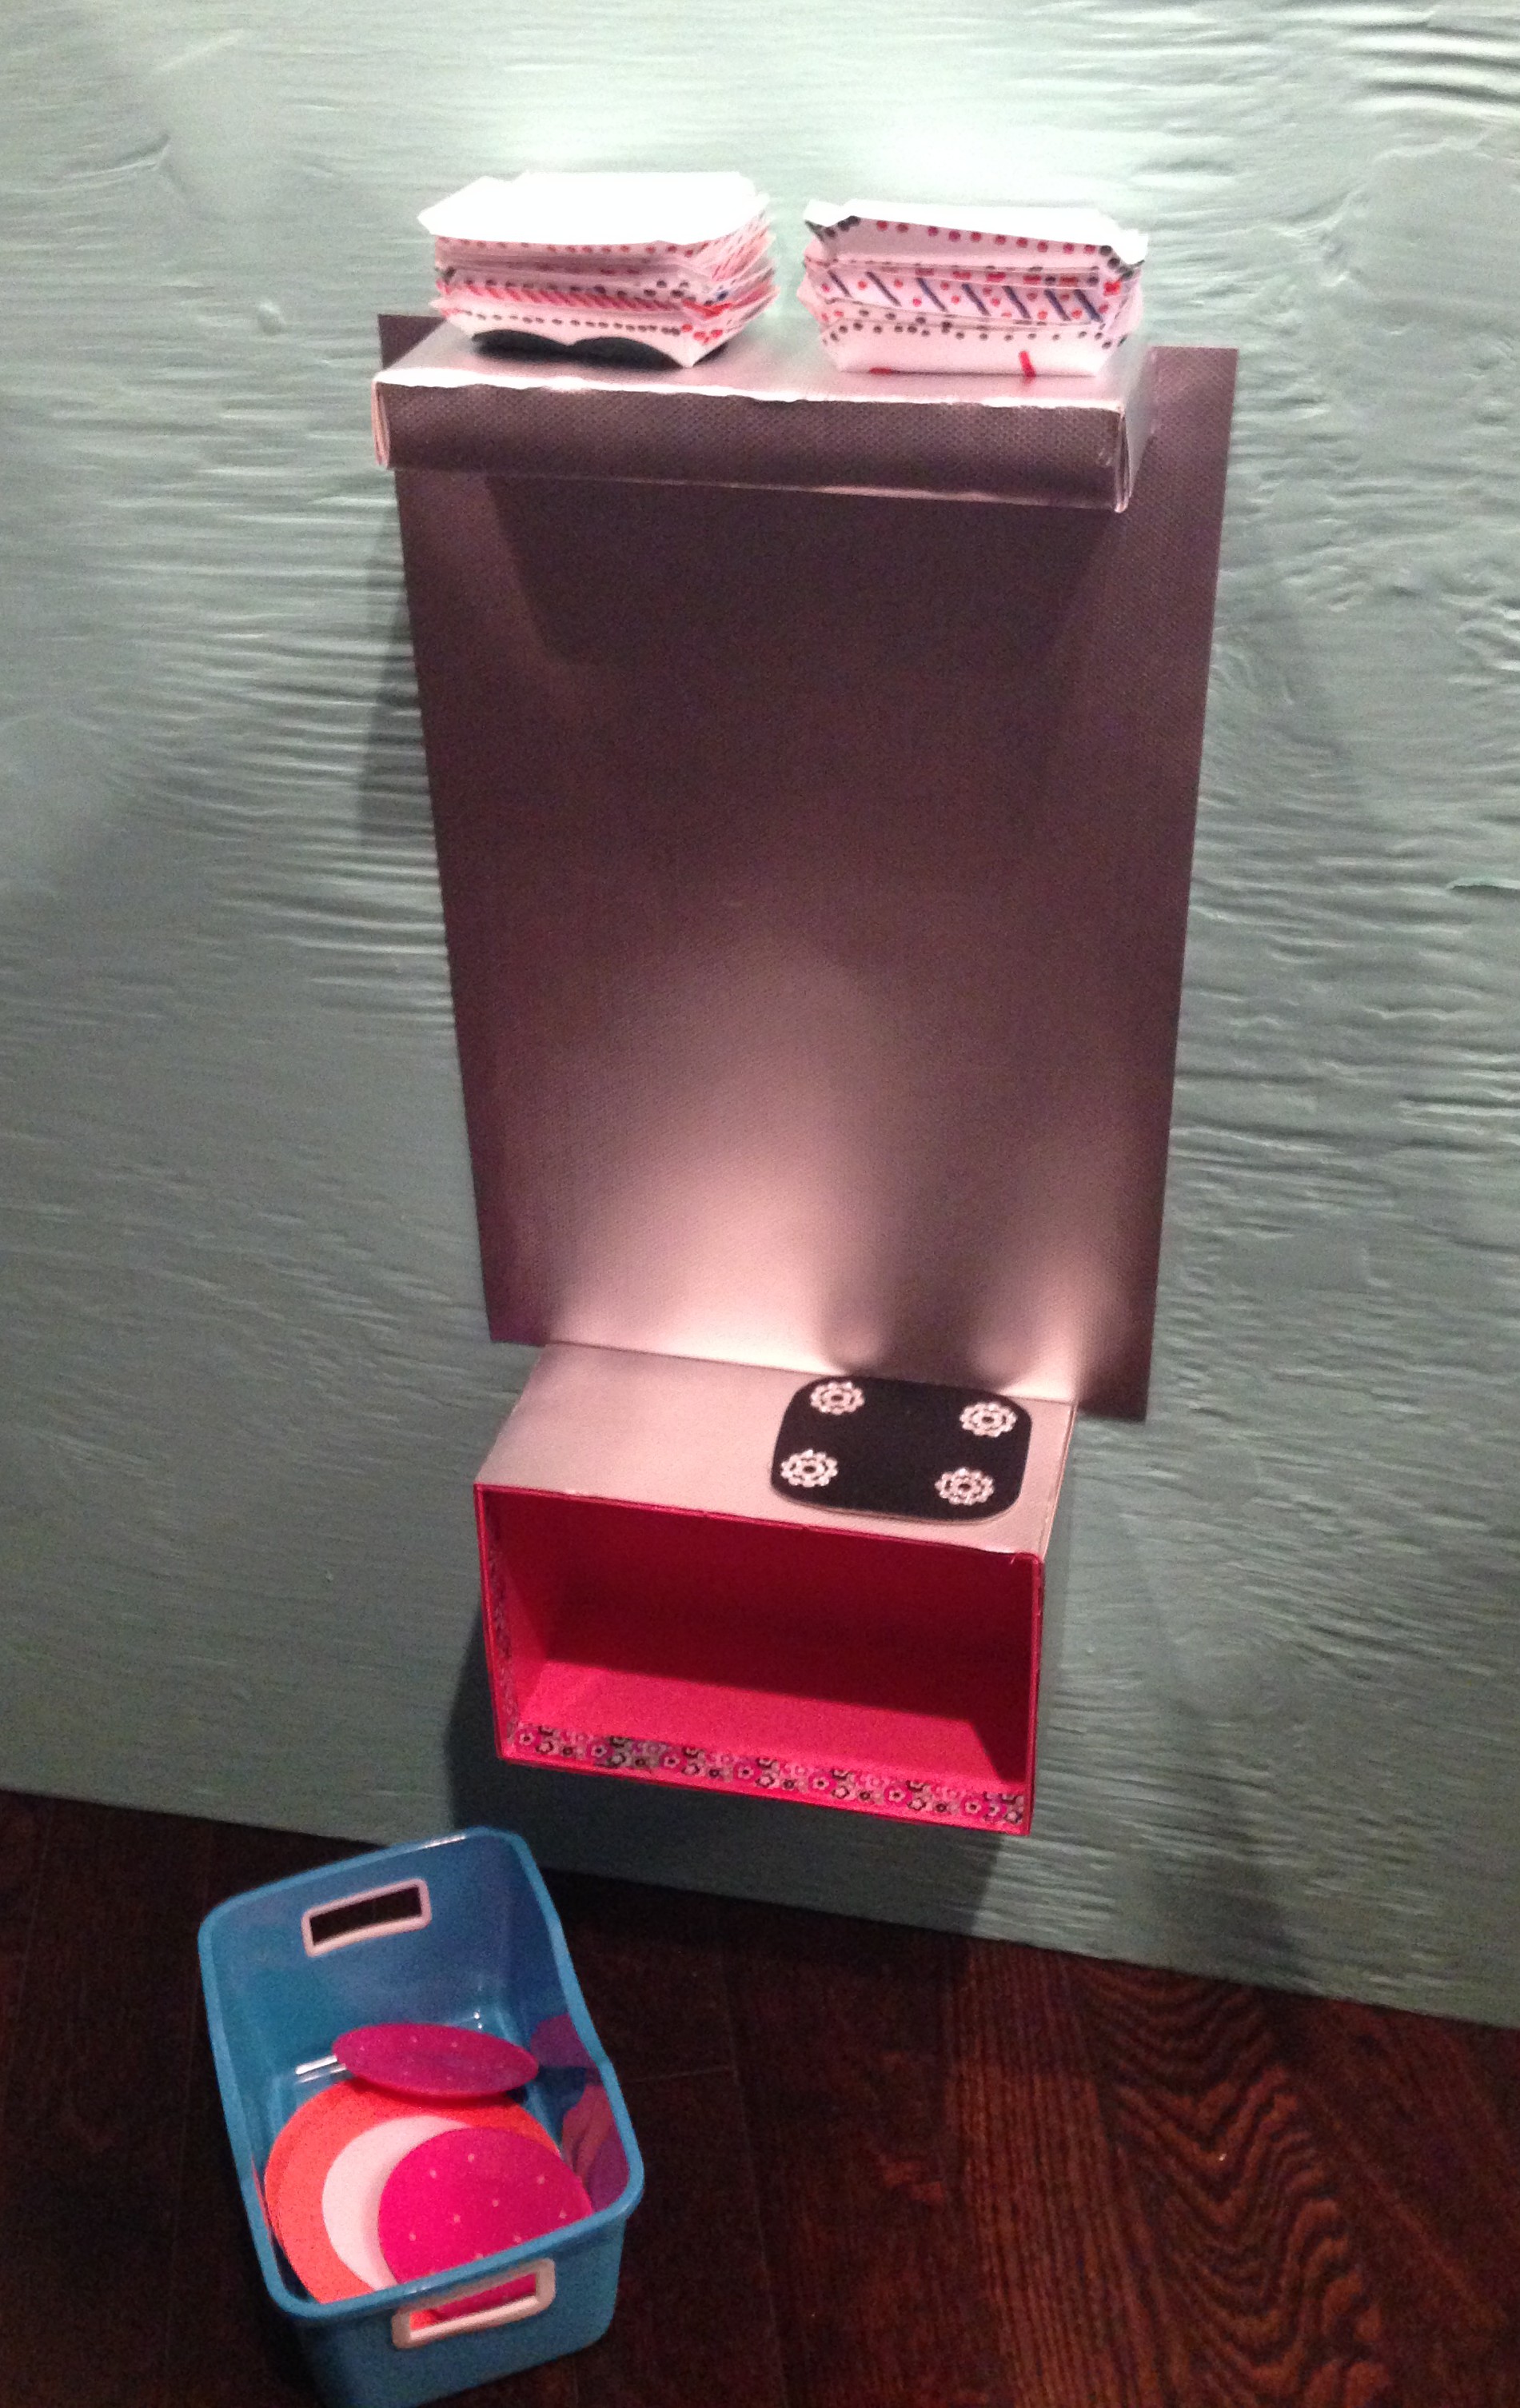
Here I have painted the inside of my keepsake box pink. The plastic organizer matches and fits inside nicely. We are using it as a bus boy bin for dirty dishes.
Cut the silver scrapbook paper 12″x 8″. Hot glue it to the back wall of your diner. The bottom edge should come up to the waist of your doll so that she can reach the grill. Hot glue the keepsake box below the silver back. If you want it to be really sturdy you could use some small screws to secure it, but I didn’t find it necessary.
For the top of your grill, take the lid of the photo box and cut it in half. Insert one half into the other so that it forms a narrow box. (You could just use a narrow box, but I like the sturdiness of the lid. I was also just using what I had on hand.) Cover in silver scrapbook paper, and hot glue it to the top edge of the grill.
Hot glue a piece of black cardboard for the stovetop of the grill. I used some silvery flower stickers that I had for burners, but you could just use the silver scrapbook paper. I love how metallic it is.
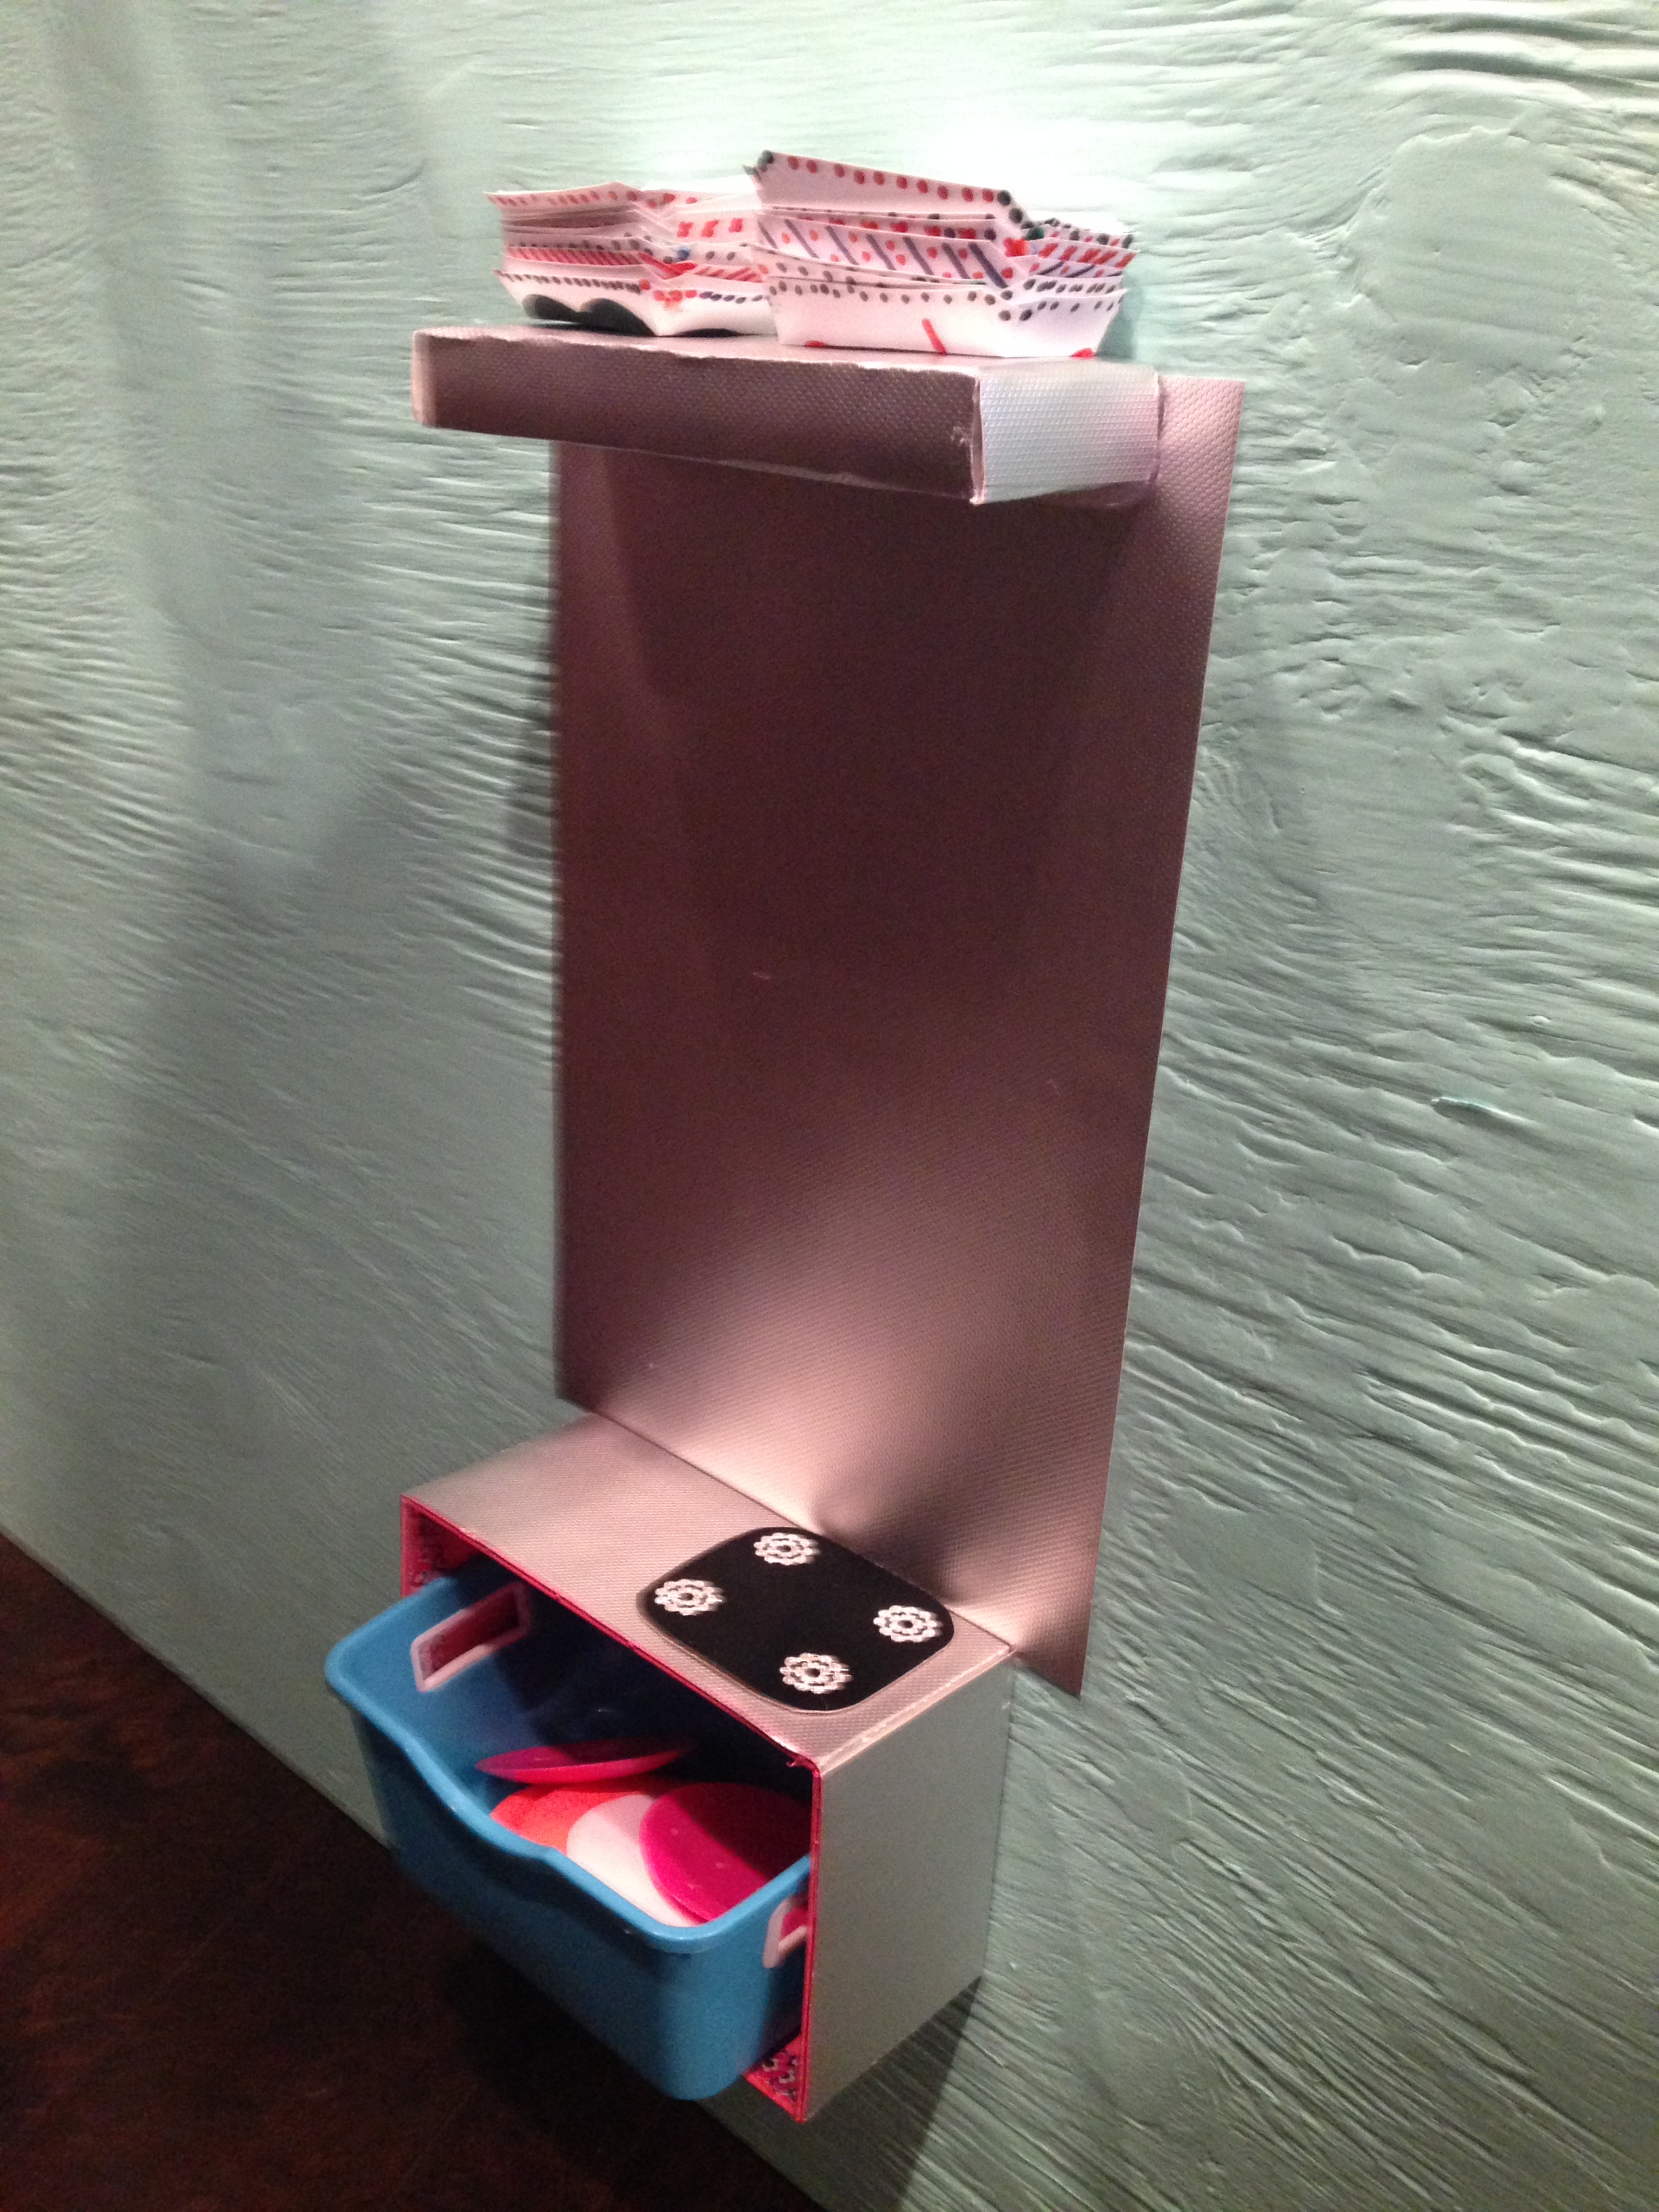
I think it turned out pretty nice!
We decided to make some breakfast for the dolls too.
We used:
White glue
Wax paper
Craft paint
Hot glue
Modpodge
Lay out your wax paper. Drip some generous globs of white glue onto the paper. These are going to be your eggs and pancakes so be sure to size accordingly. Next, drip some glue squiggles for bacon.
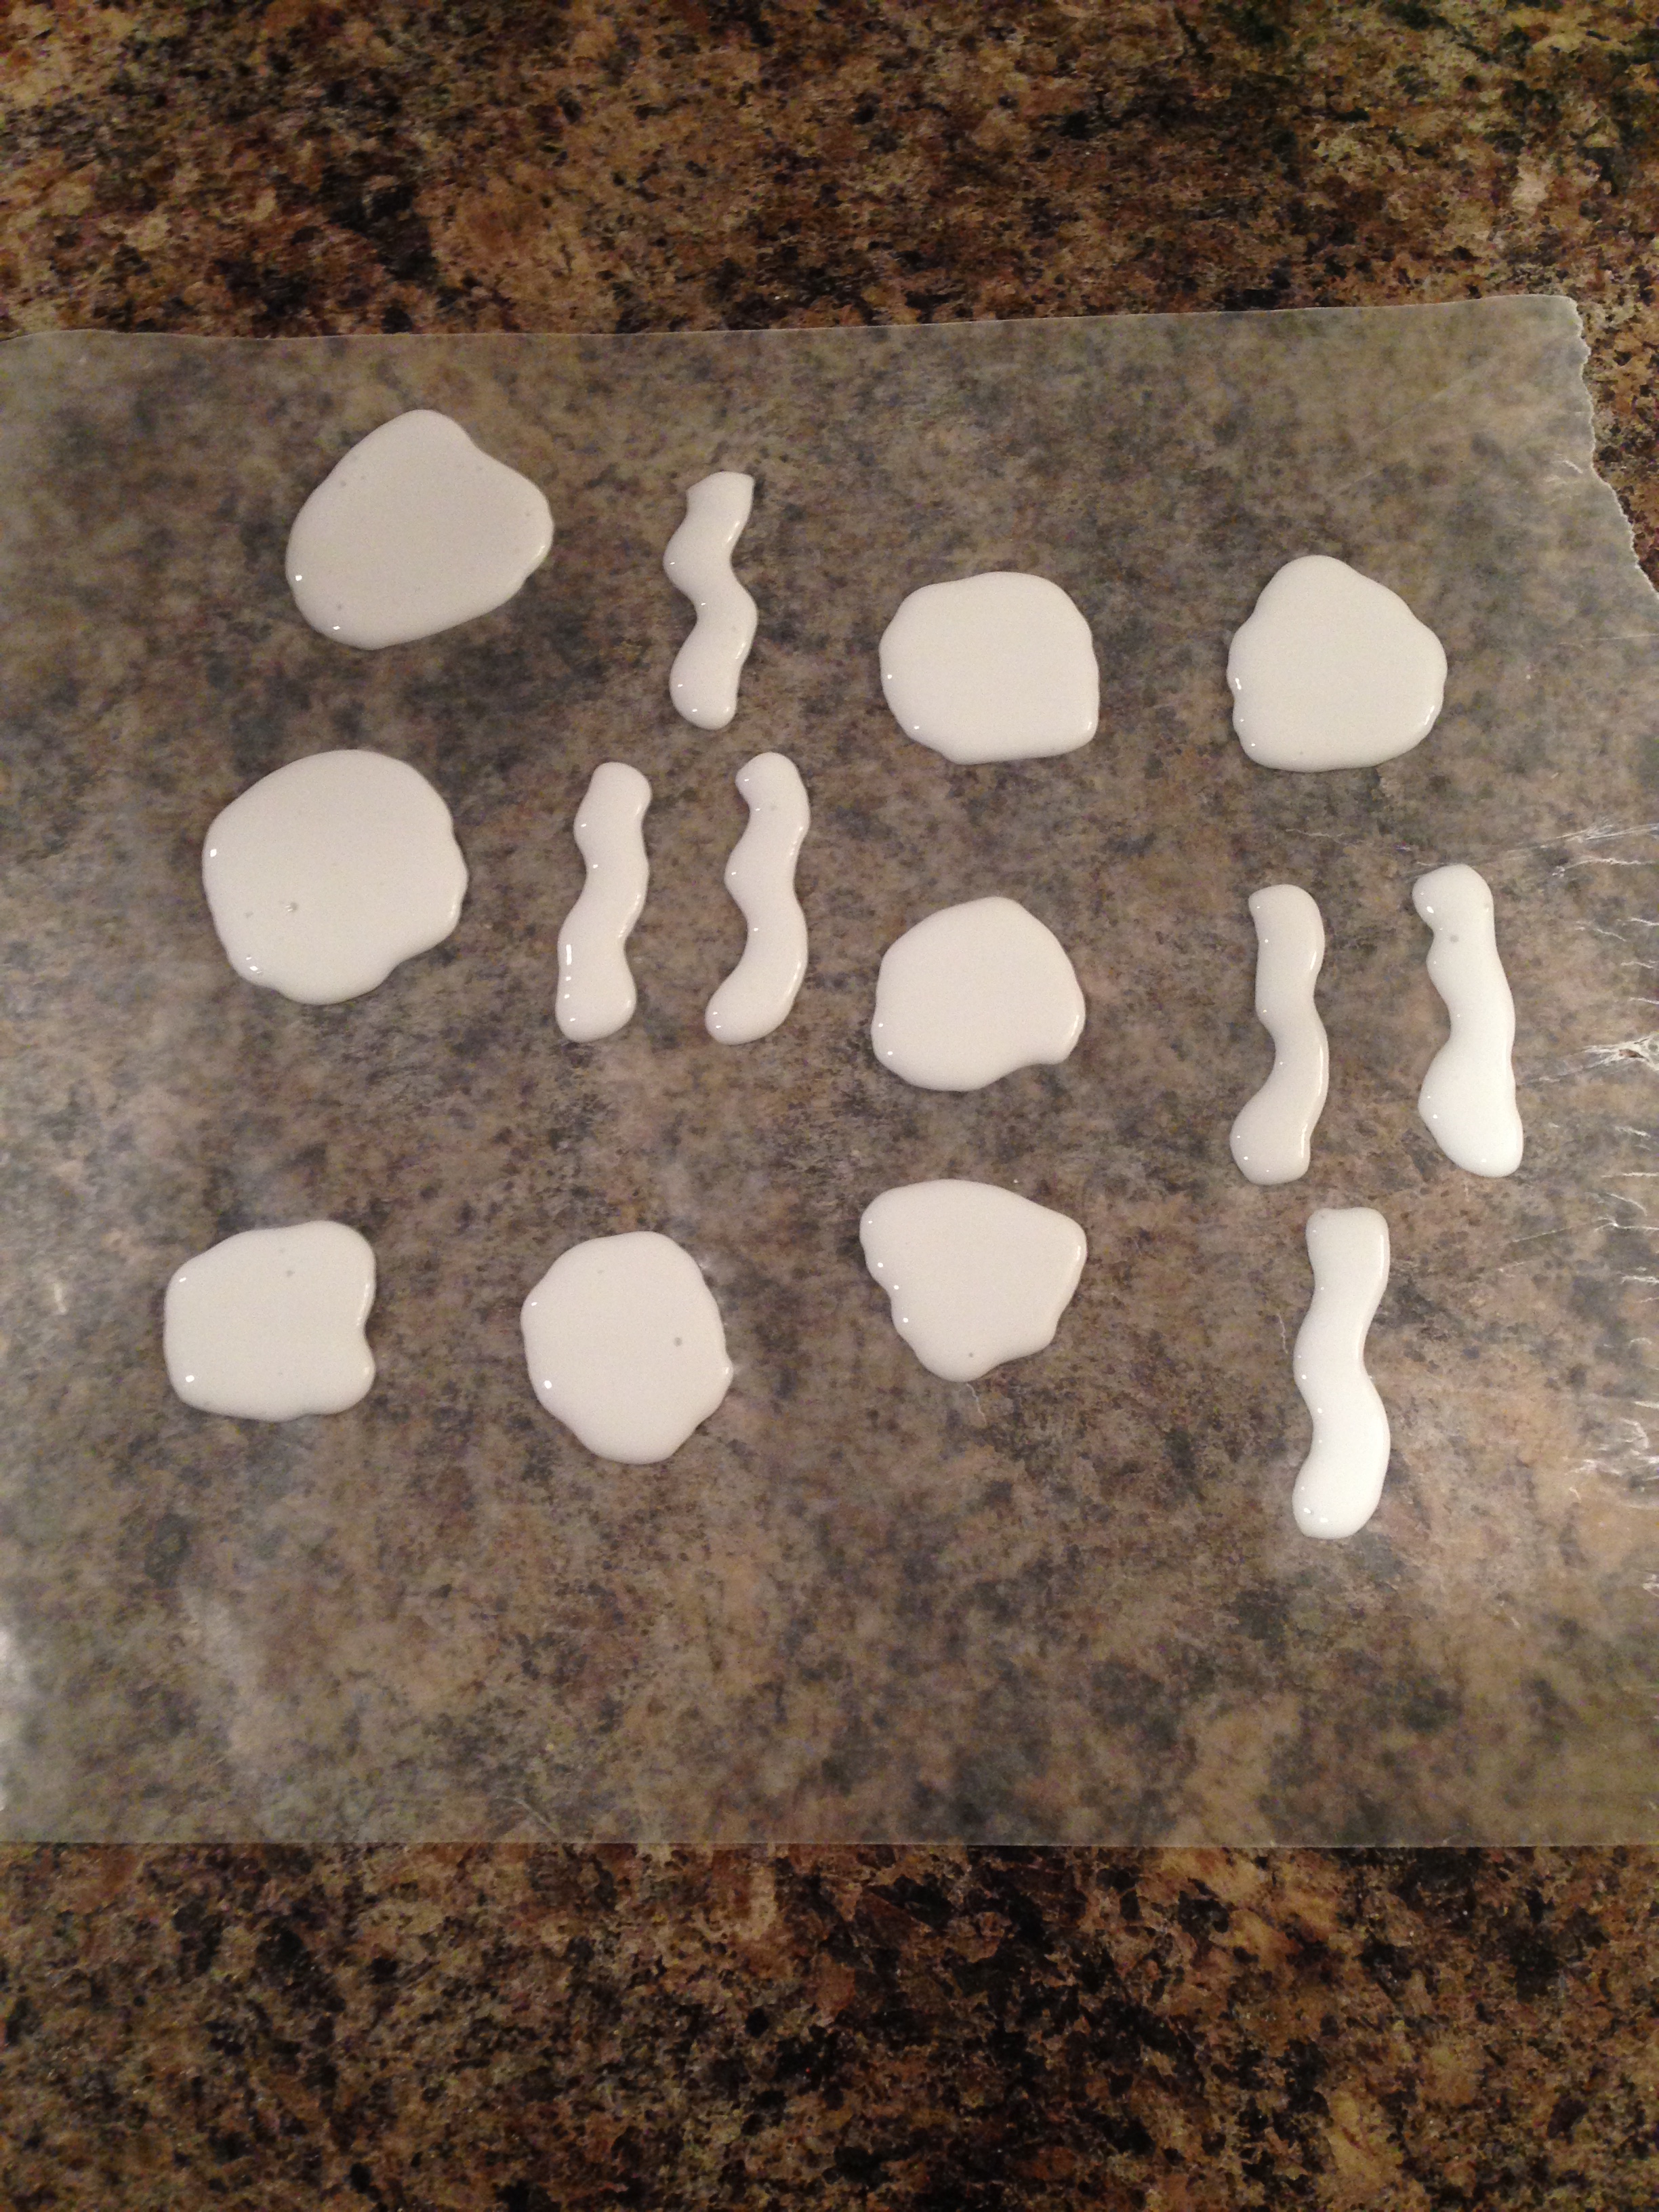
Let it dry for about two days. In hindsight, you could probably just use hot glue. It would be faster. I really like the texture of the white glue though.

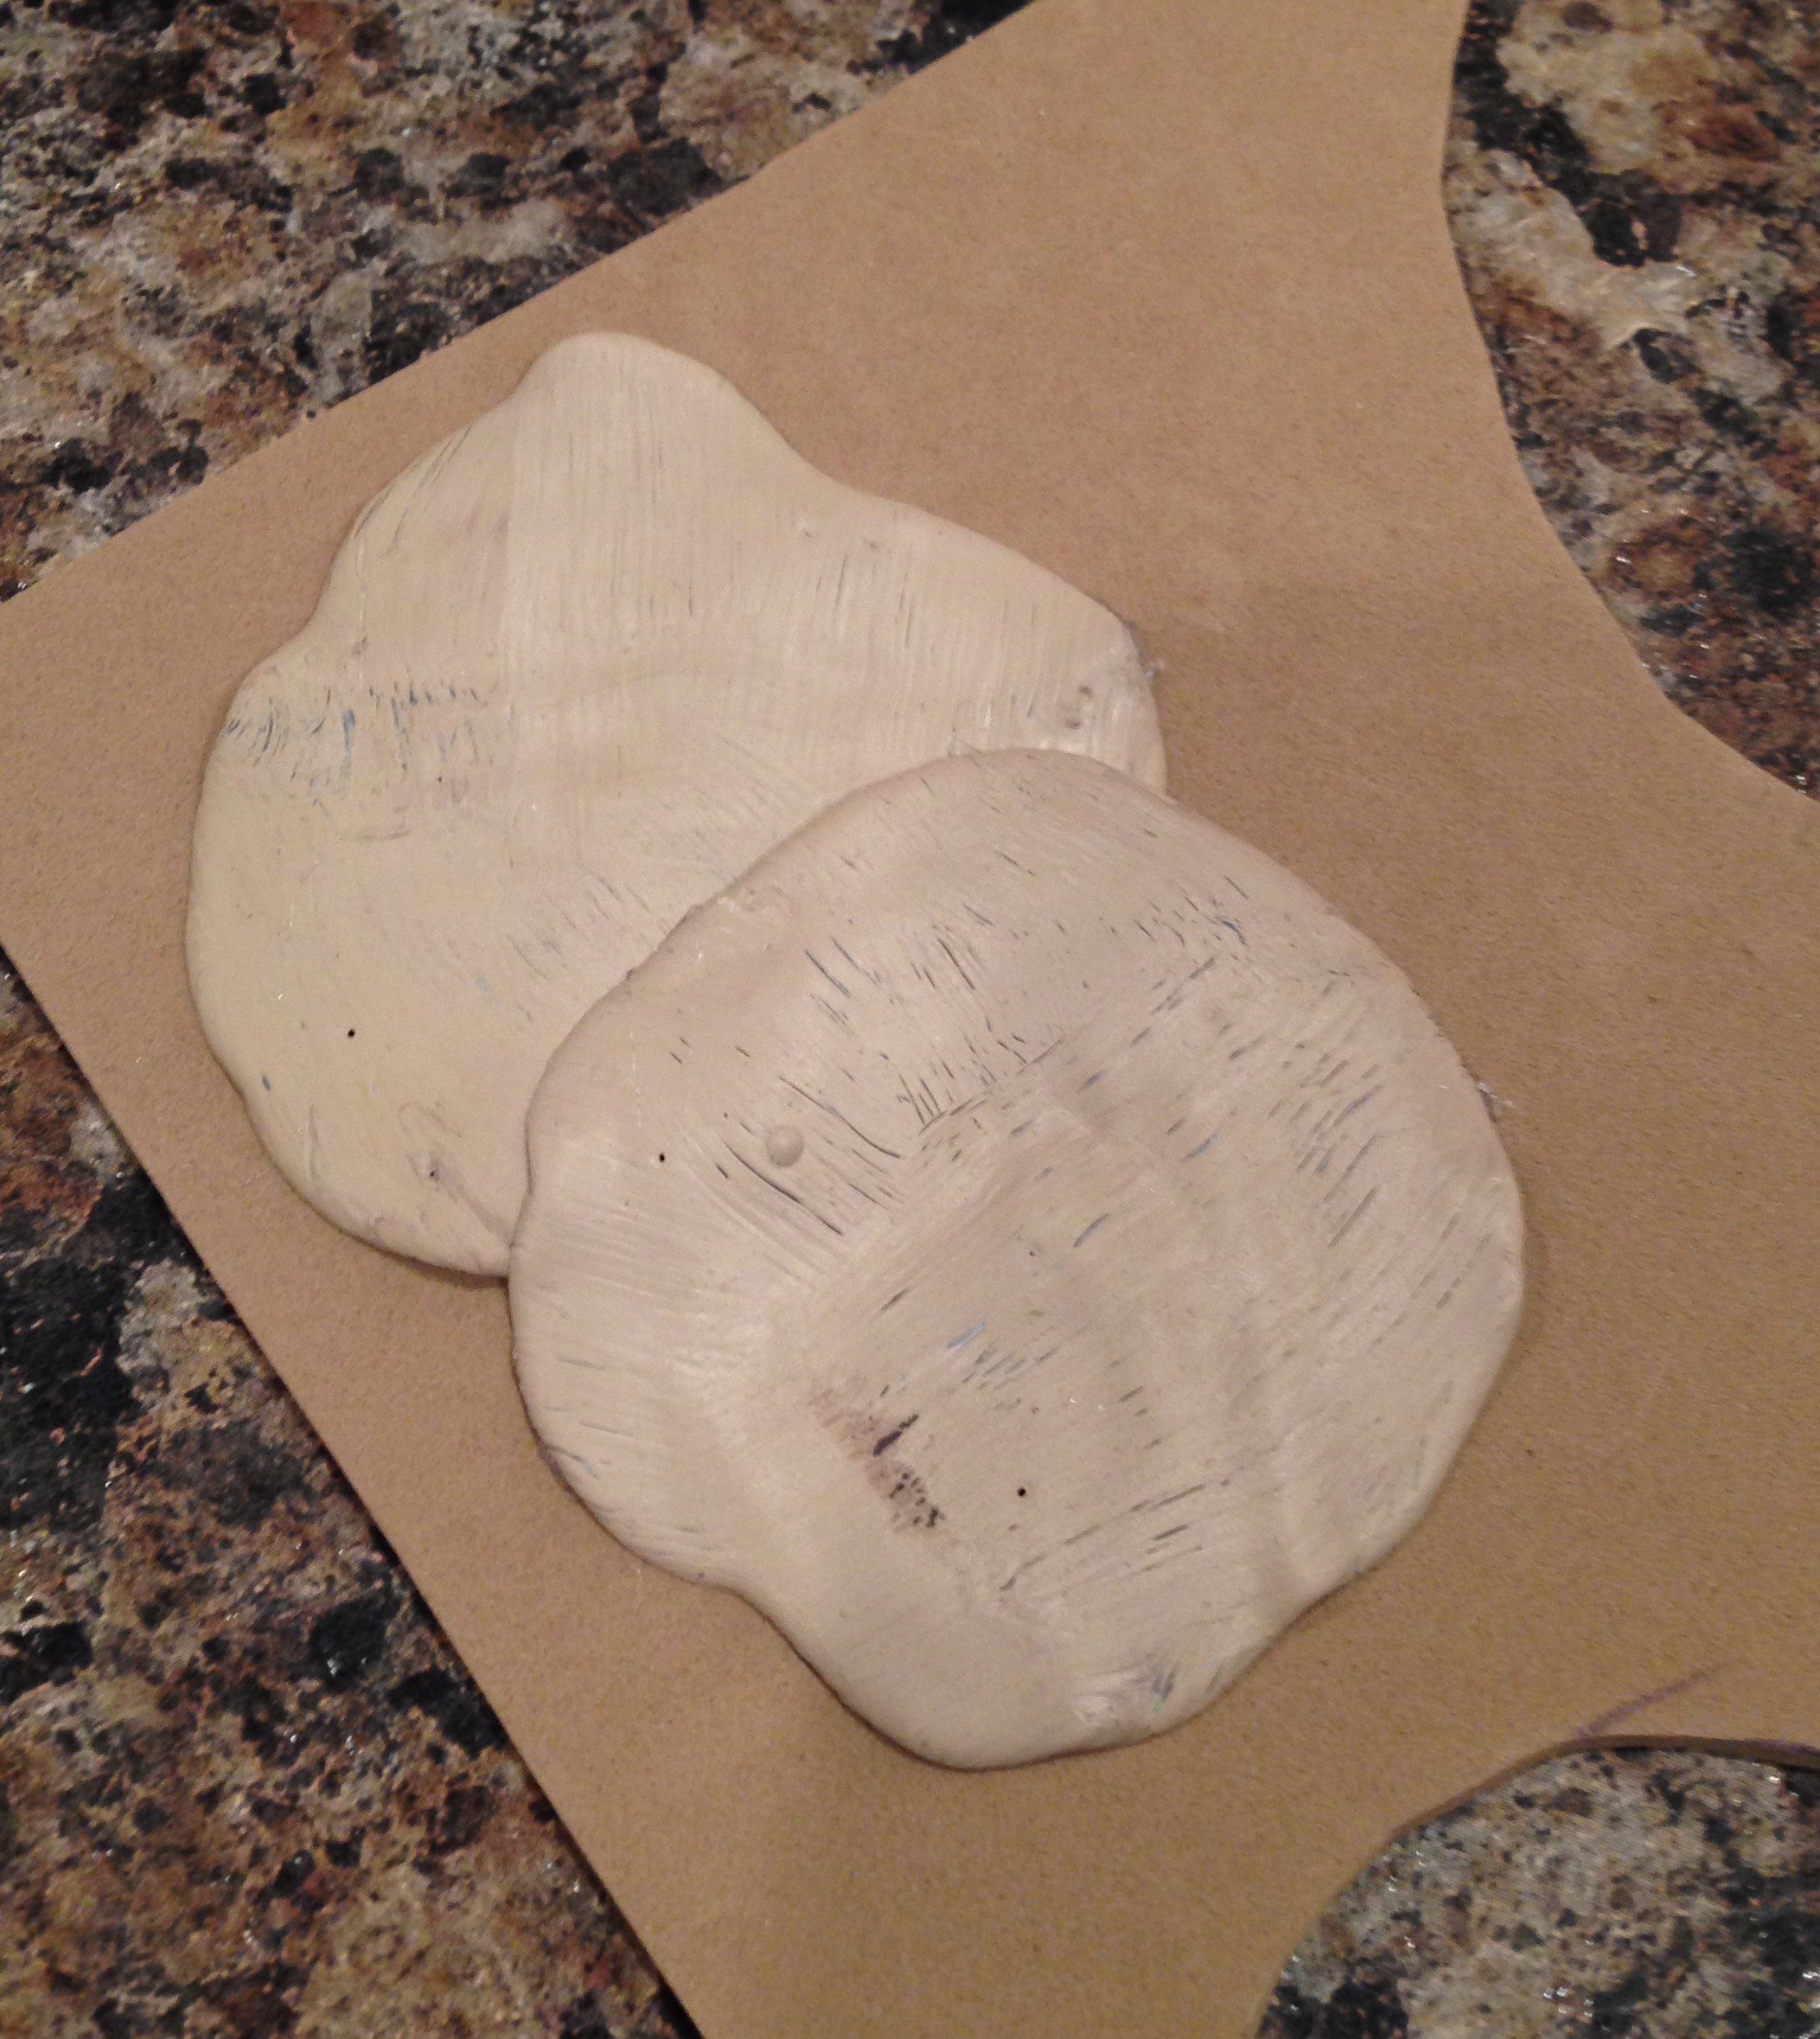
Once they are completely dry, peel them from the wax paper. Don’t worry if they curl. We fix that later. Time to paint!
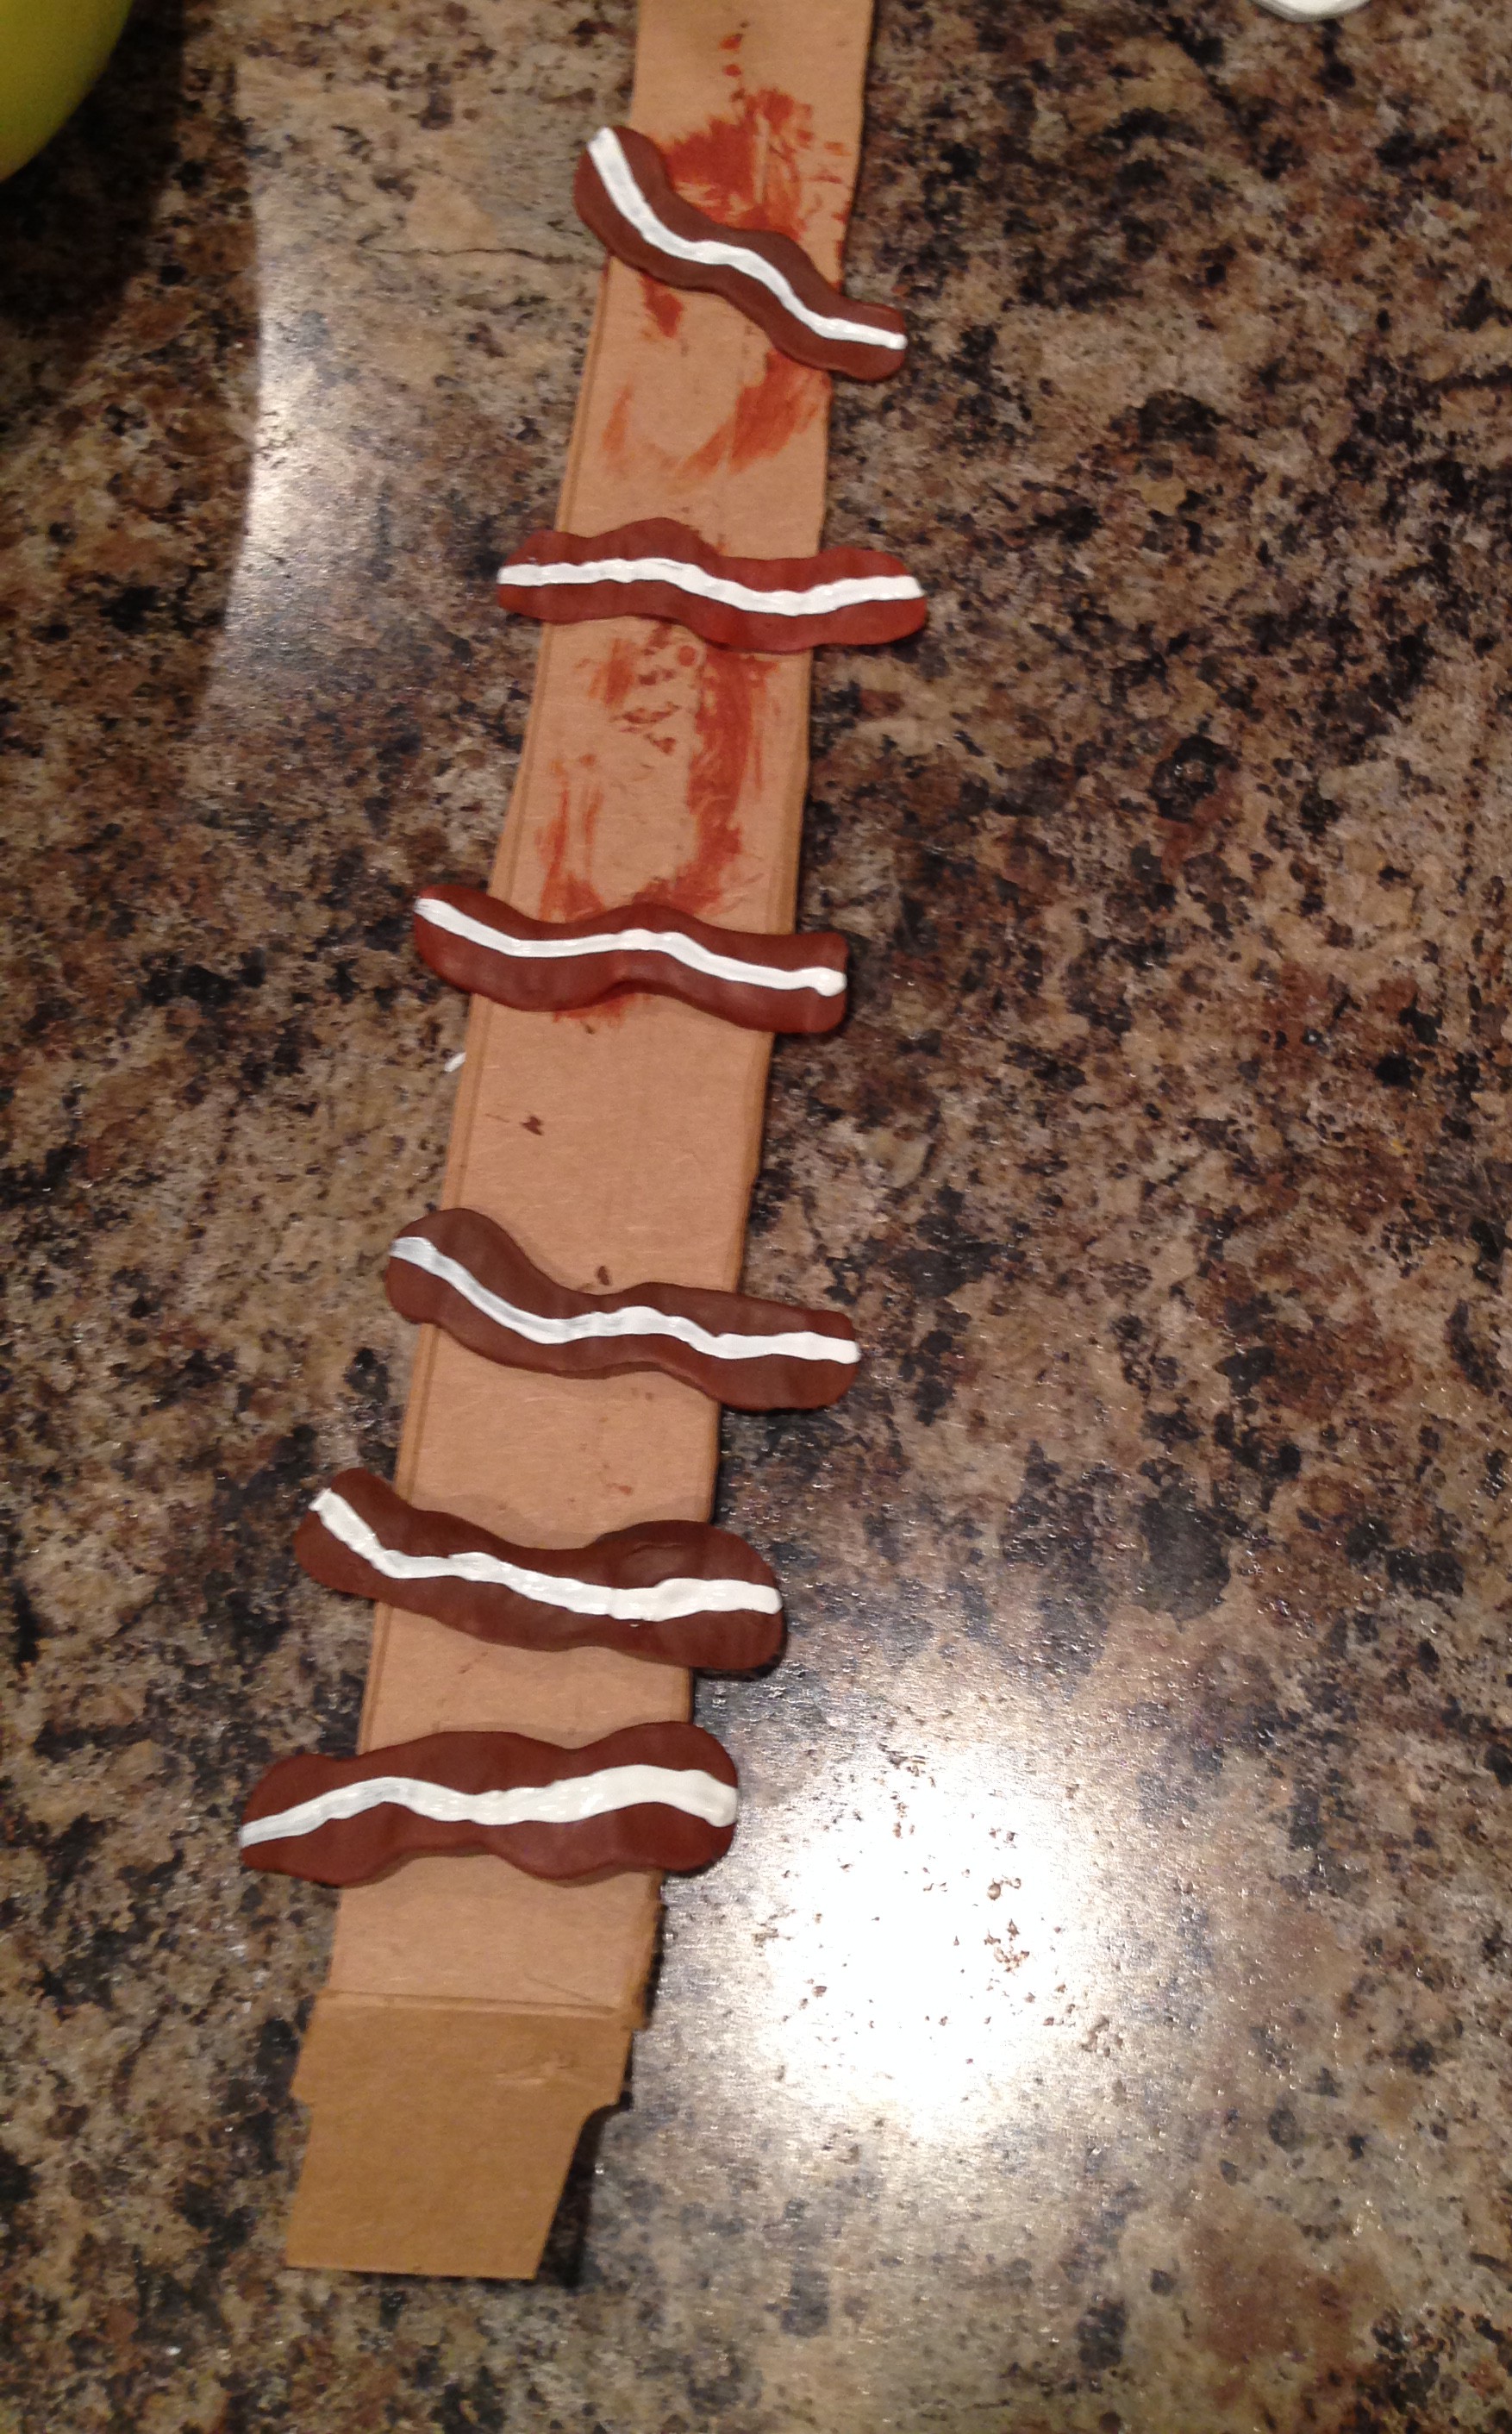
White for eggs, brown for pancakes, reddish brown for bacon (paint both sides of the bacon).

By now you are thinking, what in the world is this woman doing? Haha! Patience young grasshopper. Actually by this point I was wondering what the heck I was getting myself into too. I have to admit, I had no idea how this was going to turn out.
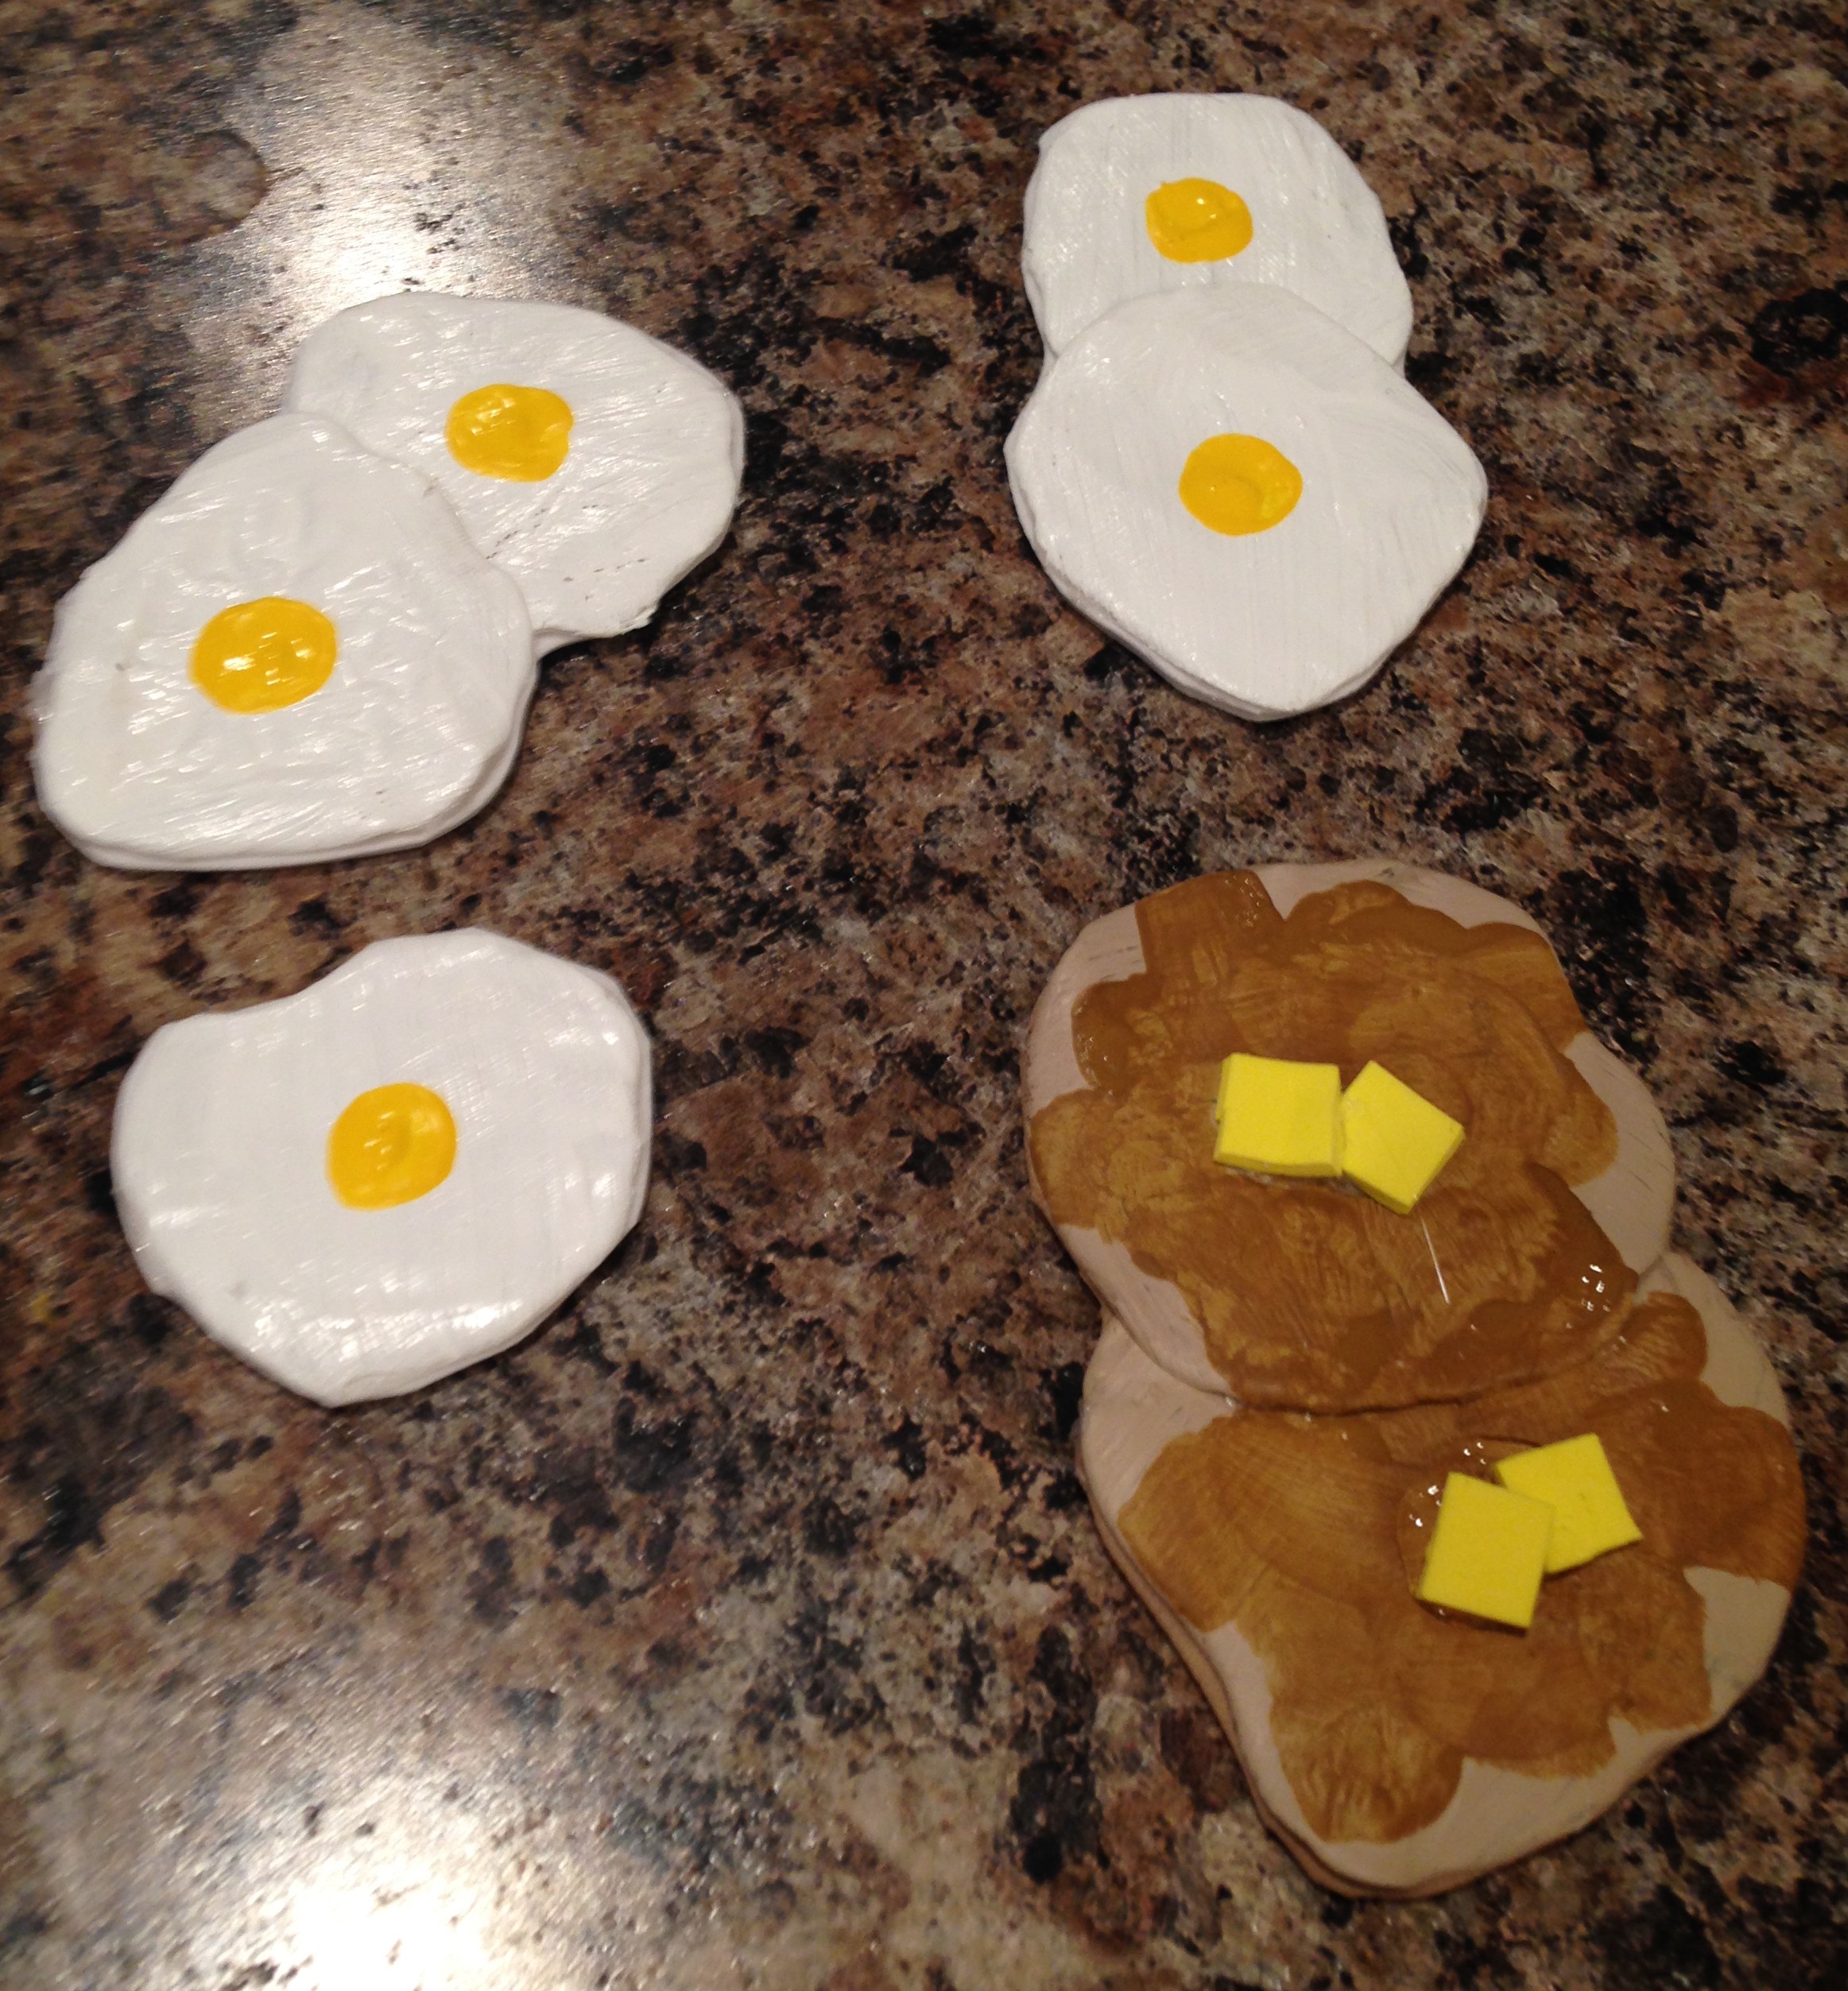
When the paint is dry, about two coats is perfect, get out your hot glue gun and glue the eggs and pancakes to craft foam of the same colour. Make sure that they lay flat. I did the pancakes and eggs in pairs.

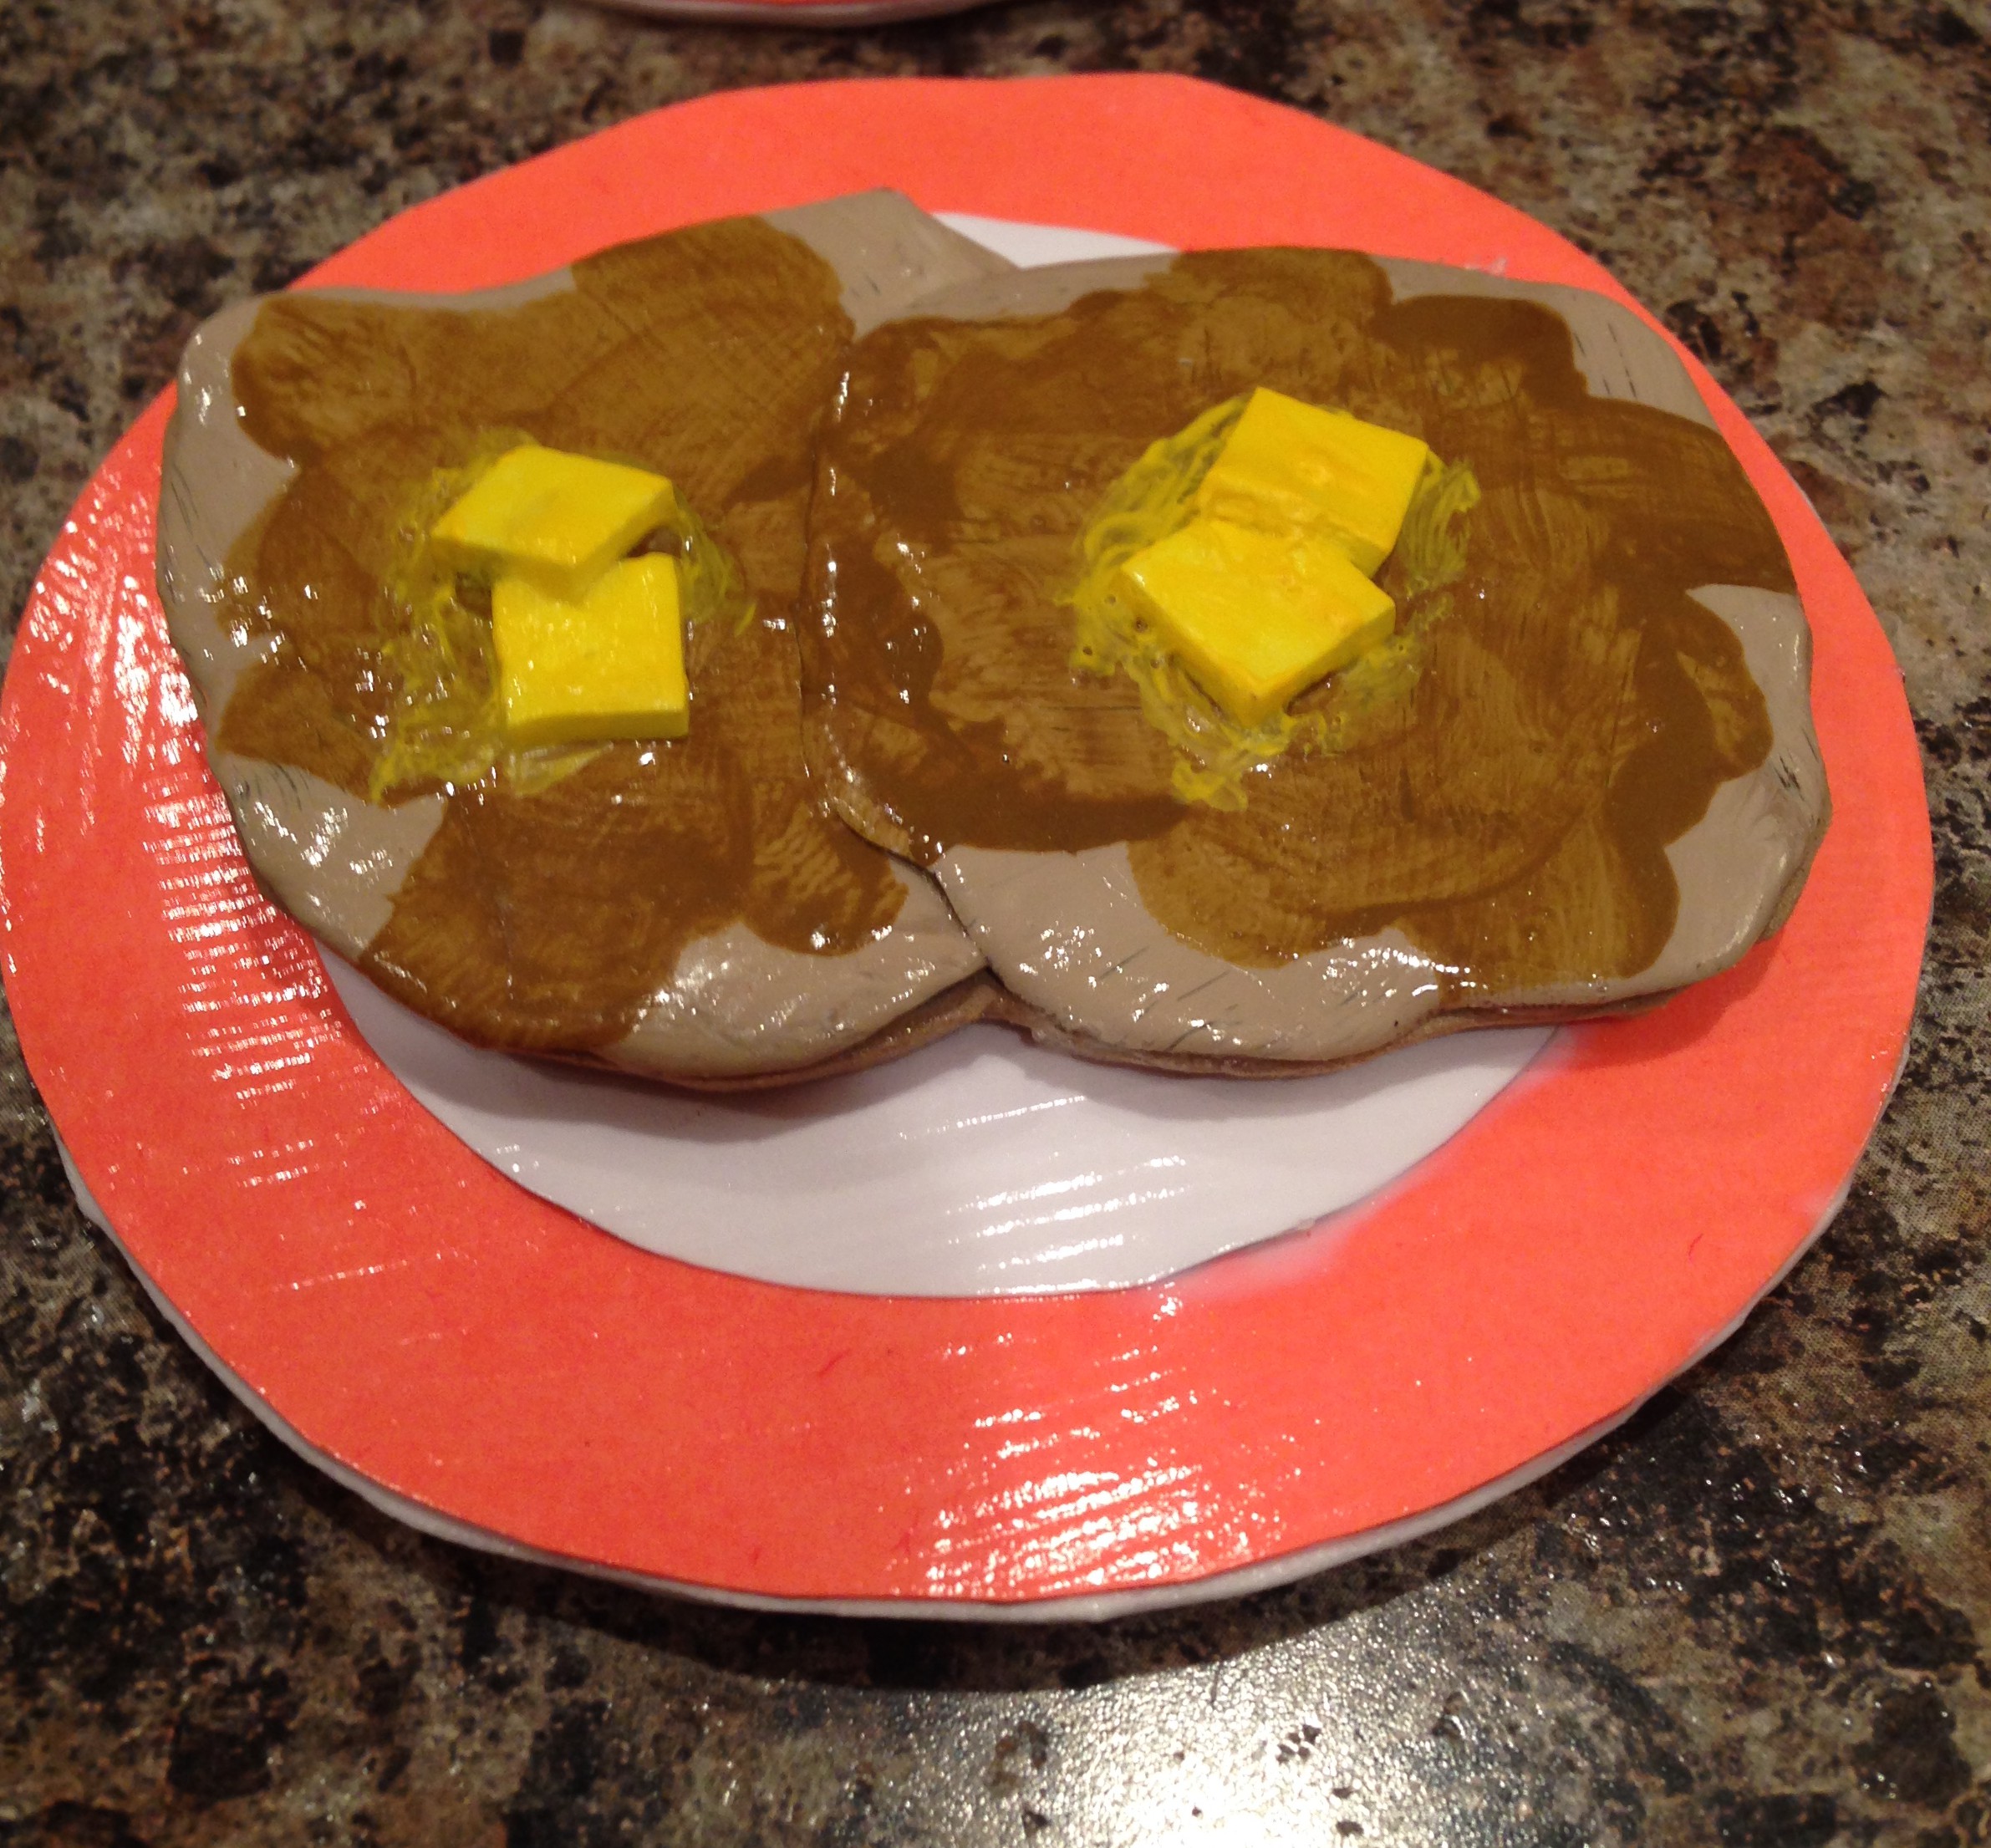
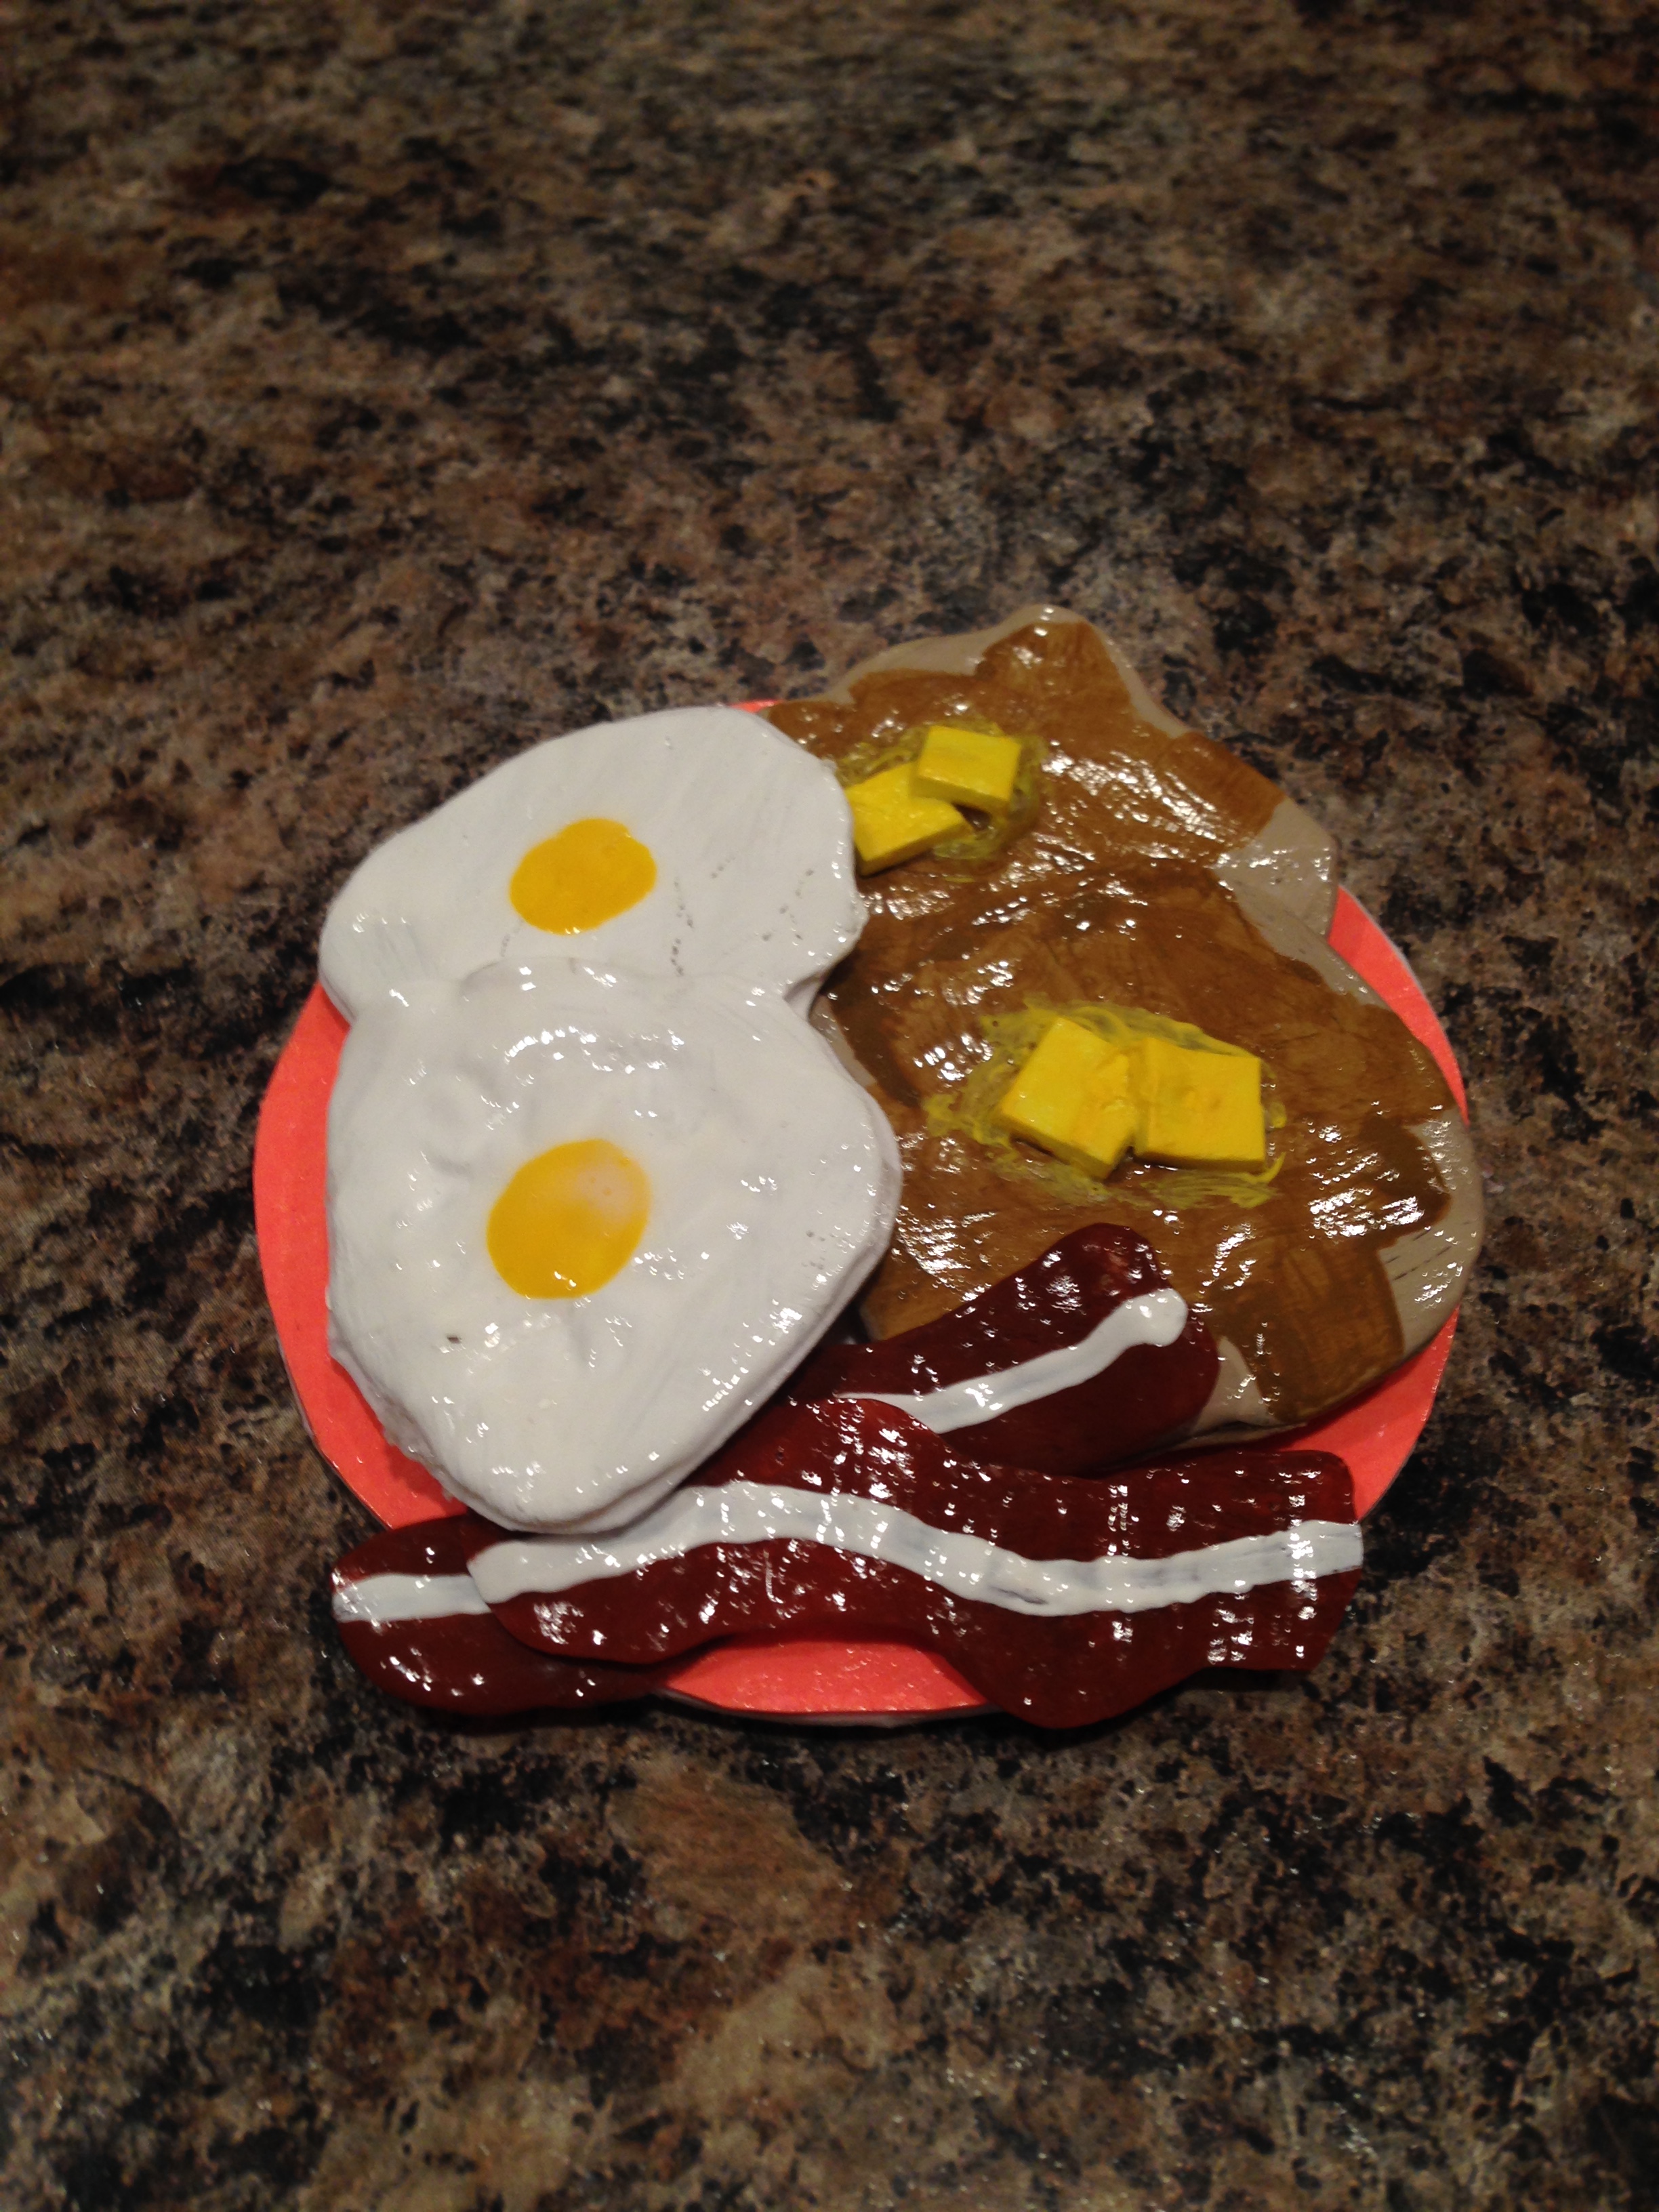
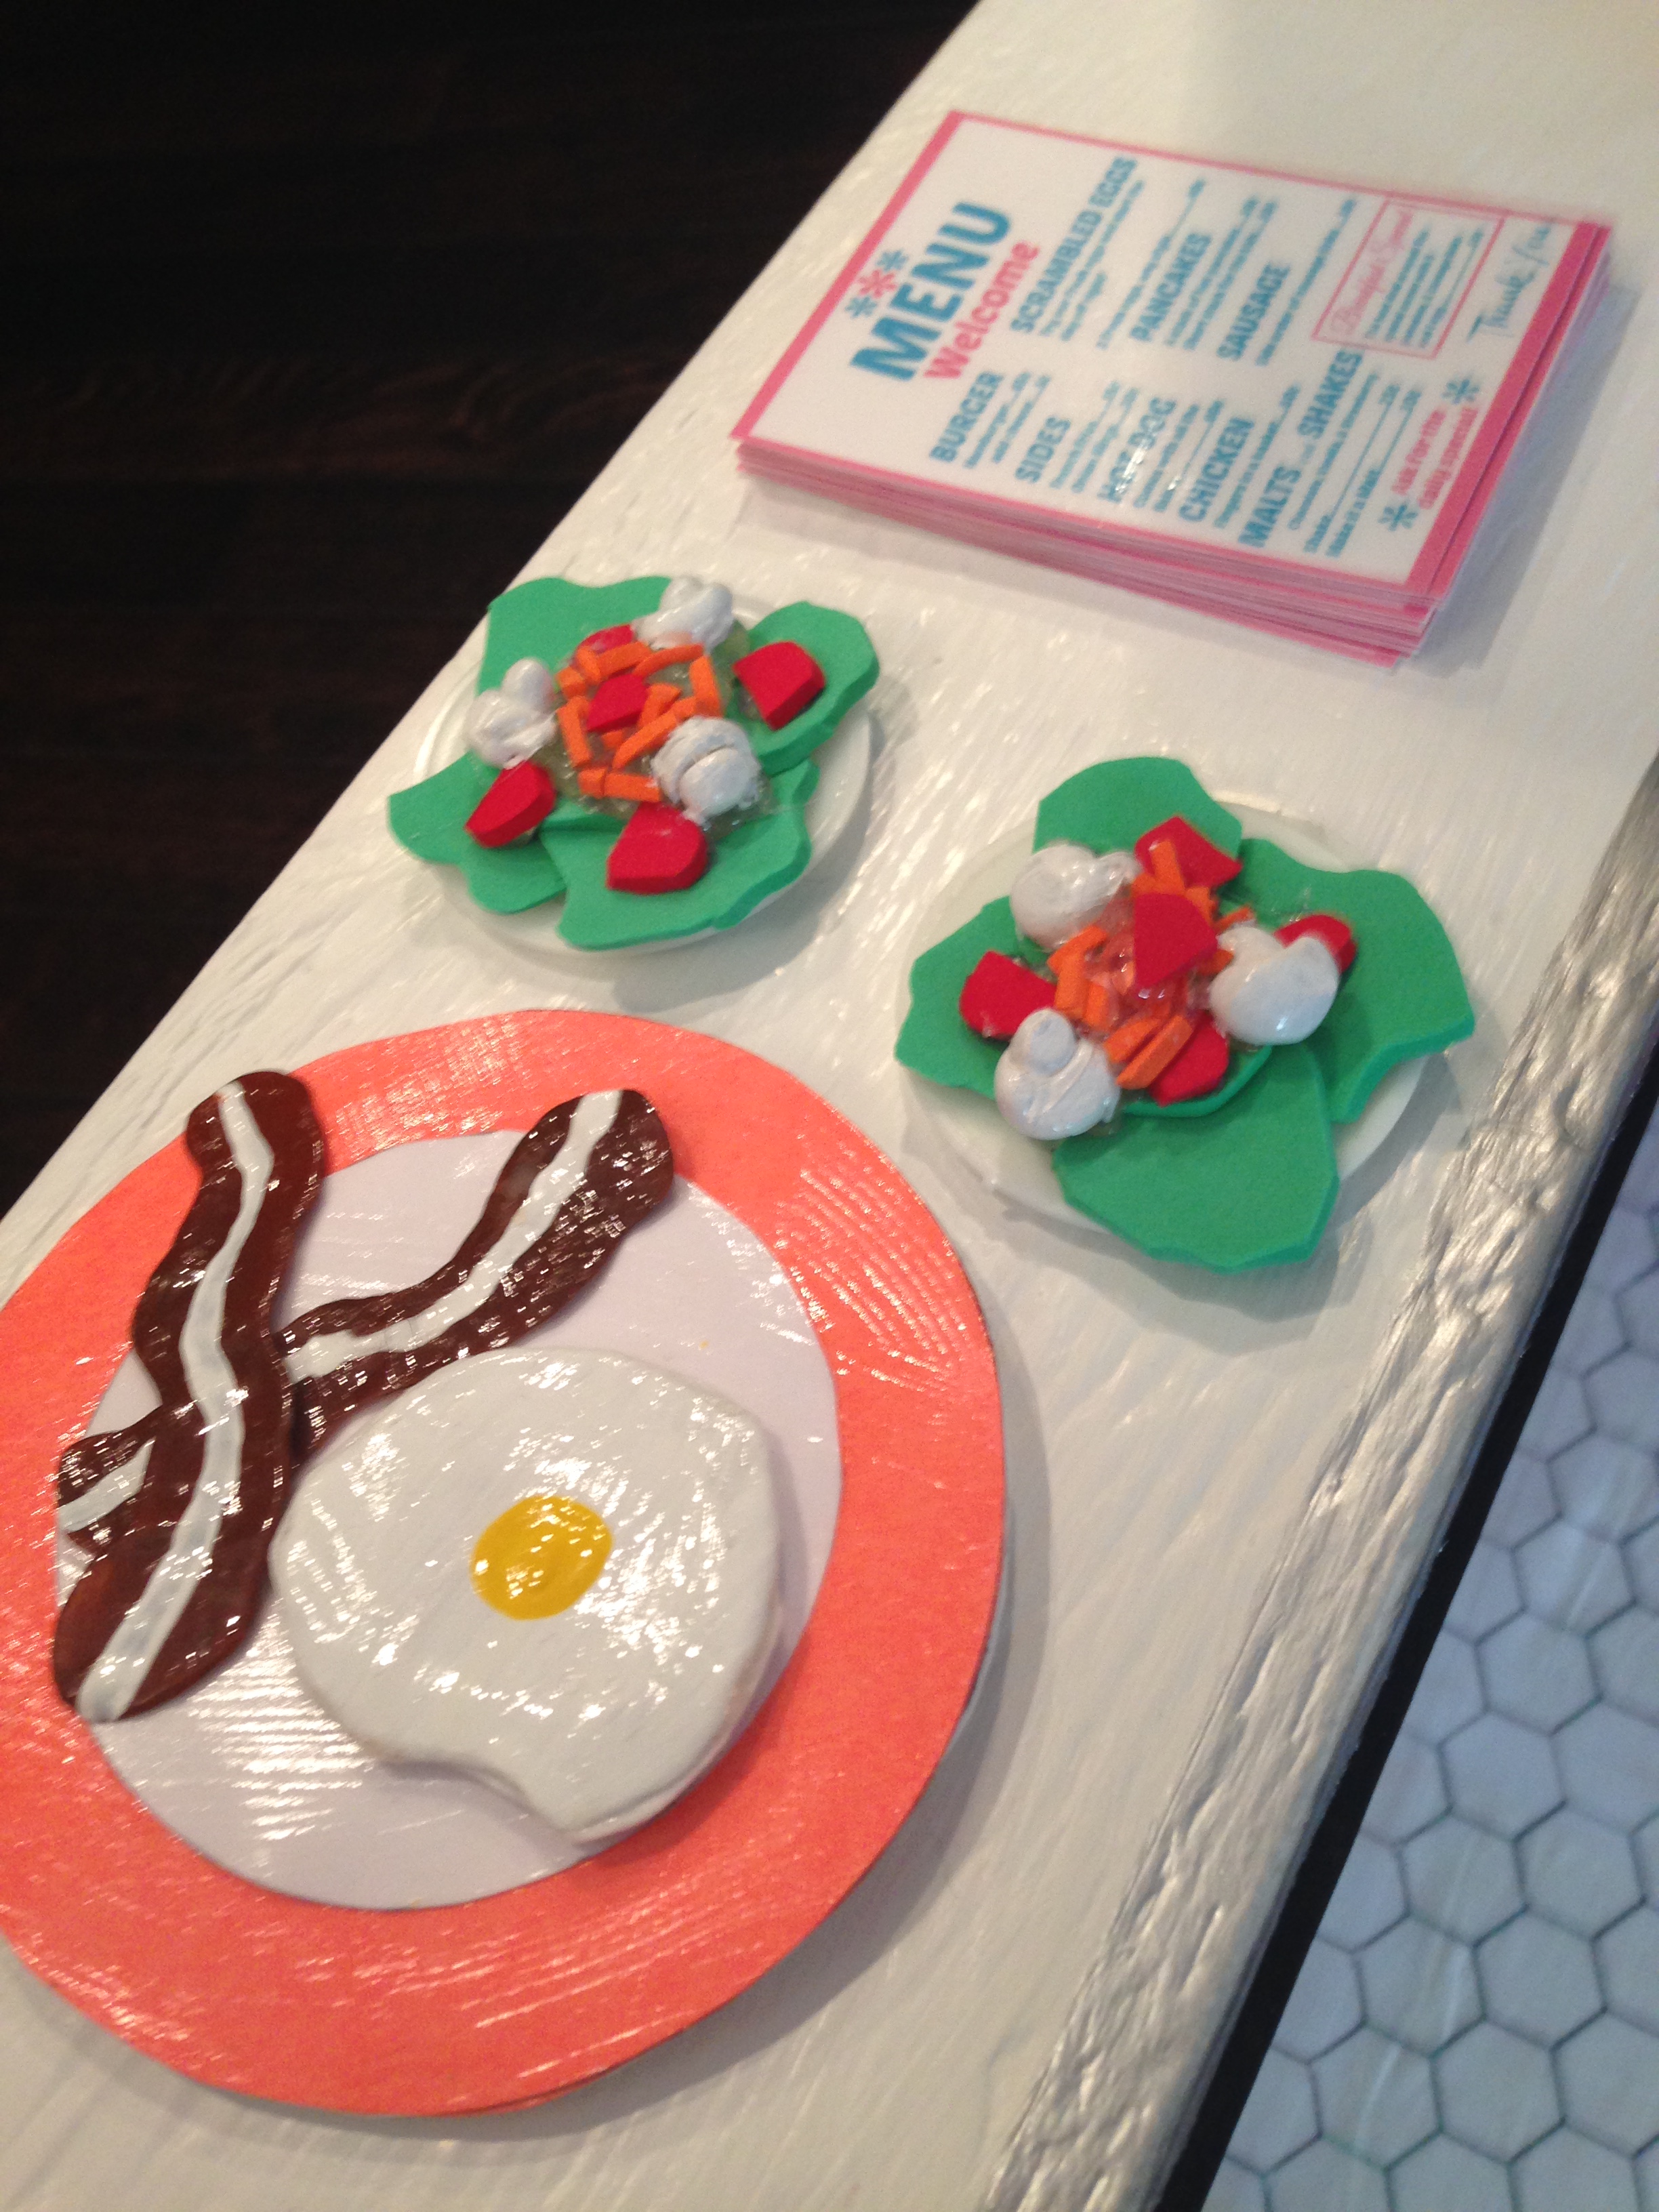
Cut them out. Then add the details. Yellow paint for egg yolks and brown paint for pancake syrup. I also hot glued yellow craft foam squares to the pancakes for butter and added a bit of yellow paint to make it look melted. Paint a white squiggly stripe on both sides of the bacon.
Modpodge everything to seal it, and you’re done!
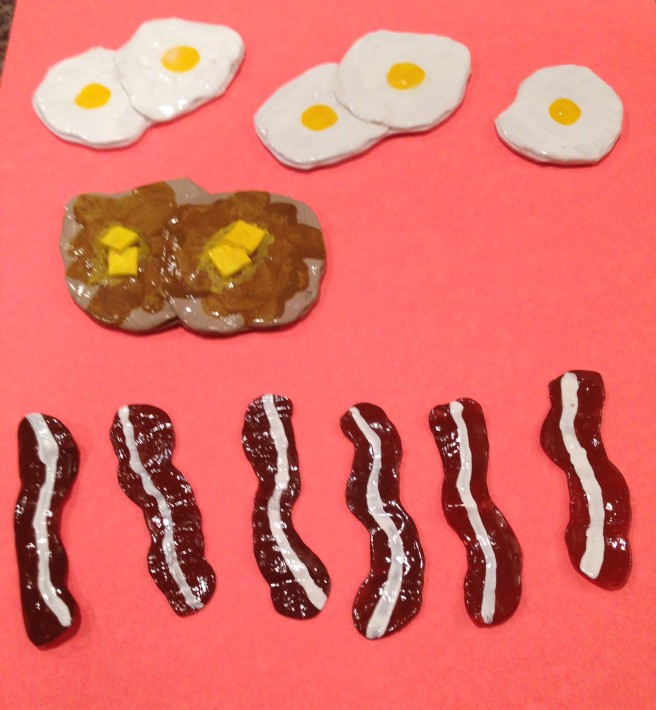
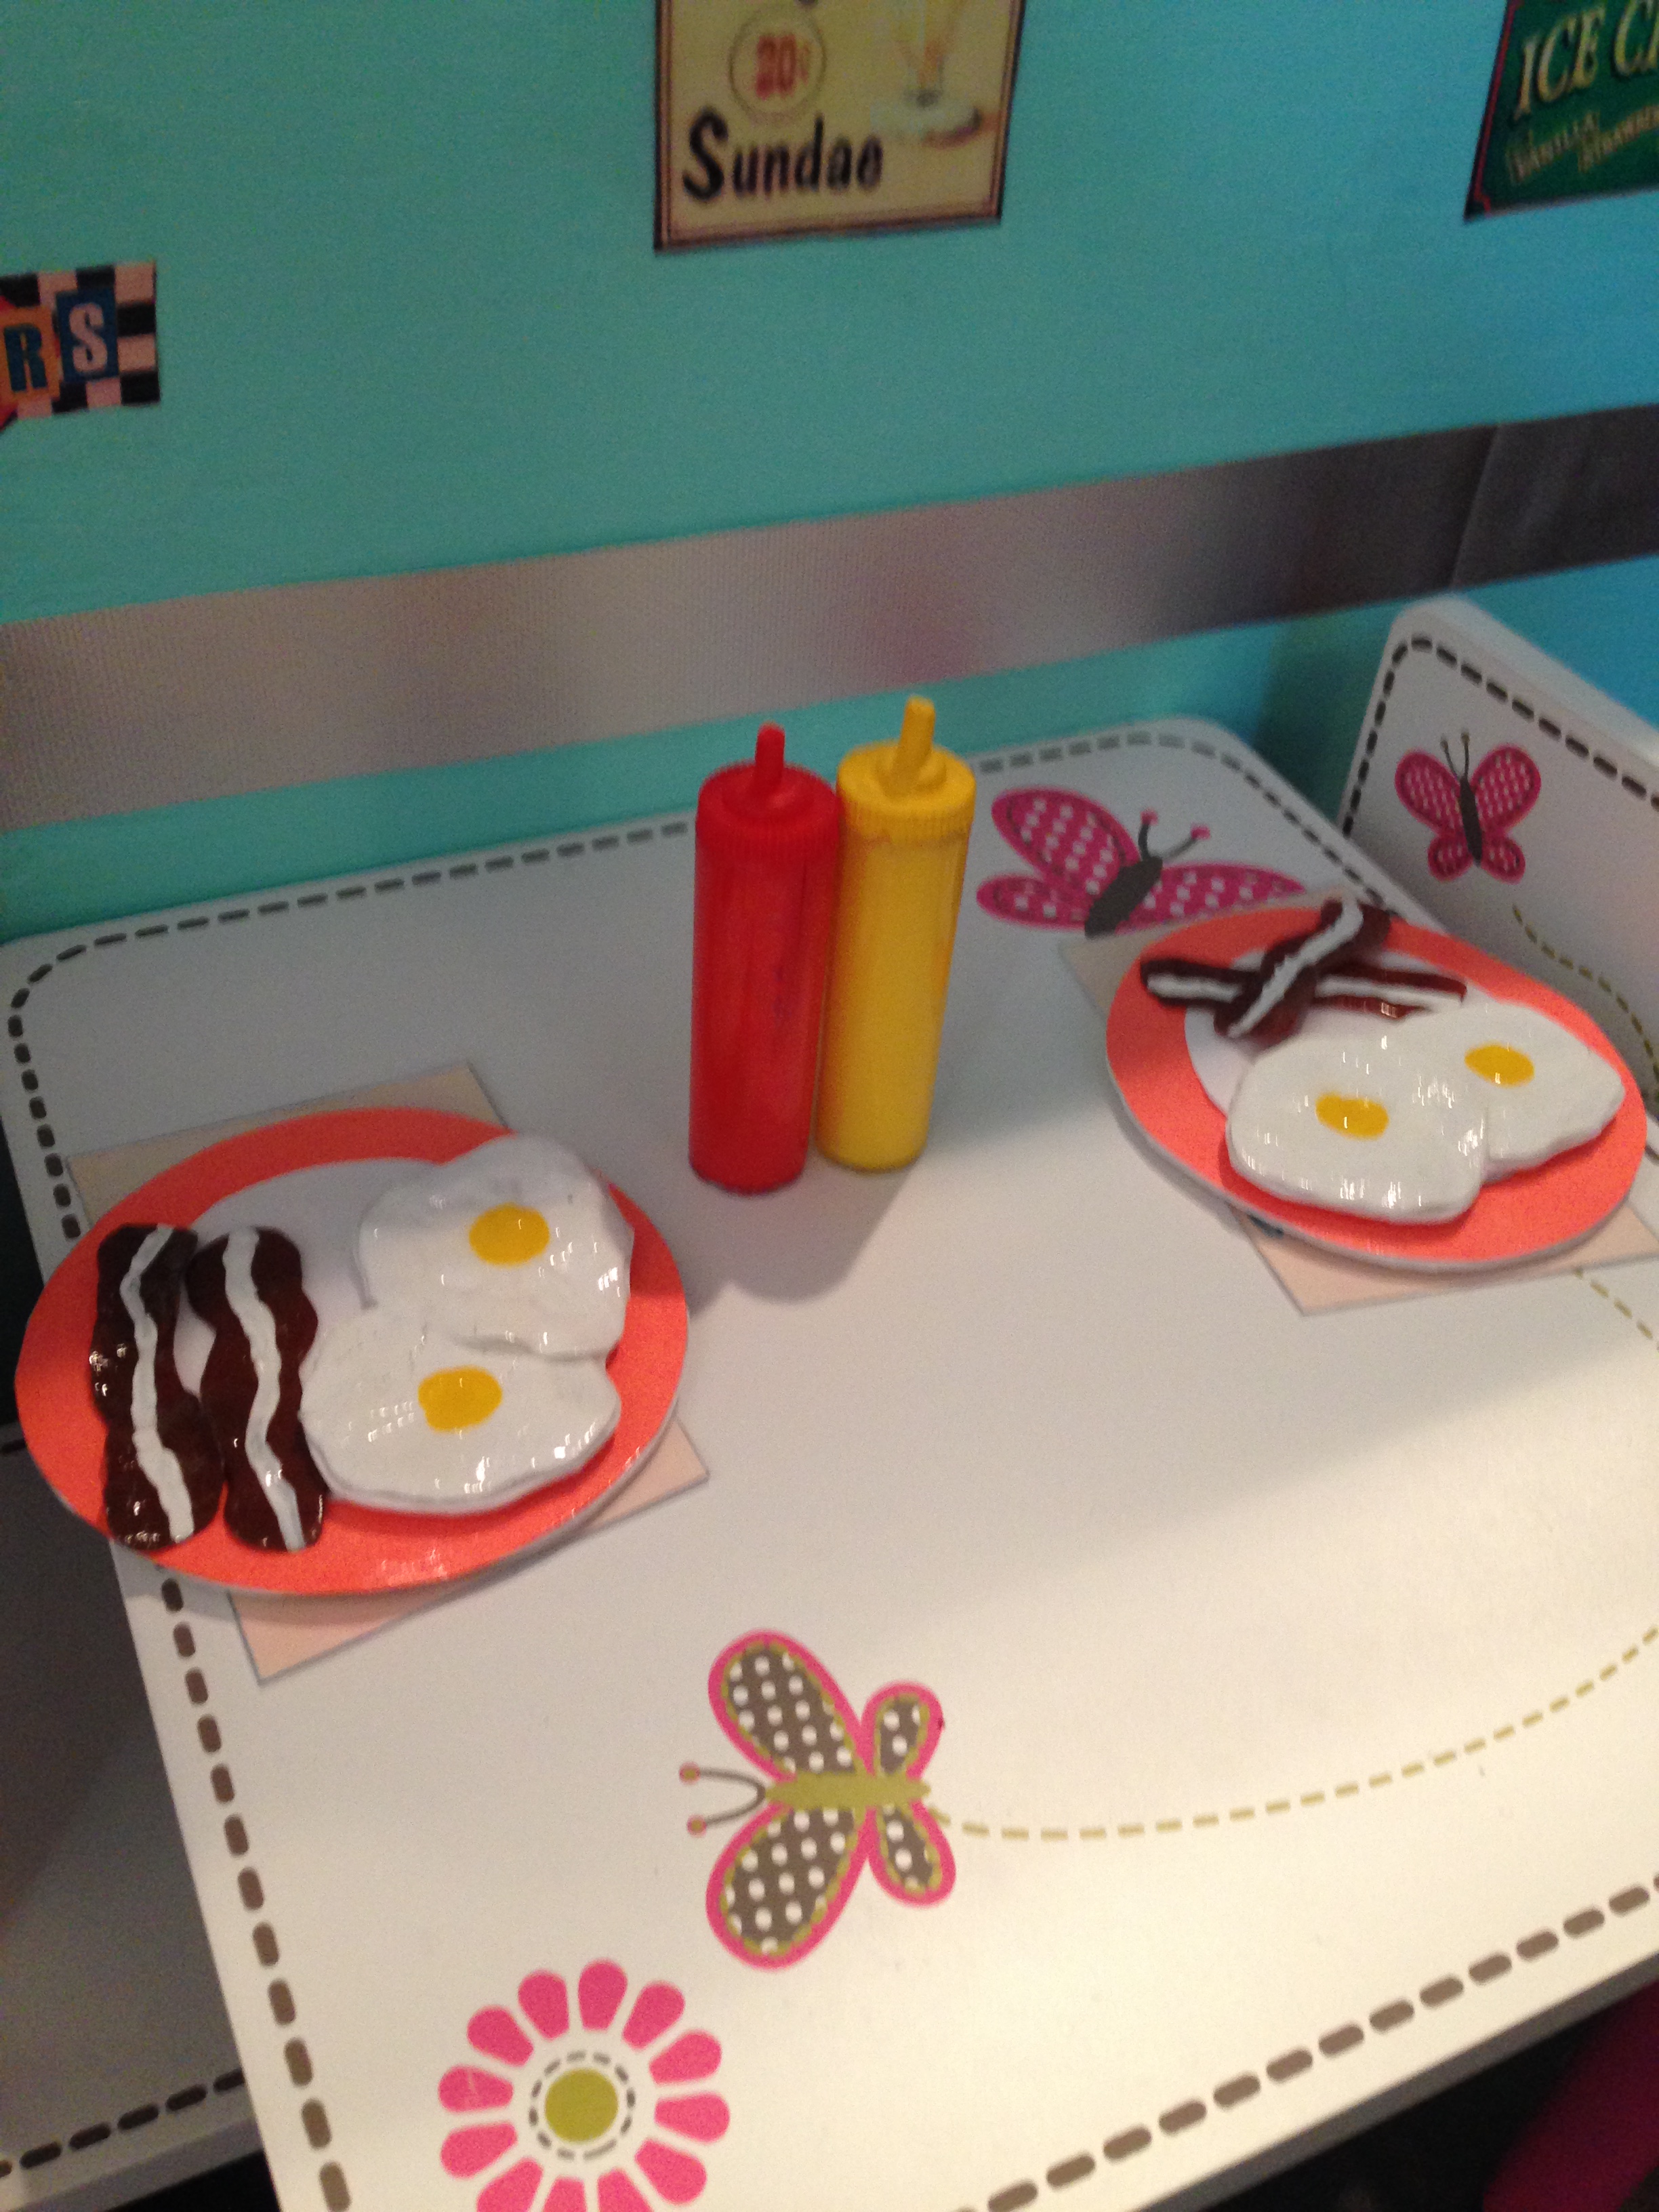
You can glue them onto plates or just leave them separate. I like them separate because there is more play possibility. I also made an egg on its own for flipping on the grill.
To make plates you need:
White Craft foam
White card stock
Coloured Cardstock (any colour, I chose pink to match the diner.)
Hot glue
Modpodge
Cut a circle out of coloured card stock (I traced a doll plate). Cut a smaller circle out of white card stock. Glue the white circle to the centre of your plate. Do exactly the same thing with the craft foam.
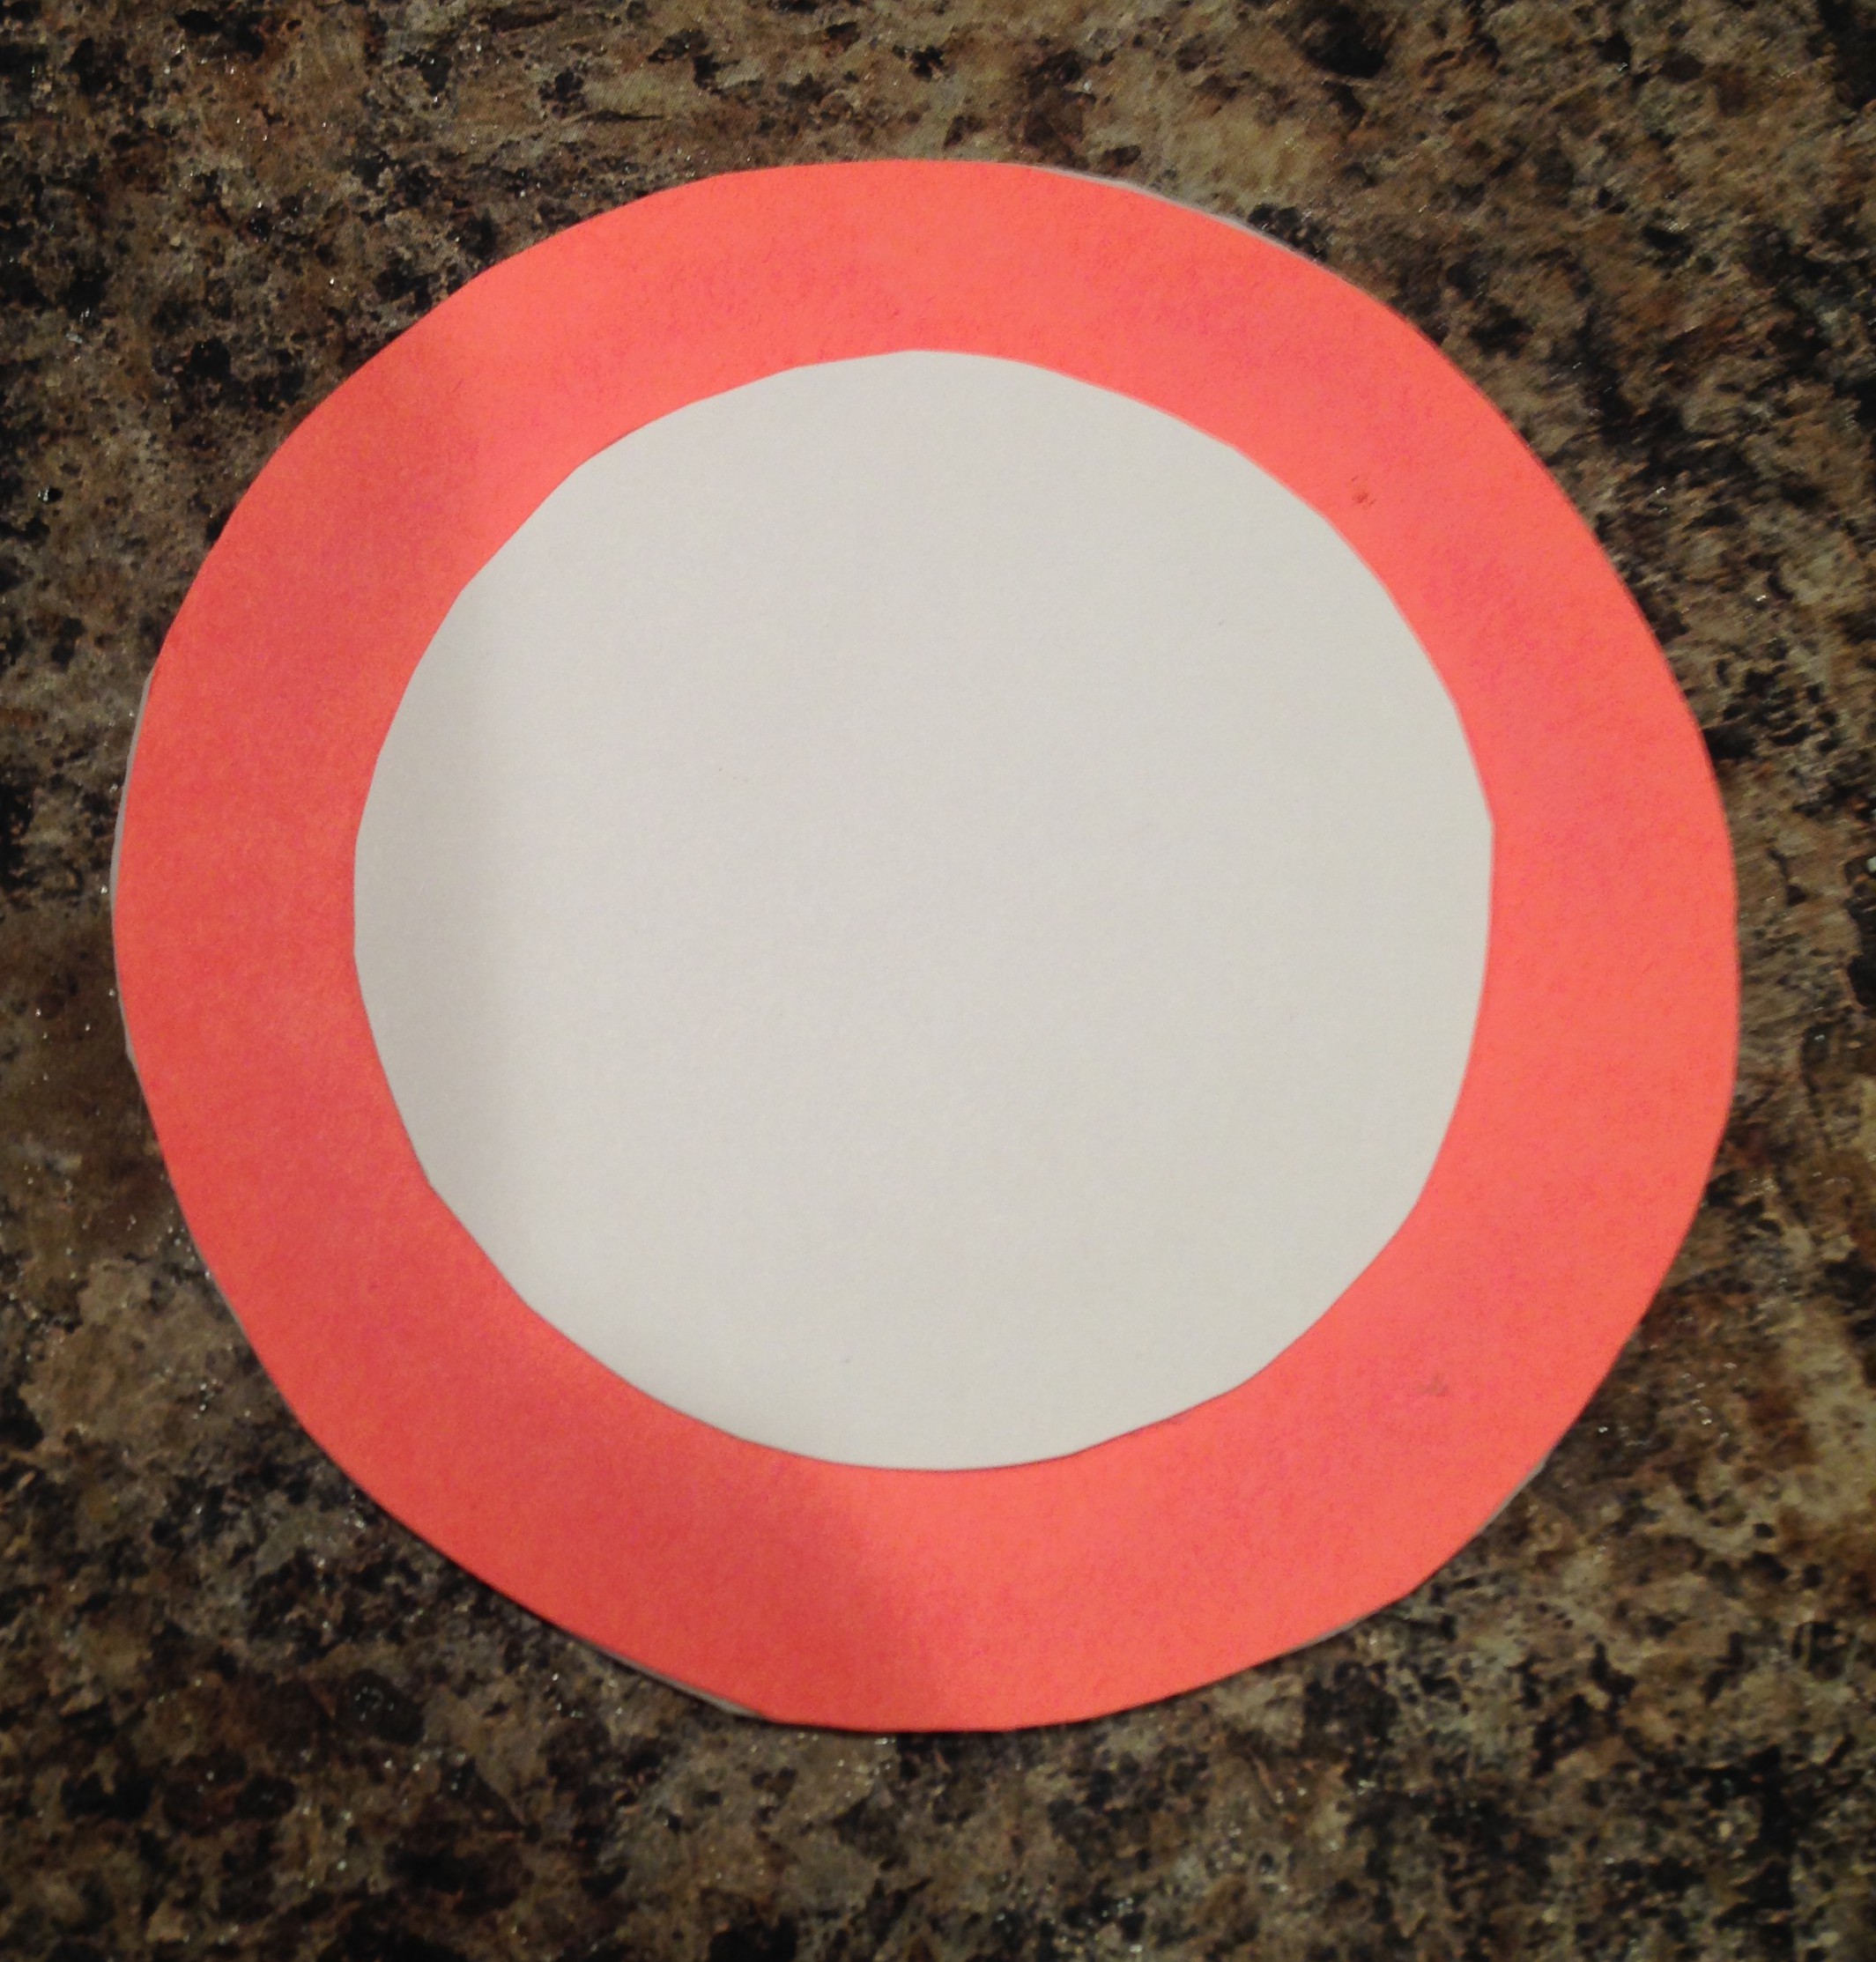

Glue the front of the plate to the back of the plate.
Finally modpodge the front of the plate.

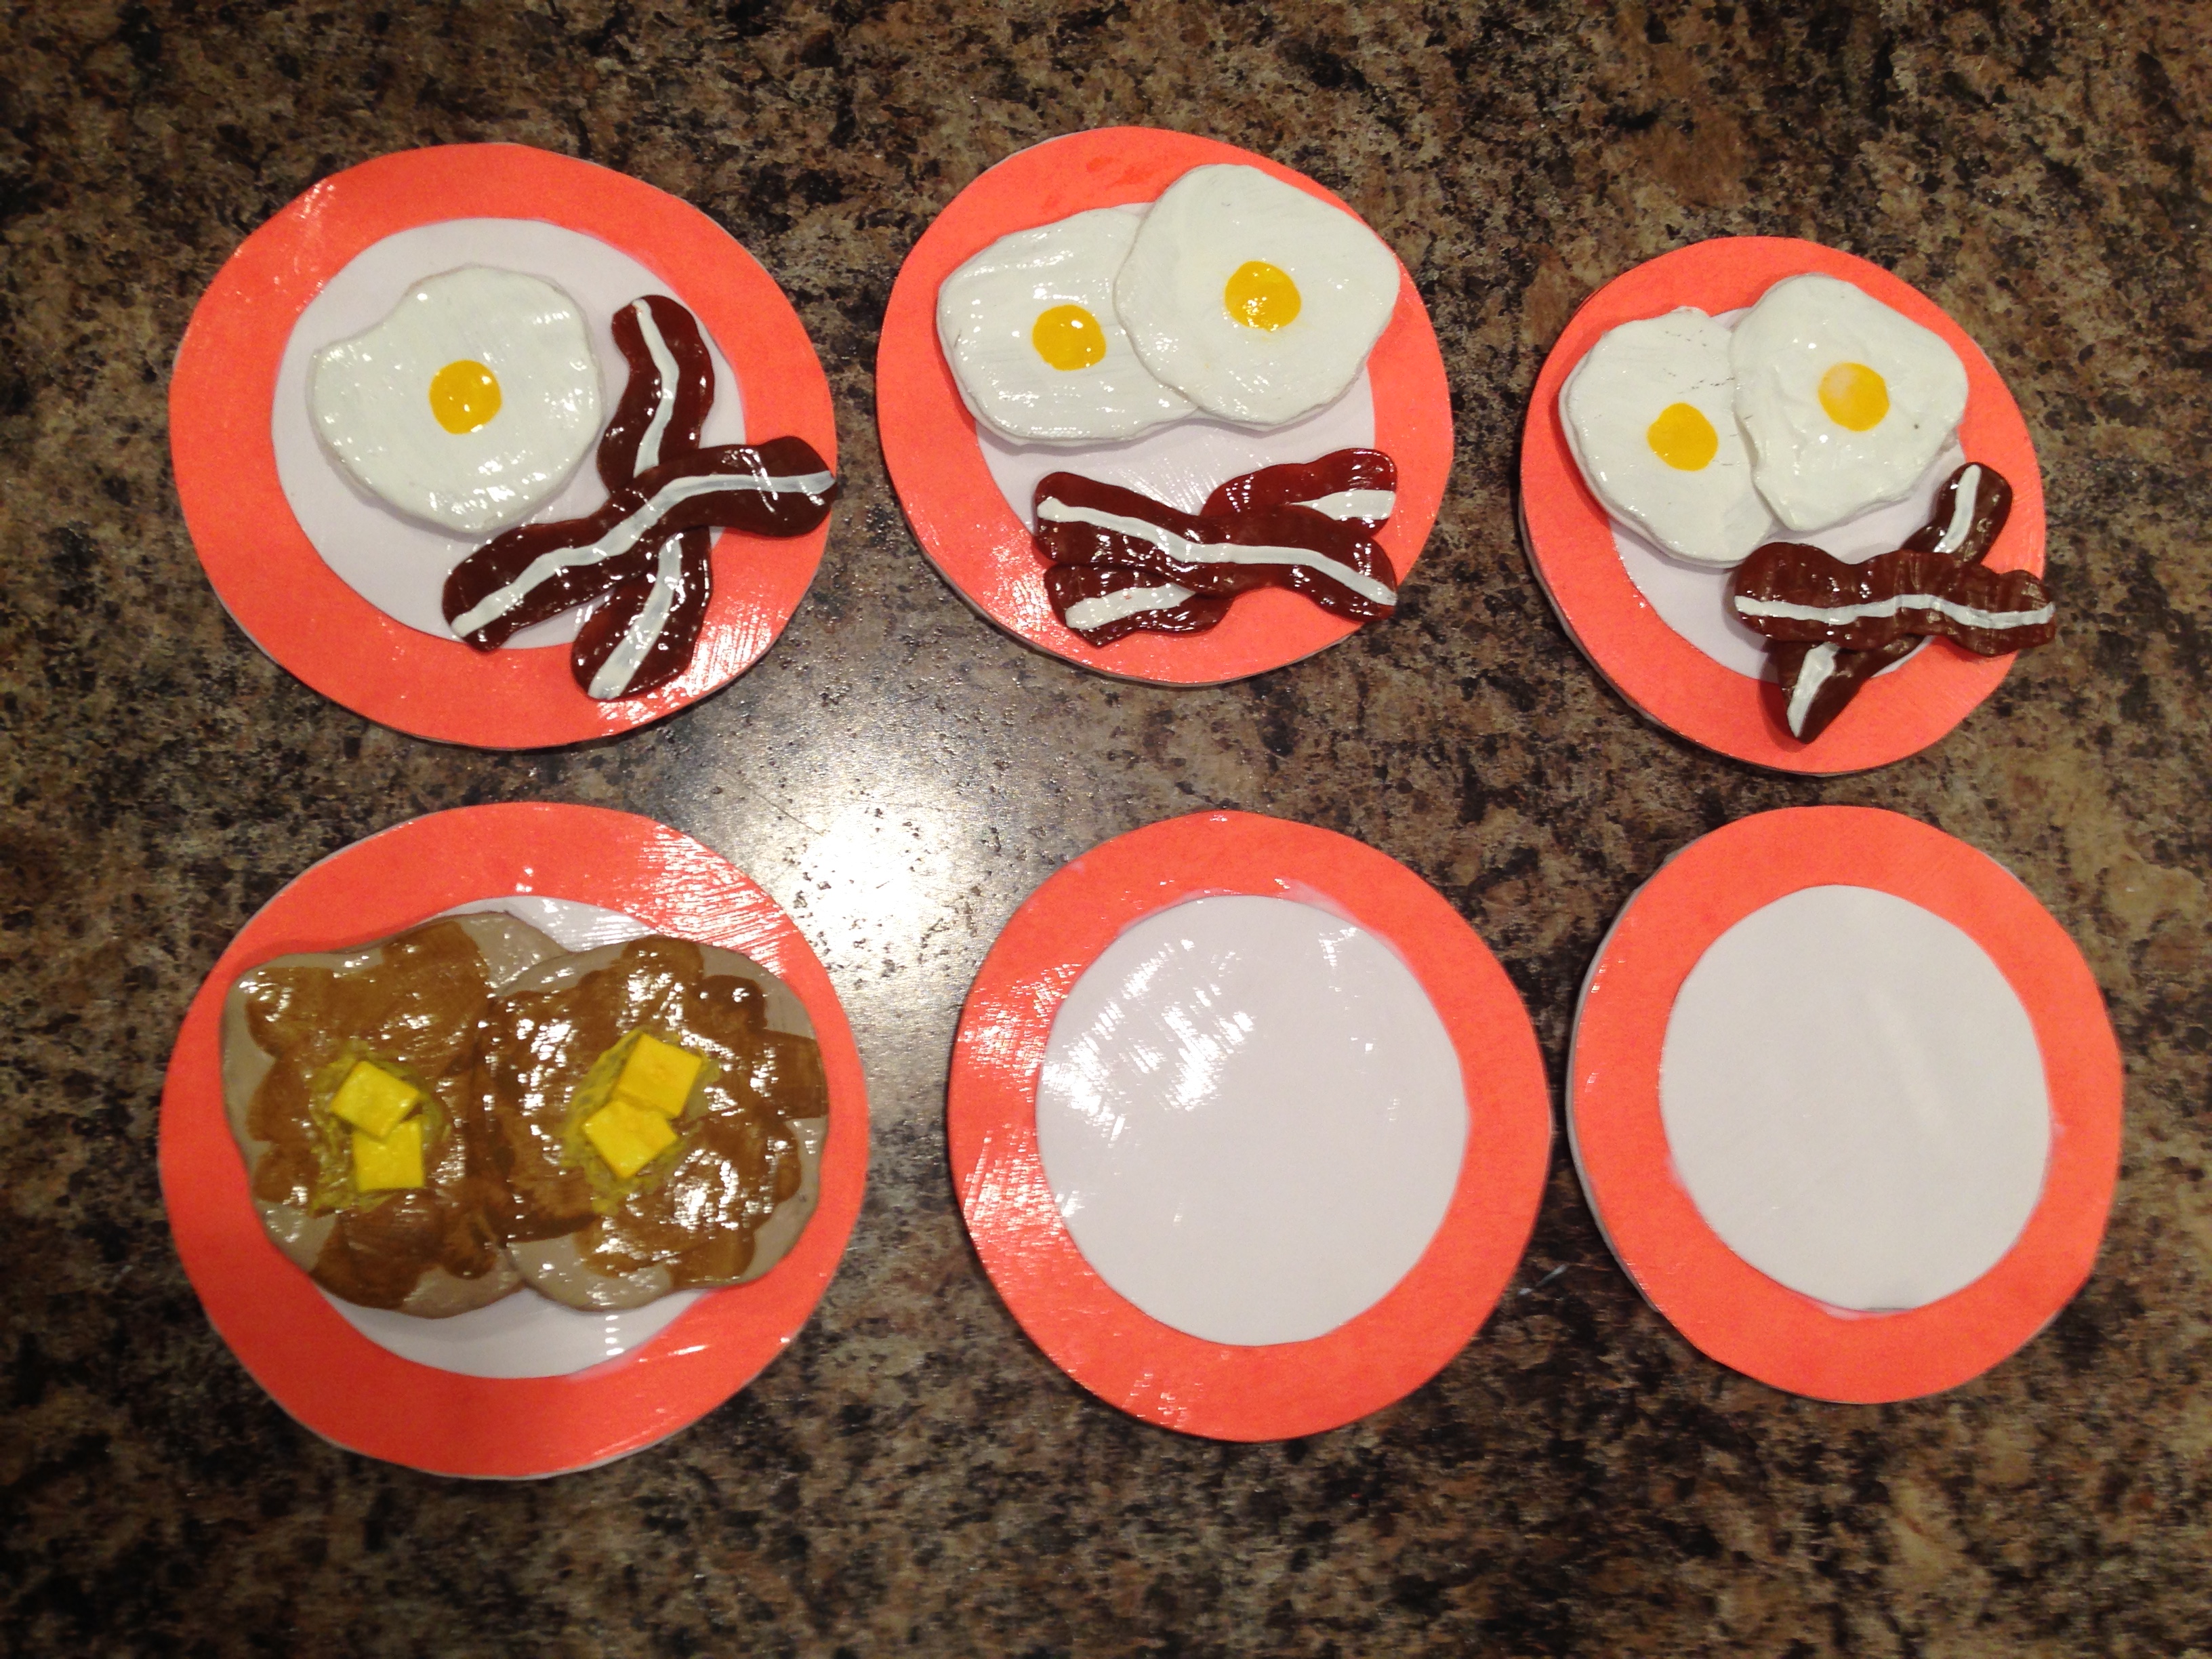
Yummy!
I made ketchup and mustard from sprinkle containers.
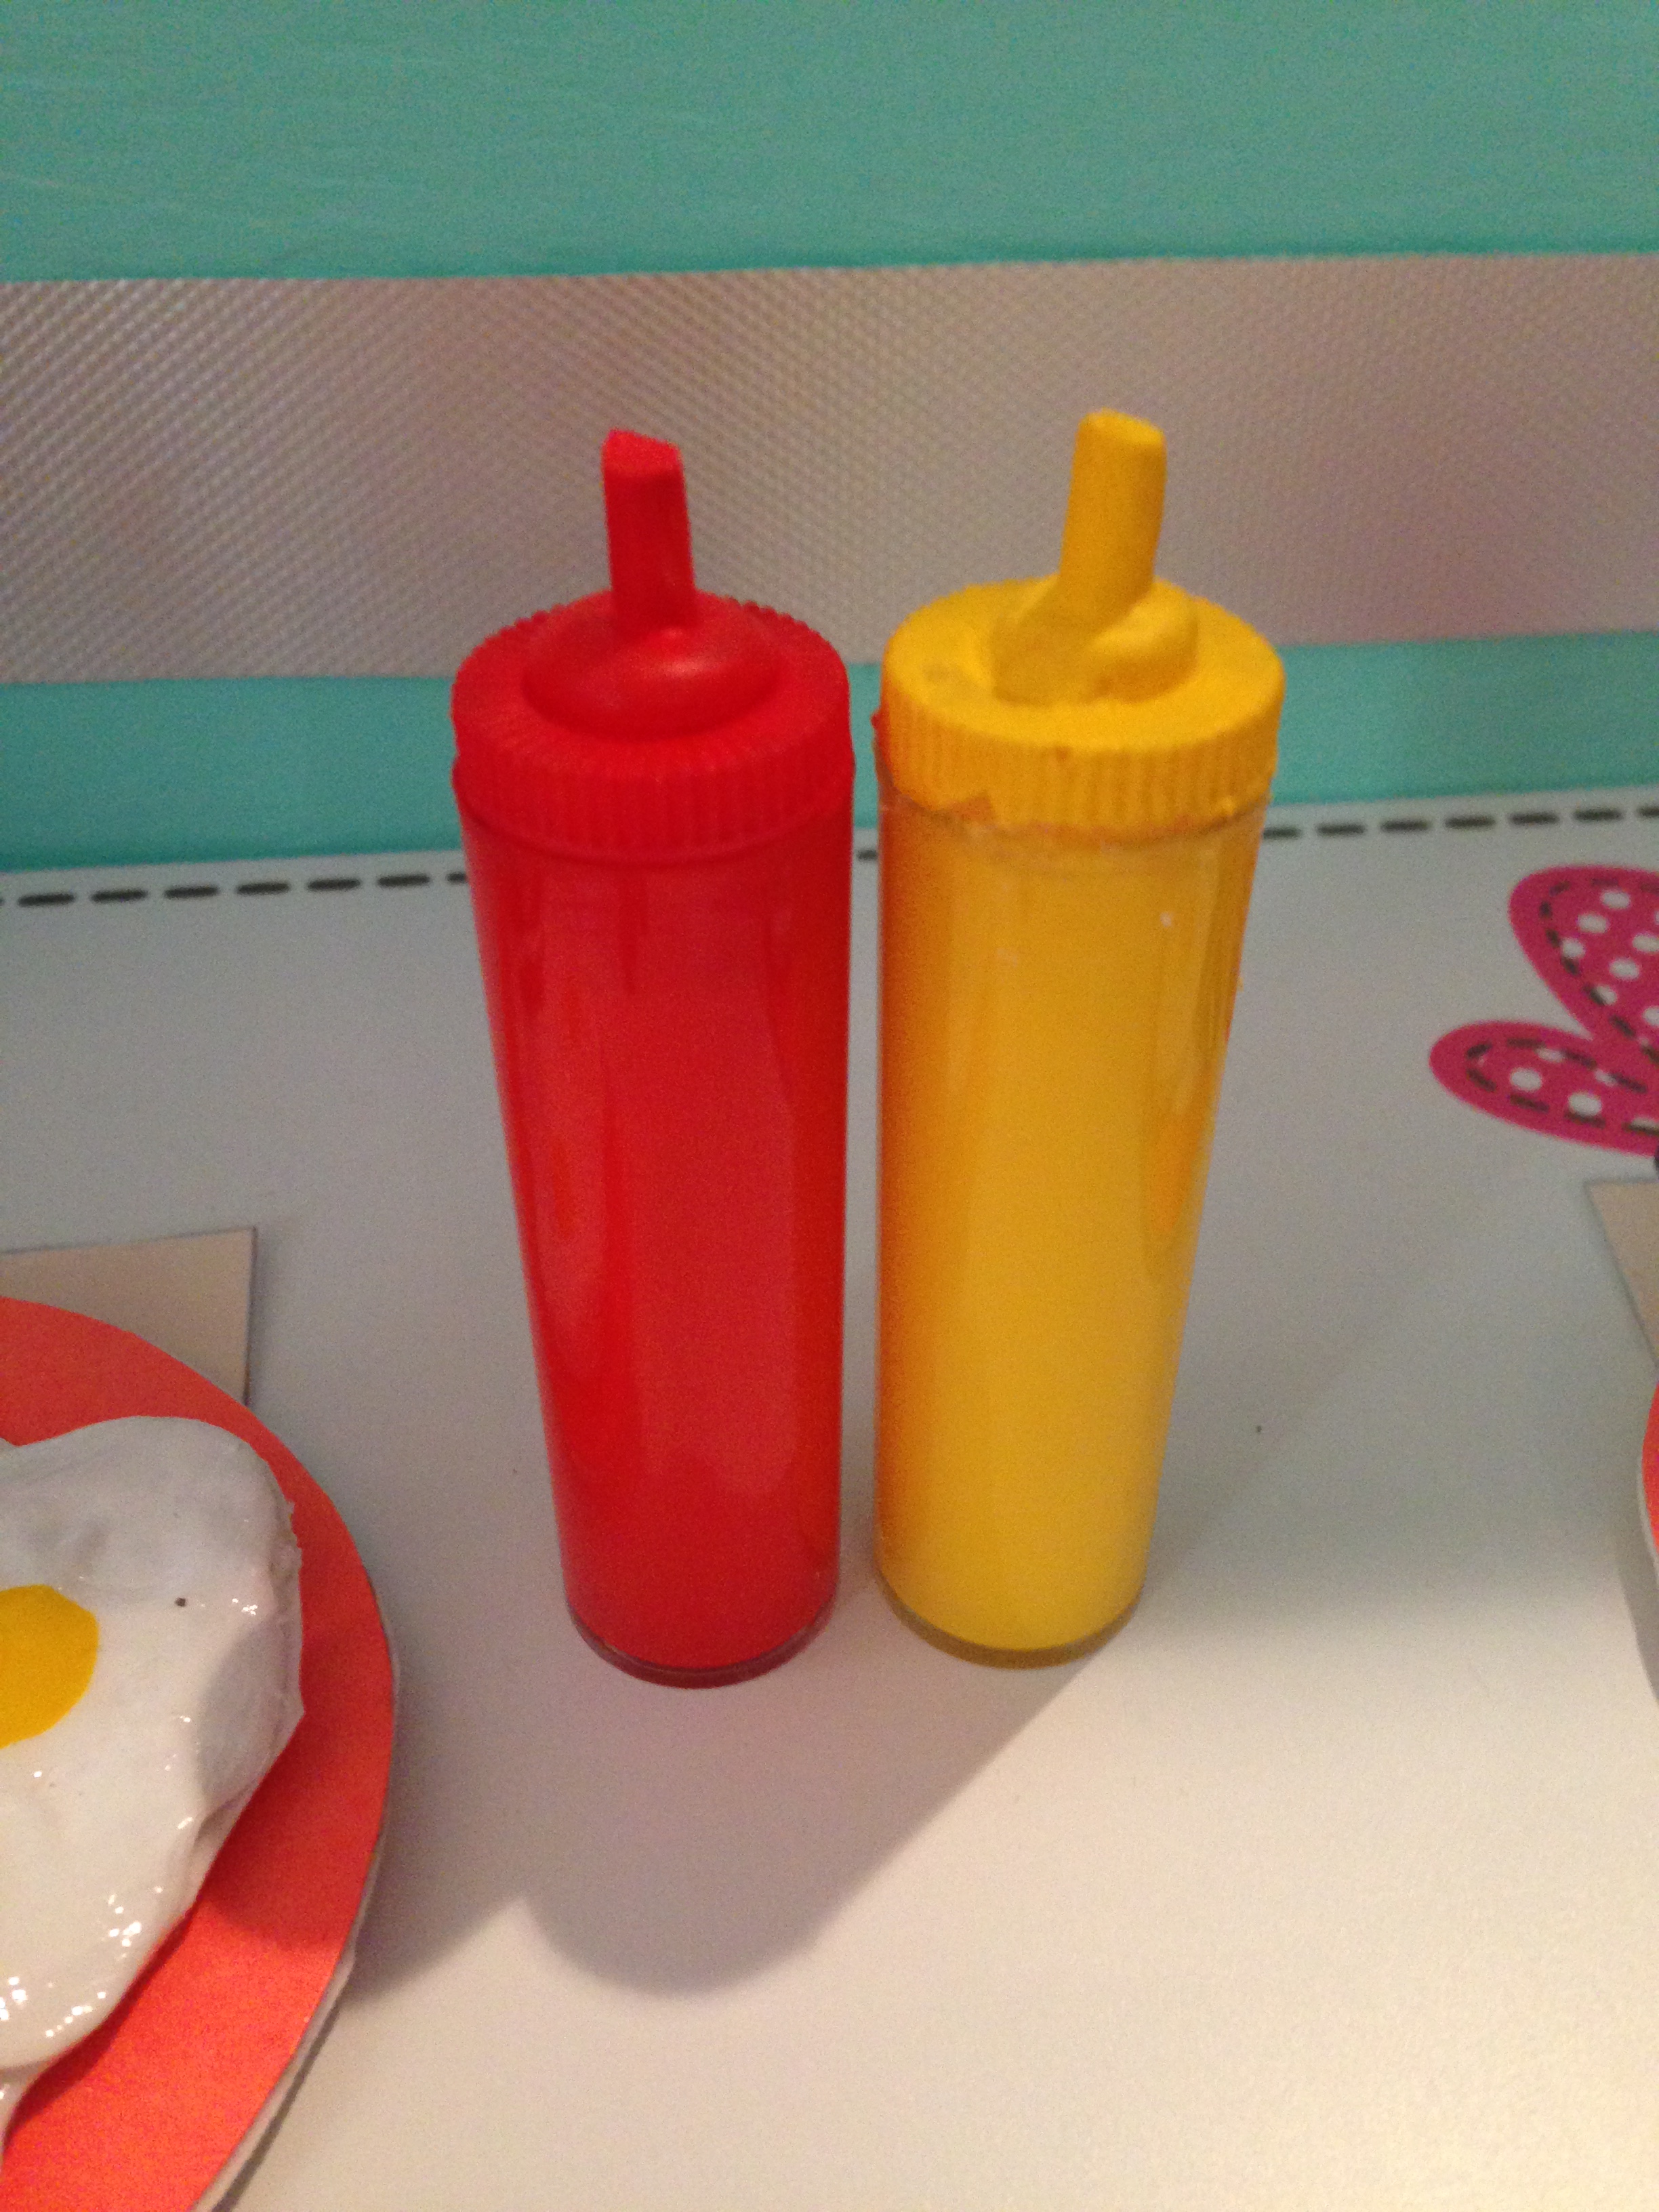
Just fill with paint and seal.

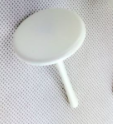
Then hot glue a plastic post to the top. Either of these would work.
 I have about ten of these. They are for making icing roses.
 Pizza saver.
Just clip the post off and glue it to the top of your ketchup/mustard. Paint the tops.
Save the round plastic parts of the pizza savers/icing tool to use as small salad plates. I just hot glued some craft foam on them for lettuce leaves, carrots, tomatoes etc. I used dried drops of hot glue to make mushrooms. Just stack and glue them on. Then paint them white.
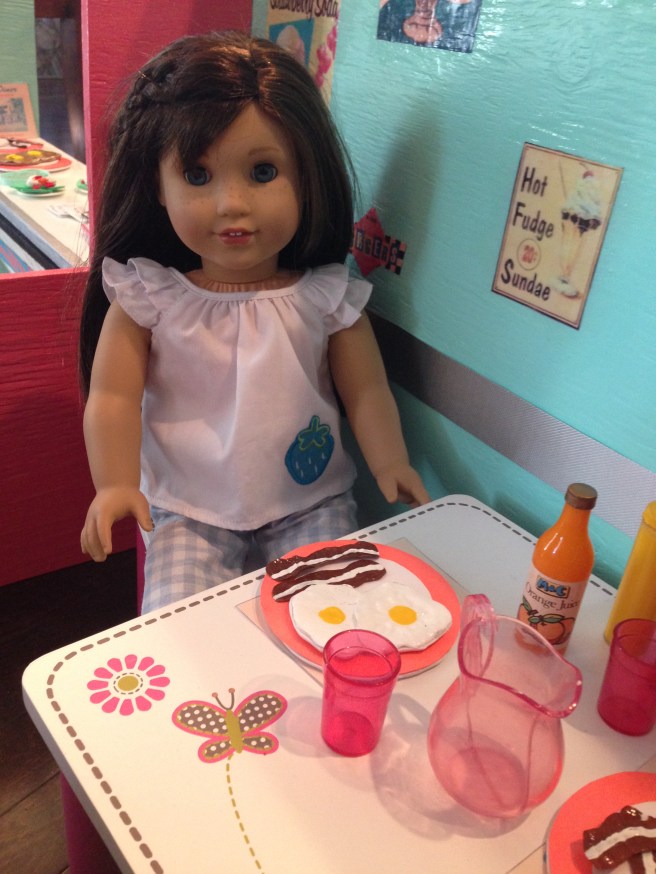
Here are some candid shots of the girls at the diner!
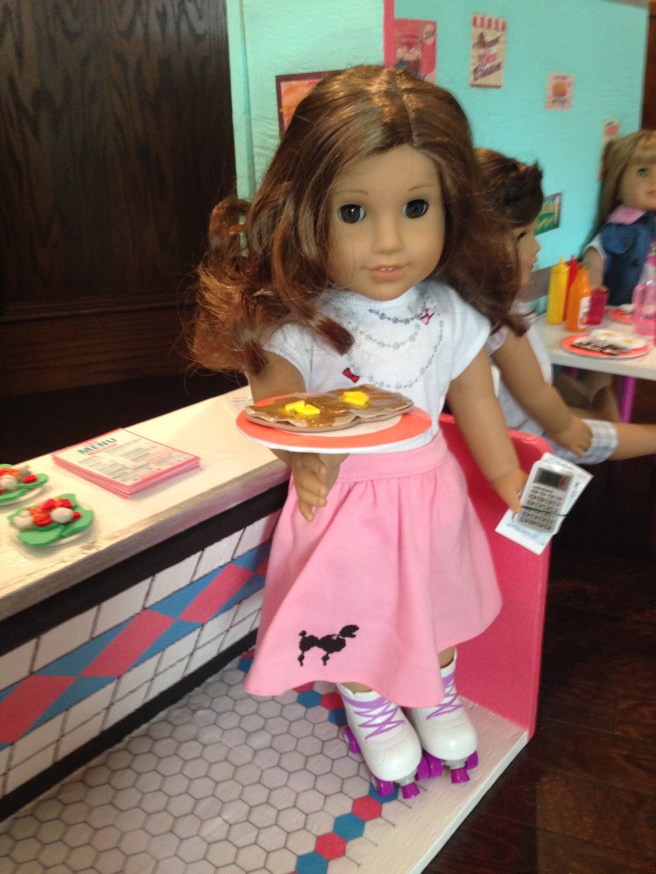
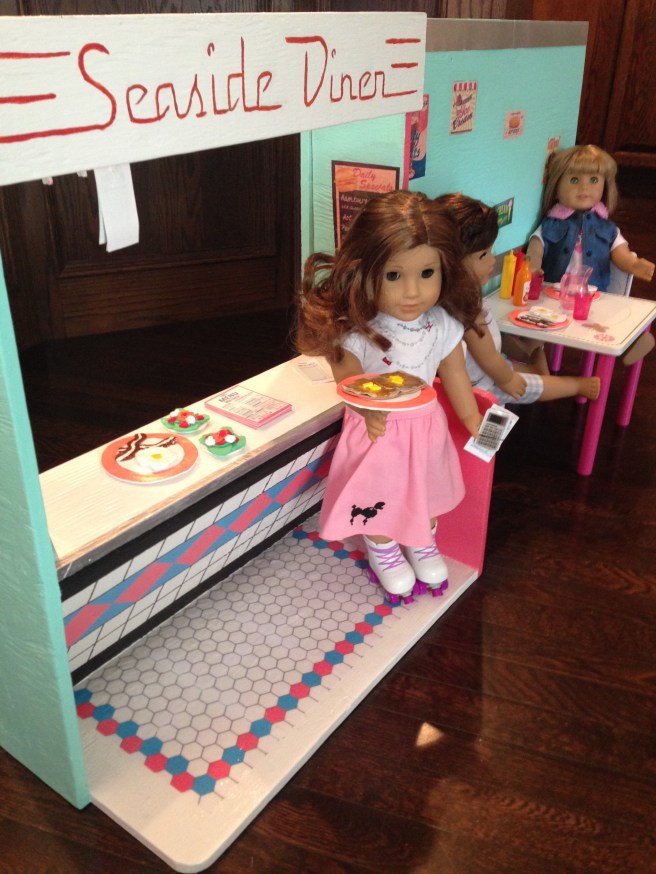


We would still like to add a diner booth and a jukebox, but we are so happy with it as it is!
I hope you are inspired to make one of your own. Enjoy!

-I really like your diner. It is reminiscent of the one my mother owned in the 50’s/60’s. I have to say though that she wouldn’t have sold many burgers at that price. Hers were 35 cents and the milkshakes…the same.
LikeLike
What a great job on your diner and food!
LikeLike
Thank you! It was definitely a big project! 🙂
LikeLike